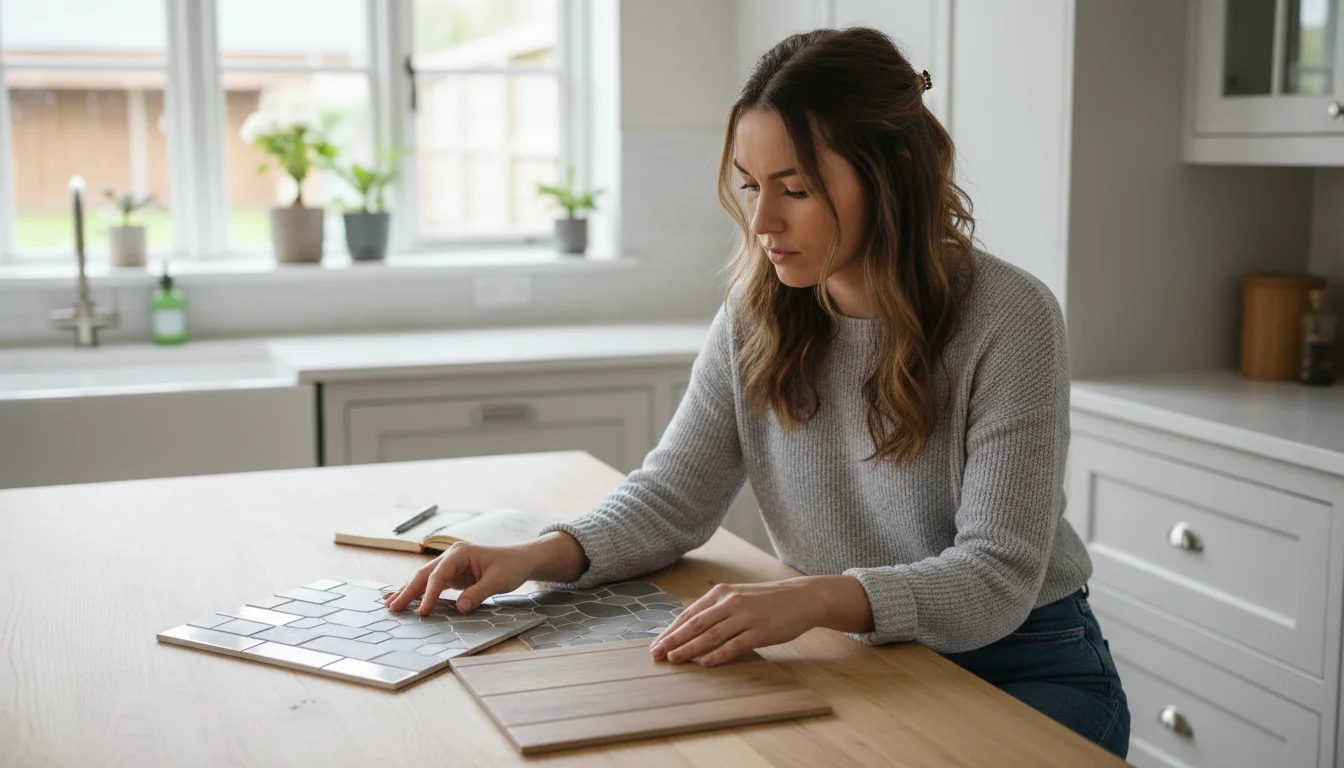
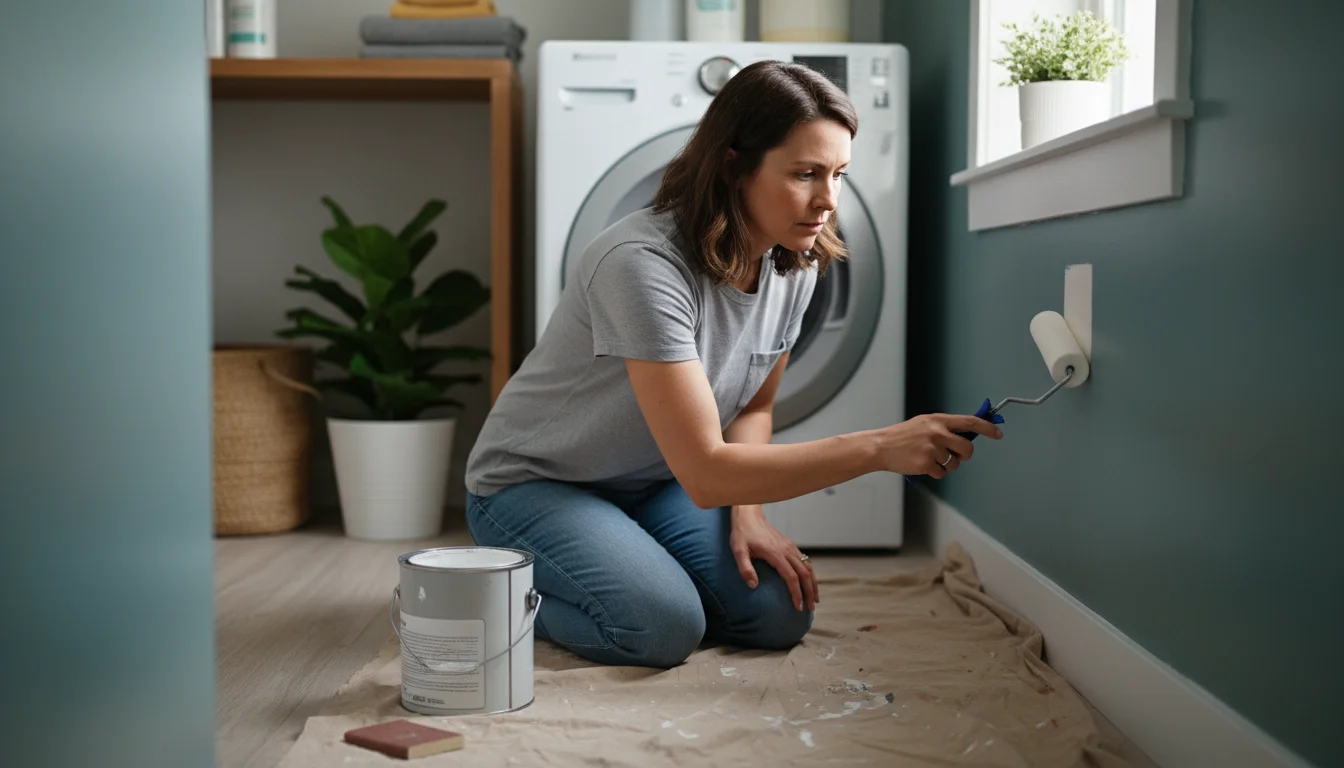
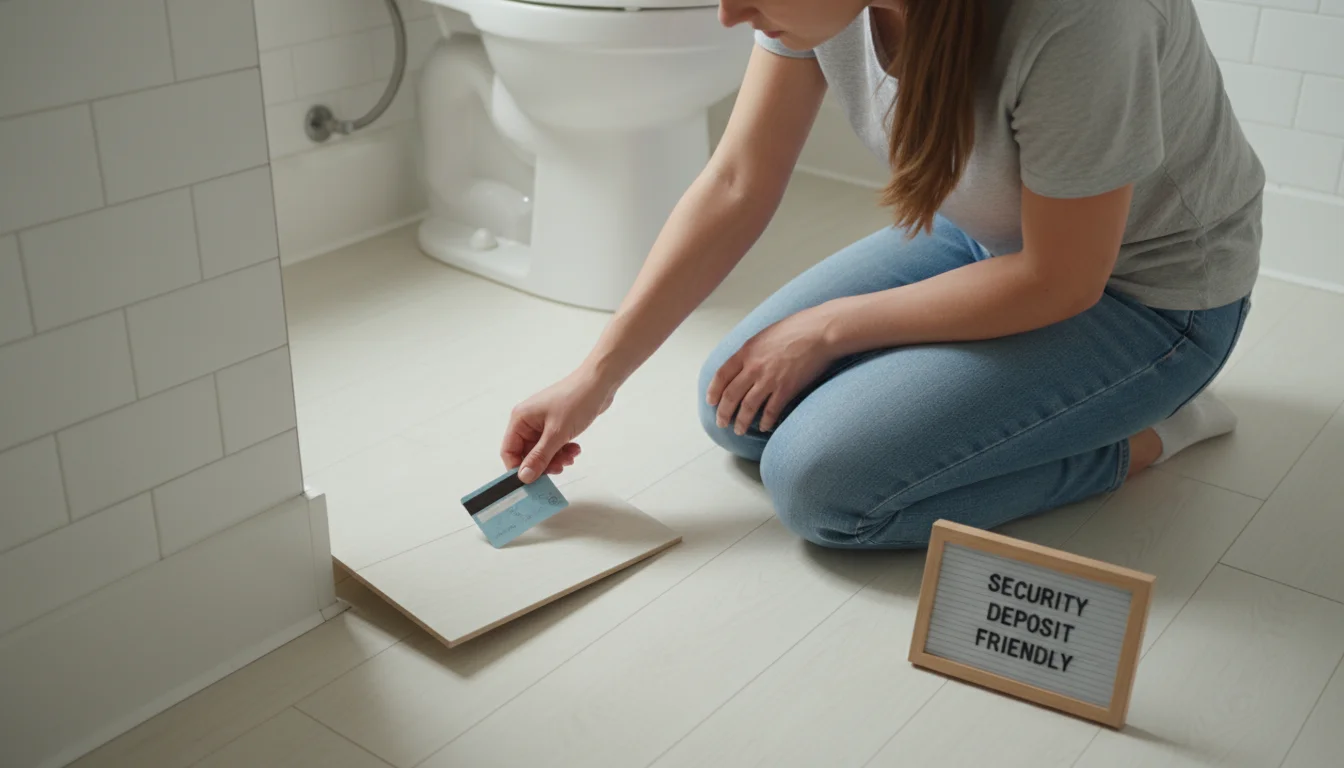
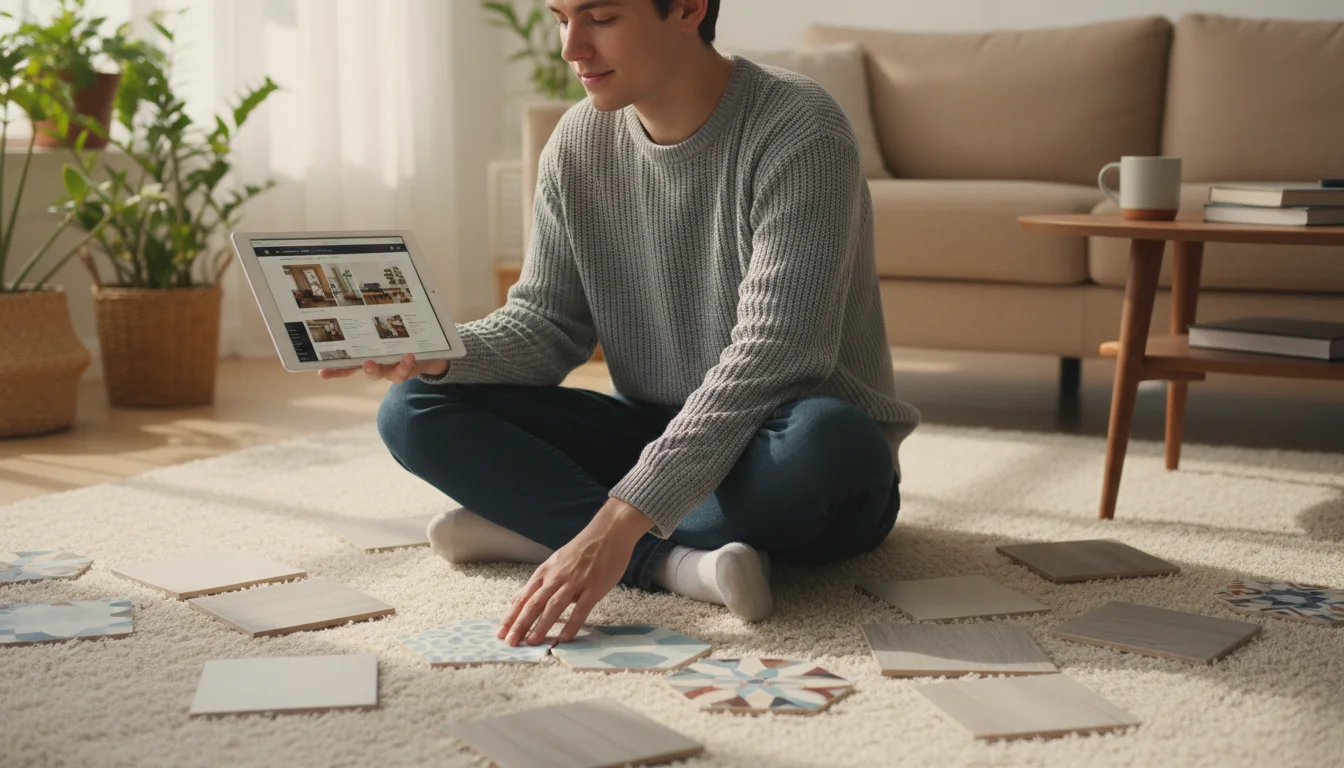
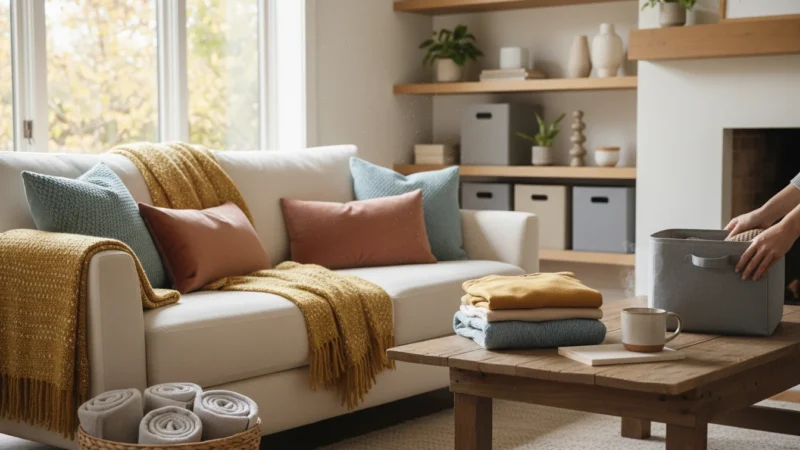
As a renter, you often dream of upgrading your space without losing your security deposit. Transforming a kitchen backsplash, bathroom floor, or accent wall feels like an impossible task when you cannot commit to permanent changes. Traditional tiling involves messy grout, demolition, and a serious commitment, which simply does not work for temporary living situations. That is where peel and stick tile comes in, offering a revolutionary solution for achieving a fresh, modern look with minimal effort and no long-term consequences.
Peel and stick tile empowers you to personalize your rented home, adding character and style that truly reflects you. You can achieve significant visual impact without complicated tools, extensive training, or the landlord’s wary eye. This guide delivers practical advice and specific recommendations, ensuring you find the best temporary tile options to revitalize your space and make your rental feel more like home. We empower you to make informed choices, giving you confidence in your decor decisions.

What Makes Peel and Stick Tile Ideal for Renters?
Peel and stick tile stands out as the ultimate renter friendly upgrade. Its design prioritizes ease of application and removal, directly addressing the limitations inherent in rental agreements. You get the aesthetic benefits of traditional tile without the permanence or the risk of losing your deposit.
The Freedom to Customize
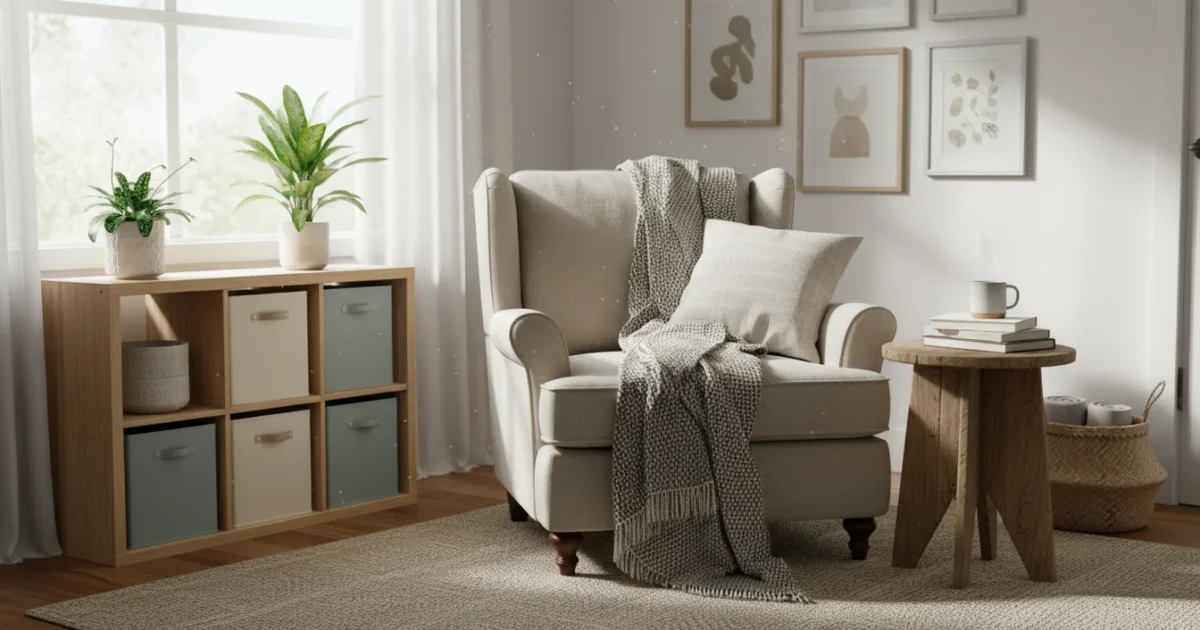
Rentals often come with standard, sometimes dated, finishes. Peel and stick tile allows you to infuse your personal style. Imagine transforming a drab kitchen backsplash into a chic, subway-tiled focal point or adding a geometric pattern to a plain bathroom floor. This temporary tile empowers you to experiment with design trends, ensuring your living space reflects your taste. It provides a creative outlet for homeowners and apartment dwellers alike.
Effortless Installation and Removal
You do not need special tools, wet saws, or messy grout for peel and stick tile. Most installations require only a utility knife, a ruler, and a steady hand. The self-adhesive backing simplifies the process: you simply peel off the liner and press the tile into place. When it is time to move or update your look, removal is equally straightforward. Manufacturers design many products to lift cleanly from surfaces, leaving no sticky residue or damage behind. This ensures you leave your rental in the same condition you found it, avoiding potential fees.
Budget-Friendly Design Upgrades
Renovating with traditional tile can cost thousands of dollars, a prohibitive expense for renters. Peel and stick tile offers a significantly more affordable alternative, providing a high-impact aesthetic upgrade for a fraction of the price. You can achieve a luxurious look without breaking your budget, freeing up funds for other home comfort improvements. This budget-conscious approach means you get more style for less money.
Understanding Peel and Stick Tile: Types and Materials
The market for peel and stick tile has expanded dramatically, offering a wide array of styles, textures, and materials. Understanding the differences helps you choose the best option for your specific project and desired aesthetic.
Vinyl Peel and Stick Tile
Vinyl is the most common and versatile material for peel and stick tiles. It offers excellent durability, water resistance, and an extensive range of colors and patterns. You find vinyl tiles mimicking everything from ceramic and porcelain to wood and natural stone. Vinyl is particularly suitable for high-moisture areas like bathrooms and kitchens, providing a practical and attractive surface. Many vinyl options feature a realistic embossed texture, enhancing the illusion of genuine tile.
Gel or Resin Tile
These tiles often feature a raised, glossy finish, giving them a three-dimensional look that closely resembles actual ceramic or glass tile. They are typically lightweight and easy to cut. Gel or resin tiles excel in backsplash applications, offering a sophisticated, polished appearance. They provide robust water resistance, making them ideal for areas exposed to splashes.
Metal Peel and Stick Tile
For a contemporary or industrial aesthetic, metal peel and stick tiles provide a unique option. These often use aluminum or composite materials with a metallic finish. They are durable and surprisingly easy to install, adding a sleek, modern touch to kitchens or accent walls. Metal tiles can resist heat, making them suitable for kitchen backsplashes near stovetops.
Fabric or Textile-Backed Tiles
While less common for wet areas, fabric-backed options offer a softer, often sound-dampening solution for walls. They come in various textures and colors, creating cozy or artistic accent walls. You typically use these in bedrooms or living areas where you want to add warmth and visual interest. They are generally easy to remove and less prone to surface damage upon removal.
Stone or Composite Peel and Stick Tile
Some premium options incorporate actual stone fragments or composite materials, offering a more authentic feel. These tiles provide a luxurious look and greater durability, often suitable for low-traffic floor areas. While typically more expensive, they deliver a high-end finish without the permanence of traditional stone. These options often require a stronger adhesive and careful surface preparation.
Key Factors to Consider When Choosing Your Temporary Tile
Selecting the right peel and stick tile involves more than just picking a pretty pattern. You must consider several practical aspects to ensure your upgrade lasts and meets your expectations. This approach helps you avoid common pitfalls and ensures satisfaction.
Adhesion Strength and Removability
This is paramount for renters. You need a tile that adheres well enough to stay put but removes cleanly without damaging the underlying surface. Research product reviews specifically mentioning “renter friendly” or “easy removal.” Some brands offer different adhesive strengths, so choose one appropriate for your landlord’s rules and your wall or floor material. As Apartment Therapy often notes, the balance between strong adhesion and clean removal is crucial for rental upgrades.
Durability and Wear Resistance
Consider where you will install the tile. A kitchen backsplash requires different durability than a bathroom floor. For floors, look for thicker vinyl tiles with a robust wear layer that resists scratches and scuffs. For backsplashes, prioritize water and heat resistance. Check product specifications for information on abrasion resistance and suitability for high-traffic areas.
Water and Heat Resistance
In kitchens and bathrooms, tile will inevitably encounter moisture and varying temperatures. Choose products explicitly rated for high-humidity or heat-prone areas. Vinyl and gel tiles generally perform well. Always check manufacturer guidelines regarding proximity to heat sources like stovetops or shower areas. Ensuring proper resistance prevents peeling and warping.
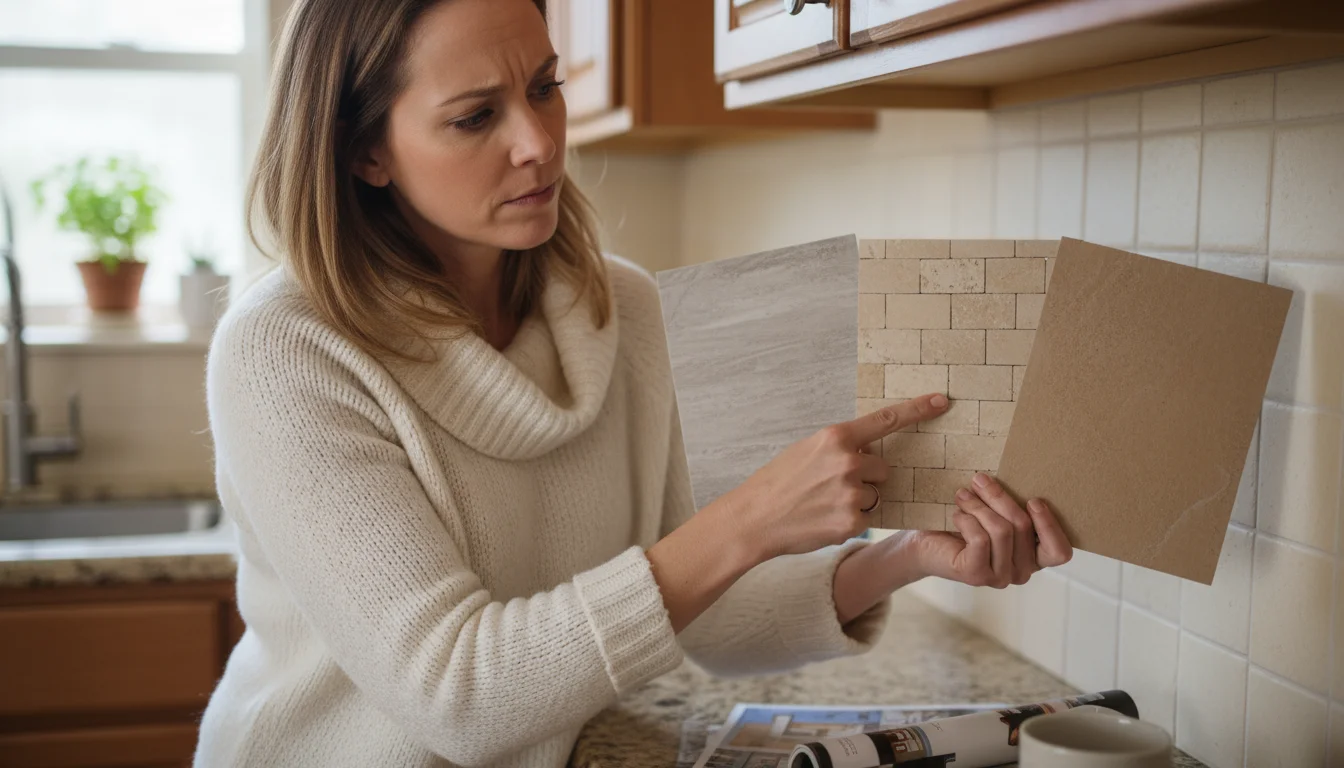
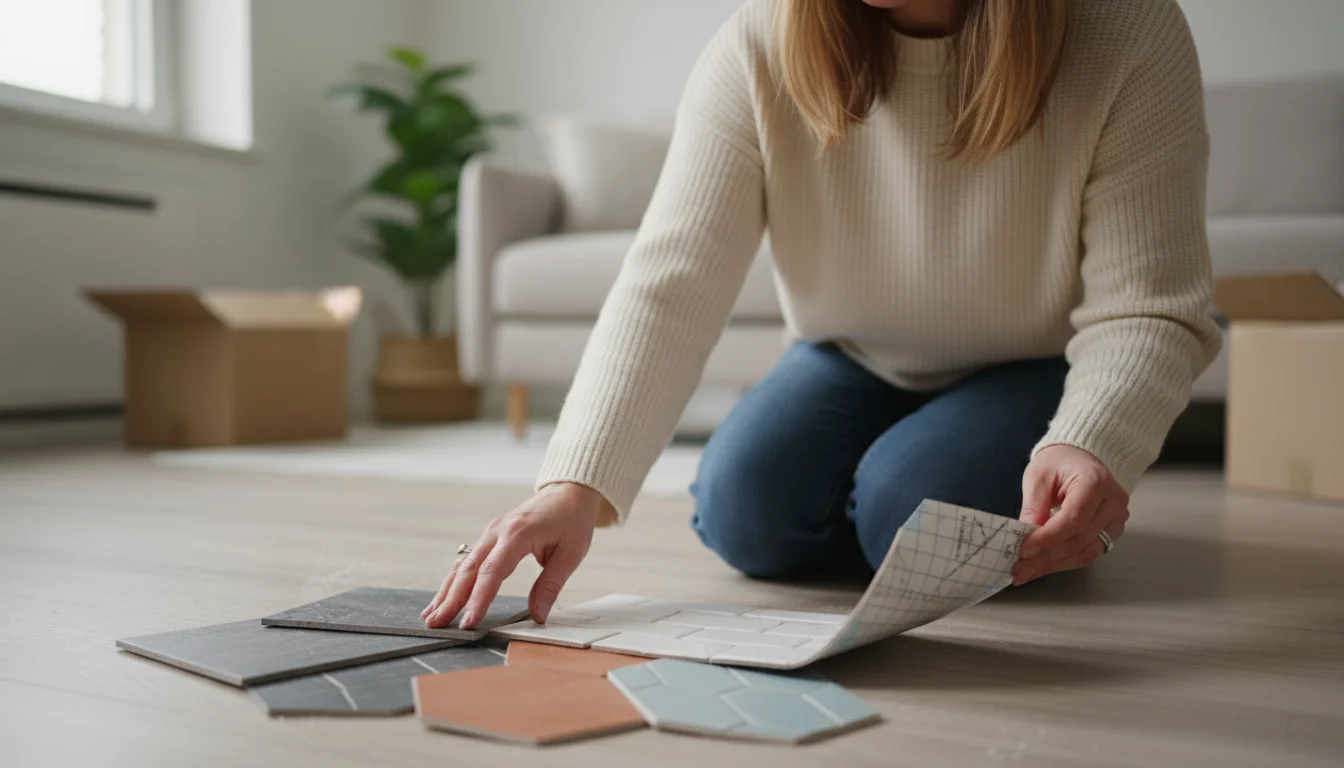
Aesthetic Appeal and Realistic Look
The visual quality of peel and stick tile has dramatically improved. Look for tiles with high-definition printing and realistic textures. Order samples whenever possible to see how the tile looks in your home’s lighting and next to your existing decor. You want it to blend seamlessly and enhance, not detract from, your space. A convincing replica provides lasting satisfaction.
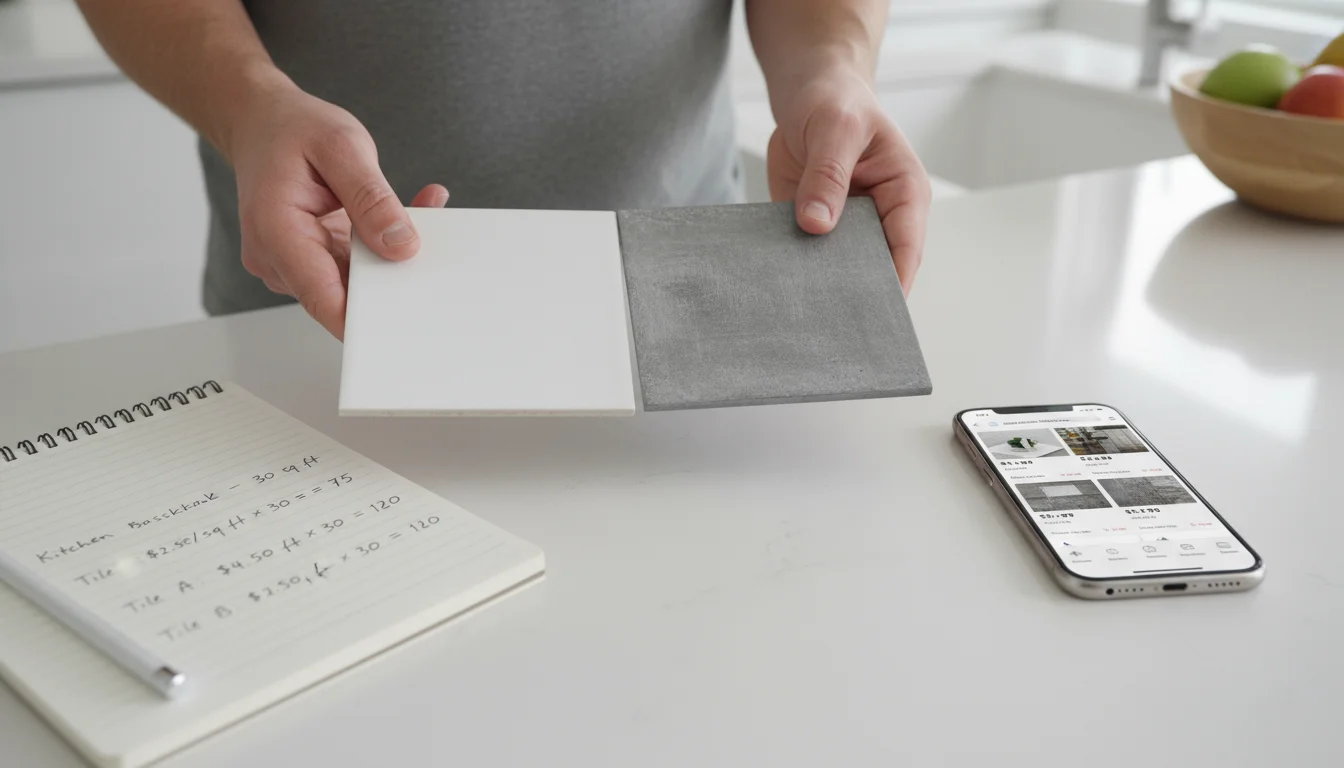
Cost per Square Foot
While generally budget-friendly, prices vary significantly based on material, brand, and design complexity. Calculate the square footage you need and compare costs. Do not always opt for the cheapest option, as it may compromise quality or removability. Invest in a product that balances affordability with your desired durability and appearance. A slightly higher initial cost often saves you money in the long run by preventing early replacement.
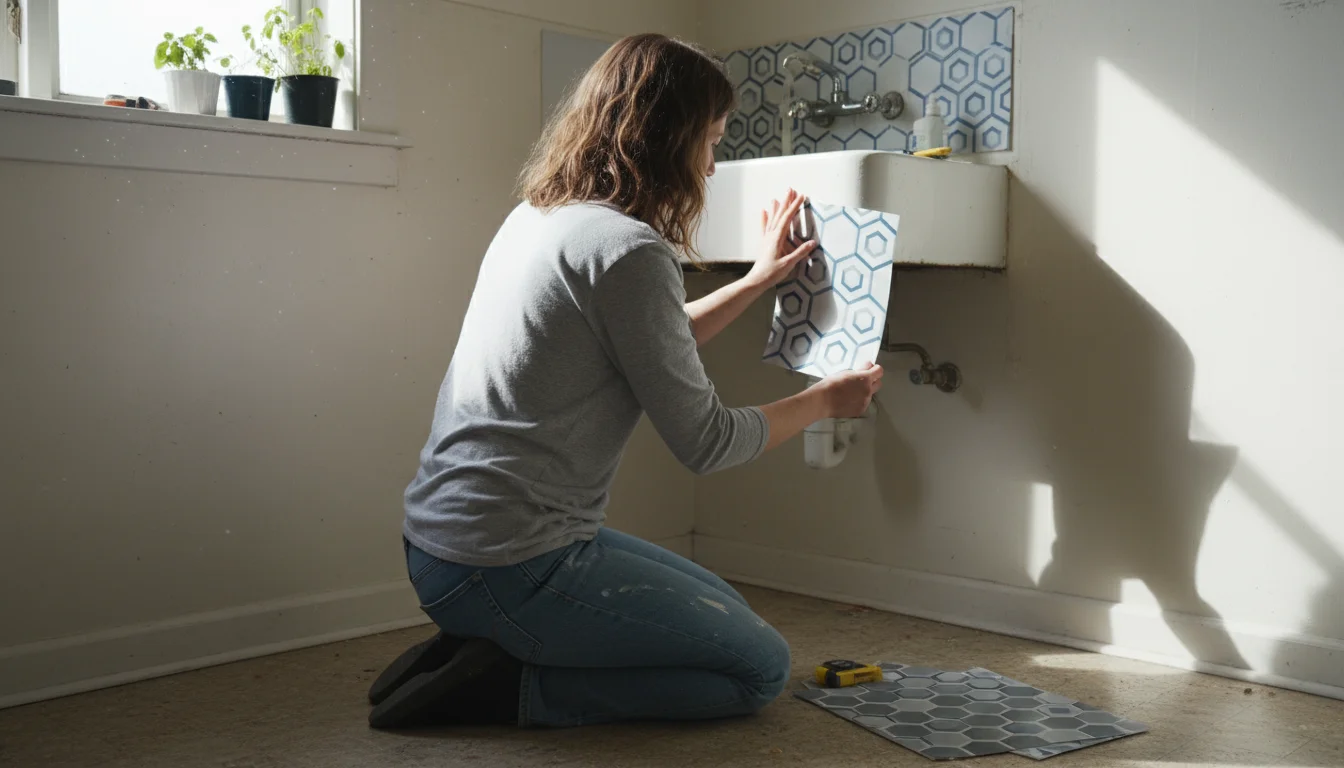
Preparing Your Surface for Perfect Adhesion
Proper surface preparation forms the foundation for a successful peel and stick tile installation. Skipping this crucial step often leads to peeling edges, poor adhesion, and a less-than-perfect finish. A clean, smooth, and dry surface ensures your temporary tile stays exactly where you want it.
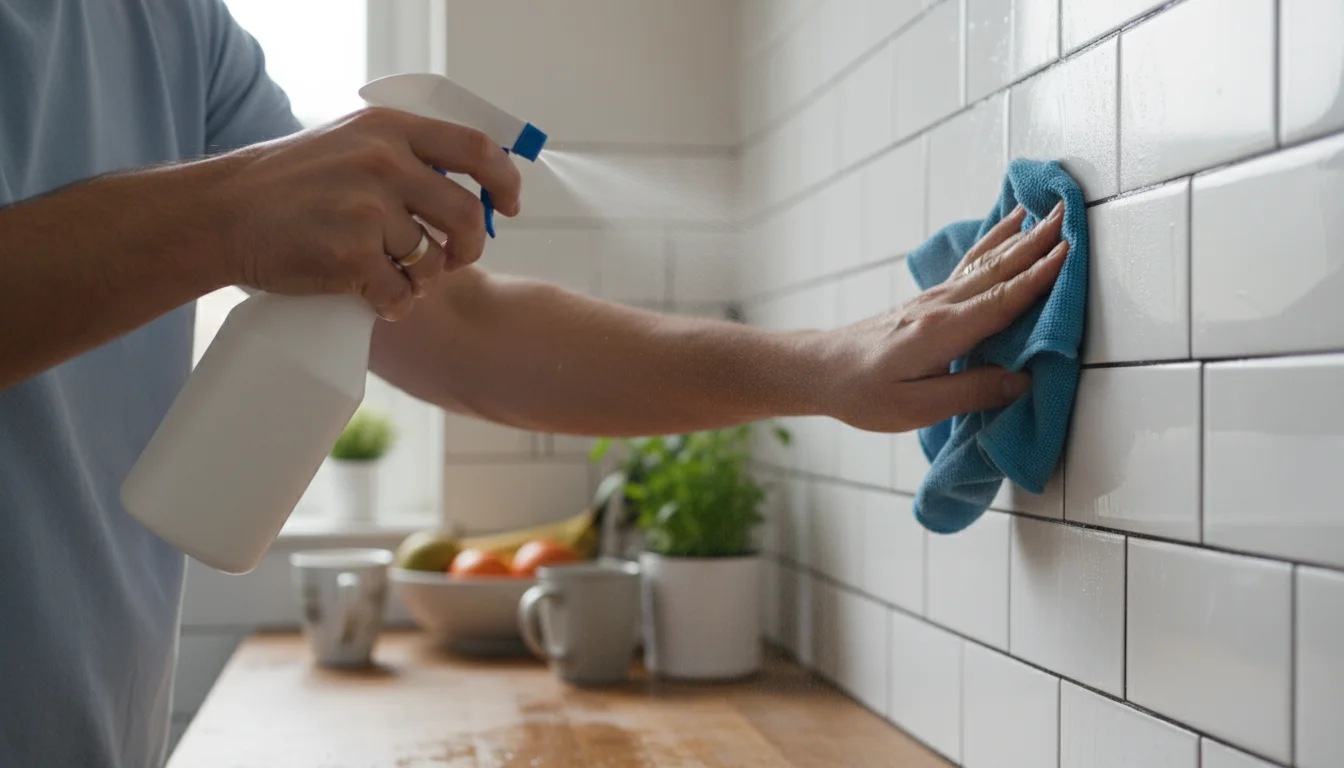
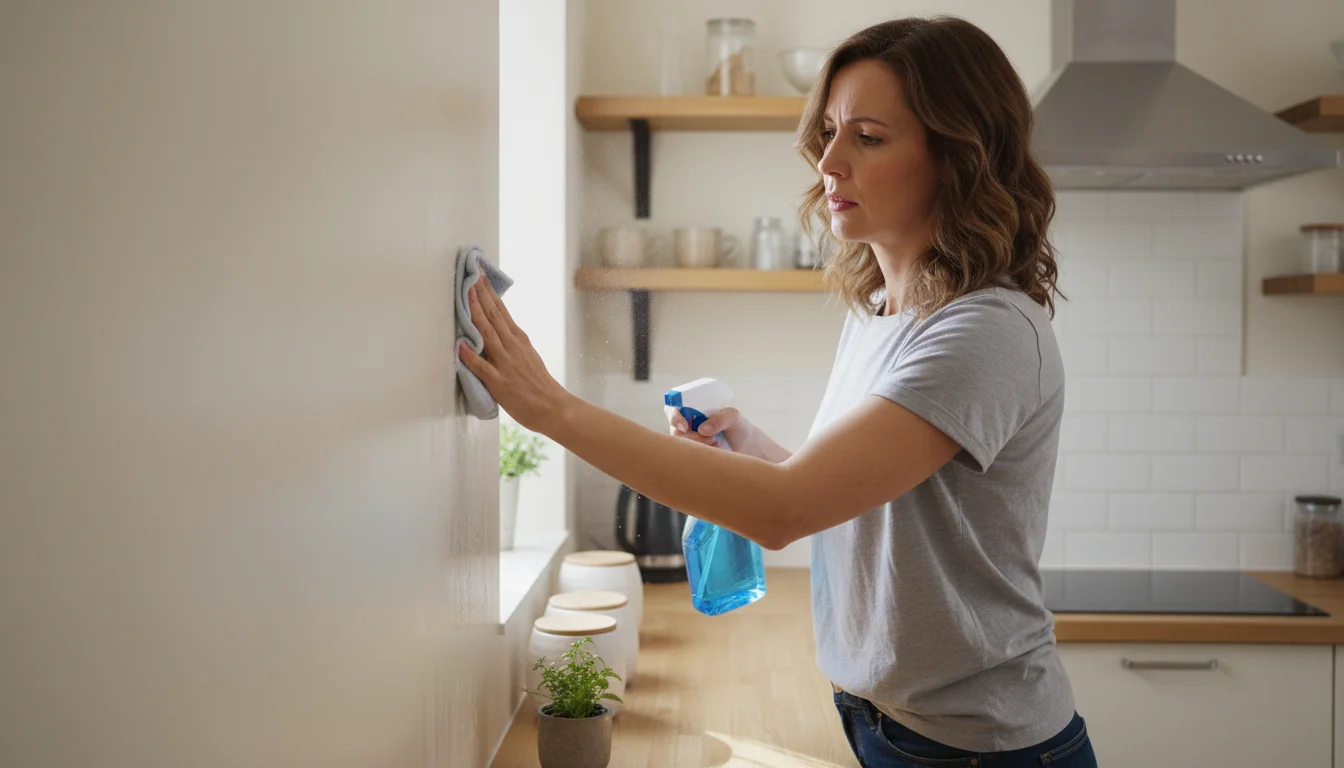
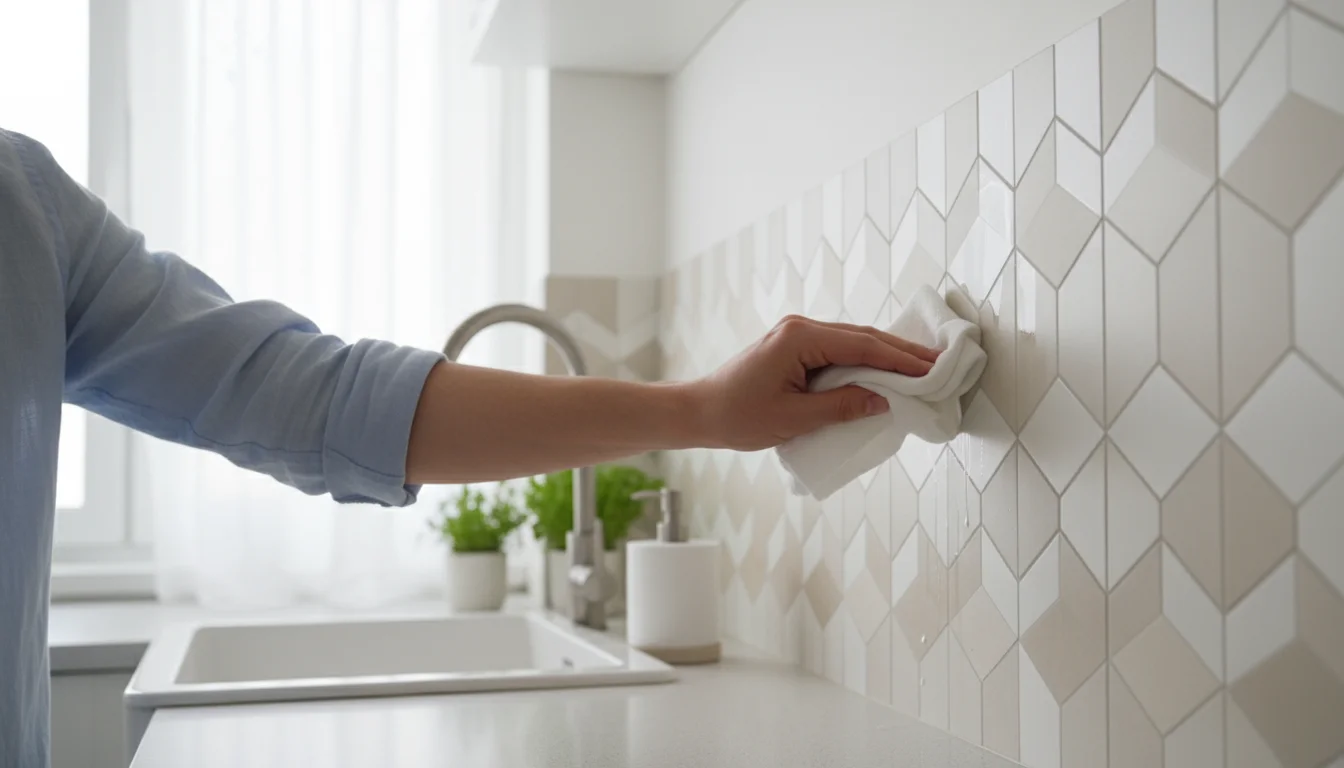
Thorough Cleaning
Begin by meticulously cleaning the surface where you plan to install the tile. Use a degreaser for kitchen areas to remove grease buildup. For bathrooms, a general all-purpose cleaner works well. Ensure you remove all dirt, dust, grime, and mildew. According to experts at The American Cleaning Institute, proper surface cleaning is essential for any adhesive application, promoting maximum bond strength. Rinse the surface thoroughly to remove any cleaning solution residue, which can interfere with adhesion.
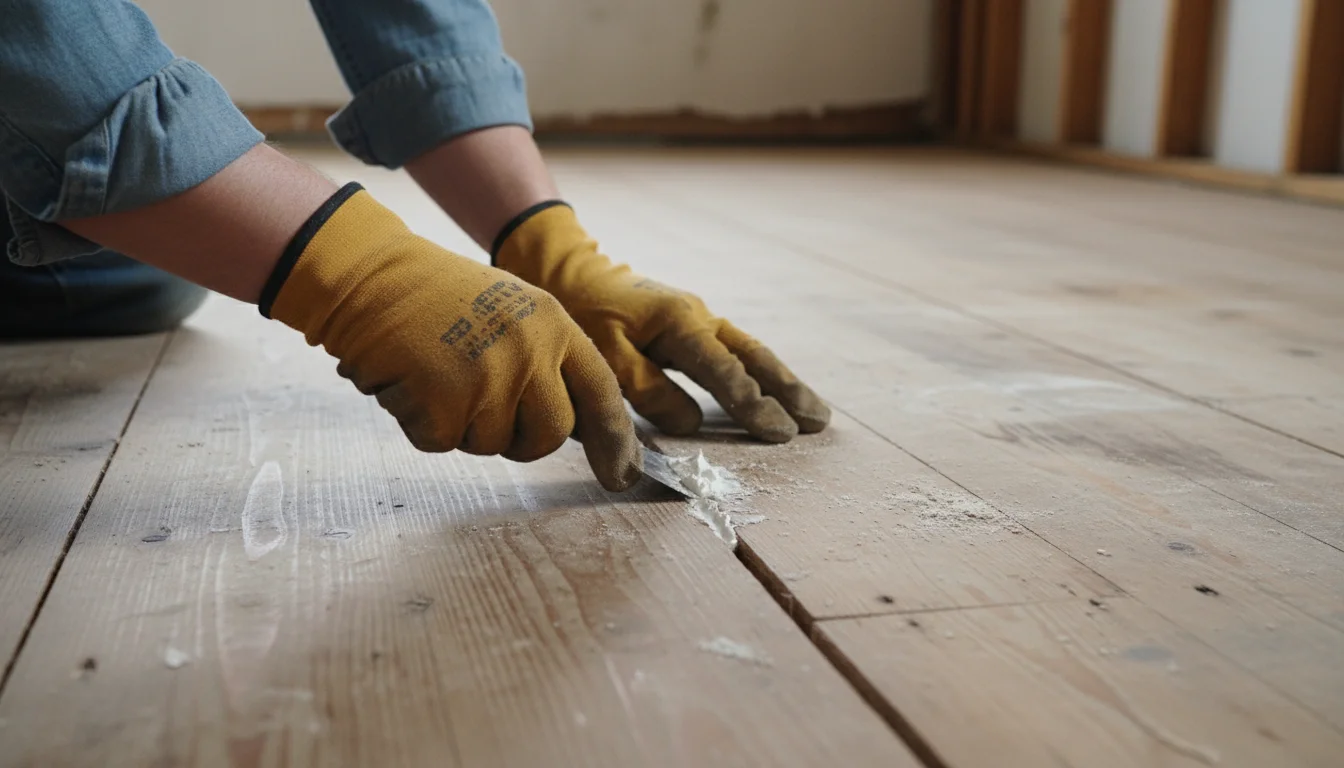
Ensuring a Smooth Surface
Peel and stick tile works best on smooth, flat surfaces. Any bumps, holes, or textures will show through the tile or prevent proper adhesion. If your walls have significant texture, you may need to skim-coat them with spackle or joint compound and sand them smooth. For floors, fill in any cracks or divots. A perfectly smooth surface prevents air bubbles and ensures a professional finish.
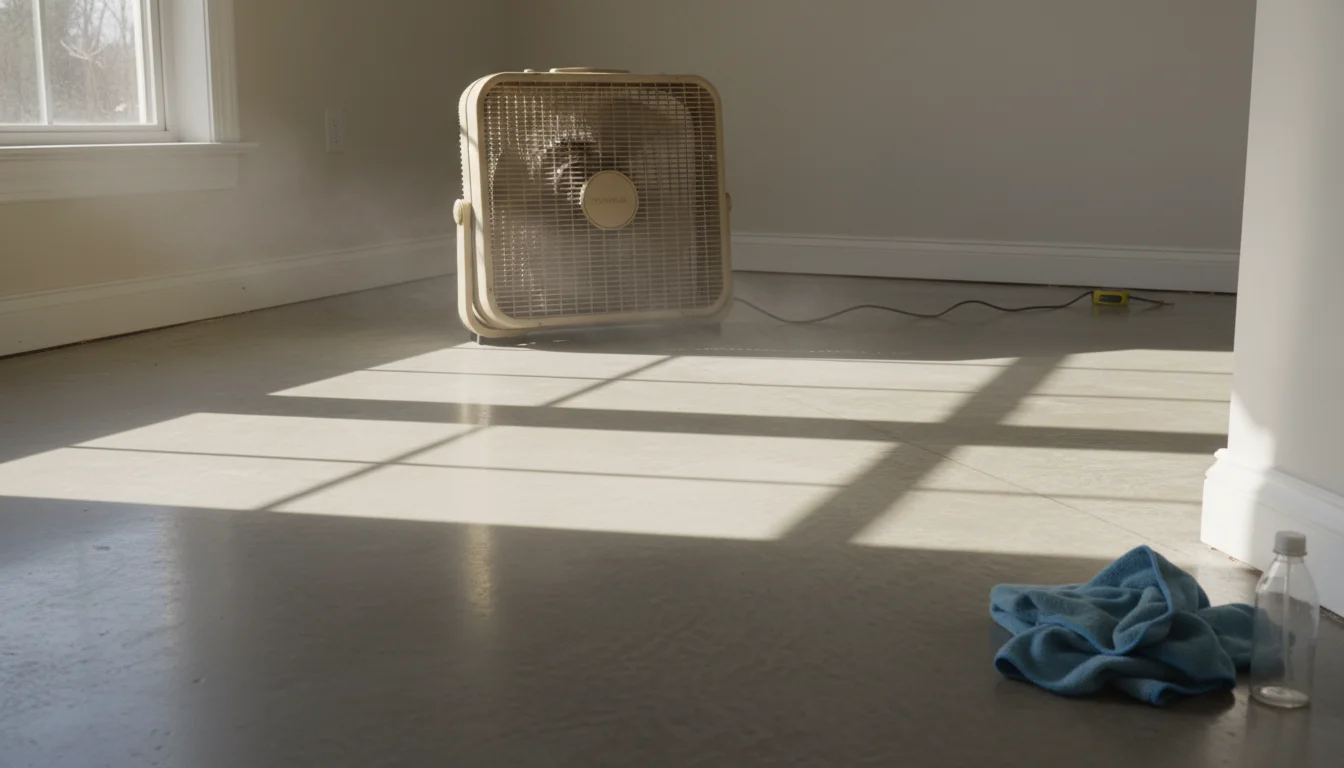
Complete Drying
Moisture is the enemy of adhesive. Allow the surface to dry completely before applying any tile. This may take several hours, or even a full day in humid environments. You can use fans to accelerate the drying process. Ensure no residual dampness remains, as it significantly weakens the adhesive bond over time.
Priming (Optional, but Recommended for Some Surfaces)
For painted surfaces, especially those with glossy or semi-gloss finishes, a light sanding followed by a coat of primer can dramatically improve adhesion. Primer creates a consistent, slightly porous surface that the tile adhesive can grip more effectively. Always test a small, inconspicuous area first if you are unsure how the primer will interact with your existing paint or the tile’s adhesive. This step boosts the longevity of your installation.
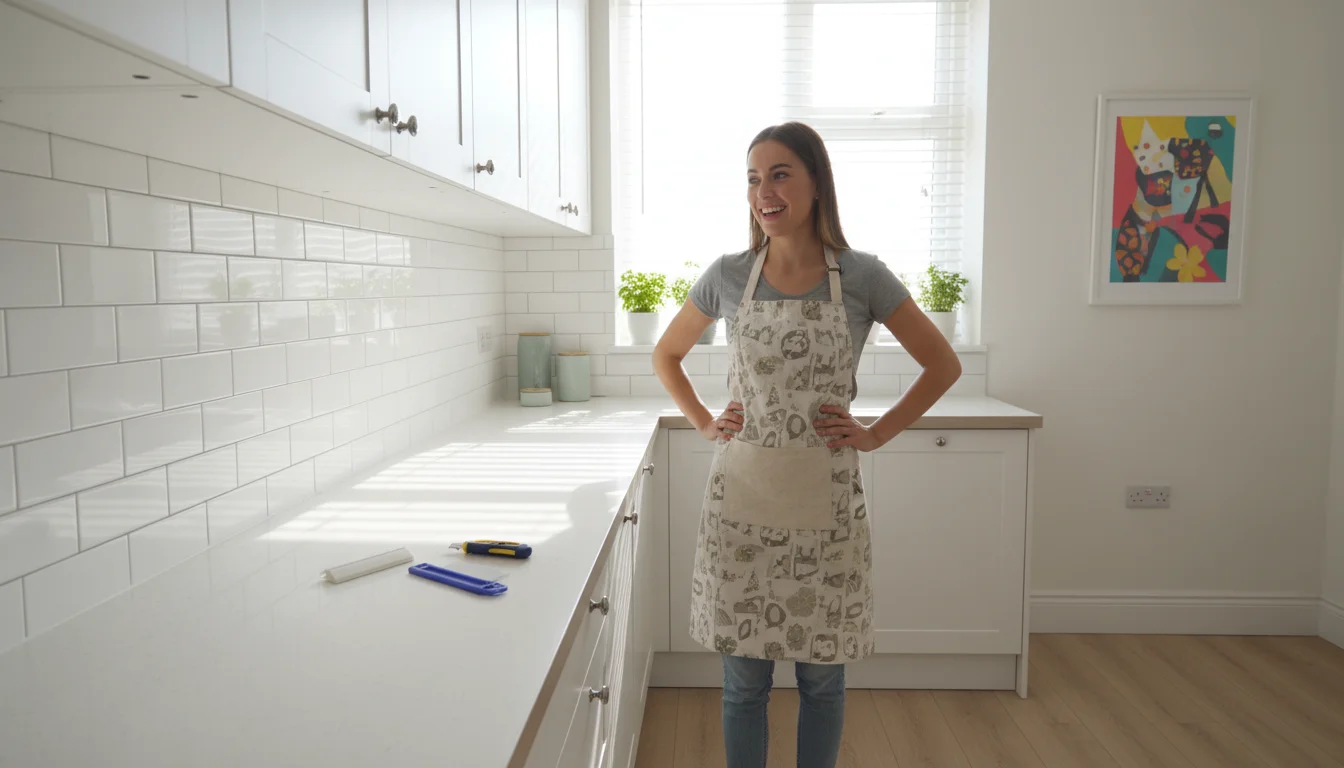
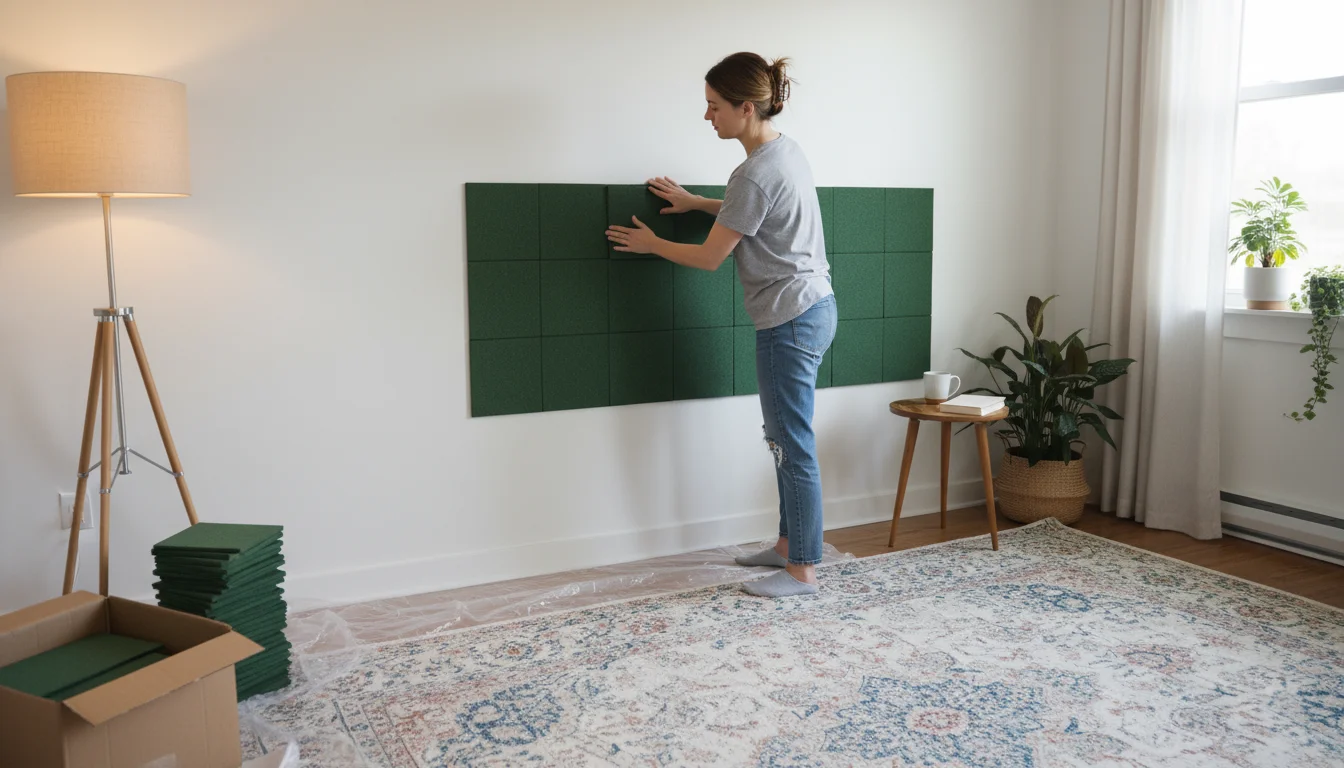
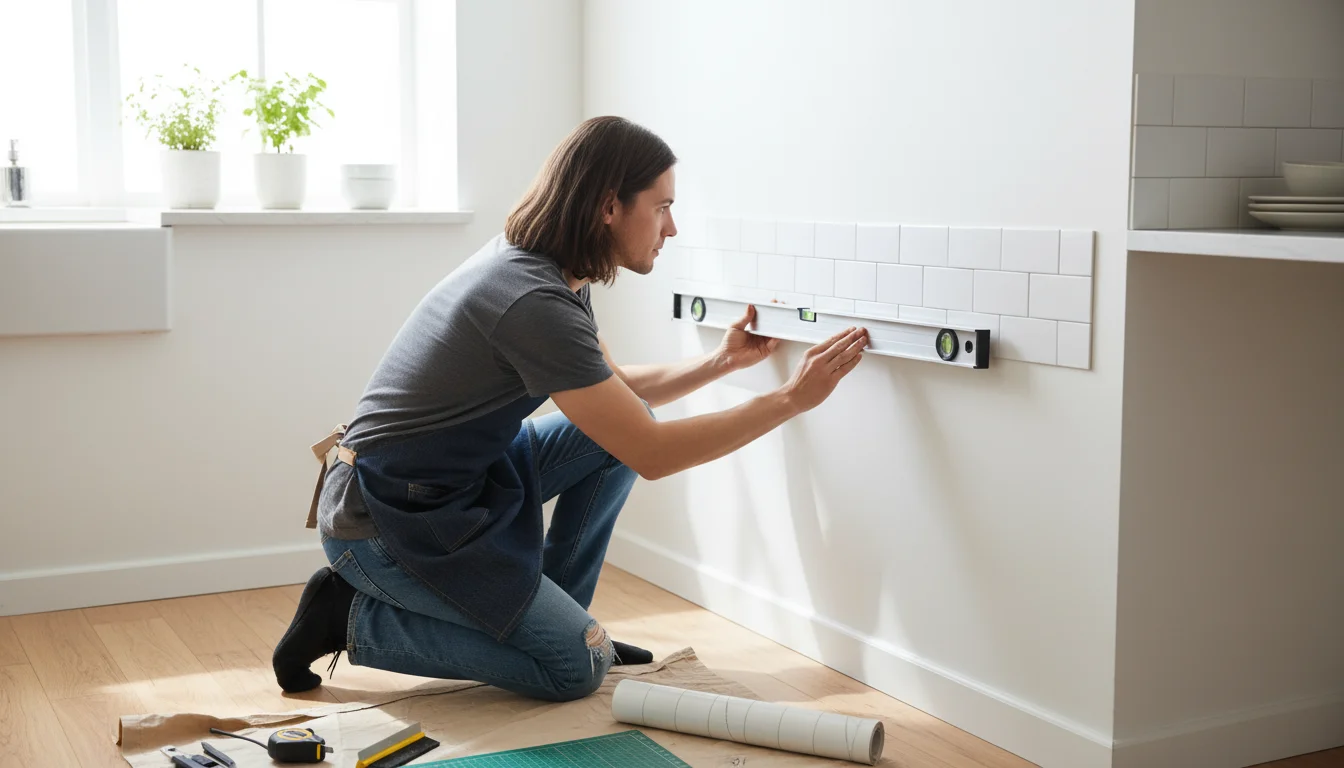
A Step-by-Step Guide to Installing Peel and Stick Tile
Installing peel and stick tile is a straightforward DIY project, even for beginners. Following these steps ensures a smooth, professional-looking finish. You gain confidence with each tile you apply, transforming your space with ease.
Before you start, gather your tools: a utility knife or sharp scissors, a ruler or straightedge, a pencil, and a smoothing tool (like a plastic scraper or a clean roller).
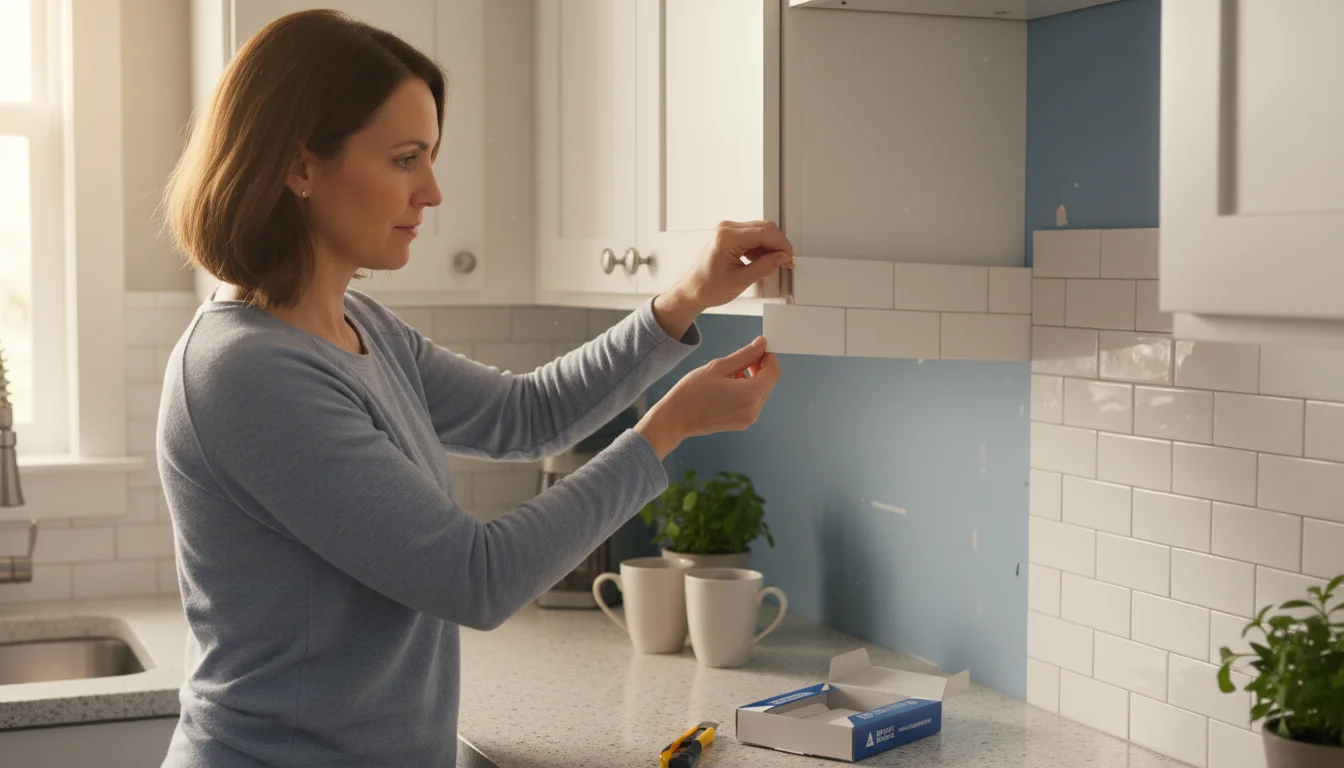
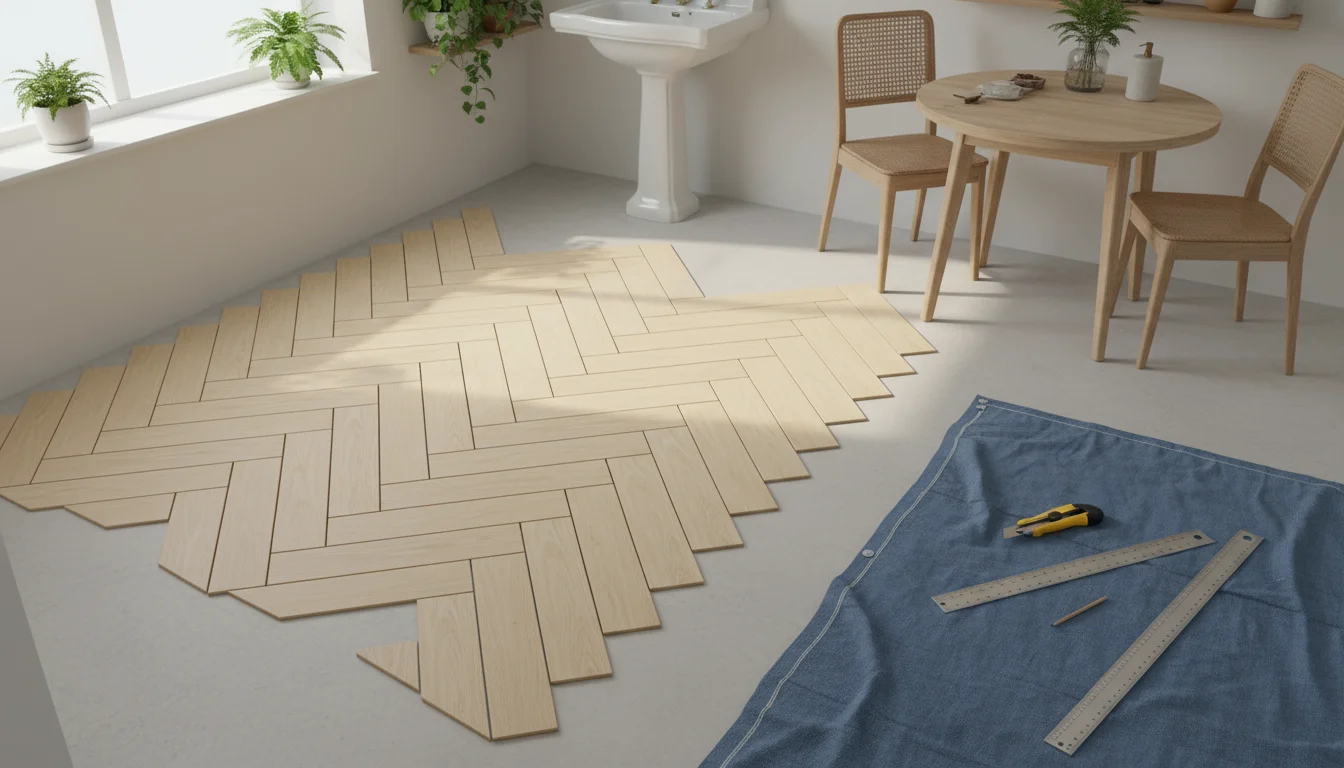
- Plan Your Layout: Dry-lay your tiles first without removing the backing. This allows you to visualize the pattern, make necessary cuts, and ensure proper alignment. Start in an inconspicuous corner or a central point depending on the pattern. Consider how you want cuts to fall, often favoring full tiles in prominent areas.
- Measure and Cut: Use your ruler and pencil to mark the exact dimensions for any cuts. For straight lines, score the tile deeply with a utility knife and then snap it. For more intricate cuts, like around outlets, create a template with paper first. Precise cuts lead to a seamless look.
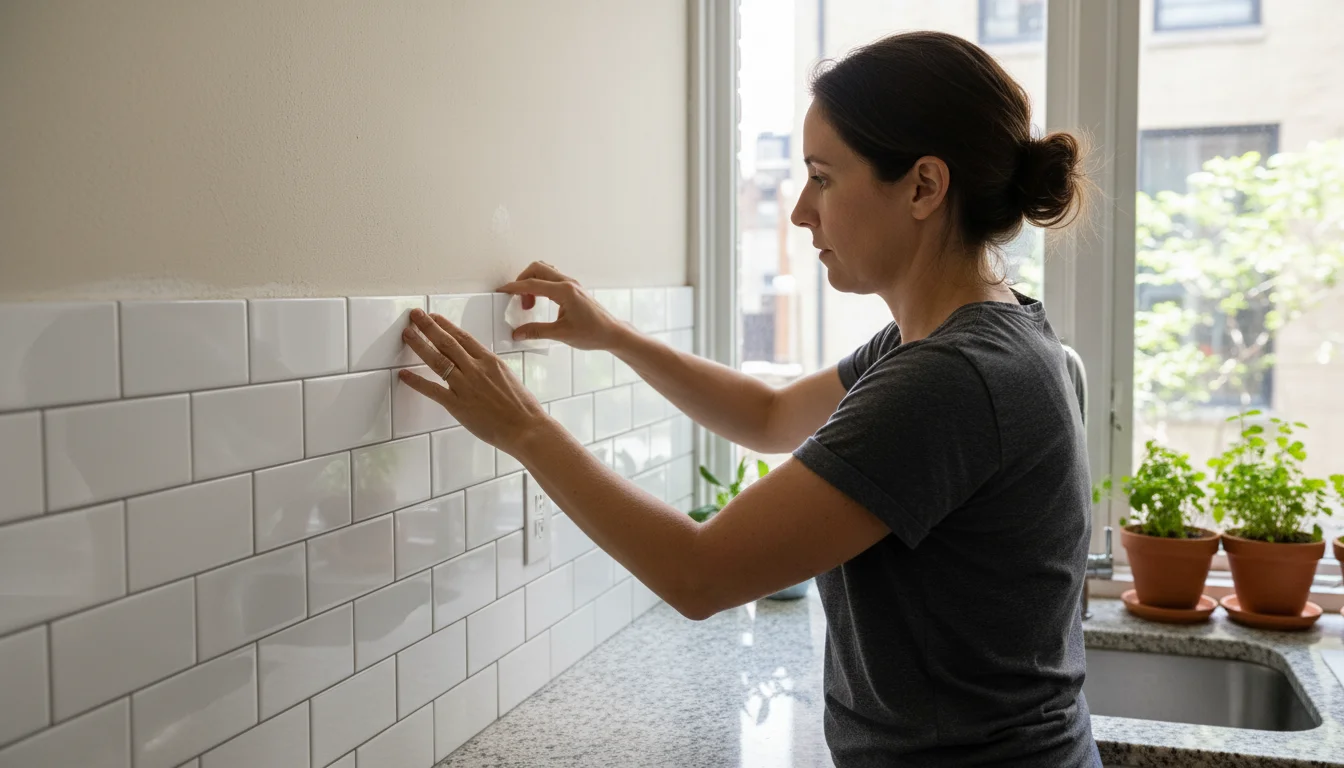
- Peel and Position: Peel a small portion of the backing away from one corner of the tile. Align the tile precisely with your starting point or guide line. Slowly peel away the rest of the backing as you press the tile firmly into place. Good initial alignment prevents crooked lines.
- Press and Smooth: Once the tile is positioned, use your hand to press it down, working from the center outwards to push out any air bubbles. Then, use a smoothing tool or a clean roller to apply firm, even pressure across the entire tile surface. This ensures maximum adhesion and a flat finish.
- Continue Installation: Repeat steps 2-4, working your way across the area. For a seamless look, butt tiles tightly against each other. Some patterns may require staggering or specific orientations.
- Trim Edges and Finish: Once all full tiles are installed, go back and cut the remaining edge pieces to fit. If desired, you can use caulk or trim to create a finished edge, particularly in wet areas or where the tile meets a different surface.
- Curing Time: While immediately functional, many adhesives benefit from a “curing” period. Avoid heavy traffic or excessive moisture for 24-48 hours after installation to allow the adhesive to fully bond.
Top Areas in Your Renter Home for Peel and Stick Tile
Peel and stick tile offers incredible versatility, allowing you to upgrade numerous spaces in your rental. Knowing which areas benefit most helps you plan your projects effectively. You can transform overlooked spots into stylish statements.
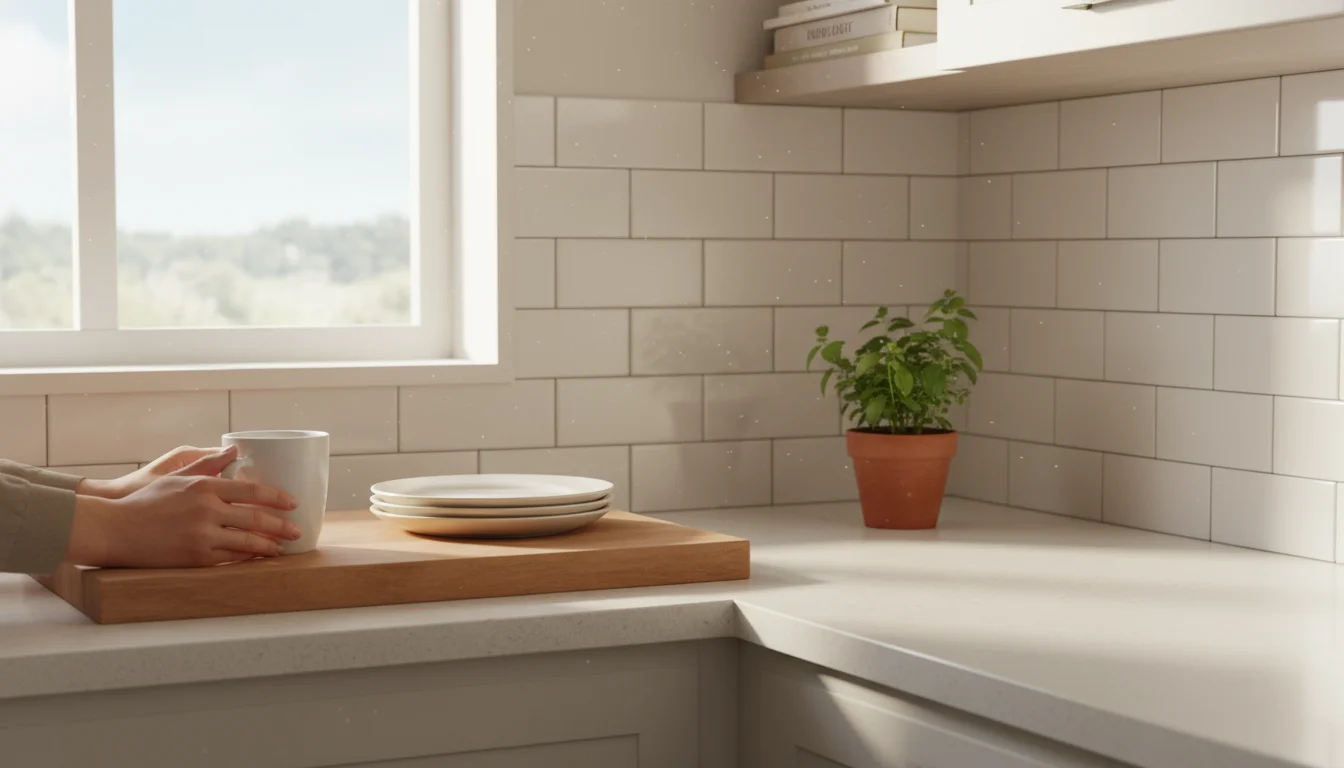
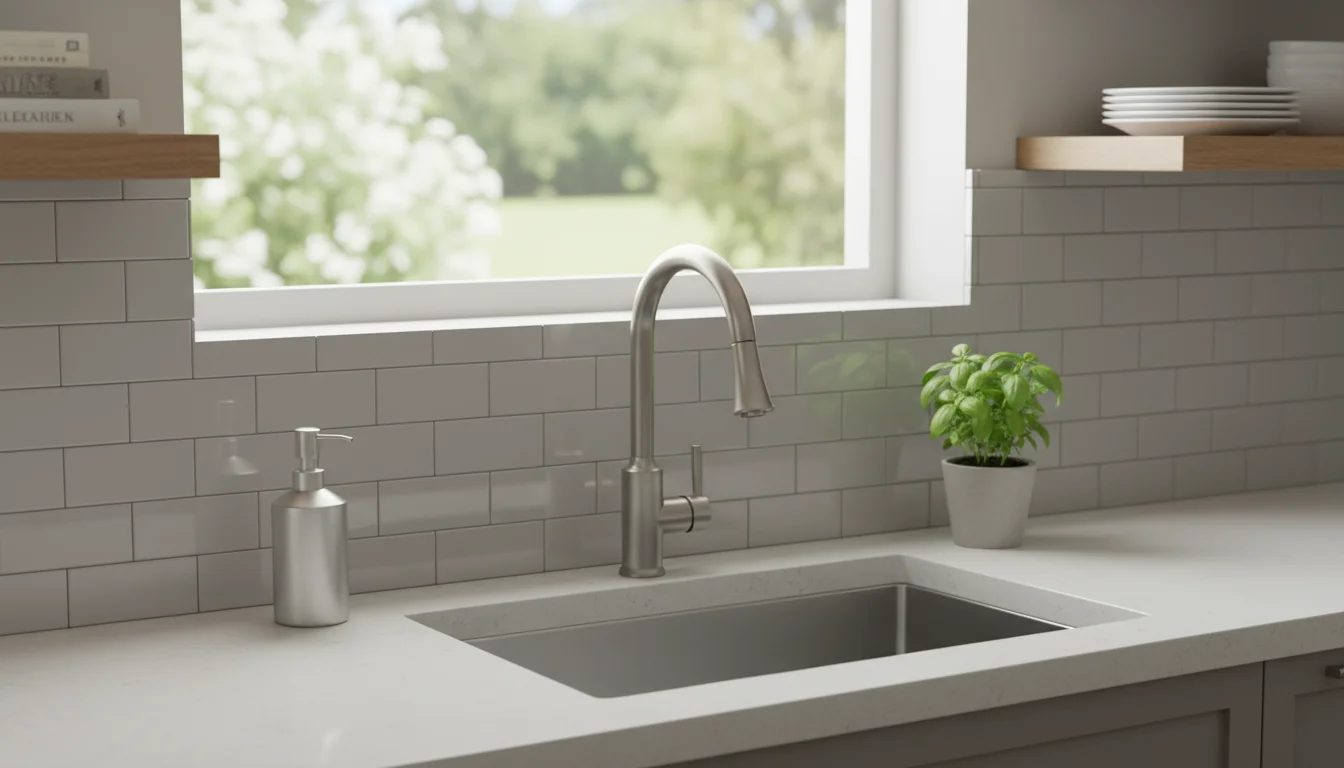
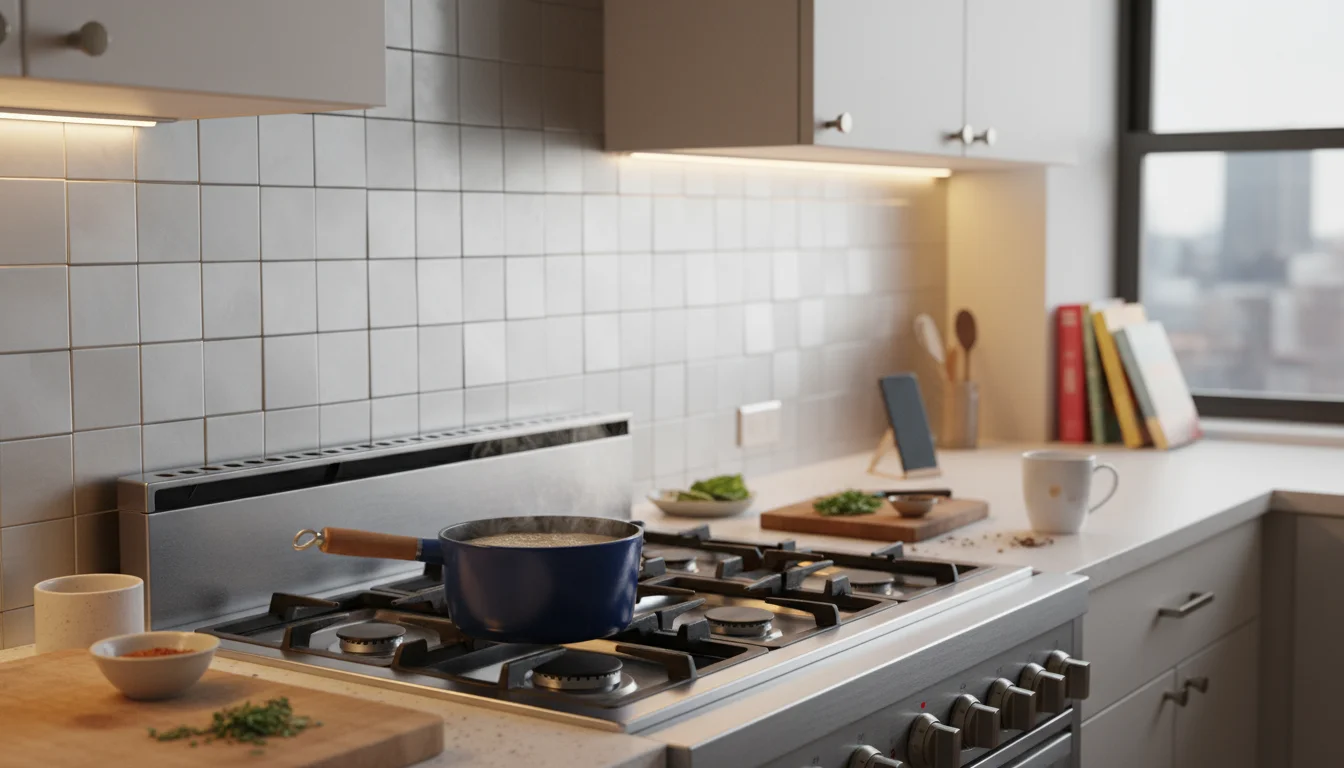
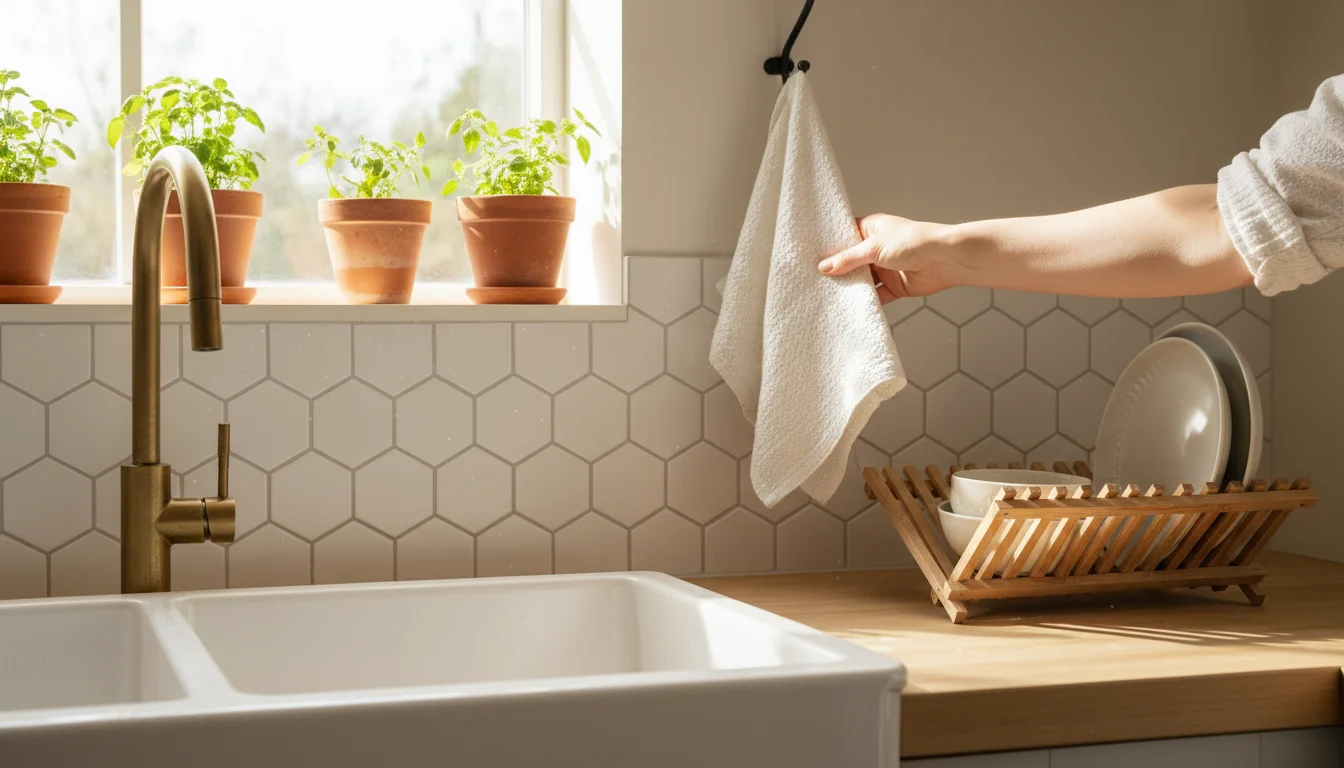
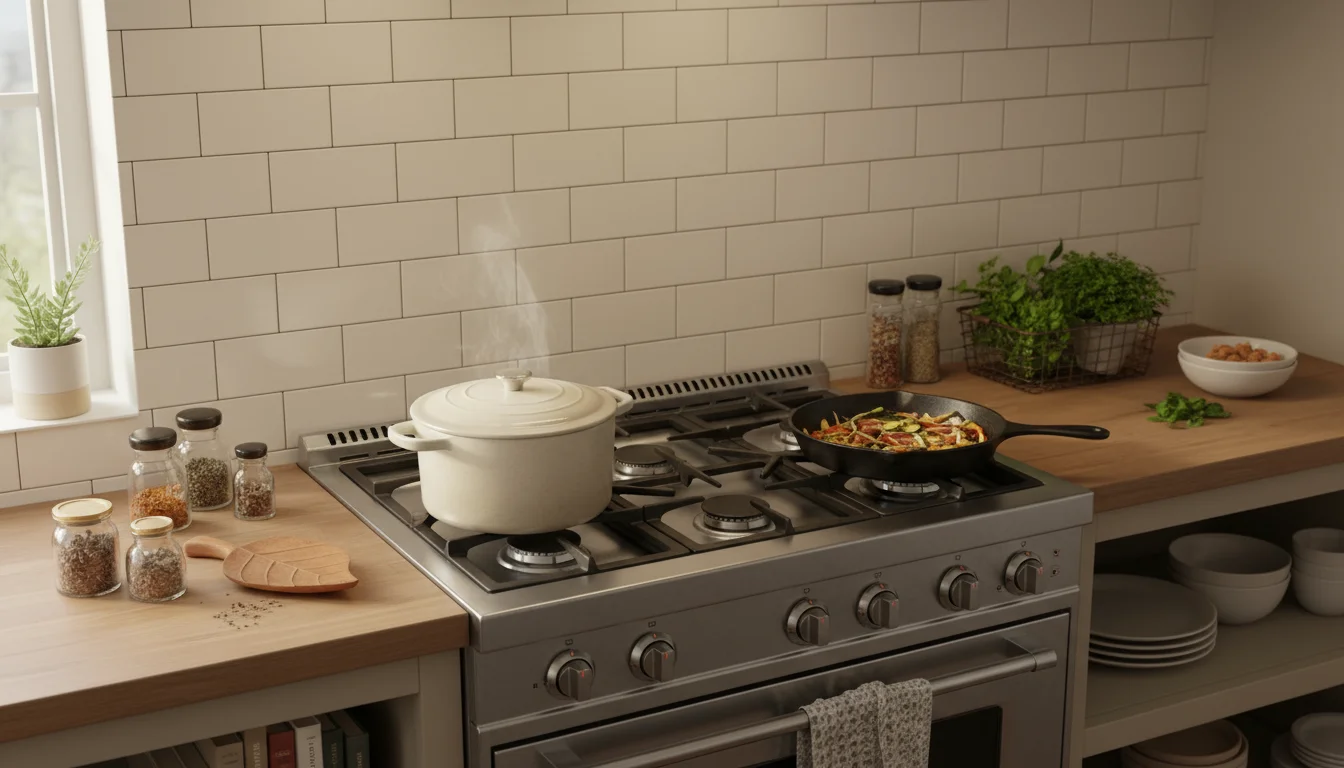
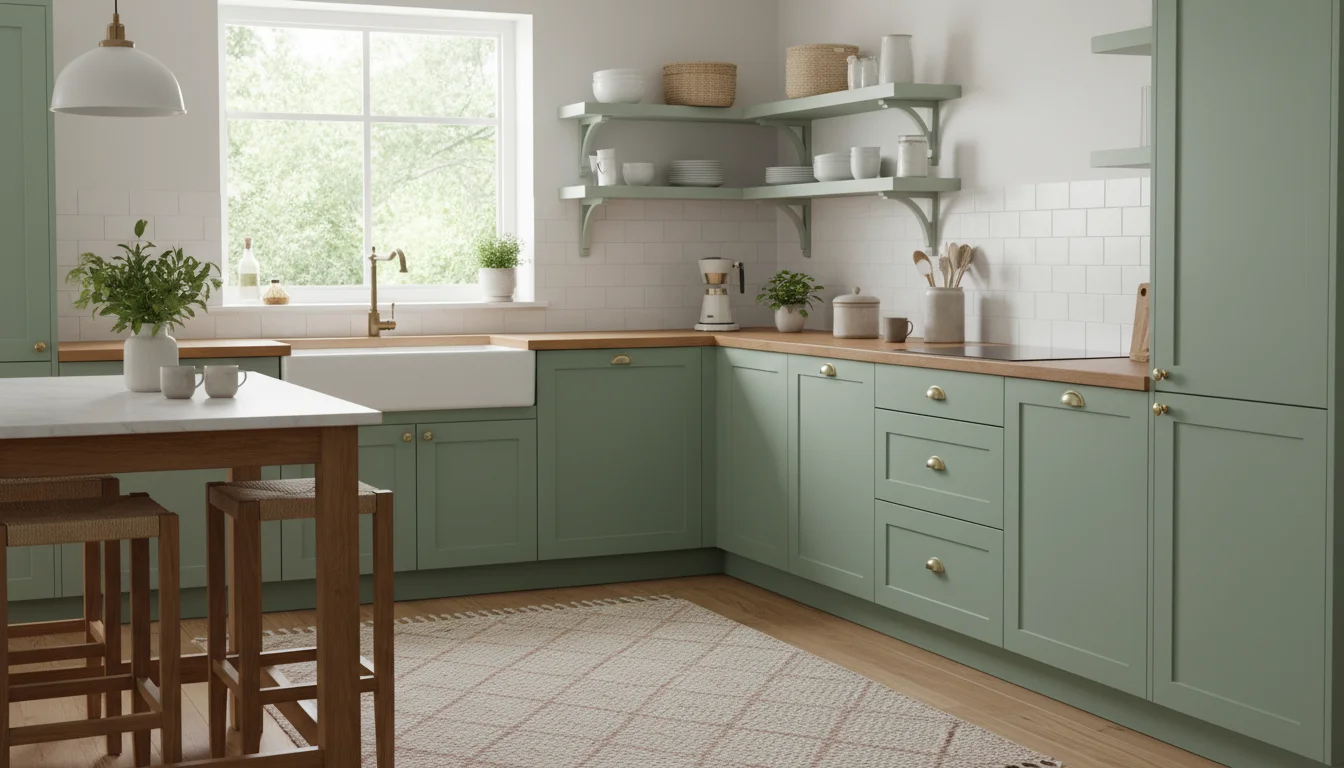
Kitchen Backsplashes
This is arguably the most popular application for peel and stick tile. A dull, painted kitchen wall transforms instantly with a new backsplash. You can choose from classic subway tile designs, modern geometric patterns, or realistic stone looks. The temporary nature allows you to update your kitchen’s style without investing in a permanent overhaul. It protects your walls from splashes and adds significant visual appeal. As Real Simple often highlights, a refreshed kitchen backsplash offers one of the highest returns on effort for renters.
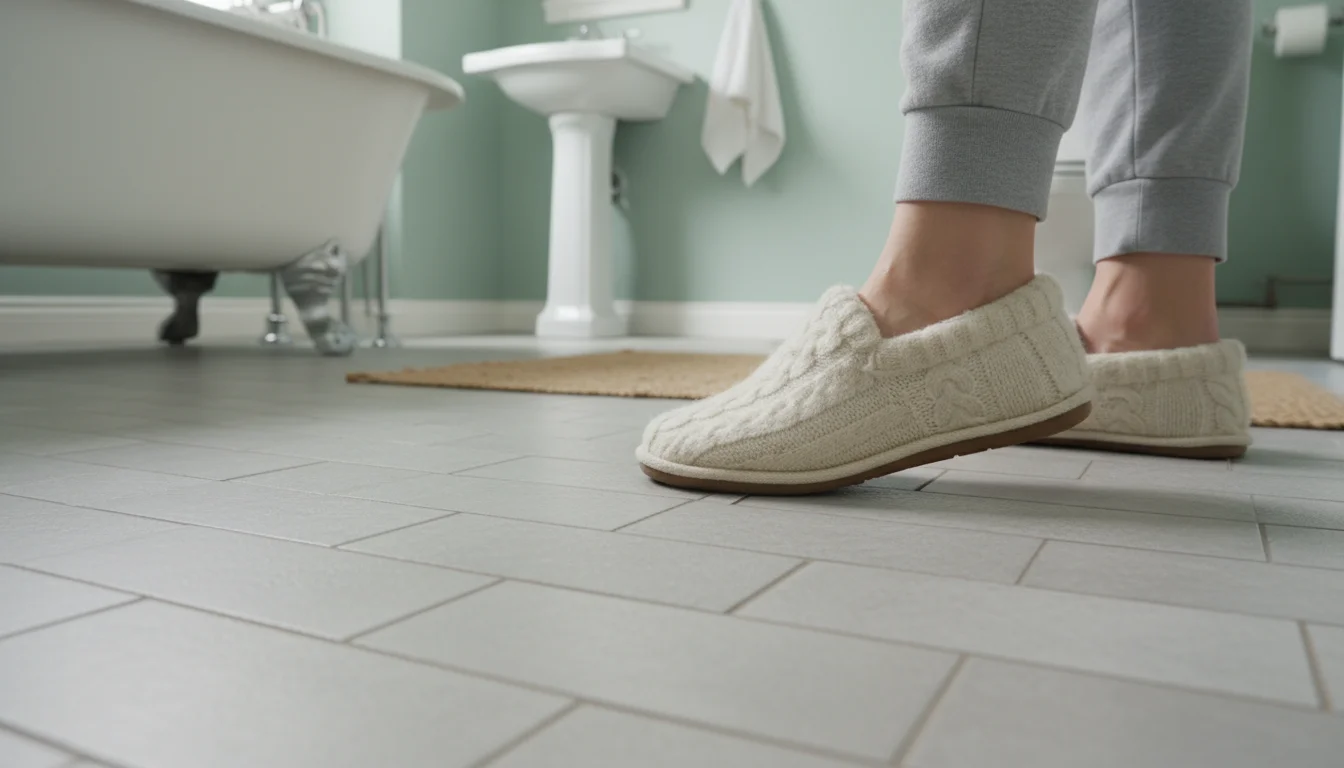
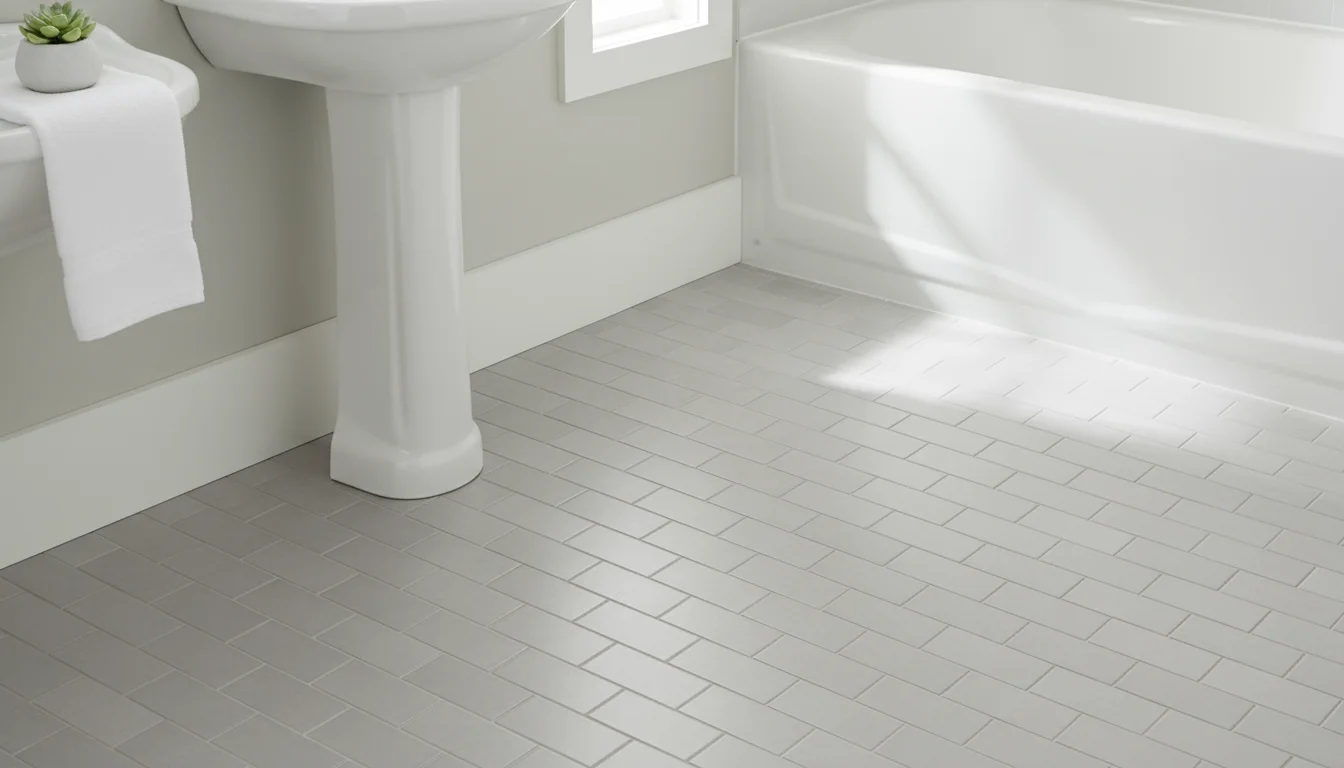
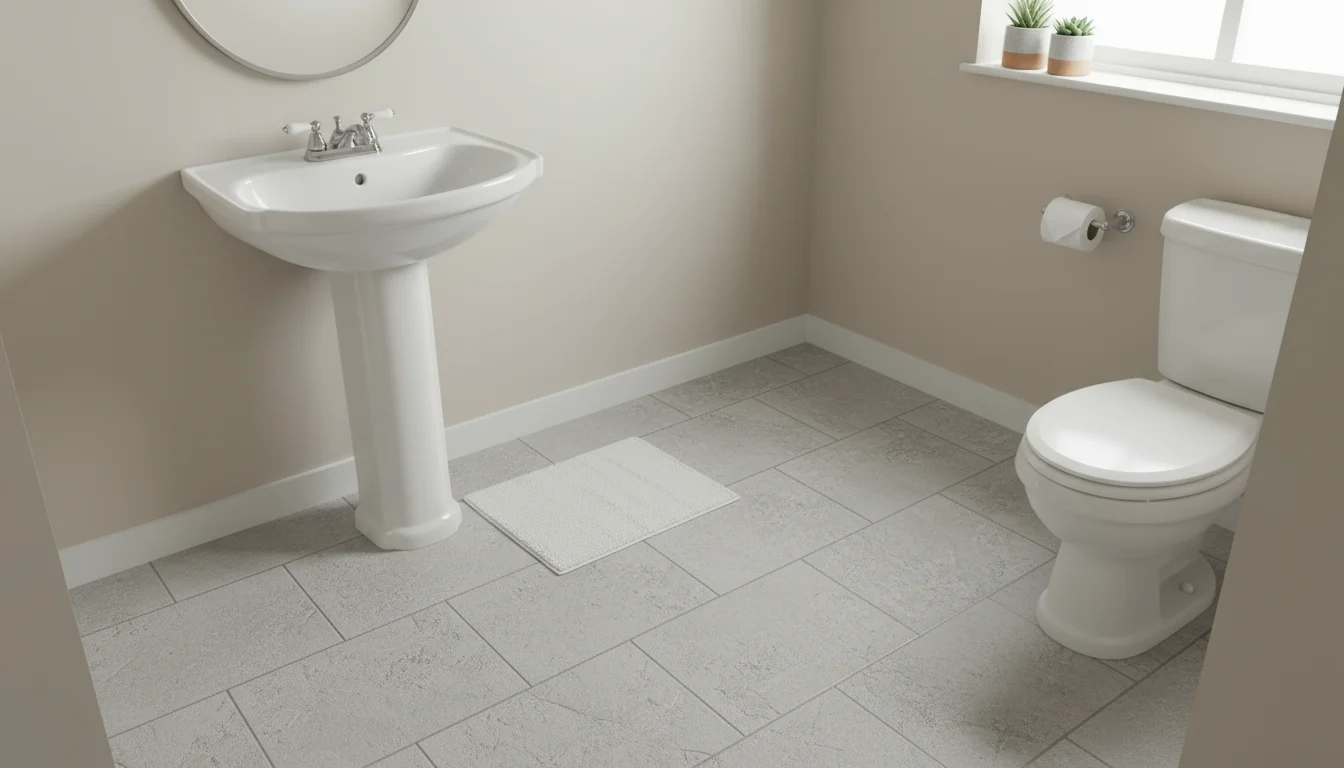
Bathroom Walls and Floors
You can give a dated bathroom a fresh look with water-resistant peel and stick tiles. Consider upgrading a single shower wall (outside the direct spray zone), a vanity backsplash, or even the floor. For floors, select durable vinyl options designed for high moisture and traffic. Ensure proper surface preparation in bathrooms due to humidity. This offers a cost-effective way to modernize a rental bathroom.
Accent Walls
Create a focal point in your living room, bedroom, or dining area with an accent wall. Peel and stick wallpaper often comes to mind, but tile offers unique textures and depth. A brick-look tile wall, a shiplap effect, or a metallic pattern can add significant character. This strategy allows you to define zones within open-concept spaces or simply add a touch of drama. It helps make your space feel personalized.
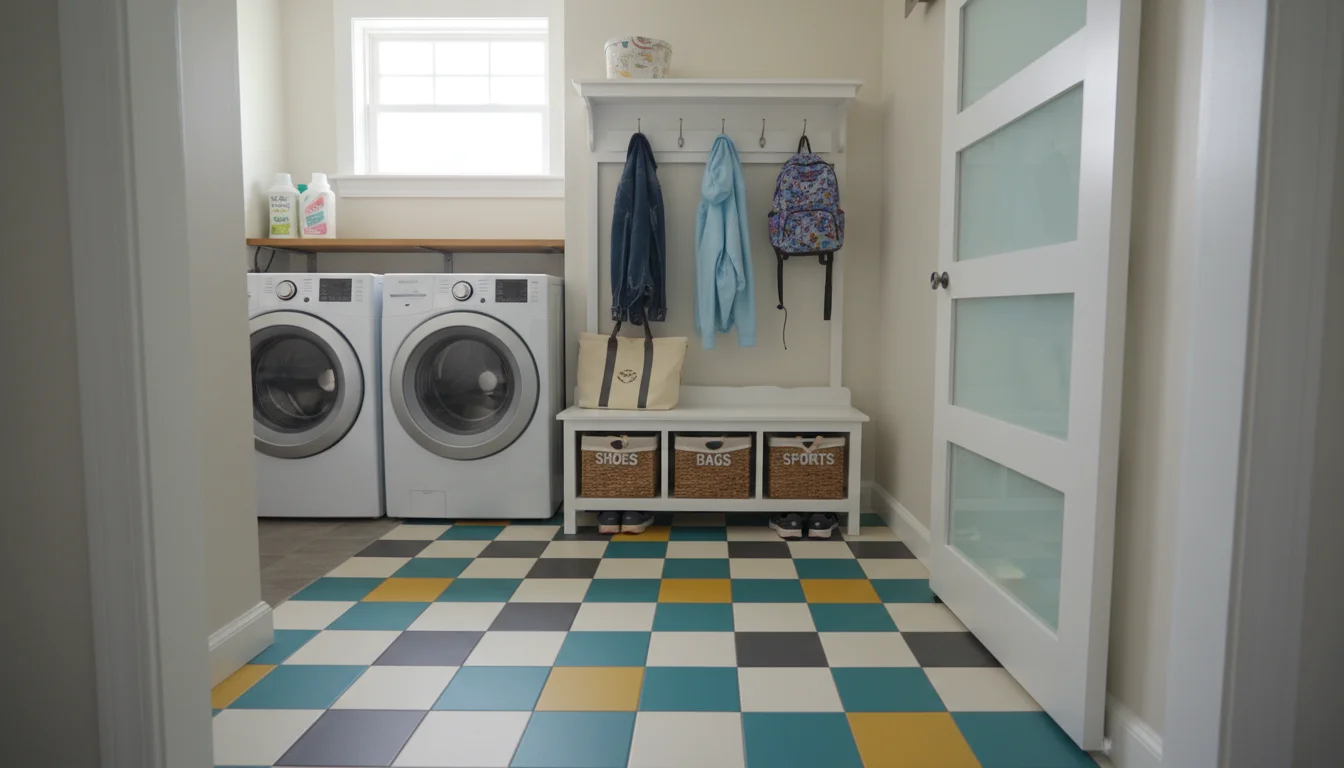
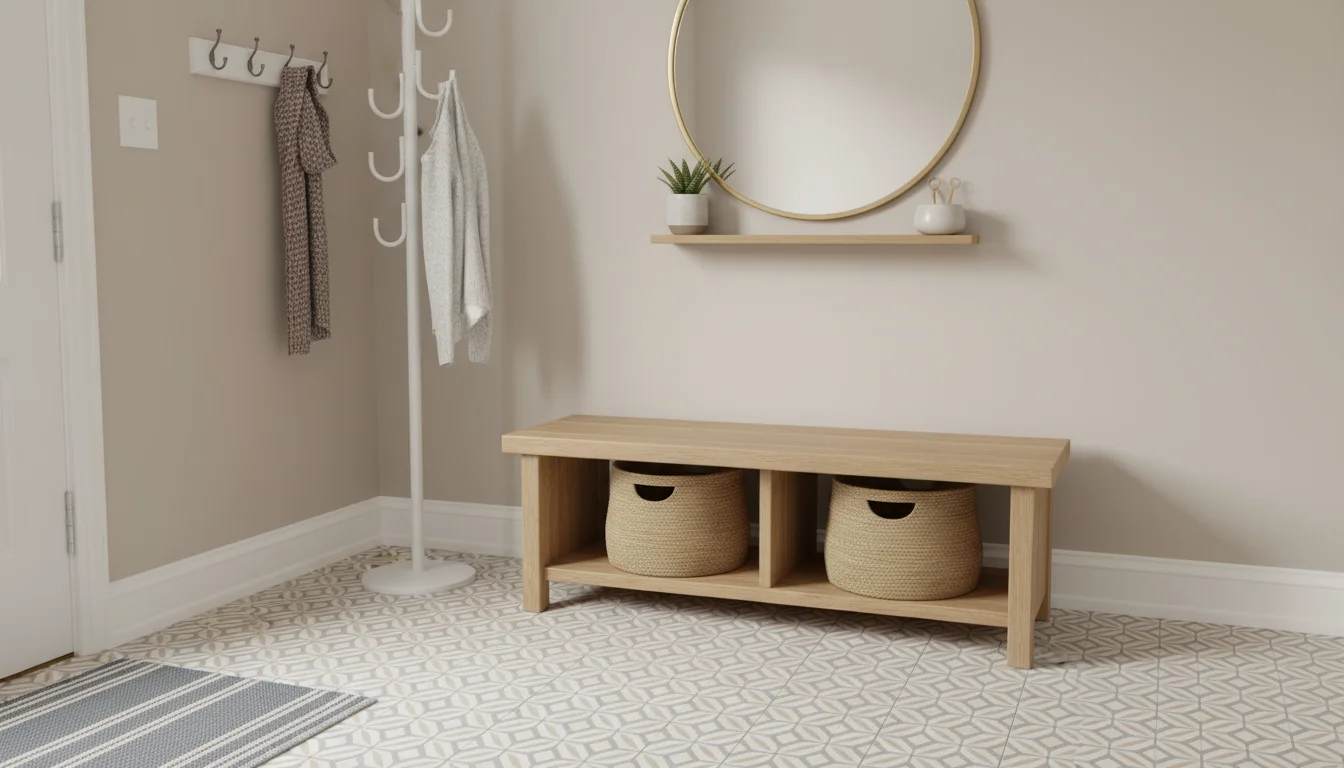
Laundry Rooms and Mudrooms
These utility spaces often lack personality. Peel and stick tile offers a practical and stylish solution for floors or walls. Choose durable, easy-to-clean options that can withstand spills and wear. A patterned floor can make these functional areas feel more inviting and organized. This quick upgrade enhances both the look and feel of these often-neglected areas.
Renters’ Dilemma: Floors or Walls?
While you can use temporary tile on both, consider the wear and tear. Floor tiles require higher durability and stronger adhesion to withstand foot traffic. Wall tiles, especially backsplashes, face less direct impact but benefit from heat and moisture resistance. Most products specify their suitability for walls or floors. Always prioritize specific recommendations from the manufacturer to ensure product longevity.
Maintaining and Removing Your Renter Friendly Tile
You chose peel and stick tile for its ease of use and temporary nature. Proper maintenance ensures your installation looks great throughout your tenancy, and correct removal guarantees you leave your rental damage-free. These simple practices safeguard your investment and your security deposit.
Easy Maintenance for Lasting Beauty
Most peel and stick tiles are remarkably easy to clean. For general maintenance, wipe them down with a damp cloth and mild soap. Avoid abrasive cleaners or harsh chemicals, which can damage the tile’s finish or weaken the adhesive. For floor tiles, regular sweeping and occasional damp mopping keep them looking fresh. Quickly wipe up spills to prevent staining or moisture penetration, especially around edges. Proper cleaning preserves the tile’s appearance and extends its lifespan. According to the CDC, regular cleaning with appropriate products helps maintain surface hygiene without causing damage.
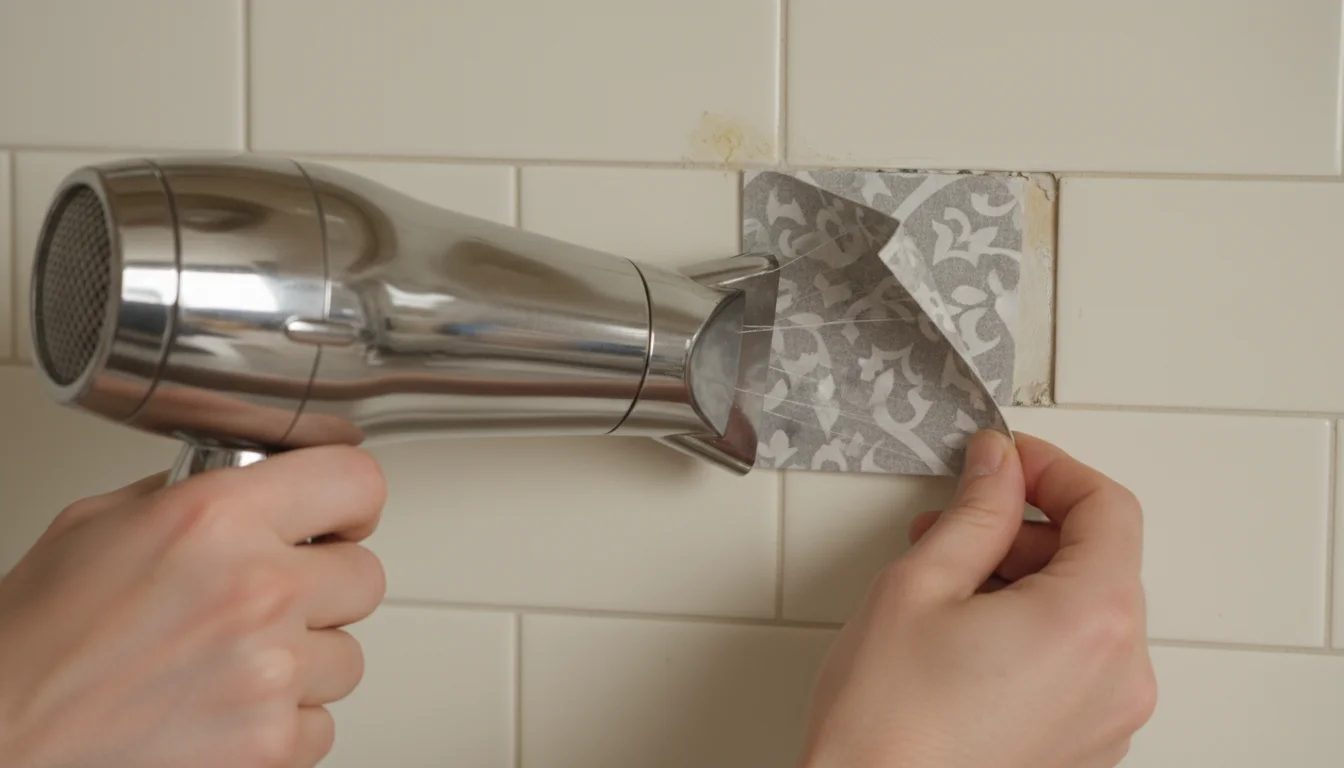
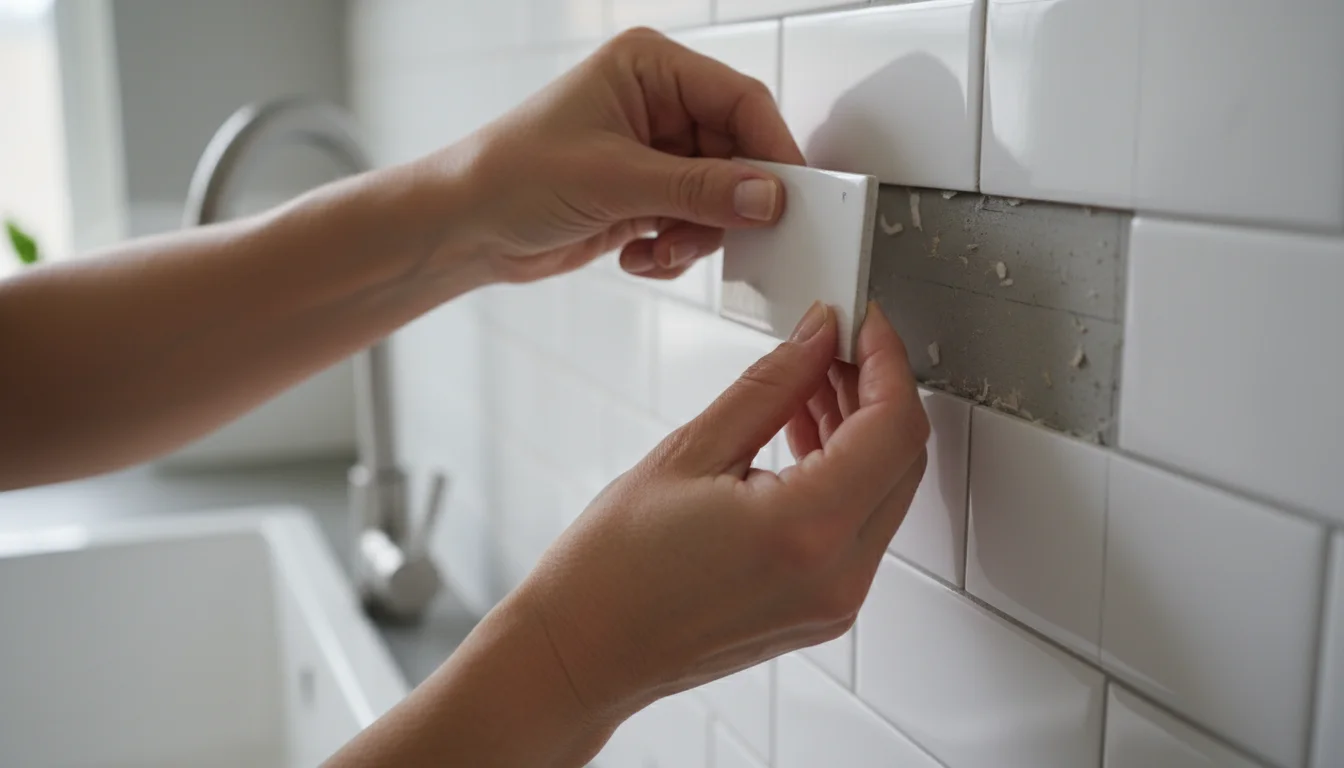
The Art of Damage-Free Removal
When it is time to move or change your decor, follow these steps for clean removal:
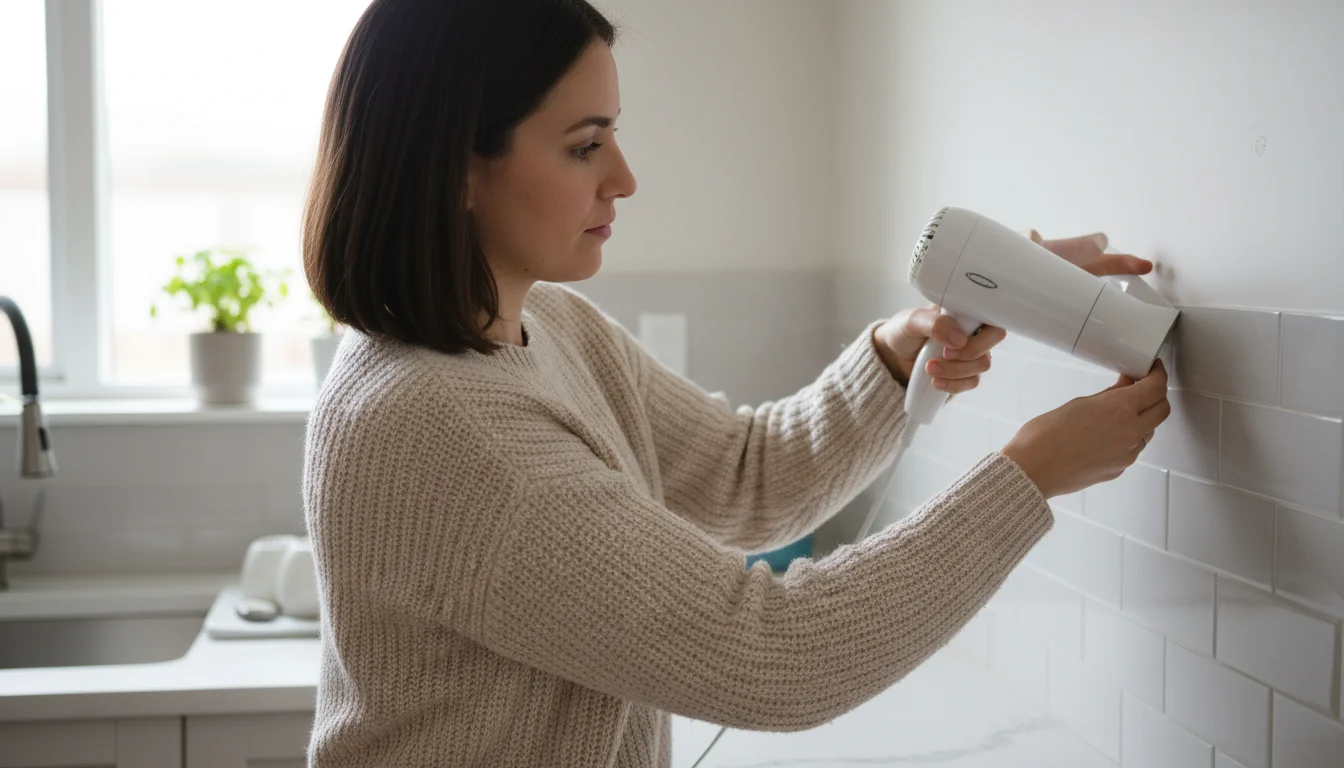
- Warm the Adhesive: Gently heat the tiles with a hairdryer set to a low or medium setting. The warmth softens the adhesive, making it more pliable and easier to release. Work on a small section at a time.
- Start at a Corner: Carefully lift a corner of the tile using your fingernail or a plastic scraper. Avoid sharp metal tools that could gouge the wall or floor.
- Peel Slowly and Evenly: Once you have a corner lifted, pull the tile away from the surface slowly and steadily. Pull at a shallow angle, keeping the tile close to the surface, rather than pulling straight out. This minimizes stress on the underlying wall or floor.
- Address Residue: Most quality renter friendly temporary tile leaves little to no residue. If you encounter any, gently wipe it with a soft cloth dampened with warm, soapy water or a citrus-based adhesive remover. Always test any remover in an inconspicuous spot first to ensure it does not damage your original surface.
Following these steps ensures a clean departure, protecting your security deposit. You can enjoy your custom space with peace of mind, knowing removal will be straightforward.
Troubleshooting Common Peel and Stick Tile Challenges
Even with careful planning and installation, you might encounter a few minor issues. Knowing how to troubleshoot these problems saves you time and frustration, ensuring your peel and stick tile project remains a success. Proactive solutions prevent small issues from becoming larger problems.

Tiles Not Sticking Properly
If tiles begin to lift or corners curl, poor surface preparation is often the culprit. The surface may have been dirty, textured, or damp. You can often remedy this by carefully lifting the problematic tile, cleaning the back of the tile and the wall surface, ensuring both are dry, and then reapplying with firm pressure. For persistent issues, a small amount of spray adhesive (ensure it is renter friendly and tested on an inconspicuous area) can reinforce the bond. According to Family Handyman, thorough cleaning and a perfectly smooth, dry surface are crucial for any adhesive product to perform as intended.
Misaligned Tiles
Slight misalignment happens, especially on longer runs. If you notice it early, you can often gently peel back the misaligned tile and reposition it. Work quickly, as the adhesive becomes stronger over time. For future tiles, use a level or a straightedge to draw guide lines on your surface. This ensures each tile starts perfectly straight, preventing a domino effect of crookedness. Precise measurement and careful placement minimize such issues.
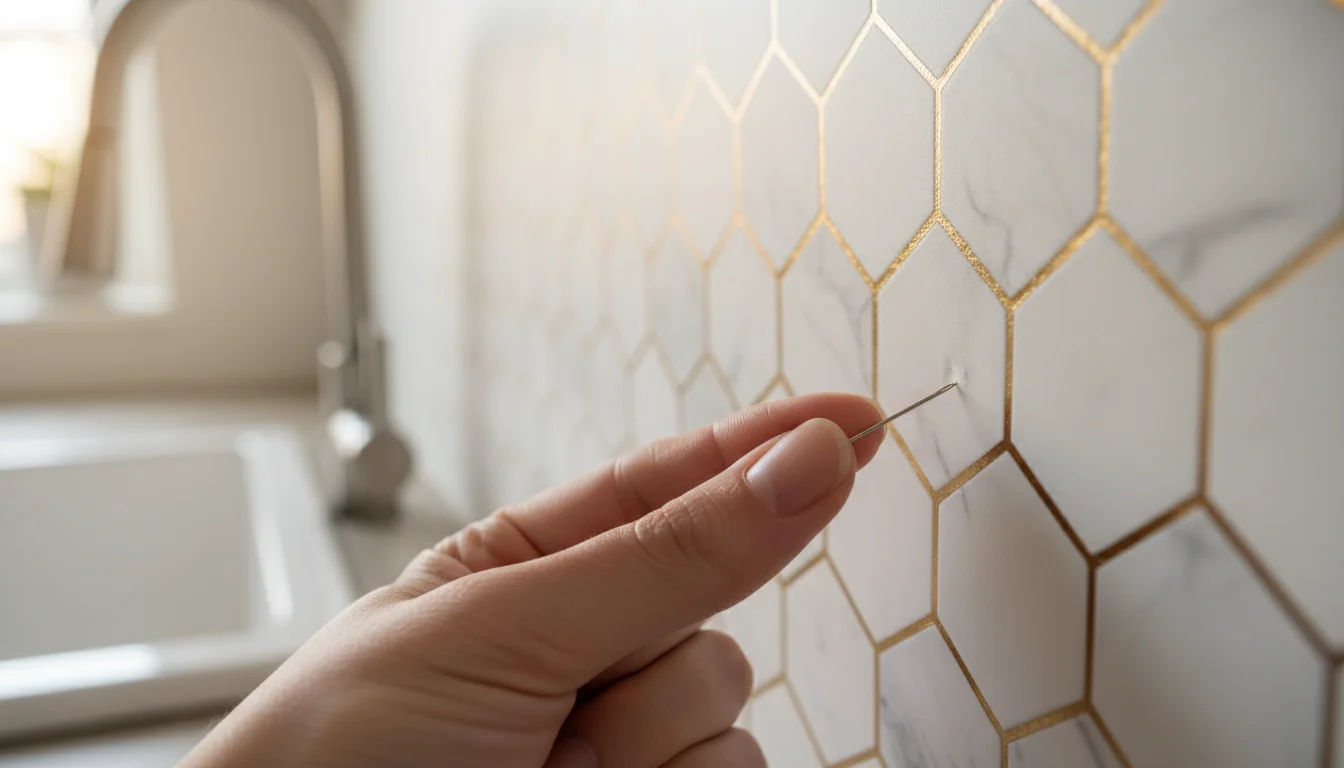
Bubbles or Air Pockets
Air trapped under the tile creates unsightly bubbles. These usually occur when you apply the tile too quickly or without adequate smoothing. If you spot a bubble, try gently pricking it with a fine needle. Then, press firmly on the bubble to release the air and adhere the tile flat. Using a smoothing tool from the center outwards during initial application prevents most bubbles. Thorough smoothing is key to a flawless finish.
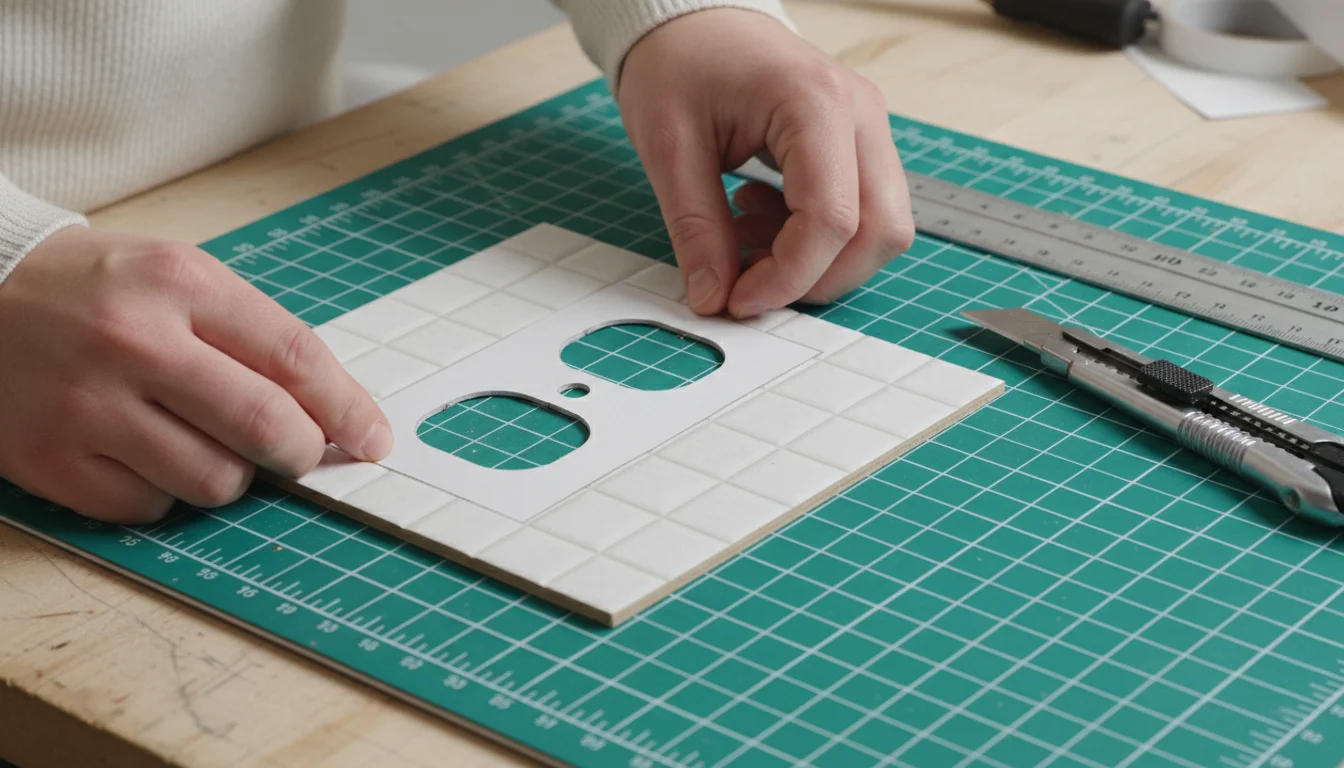
Difficulty Cutting Around Obstacles
Cutting around outlets, vents, or irregular shapes can be challenging. For outlets, remove the cover plate, apply the tile, then carefully cut out the opening using a utility knife. You can then replace the cover plate over the cut edges for a clean look. For complex shapes, create a paper template first. Place the paper over the obstacle, trace its outline, cut the template, and then transfer that shape to your tile. This approach ensures precise cuts around fixtures.
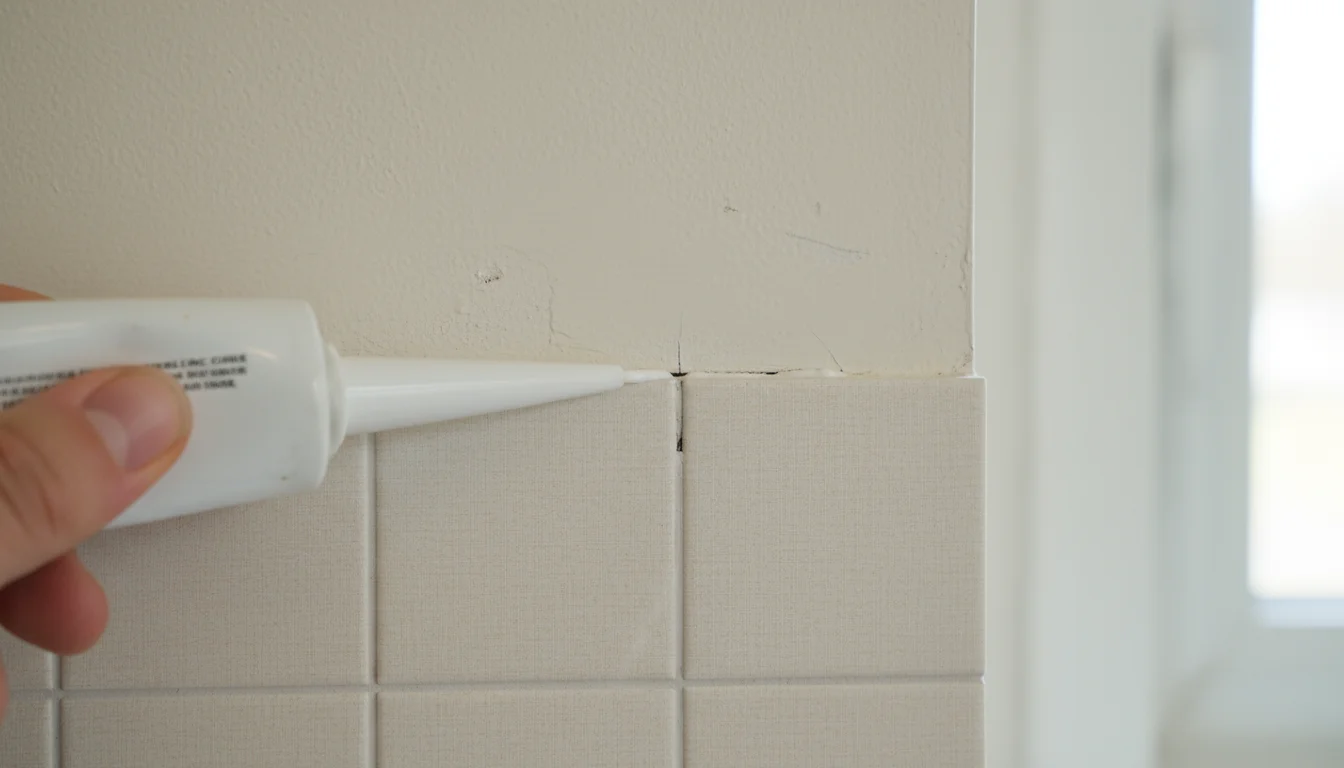
Gaps Between Tiles
Small gaps can sometimes appear, especially if walls are not perfectly plumb or tiles are cut unevenly. For tiny gaps, you can use a paintable caulk that matches your wall color or the tile’s grout line. For larger gaps, you may need to recut or replace a tile. Careful measurement and tight butting of tiles during installation minimizes gaps, ensuring a professional appearance. You want seamless transitions between each piece.
Frequently Asked Questions
What is the difference between peel and stick wallpaper and peel and stick tile?
Peel and stick wallpaper is typically a thin, flexible material, often vinyl, printed with a pattern. You apply it to walls like a large sticker. Peel and stick tile, conversely, usually has a thicker, more rigid base, often with a raised or textured surface, designed to mimic the look and feel of traditional tiles. Tiles are usually individual pieces, allowing for more intricate patterns and a more durable finish for areas like backsplashes or floors.
Can I install peel and stick tile in a shower?
Generally, you should avoid installing peel and stick tile directly inside a shower or in areas that receive constant, direct water spray. While many products are water-resistant, they are not typically waterproof enough to withstand continuous saturation over time, leading to adhesive failure and potential water damage. You can use them effectively on bathroom walls outside the shower enclosure or on backsplashes around sinks where splashes occur but constant soaking does not.
Will peel and stick tile damage my walls or floors when removed?
Reputable “renter friendly” peel and stick tiles are designed to remove cleanly without causing damage, particularly if you follow the recommended removal process, which often involves gentle heat. However, the condition of your underlying surface matters. If the paint is old, poorly adhered, or flaking, some paint may come off during removal. Always test a small, inconspicuous area first if you have concerns about your wall’s integrity. High-quality products minimize this risk significantly.
How long does peel and stick tile last?
The lifespan of peel and stick tile varies based on the product’s quality, installation area, and level of wear. High-quality vinyl floor tiles can last 5-10 years in low-traffic areas. Backsplash tiles, which experience less wear, often last even longer. Expect a minimum of 2-3 years of good performance for most well-installed products in appropriate environments. Proper maintenance significantly extends the life of your temporary tile.
Do I need to use grout with peel and stick tile?
No, you do not use traditional grout with peel and stick tile. Manufacturers design these tiles to be butted tightly against each other, creating a seamless or near-seamless look. Some styles incorporate faux grout lines directly into the tile’s design. If you desire a more traditional grouted appearance or need to seal gaps in a wet area, you can use a flexible, acrylic caulk. Ensure you choose a caulk that is removable if you want to maintain the renter friendly aspect.
For expert home organization guidance, visit
National Association of Professional Organizers,
Institute for Challenging Disorganization,
Consumer Reports — Home and
This Old House.
Disclaimer: This article is for informational purposes only and is not a substitute for professional advice. Consult professional organizers or specialists for personalized recommendations.


Leave a Reply