Your bathroom deserves a refresh, even if your budget feels tighter than a new shower curtain. Many people believe a significant transformation requires thousands of dollars, but that is simply not true. You can achieve a revitalized, functional, and beautiful bathroom for $200 or less, embracing smart choices and a bit of DIY spirit. This guide empowers you to tackle a budget bathroom makeover, focusing on practical upgrades that make a real difference.
We understand your busy schedule and budget constraints. This article delivers actionable steps and realistic solutions to help you transform your space without breaking the bank. Get ready to create a bathroom you genuinely enjoy, proving that style and organization do not require a lavish spend.
Why a Budget Bathroom Makeover?
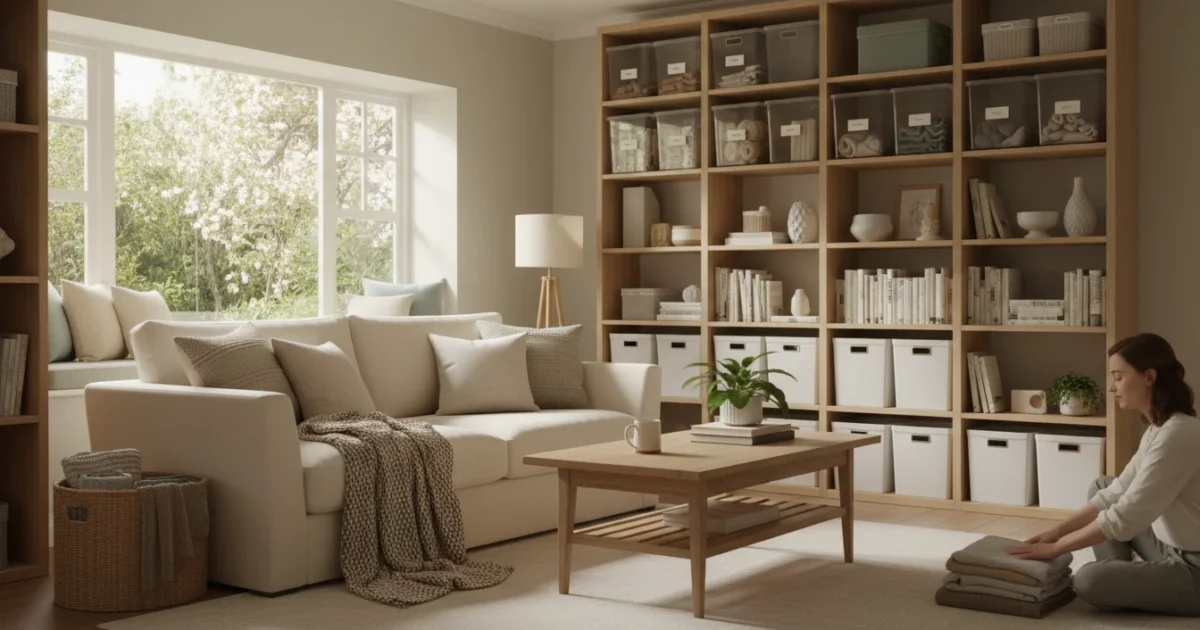
A functional and aesthetically pleasing bathroom significantly impacts your daily routine and overall home comfort. Imagine starting your day in a bright, organized space that feels clean and inviting. This small change makes a big difference in your mood and efficiency. Many people underestimate the power of an updated bathroom, viewing it as a secondary space. However, it is one of the most frequently used rooms in your home, making its comfort and utility paramount.
A budget bathroom makeover focuses on maximizing impact with minimal expenditure. You prioritize areas needing the most attention, ensuring every dollar creates value. This approach avoids costly renovations, instead emphasizing smart, achievable changes. Whether you are a homeowner looking to increase enjoyment or a renter wanting to personalize your space, a budget-conscious transformation offers an accessible path to a better bathroom. You gain a sense of accomplishment by improving your environment through your own efforts, and you also save money. According to Real Simple, Organizing, small, consistent organizational efforts, even on a tight budget, can significantly improve daily living and reduce stress.
Setting Your $200 Budget Strategy
Success in any budget project hinges on meticulous planning. For your bathroom makeover, establishing a clear strategy for your $200 limit is non-negotiable. This prevents overspending and ensures you allocate funds to areas that deliver the most visual and functional improvements.
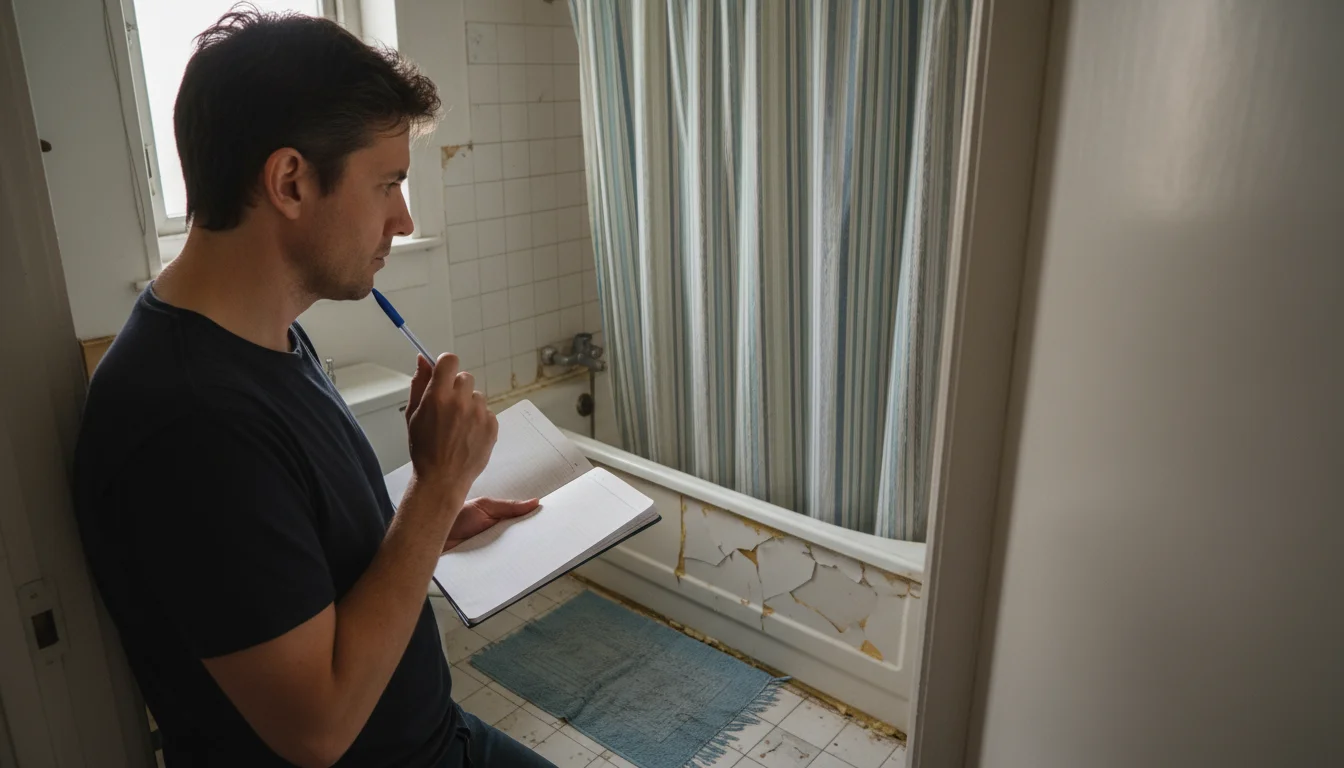
Step 1: Assess Your Current Bathroom
Before you spend a single dollar, take an honest look at your bathroom. Identify what bothers you most. Is it the outdated paint color, the overflowing cabinets, the dingy shower curtain, or the lack of cohesive style? Make a list of everything you want to change or improve.
- Functionality: What does not work well? (e.g., poor lighting, insufficient storage).
- Aesthetics: What looks dated or unappealing? (e.g., wall color, old hardware, stained grout).
- Cleanliness: What areas perpetually look dirty or grimy?
Prioritize these items. Focus on two to three key areas that will yield the biggest return on your investment of time and money. For instance, fresh paint and new textiles often provide a dramatic visual upgrade for a minimal cost.

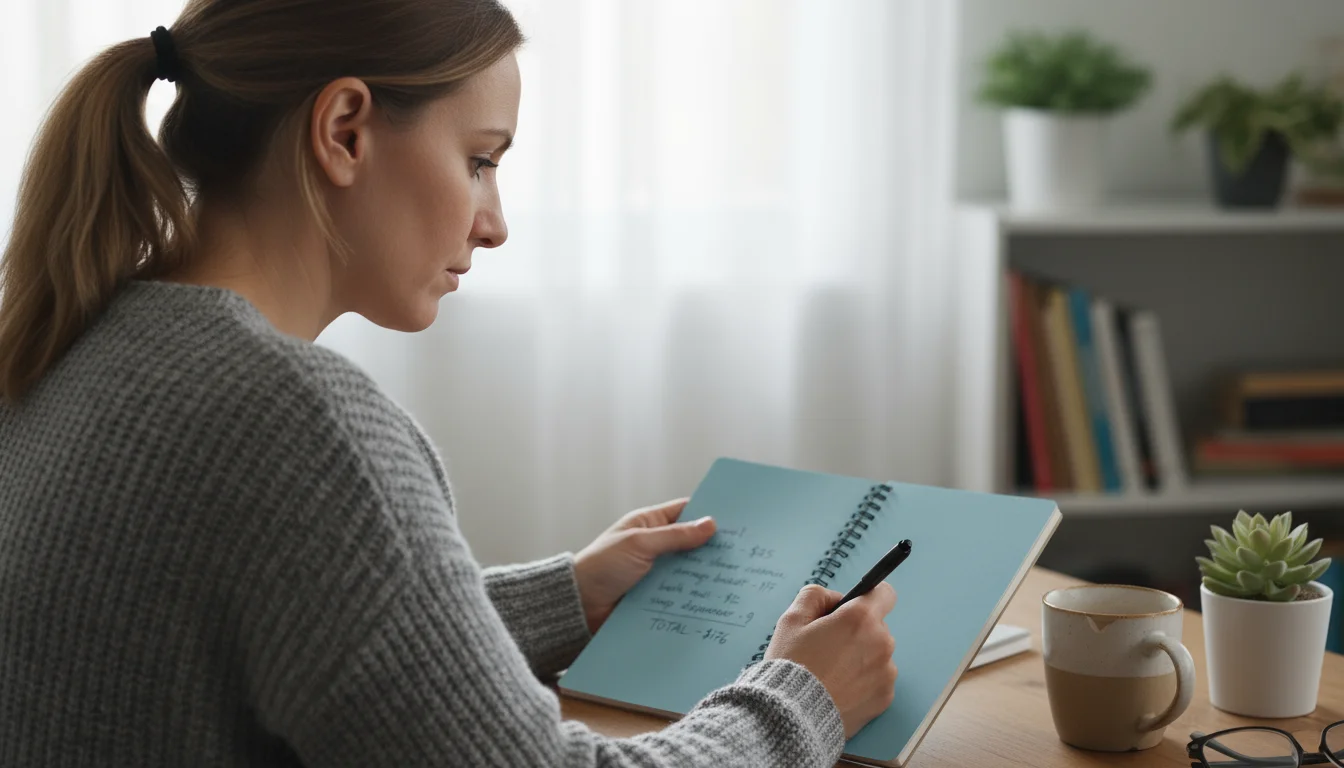
Step 2: Create a Detailed Spending Plan
Once you have your prioritized list, research the costs associated with each potential change. This involves checking prices online and at local discount stores or hardware outlets. Be specific. Do not just write “paint” but “1 gallon of washable bathroom paint.”
Here is a sample budget breakdown to guide your planning:
| Item | Estimated Cost Range ($) | Your Allotment ($) |
|---|---|---|
| Paint (1 gallon, primer if needed) | 30-50 | |
| New shower curtain & liner | 15-30 | |
| Bath mats/rugs | 10-25 | |
| Hand towels | 10-20 | |
| Cabinet/drawer pulls (small set) | 20-40 | |
| Lighting fixture (budget-friendly) | 30-60 | |
| Small storage containers/baskets | 15-30 | |
| Mirror (thrifted or simple) | 0-30 | |
| Accessories (plant, soap dispenser) | 10-25 | |
| Total Target Budget: | 200 |
Fill in the “Your Allotment” column as you make decisions. Stick to these numbers rigorously. Look for sales, use coupons, and consider generic brands to stay within your $200 limit. Remember, this is a budget bathroom makeover, so every dollar counts.
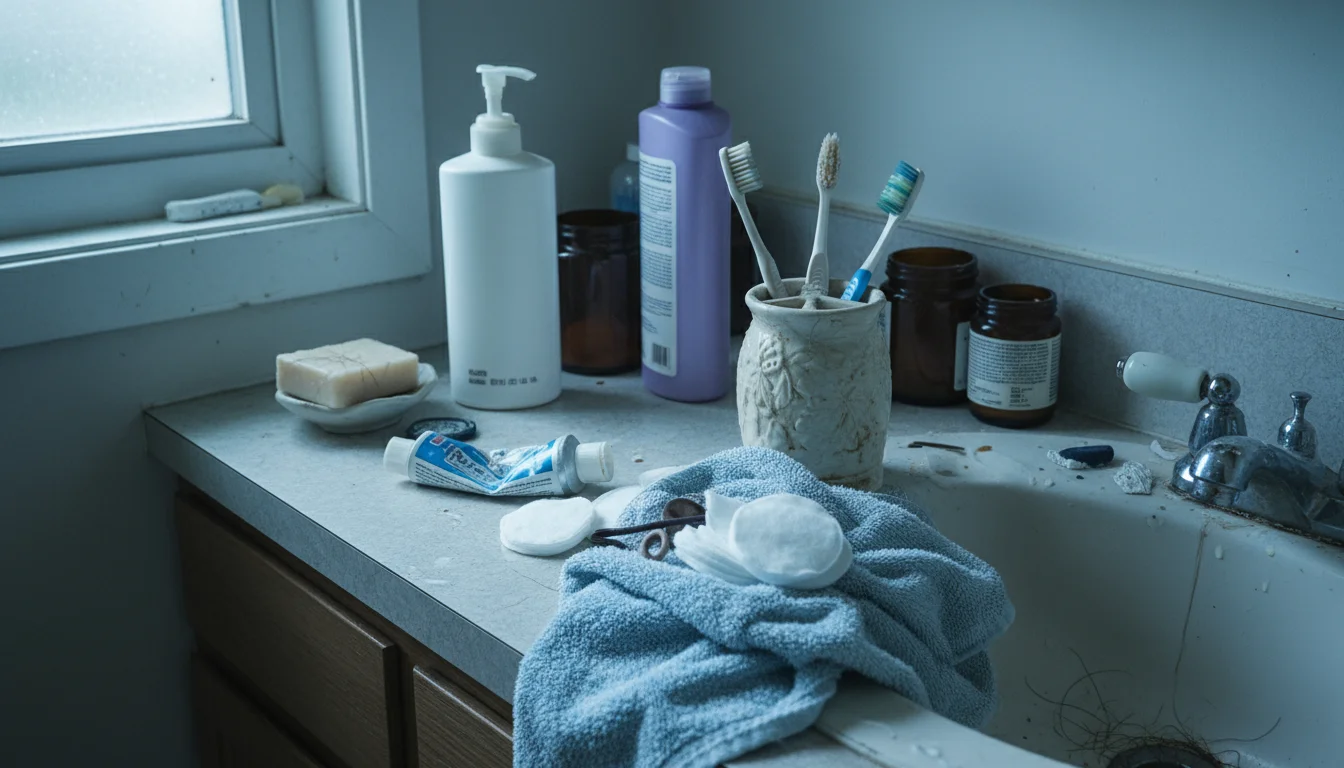
Declutter and Deep Clean Your Bathroom
No amount of new paint or accessories can disguise a cluttered, dirty bathroom. This foundational step costs you nothing but time and effort, yet it delivers the most dramatic initial impact for your budget bathroom. Consider this the zero-cost, high-return phase of your diy bathroom project.
Phase 1: The Declutter
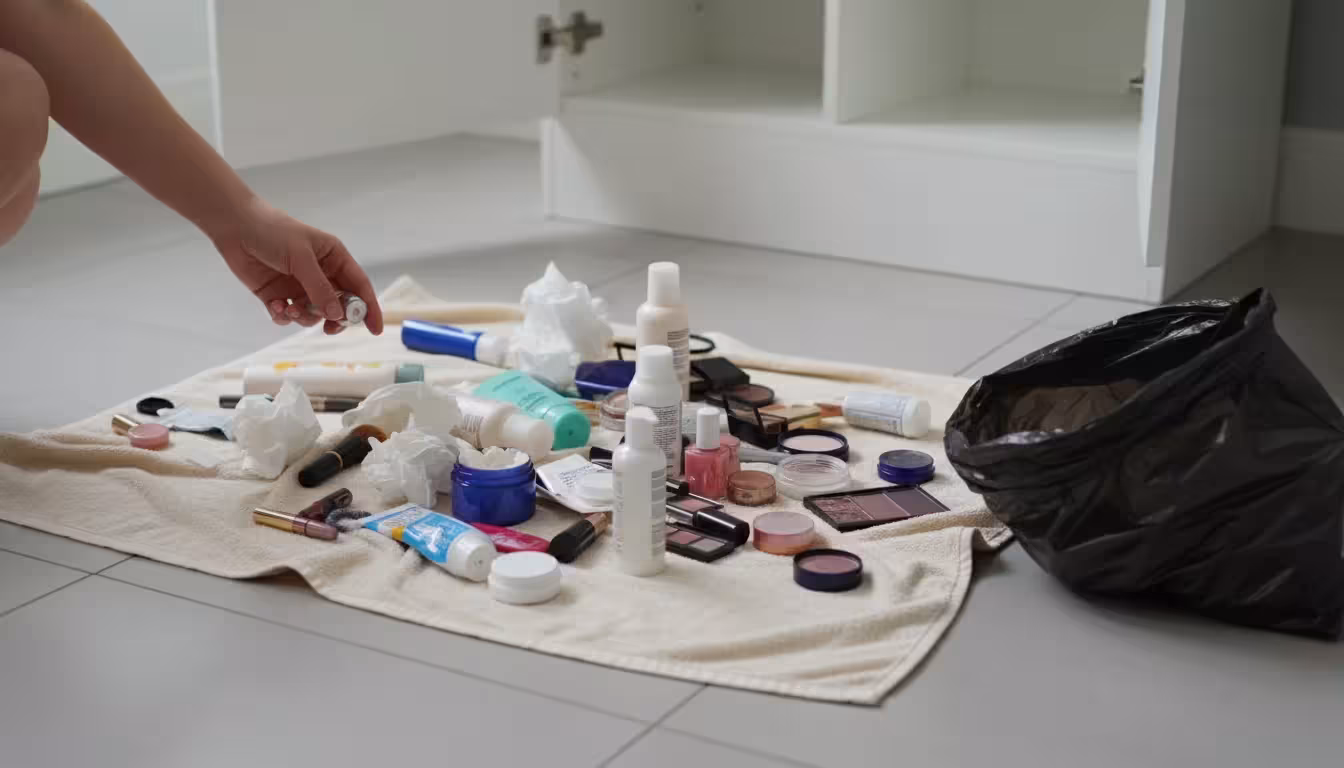
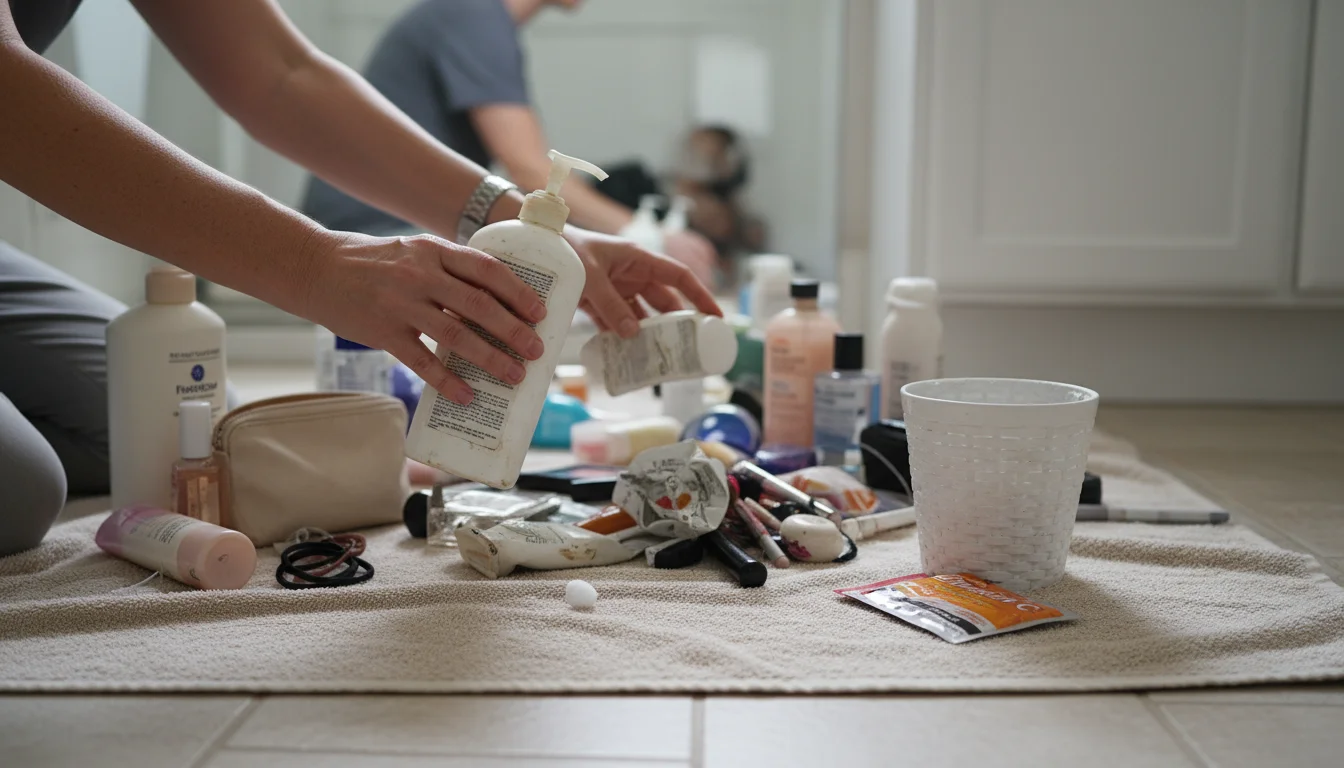
Empty everything from your cabinets, drawers, shower caddy, and countertop. Place similar items together on a large towel on your floor. As noted by experts at National Association of Professional Organizers, category-based decluttering ensures you see everything you own and make informed decisions.
- Sort into Categories:
- Keep: Items you use regularly and are still good.
- Donate/Recycle: Unopened, unused items, or empty containers that can be recycled.
- Toss: Expired products, nearly empty bottles, broken items, old makeup, dried-up nail polish.
- Be Ruthless: If you have not used a product in six months, if it is expired, or if you have multiple duplicates, it needs to go. That half-empty bottle of lotion from last year? Toss it. The three nearly-identical hairbrushes? Keep your favorite and toss the rest.
- Relocate: Items that do not belong in the bathroom (e.g., office supplies, tools) immediately move to their proper home. Your bathroom is for bathroom-specific items.
Phase 2: The Deep Clean
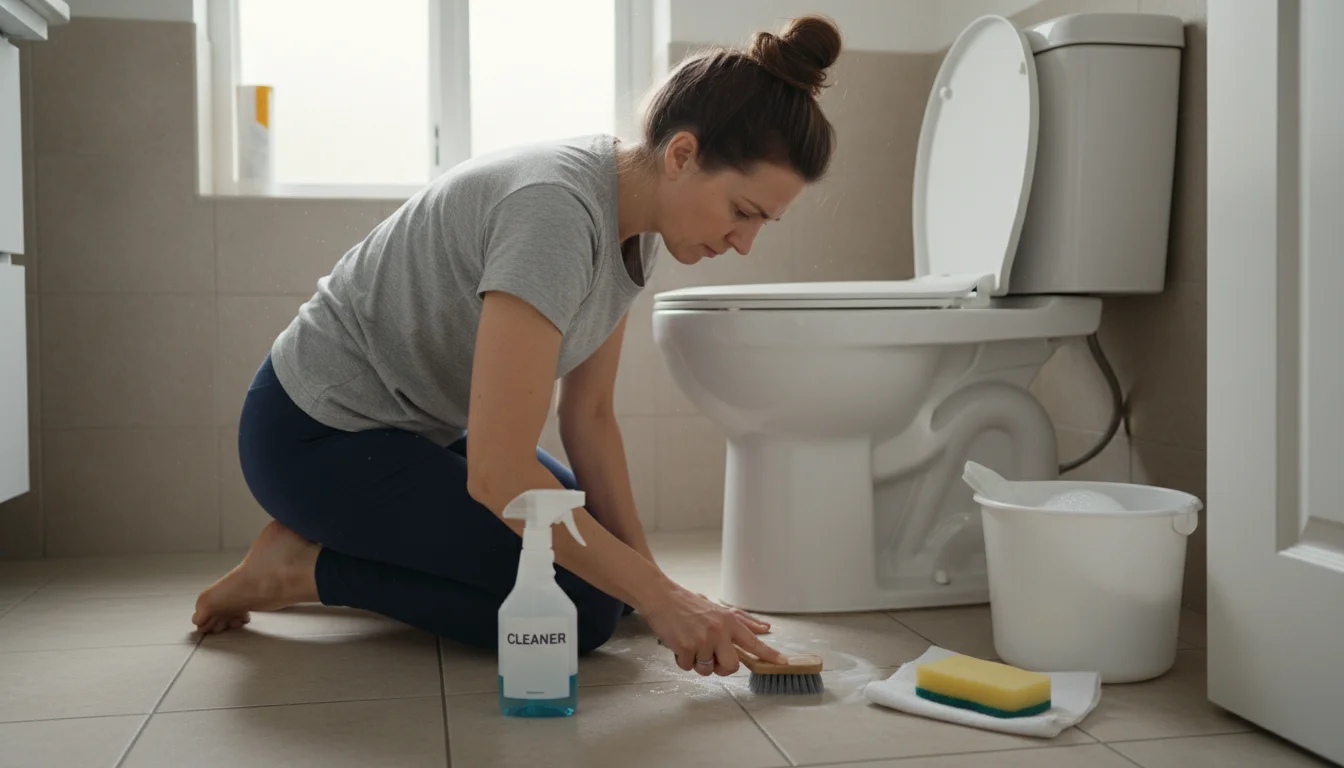
Now that surfaces are clear, a thorough cleaning is in order. This refreshes the space, eliminates odors, and reveals the true potential of your existing fixtures. For optimal hygiene, the CDC recommends regular cleaning and disinfecting of high-touch surfaces.
- Tackle the Tub/Shower: Use a good cleaner and a scrub brush to remove soap scum, mildew, and grime. Pay attention to grout lines. If grout is discolored, a simple grout pen or bleach solution can work wonders.
- Scrub the Toilet: Clean inside and out, including the base.
- Shine the Sink and Faucet: Remove mineral deposits and polish fixtures for a sparkling finish.
- Wipe Down Cabinets and Drawers: Clean interior and exterior surfaces.
- Clean the Mirror: Use a streak-free glass cleaner.
- Wash Walls and Baseboards: A damp cloth with a mild all-purpose cleaner removes dust and grime buildup.
- Mop the Floor: Pay extra attention to corners and edges.
- Clean Vents: Dust and vacuum exhaust fan covers.
Completing these steps gives you a clean slate, making the subsequent makeover steps much more impactful. You will feel a renewed sense of calm just from this initial declutter and deep clean, proving a budget bathroom project starts with what you already have.
Easy DIY Updates for Big Impact
This is where your budget bathroom makeover truly takes shape. Focus on high-visibility changes that offer a significant visual return for a small investment. These DIY projects are generally manageable for a beginner and will transform your space.
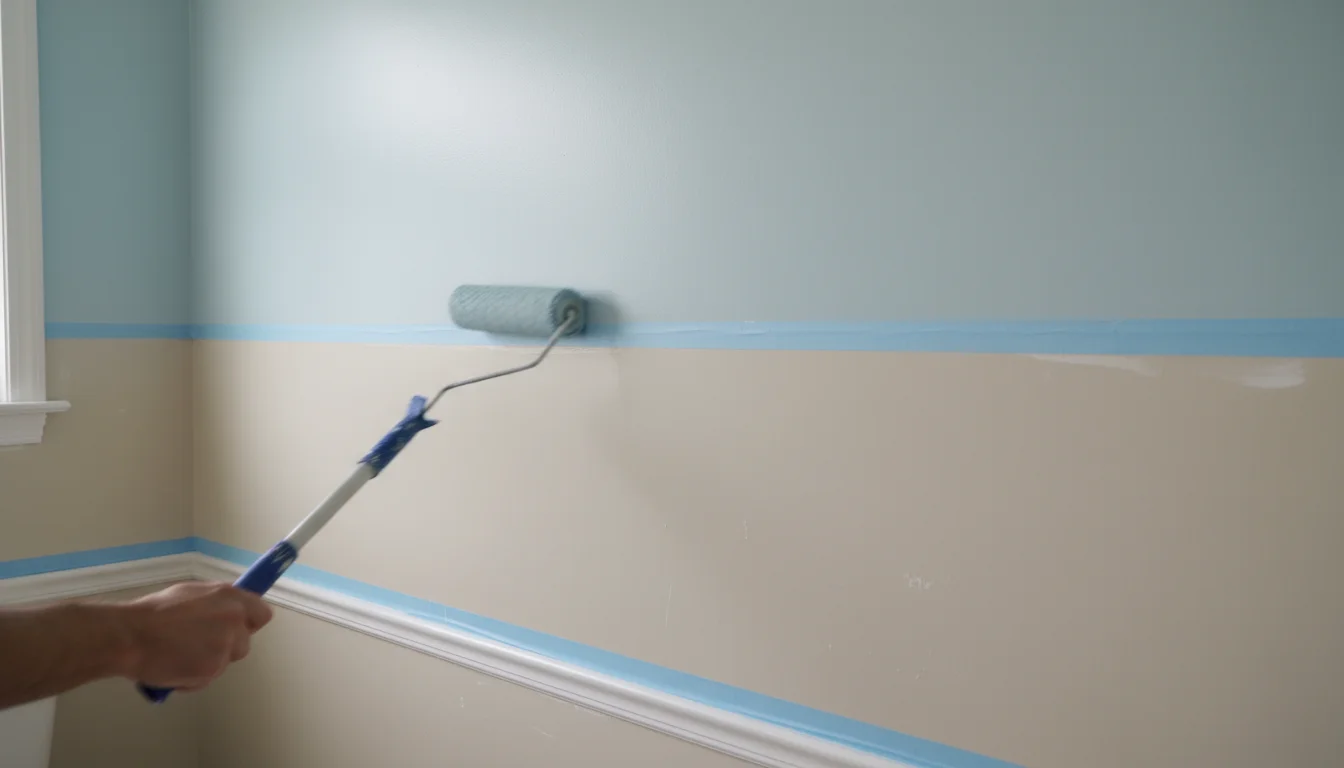
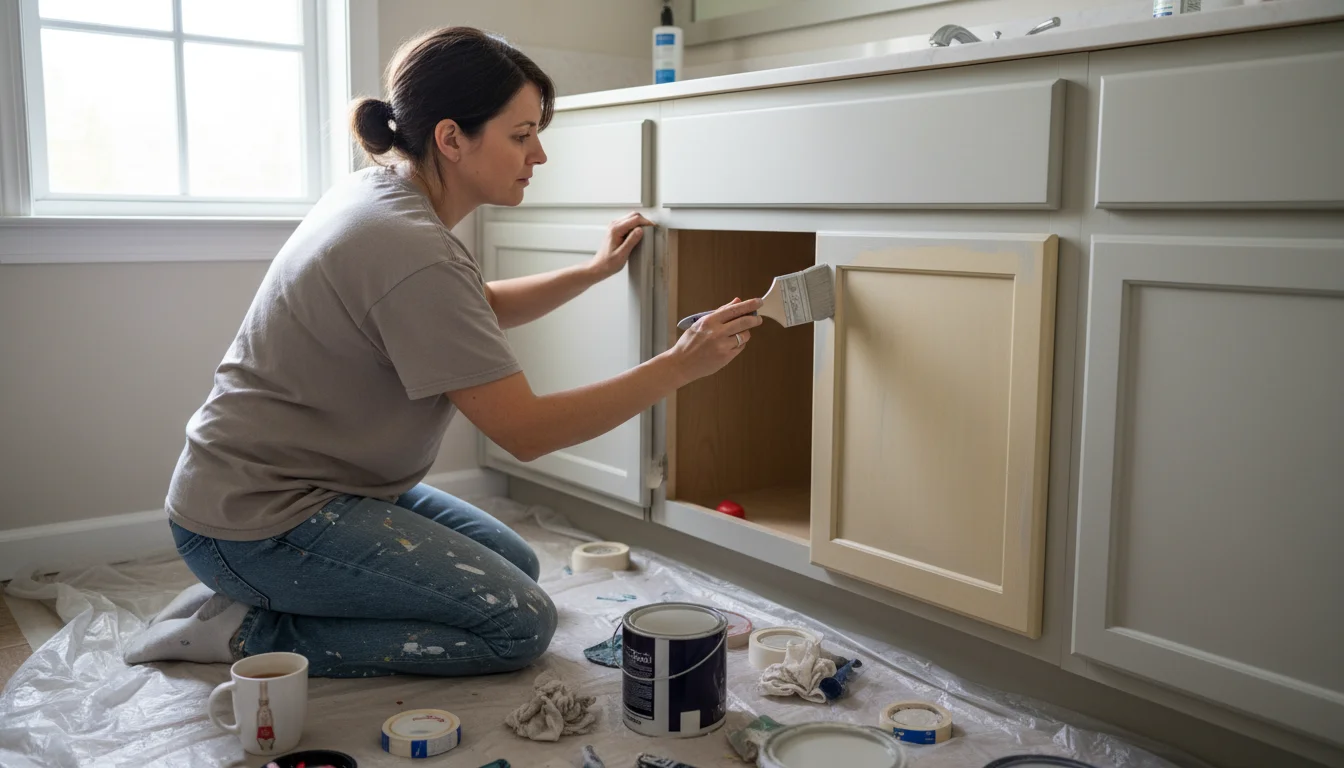
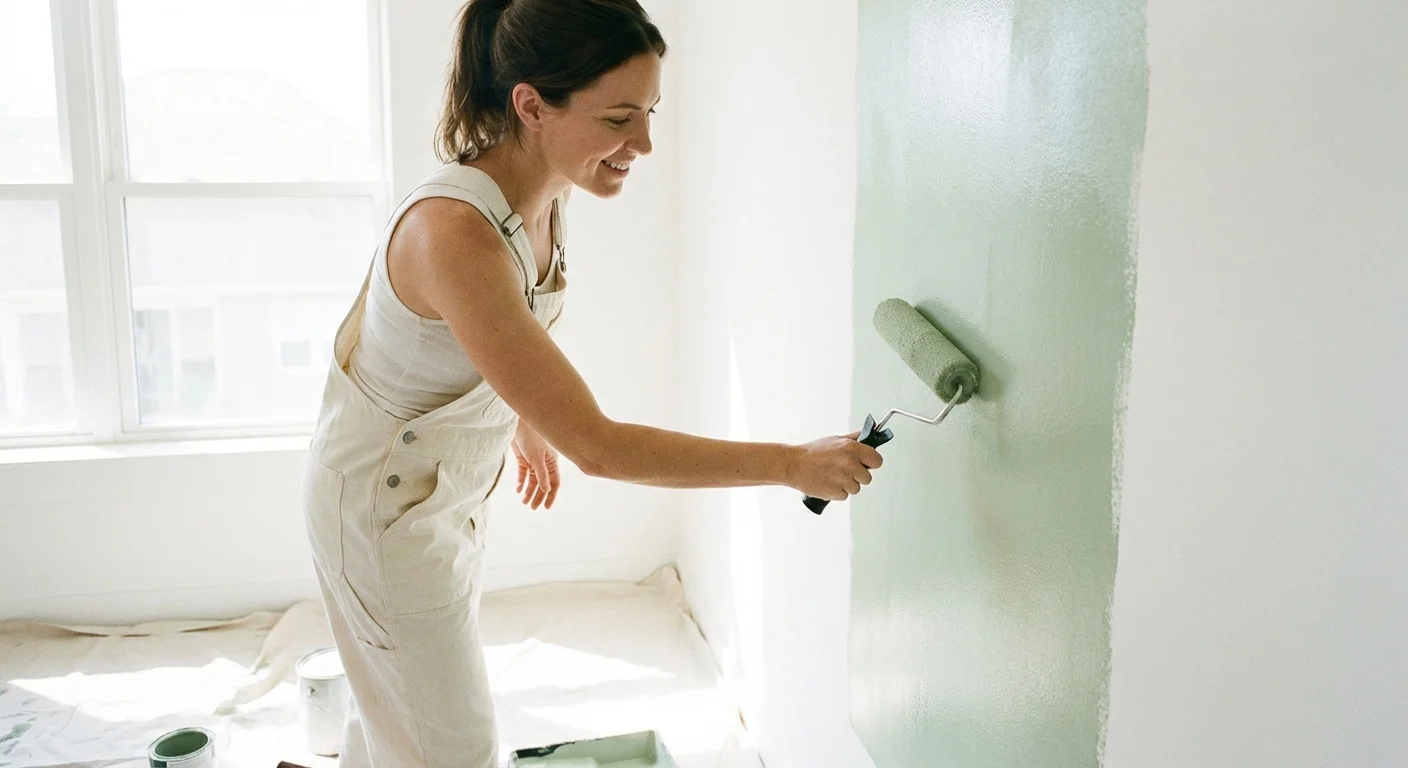
1. Paint Your Walls: The Ultimate Game Changer (Budget: $30-50)
Nothing revamps a room faster or more affordably than a fresh coat of paint. Choose a light, bright color to make a small bathroom feel larger and more airy. Consider soft grays, calming blues, or crisp whites. Make sure to use paint specifically designed for bathrooms, which offers mildew resistance.
How to:
- Clean Walls: Wipe down walls with a damp cloth to remove any dust or grime.
- Tape Off: Use painter’s tape around trim, fixtures, and the ceiling line.
- Protect Surfaces: Lay down drop cloths to protect your floor and fixtures.
- Apply Primer (if needed): If changing a dark color or painting over glossy surfaces, a coat of primer ensures better adhesion and true color.
- Paint: Apply two thin coats of paint, allowing ample drying time between coats.
Consider a visual showing a step-by-step guide for painting a small bathroom wall.
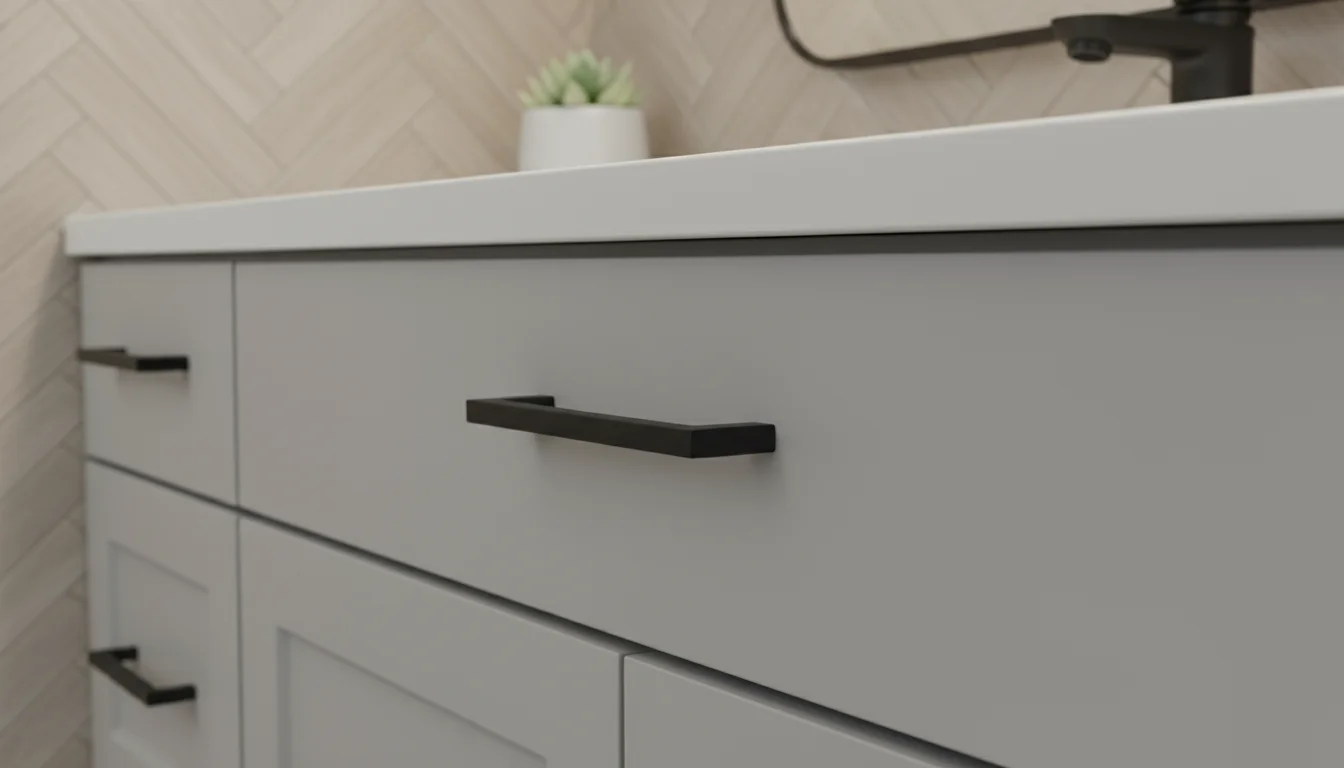
2. Update Hardware: Small Details, Big Difference (Budget: $20-40)
Outdated cabinet pulls, drawer knobs, or even a toilet paper holder can drag down the aesthetic of your bathroom. Replacing these with modern, stylish alternatives instantly elevates the space. Look for budget-friendly options at hardware stores, online retailers, or even discount home goods stores.
What to Replace:
- Cabinet knobs or pulls
- Drawer handles
- Towel bar or ring
- Toilet paper holder
Tip: Measure existing hardware’s hole spacing before purchasing new items to ensure compatibility.
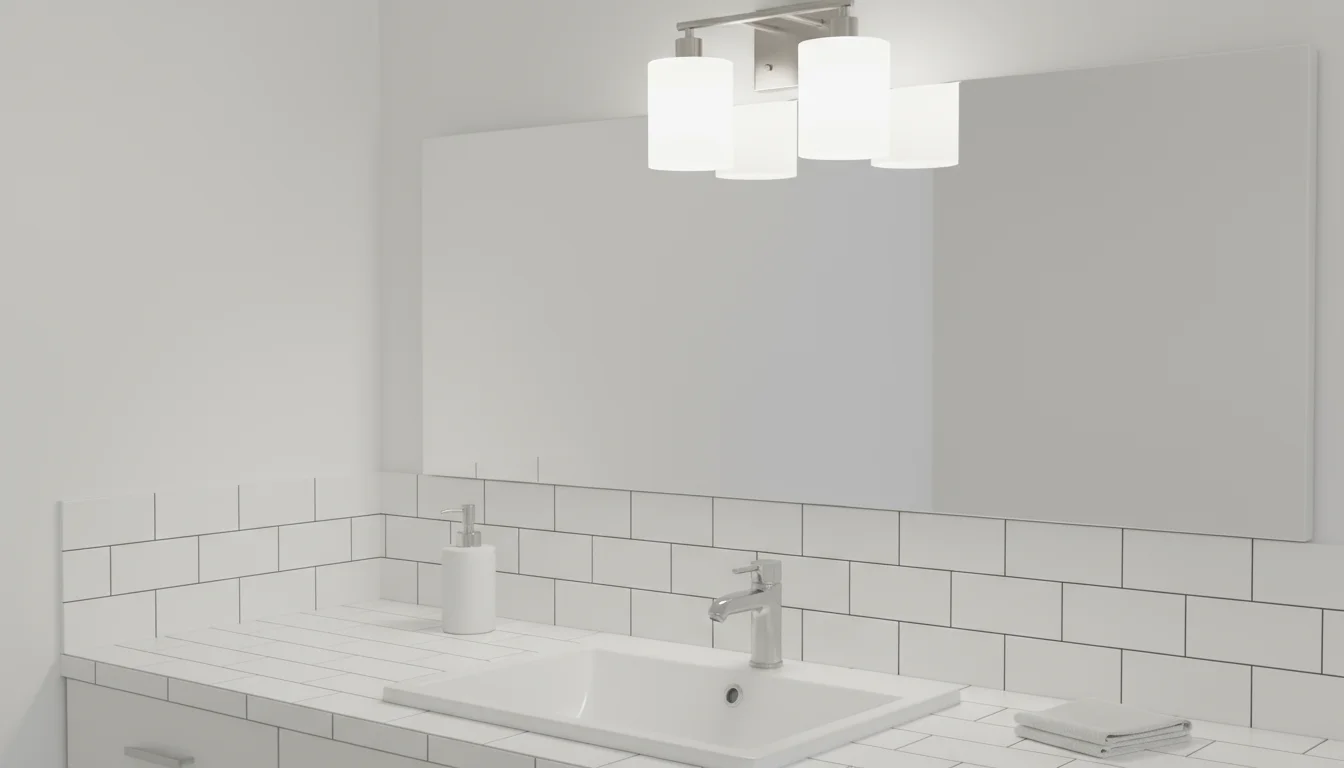
3. Upgrade Your Lighting: Brighten and Modernize (Budget: $30-60)
Good lighting enhances both functionality and mood. If your current fixture is old or dim, a new, inexpensive light fixture can make a world of difference. Look for simple, contemporary designs that disperse light effectively. Ensure you choose bulbs with appropriate brightness and color temperature (often “daylight” or “cool white” for task lighting, “soft white” for a warmer glow).
DIY Option: If replacing a fixture feels daunting, simply replace old light bulbs with brighter, energy-efficient LED bulbs. This offers an immediate improvement for a minimal cost. According to Energy Star, LED bulbs consume significantly less energy and last longer than traditional incandescent bulbs, saving you money in the long run.
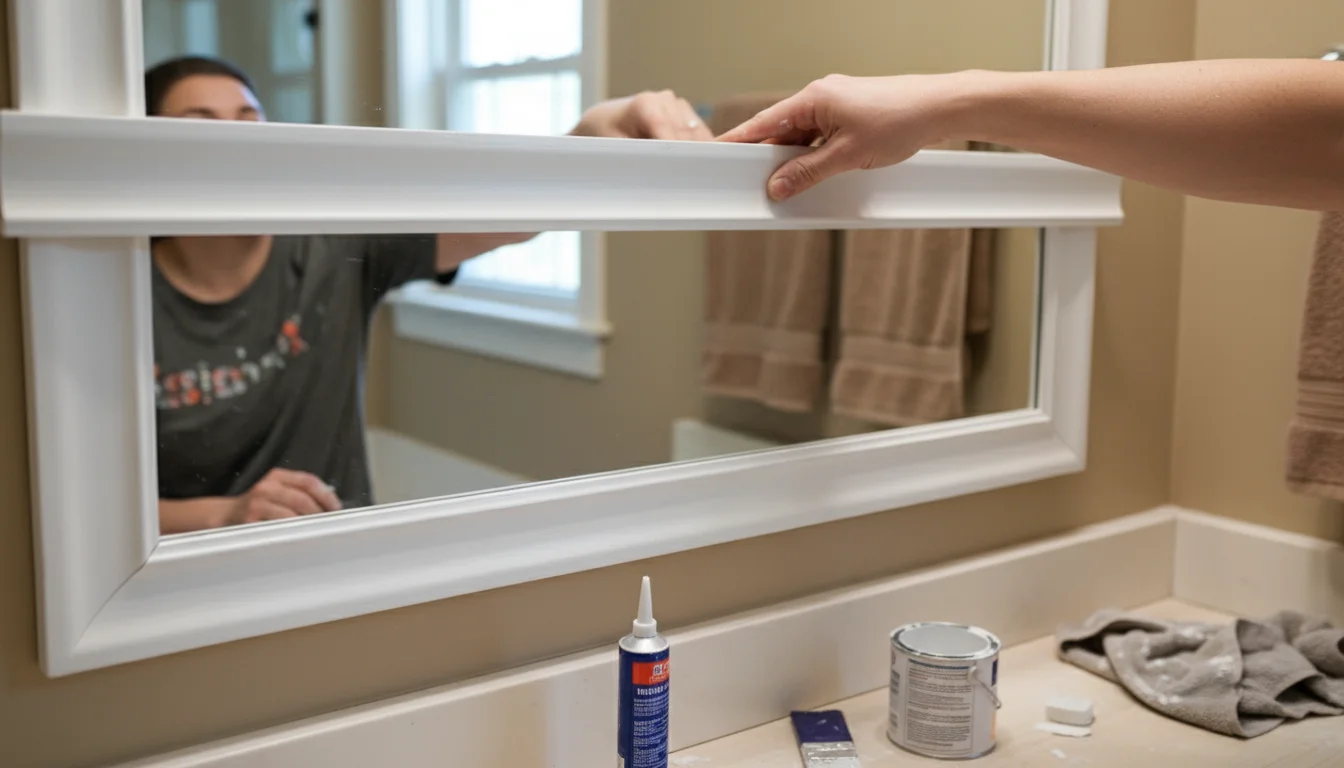
4. Revamp Your Mirror: Frame It or Replace It (Budget: $0-30)
A plain, builder-grade mirror often looks stark. You have a few options to upgrade it without spending much.
- Frame the Existing Mirror: Purchase inexpensive trim or molding from a hardware store. Cut it to size, paint or stain it, and then adhere it directly to the mirror with strong adhesive or command strips.
- Thrift a New Mirror: Check local thrift stores, flea markets, or online marketplaces for unique, affordable mirrors. A quick coat of spray paint can transform a dated frame into a modern accent.
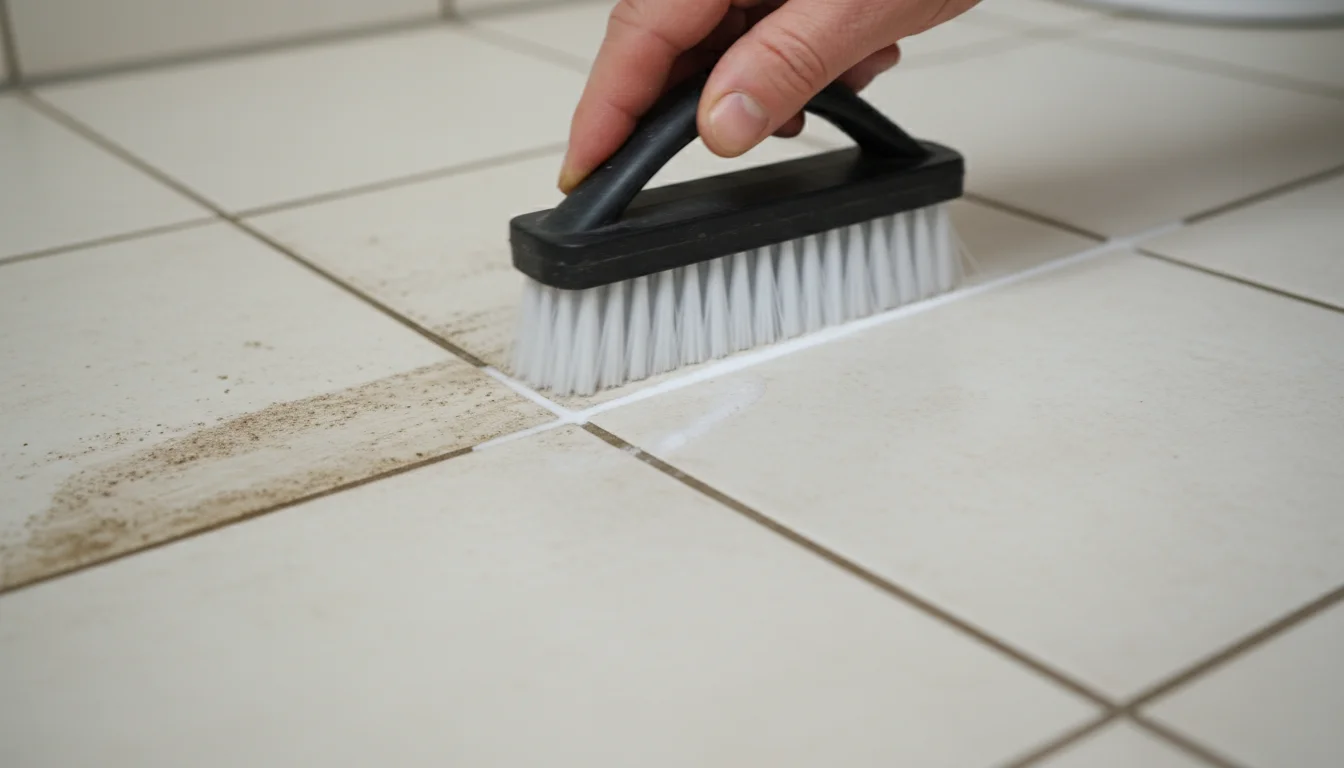
5. Deep Clean Grout & Recaulk: Sparkle and Freshness (Budget: $5-15)
Grubby grout lines and cracked caulk make a bathroom feel old and unclean. This DIY task costs very little and provides immense satisfaction.
- Grout Cleaning: Use a specialized grout cleaner, a stiff brush, and some elbow grease. For stubborn stains, a mixture of baking soda and vinegar can work, or try a grout pen for a quick refresh.
- Recaulking: Carefully remove old, moldy caulk with a utility knife or caulk removal tool. Clean the area thoroughly, then apply a fresh bead of silicone caulk. This not only looks better but also prevents water damage.
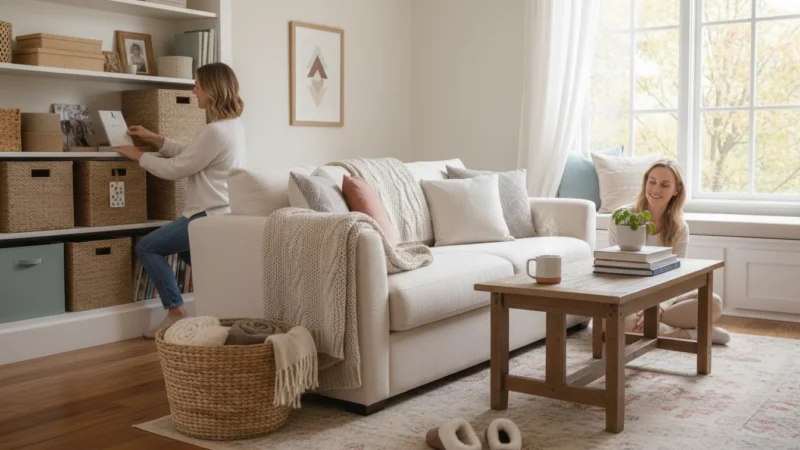
Smart Storage and Organization Solutions
After decluttering, your goal is to maintain order with clever, budget-friendly storage. Even small bathrooms offer opportunities for efficient organization. The key is to utilize vertical space and find multi-purpose items that enhance your diy bathroom transformation.
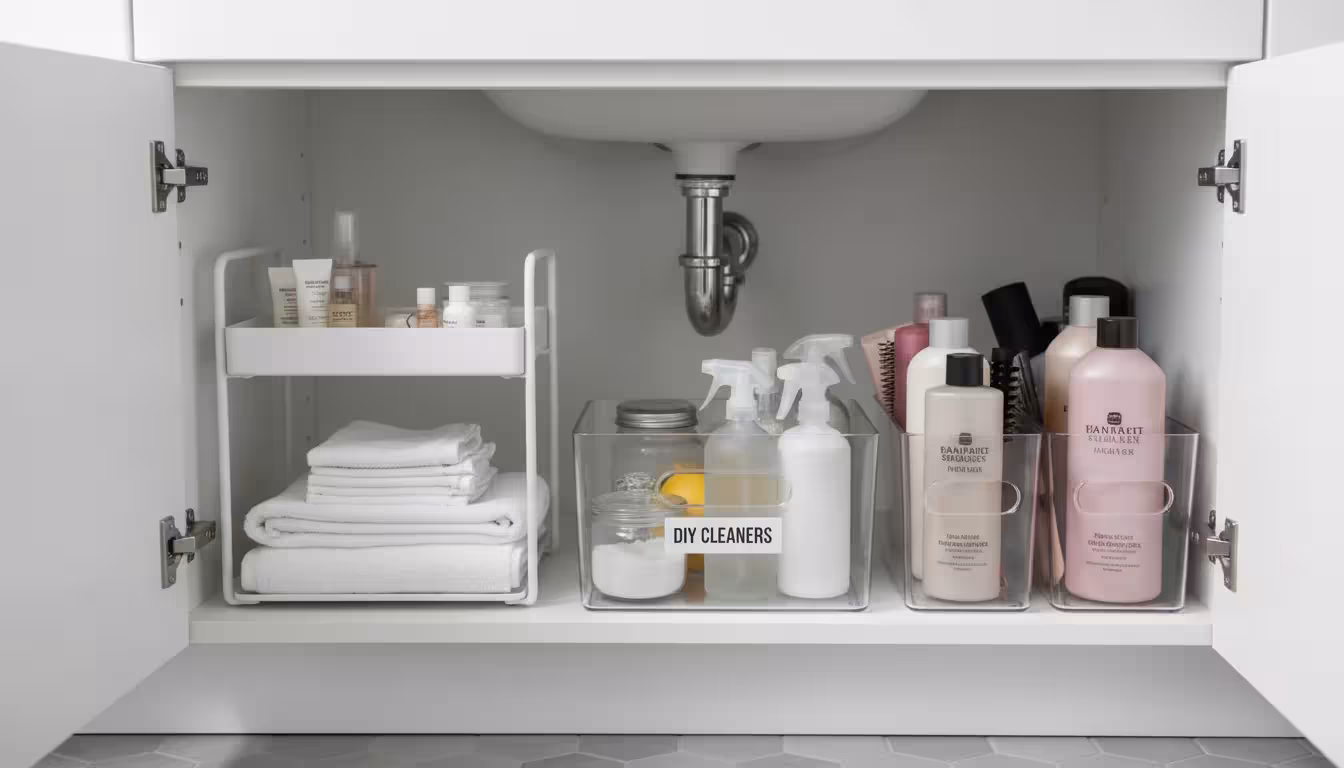
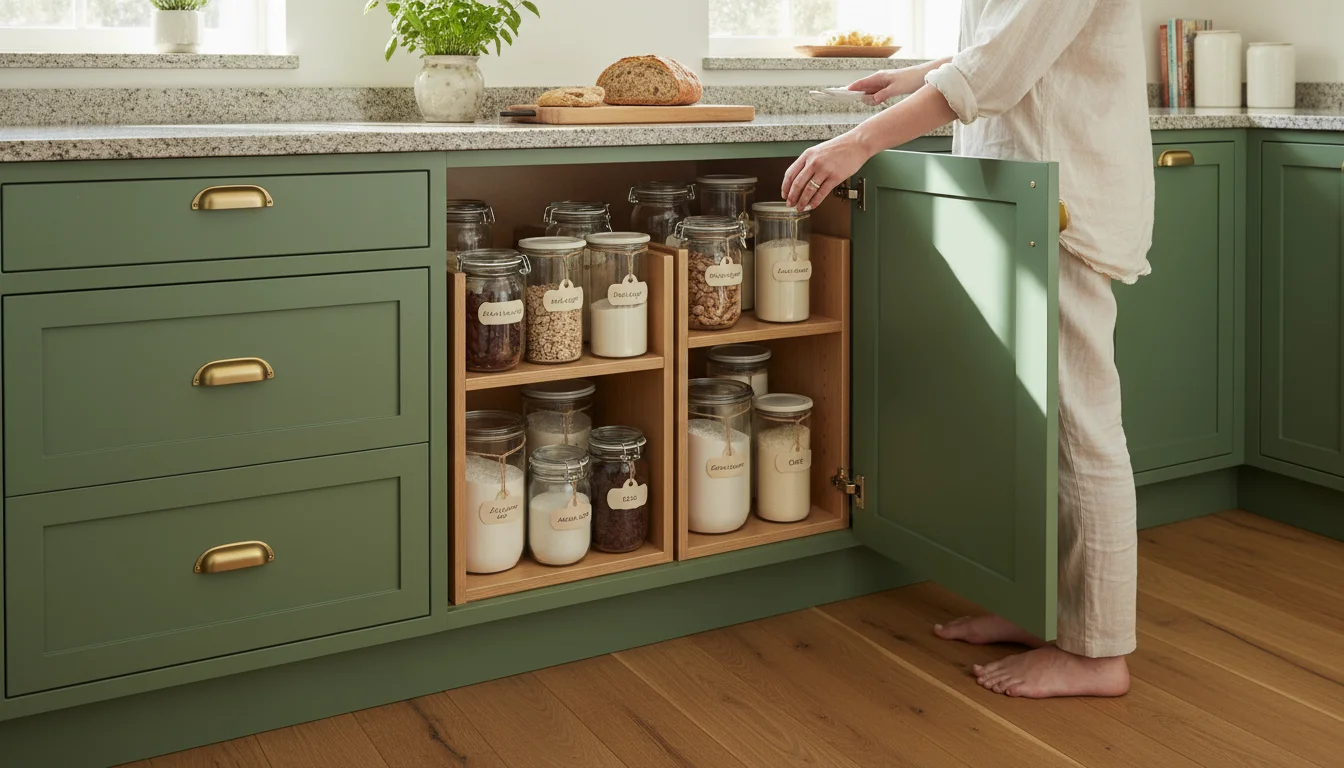
1. Maximize Cabinet and Drawer Space (Budget: $10-25)
Under-sink cabinets often become a chaotic mess. Simple inserts and containers keep items contained and accessible.
- Clear Bins or Baskets: Group similar items (e.g., cleaning supplies, extra toiletries, hair products) into clear bins. This helps you see what you have and keeps things tidy. Dollar stores or discount retailers often have affordable options.
- Stackable Shelves: Create vertical layers within your cabinets. These inexpensive risers double your usable space for small items.
- Drawer Dividers: Keep makeup, toothbrushes, and small accessories from sliding around by using inexpensive drawer dividers. You can even cut down old shoeboxes for a free solution.
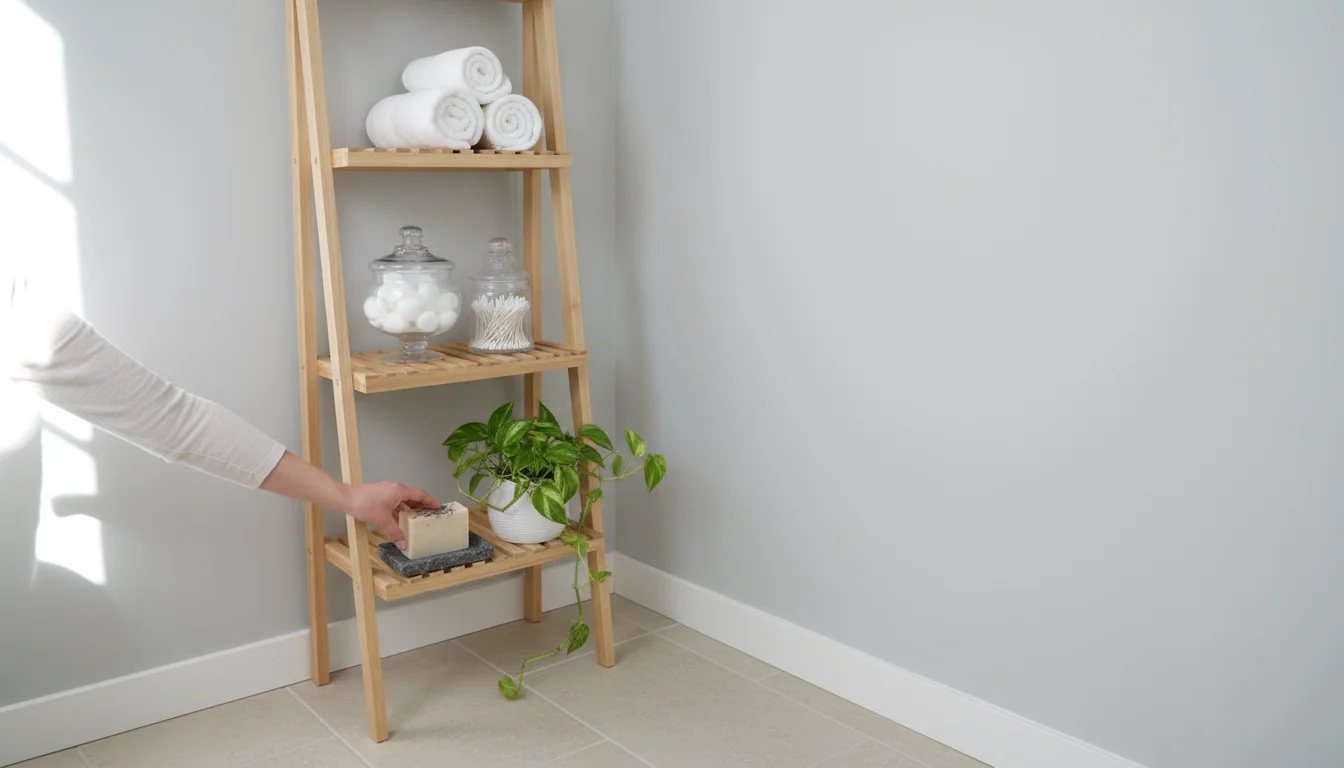
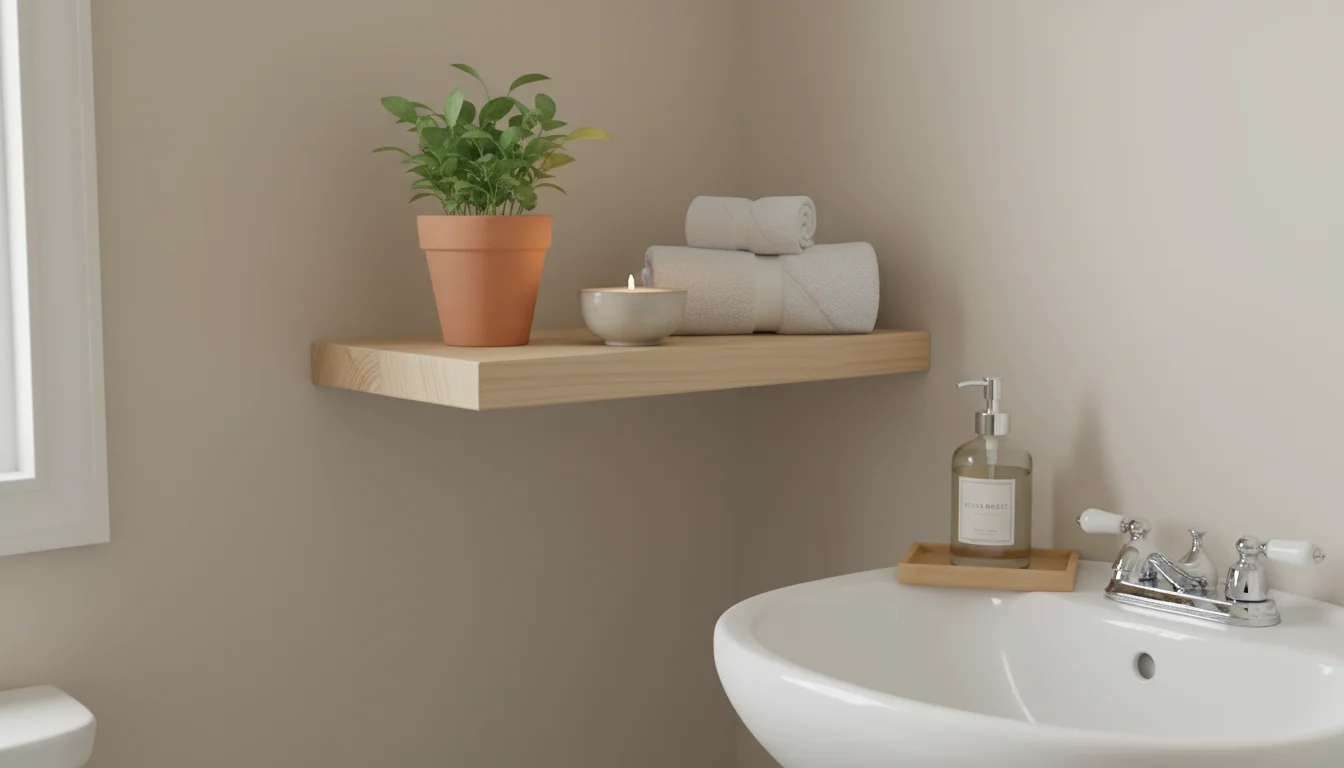
2. Utilize Walls for Storage (Budget: $15-30)
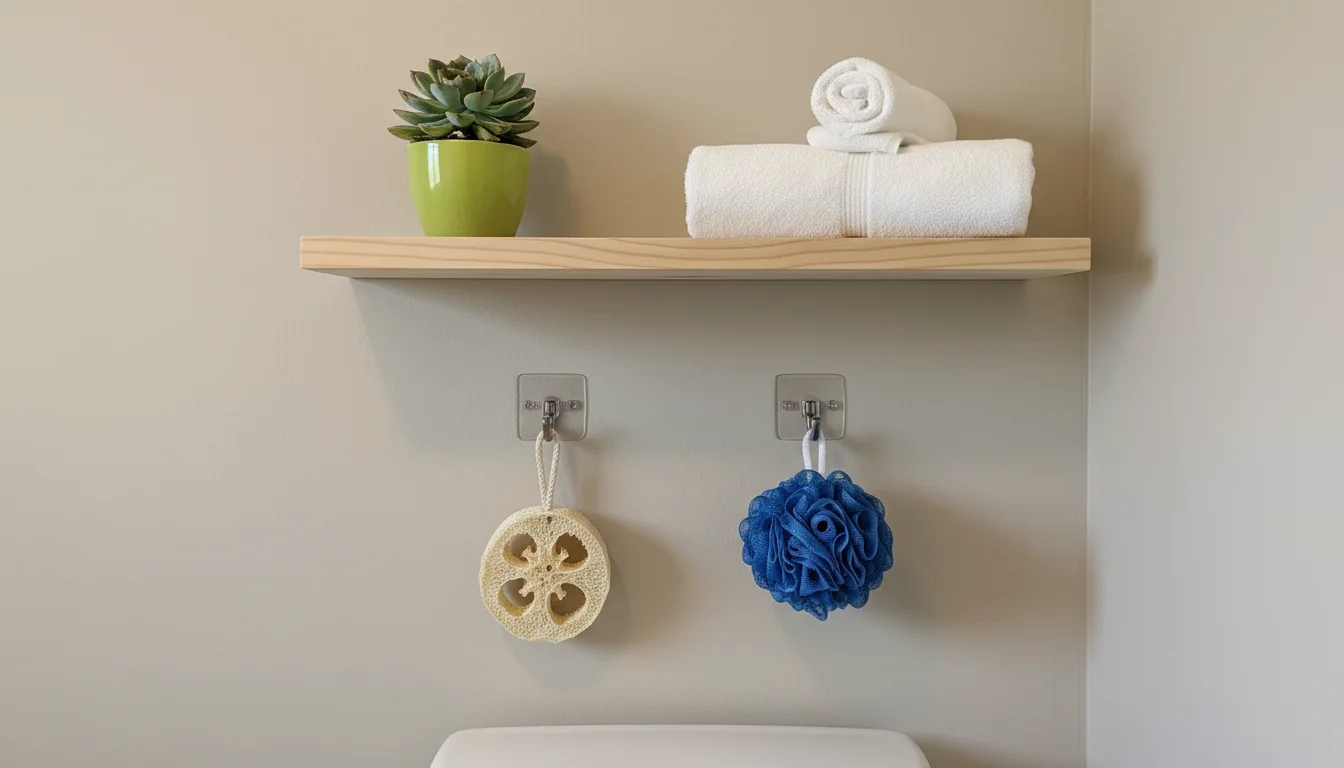
Walls are prime real estate, especially in smaller bathrooms. Floating shelves, wall-mounted organizers, and hooks provide valuable storage without taking up floor space.
- Floating Shelves: Install one or two inexpensive floating shelves above the toilet or next to the vanity. Use them for decorative items, a small plant, or neatly folded towels. You can find simple ones for under $15 each.
- Command Hooks: These versatile hooks adhere to walls without drilling and are perfect for hanging towels, robes, or even small baskets.
- Over-the-Door Storage: An over-the-door shoe organizer or a simple multi-hook rack provides hidden storage for hair tools, cleaning supplies, or extra towels. This is a classic solution for apartment dwellers and renters.
Tip: Ensure any wall-mounted storage is securely fastened. For a cohesive look, choose storage solutions in colors or materials that complement your new bathroom aesthetic. The Container Store’s organization tips emphasize maximizing vertical space and using clear containers to quickly find items.
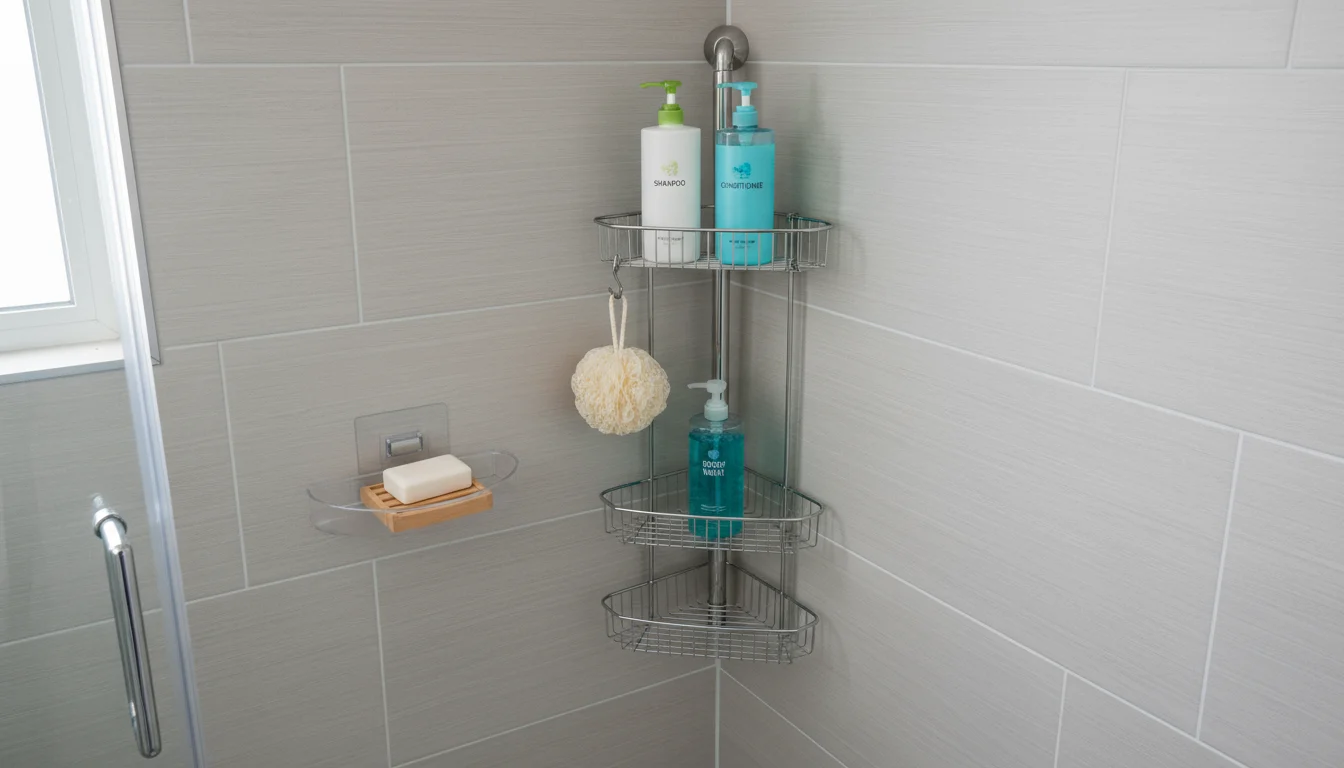
3. Shower and Tub Organization (Budget: $10-20)
Keep your shower clutter-free with smart solutions.
- Shower Caddies: A hanging shower caddy, either over the showerhead or tension-rod style, keeps shampoos, soaps, and scrubs off the tub floor.
- Corner Shelves: Adhere-on corner shelves provide stable storage for smaller bottles.
- Magnetic Strips: Attach a magnetic strip inside a cabinet or on a wall to hold small metal items like tweezers, nail clippers, or hairpins.
Finishing Touches That Elevate Your Space
With the core DIY bathroom projects complete and organization in place, these final touches tie everything together. They add personality, comfort, and a polished look, all while respecting your $200 budget.
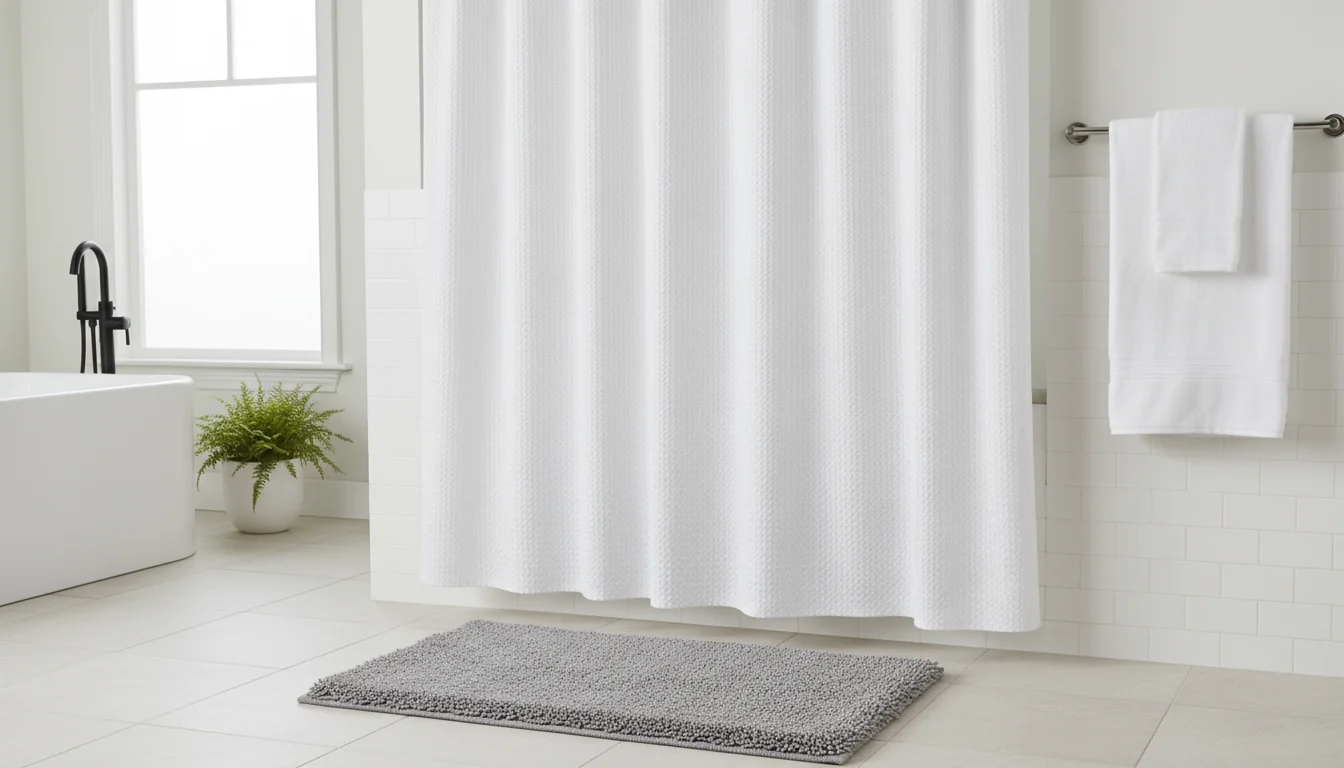
1. New Textiles: Instant Refresh (Budget: $25-50)
Old, faded towels and shower curtains make a bathroom feel dingy. Investing in new textiles is one of the most impactful changes you can make.
- Shower Curtain and Liner: Choose a shower curtain that complements your new wall color and overall aesthetic. A fresh liner is essential for hygiene and prevents mildew.
- Bath Mats/Rugs: Replace worn-out bath mats with plush, absorbent ones. Coordinating colors and textures create a cohesive look.
- Hand Towels: A couple of new hand towels displayed neatly add a touch of luxury.
Look for sales at department stores, home goods retailers, or discount stores to find quality items within your budget.
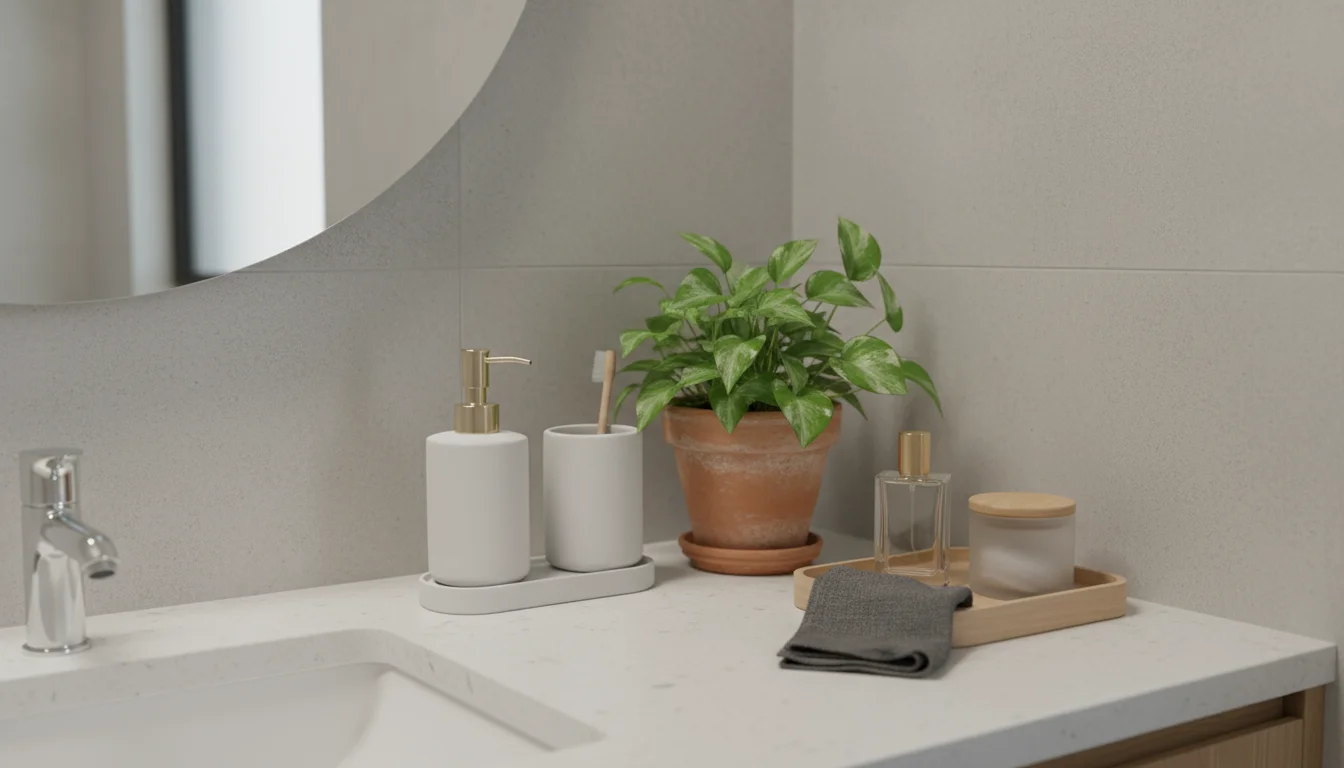
2. Thoughtful Accessories (Budget: $10-25)
Small, inexpensive accessories contribute significantly to the overall feel of the room.
- Soap Dispenser & Toothbrush Holder: Ditch the mismatched plastic bottles. A matching soap dispenser and toothbrush holder instantly upgrade your vanity.
- Small Plant: A low-maintenance, humidity-loving plant (like a ZZ plant, snake plant, or pothos) adds life and a touch of nature to your bathroom. Check local nurseries for small, affordable options.
- Decorative Tray: Use a small tray on your vanity to corral everyday items like perfume, lotion, or jewelry, keeping the counter tidy and stylish.
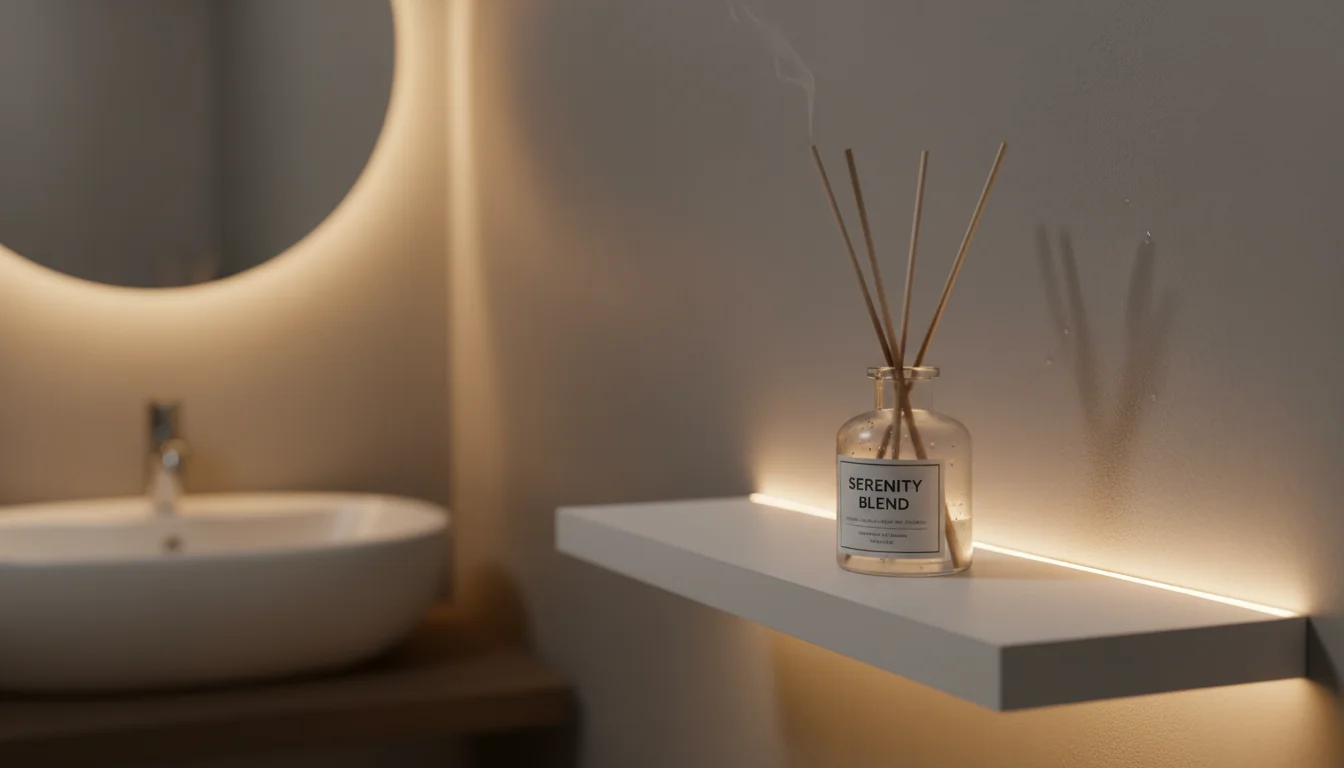
3. Scent and Ambiance (Budget: $5-15)
Do not underestimate the power of scent and subtle lighting to enhance the mood of your bathroom.
- Diffuser or Candle: A reed diffuser or a nice candle introduces a pleasant aroma. Choose scents that promote relaxation or freshness.
- Battery-Operated LED Lights: For an extra touch, small, battery-operated LED strip lights can be installed under shelves or cabinets to provide soft ambient lighting in the evenings. These are very affordable and easy to install.
By carefully selecting these finishing touches, you complete your budget bathroom makeover, creating a space that feels intentional, comfortable, and inviting.
Maintaining Your Refreshed Bathroom
Your budget bathroom makeover is complete. Now, the goal is to keep it looking fantastic without constant effort. Establishing a routine helps maintain the fresh look and feel, ensuring your hard work lasts. Regular upkeep prevents dirt and clutter from accumulating, making future deep cleans much easier.
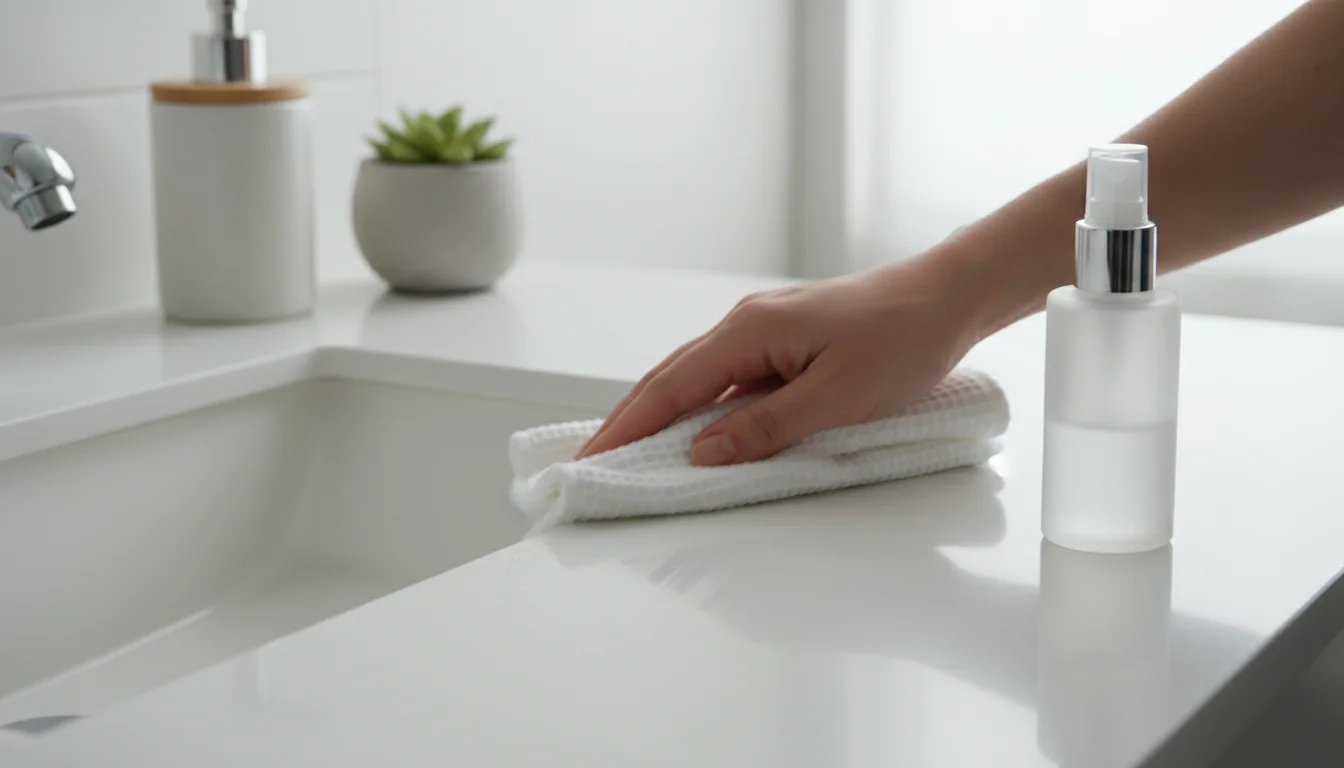
1. Daily Tidying Habits
Implement simple daily habits that keep things in order.
- Wipe Down Surfaces: After use, quickly wipe down the sink and countertop. A microfiber cloth makes this quick and effective.
- Hang Towels: Ensure towels are hung to dry properly, preventing mildew and keeping the room tidy.
- Put Things Away: Return items to their designated storage spots immediately after use. This is where your new organization system truly shines.
- Quick Toilet Clean: A daily swipe with a toilet brush keeps the bowl fresh.
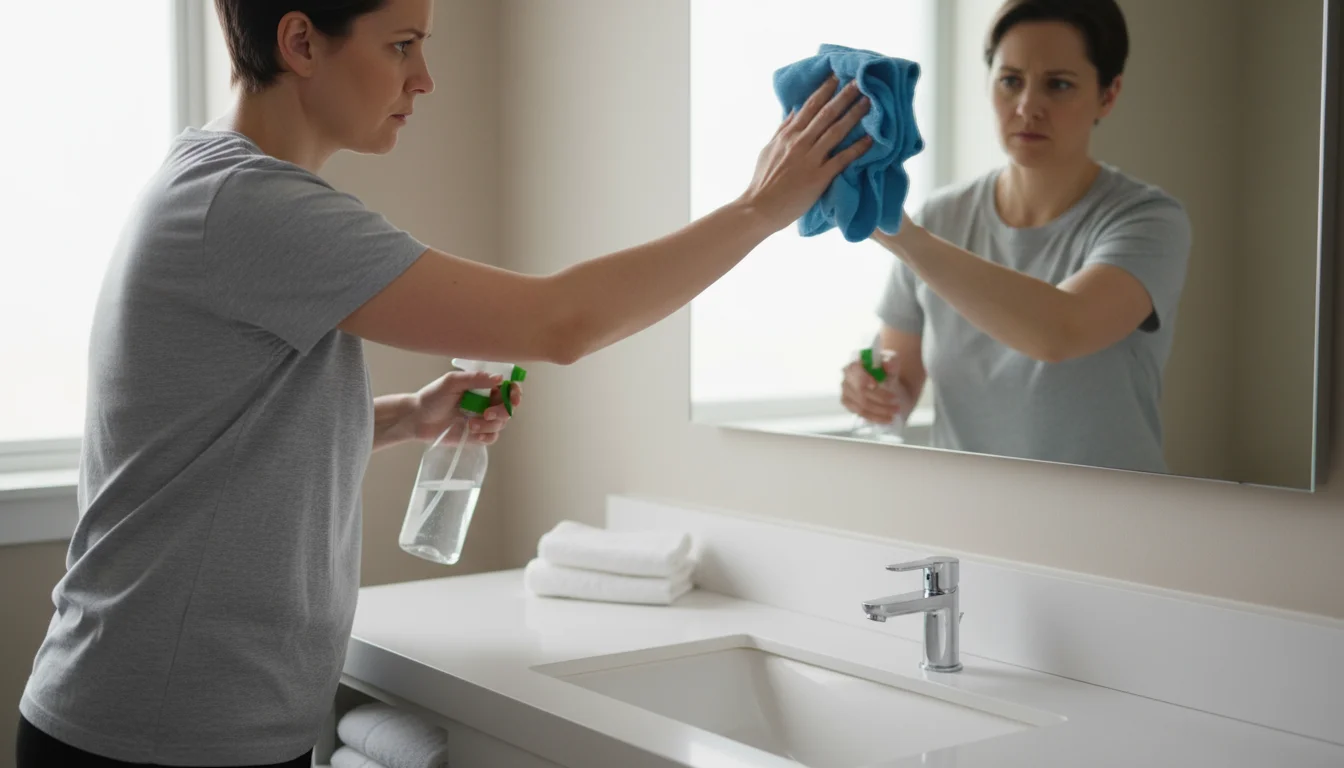
2. Weekly Maintenance Chores
Dedicate 15-30 minutes once a week for a more thorough clean.
- Clean the Toilet: Use a toilet cleaner and scrub the bowl, seat, and exterior.
- Wipe Down Shower/Tub: Spray with a daily shower cleaner or quickly wipe down surfaces to prevent soap scum buildup.
- Clean the Mirror: Use glass cleaner for a streak-free shine.
- Mop or Vacuum Floor: Remove dust, hair, and debris.
- Empty Trash: Always empty the bathroom trash can weekly, or more often if needed.
According to the American Cleaning Institute, maintaining a consistent cleaning schedule prevents the accumulation of grime and makes cleaning tasks less daunting.
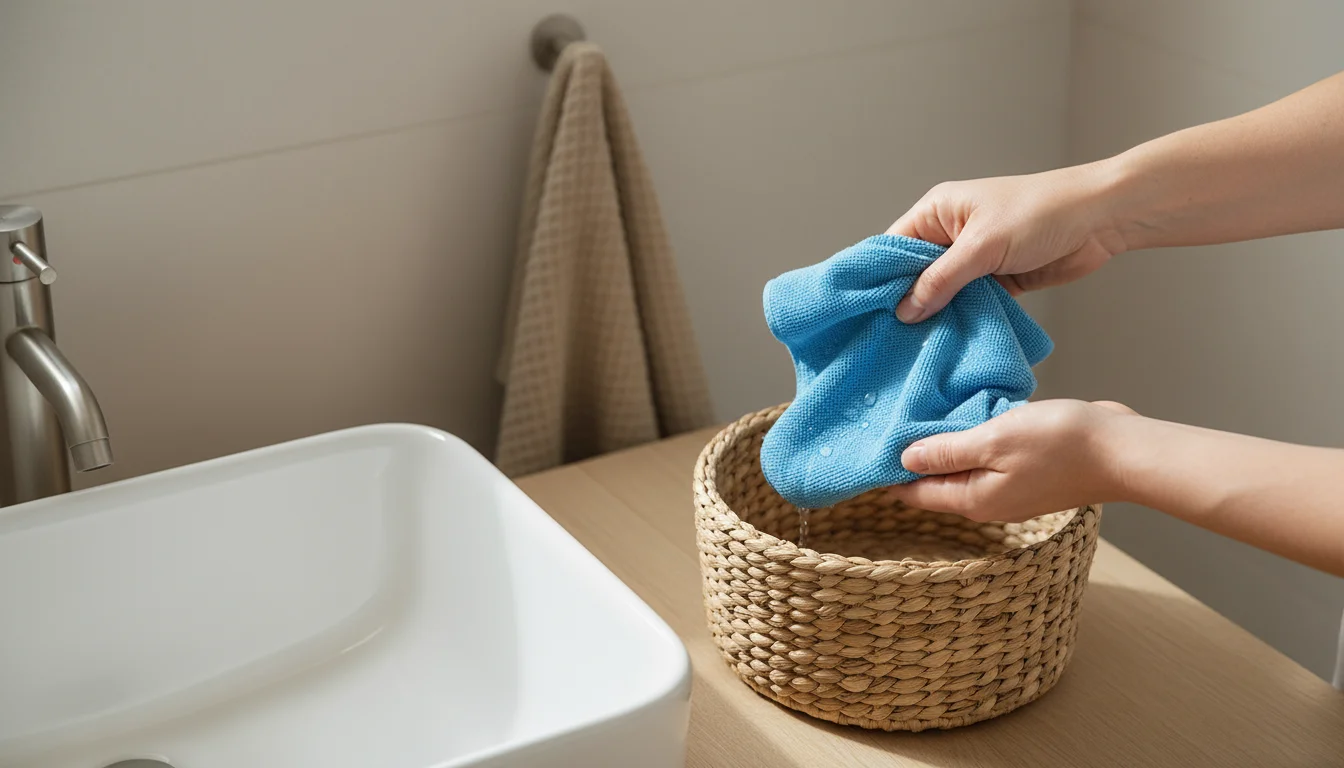
3. Bi-Monthly or Monthly Tasks
These less frequent tasks address deeper cleaning and maintenance.
- Wash Shower Curtains/Liners: Machine wash fabric shower curtains and plastic liners according to manufacturer instructions to remove soap scum and mildew.
- Deep Clean Grout: If you notice discoloration, give grout lines a quick scrub.
- Clean Drains: Use a drain cleaner or a mixture of baking soda and vinegar to keep drains clear.
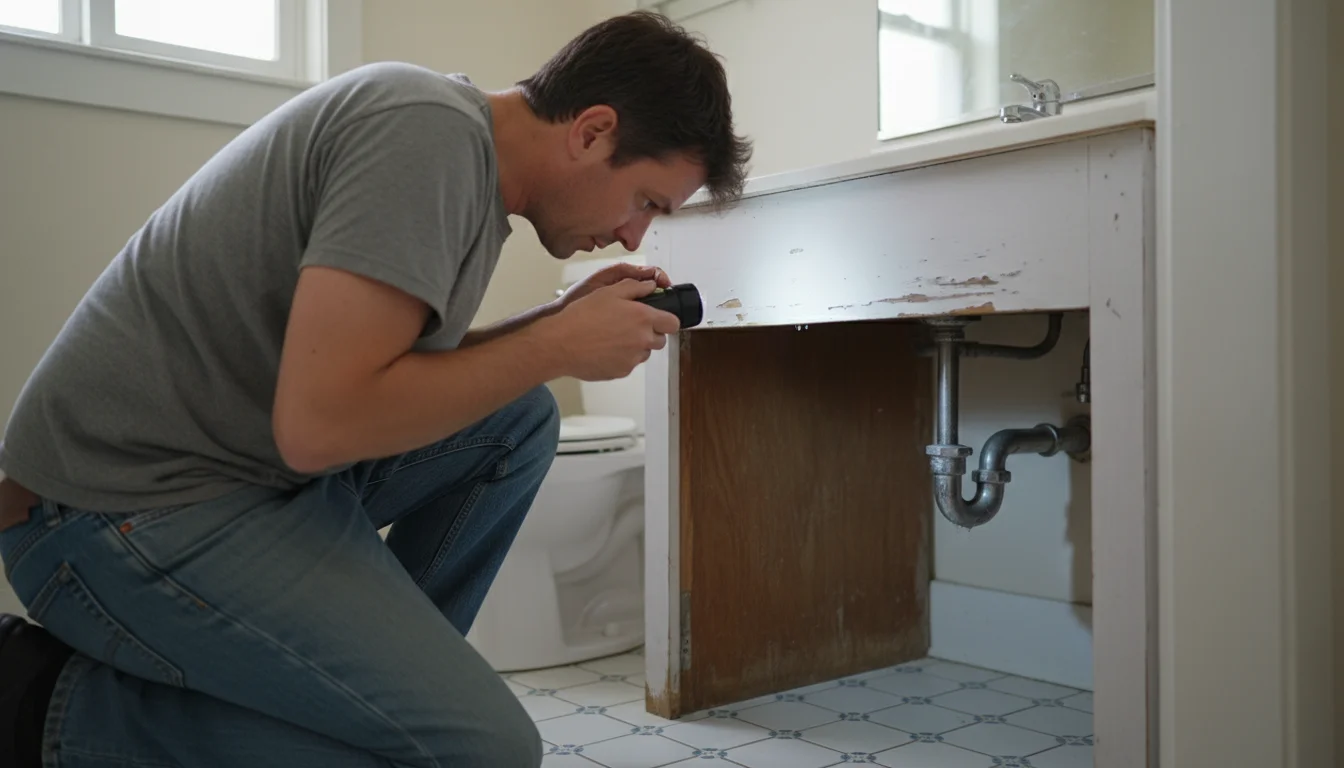
- Check for Leaks: Regularly inspect under-sink plumbing and around the toilet for any signs of leaks. Early detection prevents costly repairs.
By integrating these maintenance steps into your routine, you protect your budget bathroom makeover investment and enjoy a consistently clean, organized, and inviting space.
Frequently Asked Questions
Can I really do a full bathroom makeover for under $200?
Yes, absolutely. A full makeover focuses on high-impact cosmetic changes and organization rather than extensive renovations. By prioritizing painting, updating textiles, replacing small hardware, and decluttering, you can achieve a significant transformation within a $200 budget. The key lies in smart shopping, DIY effort, and focusing on visible improvements.
What is the most impactful change I can make on a very limited budget, say $50?
Painting the walls is generally the most impactful change for such a small budget. A fresh coat of paint instantly brightens and modernizes the space, providing a dramatic visual difference for around $30-50 for a gallon of bathroom-specific paint. Combine this with a thorough declutter and deep clean, which cost nothing, for maximum effect.
How do I make a small bathroom feel larger without moving walls?
To make a small bathroom feel larger, use light and bright paint colors, which reflect more light. Install a larger mirror or one with a simple frame to create an illusion of depth. Maximize vertical storage with floating shelves or an over-the-toilet unit. Keep clutter to a minimum, and use clear containers to maintain visual lightness. Good lighting, especially brighter bulbs, also helps open up the space.
Are there any eco-friendly tips for a budget bathroom makeover?
Yes. Start by decluttering and donating or recycling unused products responsibly. Choose low-VOC (volatile organic compound) paints to improve indoor air quality. Opt for energy-efficient LED light bulbs. Select sustainable materials like bamboo for storage organizers or organic cotton for towels. Also, consider thrifting for decor items or a new mirror to reduce waste and save money. According to the EPA, selecting low-VOC products is a crucial step in maintaining healthy indoor air quality.
What if I am a renter and cannot paint or make permanent changes?
Renters have many options for a budget bathroom makeover. Focus on non-permanent solutions. Use removable wallpaper or wall decals instead of paint. Upgrade your shower curtain, bath mats, and hand towels. Invest in stylish, portable storage like baskets, bins, and over-the-door organizers. Swap out existing hardware with easily reversible options (just remember to store the originals). Add a new mirror, plants, and pleasant scents to personalize the space. These changes create a significant impact without violating your lease.
For expert home organization guidance, visit
CDC — Cleaning and Disinfecting,
American Cleaning Institute,
National Association of Professional Organizers,
Institute for Challenging Disorganization and
Consumer Reports — Home.
Disclaimer: This article is for informational purposes only and is not a substitute for professional advice. Consult professional organizers or specialists for personalized recommendations.


Leave a Reply