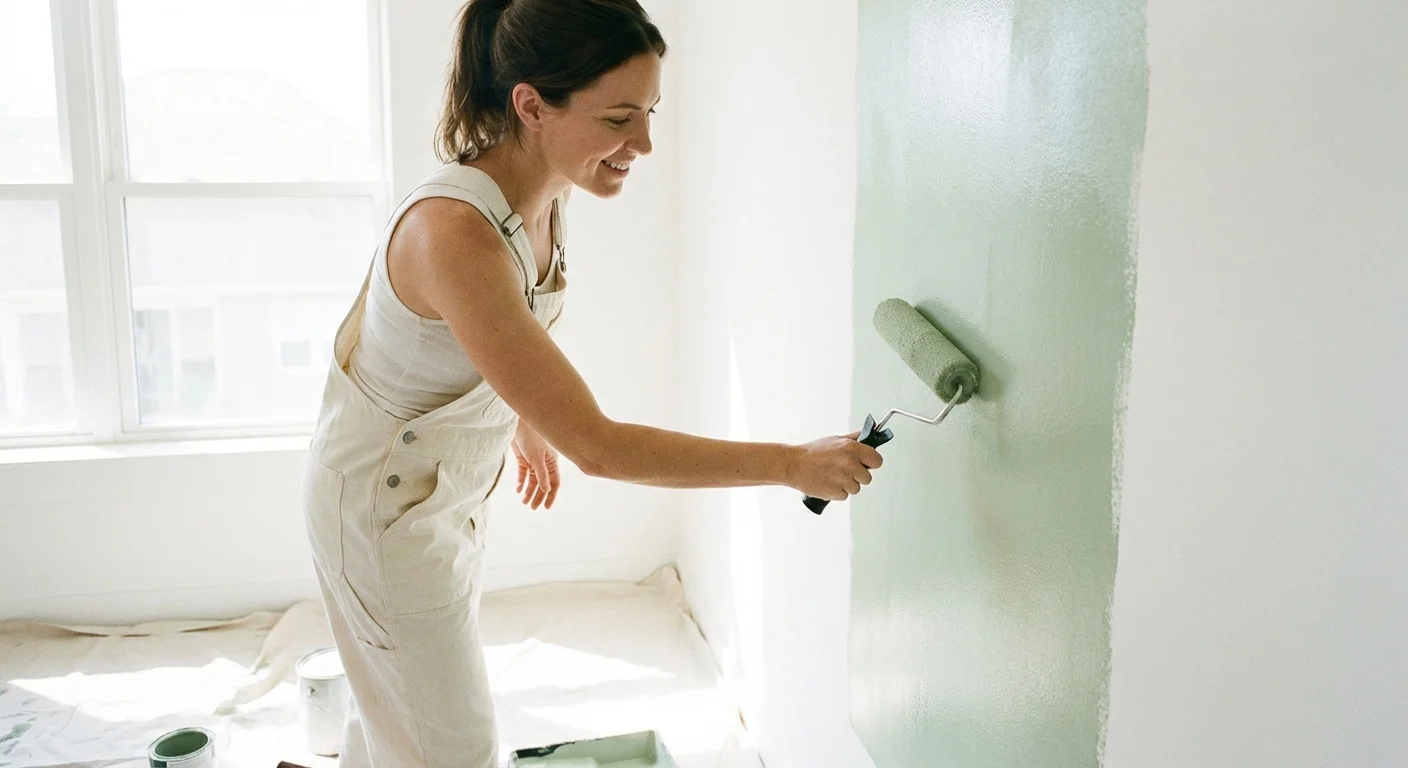
A fresh coat of paint transforms tired kitchen cabinets, giving your entire kitchen a vibrant new look without the expense of a full renovation. This project offers a significant impact for your home’s aesthetics and value, making it an ideal choice for a budget-conscious kitchen makeover. You can achieve professional-looking results with careful planning and execution, even if you are new to serious DIY projects. This comprehensive guide walks you through every step, ensuring you understand the process from preparation to the final cure, helping you revitalise your kitchen with confidence.
Why Paint Your Kitchen Cabinets?
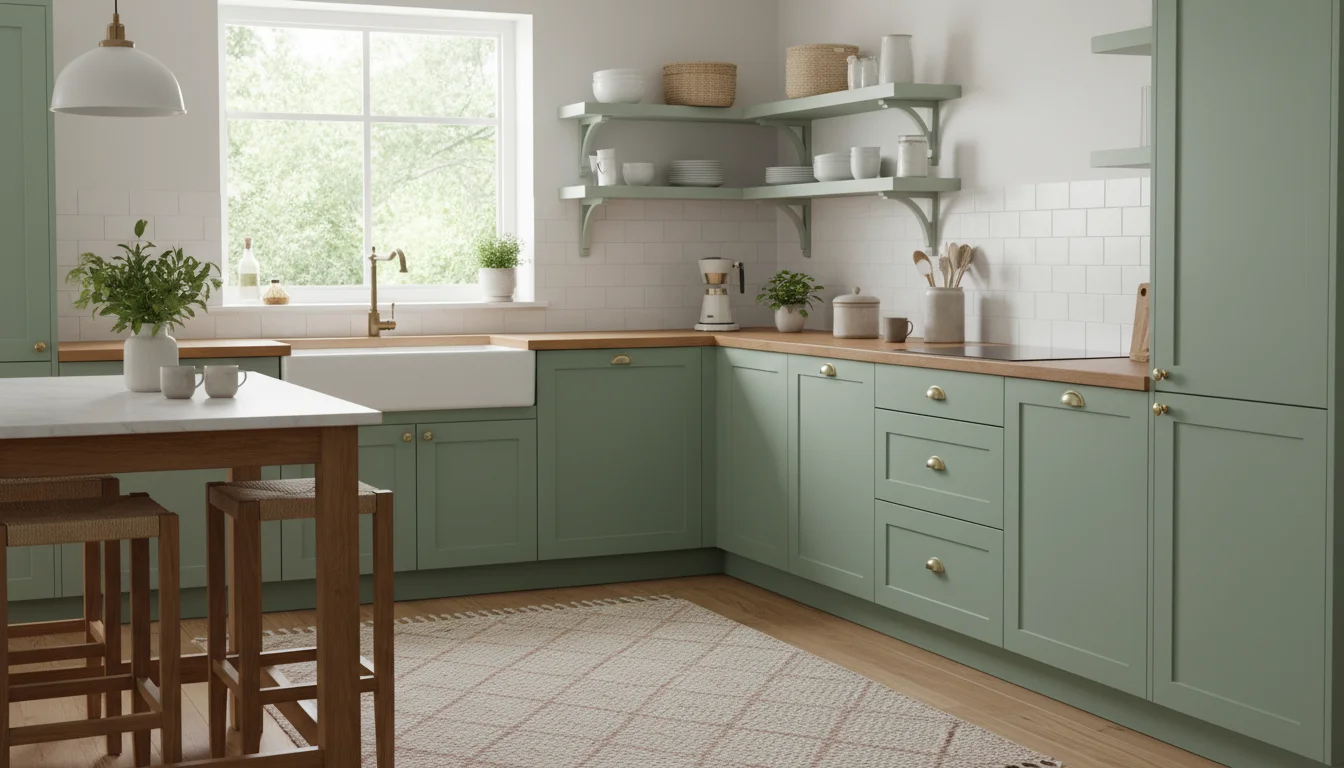
Painting your kitchen cabinets provides numerous benefits, extending beyond a simple aesthetic update. It is a cost-effective alternative to replacing cabinets, which can cost thousands of dollars. A quality paint job dramatically improves your kitchen’s appearance, giving it a modern or refreshed feel. You can customise your space with a color that perfectly matches your style, creating a truly personal kitchen. Furthermore, repainting can extend the life of your existing cabinets by protecting them from wear and tear, moisture, and daily grime. This project increases your home’s appeal and value, particularly important if you plan to sell in the future.
Many homeowners seek this project because it offers a significant impact for a relatively small investment. It also appeals to those wanting a kitchen makeover quickly, as it typically takes a fraction of the time compared to a full renovation. Choosing to paint cabinets is a practical solution for busy homeowners and renters who want to update their living space without extensive construction or budget strains. It allows for creative expression, enabling you to transform a dated kitchen into a stylish and functional heart of your home.

Is Painting Your Cabinets Right for You? Assessing Your Kitchen
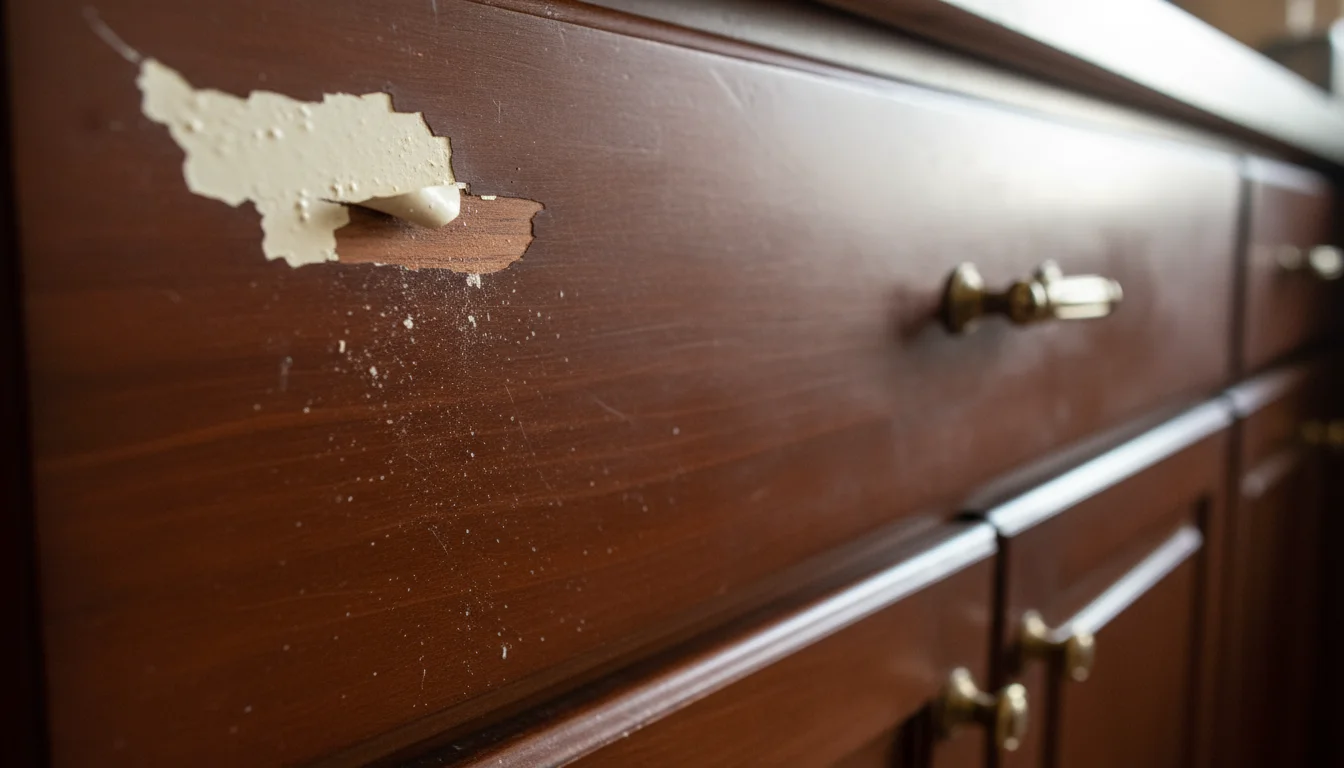
Before you commit to painting your kitchen cabinets, assess your current situation. Not all cabinets are ideal candidates for painting. Excellent candidates are solid wood cabinets in good structural condition. Laminate, thermofoil, or metal cabinets require specialised primers and techniques, making the process more challenging and less durable. Inspect your cabinets for significant damage, such as deep gouges, extensive water damage, or warped sections. While you can repair minor imperfections, major issues suggest replacement might be a better option.
Consider your available time and space. Painting cabinets is a multi-day project, often requiring a week or more from start to finish. You need a dedicated, dust-free space for sanding, priming, and painting doors and drawer fronts. Good ventilation is crucial. If you live in an apartment or small home, finding such a space can present a challenge. According to This Old House, proper preparation and drying conditions are paramount for a durable finish. Rushing the process or working in an unsuitable environment often leads to suboptimal results.
Finally, evaluate your commitment to the meticulous preparation required. The quality of your prep work directly correlates with the final finish’s durability and appearance. If you are prepared for detailed cleaning, sanding, and careful application, then painting your cabinets is likely a rewarding project for you.
Gather Your Tools and Materials: The Essentials
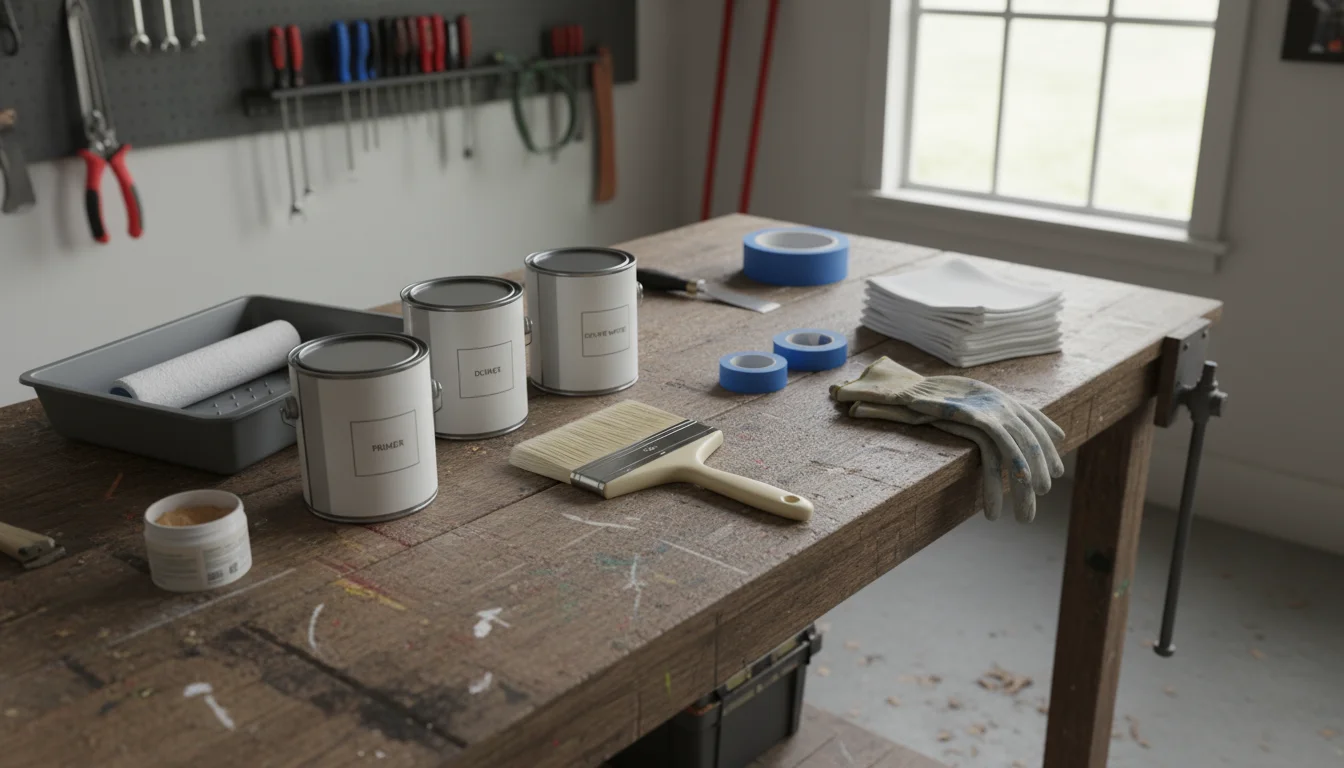
Success in cabinet painting hinges on having the right tools and materials. Invest in quality products; they make the job easier and ensure a lasting finish. Here is a comprehensive list:
Tools:
- Screwdriver Set: For removing hinges and hardware.
- Cordless Drill (optional, but helpful): Speeds up hardware removal.
- Painter’s Tape: Protects adjacent surfaces.
- Drop Cloths or Plastic Sheeting: Protects floors, countertops, and appliances.
- Safety Glasses and Respirator/Mask: Essential for protecting your eyes and lungs from dust and paint fumes. As noted by the EPA, proper ventilation and personal protective equipment are vital when working with paints and solvents.
- Sanders: An orbital sander for flat surfaces, sanding sponges or blocks for intricate areas.
- Vacuum with Brush Attachment: For dust removal.
- Tack Cloths: To pick up fine dust particles.
- Paint Brushes: High-quality angled brushes (1.5-2 inches) for cutting in and detailed areas.
- Paint Rollers: Small foam rollers (4-6 inches) for smooth finishes on flat surfaces. Choose fine-nap rollers designed for smooth surfaces.
- Paint Trays and Liners: For convenient paint application.
- Clean Rags: For cleaning and wiping.
- Wood Filler/Putty Knife: For repairing minor imperfections.
- Buckets: For cleaning solutions.
Materials:
- Degreaser/Cleaner: Krud Kutter, TSP (trisodium phosphate) substitute, or a strong detergent.
- Wood Filler: For minor dents and holes.
- Sandpaper: 120-grit for initial sanding, 220-grit for fine sanding.
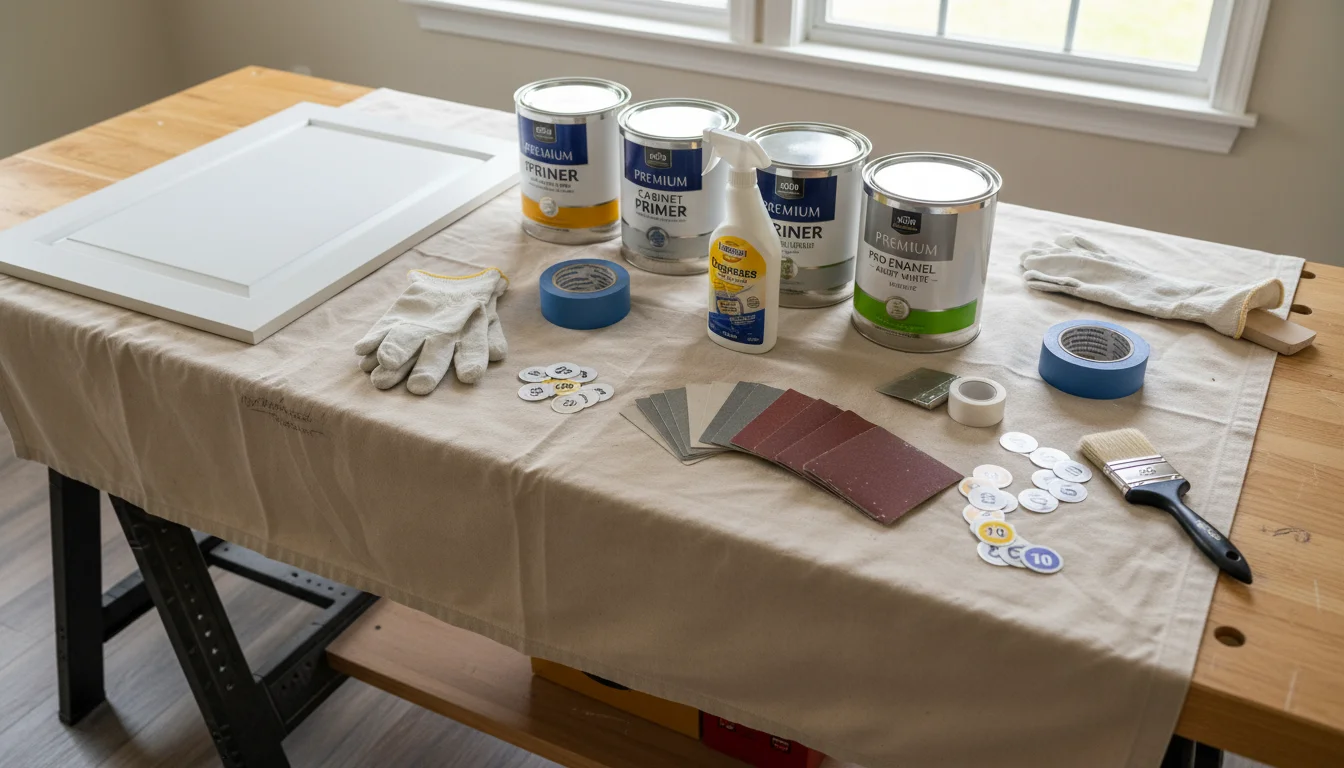
- Primer: High-adhesion, stain-blocking primer formulated for cabinets (e.g., shellac-based or high-quality water-based bonding primer).
- Cabinet Paint: High-quality, durable paint specifically designed for cabinets. Urethane alkyd enamels, hybrid enamels, or acrylic urethanes offer excellent durability and a smooth finish. Consider a semi-gloss or satin finish for easy cleaning and light reflection.
- Denatured Alcohol or Mineral Spirits (if using oil-based primer/paint): For cleaning brushes and accidental drips.
- Numbered Labels or Masking Tape: For marking doors and drawers.
- Plastic bags: To store hardware.
Prep Work is Key: Disassembly and Cleaning
The success of your cabinet painting project hinges on meticulous preparation. This stage is time-consuming, but skipping steps here guarantees a less durable and professional-looking finish. Allocate ample time for this crucial phase.
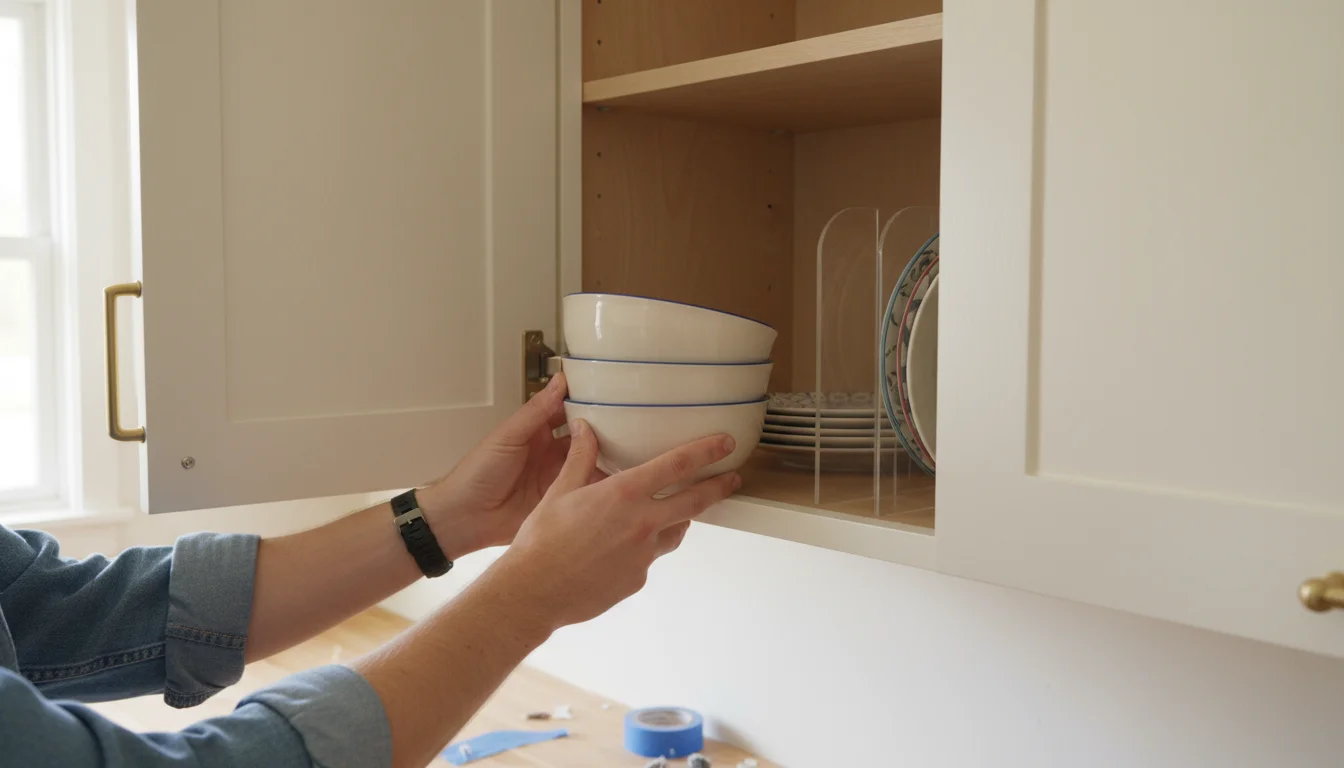
- Empty Your Cabinets: Remove everything from your cabinets and drawers. This is also an excellent opportunity for a kitchen decluttering session, allowing you to decide what truly belongs.
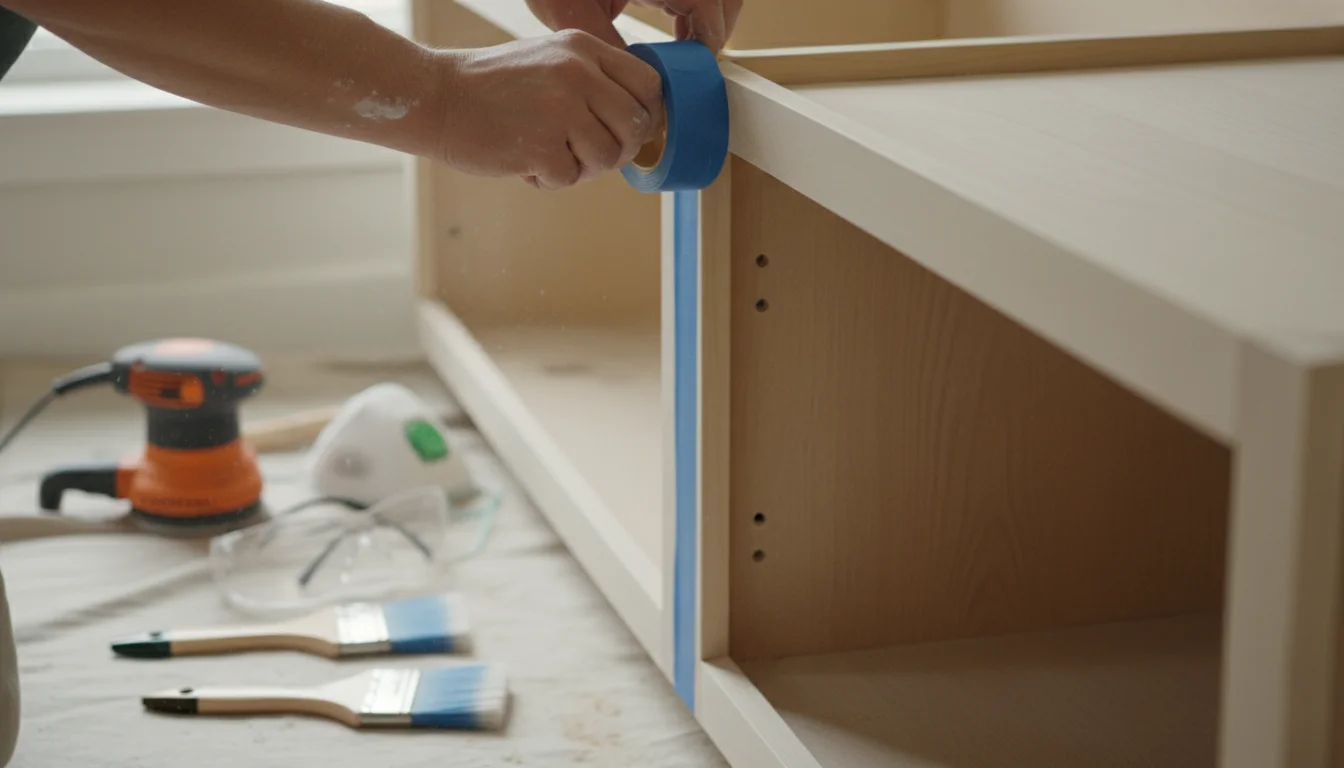
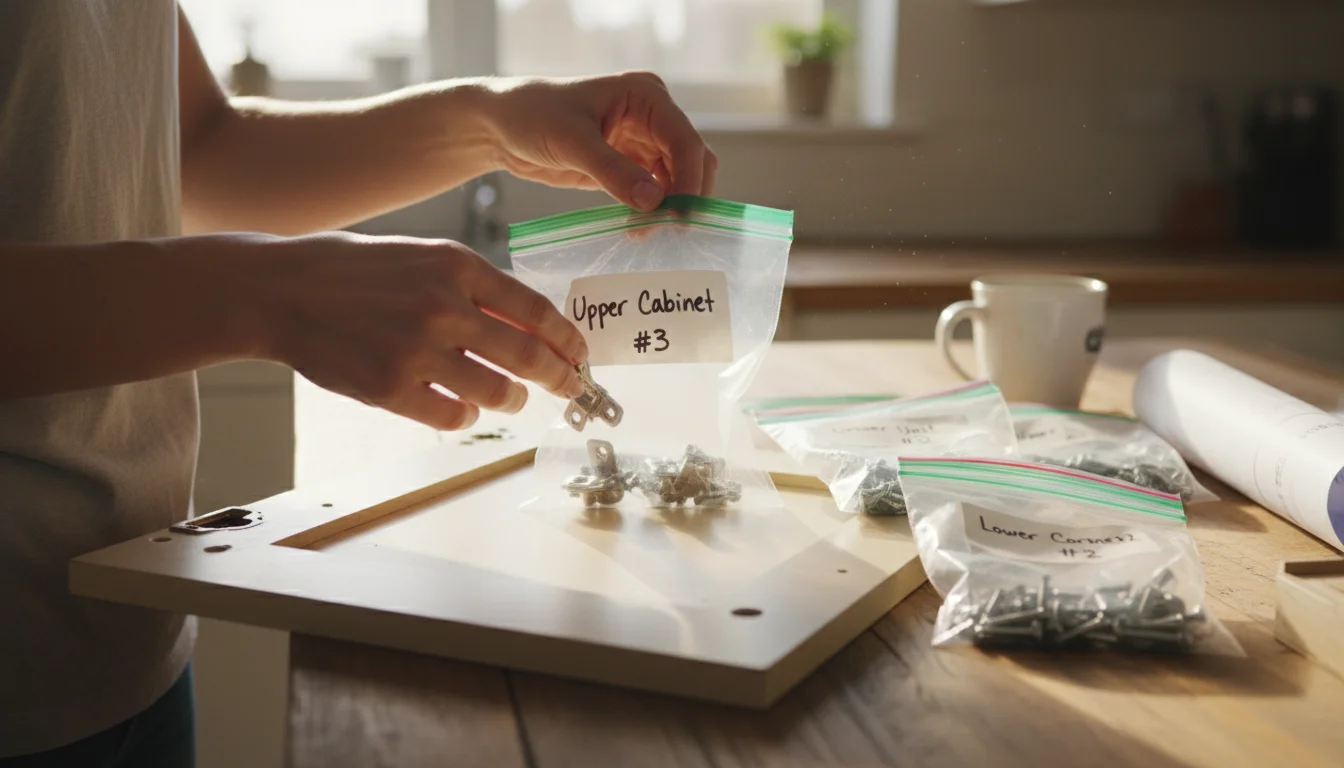
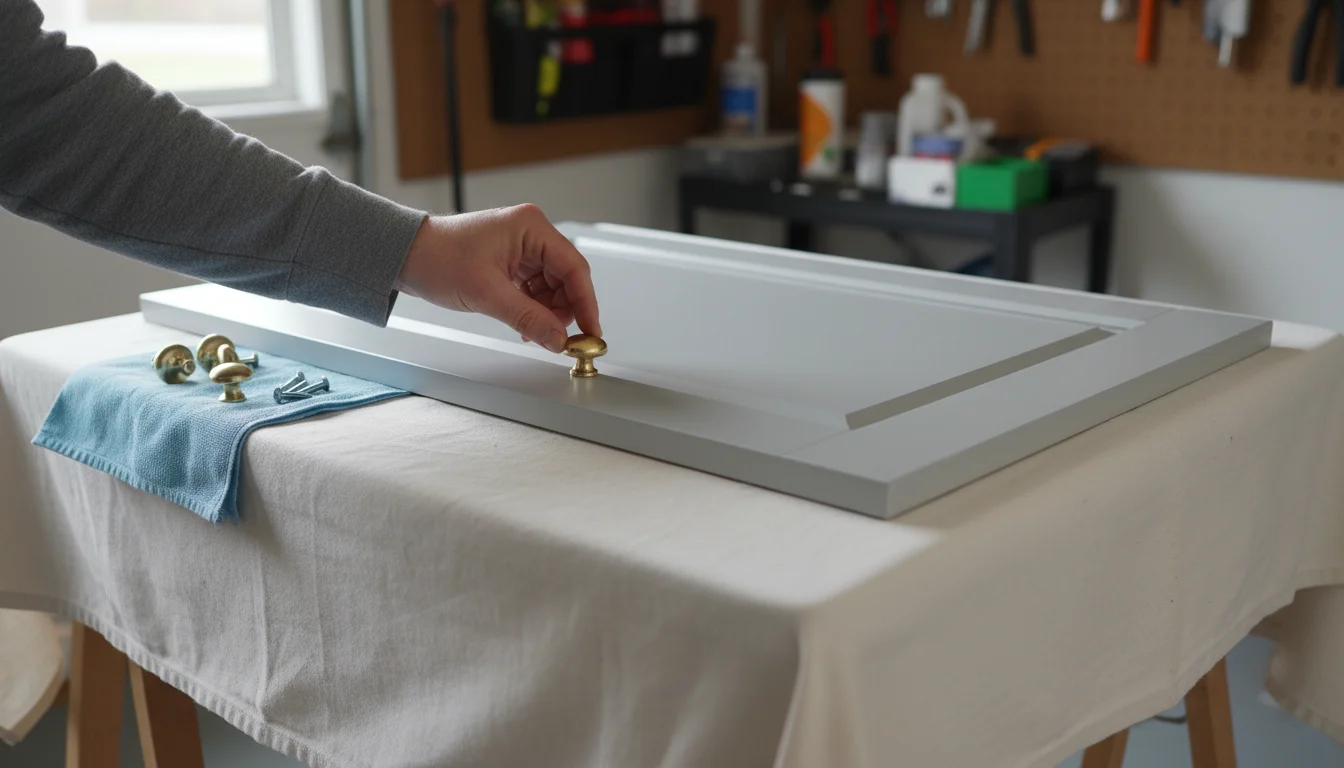
- Remove Doors, Drawers, and Hardware: Use your screwdriver to carefully remove all cabinet doors and drawer fronts. Detach hinges, handles, and pulls. Keep hardware organised by placing it in labeled plastic bags. Label each door and drawer front with a corresponding number on the cabinet box interior and the back of the door/drawer front. This ensures you rehang them in their exact original positions.
- Clean Thoroughly: Kitchen cabinets accumulate grease, grime, and food splatter over time. A powerful degreaser is essential. Mix your cleaner according to package directions and scrub every surface of your cabinets, doors, and drawer fronts. Pay special attention to areas around handles and knobs, which often have heavy build-up. Rinse thoroughly with clean water and allow everything to dry completely. Any residual grease prevents primer and paint from adhering properly.
- Repair and Fill: Inspect all surfaces for dents, dings, or holes. Fill any imperfections with wood filler, applying it with a putty knife. Allow the filler to dry completely, then sand it smooth with 220-grit sandpaper. If you plan to install new hardware with different hole placements, fill the old holes now.
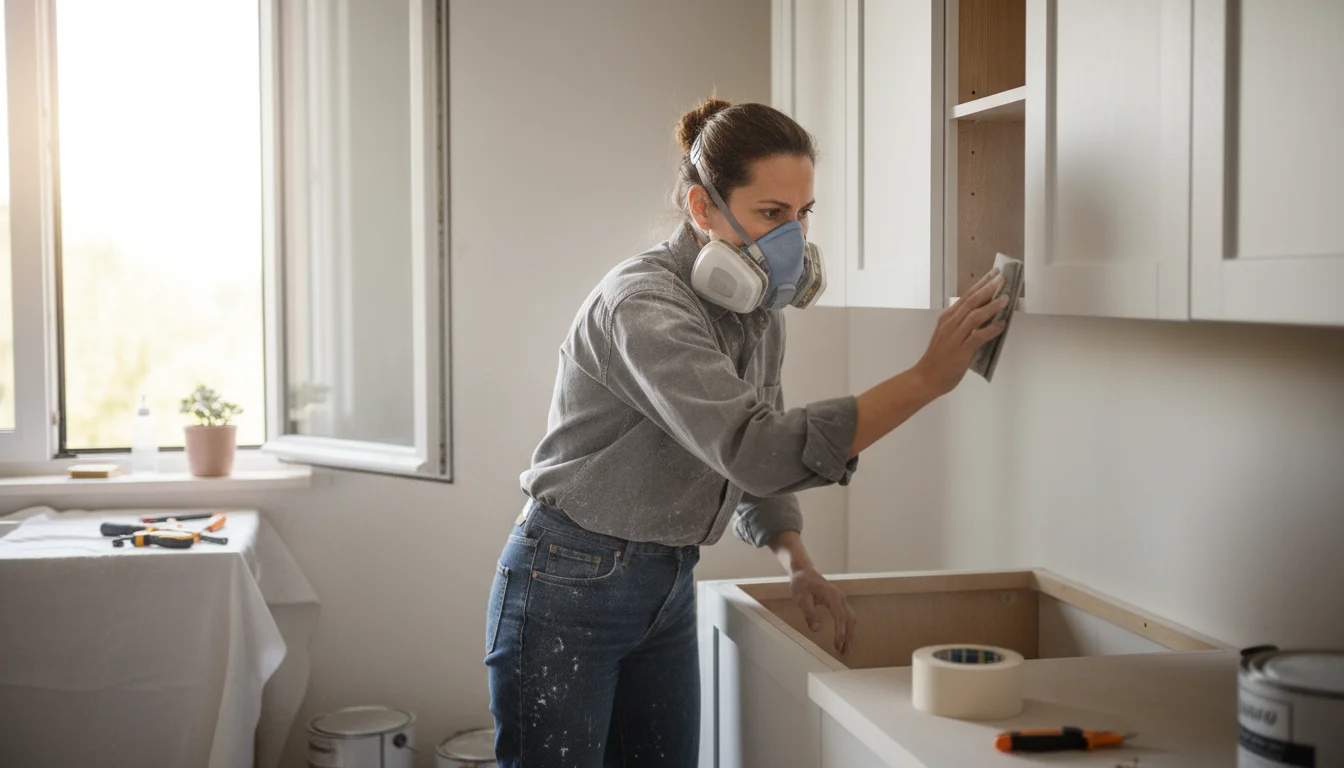
- Initial Sanding: Lightly sand all surfaces you plan to paint. Use 120-grit sandpaper for general sanding, ensuring you dull any glossy finishes. This creates “tooth” for the primer to adhere to. For detailed areas, use a sanding sponge. You do not need to sand down to bare wood, just scuff the existing finish.
- Dust Removal: After sanding, thoroughly vacuum all surfaces to remove dust. Then, wipe everything down with a tack cloth. Repeat this process until absolutely no dust remains. Dust particles trapped under paint create a bumpy, unprofessional finish.
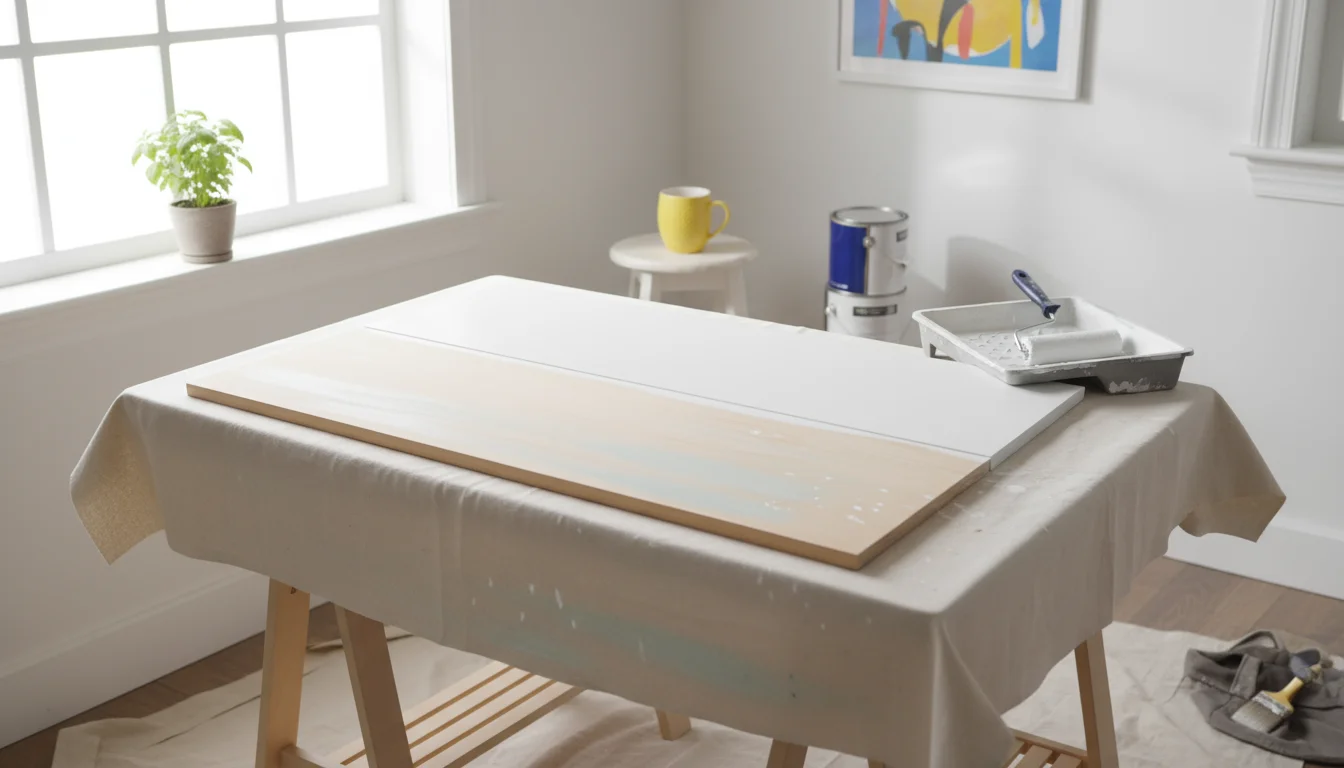
- Masking and Protecting: Use painter’s tape to mask off any areas you do not want painted, such as inside cabinet boxes, adjacent walls, or countertops. Lay down drop cloths or plastic sheeting to protect your floors and other kitchen surfaces.
The All-Important Priming Stage
Priming is not an optional step; it is critical for achieving a durable and professional paint job on your kitchen cabinets. Primer creates a bonding layer between the cabinet material and the new paint, ensuring superior adhesion and preventing bleed-through from old stains or wood tannins. For a kitchen makeover that lasts, do not skip this.
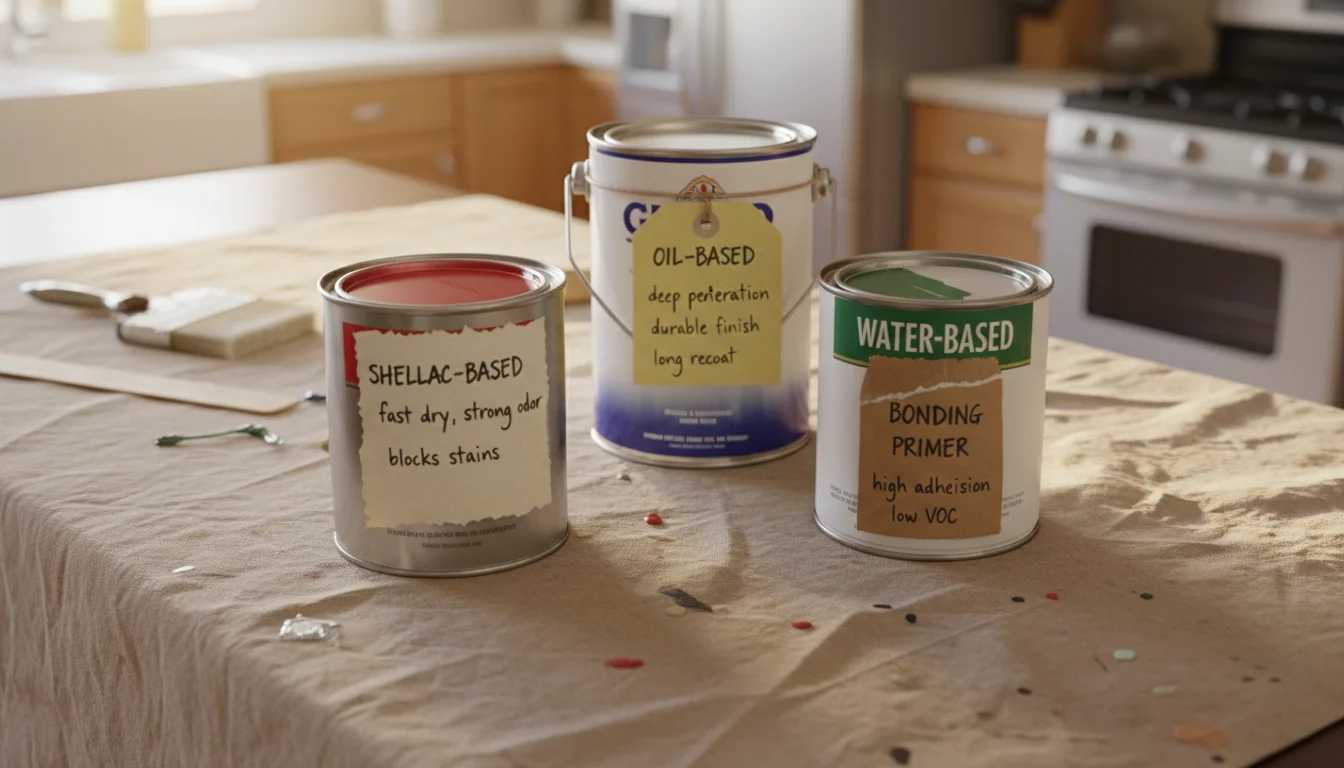
Choosing the Right Primer:
- Shellac-Based Primer: Excellent for blocking stains and odours, and offers superb adhesion to tricky surfaces. It dries quickly but has a strong odor and requires denatured alcohol for cleanup.
- Oil-Based Primer: Also provides excellent stain-blocking and adhesion. It is durable but has a longer drying time and requires mineral spirits for cleanup.
- High-Quality Water-Based Bonding Primer: Many modern water-based primers offer great adhesion and stain-blocking without the strong fumes or difficult cleanup of oil or shellac. Look for products specifically labeled for cabinet or high-adhesion applications. As Family Handyman often recommends, choosing a high-quality bonding primer is essential for maximum paint adhesion and durability on kitchen surfaces.
Application Steps:
- Ensure Ventilation: Open windows and use fans to ensure good air circulation. Wear your respirator.
- Apply the First Coat: Start with the backs of the cabinet doors and drawer fronts. Use a high-quality angled brush for detailed areas and edges, then switch to a small foam roller for flat surfaces. Apply thin, even coats to avoid drips and brush marks. Prime the cabinet boxes next, working from top to bottom.
- Allow to Dry: Let the primer dry completely according to the manufacturer’s instructions. This usually takes several hours. Do not rush this step.
- Light Sanding (Optional but Recommended): Once dry, lightly sand all primed surfaces with 220-grit sandpaper or a fine sanding sponge. This removes any slight imperfections or raised grain, creating an ultra-smooth base for your paint.
- Clean Dust: Wipe all surfaces thoroughly with a tack cloth to remove sanding dust.
- Apply Second Coat (if needed): If the previous finish was dark or uneven, apply a second thin coat of primer. Repeat the drying and light sanding steps.

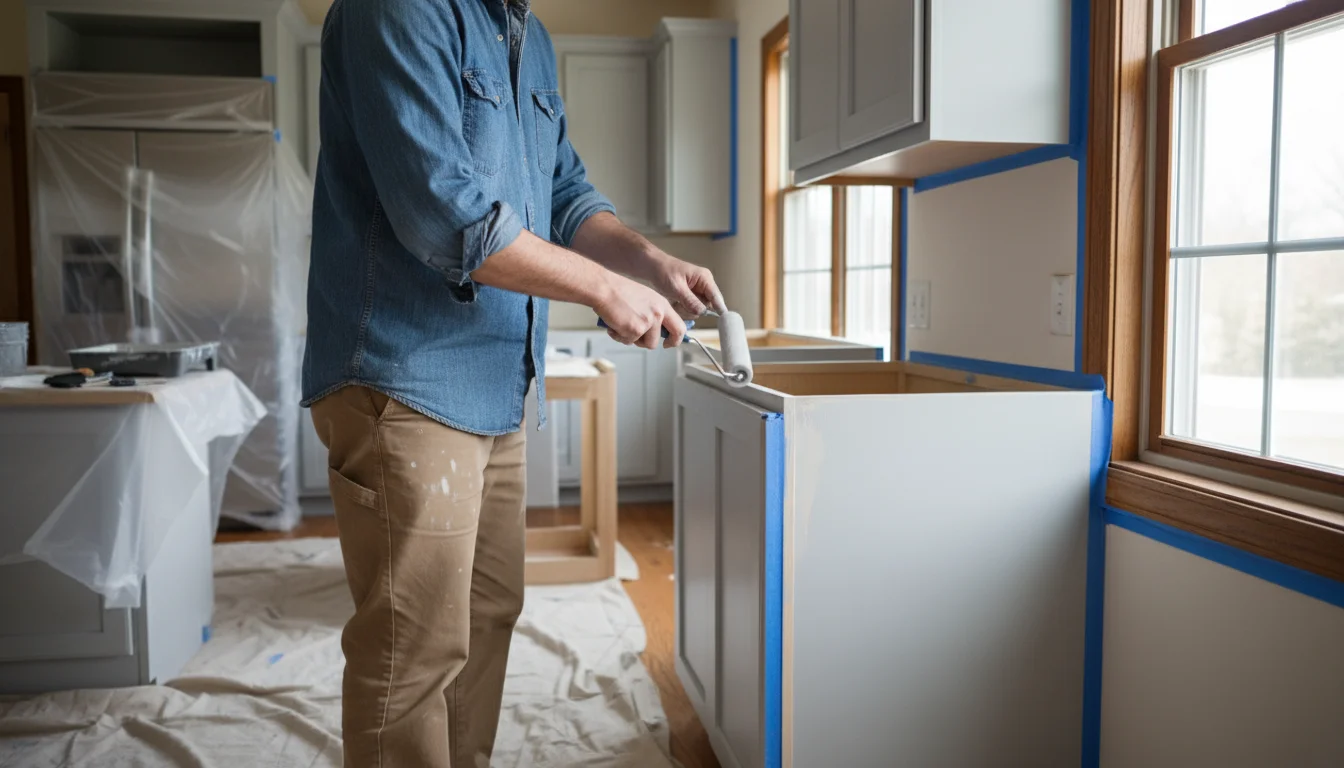
Painting Your Cabinets: Techniques for a Flawless Finish
With the primer dry and smooth, you are ready for the exciting part: applying the paint. Achieving a factory-like finish requires patience and proper technique. Remember, thin, even coats are always better than one thick coat.
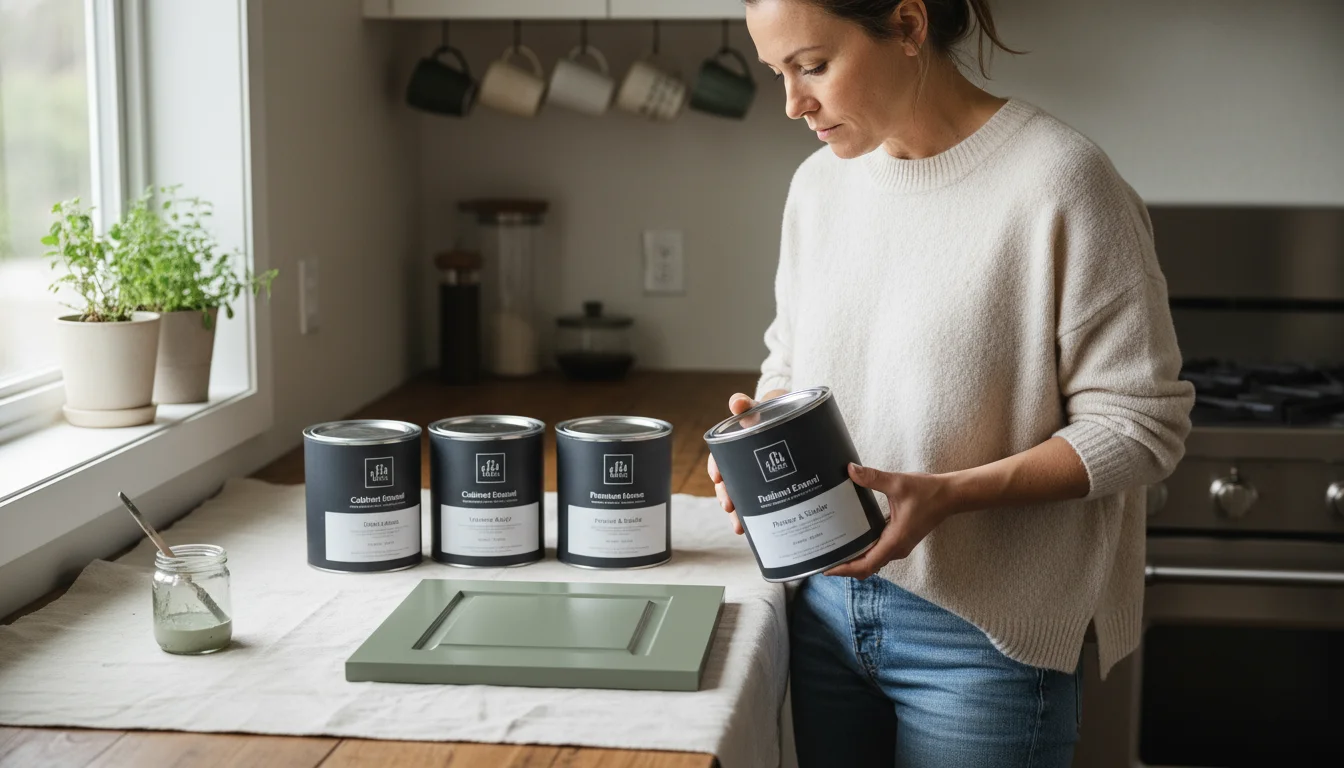
Choosing Your Paint:
Select a durable paint specifically formulated for cabinets or trim. These paints offer better chip resistance, hardness, and washability. Options include:
- Urethane Alkyd Enamel: A hybrid paint offering the best qualities of oil and water-based paints, including hardness and easy cleanup.
- Acrylic-Urethane Enamel: Very durable, dries hard, and resists blocking (sticking) when doors close.
- Epoxy-Based Paints: Extremely durable, but often require a two-part mixing process and are best left to experienced DIYers or professionals.
For a truly smooth finish, consider a paint conditioner or extender, which slows down drying time and reduces brush marks. As Bob Vila suggests, choosing the right paint formulation, such as a water-based alkyd enamel, is crucial for a durable and professional-looking cabinet finish.
Application Steps:
- Ventilate: Maintain good ventilation throughout the painting process.
- First Topcoat:
- Doors and Drawer Fronts: Start with the back of your doors and drawer fronts. Use your angled brush to paint any recessed panels or detailed edges. Then, immediately follow with your foam roller on the flat surfaces, applying thin, even coats. Roll in one direction, ensuring smooth, even coverage. Avoid overloading your brush or roller to prevent drips.
- Cabinet Boxes: Paint the cabinet boxes starting with any recessed areas or frames, then roll the flat surfaces. Work methodically from top to bottom.
- Allow to Dry: Let the first coat dry completely, following the manufacturer’s recommended drying times. This is often 4-6 hours, but humidity and temperature can affect it.
- Light Sanding: Once dry, lightly sand all painted surfaces with 220-grit sandpaper or a fine sanding sponge. This helps create a smooth surface and improves adhesion for the next coat. Remove all dust with a tack cloth.
- Second Topcoat (and subsequent coats): Apply the second coat of paint following the same techniques as the first. Most projects require two coats, sometimes three for darker colours or if you are significantly changing the cabinet color. Always allow full drying time between coats and light-sand if necessary, removing dust each time.
Work in a clean, dust-free environment. Any dust that settles on wet paint will become a permanent part of your finish. Do not rush. Patience yields the best results.
Curing, Reassembly, and Final Touches
You have painted your cabinets, and they look fantastic. However, the job is not quite done. The paint needs to “cure” to reach its maximum hardness and durability. This is a crucial step to ensure your new kitchen makeover lasts.
Understanding Curing Time:
Paint dries to the touch relatively quickly, but curing takes significantly longer. While you might be able to handle painted doors after 24-48 hours, the paint typically takes 7 to 30 days to fully cure, depending on the paint type and environmental conditions. During this period, the paint film hardens and becomes more resistant to scratches, dents, and moisture.
- Handle with Care: Even if the paint feels dry, treat the surfaces gently. Avoid scraping, bumping, or placing heavy objects on them.
- Adequate Airflow: Ensure good airflow in your kitchen during the curing process.
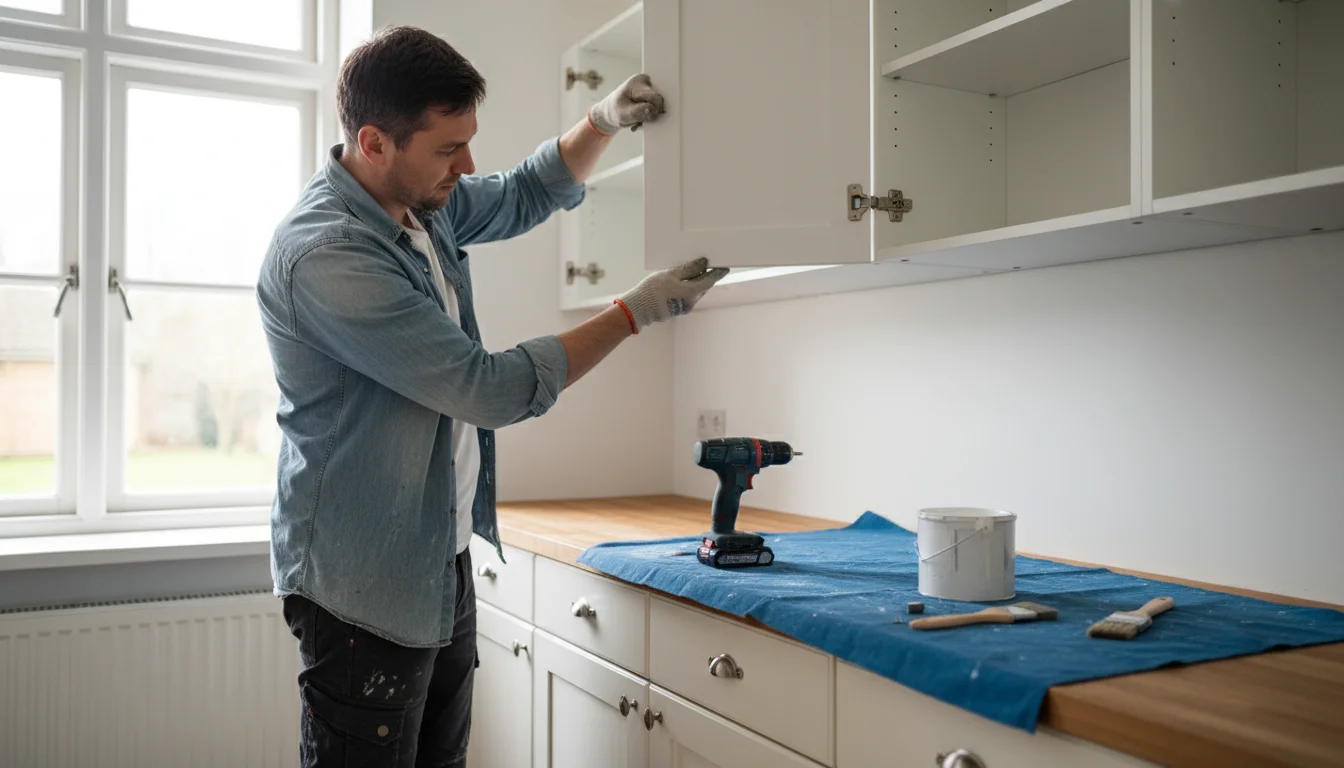
Reassembly Steps:
- Wait for Adequate Drying: Allow at least 24-48 hours after your final coat before attempting reassembly. Rushing this step risks damaging your fresh paint.
- Reattach Hardware: Carefully reattach hinges to the doors and then install the doors back onto the cabinet boxes, matching the numbers you labeled earlier.
- Install Drawer Fronts: Reattach drawer fronts and install drawer pulls and handles.
- Adjust Doors: Adjust hinges as needed to ensure all doors hang straight and close properly. Most modern hinges offer adjustments for side-to-side, up-and-down, and in-and-out alignment.
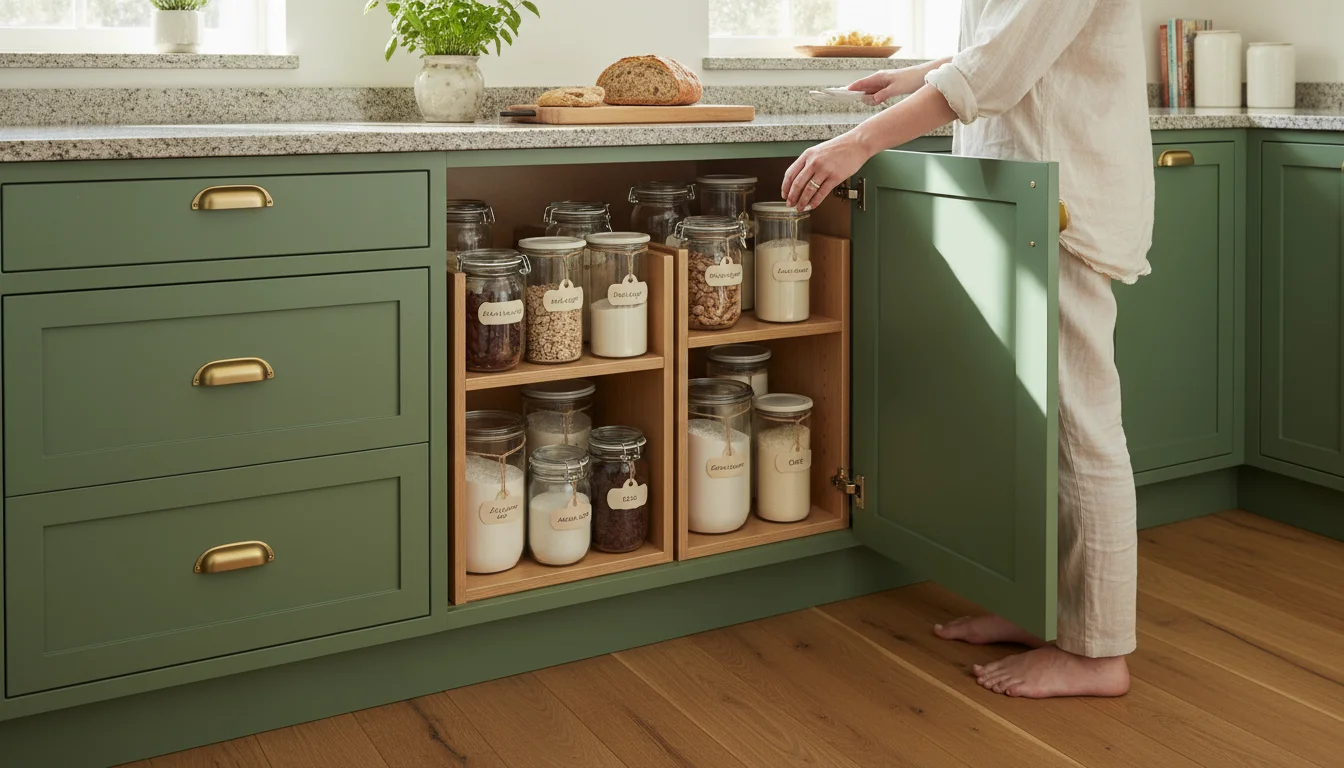
- Reorganise: Once everything is reassembled and cured enough for light use, you can put your dishes and pantry items back. This is another opportunity to refine your kitchen organization, creating designated areas for everything, helping you maintain order effortlessly.
- Caulk (Optional): For a truly finished look, apply a thin bead of paintable caulk along any gaps between the cabinet boxes and the wall. This creates a seamless appearance.
Take your time with reassembly. A carefully painted kitchen deserves a precise final setup. Your patience during the curing and reassembly phases ensures your beautifully painted cabinets stand the test of time.
Common Mistakes to Avoid for a Professional Look
Achieving a professional-looking paint job on your cabinets involves more than just applying paint. Avoiding common pitfalls saves you time, frustration, and ensures a durable, attractive finish. Here are critical mistakes to steer clear of:
- Skipping Proper Cleaning: Grease and grime are paint’s worst enemies. If you do not thoroughly clean and degrease surfaces, your paint will not adhere properly, leading to chipping and peeling. Invest the time in meticulous cleaning.
- Neglecting Sanding: Light sanding, or “scuffing” the surface, creates tiny abrasions that help primer and paint grip. Skipping this step leads to poor adhesion, especially on glossy finishes.
- Not Using a Quality Primer: Primer is the foundation. Without a suitable primer, stains can bleed through, and the paint may not adhere, particularly on wood with tannins or previously finished surfaces.
- Applying Thick Coats of Paint: This is a common mistake. Thick coats create drips, runs, and an uneven, “gloppy” appearance. They also take longer to dry and cure, increasing the risk of damage. Always apply multiple thin, even coats.
- Rushing Drying and Curing Times: Patience is paramount. Applying subsequent coats or reassembling too soon can lead to tacky surfaces, brush marks, or even peeling paint. Respect the manufacturer’s drying and curing recommendations.
- Using Low-Quality Tools: Cheap brushes leave bristles, and poor rollers create textures. Invest in good quality brushes and fine-nap foam rollers designed for smooth finishes.
- Inadequate Ventilation: Paint fumes can be harmful. Working in a poorly ventilated area is a health risk and can also affect paint drying. Ensure good airflow with open windows and fans.
- Painting Hardware or Hinges: Unless specifically designed for painting, hinges and hardware should be removed. Painting over them creates a messy look and can impair functionality.
- Ignoring Environmental Conditions: Painting in extremely humid or cold conditions can negatively impact drying and adhesion. Ideal conditions are moderate temperature and humidity.
- Forgetting to Label Parts: When removing doors and drawers, label them. This ensures they go back in their original spots, saving you a headache during reassembly, especially since each door fits its specific opening best.
Maintenance Tips to Keep Your Painted Cabinets Looking New
You have invested time and effort into your beautiful new kitchen cabinets; now protect that investment with proper care. Regular maintenance ensures your painted surfaces remain pristine and durable for years to come.
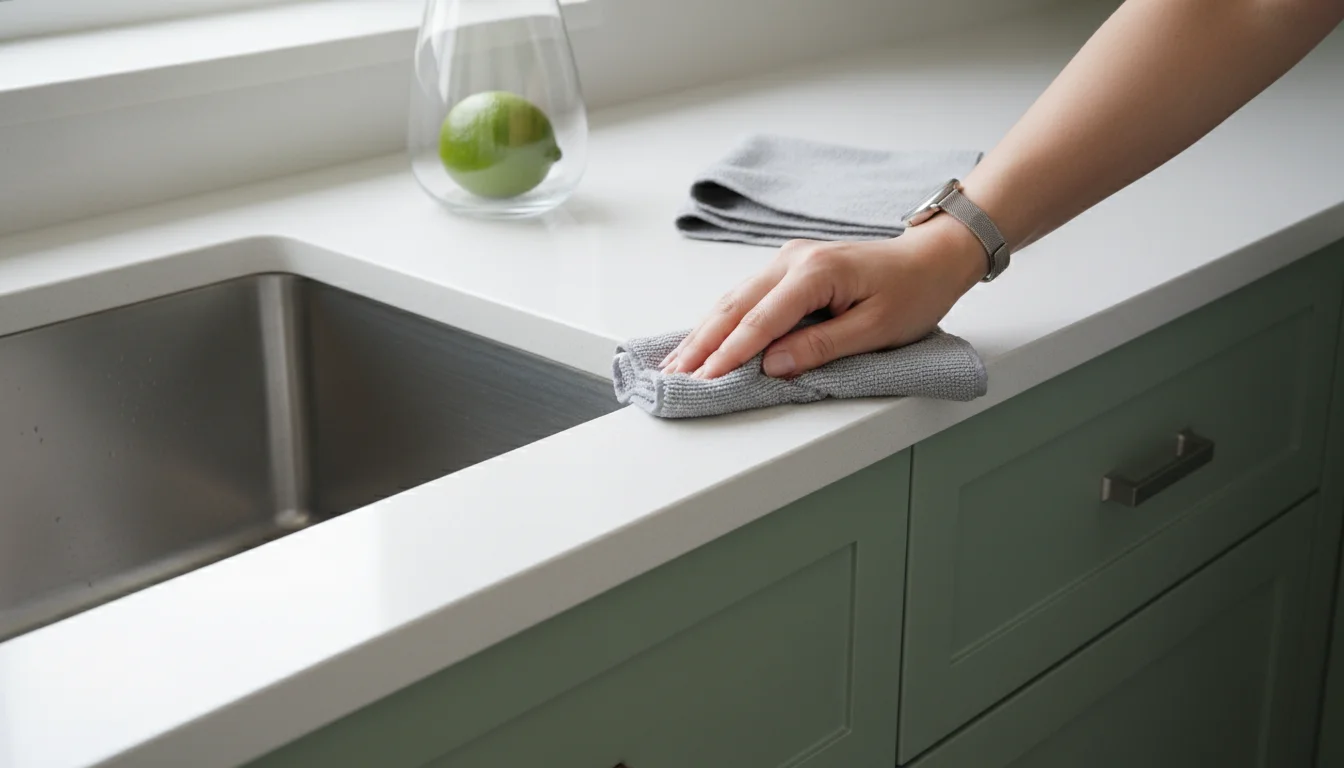
- Gentle Cleaning is Key: For everyday cleaning, use a soft, damp cloth with a mild dish soap solution. Avoid abrasive cleaners, scrub pads, or harsh chemicals, as these can scratch the paint surface or dull the finish. Wipe spills immediately, especially acidic ones like tomato sauce or lemon juice, to prevent staining or etching the paint.
- Avoid Excessive Moisture: While cabinet paints are durable, prolonged exposure to moisture can cause issues. Wipe down splashes from the sink or stovetop promptly. Ensure good ventilation, especially when cooking, to prevent condensation build-up.
- Use Cabinet Bumpers: If your cabinet doors and drawers do not have them, apply small, clear adhesive bumpers to the inside corners of doors and drawer fronts where they meet the cabinet frame. These cushions prevent slamming, reduce wear on the paint, and minimise noise.
- Protect from Heat and Steam: Place small appliances that generate heat or steam, like coffee makers or toasters, away from painted cabinet surfaces. The heat and moisture can cause paint to peel or discolour over time. Consider adding heat shields if appliances must be close.
- Touch-Up Kits: Keep a small amount of your cabinet paint stored properly. This allows you to quickly touch up minor chips or scratches that inevitably occur with daily use, keeping your kitchen looking fresh. According to Good Housekeeping, having touch-up paint readily available is a smart strategy for maintaining the pristine look of painted surfaces.
- Mindful Use of Hardware: Regularly check that cabinet hardware remains tight. Loose handles or pulls can cause undue stress on the paint around them, leading to chips. Tighten screws as needed.
By following these simple maintenance tips, you ensure your painted kitchen cabinets remain a beautiful and functional part of your home for a long time, preserving your kitchen makeover for maximum enjoyment.

Frequently Asked Questions
Can I paint thermofoil or laminate cabinets?
Yes, you can paint thermofoil or laminate cabinets, but they require specific preparation and primers. You must thoroughly clean and degrease the surfaces, then use a high-adhesion bonding primer specifically designed for slick, non-porous materials. Without the correct primer, paint will chip and peel quickly. The durability of paint on these surfaces is generally less robust than on solid wood.
How long does the entire cabinet painting process typically take?
The entire process, from disassembly to final reassembly and initial drying, usually takes a dedicated DIYer 5 to 10 days. This includes ample time for cleaning, multiple coats of primer and paint, and crucial drying times between each step. Rushing any stage compromises the final result, so plan for sufficient time to avoid stress and ensure quality.
What type of paint finish is best for kitchen cabinets?
For kitchen cabinets, a durable paint finish that is easy to clean is essential. Semi-gloss or satin finishes are popular choices. Semi-gloss offers a slight sheen, excellent durability, and is highly washable, making it ideal for high-traffic areas. Satin provides a softer, lower sheen with good durability and is also relatively easy to clean. Avoid flat or matte finishes, as they are harder to clean and less resistant to scuffs and stains in a kitchen environment.
Do I need to sand down to bare wood before priming?
No, you typically do not need to sand down to bare wood unless the existing finish is heavily damaged, peeling, or uneven. For most cabinet painting projects, a thorough cleaning followed by a light “scuff sanding” with 120-220 grit sandpaper is sufficient. This creates a rough surface for the primer to grip, ensuring proper adhesion and a smooth final finish without the intensive effort of full stripping.
Is it possible to paint cabinets without removing the doors?
While technically possible, painting cabinets without removing the doors is strongly discouraged. Leaving the doors on prevents you from properly cleaning, sanding, and painting all edges and surfaces evenly. This leads to drips, uneven coverage, and a significantly less professional and durable finish. Taking the time to remove doors and hardware ensures a superior result.
For expert home organization guidance, visit
Apartment Therapy,
The Container Store — Organization Tips,
IKEA Home Organization,
Martha Stewart — Home and
Houzz — Home.
Disclaimer: This article is for informational purposes only and is not a substitute for professional advice. Consult professional organizers or specialists for personalized recommendations.


Leave a Reply