
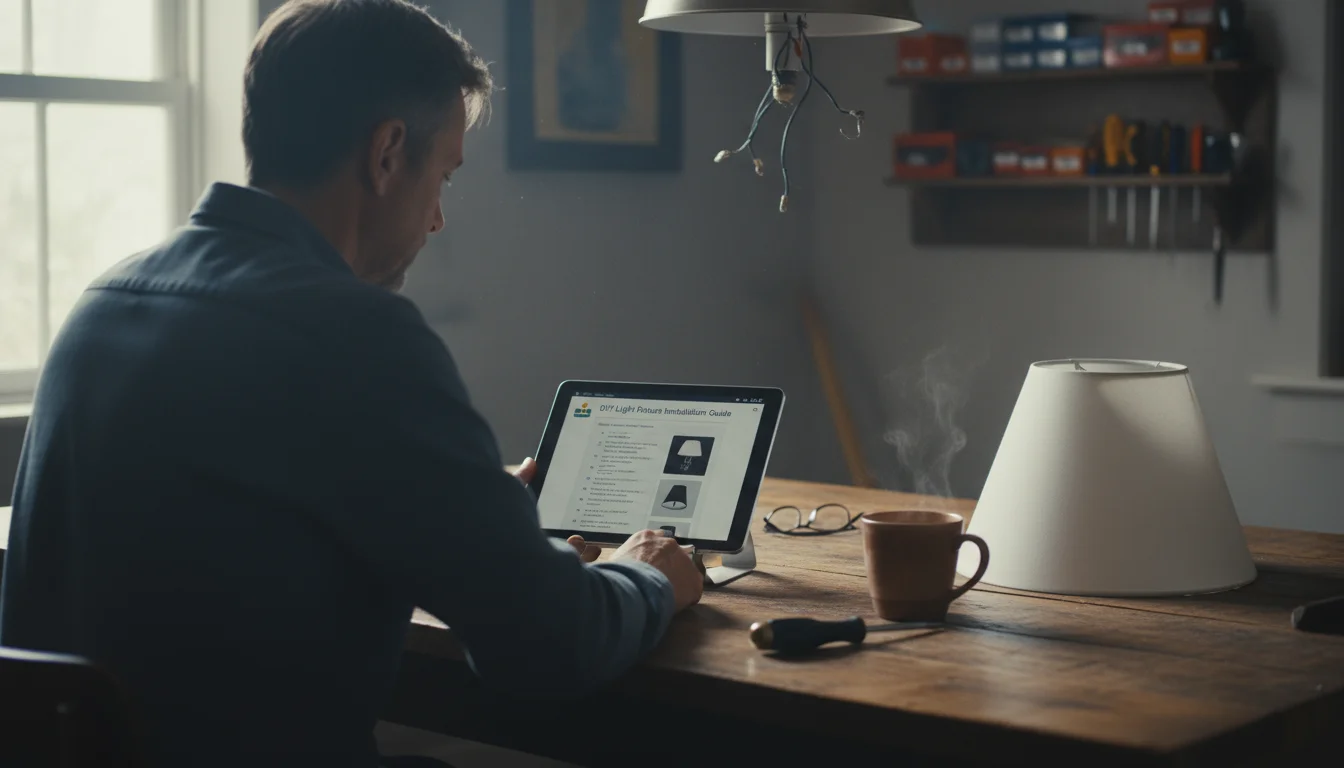
Updating your home’s lighting significantly transforms its look and feel. Many homeowners and renters avoid touching light fixtures, assuming only a licensed electrician can handle such tasks. That assumption costs you money and limits your design options. You can absolutely update many types of light fixtures yourself, enhancing your space and saving on labor costs. This guide empowers you with the knowledge and steps to confidently tackle simple light fixture updates, transforming your living environment without professional help. We focus on practical, actionable insights, prioritizing your safety and budget every step of the way.
Why Update Your Lighting? Immediate Impact Without Major Renovation
Lighting does more than illuminate a room; it establishes the mood, highlights architectural features, and impacts your home’s energy efficiency. An outdated or inefficient light fixture drags down a room’s aesthetic, making it feel dim, tired, or even uninviting. By updating your lighting, you create a brighter, more modern, and functional space.

Aesthetics and Ambiance
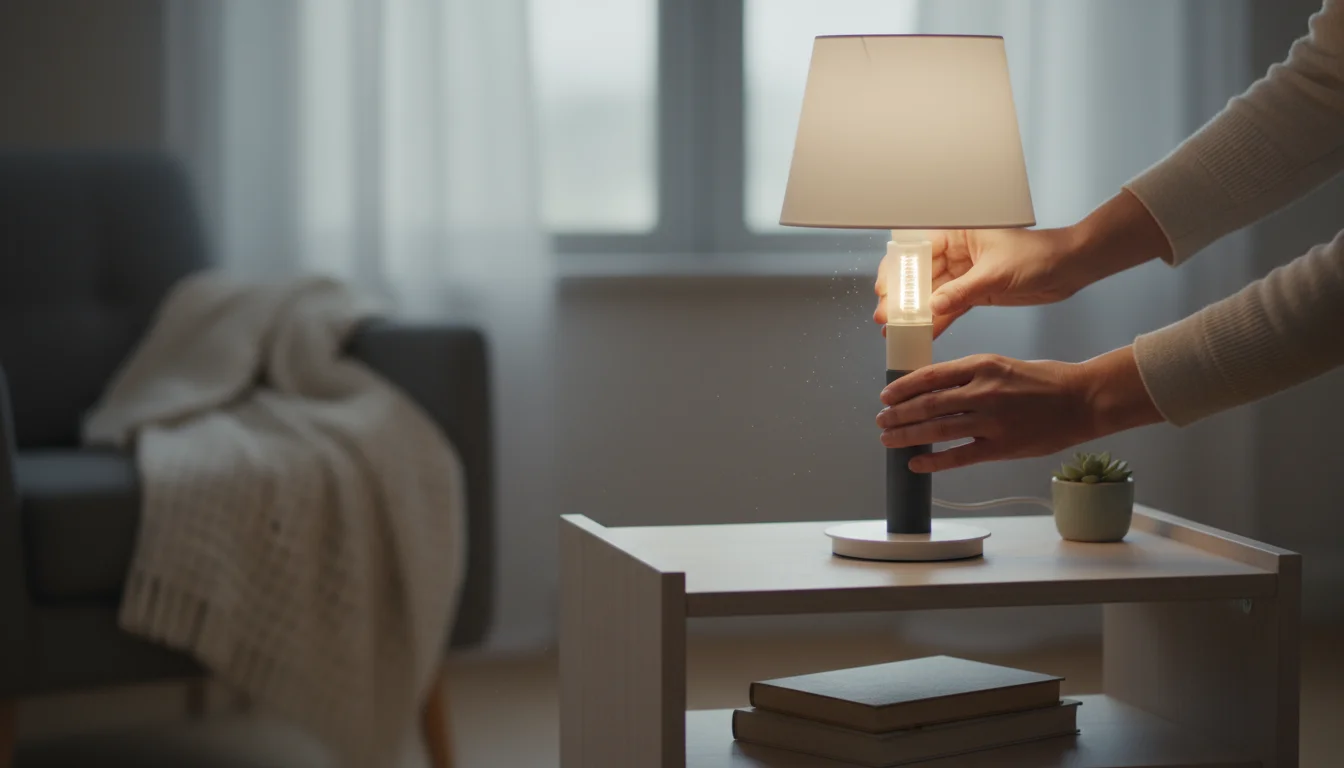
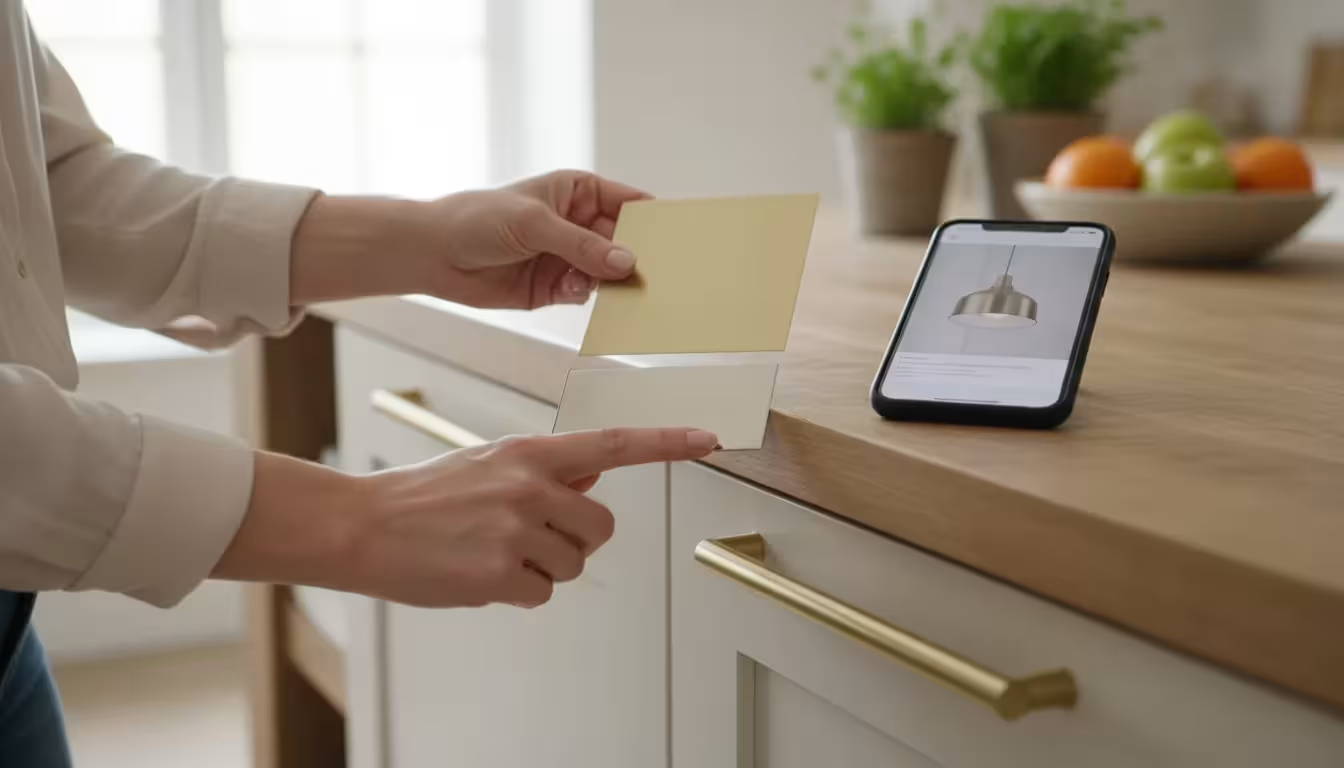
Changing a light fixture dramatically refreshes a room’s appearance. Consider a bland, builder-grade flush mount versus a stylish pendant light over your dining table. The latter immediately elevates the space, acting as a focal point and reflecting your personal style. New fixtures can shift a room’s ambiance from stark to cozy, or from traditional to contemporary. You control the narrative of your home with these simple changes.

Energy Efficiency and Cost Savings
Many older light fixtures accommodate only incandescent bulbs, which consume more energy and generate excess heat. Modern fixtures often integrate LED technology or specifically design for energy-efficient bulbs. Swapping an old fixture for a new, energy-efficient model, especially when paired with ENERGY STAR certified bulbs, significantly reduces your electricity bill. According to Energy Star, choosing certified products saves you money and reduces your carbon footprint. These savings add up over time, offsetting the initial cost of your new fixture.

Functionality and Comfort
Is your kitchen island poorly lit? Does your living room have a dark corner? Updating your lighting fixes these functional shortcomings. You install task lighting in areas needing more brightness, such as over a workbench or kitchen counter. You introduce ambient lighting to soften harsh shadows, improving overall comfort. You can also add dimmers to control light intensity, adapting to different activities and times of day. This improves your daily experience in your home, making tasks easier and relaxation more profound.

Understanding What You Can (and Can’t) Do Yourself
Before you start, understand the clear boundaries between DIY lighting projects and tasks requiring a professional electrician. Your safety is paramount, and knowing your limits prevents dangerous mistakes and costly repairs.
What You Can Confidently Do Yourself
- Replacing an existing fixture with a new one of the same type: If your current fixture connects to standard wiring within an existing junction box, and the new fixture has similar mounting and electrical requirements, you can likely handle the swap. This applies to most flush mounts, semi-flush mounts, pendant lights, and even some wall sconces.
- Changing light bulbs: This seems obvious, but consider upgrading to smart bulbs or energy-efficient LEDs for instant impact.
- Installing plug-in fixtures: Lamps, plug-in pendant lights, or LED strip lights that plug directly into an outlet require no electrical wiring knowledge.
- Replacing light switch cover plates: A purely cosmetic update that takes minutes.
- Installing ceiling fan light kits: Many ceiling fans allow you to add a light kit designed for that specific model.

When to Call a Professional Electrician
Some electrical tasks always warrant professional expertise. Attempting these yourself risks electrical shock, fire, or severe damage to your home’s electrical system:
- Installing new wiring: If you want to add a light fixture where no wiring currently exists.
- Moving or installing new junction boxes: Junction boxes contain critical wire connections; moving them involves significant electrical work.
- Changing voltage or adding new circuits: Modifying your home’s electrical load requires professional assessment.
- Any project involving extensive wiring changes or main panel work: When in doubt, call a pro. Your safety and your home’s integrity are worth the investment.
- If you feel uncomfortable or uncertain at any point: Trust your instincts. If a step feels beyond your comfort level, stop and consult an electrician.
Essential Safety First: Your Non-Negotiable Step
Electrical work, even minor updates, carries inherent risks. Ignoring safety precautions puts you in danger of electrical shock, burns, or even fire. You must treat electricity with respect and follow these fundamental safety steps every single time.
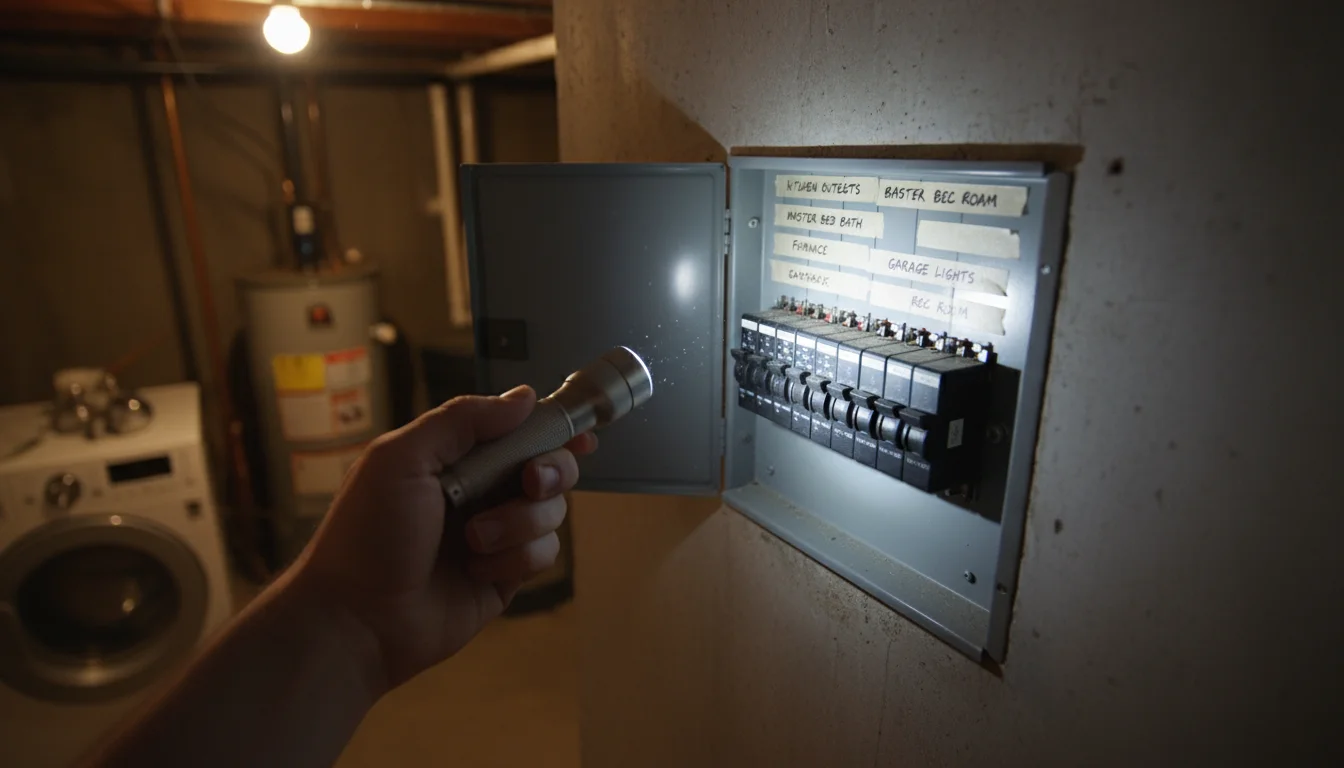
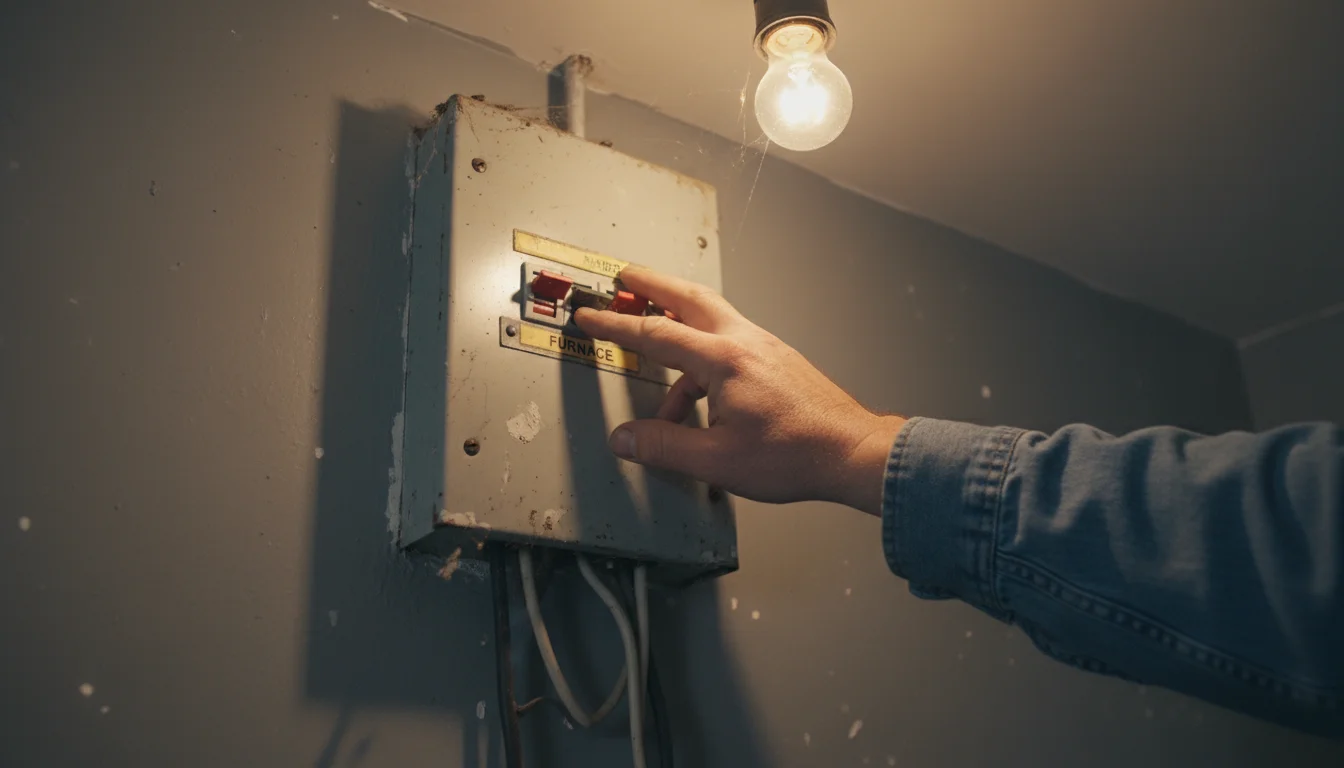
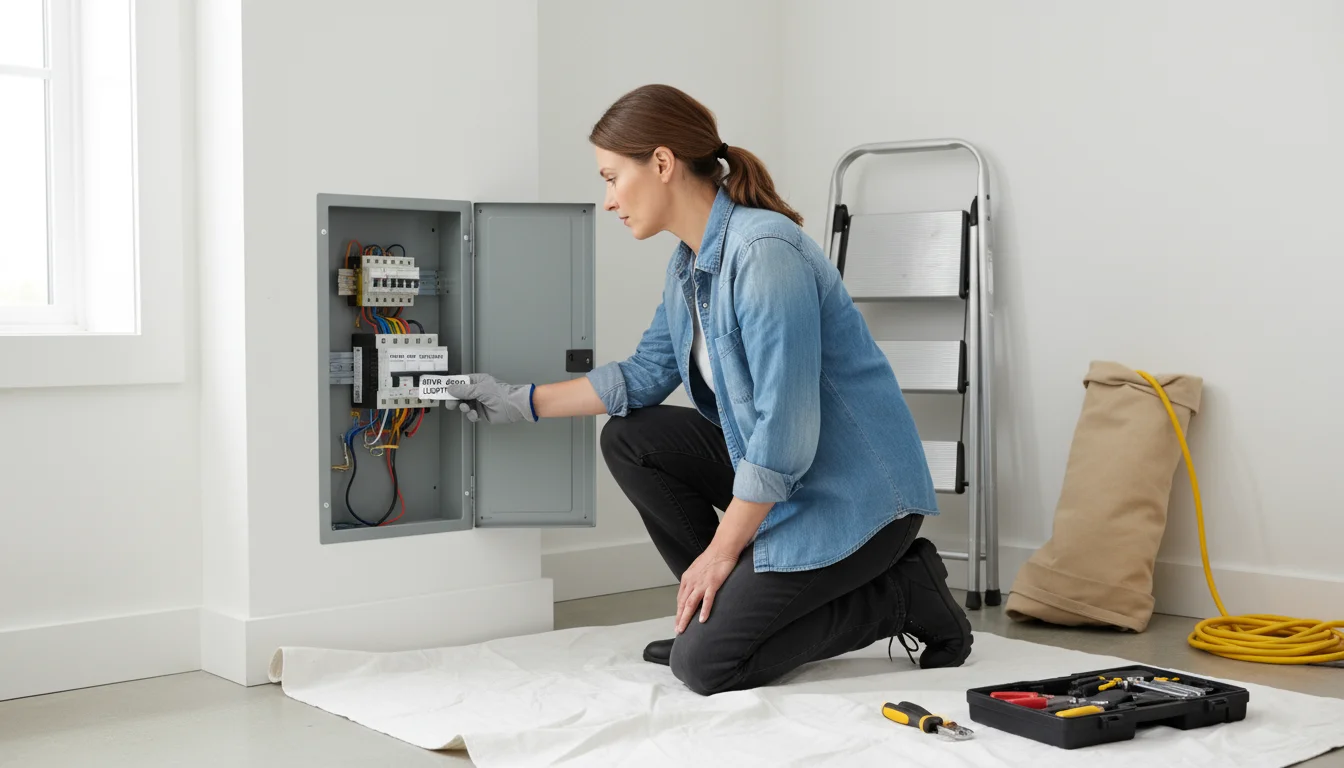
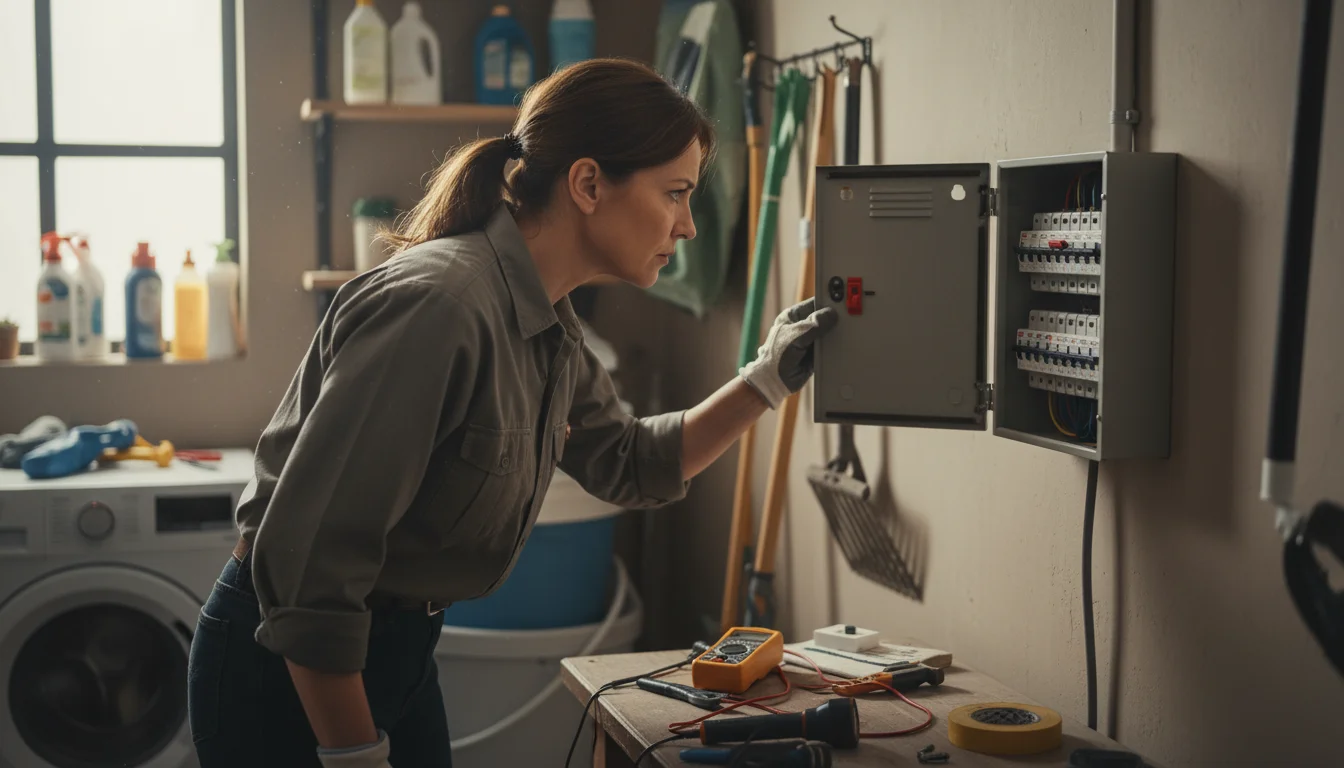
Locate and Turn Off the Power
This is the most critical step. Never work on a light fixture with the power still on. Find your home’s electrical service panel, often located in a basement, garage, or utility closet. Identify the circuit breaker that controls the light fixture you intend to work on. Labeling on your panel helps you locate the correct breaker. If your panel lacks labels, you might need to flip breakers one by one until the light turns off. Once you find it, switch the breaker to the “OFF” position. Consider taping the switch in the off position or placing a note on the panel to prevent anyone from accidentally turning it back on while you work.
Test for Deactivation
Turning off the breaker provides security, but you must always verify the power is off at the fixture itself. Use a non-contact voltage tester, a simple, affordable tool that glows or beeps when it detects live electricity. Hold the tester near the wires inside the light fixture’s junction box. If it signals electricity, you have not successfully cut the power. Go back to your breaker box and reconfirm. You may have turned off the wrong breaker, or the fixture might be on a split circuit. Do not proceed until the voltage tester indicates no power.

Gather Your Personal Protective Equipment (PPE)
Protect yourself from potential hazards. Wear safety glasses to shield your eyes from falling dust or debris, and work gloves to protect your hands. Ensure you work from a stable step ladder, not a wobbly chair, to prevent falls.

Keep Your Workspace Dry
Water conducts electricity. Ensure your hands, tools, and the floor around you remain dry. Never attempt electrical work in damp or wet conditions.
Understand Your Home’s Wiring
Most residential lighting circuits use 120 volts. You will typically encounter three types of wires in a fixture’s junction box:
- Black (or sometimes red) wire: This is the “hot” or live wire, carrying electricity from the power source.
- White wire: This is the “neutral” wire, which carries electricity back to the circuit panel.
- Green or bare copper wire: This is the “ground” wire, a critical safety feature that provides a path for fault current, preventing shock.
Your new fixture will also have corresponding wires. You match these color-for-color during installation.
Experts at This Old House consistently emphasize the importance of these safety measures for any DIY electrical project. Prioritizing safety saves lives and prevents property damage.

Tools and Materials for Your DIY Lighting Project
Gathering the right tools and materials before you begin streamlines the process and ensures a smooth installation. You likely own many of these items already.

Essential Tools
These are the fundamental tools you will need for most basic light fixture updates:
- Non-Contact Voltage Tester: Absolutely indispensable for safety. It verifies that the power is off before you touch any wires.
- Screwdrivers: A set of Phillips head and flathead screwdrivers covers most fixture screws. Insulated handles offer an extra layer of safety.
- Wire Strippers/Cutters: Essential for removing insulation from wires to make clean, secure connections. Some tools combine both functions.
- Needle-Nose Pliers: Useful for bending wire ends into hooks to wrap around screws or for tightening wire nuts.
- Step Ladder or Sturdy Stool: Provides a safe and stable platform to reach ceiling-mounted fixtures. Never stand on precarious objects.
- Work Gloves and Safety Glasses: Protect your hands from sharp edges and your eyes from dust or debris.
- Flashlight or Headlamp: Essential for illuminating dark work areas, especially after you turn off the power.
Required Materials
Beyond your new light fixture, you will need a few basic electrical supplies:
- Your New Light Fixture: Ensure it is appropriate for the location and intended use (e.g., damp-rated for bathrooms, appropriate weight for the existing junction box).
- Wire Nuts: These plastic caps twist onto connected wires, securing them together and insulating the connection. Your new fixture often includes them, but having extras ensures you have the right size.
- Electrical Tape: Use this to provide extra insulation around wire nut connections or to secure wires neatly within the junction box.
- Mounting Hardware: Your new fixture will include a mounting bracket and screws. Familiarize yourself with these components.
A quick trip to your local hardware store secures any missing items. You only need a few basic tools to complete most DIY light fixture updates.
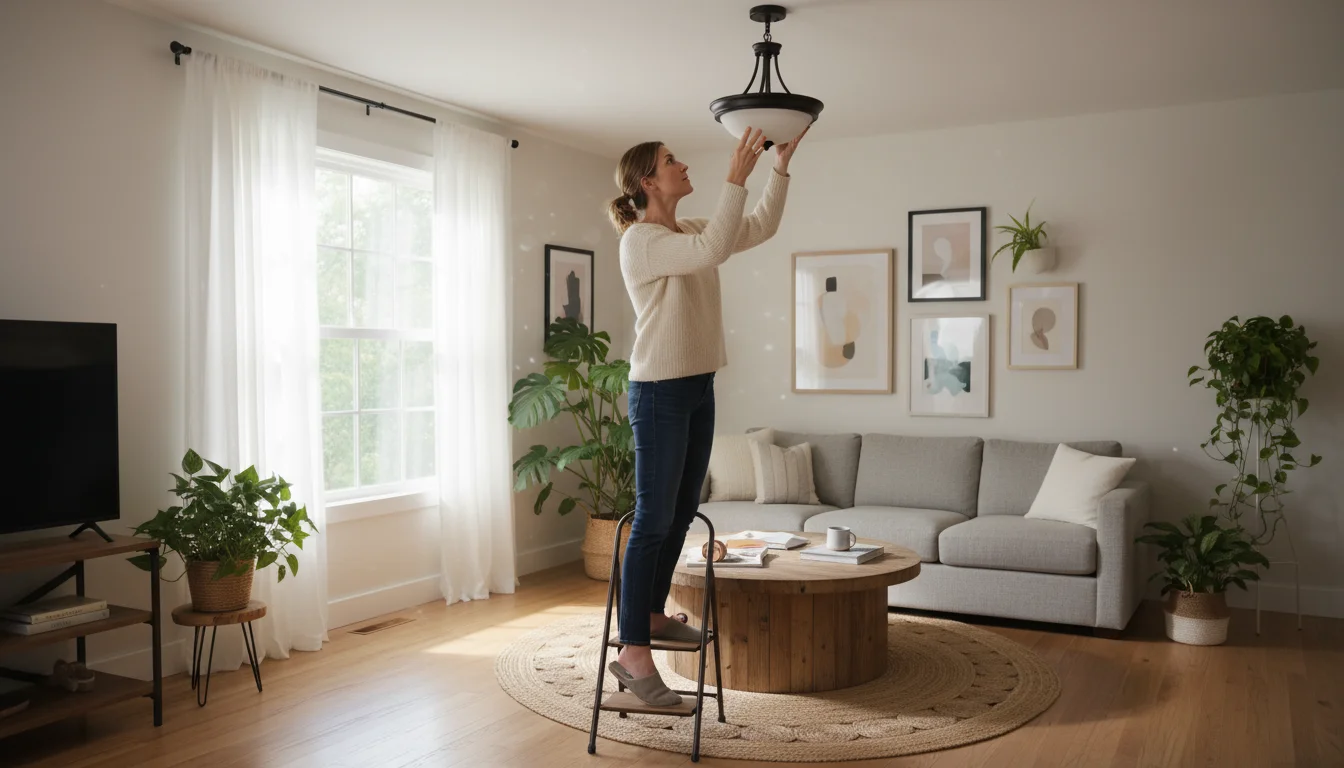
Step-by-Step Guide: Replacing a Basic Ceiling Light Fixture
Replacing a standard ceiling light fixture, such as a flush mount or a simple pendant, follows a straightforward process. Follow these steps carefully to ensure a safe and successful update.
-
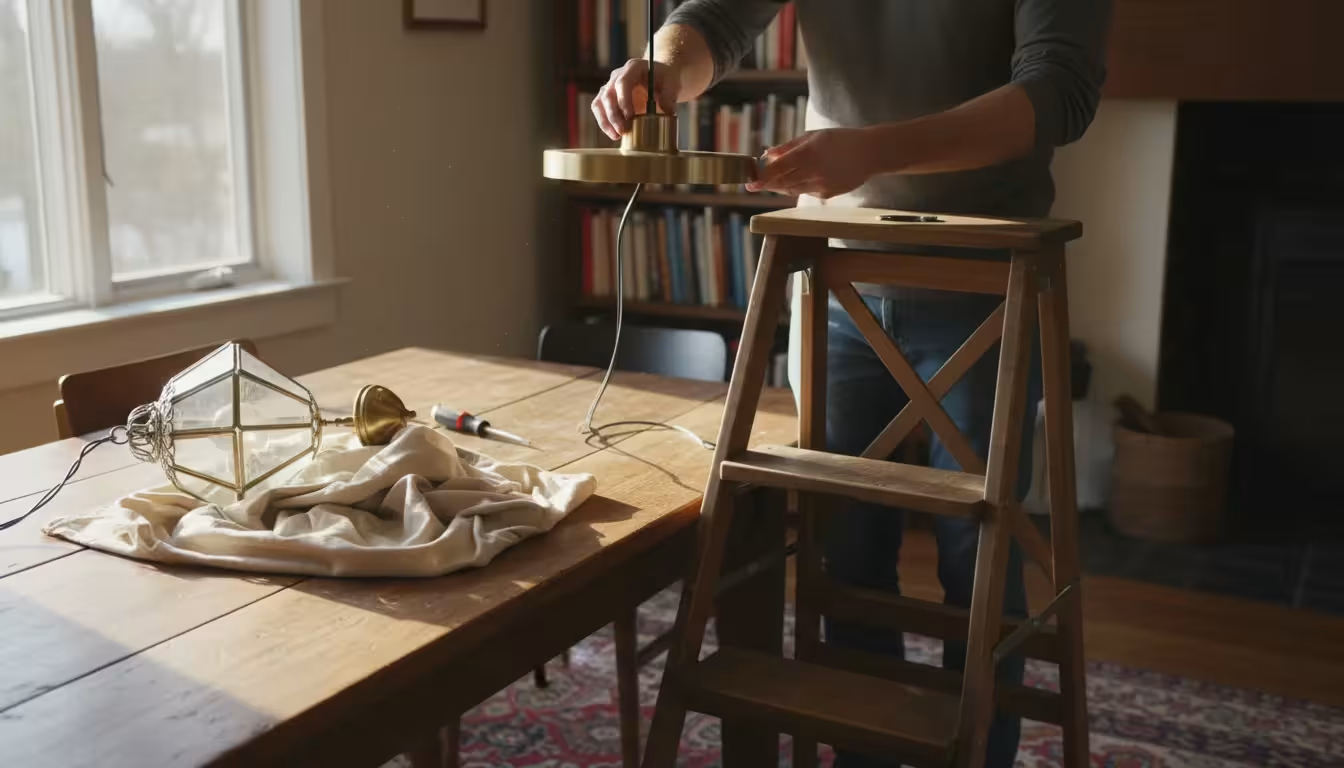
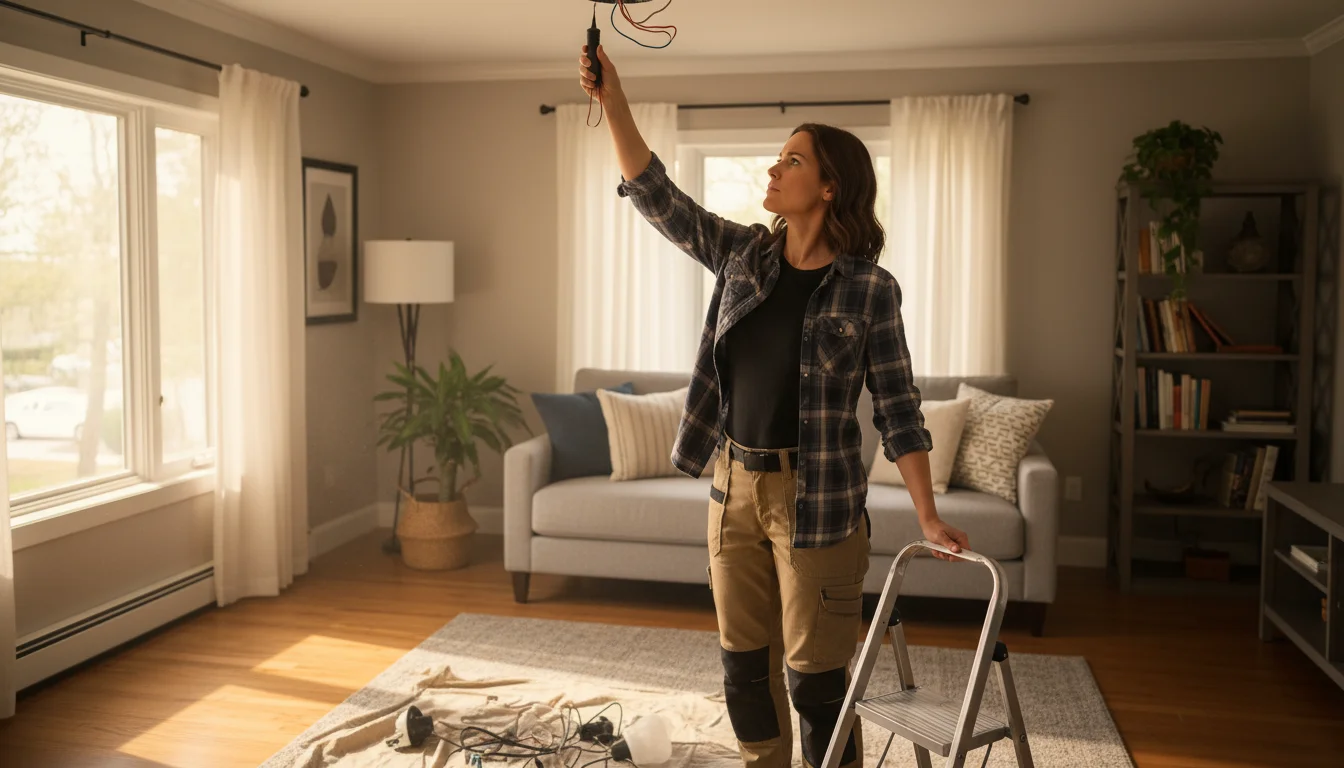
Ready to safely update those fixtures? Don’t forget to cut the power first! Prepare Your Workspace and Cut Power
Clear the area beneath the fixture, ensuring your ladder has a stable base. Place a drop cloth or old sheet on the floor to catch any falling dust or screws. Crucially, go to your electrical panel and flip the circuit breaker that controls the light fixture to the “OFF” position. Use your non-contact voltage tester to confirm no power reaches the fixture before touching any wires.
-
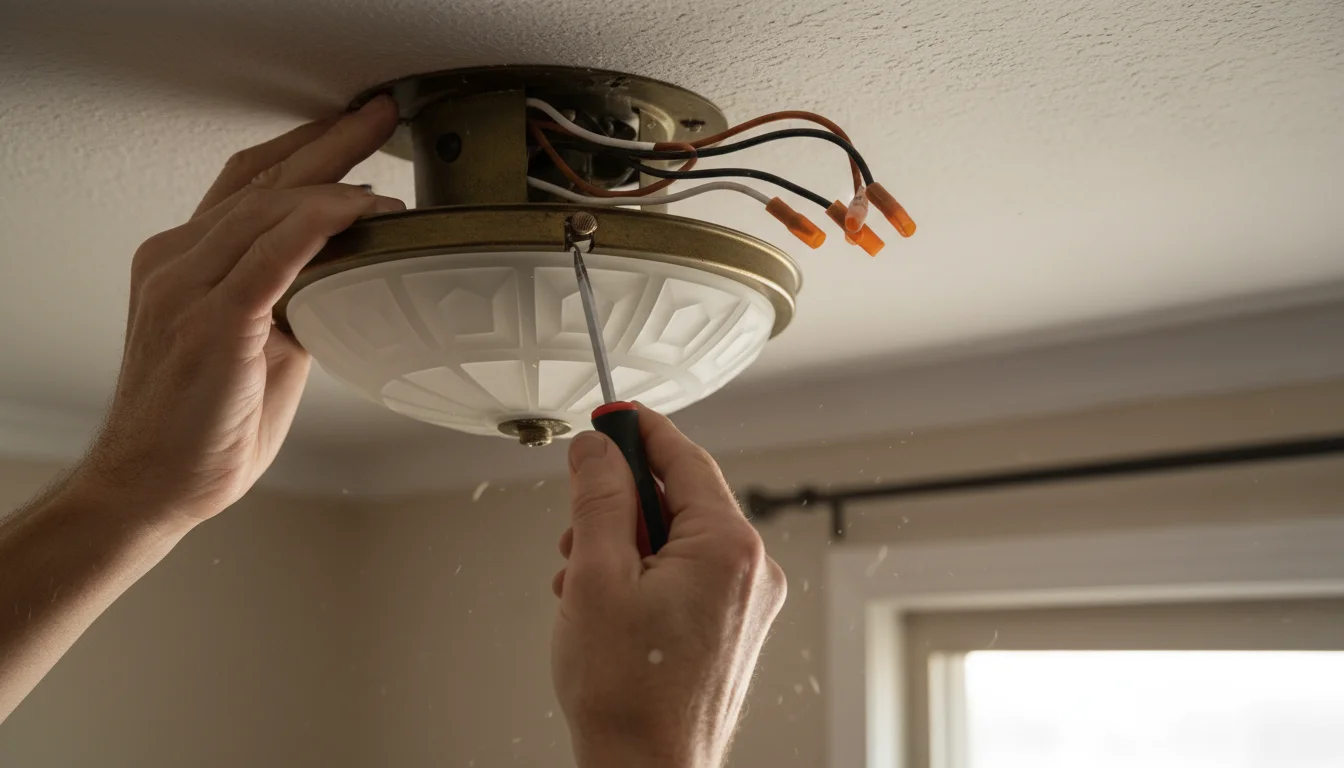
Carefully unscrewing an old light fixture to reveal the wiring connections. Remove the Old Fixture
Most fixtures have decorative nuts or screws securing them to a mounting strap, which in turn attaches to the electrical box. Carefully unscrew these fasteners. Support the fixture with one hand as you do this, as it will become disconnected. Once loose, gently lower the fixture to expose the wiring connections inside the junction box. You will see the fixture’s wires connected to your home’s wiring with wire nuts.
-
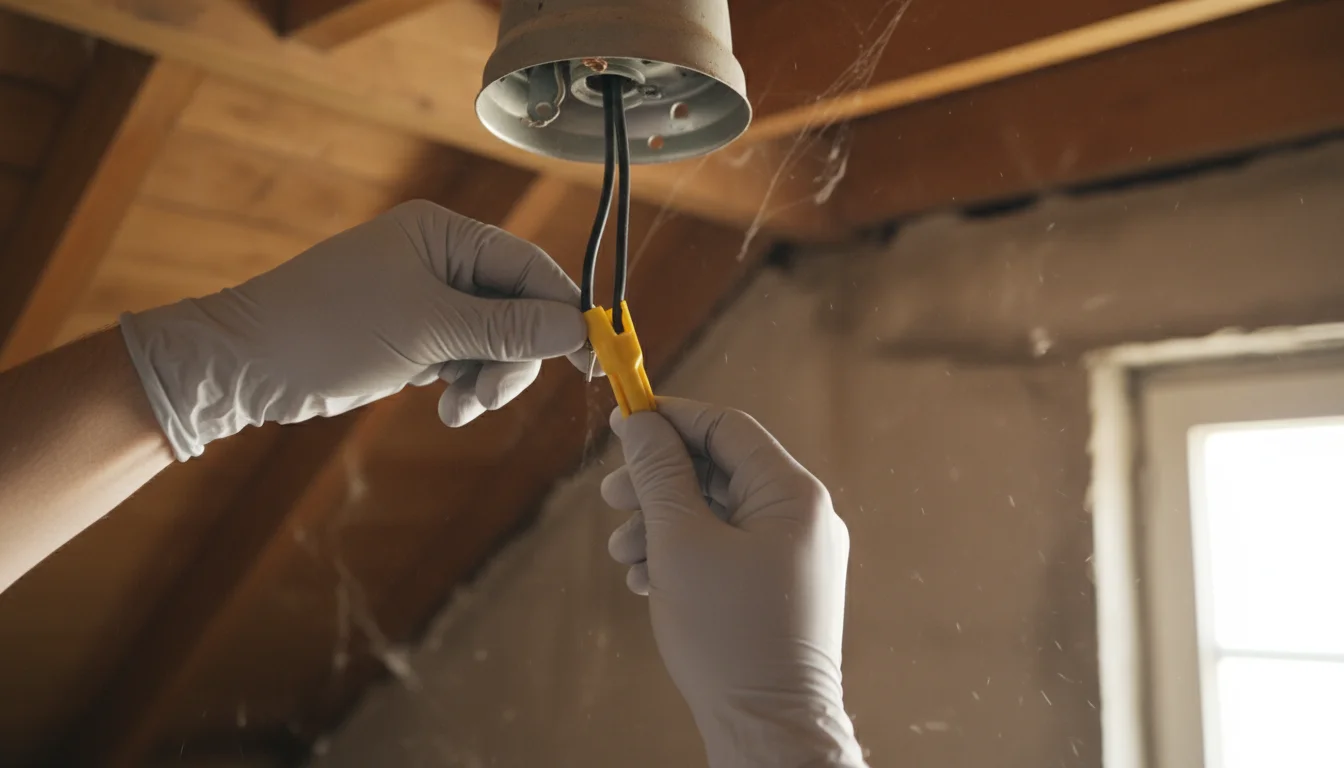
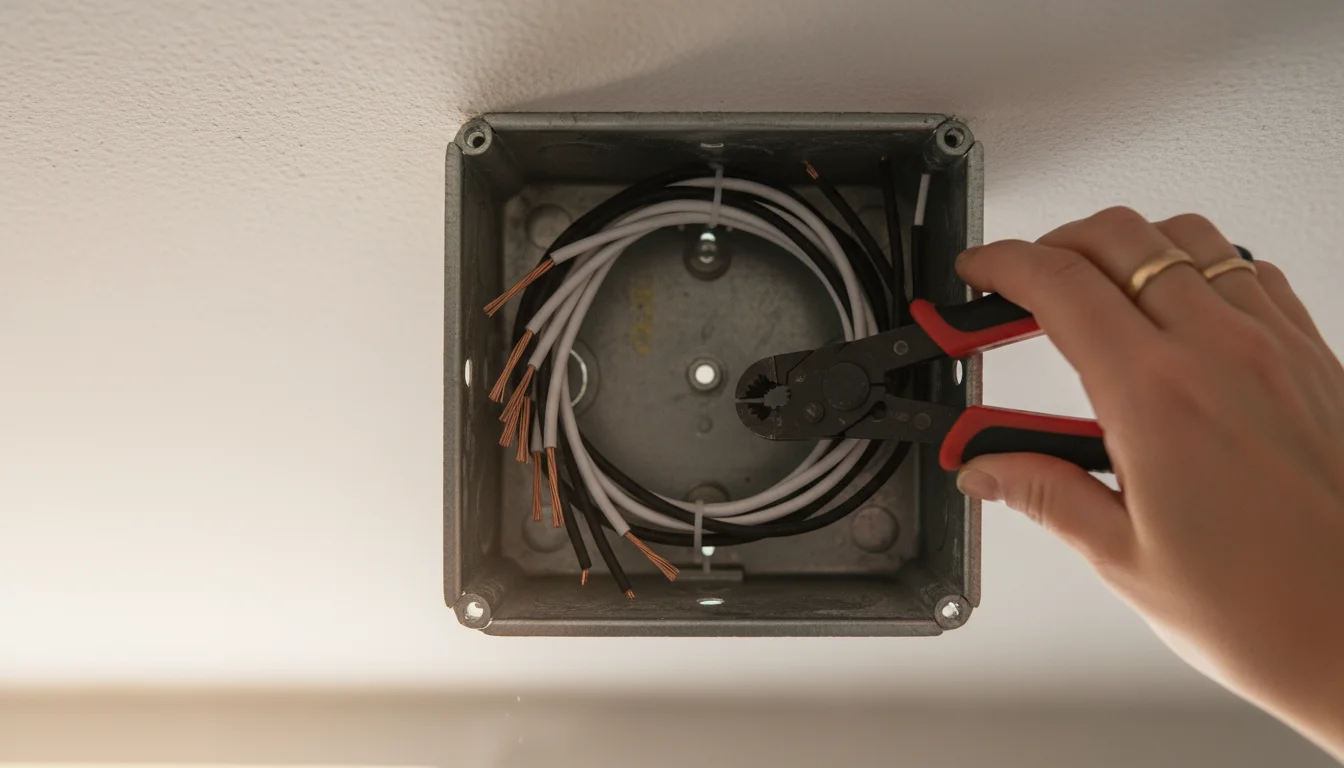
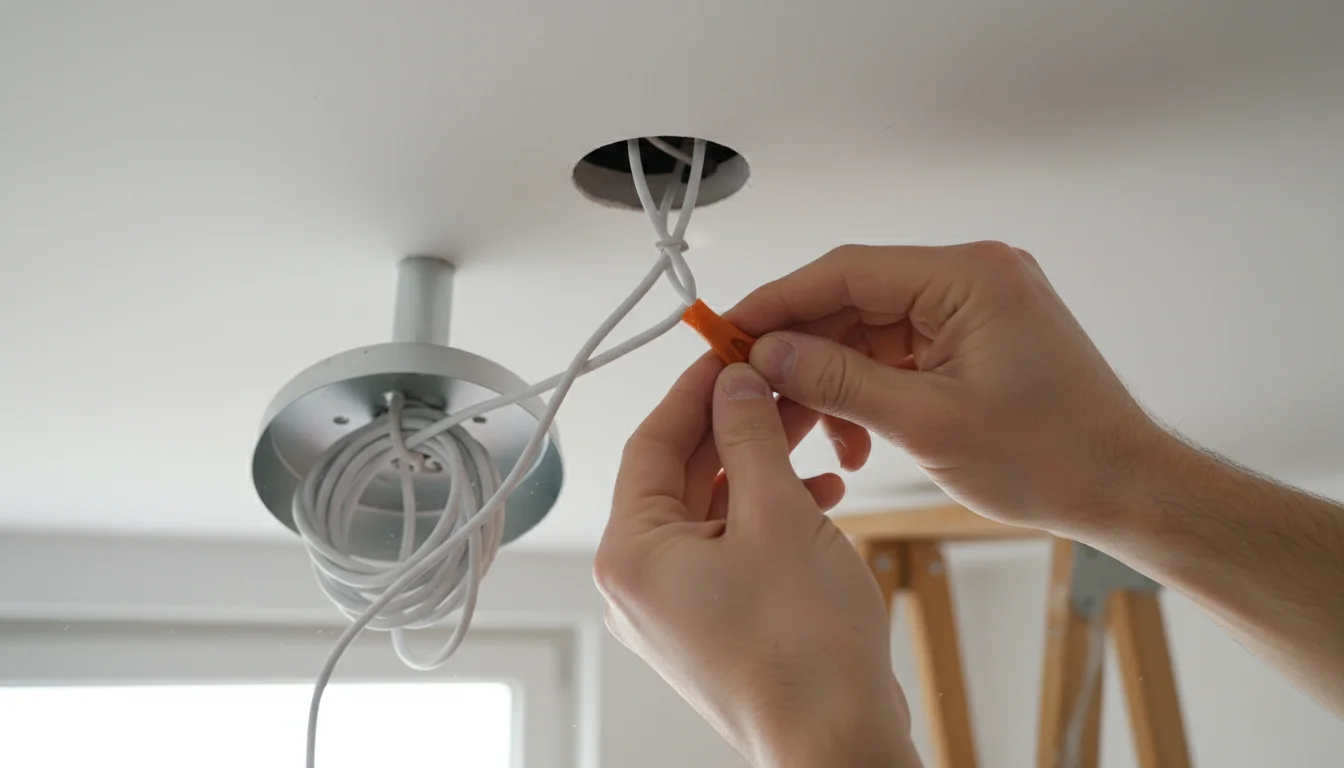
Carefully disconnecting the old fixture’s wires. Disconnect the Wiring
Twist the wire nuts counter-clockwise to remove them from the connected wires. Carefully separate the old fixture’s wires (typically black, white, and bare copper or green) from your home’s corresponding wires. Note which color connects to which; generally, black connects to black, white to white, and ground to ground. As noted by Family Handyman, consistent color-matching is key for electrical safety.
-
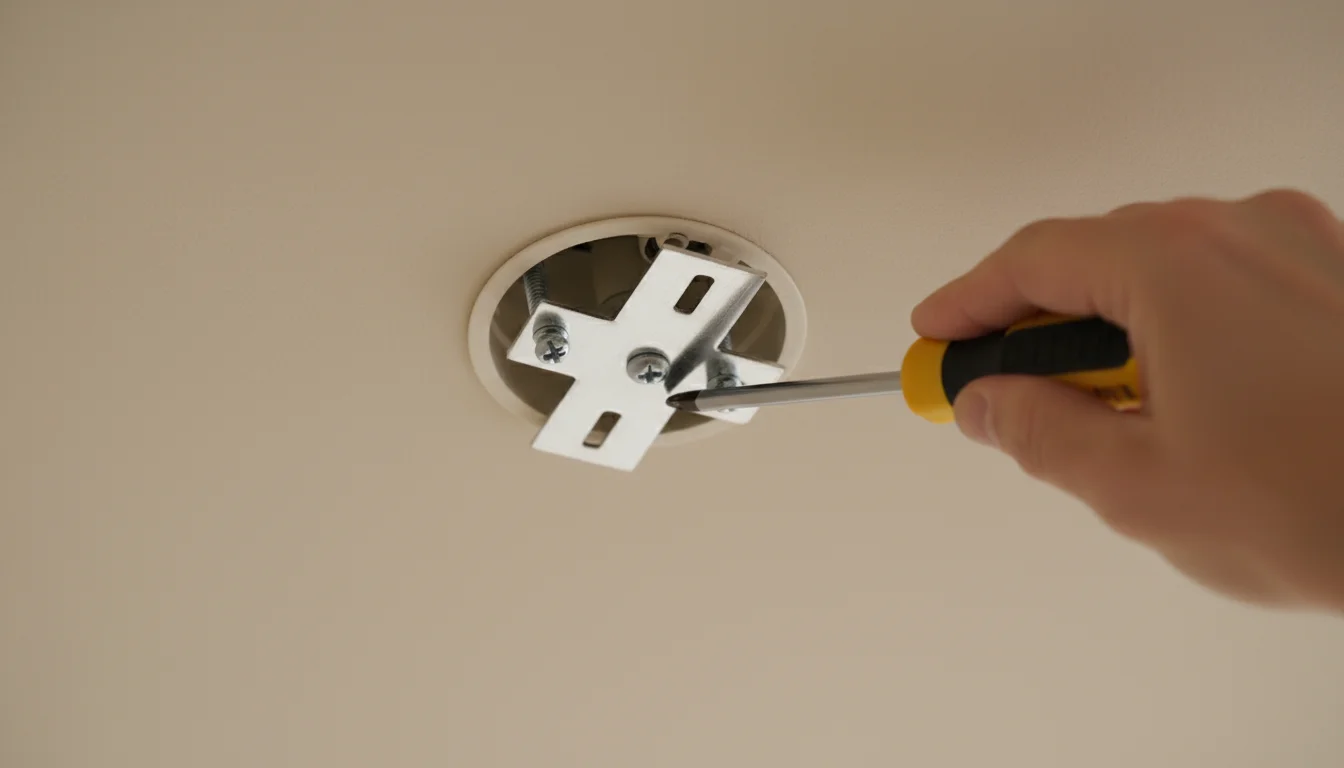
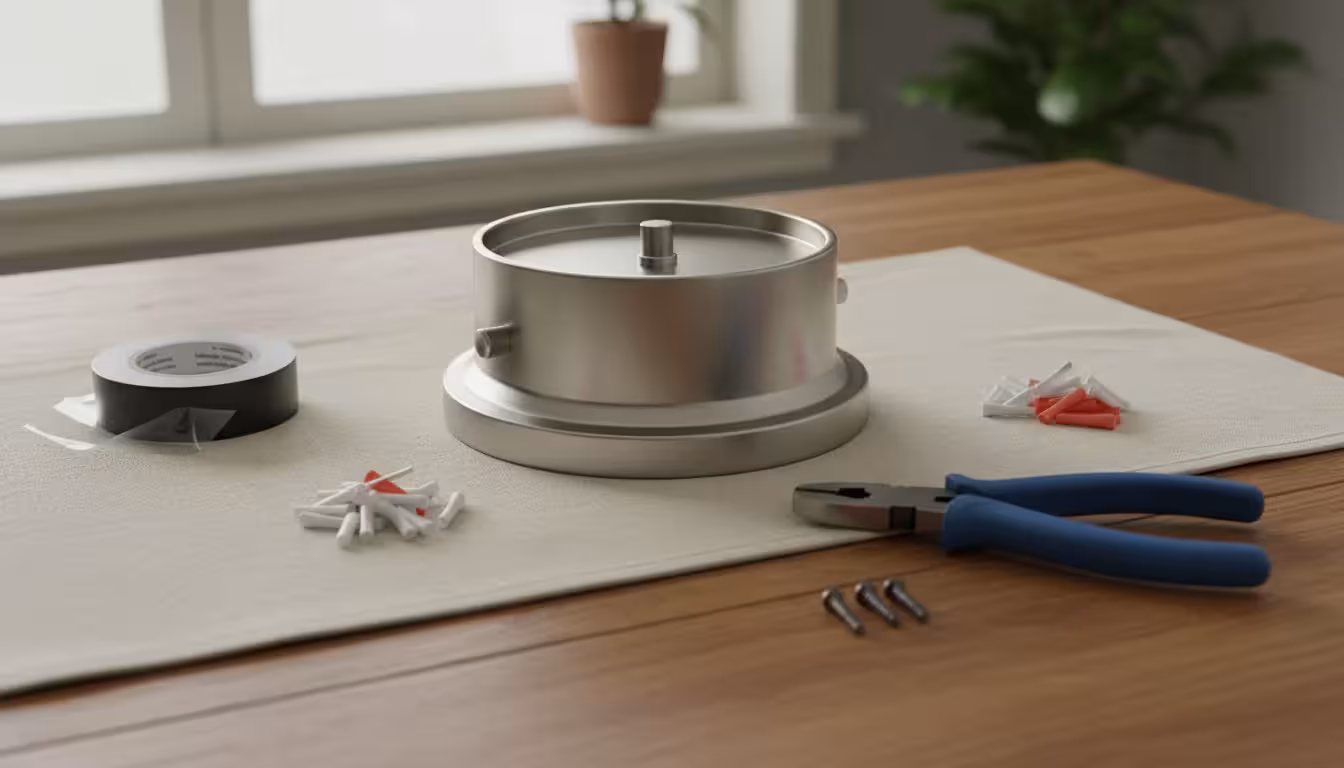
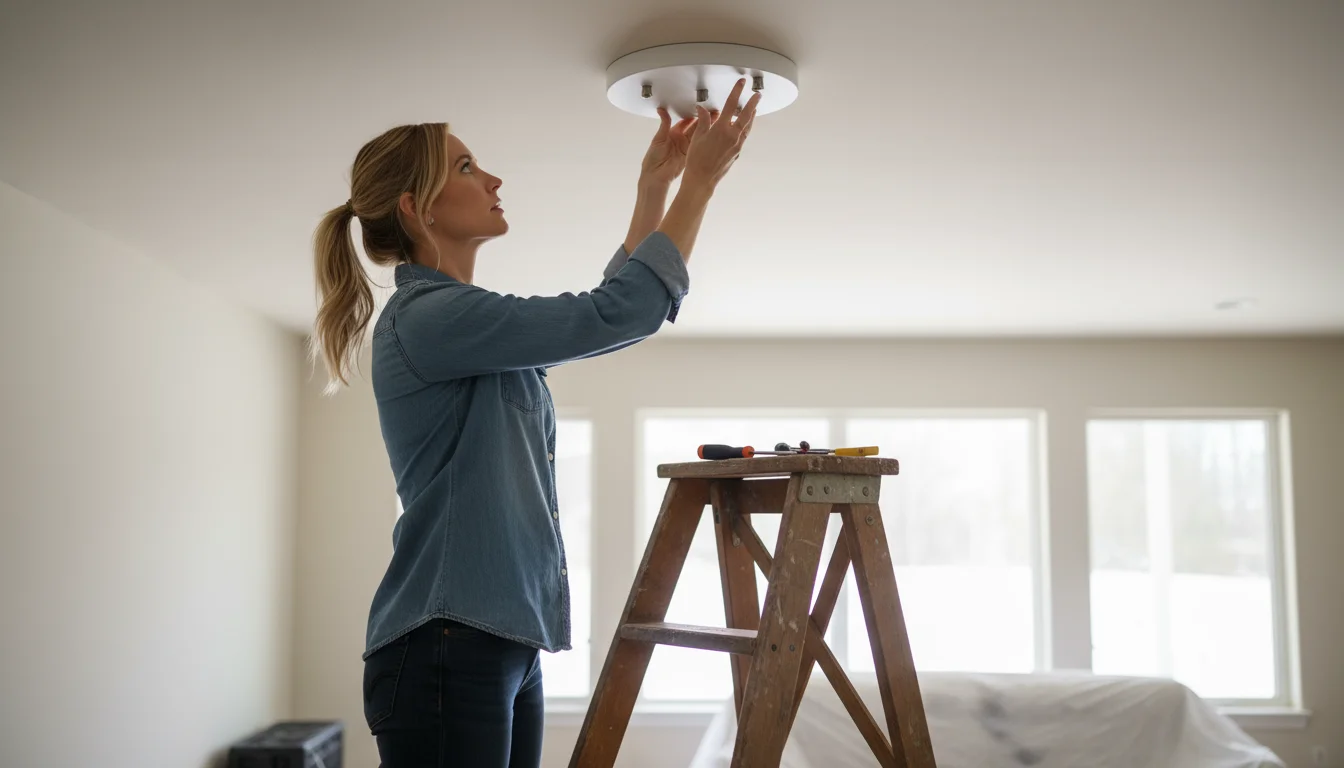
Attaching the new mounting bracket firmly to the ceiling box. Install the New Mounting Bracket
Your new fixture comes with a new mounting bracket, often called a crossbar. Unscrew the old mounting strap from the electrical box and discard it. Attach the new mounting bracket to the electrical box using the screws provided with your new fixture. Ensure the bracket is securely fastened and level, if applicable, providing a solid base for the new light.
-
Securing the white wires for a firm connection. Connect the New Fixture’s Wiring
Carefully read your new fixture’s instructions for specific wiring diagrams. Generally, you connect the new fixture’s wires to your home’s wires color-for-color:
- Ground Wire (bare copper or green): Connect the ground wire from the new fixture to your home’s bare copper or green ground wire. Sometimes, the mounting bracket also has a ground screw where you connect both ground wires.
- Neutral Wire (white): Twist the white wire from the new fixture together with the white wire from the ceiling box. Secure the connection tightly with a wire nut.
- Hot Wire (black): Twist the black wire from the new fixture together with the black wire from the ceiling box. Secure this connection with a wire nut.
Ensure each connection is firm. Gently tug on the wires after securing the wire nuts to confirm they hold. Neatly tuck the connected wires into the electrical box.
-
Almost done! Securing the new fixture carefully makes all the difference. Mount the New Fixture
Align the new fixture with the mounting bracket. Carefully push the fixture base against the ceiling, ensuring no wires are pinched. Secure the fixture to the mounting bracket using the decorative screws or nuts provided. Be careful not to overtighten, which could crack glass shades or damage the fixture.
-
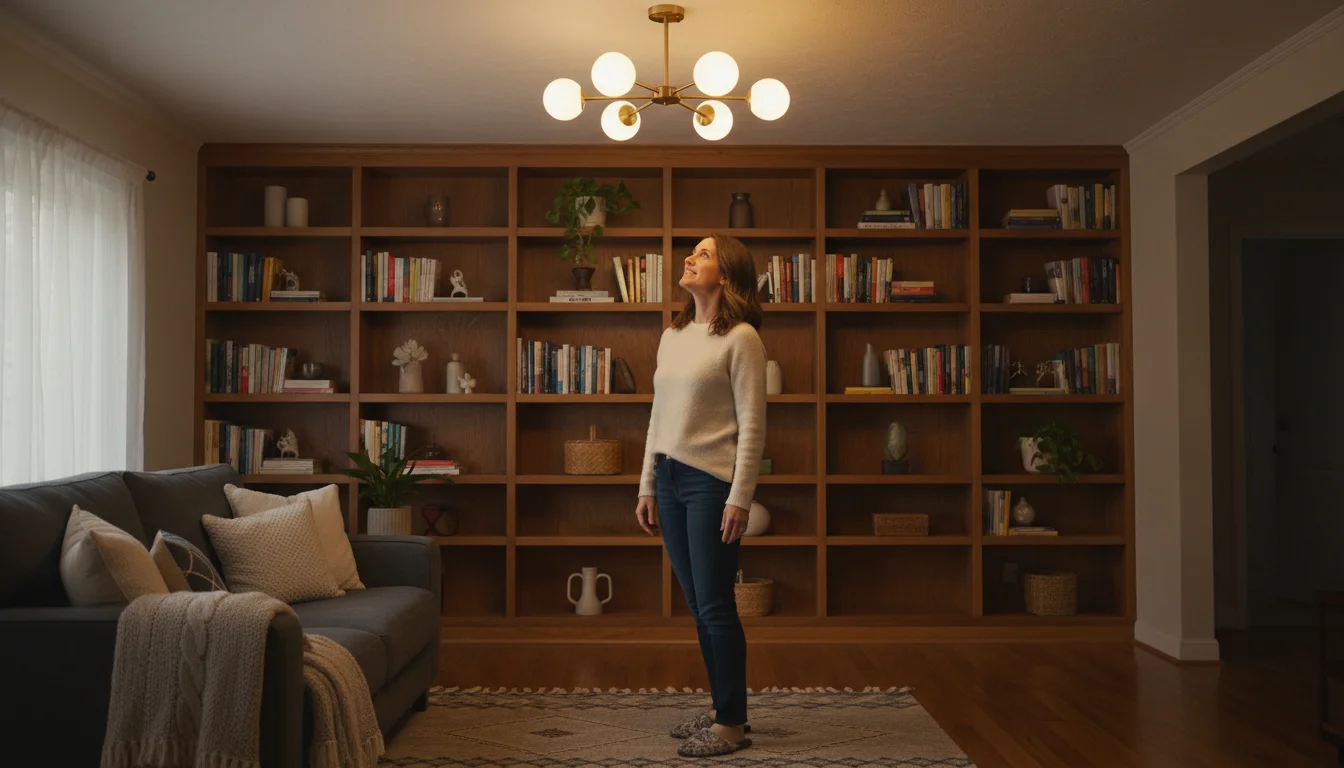
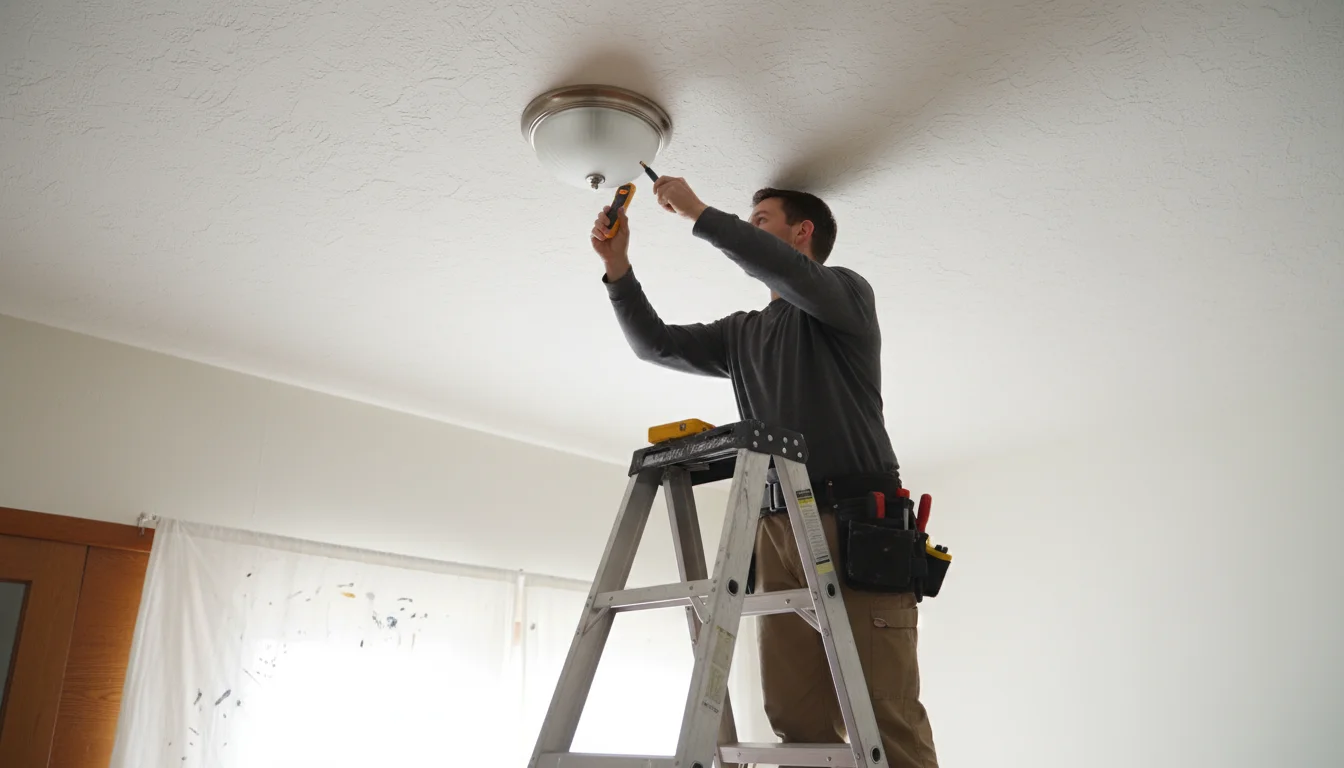
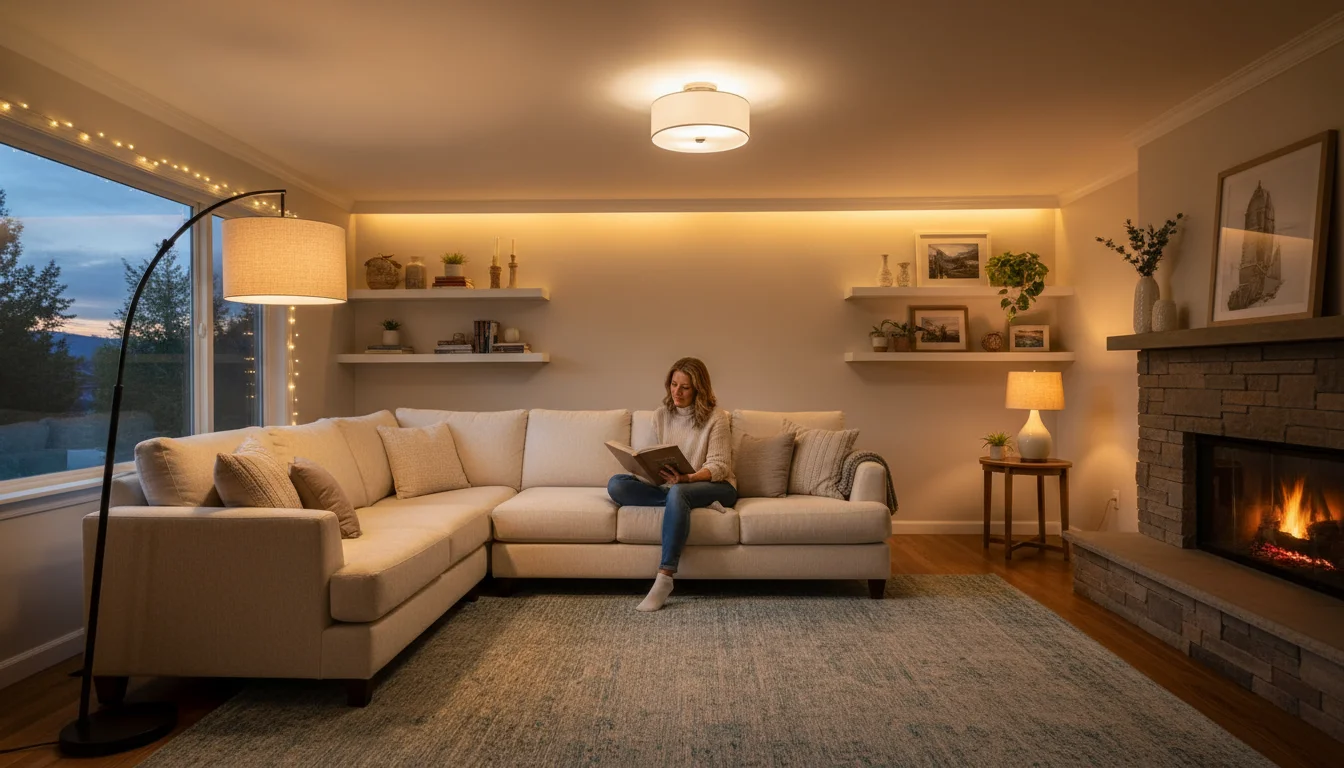
That moment when your DIY efforts brighten up the whole room! Install Bulbs and Restore Power
Screw in the appropriate light bulbs for your new fixture. Once everything is secure, return to your electrical panel and flip the circuit breaker back to the “ON” position. Test your new light fixture to ensure it works correctly. If it does not, refer to the troubleshooting section below.
Easy Updates Beyond Full Fixture Swaps
You do not always need to replace an entire fixture to create a significant impact. Several simpler updates enhance your lighting and ambiance with minimal effort and expense.
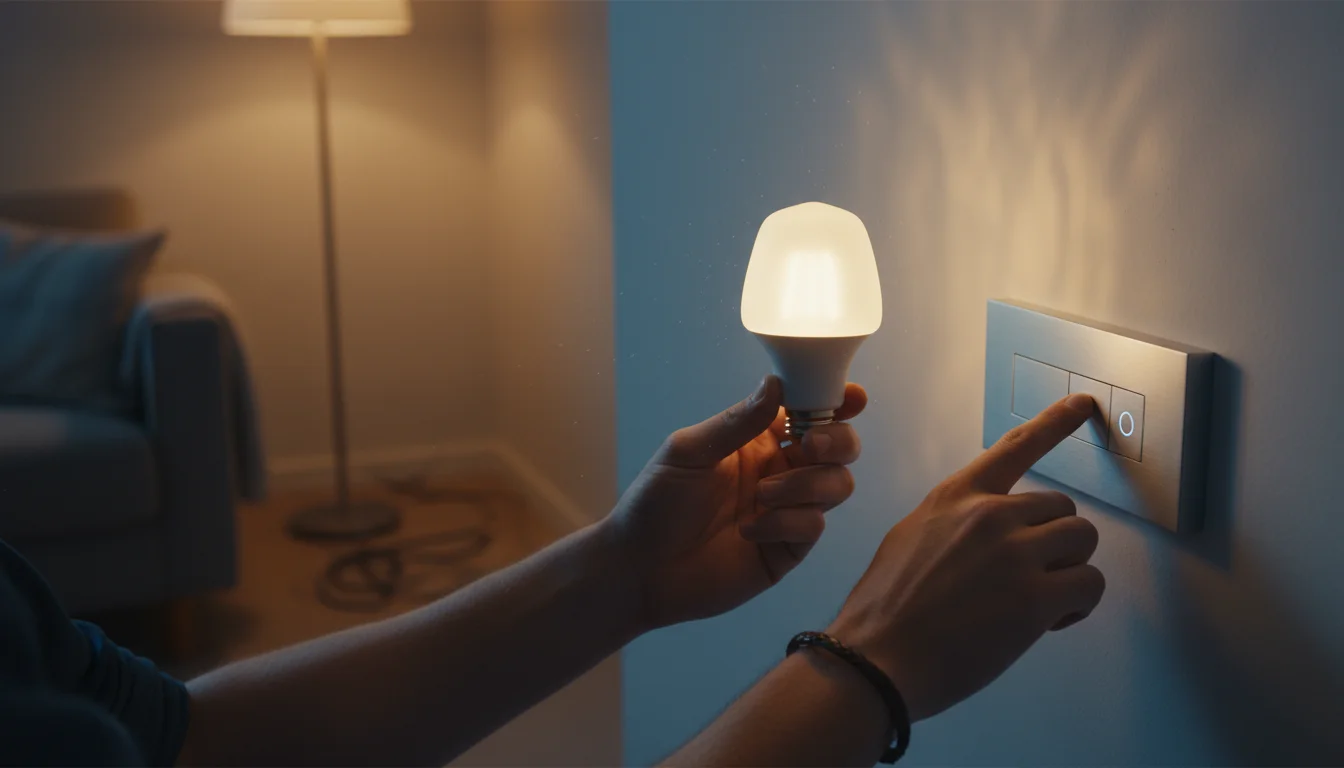
Upgrade to Smart Bulbs and Dimmers
Smart bulbs offer incredible versatility. You screw them into existing fixtures and control them via an app, voice assistant, or smart switch. They often provide tunable white light (from warm to cool) and a spectrum of colors, allowing you to instantly change a room’s mood. Many smart bulbs also feature dimming capabilities, eliminating the need to install a separate dimmer switch. This update requires no wiring knowledge beyond screwing in a bulb. If you want a traditional dimmer, you can often swap a standard light switch for a dimmer switch if the existing wiring permits and you follow careful instructions on cutting power and connecting wires, similar to a fixture swap. However, always ensure your bulbs are compatible with any dimmer switch you install.
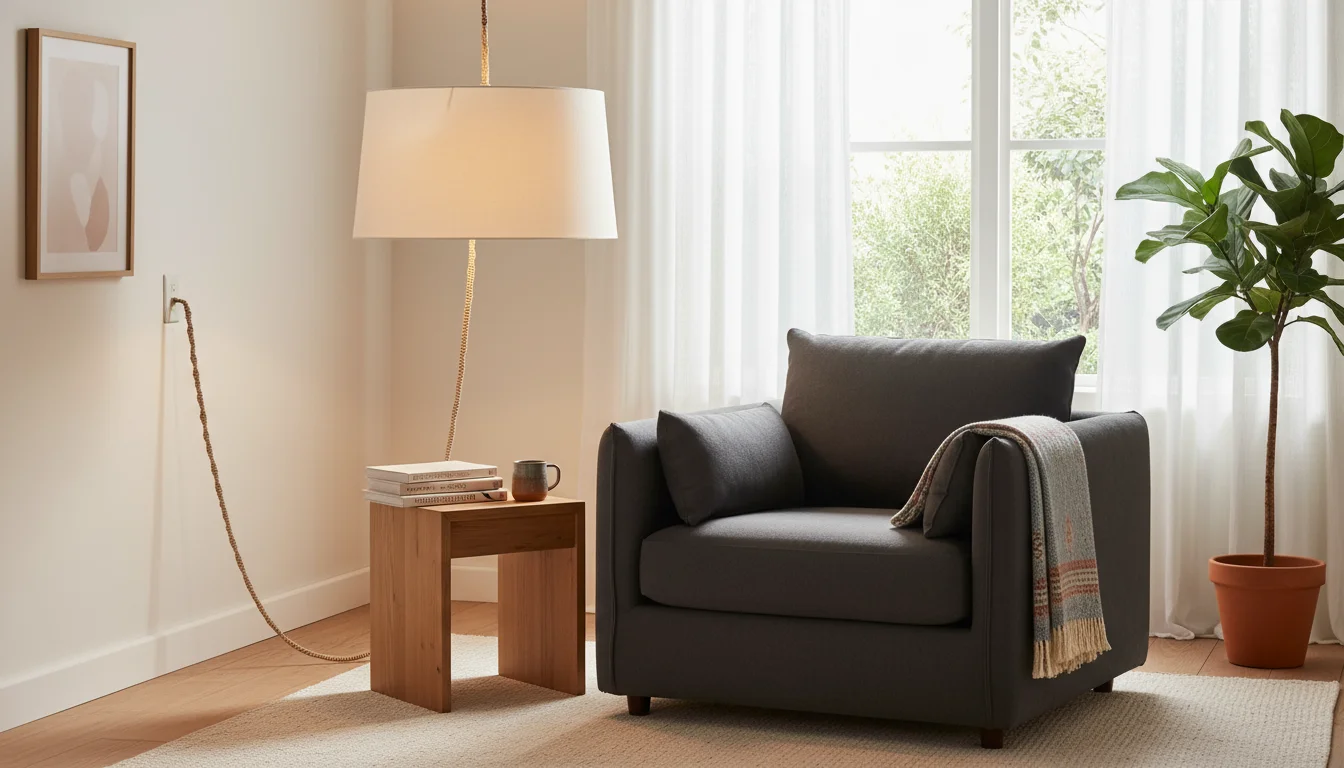
Introduce Plug-In Pendants and Sconces
Do you love the look of a pendant light but lack an overhead junction box? Plug-in pendants and sconces offer a fantastic solution. These fixtures hang from a hook or mount to a wall, and their cords simply plug into a standard electrical outlet. You achieve designer looks without any hardwiring. This approach works wonderfully for adding accent lighting, creating reading nooks, or defining zones in larger rooms. Experts at Apartment Therapy frequently showcase how plug-in lighting transforms spaces, proving you do not need extensive renovations for beautiful lighting.

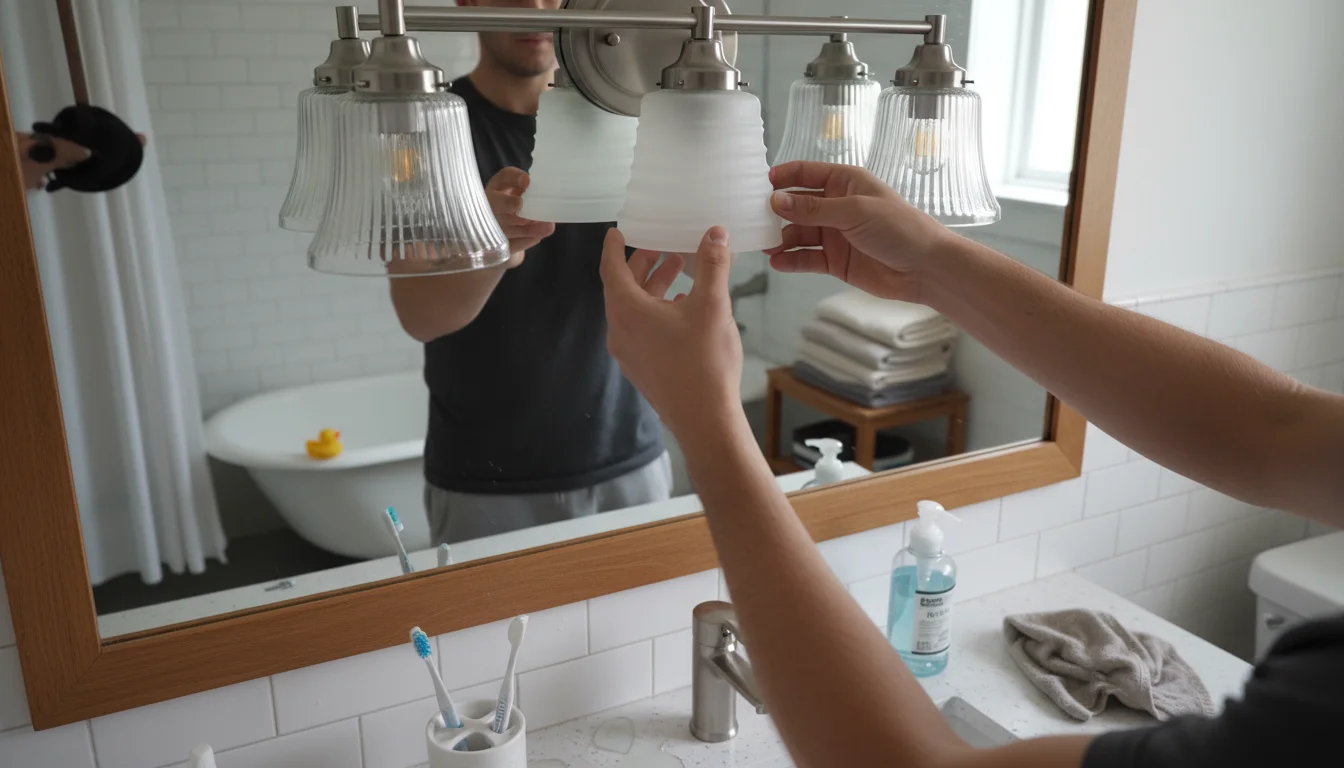
Replace Shades and Glass Covers
Often, the fixture’s base remains perfectly functional, but its shade or glass cover appears dated, stained, or broken. Many manufacturers offer replacement shades. You can also find universal shades or glass covers that fit standard light fixture mounts. Measure your existing shade’s dimensions carefully to ensure a proper fit. This small change quickly updates the look of an existing fixture, giving it a fresh, new lease on life for a fraction of the cost of a full replacement.

Add Under-Cabinet Lighting
Under-cabinet lighting significantly enhances kitchen functionality and ambiance. Many options are available as plug-in strips or puck lights that adhere with adhesive or small screws. These require no hardwiring and illuminate your countertops, making food prep easier and showcasing your backsplash. You can also find battery-operated versions for ultimate flexibility.
Choosing the Right Fixture for Your Space and Style
Selecting a new light fixture involves more than just picking something you like. Consider functionality, room size, existing decor, and your budget to ensure your update genuinely enhances your home.
Match Function to Form
- Ambient Lighting: Provides overall illumination for a room. Flush mounts, semi-flush mounts, and chandeliers serve this purpose. In a living room, ambient lighting should be soft and inviting.
- Task Lighting: Focuses light on specific work areas. Pendants over kitchen islands, under-cabinet lighting, or desk lamps provide excellent task lighting. Ensure it brightens the work surface without creating harsh glares.
- Accent Lighting: Highlights specific features, like artwork or architectural details. Wall sconces, track lighting, or picture lights fall into this category. They add depth and drama to a space.

Consider Room Size and Ceiling Height
A fixture too large overwhelms a small room, while one too small gets lost in a spacious area. For ceilings 8 feet or lower, flush or semi-flush mounts work best. Pendants and chandeliers suit higher ceilings, where they do not obstruct views or create head hazards. Generally, allow at least 7 feet of clearance from the floor to the bottom of any hanging fixture in walkways. Over a dining table, a pendant should hang about 30-36 inches above the table surface.
Harmonize with Your Decor
Your new fixture should complement your existing interior design style. Do you have a modern, minimalist home? Look for clean lines and geometric shapes. Is your home more traditional? Ornate designs, classic finishes like bronze, and fabric shades might suit it better. Consider the finish of your existing hardware, such as door handles or cabinet pulls, and try to select a fixture that harmonizes with those metals or colors.

Budget-Friendly Options
You do not need to spend a fortune to get beautiful new lighting. Many retailers offer stylish, affordable fixtures. Online marketplaces and large home improvement stores provide a wide range of options at various price points. Look for sales, consider open-box items, or explore buying fixture components separately to assemble a custom look. Remember that the impact of new lighting often outweighs its cost, even on a modest budget.

Troubleshooting Common DIY Lighting Issues
Even with careful planning, sometimes things do not go perfectly. If your new light fixture does not work as expected, do not panic. Most common issues have simple solutions.

Light Does Not Turn On
- Check the Circuit Breaker: The most frequent culprit. Ensure the breaker is fully in the “ON” position. Sometimes it trips to an “off” or middle position, requiring a firm flip to “OFF” then “ON” to reset.
- Confirm Bulb Installation: Is the bulb screwed in tightly? Is it the correct type and wattage for the fixture? Is it a working bulb? Test it in another lamp if possible.
- Verify Wiring Connections: Go back and re-check all wire nut connections. Ensure they are tight and that no bare wire shows outside the wire nut. Sometimes a loose connection causes the light to fail. Make sure you re-cut the power before touching any wiring.
- Inspect the Socket: Rarely, a socket can be faulty. Ensure the metal tab inside the socket that contacts the bulb’s base bends outward slightly to make good contact. Again, cut power first.
Light Flickers or Is Dim
- Loose Connections: This is a common cause of flickering. Re-inspect all wire nuts and connections.
- Incompatible Dimmer Switch: If you use a dimmer switch, ensure both the dimmer and the bulbs are compatible with each other. Many LED bulbs require specific LED-compatible dimmers.
- Faulty Bulb: Try a different bulb. Sometimes new bulbs have manufacturing defects.
- Overloaded Circuit: If multiple lights or appliances on the same circuit dim or flicker, you might have an overloaded circuit. This requires professional evaluation.
Blowing Fuses or Tripping Breakers
If your breaker trips immediately after you turn it on, or a fuse blows, you likely have a short circuit. This usually indicates an incorrect wiring connection, often a hot wire touching a neutral wire or the metal housing of the fixture. Immediately turn off the power at the main panel. You must carefully re-examine your wiring connections, ensuring no bare wires touch where they should not. If you cannot identify the issue, or if the problem persists, contact a licensed electrician immediately. Continuing to reset a tripping breaker risks electrical fire or damage to your home’s electrical system.
Frequently Asked Questions
Can I really do this myself without any electrical experience?
Yes, for basic fixture swaps. If you follow the safety instructions meticulously, specifically turning off and testing the power, you can absolutely replace a fixture that uses existing wiring in an existing junction box. The critical part is knowing when a task exceeds your comfort or skill level, then calling a professional.
How long does a typical DIY light fixture update take?
For someone with minimal experience, a basic light fixture swap usually takes about 30 minutes to an hour, including prep and cleanup. More complex fixtures or those with many small parts might take longer. Your first one will take the longest, but you will become more efficient with practice.
What if my wires are old and brittle?
If you encounter old, frayed, or brittle wiring in your junction box, do not proceed with the installation. Old wiring can be dangerous and needs professional attention. Stop immediately, cover the wires, and call an electrician to assess and update the wiring before you install a new fixture. This is a situation where attempting a DIY fix risks safety.
Are LED bulbs always better than traditional incandescent or CFL bulbs?
Generally, yes. LED (Light Emitting Diode) bulbs consume significantly less energy, last much longer, and produce less heat than incandescent or compact fluorescent (CFL) bulbs. They offer excellent light quality and come in various color temperatures and brightness levels. While their initial cost might be higher, the long-term energy savings and reduced need for replacements make them a superior choice for your home and budget.
Where can I find affordable and stylish light fixtures?
Many online retailers and large home improvement stores offer a vast selection of fixtures at various price points. Look for sales events, clearance sections, or consider simple designs that offer a lot of style without a high price tag. Local hardware stores often have budget-friendly options too. You can also explore upcycling an existing fixture with a new paint job or shade.
Updating your light fixtures offers a powerful, yet often overlooked, way to refresh your home. You do not need an electrician for many common projects. By following proper safety procedures and understanding the straightforward steps involved, you transform your living spaces with confidence. Remember, the goal is always a brighter, more comfortable, and beautifully lit home that reflects your unique style and needs.
For expert home organization guidance, visit
Better Homes & Gardens — Home Organization, EPA — Indoor Air Quality, Energy Star and CDC — Cleaning and Disinfecting.
Disclaimer: This article is for informational purposes only and is not a substitute for professional advice. Consult professional organizers or specialists for personalized recommendations.


Leave a Reply