
Your kitchen is often the heart of your home, a space for cooking, gathering, and creating memories. It also faces daily demands, accumulating grease, grime, and food debris. While regular tidying keeps things presentable, a comprehensive deep clean tackles those hidden spots, neglected appliances, and persistent odors, truly resetting your kitchen to a sparkling, sanitary state. This guide provides practical, step-by-step instructions to help you achieve a truly clean kitchen, focusing on realistic methods that fit your busy life and budget.
A deep clean does more than just make your kitchen look good. It improves hygiene, extends the life of your appliances, and creates a more pleasant environment for everyone. Think of it as a reset button, allowing you to establish better cleaning and organization habits moving forward. You do not need expensive tools or harsh chemicals to achieve fantastic results. We will show you how to use common household items and smart techniques to get your kitchen looking its best.
Getting Started: Prepare for Your Kitchen Deep Clean
Before you dive into the scrubbing and polishing, a little preparation saves you time and effort. Gathering your supplies and clearing the decks prevents interruptions and makes the process more efficient. Approach this as a project, not a chore, and you will feel more motivated.
A thorough kitchen reset is a fundamental part of spring cleaning that makes the rest of your home maintenance much easier.
Gather Your Supplies
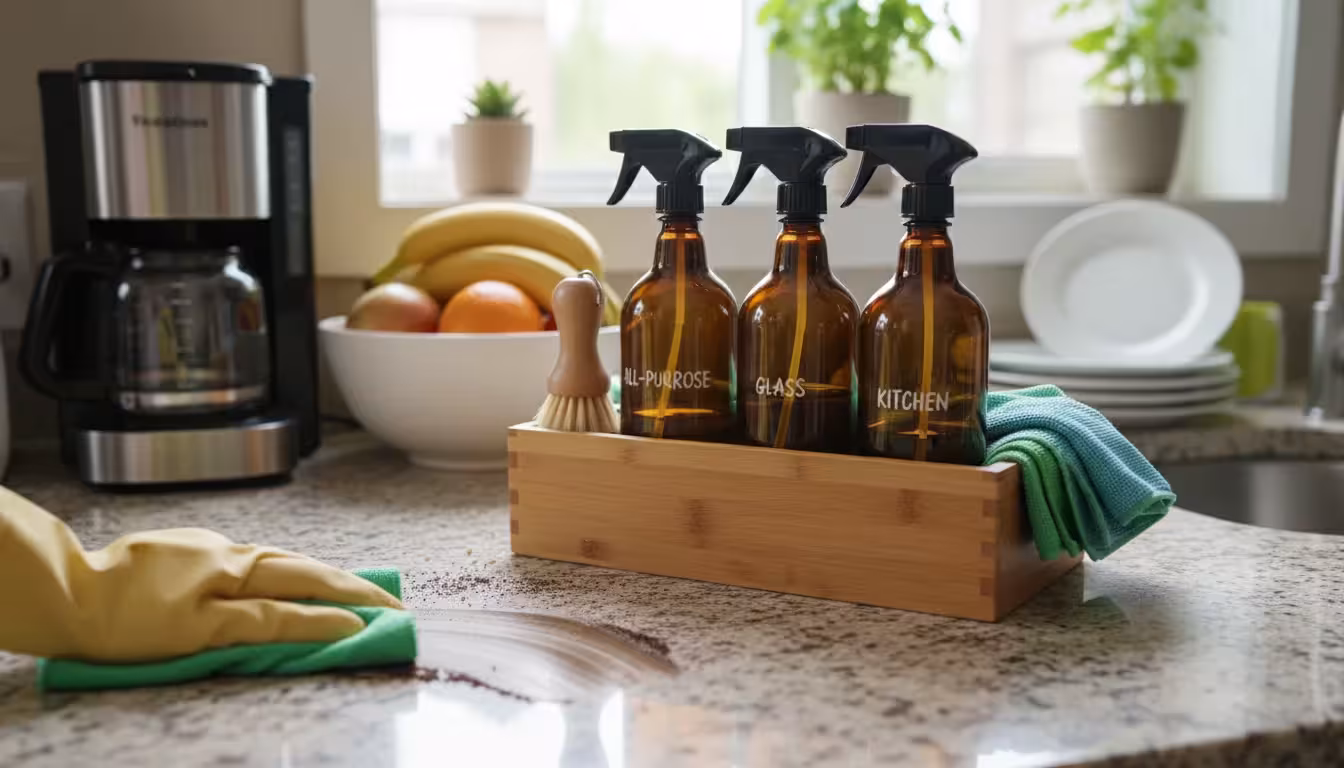
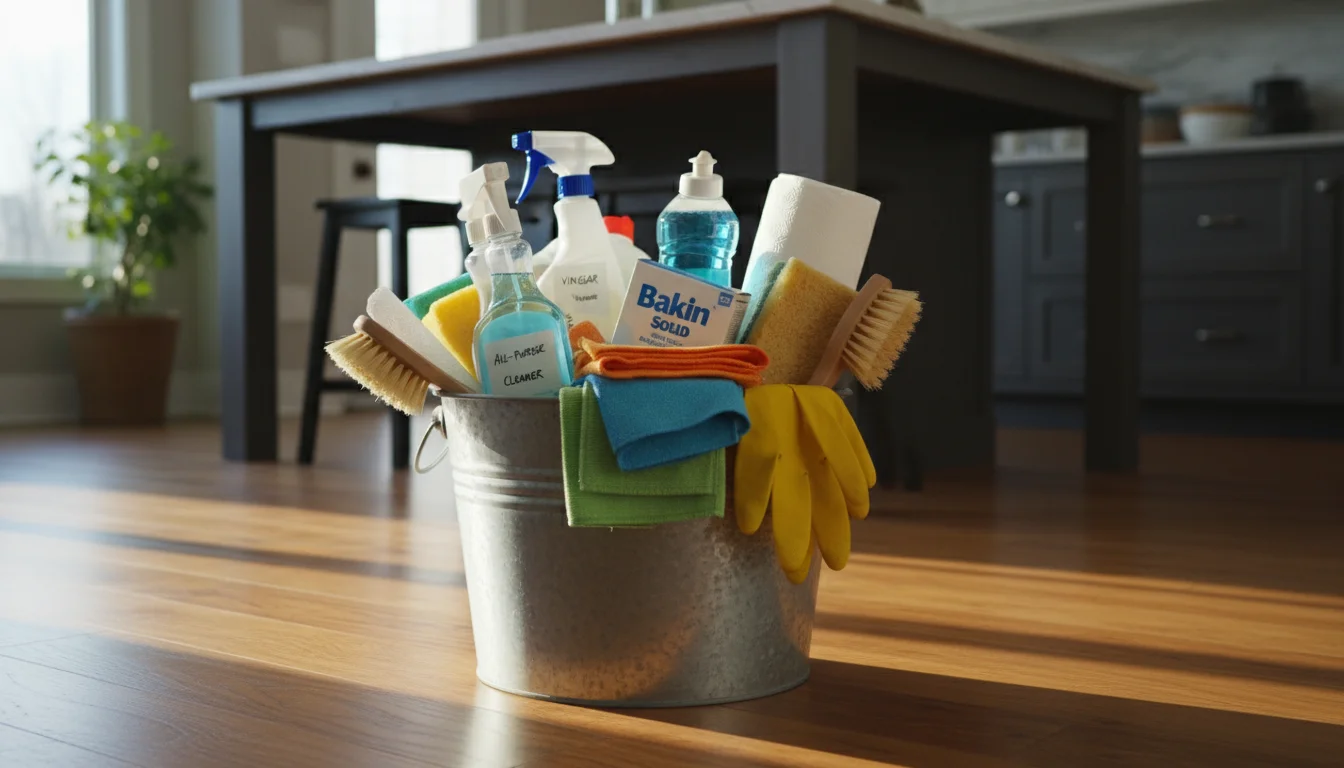
You probably own most of the items you need for a thorough kitchen deep clean. Focus on multi-purpose cleaners and tools to keep costs down. Here is a list of essentials:
- Cleaning Solutions: All-purpose cleaner, degreaser, dish soap, white vinegar, baking soda, hydrogen peroxide (optional for sanitizing), glass cleaner.
- Tools: Microfiber cloths (several!), sponges, scrub brushes, old toothbrushes, squeegee, mop, bucket, vacuum cleaner with attachments.
- Protective Gear: Rubber gloves, old clothes.
- Miscellaneous: Trash bags, paper towels, heavy-duty scraper (for oven), lemon halves, salt.
According to the American Cleaning Institute, having the right tools on hand streamlines your cleaning process, making it more effective and less frustrating. You avoid searching for items mid-task, which keeps your momentum going.
Empty and Declutter
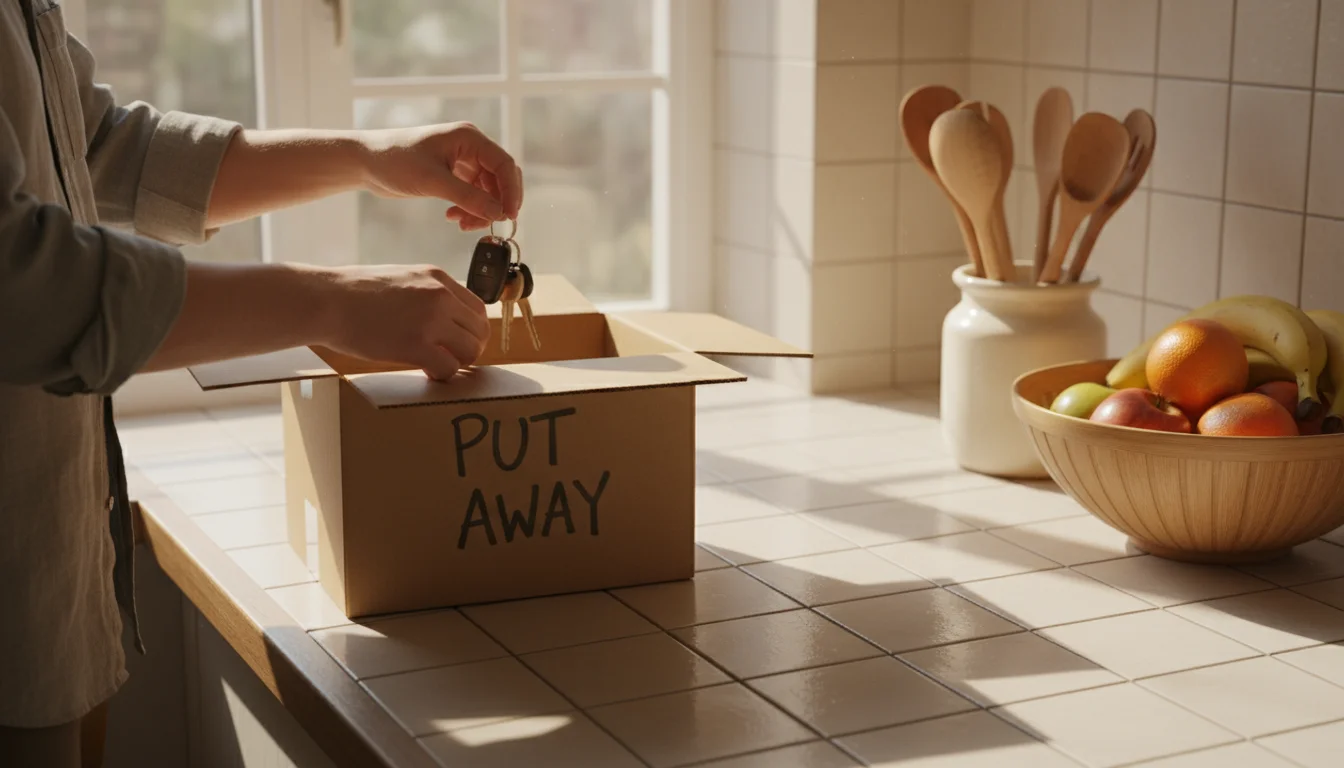
You cannot effectively clean around clutter. Start by clearing everything off your countertops, including small appliances. Remove items from your sink, stovetop, and refrigerator shelves. Take this opportunity to declutter. Toss expired food, broken items, or anything you no longer use. For items you want to keep but do not belong in the kitchen, put them in a “to be put away” box. This step alone makes a significant visual impact and sets the stage for a deeper clean.

Safety First
Always prioritize your safety. Wear rubber gloves to protect your hands from harsh chemicals and hot water. Ensure good ventilation, especially when using strong cleaners. Open windows or turn on exhaust fans. Never mix cleaning products, particularly bleach with ammonia, as this creates dangerous fumes. If you use chemical cleaners, read the labels carefully and follow all instructions.
The BrightLivingGuide.com Deep Clean Method: Zones and Strategy
A deep clean feels less overwhelming when you break it down into manageable zones. Think of your kitchen in sections: upper areas, middle areas (countertops, sink, stovetop), lower areas (cabinets, oven, floor). Working from top to bottom ensures that gravity works with you, not against you. Dust and debris fall downwards, so you clean them up once at the end.
If you are trying to balance this with a busy schedule, learning speed cleaning techniques can help you stay on top of the mess between deep cleaning sessions.
The general strategy involves:
- Declutter and Empty: As mentioned, clear everything out.
- Dust and Wipe Down High Surfaces: Ceilings, light fixtures, tops of cabinets.
- Tackle Appliances: The big jobs that often require soaking or dedicated time.
- Clean Cabinets and Drawers: Inside and out.
- Scrub Countertops and Backsplashes: Focus on grease and grime.
- Clean the Sink and Faucet: Get into all the nooks and crannies.
- Wipe Down Walls and Doors: Remove fingerprints and splatters.
- Clean Windows: For a streak-free shine.
- Sweep and Mop Floors: The final step to collect all fallen debris.
Tackling Your Appliances: Comprehensive Appliance Cleaning
Appliances see heavy use and often harbor hidden grime. Give them dedicated attention during your kitchen deep clean. Proper appliance cleaning not only makes them look better, it also improves their efficiency and extends their lifespan, saving you money in the long run. Remember to unplug appliances before cleaning them, especially those with heating elements.
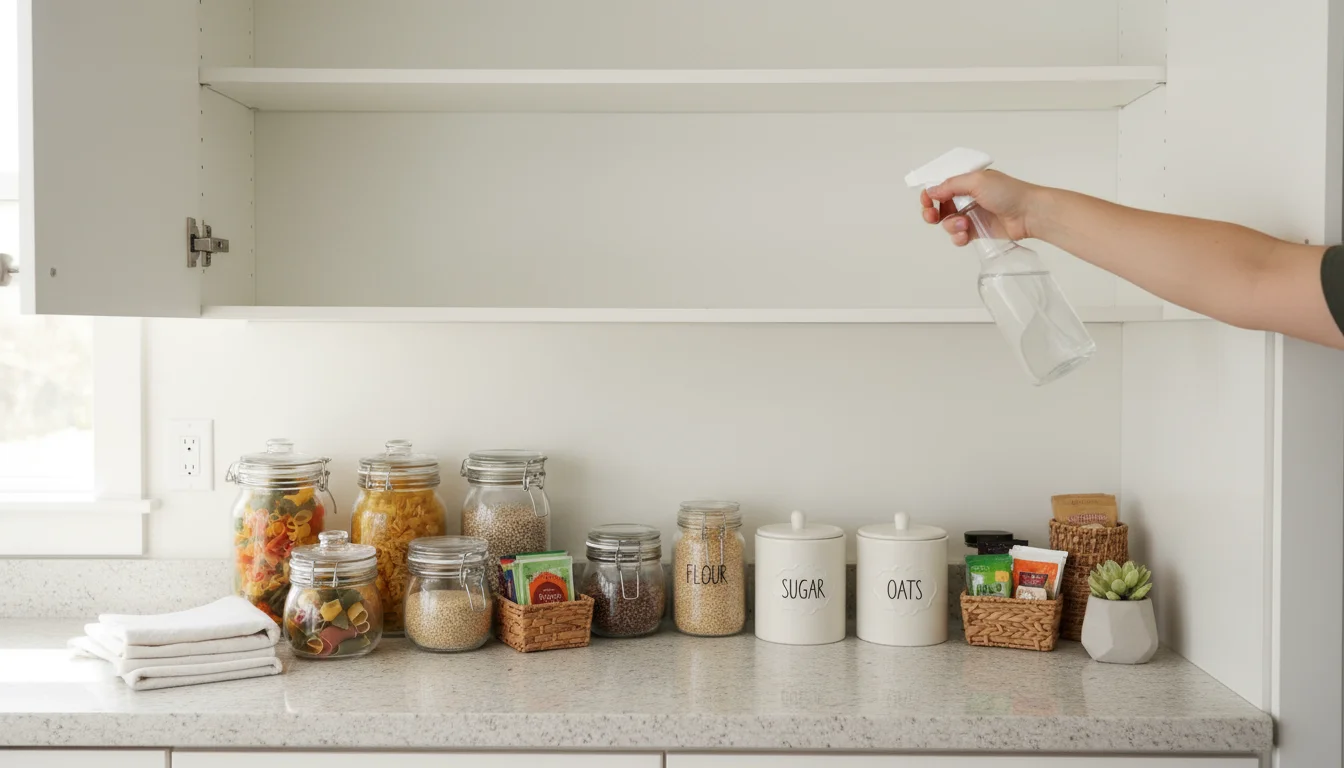
While you have everything pulled out, it’s also the perfect time to evaluate your pantry organization and group your ingredients more logically.
Refrigerator and Freezer
This is often the most demanding appliance task, but it delivers huge returns in freshness and organization.
- Empty Everything: Remove all food items, shelves, drawers, and removable parts. Discard expired food. Wipe down condiment bottles and food containers before returning them.
- Wash Removable Parts: Wash shelves and drawers with warm, soapy water. For tough stains, a paste of baking soda and water works well. Rinse thoroughly and dry completely to prevent mold or mildew.
- Clean Interior: Wipe down the interior walls, door seals, and ceiling of the fridge and freezer with a solution of warm water and a small amount of dish soap or white vinegar. For persistent odors, wipe with a mixture of baking soda and water. The Spruce recommends using an open box of baking soda inside your fridge to absorb future odors. Pay close attention to spills and sticky spots.
- Exterior and Coils: Wipe down the exterior with an all-purpose cleaner. For stainless steel, use a dedicated stainless steel cleaner, wiping with the grain. If your refrigerator has coils on the back or bottom, carefully vacuum them to improve efficiency. Dirty coils force your fridge to work harder, consuming more energy.
- Sanitize: For extra sanitation, you can spray the interior with a diluted hydrogen peroxide solution (1:1 with water), let it sit for a few minutes, then wipe clean.
- Organize and Return: Once everything is clean and dry, return the shelves and drawers. Organize your food as you put it back, perhaps creating “zones” for specific types of items, such as dairy, produce, or leftovers.
Oven and Stovetop
Baked-on grime requires patience and often a bit of elbow grease.
Oven
Many modern ovens have a self-cleaning function. If yours does, follow the manufacturer’s instructions. Be aware that self-cleaning cycles generate significant heat and can produce fumes, so ensure good ventilation. If you do not have self-cleaning or prefer a chemical-free approach:
- Scrape Loose Debris: Use a spatula or heavy-duty scraper to remove any large, loose food particles.
- Baking Soda Paste Method: Mix 1/2 cup baking soda with a few tablespoons of water to form a thick paste. Spread this paste all over the interior surfaces of your oven, avoiding heating elements and the fan opening. For heavily soiled areas, apply more paste. Let it sit overnight, or for at least 6-12 hours.
- Clean Racks: Remove oven racks and soak them in hot, soapy water in your sink or bathtub. Scrub them with a brush or steel wool.
- Wipe Clean: After the paste has worked its magic, use a damp cloth to wipe away the baking soda and loosened grime. You may need to use a plastic scraper for stubborn spots. Spray a little vinegar on any remaining baking soda residue; the fizzing action helps remove it.
- Glass Door: For the oven door glass, apply baking soda paste, let it sit for 30 minutes, then scrub and wipe clean.
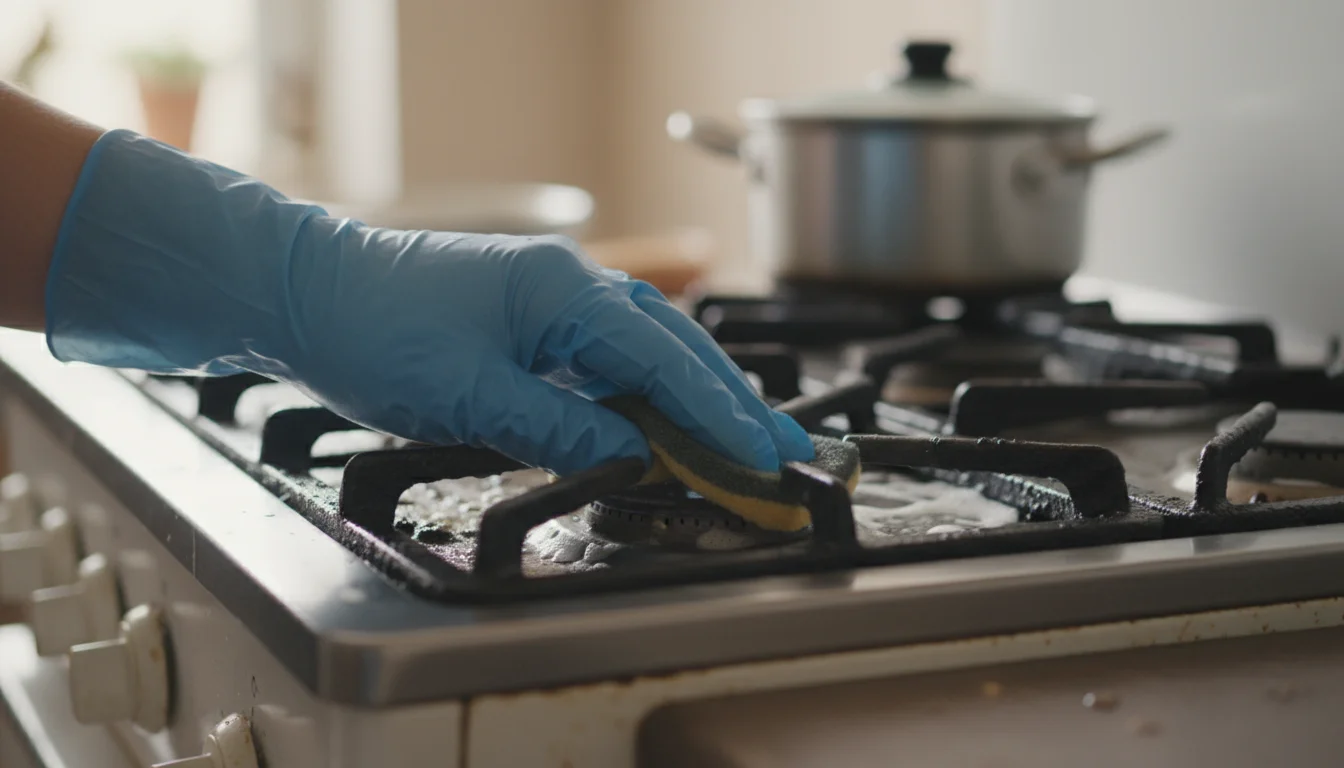
Stovetop
- Electric Coil Stovetops: Remove drip pans and burner coils. Wash drip pans in hot, soapy water, or scrub with a baking soda paste. Wipe down the stovetop surface.
- Glass/Ceramic Stovetops: For cooked-on spills, sprinkle baking soda directly on the cool stovetop, spray with vinegar or hydrogen peroxide, let it fizz for 15 minutes, then scrub with a non-abrasive sponge or microfiber cloth. For tough spots, a razor blade scraper held at a shallow angle effectively lifts burnt-on food without scratching.
- Gas Stovetops: Remove grates and burner caps. Wash them in hot, soapy water. Use an old toothbrush to clean burner igniters. Wipe down the stovetop surface thoroughly.
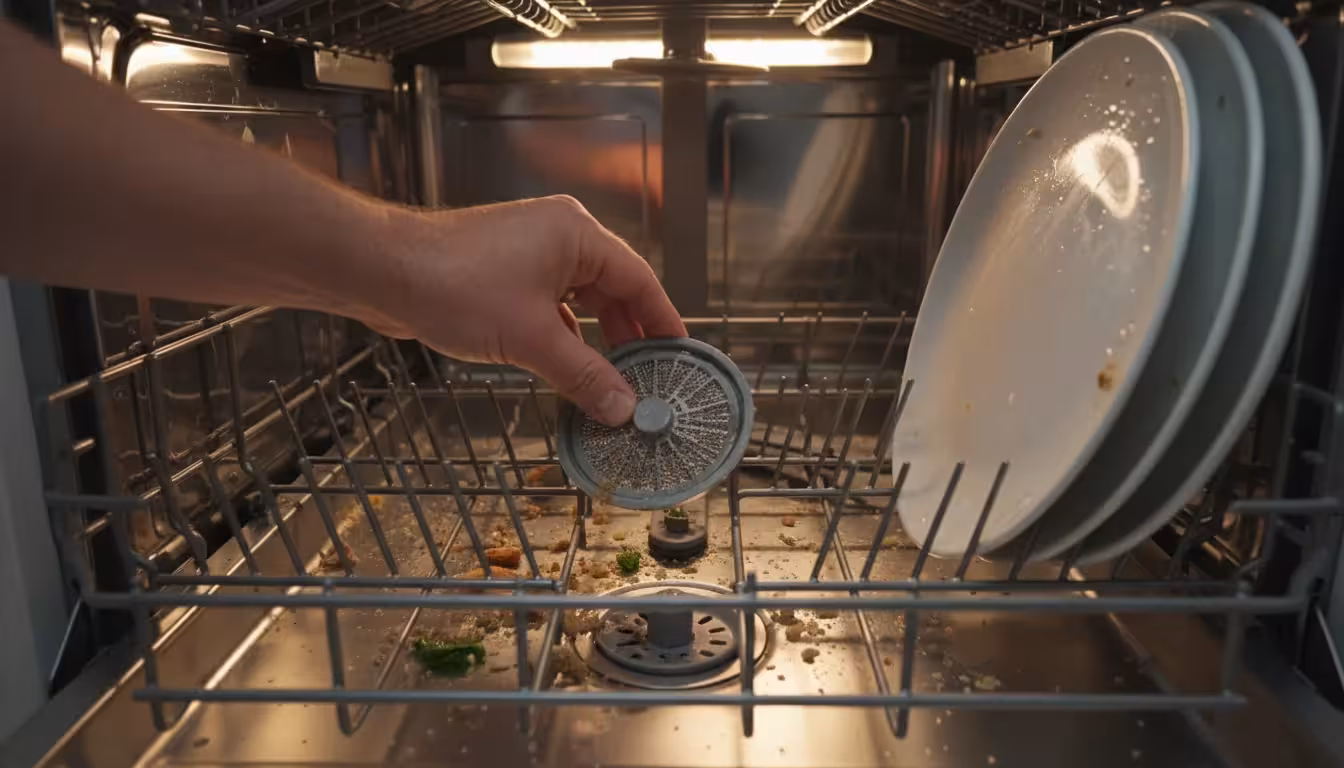
Dishwasher
Your dishwasher cleans your dishes, but it also needs cleaning itself to remain effective and odor-free.
- Clear Drain and Filter: Remove the bottom rack and check the drain for food particles. Many dishwashers have a removable filter that collects debris. Consult your manual for how to remove and clean it. Rinse it under running water or scrub with an old toothbrush.
- Vinegar Wash: Place a cup of white vinegar in an open, top-rack safe bowl. Run an empty, hot water cycle. The vinegar helps cut through grease, limescale, and soap scum, and eliminates odors.
- Baking Soda Refresh: Sprinkle a cup of baking soda on the bottom of the empty dishwasher. Run a short, hot water cycle. This further helps with deodorizing.
- Wipe Down: Wipe the interior edges, door seals, and dispenser with a damp cloth to remove any lingering grime or mildew.

Microwave
An easy and effective method cleans this often-splattered appliance.
- Steam Clean: Place a microwave-safe bowl with 1 cup of water and a few lemon slices or 1 tablespoon of white vinegar inside. Heat on high for 5-10 minutes, allowing the water to boil and steam up the interior. The steam softens all the dried-on food splatters.
- Wipe Clean: Carefully remove the hot bowl. Wipe down the interior with a damp microfiber cloth. The grime should come off easily. Clean the turntable and its support ring in the sink.
- Exterior: Wipe the exterior with an all-purpose cleaner.

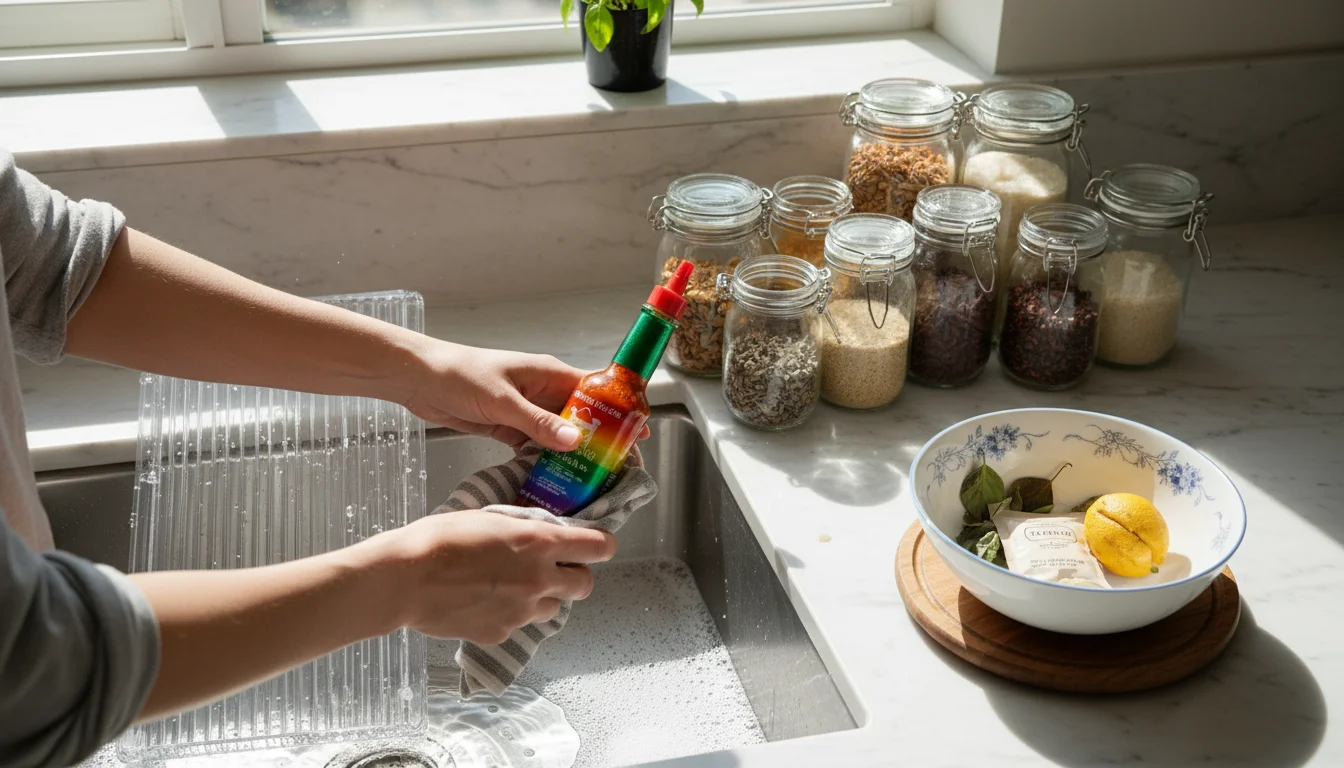
Small Appliances
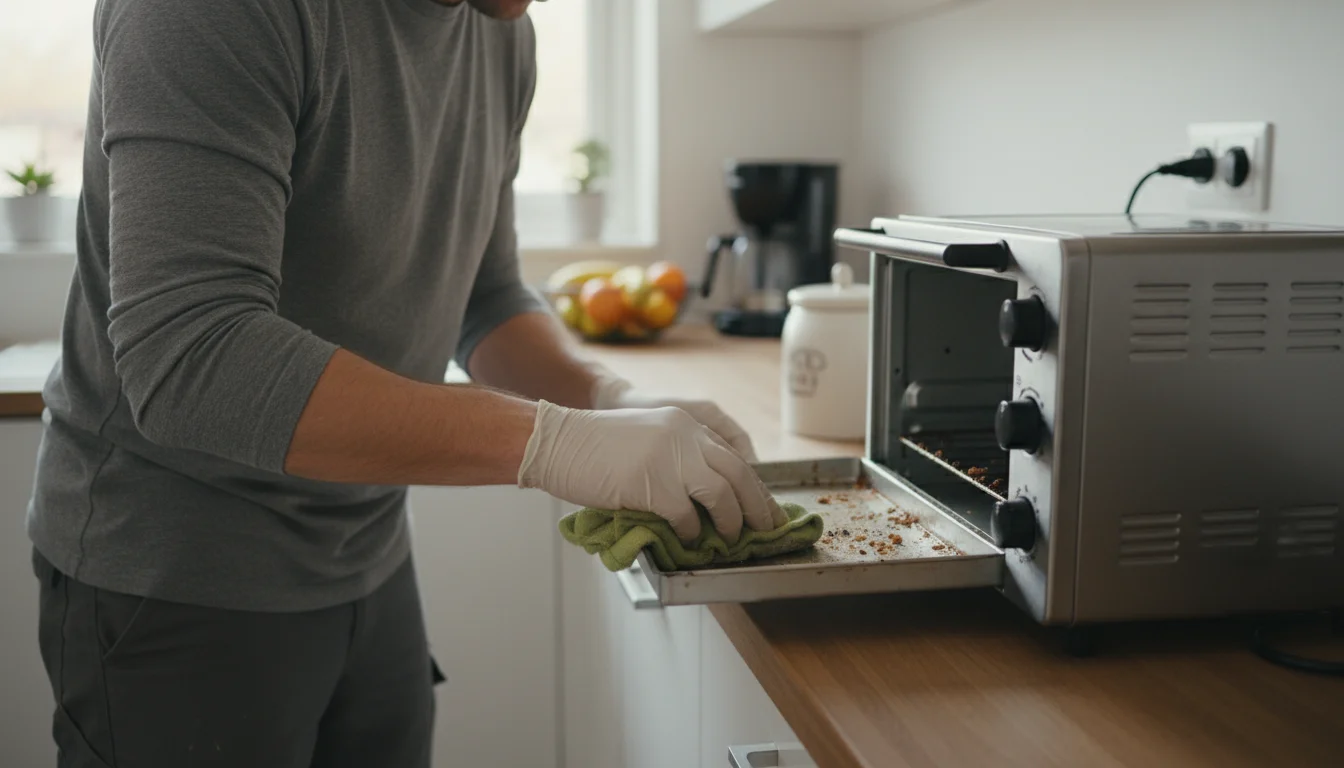
Do not forget your coffee makers, toasters, blenders, and food processors. Unplug them before cleaning.
- Coffee Maker: Run a cycle with a 1:1 solution of white vinegar and water. Follow with two cycles of plain water to rinse thoroughly. Wipe down the exterior.
- Toaster/Toaster Oven: Unplug. Remove the crumb tray and empty it into the trash. Wash the tray with warm, soapy water. Shake out any remaining crumbs from the appliance. Wipe down the exterior.
- Blender/Food Processor: For blenders, fill the carafe halfway with warm water and a drop of dish soap, then run for 30 seconds. Rinse. For both, disassemble removable parts and wash them in hot, soapy water.
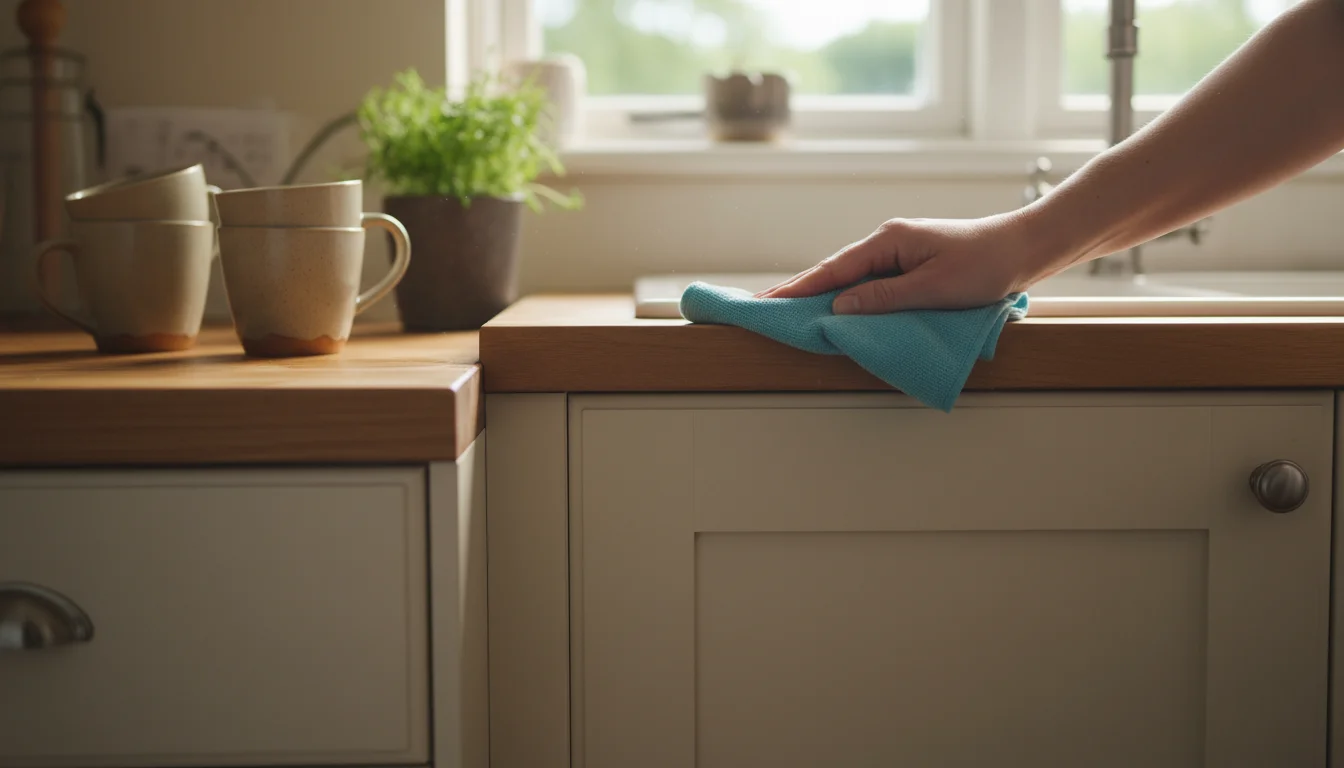
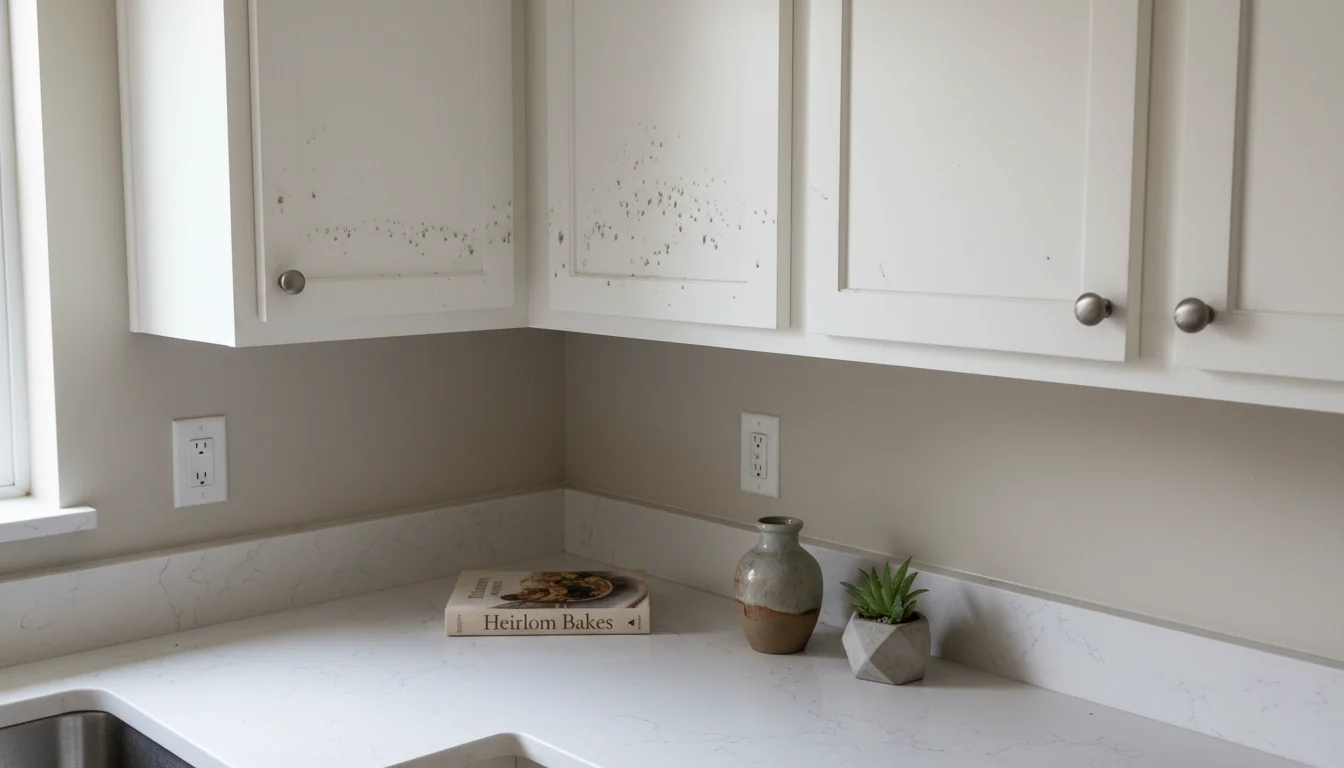
Cleaning Cabinets, Countertops, and Backsplashes
These surfaces define the look and feel of your kitchen, and they collect grease, food splatters, and fingerprints daily. Giving them a thorough clean makes a huge difference.
Cabinets and Drawers
You need to clean both the inside and outside of your cabinets.
- Empty Contents: Remove all items from one cabinet or drawer at a time. This allows you to wipe down thoroughly and also provides an opportunity to declutter and reorganize. Discard expired foods or items you no longer use.
- Clean Interior: Wipe the inside surfaces with a damp cloth dipped in a mild solution of dish soap and warm water. For stubborn grease or sticky residue, a mixture of equal parts white vinegar and water works well. Always wipe dry to prevent moisture damage, especially for wood cabinets.
- Clean Exterior: Focus on the areas around handles, knobs, and high-touch spots. For wood cabinets, use a wood-safe cleaner or a mixture of warm water and a few drops of dish soap. Wipe with the grain of the wood. For laminate or painted cabinets, an all-purpose cleaner works effectively. Avoid harsh abrasives that can damage finishes.
- Condition (Wood): If you have wood cabinets, after cleaning, you can use a wood polish or conditioner to restore shine and protect the surface.
- Organize and Replace: As you return items, consider using drawer organizers, shelf liners, or clear containers to maintain order. Designate “zones” for specific items, such as baking supplies in one area, pots and pans in another.
Countertops
Different countertop materials require specific care to avoid damage.
- Laminate: Wipe with an all-purpose cleaner or a solution of warm water and dish soap. Avoid abrasive scrubbers.
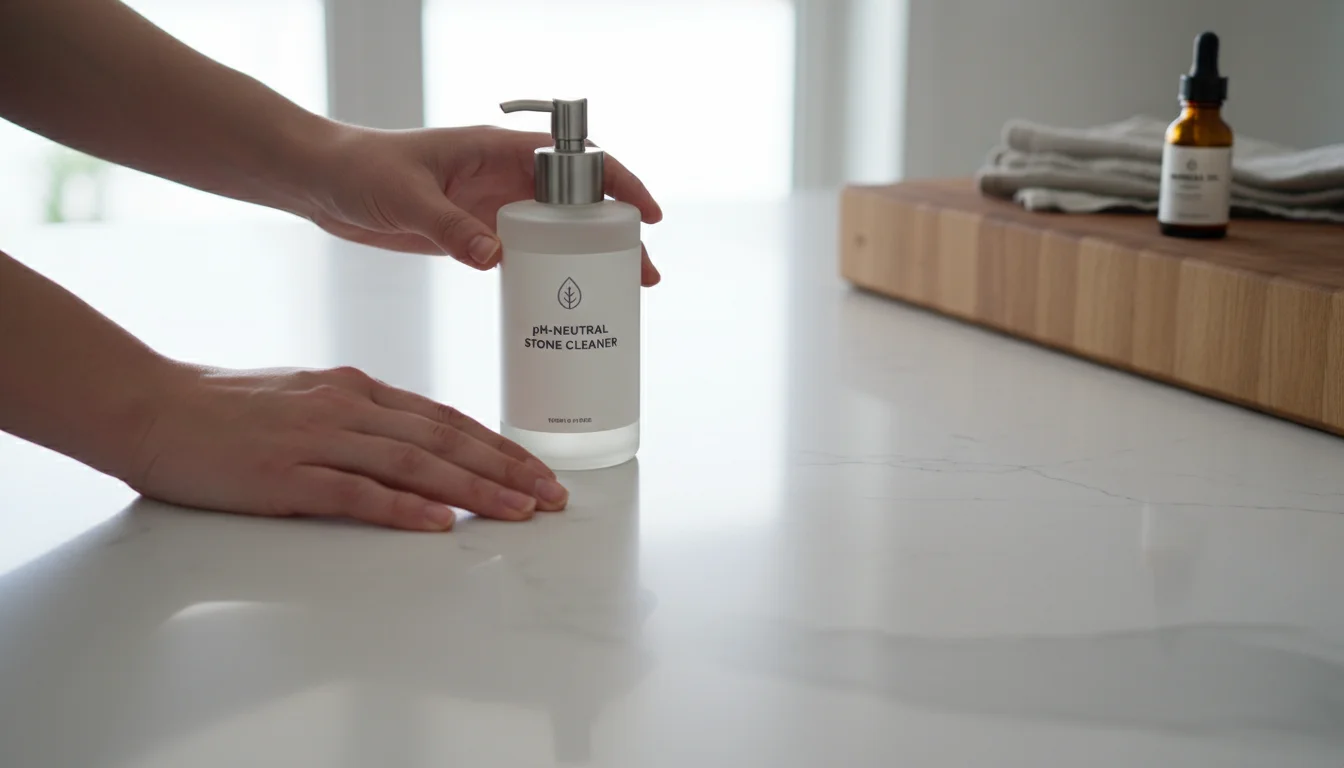
- Granite/Marble/Quartz: Use a pH-neutral cleaner specifically designed for stone, or simply warm water and a mild dish soap. Avoid vinegar, lemon juice, or harsh chemicals, which can etch natural stone. Always wipe dry to prevent water spots.
- Butcher Block: Wipe with warm, soapy water. For deeper cleaning or sanitizing, you can lightly scrub with a mixture of lemon juice and salt, then rinse and re-oil with food-grade mineral oil to maintain the wood.
- Stainless Steel: Clean with a stainless steel cleaner, wiping with the grain, then buff with a dry microfiber cloth for a streak-free shine.
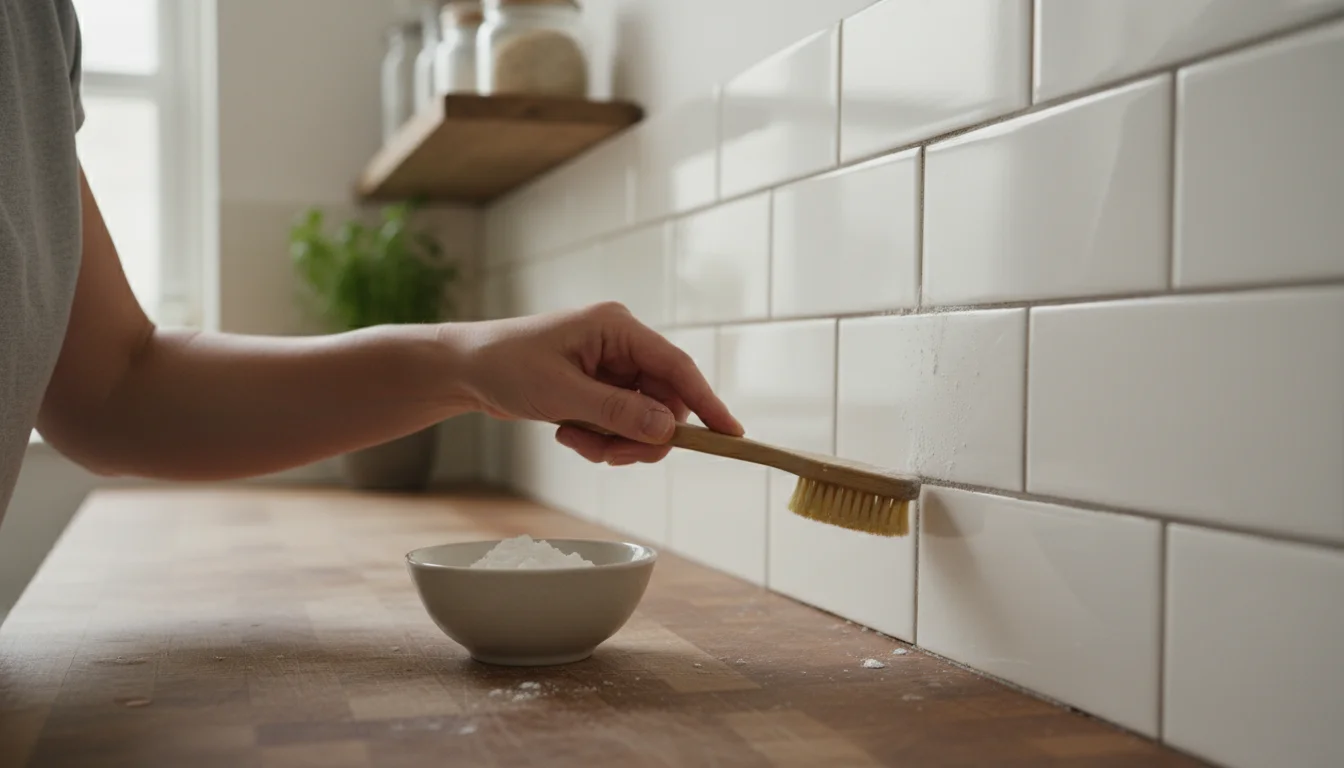
Backsplashes
Backsplashes often get splattered with food and grease.
- Tile: Use an all-purpose cleaner and a scrub brush or old toothbrush for grout lines. For stubborn grout stains, a baking soda paste or a dedicated grout cleaner works wonders. According to Bob Vila, consistent cleaning prevents grout from becoming a breeding ground for mildew and discoloration.
- Glass/Metal: Wipe with a glass cleaner or a mild all-purpose cleaner for a streak-free finish.
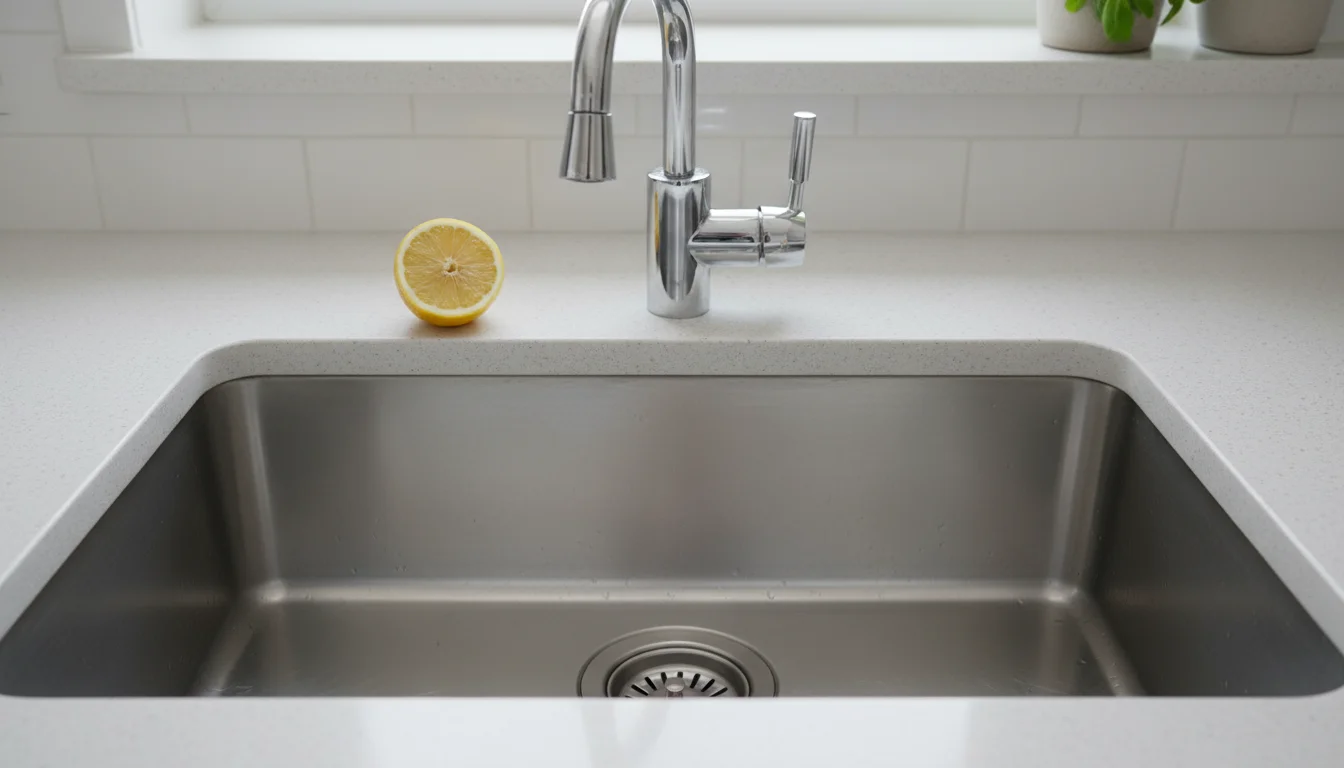
Sinks, Faucets, and Disposals: Spotless and Sanitary
Your sink and faucet are high-use areas that demand thorough cleaning and sanitization. Odors can also originate here, particularly from the disposal.

Sink Basin
- Stainless Steel: Scrub with a baking soda paste and a soft sponge. For extra shine, rub with a cut lemon half and rinse. For hard water spots, use white vinegar.
- Enamel/Porcelain: Use a mild abrasive cleaner or baking soda paste. Avoid harsh scrubbers that can scratch the finish.
- Composite/Granite Composite: Follow manufacturer recommendations. Generally, warm soapy water works, or a baking soda paste for stains.
Always rinse thoroughly after cleaning and wipe the sink dry to prevent water spots and mildew.
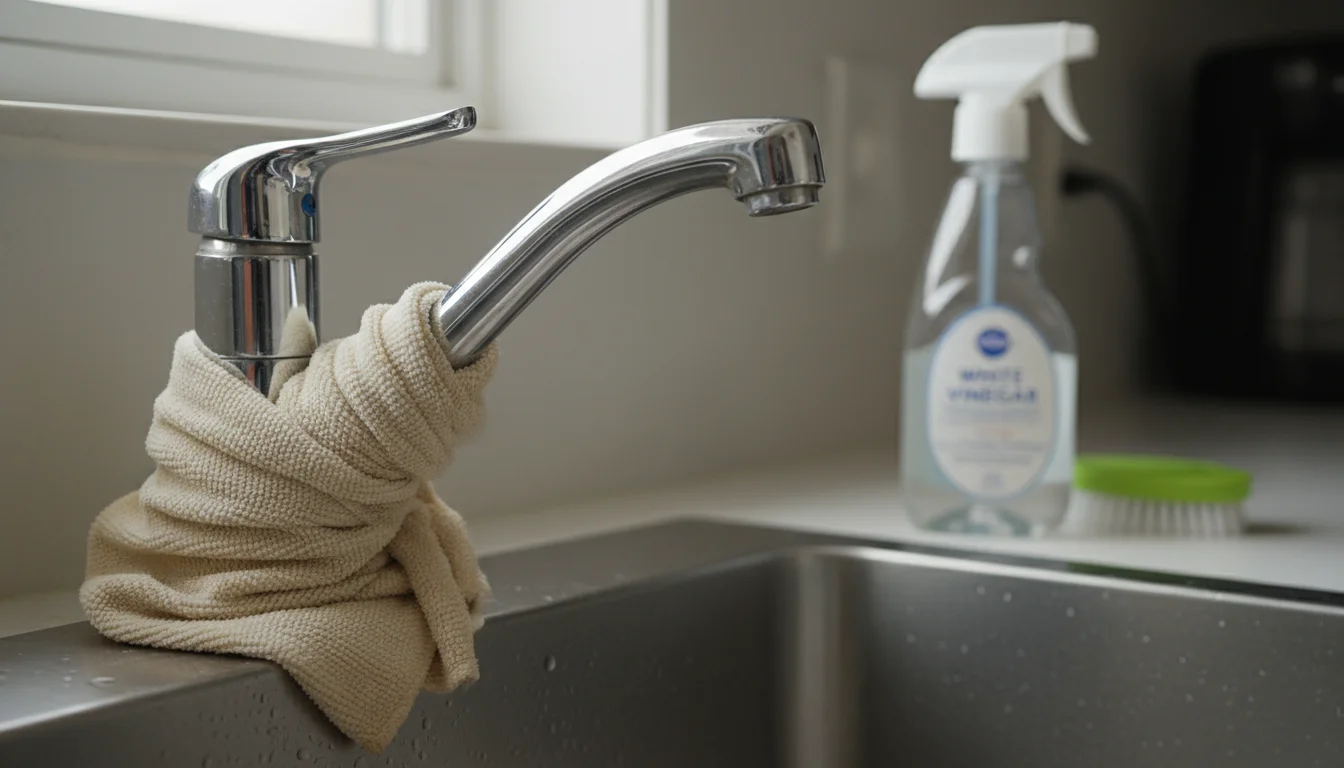
Faucets and Handles
Limescale and water spots frequently accumulate on faucets. Spray with white vinegar, let it sit for 10-15 minutes, then scrub with an old toothbrush and wipe clean. For heavily caked-on limescale, you can soak a cloth in vinegar and wrap it around the faucet head for an hour, then scrub. Polish with a dry microfiber cloth for shine.
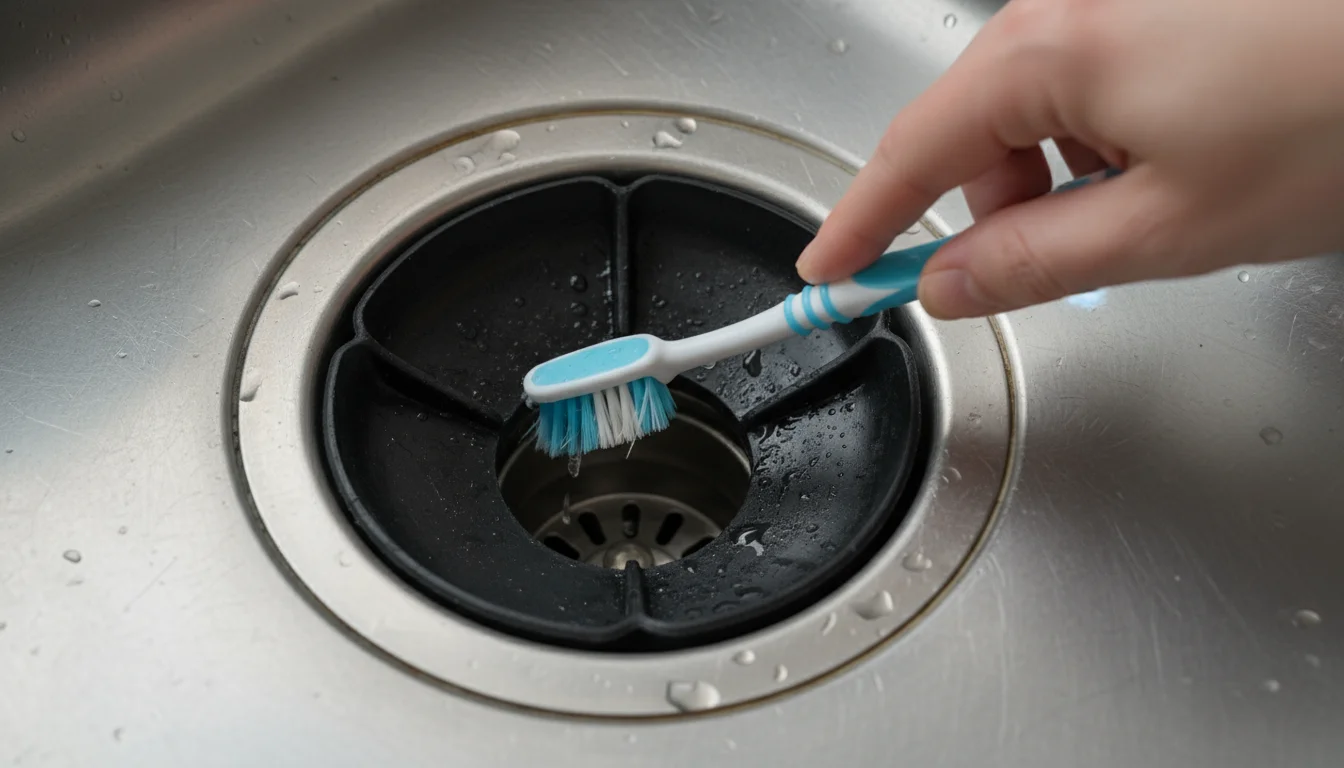
Garbage Disposal
To eliminate odors and clean your disposal:
- Ice and Salt: Run cold water, then drop in a few ice cubes and a handful of coarse salt. The ice sharpens the blades, and the salt scrubs the interior.
- Citrus Peels: Follow with a handful of citrus peels, such as lemon, orange, or lime. The oils from the peels deodorize and leave a fresh scent.
- Baking Soda and Vinegar: Pour 1/2 cup of baking soda into the disposal, followed by 1 cup of white vinegar. Let it fizz for 10-15 minutes, then flush with hot water.
- Scrub Flaps: Use an old toothbrush and a little dish soap to scrub the rubber splash guard flaps in the drain opening. These often collect grime and food residue.

Walls, Windows, and Floors: Finishing Touches
Once the main work is done, these elements bring the entire kitchen deep clean together, making your space feel truly refreshed.
When you reach the final stage, refer to our complete flooring guide to ensure you are using the safest methods for your specific tile, wood, or laminate.
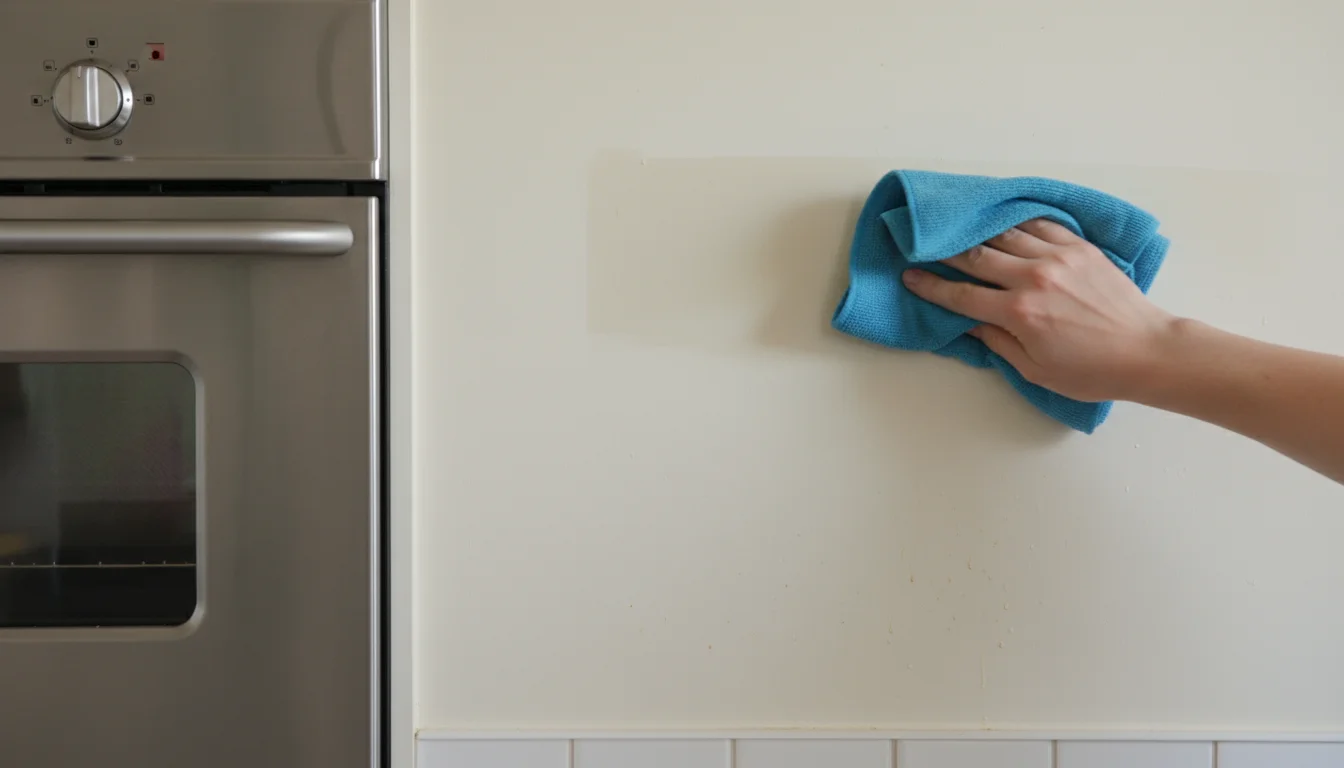
Kitchen Walls
Kitchen walls often accumulate grease, splatters, and fingerprints. Depending on the paint finish:
- Washable Paint (Semi-Gloss, Gloss, Eggshell): Mix warm water with a small amount of mild dish soap or an all-purpose cleaner. Use a clean sponge or microfiber cloth to gently wipe down walls, starting from the top and working your way down. Rinse with a clean, damp cloth and dry immediately to avoid streaks. Pay extra attention to areas around the stove, sink, and trash can.
- Flat Paint: Be cautious, as flat paint is less durable and can show water marks. Spot clean only, using a very lightly damp cloth with minimal soap. Test in an inconspicuous area first.

Windows and Window Treatments
Clean windows allow more natural light to brighten your sparkling kitchen.
- Dust/Vacuum: First, dust or vacuum blinds, curtains, or shades.
- Clean Glass: Spray glass cleaner on windows and wipe with a clean microfiber cloth or squeegee for a streak-free finish. Clean both sides of the glass if accessible.
- Window Sills and Frames: Wipe down window sills and frames with an all-purpose cleaner to remove dust and grime.
Floors
The floor is always the last step, collecting all the dust and debris that fell from higher surfaces.
- Sweep/Vacuum: Start by thoroughly sweeping or vacuuming the entire floor, including under appliances and cabinets. Use your vacuum’s crevice tool for tight spots.
- Mop: Use a mop with an appropriate cleaning solution for your floor type.
- Tile/Linoleum: A solution of warm water and a few drops of dish soap or a dedicated floor cleaner works well. For extra shine and to cut grease, add a half cup of white vinegar to your mop water.
- Hardwood: Use a hardwood floor cleaner or a very lightly damp mop with plain water. Avoid excessive water, which can damage wood.
- Laminate: Use a damp microfiber mop with a laminate-specific cleaner or a solution of warm water and a tiny bit of white vinegar. Do not use too much water.
- Dry: Allow floors to air dry completely, or use a clean, dry mop to speed up the process.
Budget-Friendly Cleaning Solutions and DIY Recipes
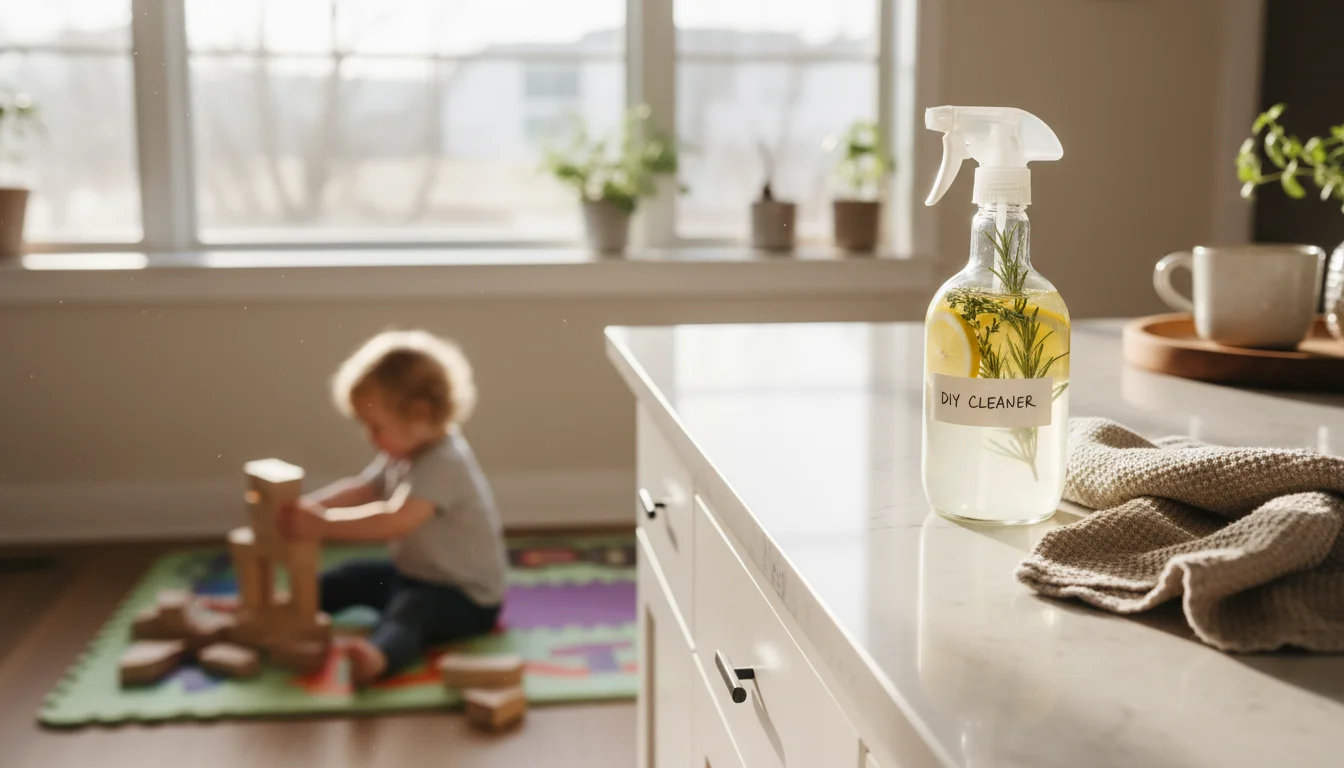
You do not need to spend a fortune on specialized cleaning products. Many effective and safe cleaners are already in your pantry or available at low cost. These DIY solutions are often safer for your family and the environment, a point supported by the EPA, which recommends minimizing exposure to indoor air pollutants, including those from cleaning products.
| Ingredient | Use Case | Directions |
|---|---|---|
| White Vinegar | Degreaser, disinfectant, deodorizer, cuts limescale, streak-free shine. | Use full strength for tough limescale, or diluted 1:1 with water for all-purpose cleaning, glass cleaner, or floor cleaner. |
| Baking Soda | Gentle abrasive, deodorizer, cuts grease, whitener. | Form a paste with water for scrubbing. Sprinkle directly to absorb odors. |
| Lemon Juice | Cuts grease, natural bleach, deodorizer, shines stainless steel. | Use fresh or bottled. Combine with salt for scrubbing. Add to water for microwave cleaning. |
| Dish Soap | Cuts grease, all-purpose cleaner. | A few drops in warm water for most surfaces, including counters, cabinets, and appliances. |
| Hydrogen Peroxide (3%) | Sanitizer, stain remover. | Spray directly on surfaces, let sit for 5-10 minutes, then wipe clean. Use caution with colored fabrics. |
Always test DIY solutions in an inconspicuous area first, especially on delicate or expensive surfaces, to ensure they do not cause discoloration or damage. Remember to label any homemade cleaners you create.

Maintaining Your Clean Kitchen: Realistic Habits for Lasting Order
A deep clean provides a fantastic foundation, but maintaining that sparkling kitchen requires consistent, realistic habits. You do not need to spend hours cleaning every day; small, regular actions prevent grime buildup and keep your kitchen comfortable and functional. As noted by experts at Real Simple, integrating small organizational tasks into your daily routine is key to long-term success.
Once you have achieved a sparkle, implementing a 20-minute daily cleaning routine can help you maintain that fresh feeling without the need for constant marathon sessions.
Daily Habits (10-15 minutes)
- Wipe Down After Meals: Clean your stovetop and counters immediately after cooking. This prevents food from hardening and grease from building up.
- Clean as You Cook: Wash pots, pans, and utensils as you use them, or put them directly into the dishwasher.
- Empty the Sink: Do not let dishes pile up. Load the dishwasher or handwash dishes after each meal.
- Wipe the Sink: Give your sink a quick wipe down after washing dishes to prevent water spots and mildew.
- Take Out the Trash: Empty the kitchen trash bin daily or when full to prevent odors.

Weekly Tasks (30-60 minutes)
- Wipe Down Exterior of Appliances: Give your refrigerator, oven, and dishwasher exteriors a quick wipe down.
- Clean Microwave: A quick wipe after each use prevents major build-up, but a more thorough wipe once a week is helpful.
- Mop Floor: Sweep or vacuum, then mop your kitchen floor to pick up any tracked-in dirt.
- Empty and Wipe Out Trash Can: Wipe the inside and outside of your trash can.
- Spot Clean Cabinets: Address any fingerprints or splatters on cabinet fronts as needed.

Monthly Quick Checks
- Fridge Purge: Do a quick review of your refrigerator and discard any expired or questionable food items.
- Dishwasher Refresh: Run a quick cycle with vinegar or baking soda to keep it fresh.
- Disposal Cleanse: Use ice and citrus peels to refresh your garbage disposal.
By adopting these simple routines, you will find your kitchen stays cleaner for longer, making future deep cleans less daunting and more about fine-tuning your space than tackling overwhelming grime.
Frequently Asked Questions
How often should I deep clean my kitchen?
Most homeowners benefit from a comprehensive kitchen deep clean every 3-6 months. However, if you cook frequently, have a large family, or entertain often, you may find a quarterly deep clean more beneficial. For those who cook less or have smaller households, twice a year might suffice. Consistency with daily and weekly maintenance tasks significantly impacts how often you need a full deep clean.
What are the best kitchen cleaning products for a budget?
You can achieve excellent results with budget-friendly staples like white vinegar, baking soda, and dish soap. These natural cleaners are versatile and effective for cutting grease, deodorizing, and scrubbing many surfaces. A good quality set of microfiber cloths also makes a significant difference, as they effectively clean without requiring excess cleaning solution. You can often buy these in bulk for better value.
How do I effectively deal with stubborn kitchen grease?
Stubborn kitchen grease often requires a degreaser. For a natural solution, mix equal parts white vinegar and hot water in a spray bottle, spray directly on the grease, let it sit for 5-10 minutes, then scrub with a sponge or brush and wipe clean. For very tough grease, a paste of baking soda and a little water applied directly to the grease, left for 15-30 minutes, then scrubbed and wiped, works wonders. Commercial degreasers are also effective, but ensure good ventilation when using them.
How can I prevent kitchen odors between deep cleans?
Preventing odors involves regular upkeep. Always empty your trash can daily or when full, especially if it contains food waste. Keep your garbage disposal clean by running ice and citrus peels through it regularly. Wipe down countertops and appliances daily to prevent food residue from spoiling. An open box of baking soda in the refrigerator helps absorb odors, and placing a small bowl of white vinegar on the counter overnight can neutralize general kitchen smells.
I have limited time. What are the most impactful quick cleaning tasks?
If you have limited time, focus on high-impact areas. Wipe down the stovetop and counters immediately after cooking. Empty and wipe out the sink. Quickly run a damp cloth over the front of your refrigerator and dishwasher handles. Finally, give the floor a quick sweep. These tasks address the most visible and heavily used areas, making your kitchen feel much tidier with minimal effort.
For expert home organization guidance, visit
Martha Stewart — Home,
Houzz — Home,
The Spruce — Home Organization and
Real Simple — Organizing.
Disclaimer: This article is for informational purposes only and is not a substitute for professional advice. Consult professional organizers or specialists for personalized recommendations.


Leave a Reply