
Grout, the unsung hero that holds your tiles together, often becomes the unintended canvas for dirt, grime, and mildew. Its porous nature makes it a magnet for stains, transforming your once pristine bathroom or kitchen into a less-than-sparkling space. If you are a busy homeowner, renter, or apartment dweller, you know the struggle of maintaining a clean home while balancing real-life demands. Finding effective, budget-conscious solutions that fit your schedule is key. This guide helps you tackle dirty grout using practical, natural cleaning methods that truly work.
You do not need harsh chemicals to restore your grout’s shine. Simple, everyday ingredients offer powerful cleaning capabilities. This article walks you through natural techniques, essential tools, and preventative measures to keep your tiled surfaces looking their best. You will discover actionable steps that fit into your busy life, helping you maintain a comfortable, clean home without breaking the bank or exposing your household to strong fumes.
Understanding Grout: What It Is and Why It Gets Dirty
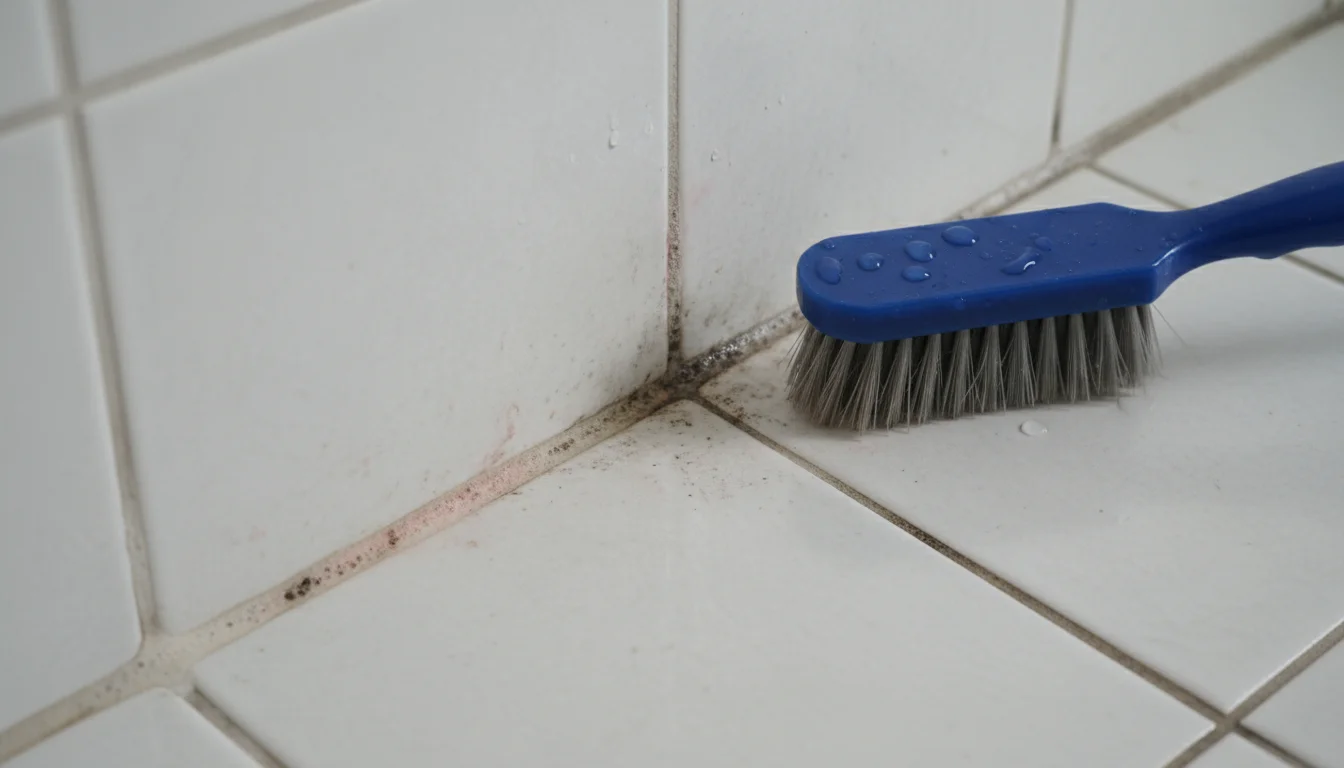
Grout fills the spaces between your tiles, providing structural stability and a finished look to your tiled surfaces. Most often, you encounter cement-based grout, which consists of cement, sand, and water. This type of grout is porous, meaning it has tiny holes and channels that readily absorb liquids and airborne particles. This porosity is the primary reason grout gets dirty so quickly and effectively.
Think about the everyday stressors your grout endures. In bathrooms, it faces soap scum, shampoo residue, body oils, and constant humidity. These elements create a perfect breeding ground for mold and mildew, manifesting as black or pink stains. In kitchens, spills from food, grease, and sauces seep into the grout lines, leaving behind stubborn discoloration. Foot traffic tracks dirt and debris across floor grout, grinding particles into its surface. Even cleaning products, if not rinsed thoroughly, can leave residue that attracts more dirt, turning your grout dingy and discolored over time. Understanding these challenges helps you choose the most effective cleaning and maintenance strategies.
Benefits of Natural Grout Cleaning Methods
Opting for natural grout cleaning methods offers numerous advantages for your home, your health, and your budget. Commercial grout cleaners often contain harsh chemicals such as bleach, ammonia, or strong acids. While these substances might deliver quick visual results, they can pose significant risks. They emit strong fumes that irritate your respiratory system, skin, and eyes. Prolonged exposure can contribute to poor indoor air quality, which the EPA highlights as a concern for health. Furthermore, these chemicals can degrade your grout over time, stripping away its sealant and making it even more susceptible to future staining.
Natural alternatives, conversely, use common household ingredients like baking soda, vinegar, hydrogen peroxide, and lemon juice. These items are readily available, inexpensive, and generally safe for use around children and pets. They effectively lift dirt, cut through grease, and neutralize odors without the toxic drawbacks. For instance, baking soda acts as a mild abrasive and deodorizer, while vinegar’s acetic acid helps dissolve mineral deposits and soap scum. By choosing natural methods, you create a safer living environment, save money on specialized cleaners, and extend the life of your grout. You gain peace of mind knowing you use effective solutions that protect your home and family.
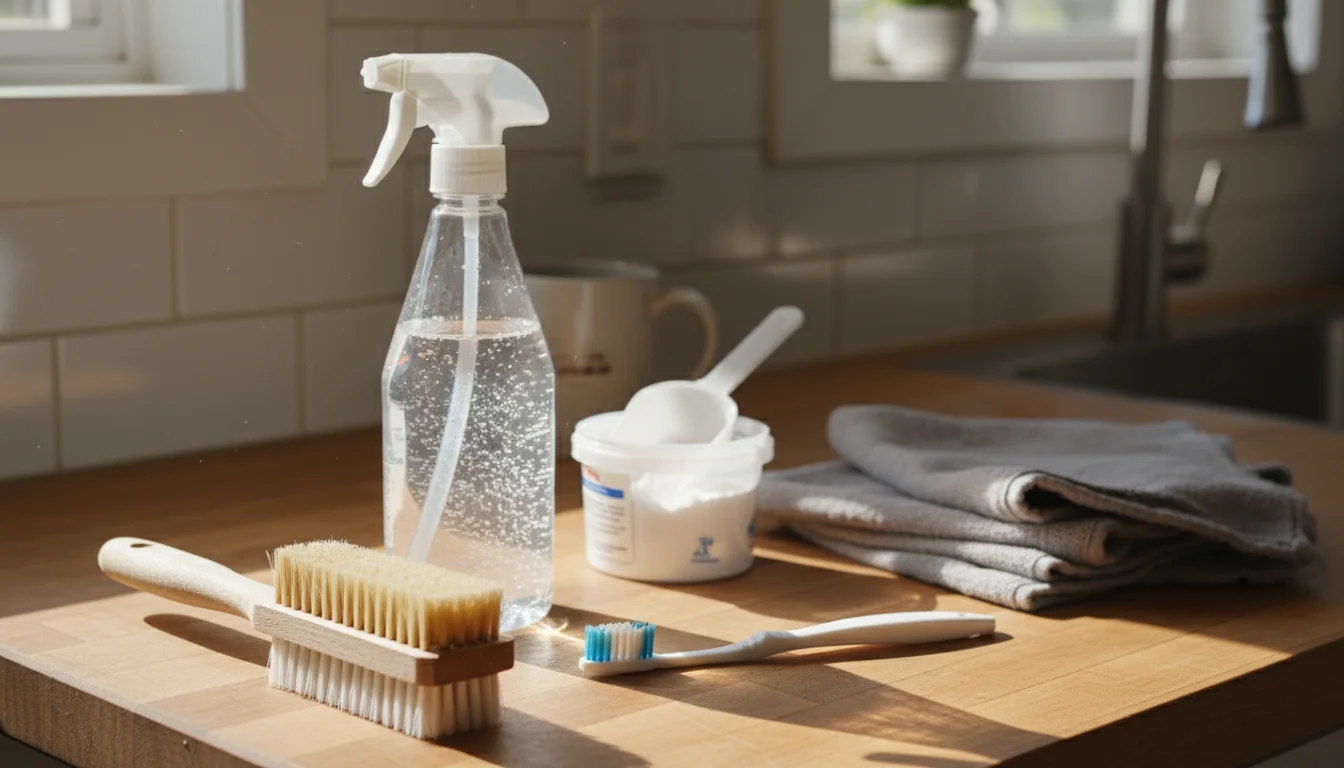
Gather Your Tools: Essential Supplies for Natural Grout Cleaning
Before you begin your grout cleaning project, gather the right tools. Having everything ready streamlines the process and ensures you achieve the best results. You likely own most of these items already, reinforcing the budget-friendly aspect of natural cleaning.
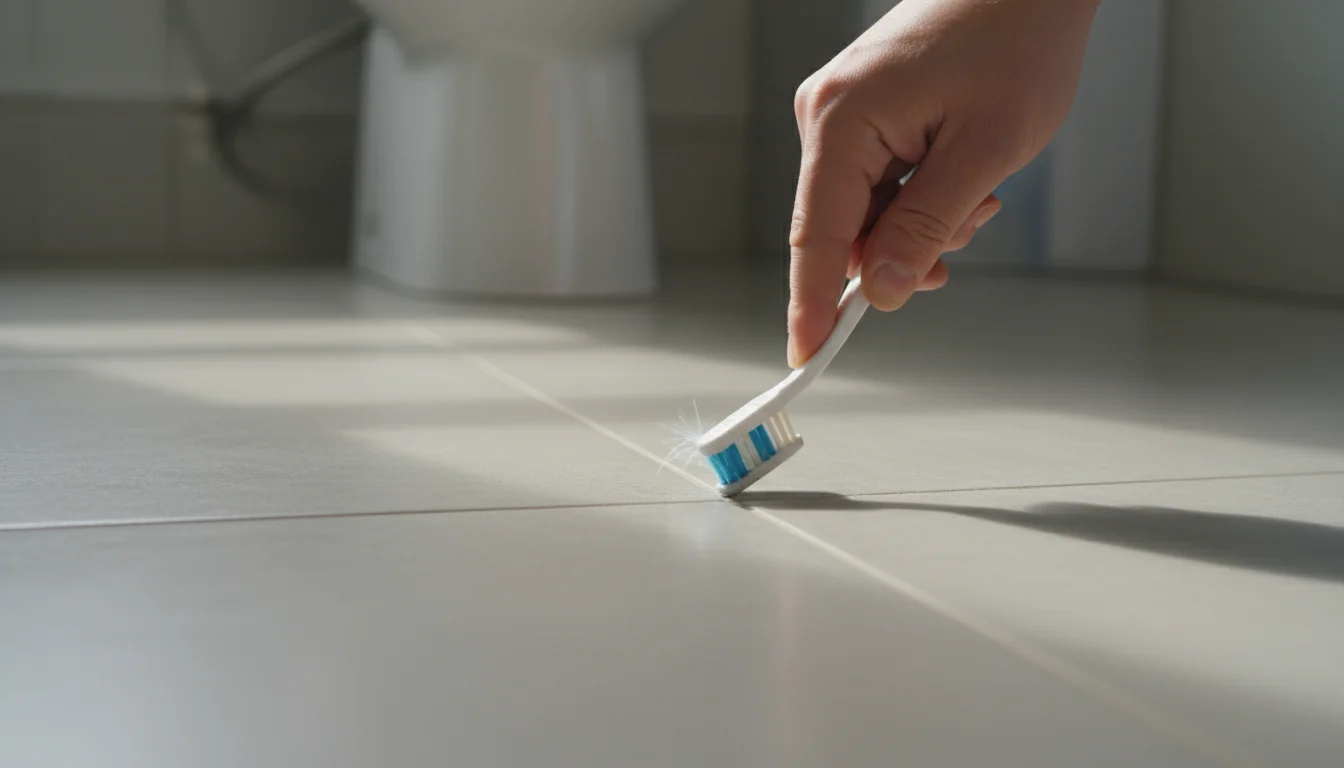
- Stiff-bristled brush: A dedicated grout brush works wonders for scrubbing. Its narrow head and firm bristles effectively dig into grout lines. An old toothbrush can also serve well for smaller, more detailed areas, or for reaching corners.
- Spray bottle: Essential for applying liquid cleaning solutions evenly. You can find inexpensive ones at most dollar or grocery stores.
- Mixing bowls or small buckets: Use these for mixing your cleaning pastes or solutions.
- Microfiber cloths or old towels: For wiping away residue and drying the cleaned surfaces. Microfiber is excellent for absorbing moisture and buffing surfaces.
- Warm water: Necessary for rinsing and diluting solutions.
- Protective gloves: While natural ingredients are safer, protect your hands, especially if you have sensitive skin or plan to scrub extensively.
- Knee pads (optional but recommended): Cleaning floor grout often involves kneeling, and knee pads make the task much more comfortable.
- Ventilation fan or open windows: Even natural cleaners can produce odors. Good ventilation improves air circulation and dries surfaces faster.
Having these supplies on hand means you avoid interruptions and maintain momentum. Your preparation sets the stage for efficient and effective grout cleaning, transforming a potentially tedious chore into a manageable task.
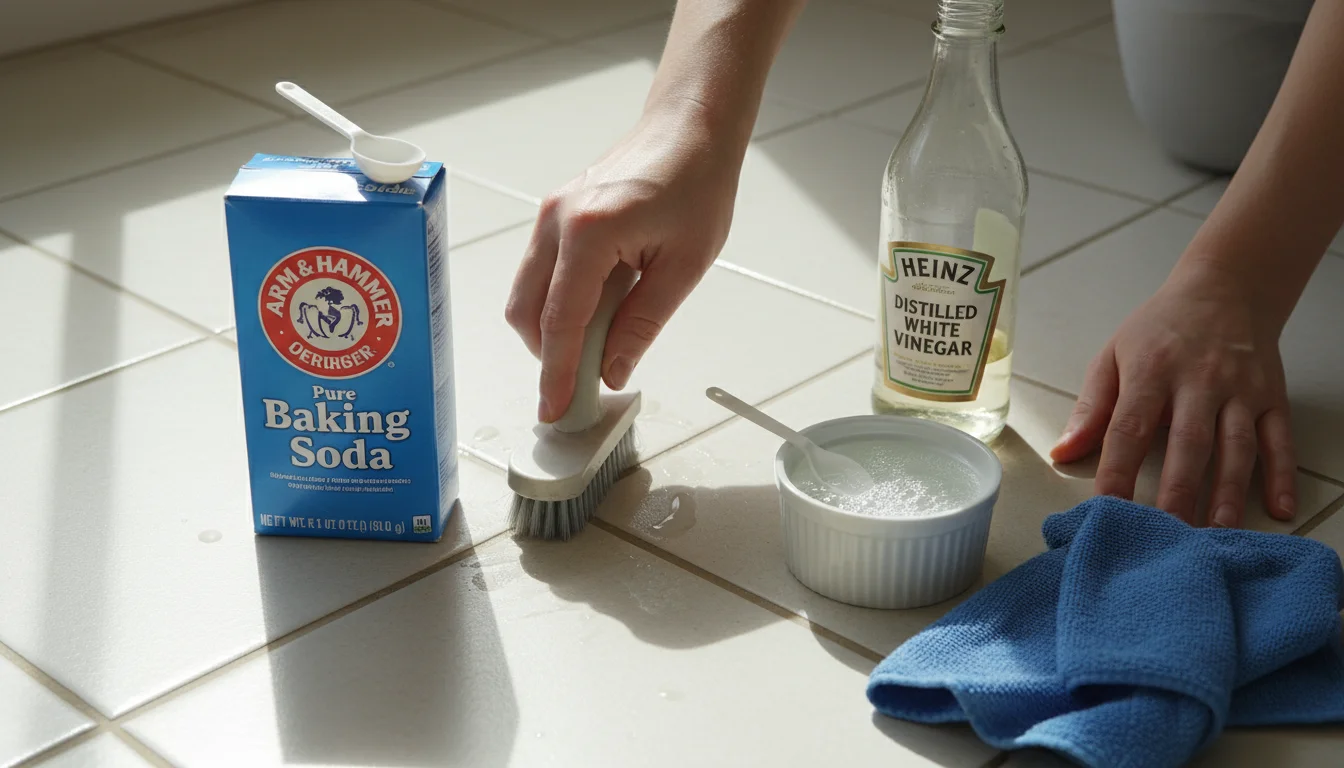
Method 1: The Power of Baking Soda and Vinegar
The baking soda and vinegar combination remains a timeless favorite for effective natural grout cleaning. This method tackles general grime, soap scum, and light discoloration. It provides a gentle abrasive action combined with acidic dissolving power, making it incredibly versatile for both bathroom and kitchen grout.
Step-by-Step Grout Cleaning with Baking Soda and Vinegar:
- Prepare the Area: Clear any items from the tiled surface. Sweep or vacuum floor tiles to remove loose dirt and debris. This prevents you from grinding dirt into the grout during scrubbing.
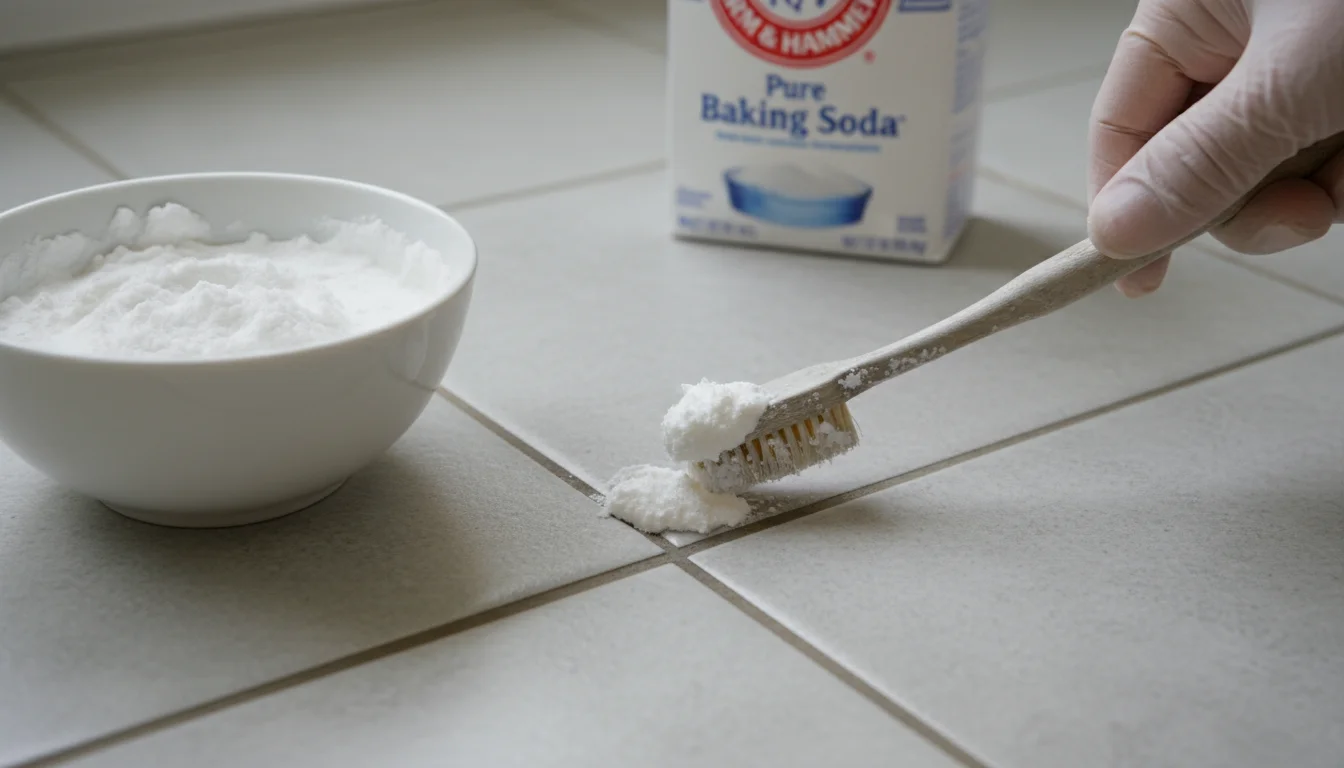
- Create a Baking Soda Paste: In a small bowl, mix about 1/2 cup of baking soda with 2-3 tablespoons of warm water. Adjust the water amount gradually until you achieve a thick, spreadable paste, similar to toothpaste consistency. This paste adheres to the grout lines and delivers concentrated cleaning power.
- Apply the Paste: Apply the baking soda paste directly onto the grout lines. You can use an old toothbrush, a spatula, or your gloved fingers. Ensure you coat the stained areas thoroughly.
- Let it Sit: Allow the baking soda paste to sit on the grout for at least 10-15 minutes. For heavily soiled areas, let it sit for 30 minutes. This dwell time allows the baking soda to penetrate the grime and start breaking it down.
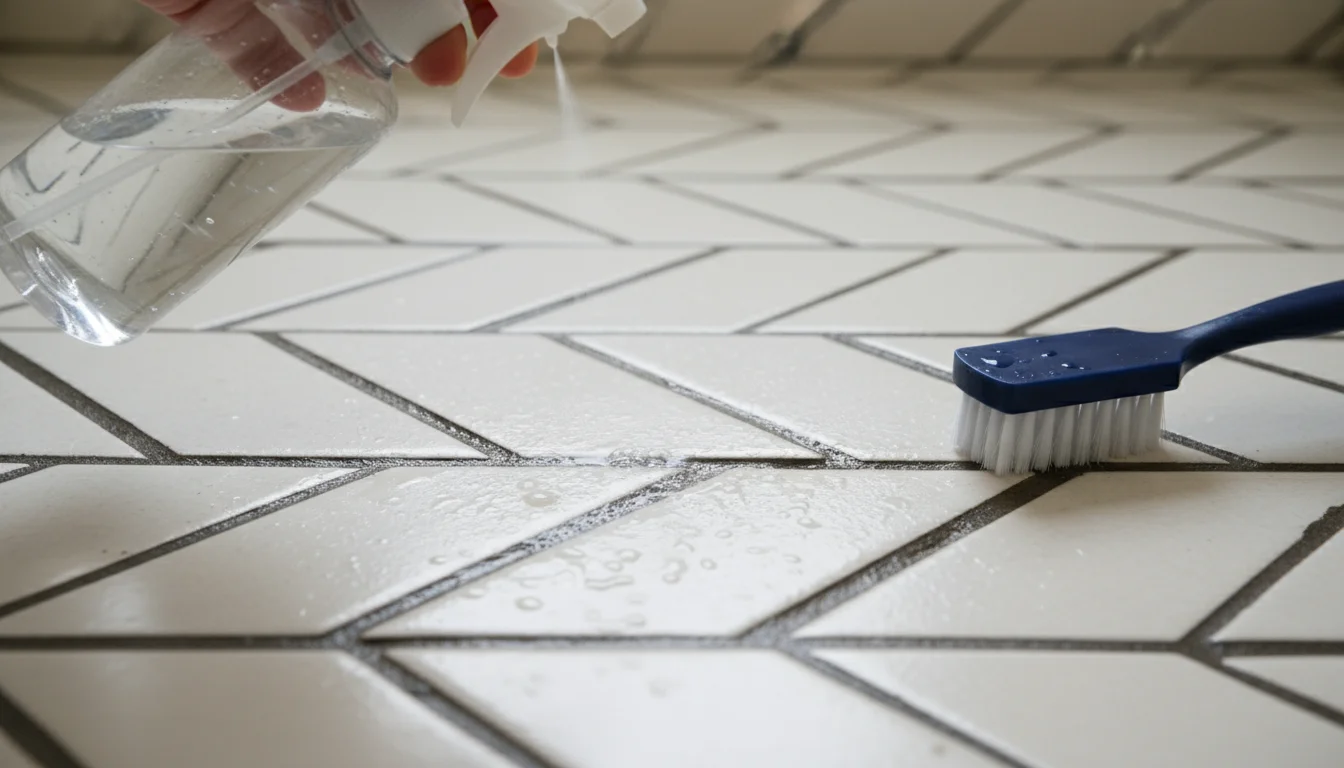
- Spray with Vinegar: Fill a spray bottle with undiluted white vinegar. After the paste has dwelled, generously spray the vinegar directly onto the baking soda paste. You will observe a fizzing reaction as the acetic acid in the vinegar reacts with the baking soda. This effervescent action helps lift dirt and loosen stubborn stains.
- Scrub the Grout: Immediately after the fizzing subsides, use your stiff-bristled brush or an old toothbrush to scrub the grout lines. Apply firm, consistent pressure. Work in small sections, scrubbing back and forth. You will see the dirt and grime lifting away.
- Rinse Thoroughly: Wipe the scrubbed areas with a damp microfiber cloth or sponge. Rinse your cloth frequently with clean water to avoid spreading dirt. For larger areas like shower floors, you can rinse with warm water using a bucket and mop, then wipe dry. Ensure you remove all baking soda and vinegar residue.
- Dry the Surface: Use a clean, dry towel to dry the tiled surface. Drying helps prevent water spots and reduces the chance of new mildew growth.
This method provides a powerful clean for most everyday grout challenges. According to experts at Family Handyman, baking soda and vinegar form a dynamic duo for tackling tough stains in various household cleaning tasks, including grout.
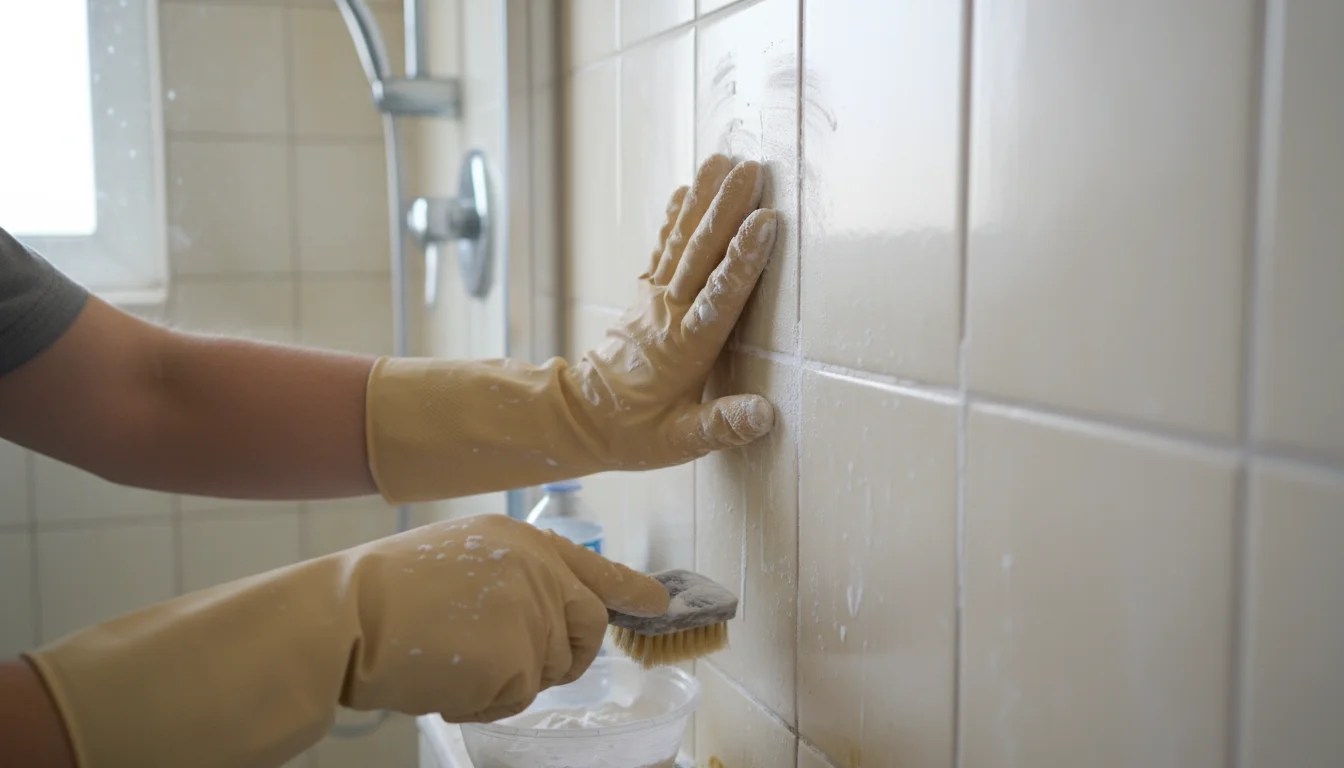
Method 2: Hydrogen Peroxide for Stubborn Stains
When you encounter more persistent stains, especially those caused by mold or mildew, hydrogen peroxide offers an excellent natural solution. Hydrogen peroxide is a mild bleach and disinfectant that helps break down organic matter and lighten stains without the harshness of chlorine bleach. Always use 3% hydrogen peroxide, which is the common strength found in pharmacies.
For surfaces that require more than a simple refresh, professional-level grout cleaning and restoration techniques can help make your old tile look new again.
How to Use Hydrogen Peroxide for Grout Cleaning:
- Pre-Clean: As with any method, start by sweeping or vacuuming the tiled area to remove loose debris.
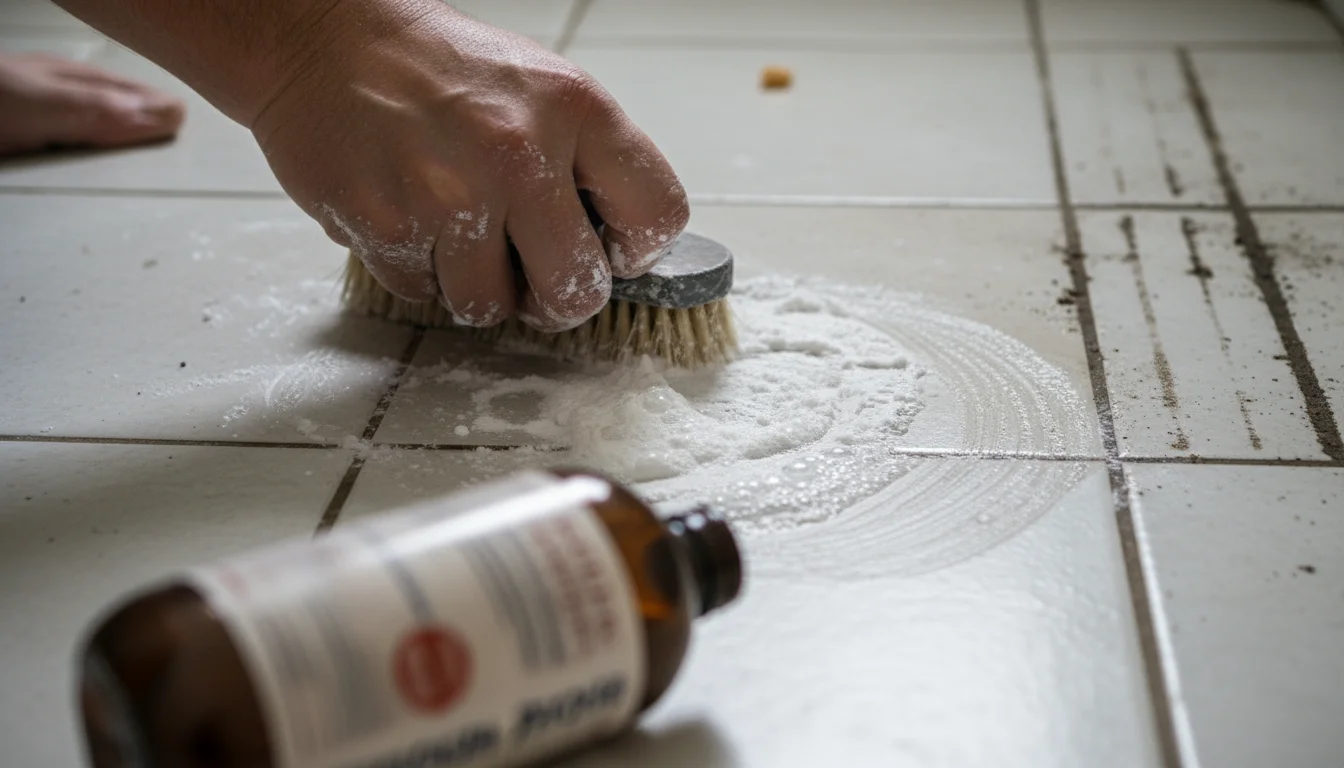
- Apply Hydrogen Peroxide: For a direct attack on tough spots, pour or spray 3% hydrogen peroxide directly onto the grout lines. For a more intensive clean, you can create a paste by mixing hydrogen peroxide with baking soda. Use two parts baking soda to one part hydrogen peroxide (e.g., 1/2 cup baking soda to 1/4 cup hydrogen peroxide).
- Let it Dwell: Allow the hydrogen peroxide to sit on the grout for at least 15-30 minutes. If you used the paste, ensure it thoroughly covers the stained areas. The longer dwell time allows the peroxide to penetrate and work its lightening magic.
- Scrub: Use your stiff-bristled brush to vigorously scrub the grout lines. Focus on the discolored areas, applying firm pressure.
- Rinse and Dry: Wipe the treated areas thoroughly with a damp cloth or sponge, rinsing frequently with clean water. Ensure you remove all residue. Finally, dry the surface completely with a clean towel.
Hydrogen peroxide is particularly effective in bathrooms where mold and mildew thrive. It not only cleans but also helps sanitize the grout, preventing future microbial growth. You will notice a visible difference in the brightness of your grout after using this method. This approach offers a powerful alternative to the baking soda and vinegar mixture for those stubborn, set-in stains.
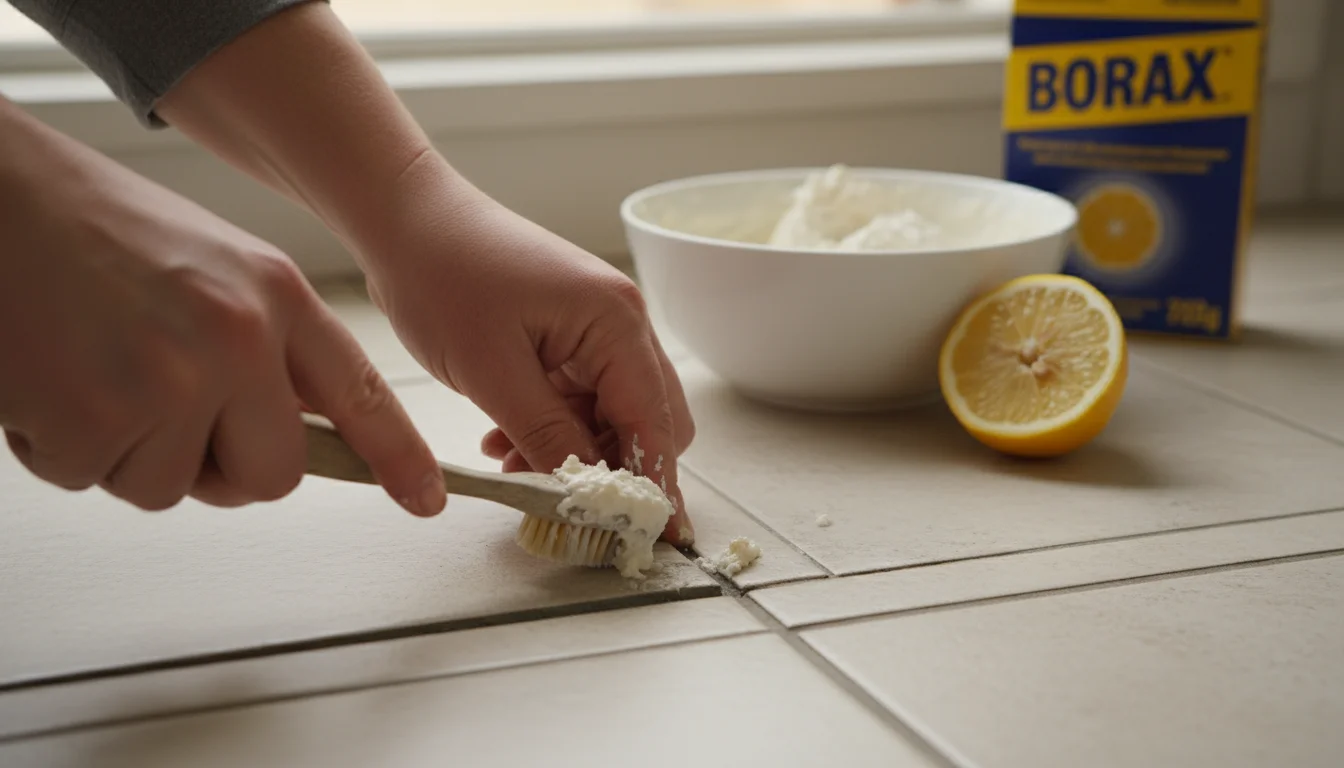
Method 3: Leveraging Lemon and Borax for Extra Brightness
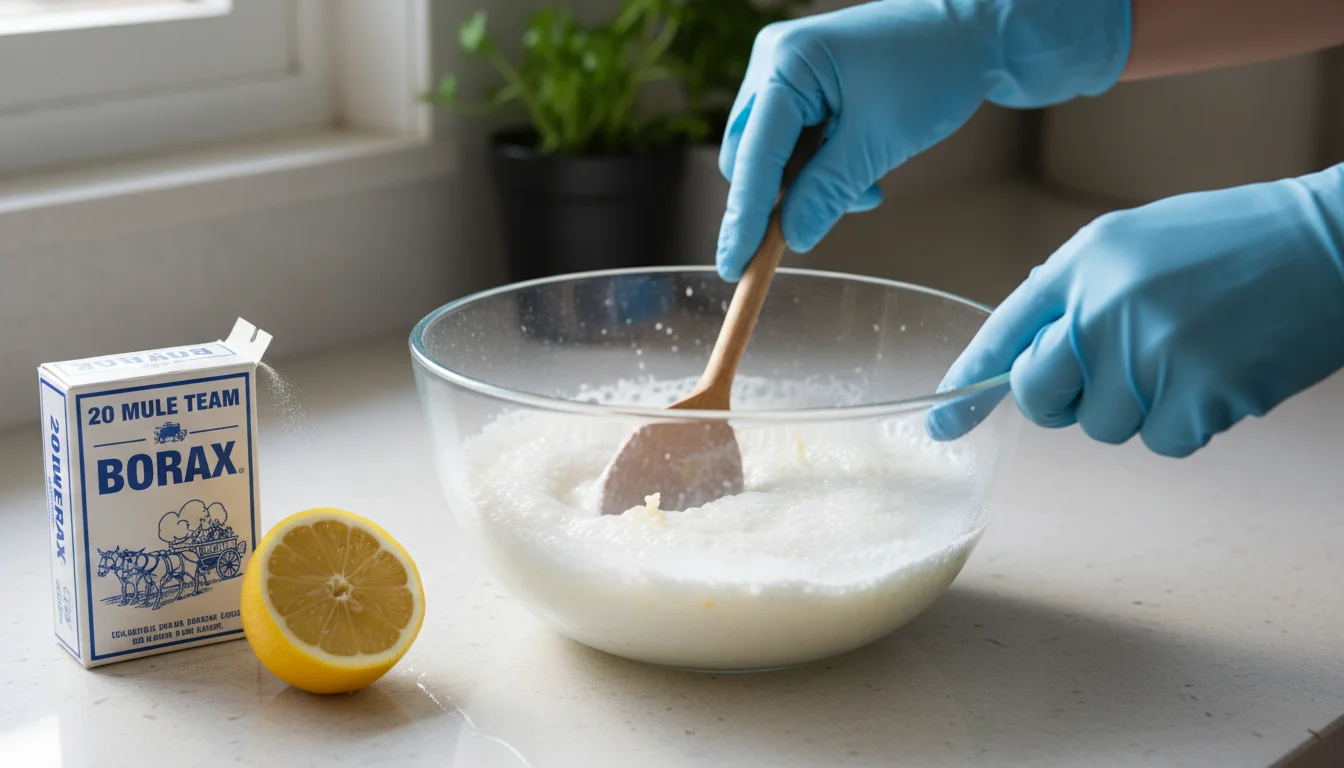
For an extra boost of cleaning power and natural brightening, consider a solution incorporating lemon juice and borax. Lemon juice contains citric acid, a natural bleaching agent that effectively cuts through grease and brightens surfaces. Borax, a naturally occurring mineral, acts as a powerful cleaner, deodorizer, and stain remover. Together, they create a formidable, yet natural, cleaning agent for your grout.
Before using borax, understand that while natural, it is still a cleaning agent. Always wear gloves, and ensure good ventilation. Keep it out of reach of children and pets.
Steps for Cleaning Grout with Lemon and Borax:
- Prepare the Area: Clear and pre-clean the tiled surface, removing any loose dirt.
- Create the Borax Paste: In a small bowl, mix 1/2 cup of borax with enough fresh lemon juice to form a thick paste. Start with 1/4 cup of lemon juice and add more as needed. The paste should be easy to spread but not watery.
- Apply the Paste: Apply this paste directly onto the stained grout lines using an old toothbrush or a small spatula. Make sure the paste fully covers the discolored areas.
- Allow Dwell Time: Let the borax and lemon paste sit on the grout for at least 20-30 minutes. For very stubborn stains, you can extend this time to an hour. The acidic lemon juice and the cleaning power of borax need time to penetrate and break down the grime.
- Scrub Vigorously: After the dwell time, use a stiff-bristled brush to scrub the grout lines. You will find the grime loosens and lifts more easily with the combined action of the paste.
- Rinse Thoroughly: Wipe the entire area with a damp cloth, rinsing the cloth frequently with clean water. Ensure you remove all traces of the borax and lemon paste. Any remaining residue can attract dirt or leave a dull finish.
- Dry Completely: Finish by drying the tiled surface with a clean, dry towel.
This method works particularly well on grout that has yellowed or accumulated greasy residue. The lemon not only cleans but also leaves behind a fresh, clean scent, a pleasant bonus compared to chemical cleaners. According to Good Housekeeping, natural ingredients like lemon juice and borax prove highly effective for various cleaning challenges, offering powerful alternatives to commercial products.
Preventative Care: Keeping Your Grout Cleaner Longer
Cleaning grout can be a laborious task, but you can significantly reduce its frequency with consistent preventative measures. Implementing a few simple habits helps maintain your grout’s cleanliness and prolong its pristine appearance. Prevention is always easier than a deep clean.
Key Preventative Strategies:
- Seal Your Grout: If your grout is cement-based, sealing it creates a protective barrier that repels water, dirt, and stains. Apply a high-quality grout sealant annually or every two years, depending on traffic and moisture exposure. This barrier prevents grime from seeping into the porous surface. You can find sealants at most hardware stores.
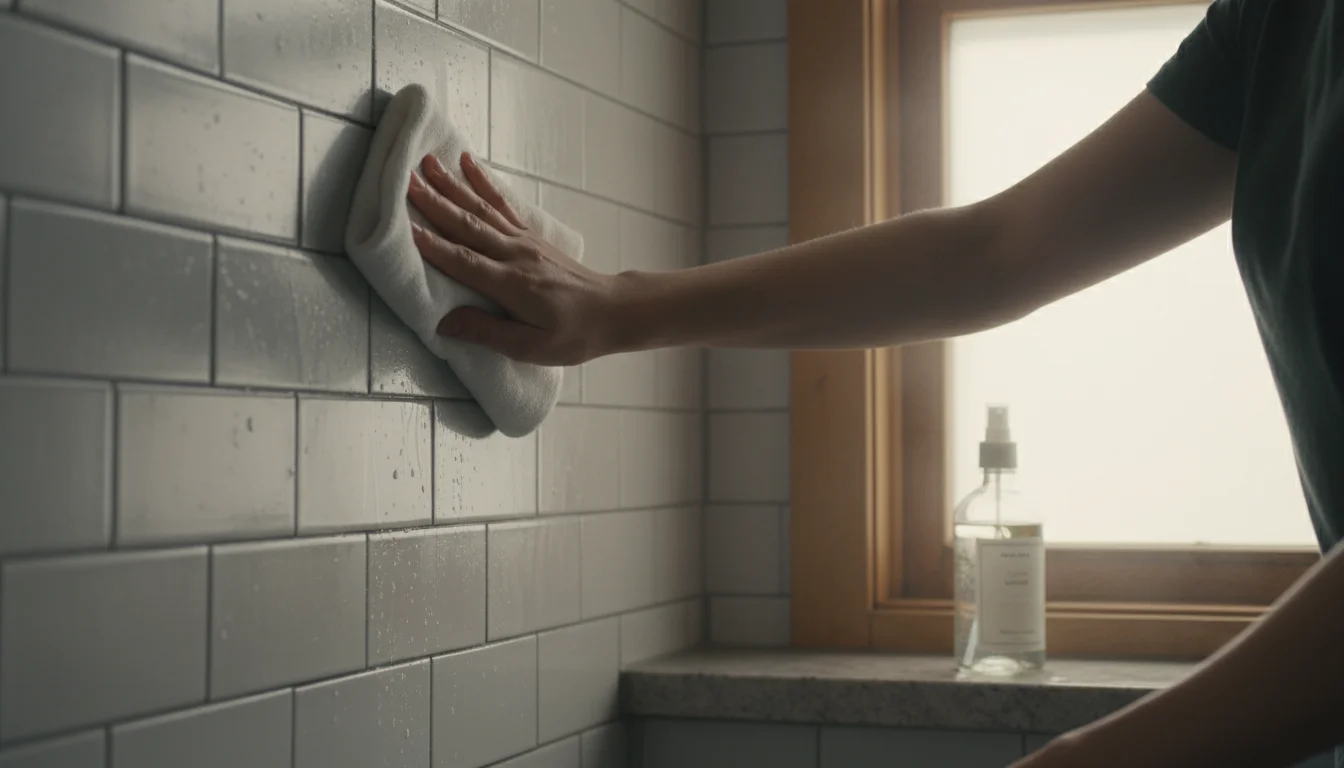
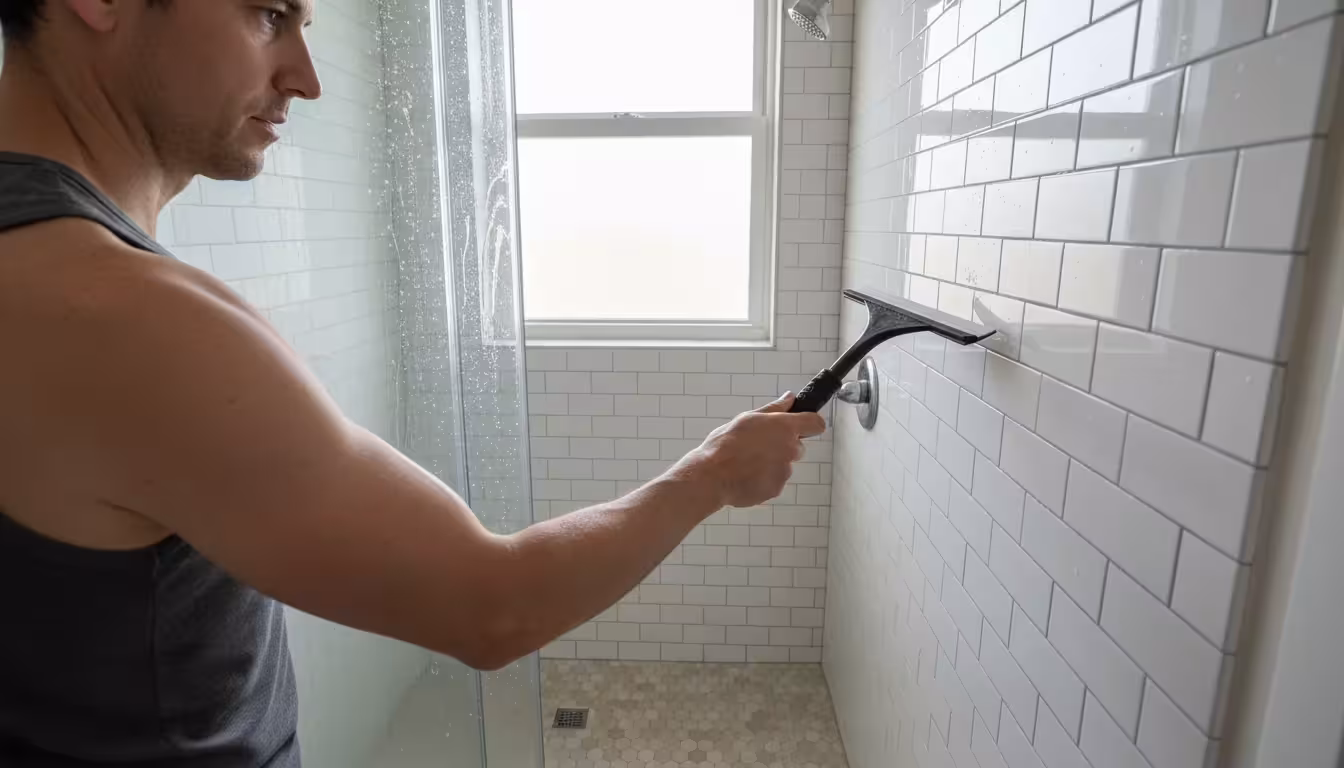
- Wipe Down Surfaces Regularly: In bathrooms, wipe down shower walls and floors after each use. A squeegee on shower walls and a quick wipe on floor grout helps remove soap scum and moisture before it sets. In kitchens, wipe up spills immediately.
- Regular, Gentle Cleaning: Incorporate light grout cleaning into your regular bathroom and kitchen cleaning routines. A weekly scrub with a simple spray of diluted vinegar (1:1 water to vinegar ratio) or a paste of baking soda and water prevents major buildup. Focus on high-traffic or high-moisture areas.
- Ensure Proper Ventilation: Especially in bathrooms, consistent ventilation prevents mold and mildew growth. Run your exhaust fan during and after showers for at least 30 minutes, or open a window. This reduces humidity levels, denying mold the moist environment it needs to thrive.
- Use a Floor Mat: Place floor mats at entryways and in front of sinks or showers. These mats trap dirt and moisture, preventing them from reaching your grout. Ensure you clean these mats regularly.
By adopting these preventative habits, you dramatically reduce the effort required for deep grout cleaning. You invest a little time consistently to save significant effort later, keeping your home looking its best with minimal fuss. Think of it as protecting your investment in your home’s appearance.
Common Mistakes to Avoid When Cleaning Grout
Even with natural methods, you can make mistakes that hinder your progress or even damage your grout. Avoiding these common pitfalls helps ensure your cleaning efforts are effective and safe for your tiled surfaces.
- Using Metal Brushes: Avoid wire brushes or anything made of metal. These tools can scratch and damage your grout, and potentially your tiles, making them more susceptible to future staining. Stick to stiff-bristled nylon brushes or old toothbrushes.
- Skipping the Dwell Time: Rushing the process by immediately scrubbing after application often leads to disappointing results. Natural cleaners need time to break down dirt and stains. Always allow the recommended dwell time for your chosen method.
- Not Rinsing Thoroughly: Leaving behind cleaning solution residue, whether it is baking soda paste or a vinegar solution, can attract more dirt over time. Residue can also leave a dull film. Always rinse the area thoroughly with clean water and wipe it dry.
- Ignoring Ventilation: Even natural cleaners, especially vinegar, have strong odors. Cleaning in a poorly ventilated area can be unpleasant and can prolong drying times, potentially encouraging mold growth. Open windows or run exhaust fans.
- Neglecting Grout Sealing: If you have cement-based grout and do not seal it, you are fighting an uphill battle. Unsealed grout remains highly porous, absorbing dirt and moisture easily. Sealing creates a barrier, making subsequent cleaning much easier. Many experts, including those at This Old House, consistently recommend sealing grout for long-term protection and easier maintenance.
- Using Colored Sponges or Cloths: While less common, some colored cleaning cloths can transfer dye to light-colored grout, creating new stains. Use white or light-colored cloths to avoid this.
By being aware of these common mistakes, you approach your grout cleaning with greater confidence and achieve better, longer-lasting results. You streamline your process and protect the integrity of your tiles and grout.

Frequently Asked Questions
Can I use baking soda and vinegar on colored grout?
Generally, you can use baking soda and white vinegar on most colored grout without issue. However, white vinegar is acidic, and some sources suggest that repeated, undiluted use on darker colored grout could potentially lighten it slightly over a very long period. To be safe, test the solution on an inconspicuous area first. For daily cleaning or very sensitive grout, dilute the vinegar with an equal part of water.
How often should I clean my grout naturally?
The frequency depends on the area’s traffic and moisture exposure. For high-traffic areas like shower floors or kitchen backsplashes, a light clean every 1-2 weeks helps prevent buildup. A deeper clean using the methods outlined above might be necessary every 1-3 months. Implementing regular preventative measures significantly extends the time between deep cleans.
Will these natural methods kill mold and mildew?
Yes, ingredients like hydrogen peroxide and white vinegar possess antimicrobial properties that help kill and remove mold and mildew. Hydrogen peroxide is particularly effective for this purpose. Baking soda also helps lift spores and clean the surface. Regular application of these cleaners, especially in damp environments, helps deter regrowth.
Do natural methods work on black grout?
Natural methods work effectively on black or dark-colored grout. They clean away dirt, grime, and soap scum that dull or discolor the grout, allowing its original color to show through. Since dark grout can hide some stains, you might need to apply a bit more scrubbing effort to ensure a thorough clean. Always test in an inconspicuous area first, especially when using lemon juice, as its bleaching properties might slightly affect very dark pigments over time.
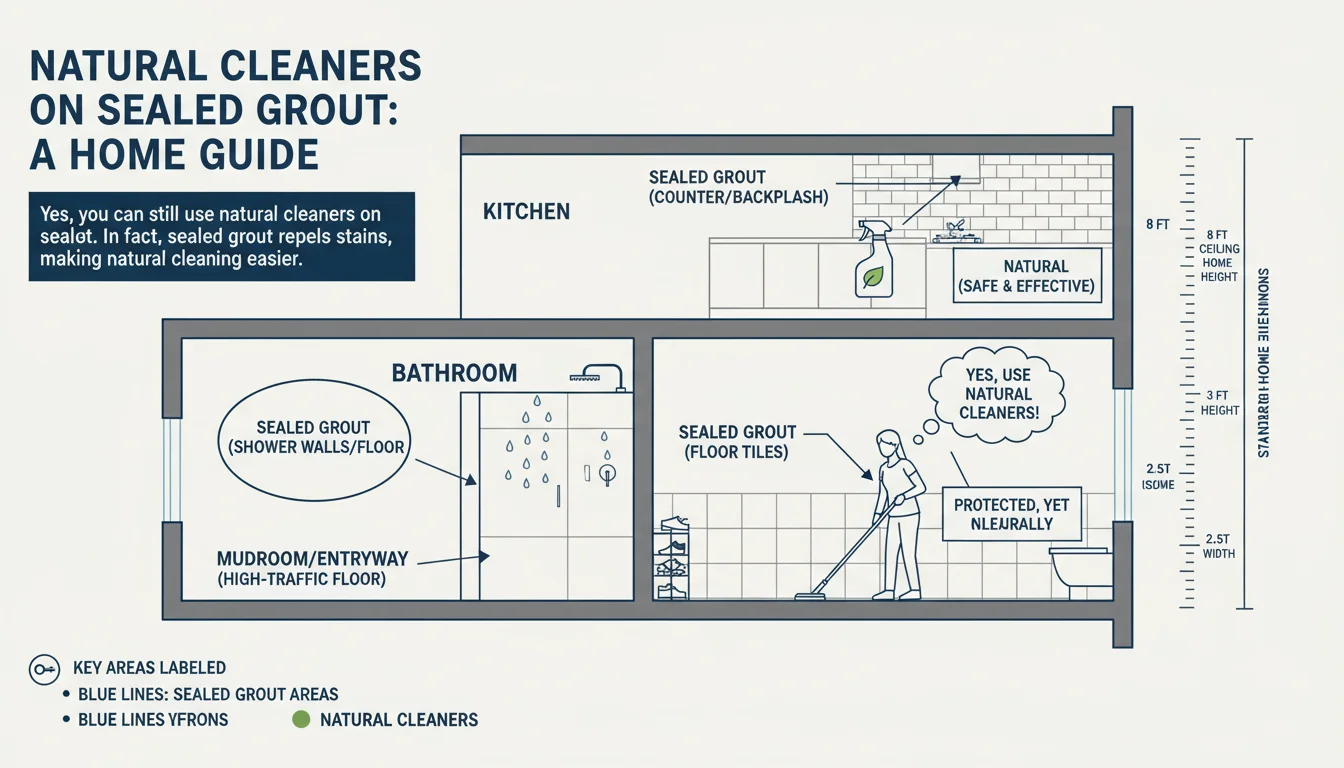
What if my grout is sealed? Can I still use these natural cleaners?
Yes, you can still use natural cleaners on sealed grout. In fact, sealed grout makes cleaning even easier because the sealant prevents dirt from penetrating the grout’s pores. The natural solutions clean the surface of the sealant without damaging it. Avoid abrasive scrubbers that might scratch the sealant layer. Always wipe away excess moisture after cleaning to maintain the sealant’s integrity.
You now have a powerful arsenal of natural, effective methods to clean your grout and keep it looking pristine. Remember, consistency in both cleaning and preventative care delivers the best long-term results. Embrace these practical strategies, and enjoy a cleaner, brighter home.
For expert home organization guidance, visit
The Container Store — Organization Tips,
IKEA Home Organization and
Martha Stewart — Home.
Disclaimer: This article is for informational purposes only and is not a substitute for professional advice. Consult professional organizers or specialists for personalized recommendations.


Leave a Reply