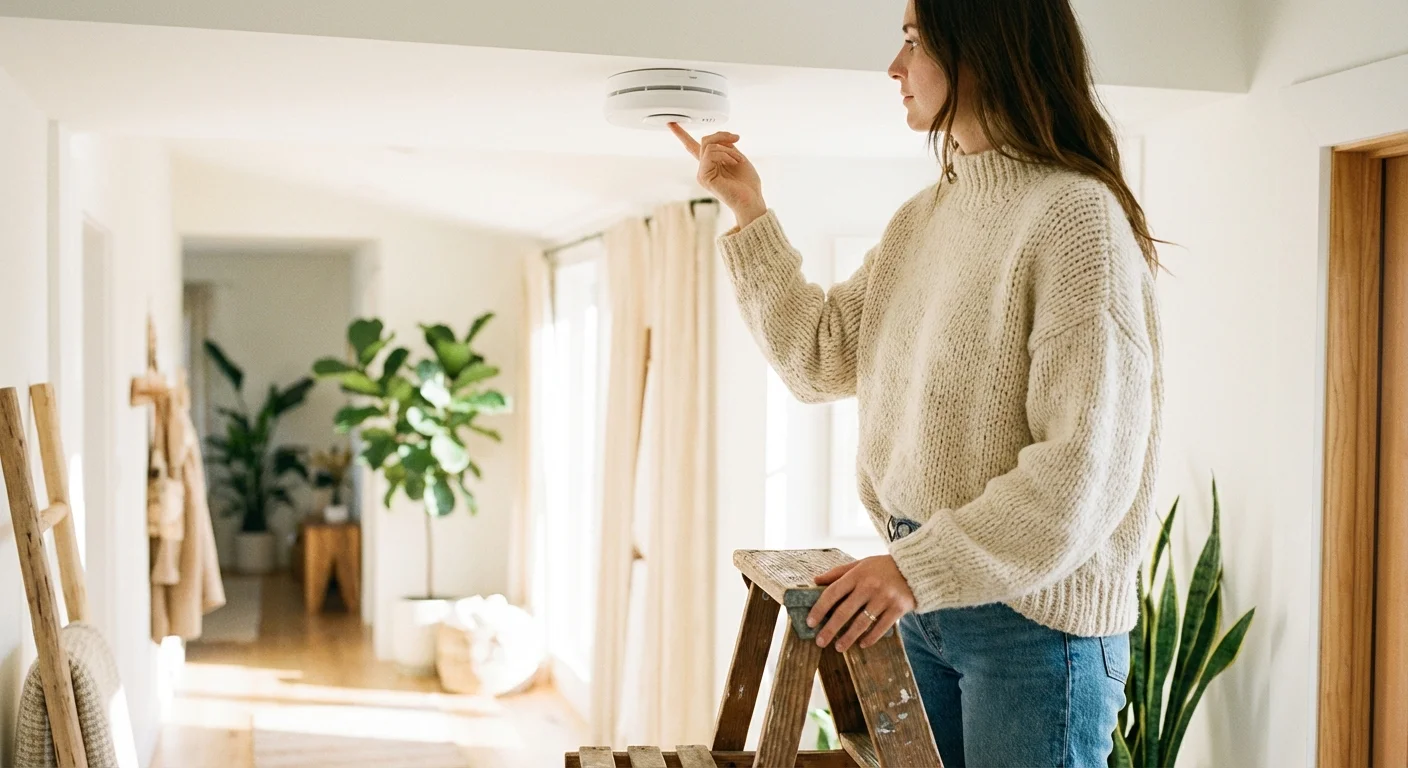
According to the National Fire Protection Association, nearly three out of every five home fire deaths occur in properties without working smoke alarms. That single statistic should make you look up at your ceiling right now. Home fire safety relies entirely on these small plastic devices, yet they often sit ignored until a 3:00 AM low-battery chirp forces you to grab a broom handle to silence them.
Your home’s early warning system is your first line of defense against both fast-moving fires and invisible toxic gases. However, simply installing these devices and forgetting about them provides a false sense of security. Sensors degrade over time, dust accumulates in the detection chambers, and batteries drain faster than you might expect. Taking a proactive approach to your smoke alarm maintenance ensures that when an emergency strikes, your equipment will respond instantly.
This comprehensive CO detector guide and smoke alarm manual will walk you through exactly how these devices work, how to properly test them, and the step-by-step process for replacing them when they reach the end of their lifespan.
Understanding Your Home Fire Safety Equipment
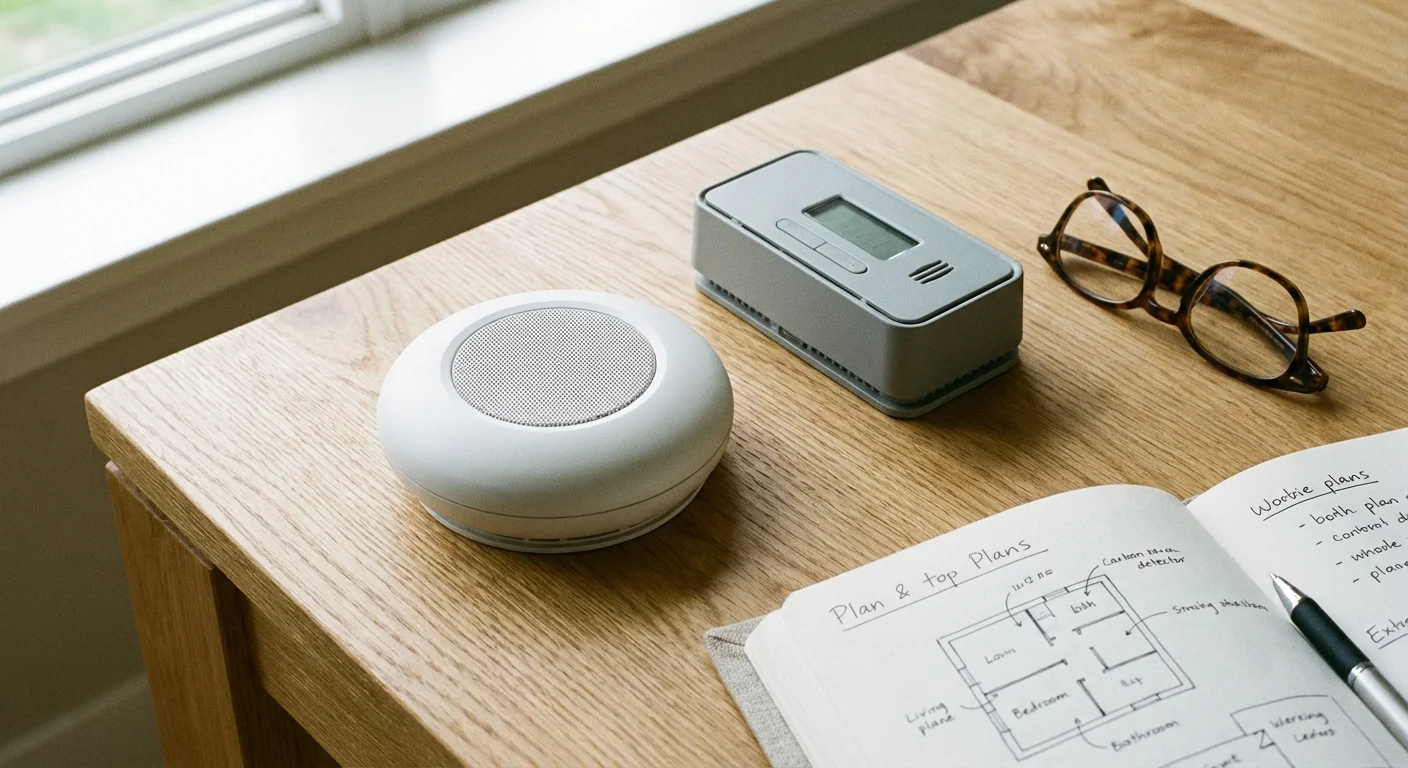
Before you climb a ladder to press any buttons, you need to understand exactly what type of equipment is guarding your home. Not all detectors function the same way, and placing the wrong type of sensor in certain areas can lead to constant nuisance alarms or, worse, delayed detection during a real emergency.
Properly maintaining your detectors is a vital step in improving indoor air quality and keeping your home environment healthy.
The Three Types of Smoke Sensors
Smoke detectors utilize different technologies to sense airborne particles. Knowing which type you have dictates how you maintain it and where it should live in your home.
- Ionization Smoke Alarms: These detectors contain a tiny amount of radioactive material housed between two electrically charged plates. This setup ionizes the air and creates a constant current. When smoke enters the chamber, it disrupts that current and triggers the alarm. Ionization detectors are highly responsive to flaming fires—like a grease fire or a burning wastebasket.
- Photoelectric Smoke Alarms: These devices use a light source and a light sensor positioned at an angle inside a sensing chamber. When smoke particles enter the chamber, they scatter the light beam, deflecting it onto the sensor to sound the alarm. Photoelectric technology excels at detecting smoldering fires, such as a cigarette burning into a couch cushion or an electrical fire inside a wall.
- Dual-Sensor Alarms: As the name suggests, these units combine both ionization and photoelectric technologies into a single housing. Because you can never predict what type of fire might break out, these provide the most comprehensive coverage.
“For the highest level of protection, homes should be equipped with both ionization and photoelectric smoke alarms, or dual-sensor alarms, to ensure early warning regardless of the fire type.” — Consumer Reports Product Testing Division
Carbon Monoxide (CO) Detectors
Carbon monoxide is an odorless, colorless, and tasteless gas produced by the incomplete combustion of fossil fuels. Furnaces, gas stoves, water heaters, and fireplaces can all produce CO if they malfunction or vent improperly. Because human senses cannot detect this gas, a functional carbon monoxide detector is the only way to protect your household from CO poisoning.
To learn more about the everyday sources of carbon monoxide inside residential properties, you can explore the extensive resources provided by the EPA Indoor Air Quality division.
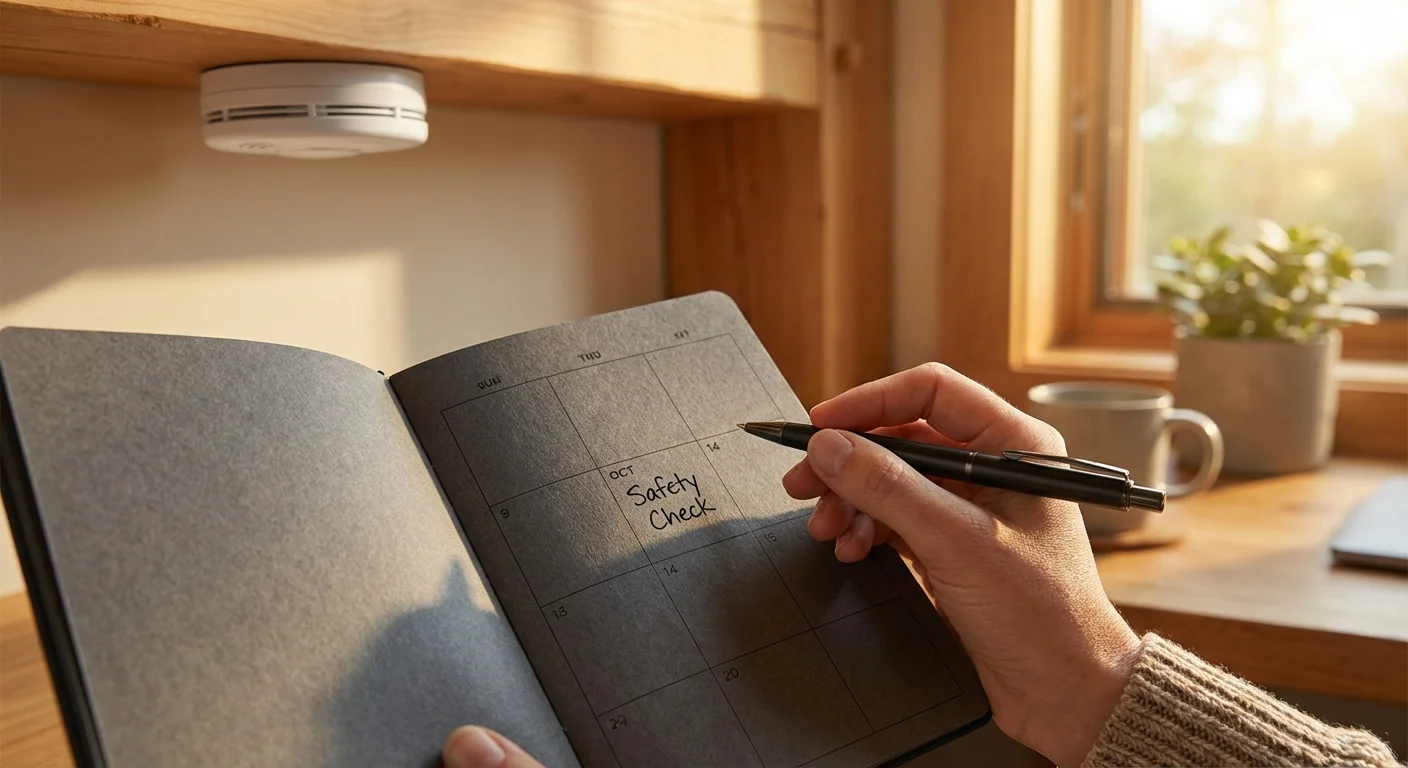
The Maintenance Schedule You Actually Need to Follow
Testing your alarms once a year when you remember is not enough. To maintain optimal home fire safety, you must adhere to a strict, recurring schedule. Add these tasks to your digital calendar or household chore chart so they become automatic habits.
In addition to these bi-annual safety checks, staying on top of a summer home maintenance checklist ensures your cooling systems don’t fail when temperatures peak.
Many homeowners find it helpful to group these safety checks into a broader spring home maintenance checklist to ensure nothing is missed.
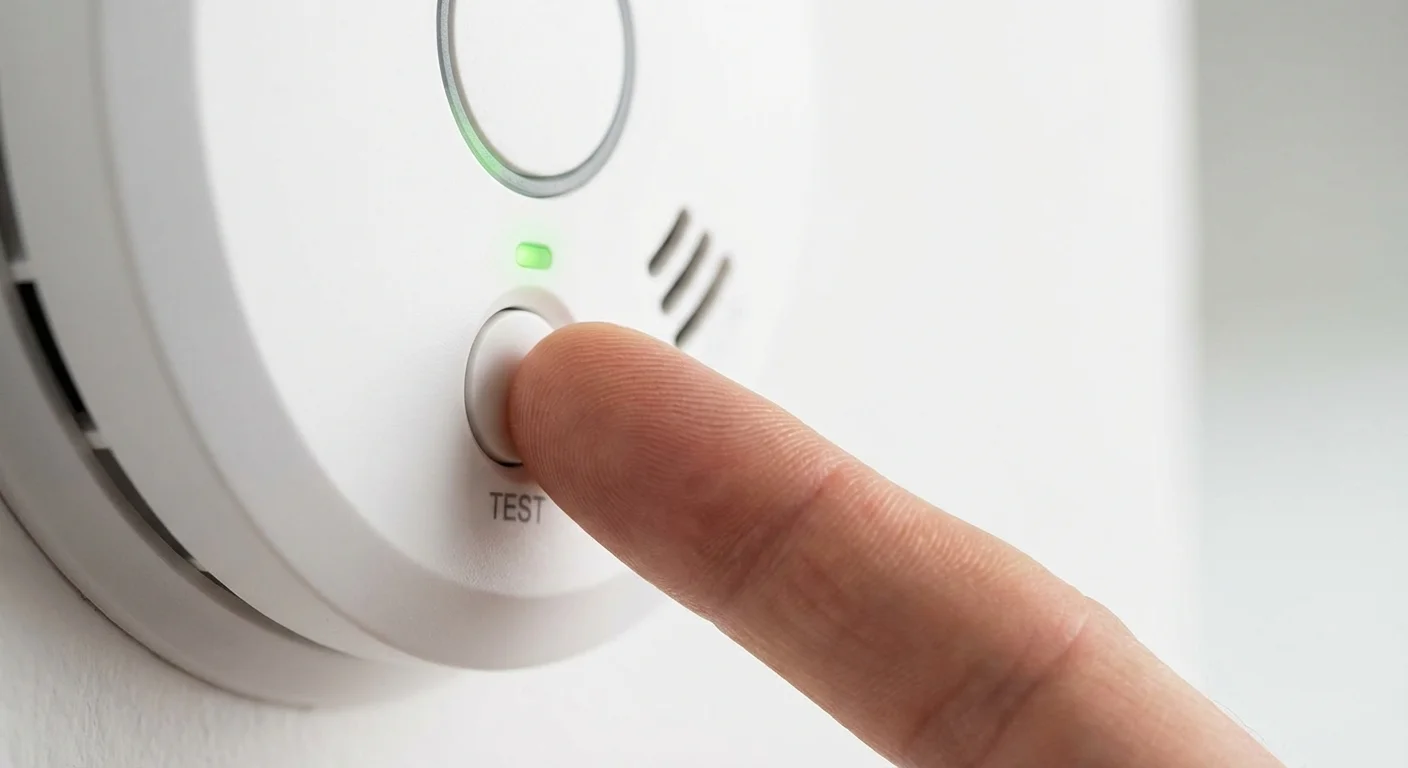
Monthly: The Button Test
Once a month, you need to test smoke detectors and CO alarms using their built-in test buttons. This verifies that the circuitry is active, the battery has enough juice to sound the horn, and the speaker itself is functioning.
Twice a Year: The Battery Swap
If you use units with traditional 9-volt or AA batteries, replace them every six months. A common practice is to swap your batteries when you change your clocks for Daylight Saving Time. Even if the device hasn’t started chirping, proactive replacement prevents late-night annoyances and guarantees full power.
Annually: The Cleaning and Sensor Test
Dust, pet hair, and microscopic debris can clog the sensing chambers over the course of a year. Once annually, gently vacuum the outside of your detectors using a soft brush attachment. This is also the perfect time to perform an aerosol smoke test to ensure the actual sensors—not just the internal circuitry—are working correctly.
Every 5 to 10 Years: Total Replacement
No alarm lasts forever. The chemical sensors inside carbon monoxide detectors typically degrade after five to seven years, while the sensors in smoke alarms lose their reliability after ten years. Even if the test button still sounds the horn, an expired detector cannot be trusted to sense danger.
Step-by-Step: How to Test Smoke Detectors and CO Alarms
Pressing the test button seems straightforward, but doing it correctly—and thoroughly—requires a few extra steps. Here is how to conduct a proper audit of your system.
Phase 1: The Circuitry Test
- Alert your household: The piercing sound of a smoke alarm can frighten children and pets. Let everyone know you are conducting a test. If your system is monitored by a security company, call them first to place your system on test mode so they do not dispatch the fire department.
- Protect your hearing: Smoke alarms output sounds at 85 decibels or higher. Stand slightly off to the side rather than directly underneath the unit, or wear earplugs.
- Press and hold the test button: Use your finger or the end of a broom handle to hold down the prominent test button on the face of the unit. It may take up to five seconds for the alarm to sound.
- Listen for the pattern: A standard smoke alarm will sound three loud beeps, pause, and repeat. A carbon monoxide alarm will typically sound four quick beeps, pause, and repeat.
- Check interconnected units: If your home has interconnected hardwired alarms, pressing the button on one unit should trigger every other unit in the house. Walk through the home to verify that all alarms are sounding simultaneously.
Phase 2: The Sensor Test (Smoke Alarms Only)
The button test only tells you if the power and horn work. It does not verify whether the sensor can actually detect smoke. To test the sensor itself, you need an aerosol smoke detector tester, which you can purchase at any hardware store.
- Stand under the detector and hold the aerosol can about two to three feet away from the unit.
- Spray a one-to-two-second burst of the synthetic smoke directly at the detector.
- Wait ten seconds. If the alarm sounds, the sensor is working perfectly. You can silence it by waving a magazine or fanning fresh air into the unit.
- If the alarm does not sound, vacuum the vents to remove dust and try one more time. If it still fails to activate, the unit is dead and must be replaced immediately.
The Telltale Signs It Is Time to Replace Your Alarms
Age is the primary reason to replace carbon monoxide detector units and smoke alarms, but other physical symptoms indicate a device is failing ahead of schedule.
When replacing old, yellowed alarms, it is also a perfect opportunity to consider lighting upgrades under $100 to further refresh your ceilings and walls.
The most obvious indicator is the manufacture date printed on the back of the device. You must remove the alarm from its mounting bracket to see this. Look for a stamped or printed date. If a smoke detector is ten years past this date, or a CO detector is seven years past this date, throw it out. If there is no date printed anywhere on the device, it is almost certainly too old and should be replaced regardless.
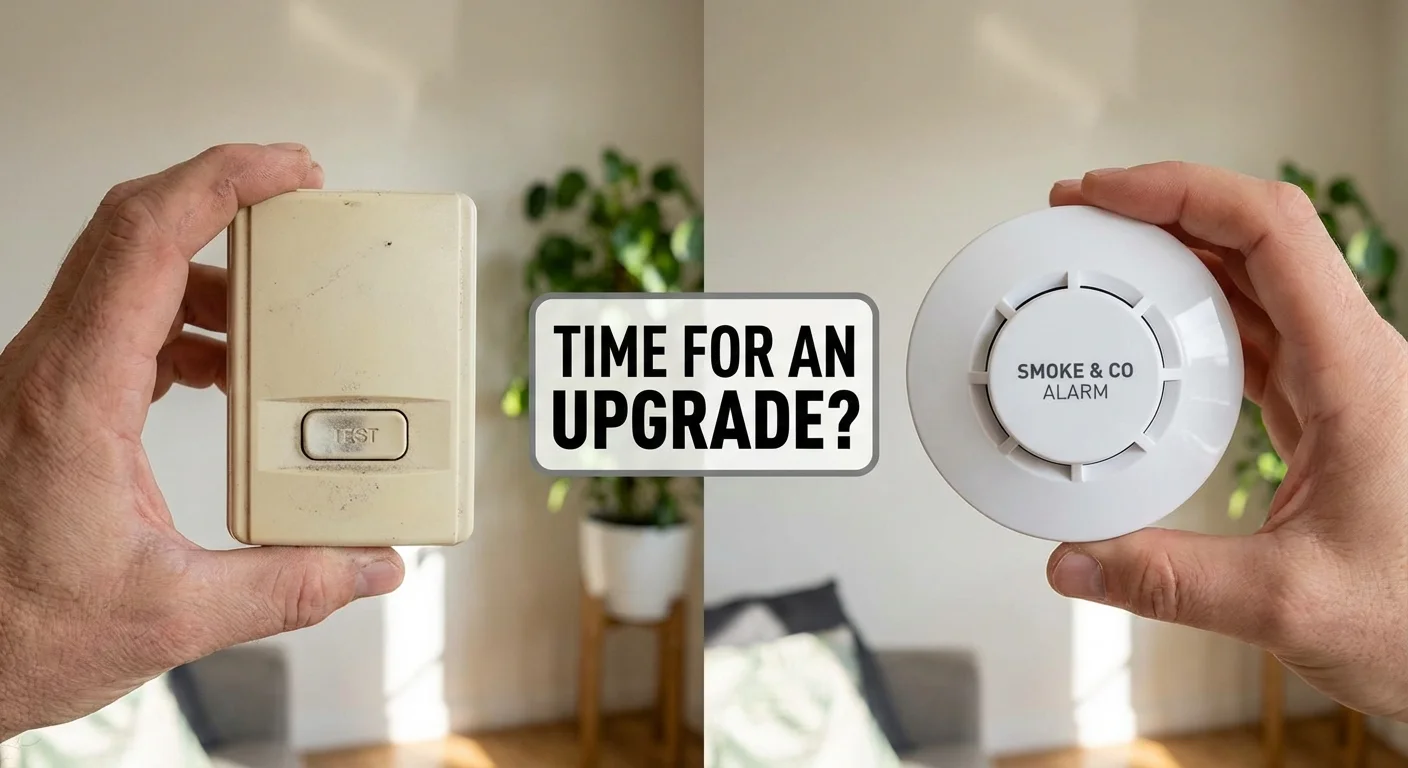
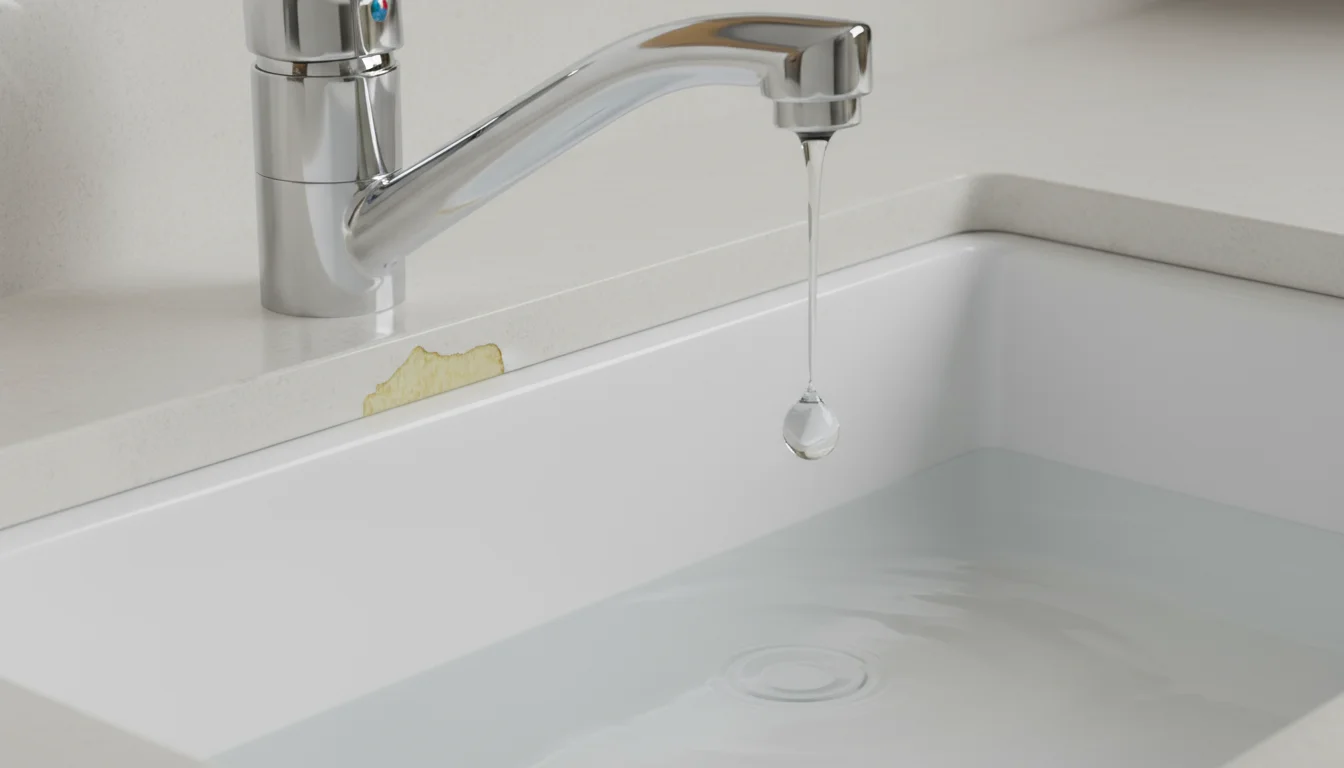
Other signs of failure include a persistent, intermittent chirping that does not stop after replacing the battery. This “end-of-life” chirp is a built-in feature designed to annoy you into buying a new unit. Furthermore, if the white plastic casing has turned a deep yellow or brownish color, the internal components have degraded due to prolonged exposure to air, heat, and light. Discoloration is a strong visual cue that it is time for an upgrade.

Choosing the Right Replacement Devices
When you head to the hardware store to replace your aging devices, the options can feel overwhelming. Understanding the differences will help you make the smartest investment for your specific property.
If you are interested in a more connected household, you may also want to learn how to install a smart thermostat to pair with your new Wi-Fi enabled alarms.
| Device Type | Power Source | Best Application | Pros & Cons |
|---|---|---|---|
| Stand-alone Battery Operated | Replaceable 9V or AA batteries | Older homes without existing wiring | Easy to install anywhere; requires frequent battery swaps. |
| 10-Year Sealed Battery | Internal lithium battery (non-replaceable) | Bedrooms, living rooms, rentals | No late-night battery chirps for a decade; must replace the whole unit when the battery dies. |
| Hardwired with Battery Backup | Home’s electrical grid (120V) + backup battery | Modern homes (required by code in new construction) | Reliable power and interconnected alerting; requires basic electrical knowledge to install. |
| Smart / Wi-Fi Enabled | Hardwired or battery | Tech-integrated homes, frequent travelers | Sends alerts to your phone, pinpoints exact fire locations; higher upfront cost. |
Many states and municipalities now require 10-year sealed battery units for any new battery-operated installations. These eliminate the risk of someone borrowing the smoke detector battery for a remote control and forgetting to put it back. For detailed ratings on the most reliable models currently on the market, Consumer Reports provides rigorous, unbiased testing data that can guide your purchase.
Step-by-Step Guide: How to Replace a Carbon Monoxide Detector and Smoke Alarm
Replacing an alarm is a manageable project that requires minimal tools. Whether you are dealing with a simple battery-operated model or a hardwired interconnected system, working methodically ensures a safe and secure installation.
Replacing a Battery-Operated Unit
Battery-operated units are incredibly simple to replace. You will need a screwdriver, a pencil, and potentially a drill if the new mounting bracket does not align with the old holes.
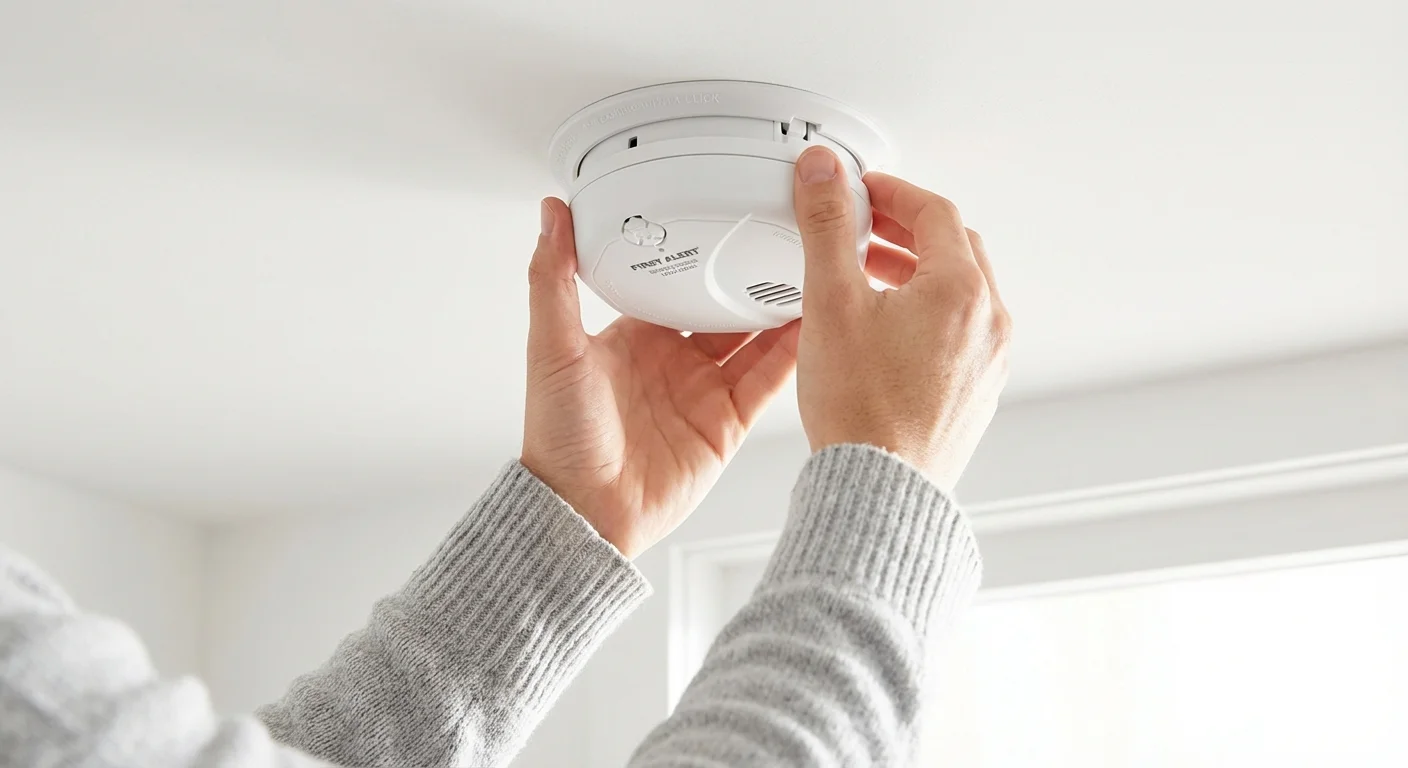
- Remove the old unit: Twist the existing alarm counterclockwise until it releases from the mounting bracket on the ceiling or wall.
- Remove the old bracket: Use a screwdriver to remove the screws holding the old plastic bracket to the drywall.
- Install the new bracket: Hold the new mounting bracket against the ceiling. If the screw holes line up with the old ones, simply screw the new bracket into place. If they do not, use a pencil to mark the new hole locations, drill pilot holes, and tap in drywall anchors before securing the bracket.
- Activate the new alarm: If you bought a 10-year sealed unit, pull the activation tab on the back. If it takes standard batteries, install them now.
- Mount the alarm: Align the notches on the back of the alarm with the slots on the mounting bracket. Push up and twist clockwise until the unit snaps firmly into place.
- Test the installation: Press the test button to ensure the device is fully functional.
Replacing a Hardwired Unit
Hardwired alarms run on your home’s 120-volt electrical system. While this involves interacting with your home’s wiring, it is a straightforward swap as long as you observe essential safety protocols.
Safety Warning: Never attempt electrical work without verifying the power is completely disconnected at the breaker box.
- Kill the power: Go to your main electrical panel and turn off the circuit breaker that powers the smoke alarms. Because alarms are often tied to lighting circuits, turn on a nearby light switch; when the breaker is off, the light should go out.
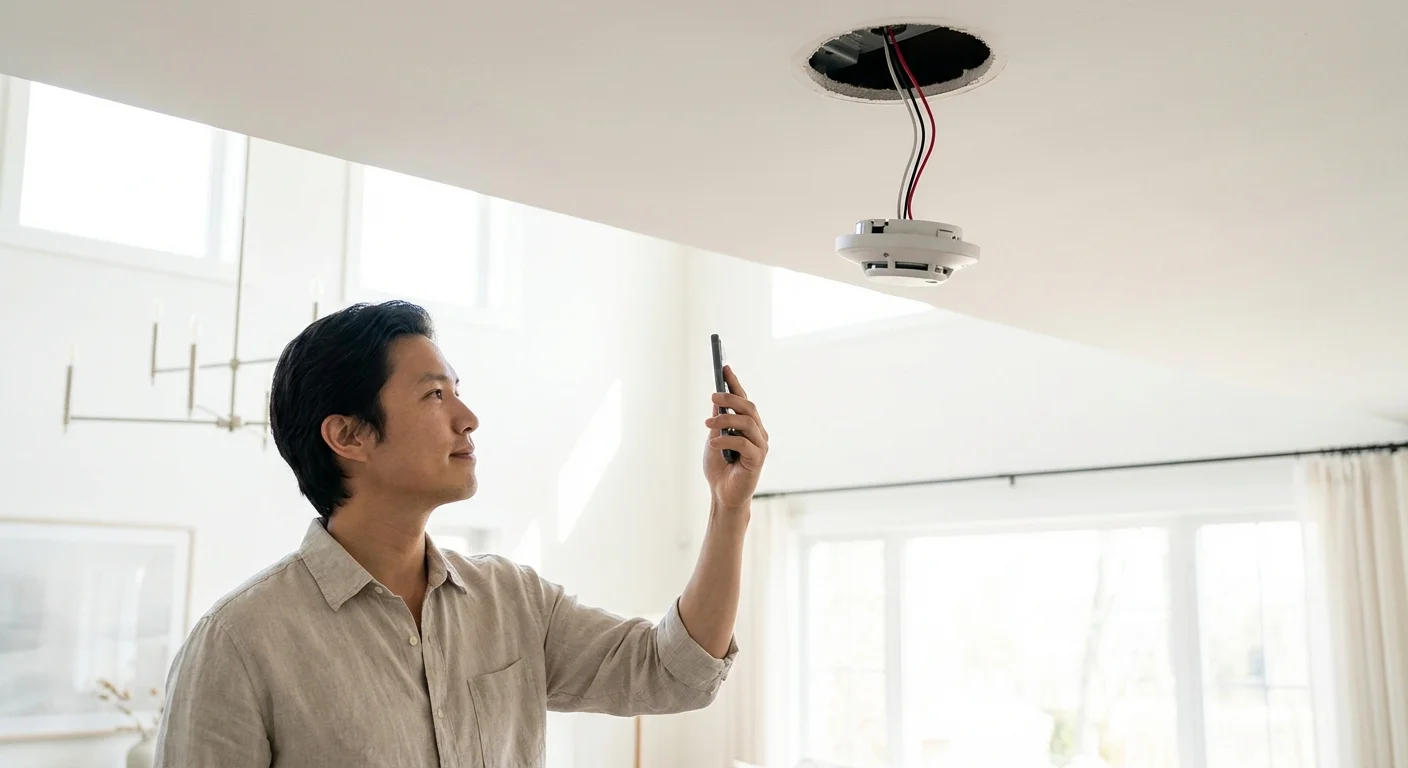
- Remove the old alarm: Twist the old alarm counterclockwise to release it from the ceiling bracket. You will see a wire harness plugging into the back of the unit.
- Disconnect the harness: Squeeze the plastic tabs on the sides of the wire harness plug and pull it out of the back of the smoke detector.
- Remove the old bracket and harness (if necessary): If you are installing the exact same brand and model, you can often plug the new alarm straight into the existing harness. However, if you are changing brands, you must replace the harness. Unscrew the mounting bracket to expose the electrical box in the ceiling.
- Wire the new harness: Untwist the wire nuts connecting the old harness to your home’s wiring. Take the new harness and connect the wires: black to black (hot), white to white (neutral), and red or yellow to the interconnect wire (usually red or yellow). Secure each connection firmly with a wire nut.
- Install the new bracket: Push the wires neatly back into the electrical box and screw the new mounting bracket into place.
- Connect and mount the new alarm: Plug the new wire harness into the back of the detector, ensuring it clicks into place. Install the backup battery. Align the unit with the bracket and twist clockwise to lock it.
- Restore power and test: Turn the circuit breaker back on. A small green LED light should illuminate on the face of the alarm, indicating it is receiving AC power. Press the test button to confirm the installation.
If you encounter older wiring that lacks a standardized color-coding system, or if you feel uncomfortable handling bare wires, stop immediately. Consulting detailed installation guides from reputable sources like This Old House can provide additional visual references for complex wiring scenarios.

Strategic Placement for Optimal Protection
Buying top-of-the-line equipment means nothing if you install it in the wrong place. Proper placement guarantees early detection while minimizing frustrating false alarms.
Where to Install Smoke Alarms
Smoke rises, so smoke detectors must always be placed high on a wall or directly on the ceiling. If mounting on a wall, position the top edge of the alarm between 4 and 12 inches from the ceiling. If you have pitched ceilings, install the alarm within 36 inches of the peak, but avoid the absolute highest point (the apex), as this creates a “dead air” space where smoke might not reach.
You need a smoke alarm inside every bedroom, outside every sleeping area (like a hallway connecting bedrooms), and on every level of the home, including the basement. In the basement, position the alarm on the ceiling at the bottom of the stairs.
Where to Install Carbon Monoxide Alarms
Unlike smoke, carbon monoxide does not simply rise. It mixes evenly with the air in your home. Therefore, CO detectors can be installed at knee height, eye level, or on the ceiling—whichever is most convenient for testing and battery changes.
Place CO alarms outside every sleeping area so they can wake you if a leak occurs during the night. If you have a multi-story home, install at least one on every level. Place an additional unit in the room directly above an attached garage, as car exhaust is a primary source of residential carbon monoxide.
Common Mistakes to Avoid
Even well-intentioned homeowners make errors that compromise their home fire safety. Avoid these frequent pitfalls to keep your system running flawlessly.
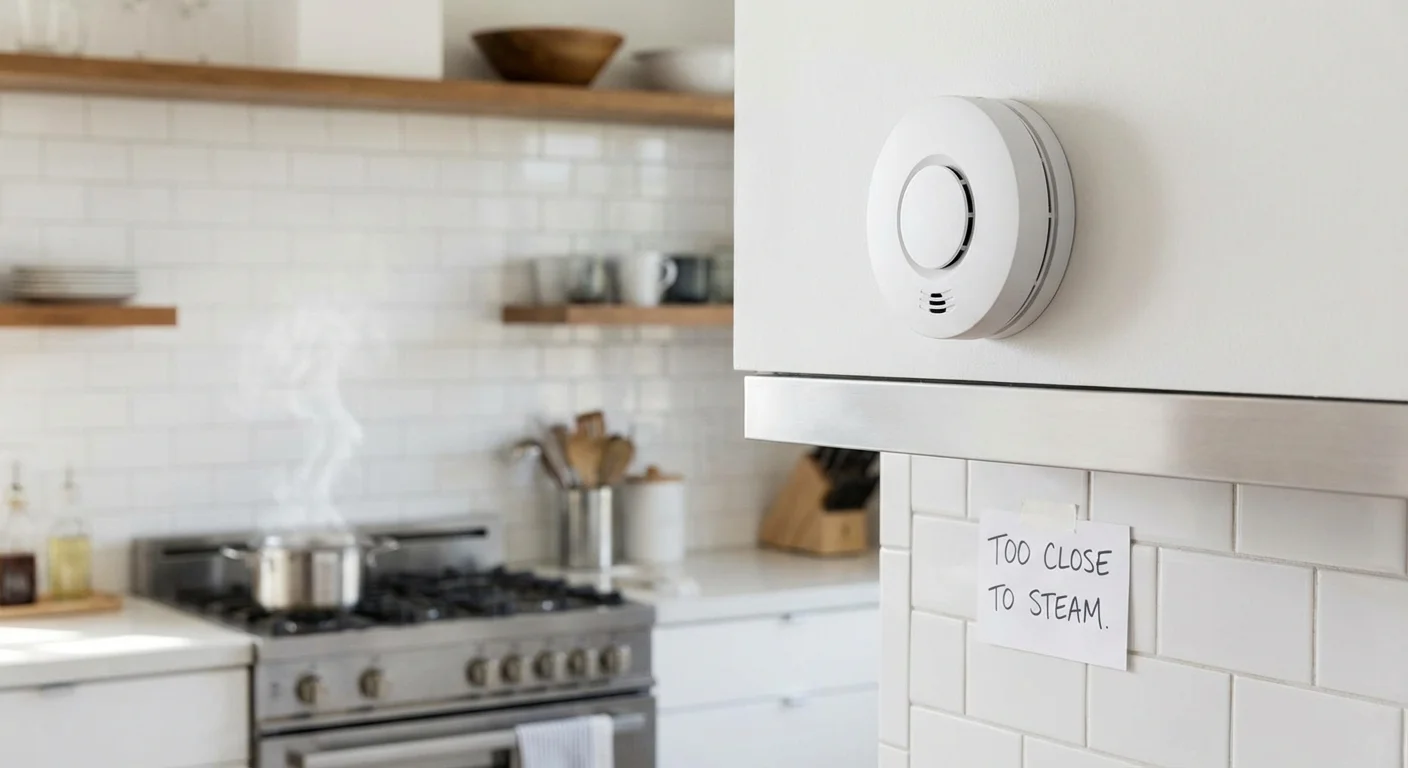
- Installing alarms too close to the kitchen or bathroom: Cooking fumes and steam from hot showers are the leading causes of false alarms. Keep smoke detectors at least 10 feet away from stoves and ovens, and at least 3 feet away from bathroom doors with showers.
- Placing CO detectors next to fuel-burning appliances: Furnaces and gas water heaters can emit a tiny, harmless burst of carbon monoxide when they first ignite. If your detector is mounted right next to the appliance, it will constantly trigger false alarms. Keep CO detectors at least 15 feet away from these appliances.
- Painting over your detectors: It can be tempting to paint an old, yellowing plastic detector to match a newly painted ceiling. Never do this. Paint clogs the air intake vents and destroys the sensors. If the detector is ugly, it is likely expired and needs replacing anyway.
- Mixing different brands on a hardwired system: If you have interconnected hardwired alarms, they communicate via a specific electrical signal. Mixing brands (like putting a Kidde unit on a First Alert circuit) can disrupt this communication, causing the alarms to fail to trigger one another during an emergency. Always replace interconnected alarms with the same brand.
Professional vs. DIY: When to Call an Electrician
While maintaining and swapping out detectors is generally a straightforward homeowner task, certain scenarios require professional intervention.
You Should DIY When:
- You are replacing removable batteries or vacuuming dust from the vents.
- You are installing standalone battery-operated or 10-year sealed units on drywall.
- You are swapping out an old hardwired detector for an identical new model using the exact same wiring harness plug.
You Should Hire a Professional When:
- Your home currently has no hardwired alarms, and you want to retrofit the entire house with an interconnected electrical system.
- You discover frayed, damaged, or unidentifiable wiring when you remove an old hardwired unit.
- Your interconnected alarms constantly trigger false alarms simultaneously, and vacuuming them has not solved the issue (this often points to a deeper electrical fault or voltage fluctuation on the circuit).
Frequently Asked Questions
Why does my smoke detector chirp without a fire?
A single, intermittent chirp roughly every 30 to 60 seconds is almost always a low-battery warning. If you replace the battery and it still chirps, the unit may be warning you of a sensor malfunction, or it has reached its 10-year expiration date and is programmed to sound an “end-of-life” warning. Environmental factors like high humidity, drastic temperature changes, or heavy dust buildup can also cause phantom chirping.
Do carbon monoxide detectors need to be plugged in low to the ground?
No. It is a common myth that carbon monoxide is heavier than air and sinks to the floor. In reality, carbon monoxide has a molar mass slightly lighter than air and mixes evenly throughout the room. You can install a CO detector by plugging it into a low wall outlet, mounting it at eye level, or attaching it to the ceiling. The most important factor is placing it near sleeping areas where you will hear it.
Can I throw old smoke detectors in the normal household trash?
Photoelectric smoke detectors and carbon monoxide detectors can generally be disposed of in your regular household trash (remove the batteries first and recycle those). However, ionization smoke detectors contain a microscopic amount of radioactive Americium-241. While it is legal in many municipalities to throw them in the regular trash, the most environmentally responsible method is to mail them back to the manufacturer for proper disposal, or take them to a local hazardous waste recycling facility.
What does a flashing red light on my alarm mean?
On most standard battery-operated and hardwired alarms, a flashing red light that blinks once every minute is perfectly normal; it simply indicates that the unit is receiving power and functioning correctly. However, if the red light flashes rapidly in conjunction with the alarm sounding, it means that specific unit is the one detecting the smoke or CO. This is particularly helpful in an interconnected system to identify which area of the house is in danger.
Taking Action for Your Home’s Safety
Protecting your home and family from fire and toxic gases does not require expensive equipment or complex monthly rituals. It requires consistency. Buy high-quality units, install them in the correct locations, test them monthly, and respect their expiration dates. Taking twenty minutes this weekend to audit your current detectors could end up being the most important home improvement project you ever complete.
The tips in this article are meant as general guidance. Your specific situation—including your home’s age, layout, and local building codes—may require different approaches. When in doubt, consult a professional.
Last updated: February 2026


Leave a Reply