As the days grow shorter and temperatures drop, your home becomes your sanctuary. Preparing your home for winter means more than just pulling out cozy blankets. It involves strategic weatherization to keep your living space warm, reduce energy bills, and prevent costly damage. This comprehensive guide helps you understand essential winter preparation tasks, offering practical, actionable insights for every homeowner and renter.
This work is often the cornerstone of a broader fall home maintenance checklist designed to keep your property in top shape.
Why Weatherize Your Home? Protecting Your Comfort and Wallet
Weatherizing your home is a proactive step that pays dividends in comfort and savings. You prevent heat from escaping during colder months, which means your heating system works less to maintain a comfortable indoor temperature. This translates directly to lower energy bills, a significant benefit for any budget. Research from Energy Star indicates that sealing air leaks and adding insulation can save homeowners 15% on heating and cooling costs, or even more. Beyond financial benefits, effective weatherproofing tips protect your home from winter’s harsh elements, safeguarding pipes from freezing, preventing drafts, and improving overall indoor air quality.
Staying consistent with monthly home care tasks is also one of the best ways to avoid sudden emergencies when the snow starts falling.
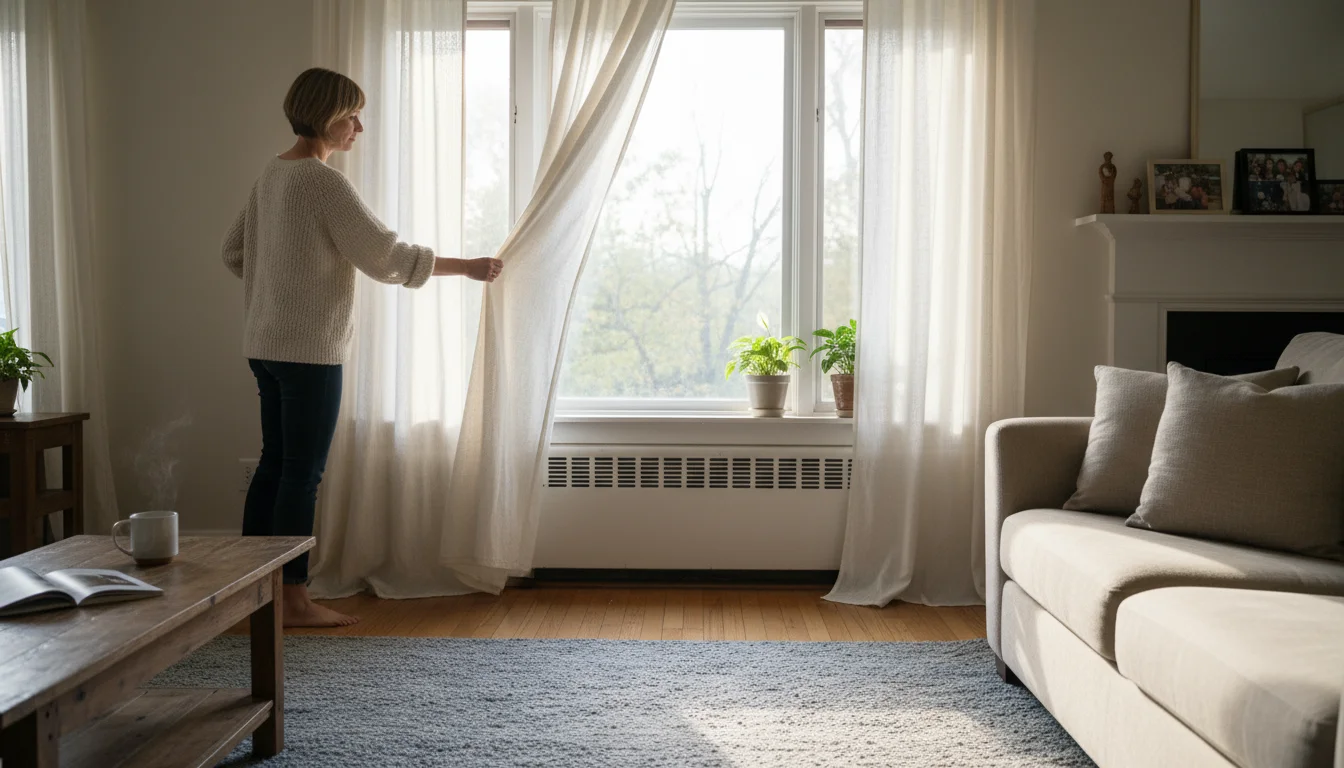
Imagine a cozy living room without cold drafts creeping in from windows or under doors. That is the immediate comfort weatherization delivers. Long-term, you extend the life of your heating system by reducing its workload, and you avoid costly repairs from frozen pipes or water damage. Winter preparation is an investment in your home’s longevity and your family’s well-being.

Your Essential Winter Preparation Checklist: Getting Started
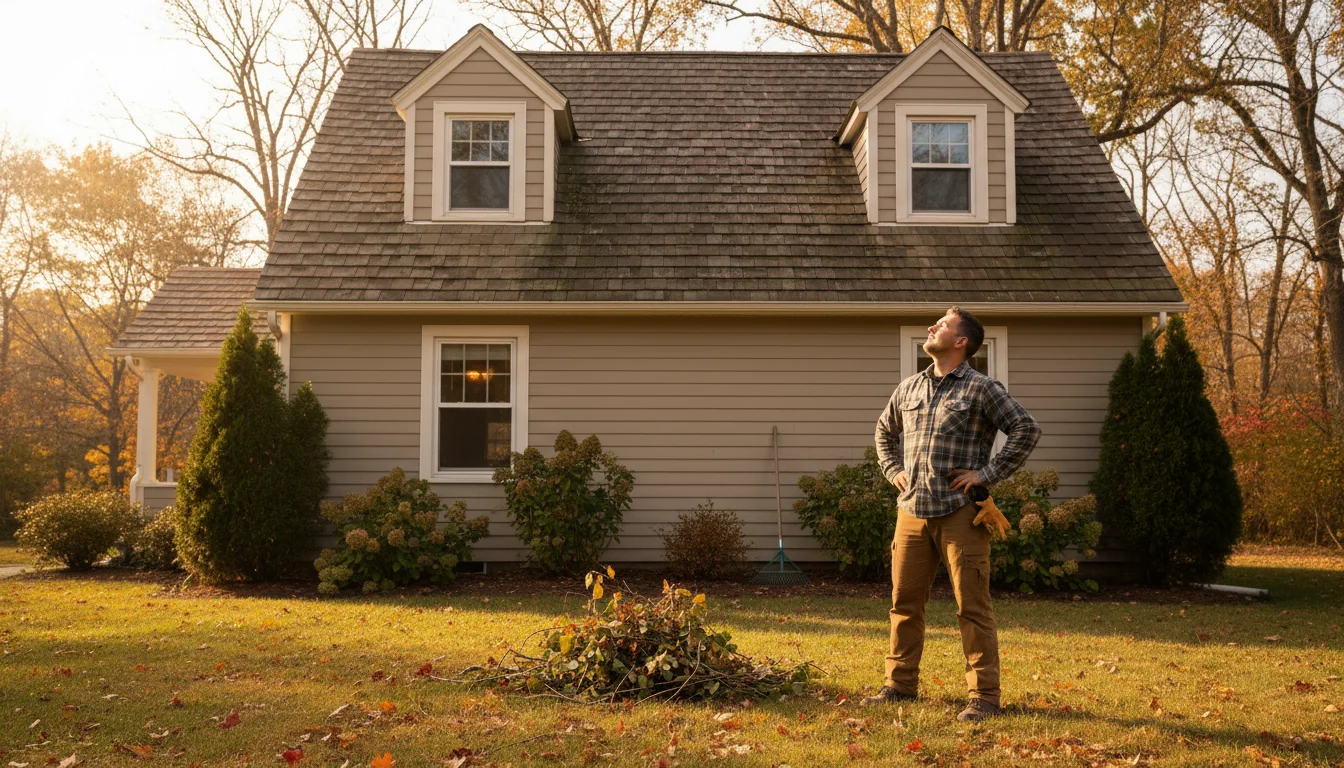
Starting your winter preparation might seem overwhelming, but breaking it down into manageable steps makes the process smooth and achievable. Focus on what you can accomplish over a weekend, or even a few evenings. Begin with a thorough inspection of your home, both inside and out. Look for obvious gaps, cracks, or areas where you feel a draft.
To stay organized throughout the year, many homeowners find it helpful to follow a monthly home maintenance calendar alongside their seasonal prep.
Key Areas to Inspect:
- Windows and Doors: Check for drafts, loose frames, or worn weatherstripping.
- Attic: Assess insulation levels and look for signs of moisture or pest entry.
- Basement/Crawl Space: Examine pipes for insulation, and check for cracks in foundation walls.
- Exterior Walls: Look for cracks in siding, gaps around utility penetrations, or damaged caulk.
- Roof and Gutters: Identify loose shingles, debris in gutters, or downspout issues.
- HVAC System: Note when you last had a professional tune-up or changed your furnace filter.
Creating a simple checklist helps you track progress and prioritize tasks. You do not need to tackle everything at once. Focus on high-impact areas first, such as sealing major air leaks, which often offer the quickest return on investment for your efforts.
Sealing the Envelope: Windows and Doors
Your windows and doors are prime culprits for heat loss. Even small gaps allow a significant amount of warm air to escape and cold air to enter, making your heating system work harder. Effective weatherproofing tips for these areas are fundamental to a warm and efficient home.
Beyond windows and doors, don’t forget that chimney and fireplace maintenance is critical for preventing heat loss through the flue.
In addition to sealing gaps, choosing the right window treatments that make rooms feel cozier can add a thick layer of insulation against the glass.
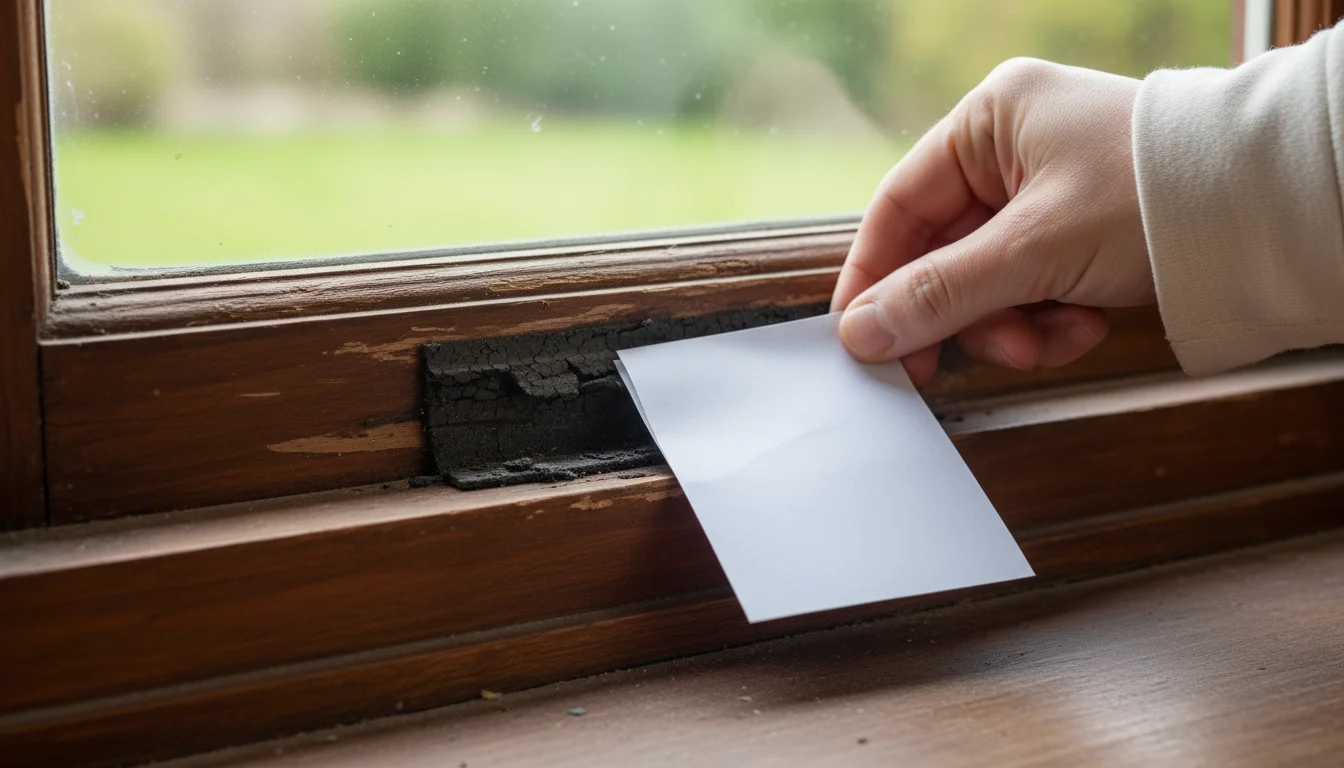
1. Inspect and Replace Weatherstripping:
Weatherstripping creates a seal between the movable parts of windows and doors and their frames. Over time, it can become brittle, cracked, or compressed. You can easily test its effectiveness by closing a door or window on a piece of paper. If you can pull the paper out without resistance, your weatherstripping needs replacement. You will find various types, including foam, rubber, and felt, at your local hardware store. Installation is generally straightforward, often involving a peel-and-stick application.
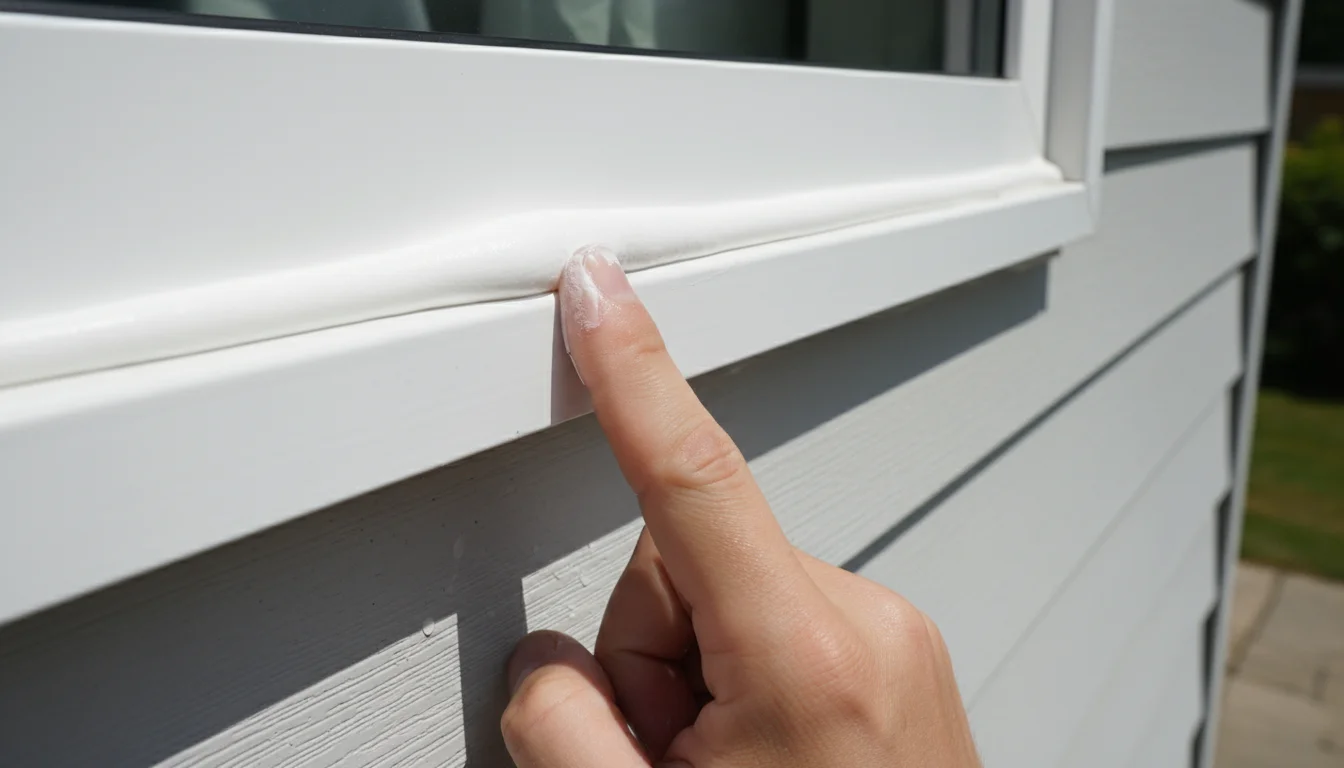
2. Caulk Cracks and Gaps:
Caulking fills stationary gaps around window and door frames, utility penetrations, and where dissimilar materials meet. Use a high-quality silicone or acrylic latex caulk designed for exterior use. Clean the area thoroughly before applying new caulk. Cut the tip of the caulk tube at a 45-degree angle, making a bead size appropriate for the gap. Apply a steady, continuous bead and smooth it with a wet finger or a caulking tool. This step helps to effectively winterize your home by preventing air infiltration.
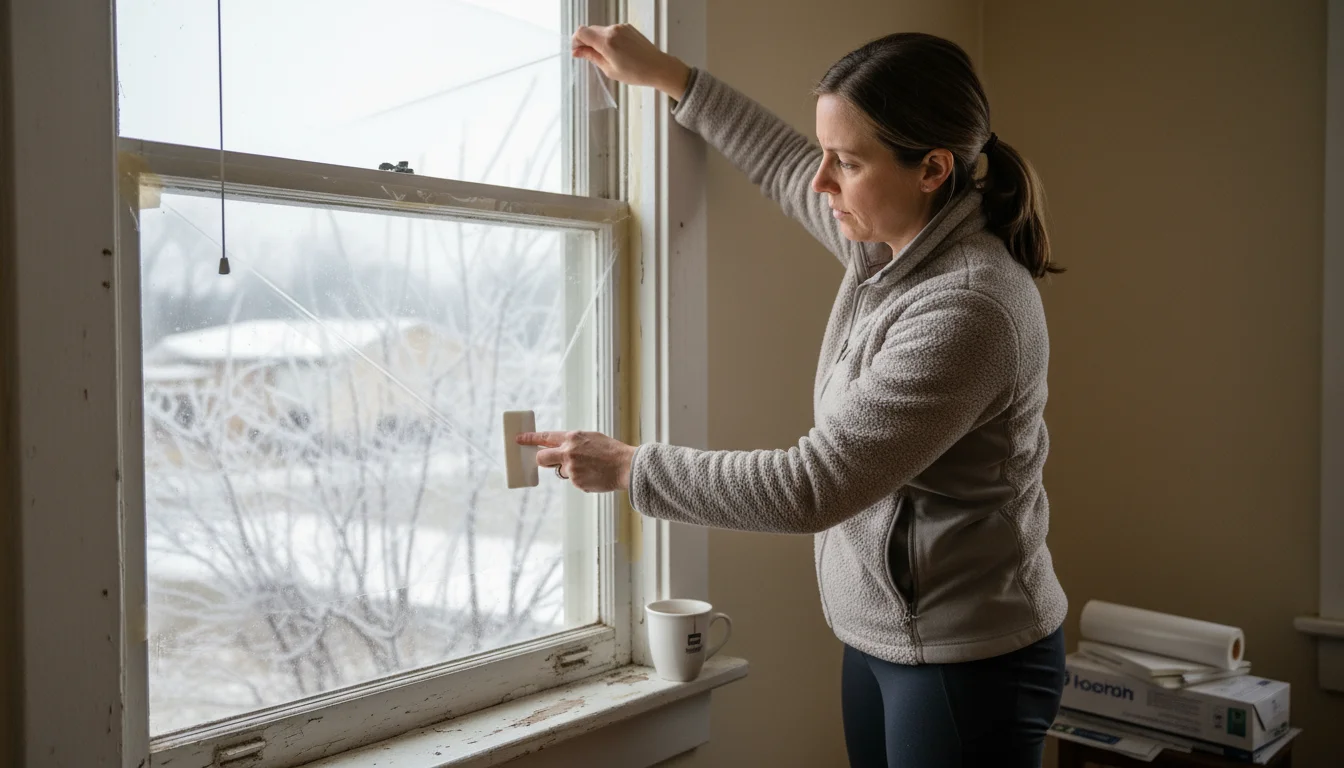
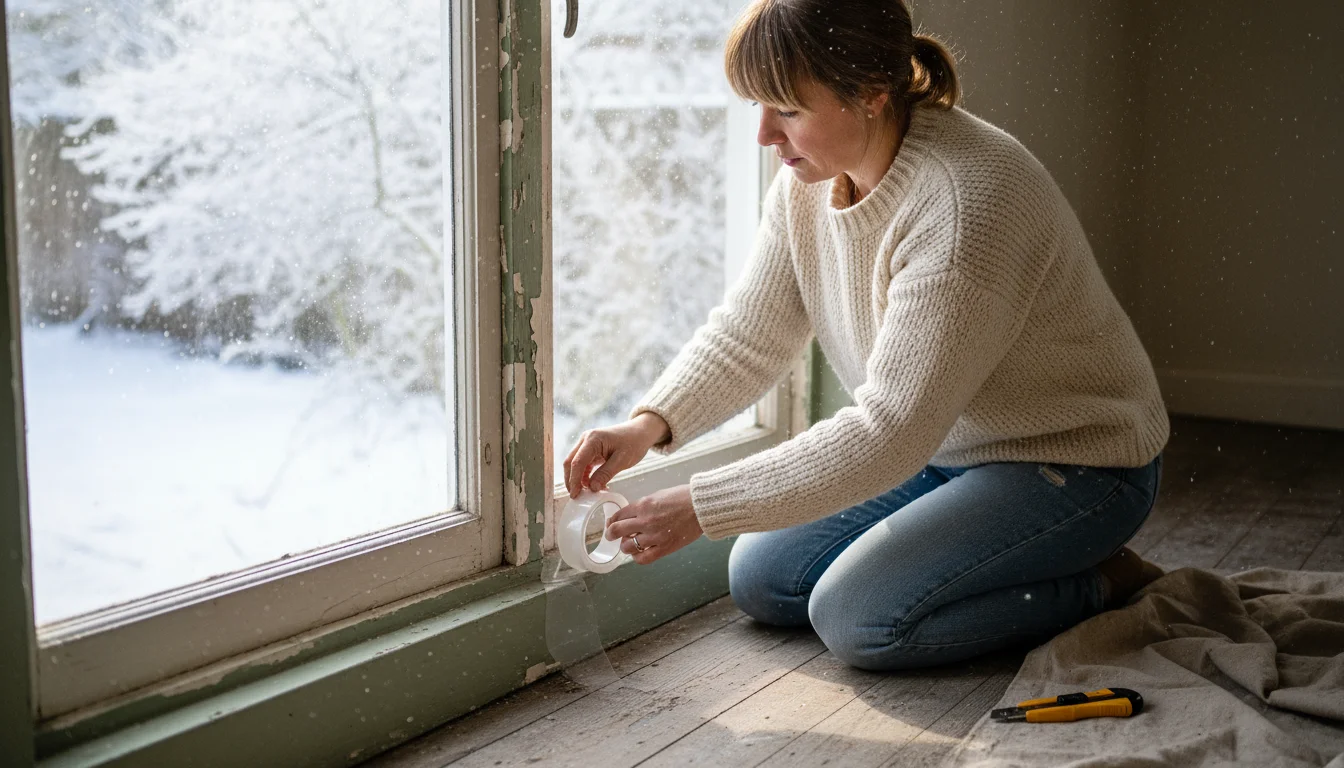
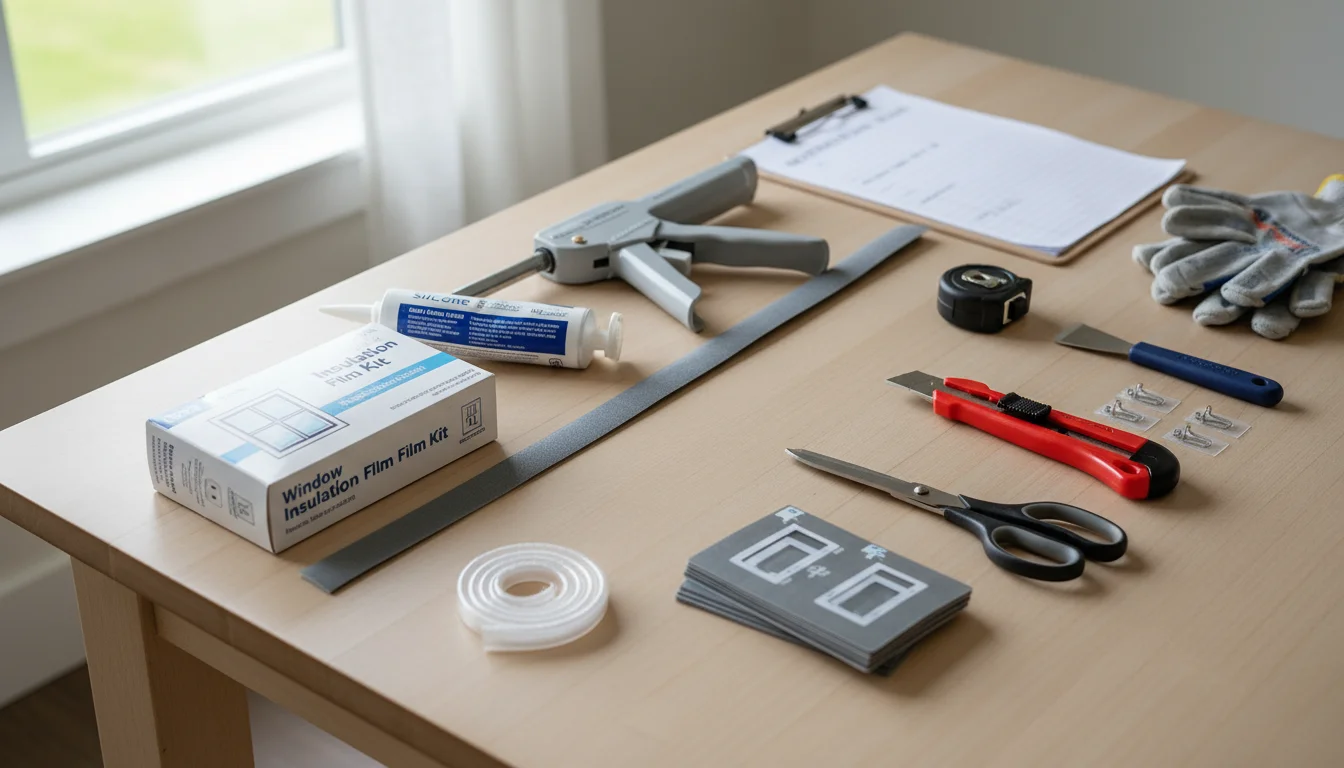
3. Install Window Film or Storm Windows:
If you have older, single-pane windows, window insulation film offers a budget-friendly solution. You apply a clear plastic film to the inside of your window frames and shrink it with a hairdryer, creating an insulating air pocket. This significantly reduces heat transfer. Alternatively, consider installing storm windows. These add an extra layer of glass and an air pocket, providing superior insulation without replacing your existing windows. According to This Old House, storm windows can be nearly as effective as new double-pane windows at preventing heat loss.

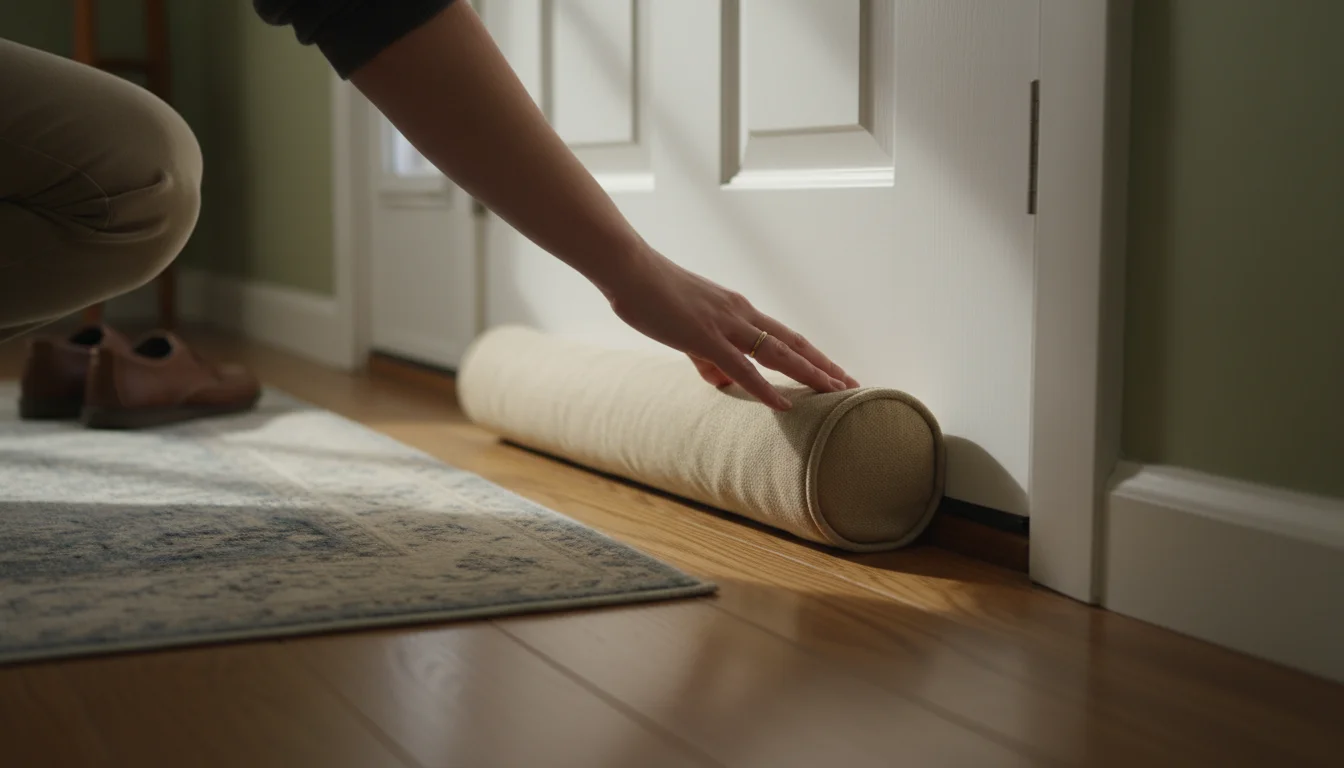
4. Use Door Sweeps and Draft Stoppers:
A gap under your exterior doors allows cold air to pour into your living space. Install a door sweep on the bottom of exterior doors to block this airflow. Draft stoppers, either fabric tubes filled with insulating material or inflatable vinyl tubes, offer a quick and removable solution you can place at the base of any door that feels drafty. These are particularly useful for renters or those seeking immediate, low-cost weatherproofing tips.
Protecting Your Pipes: Preventing Costly Damage
Frozen pipes represent one of winter’s most dreaded and expensive problems. When water freezes, it expands, putting immense pressure on your pipes and potentially causing them to burst. A burst pipe results in significant water damage, disruption, and costly repairs. Taking preventative measures to winterize home plumbing systems saves you stress and money.
While you are focused on exterior plumbing, take a moment to address lawn and garden winterization to protect your outdoor spigots and landscape.
Beyond pipe insulation, performing regular water heater maintenance is another essential step to ensure your home remains comfortable and efficient throughout the season.
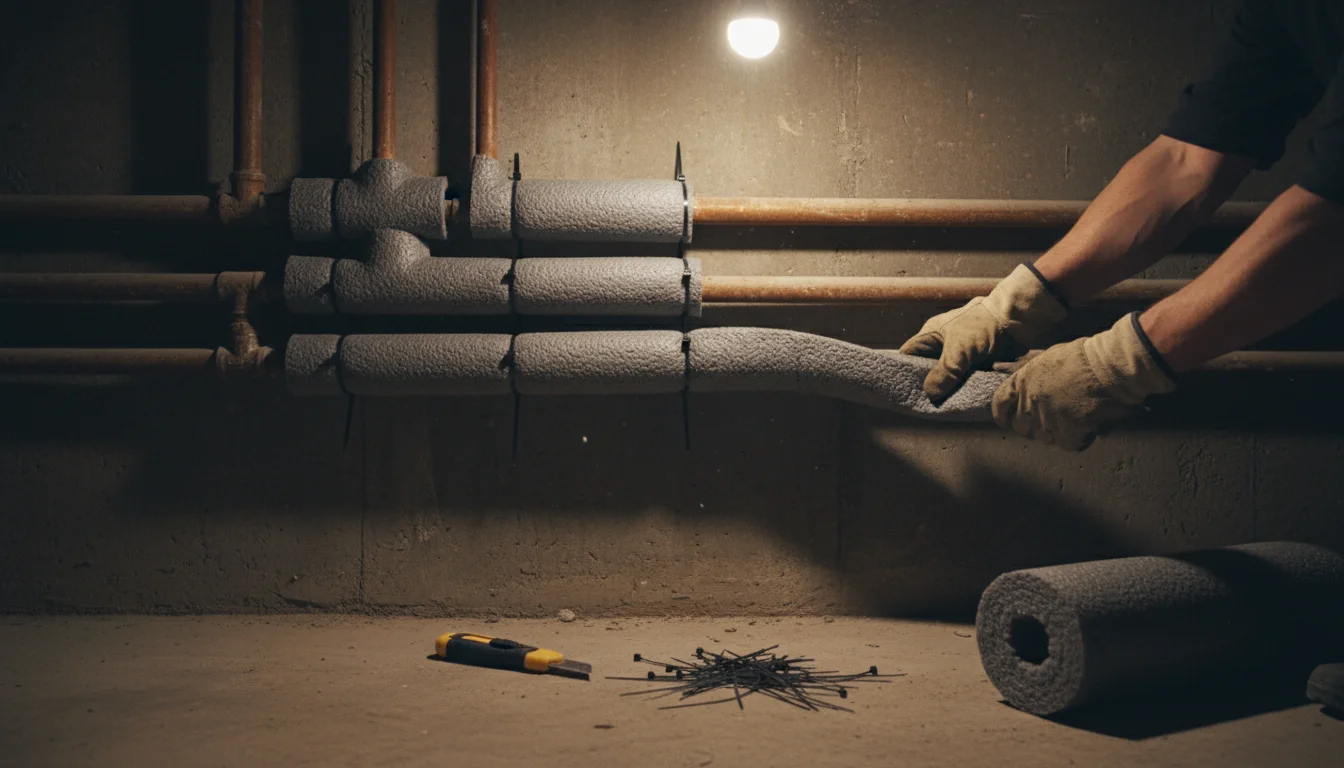
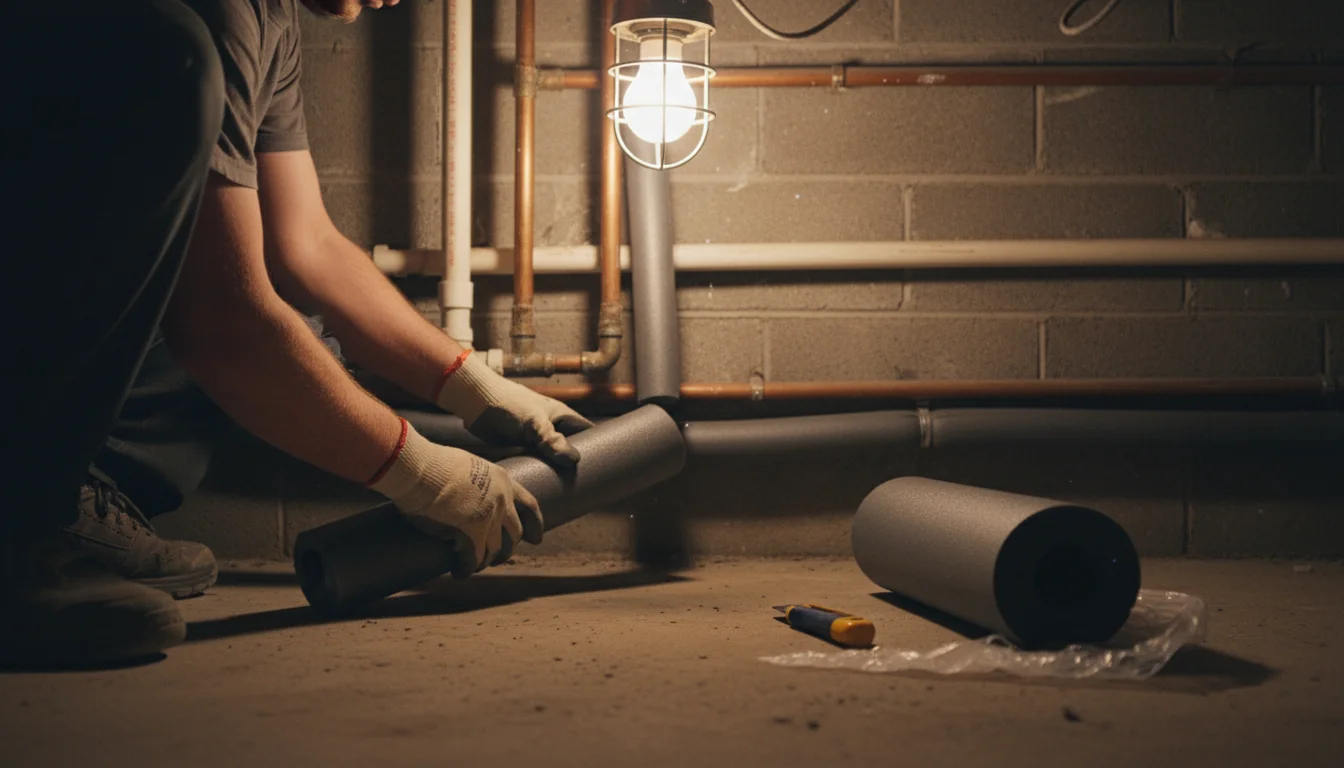
1. Insulate Exposed Pipes:
Focus on pipes located in unheated areas, such as basements, crawl spaces, attics, and exterior walls. Foam pipe insulation, available in pre-slit tubes, easily wraps around your pipes. You simply cut it to length and secure it with tape or zip ties. This simple measure drastically reduces the risk of freezing. For very cold areas, consider using heat tape or cable, which provides a gentle warmth to keep pipes above freezing. Follow the manufacturer’s instructions carefully for safe installation.
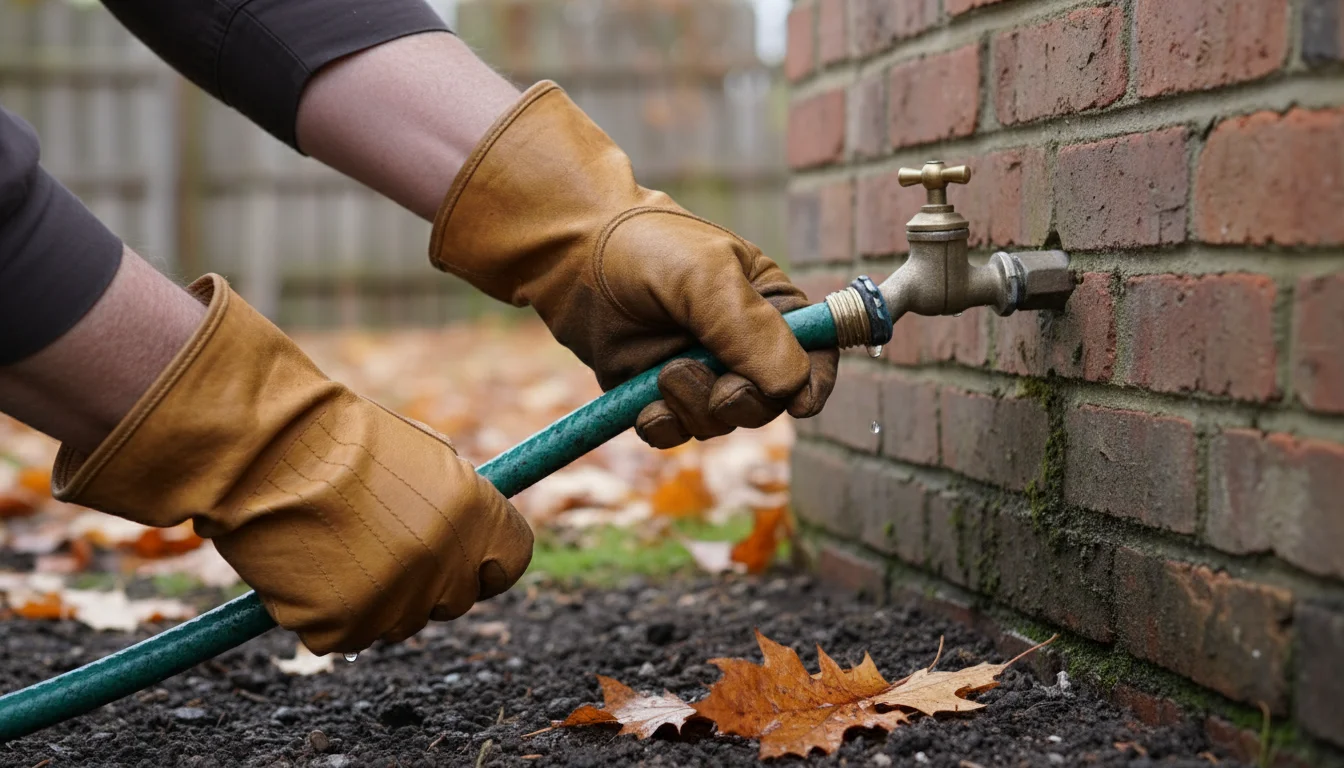
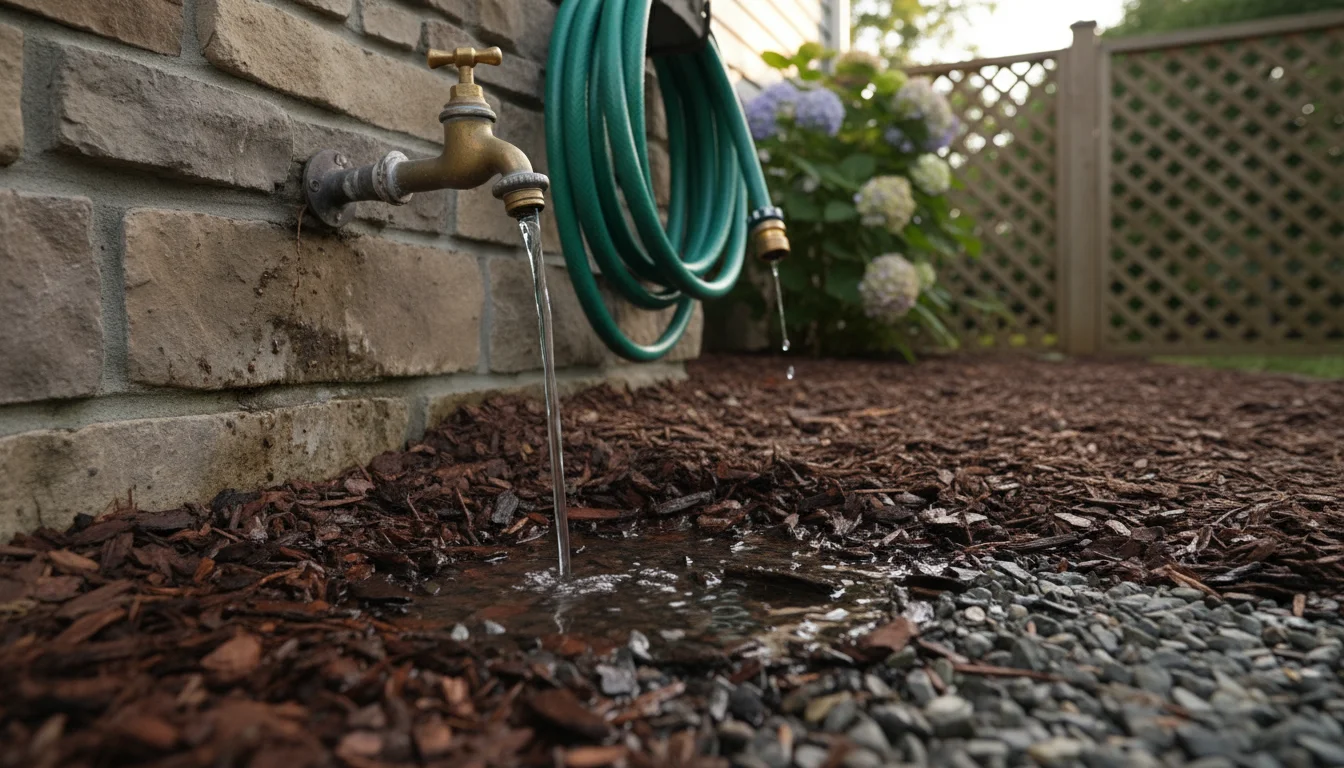
2. Disconnect and Drain Hoses:
Before the first hard freeze, disconnect all garden hoses from outdoor spigots. Leaving them connected can trap water in the spigot and pipe leading to it, causing the pipe to freeze and burst. Once disconnected, drain the hoses and store them. If your outdoor spigots have shut-off valves inside your home, close them and open the outdoor spigots to drain any remaining water from the line.
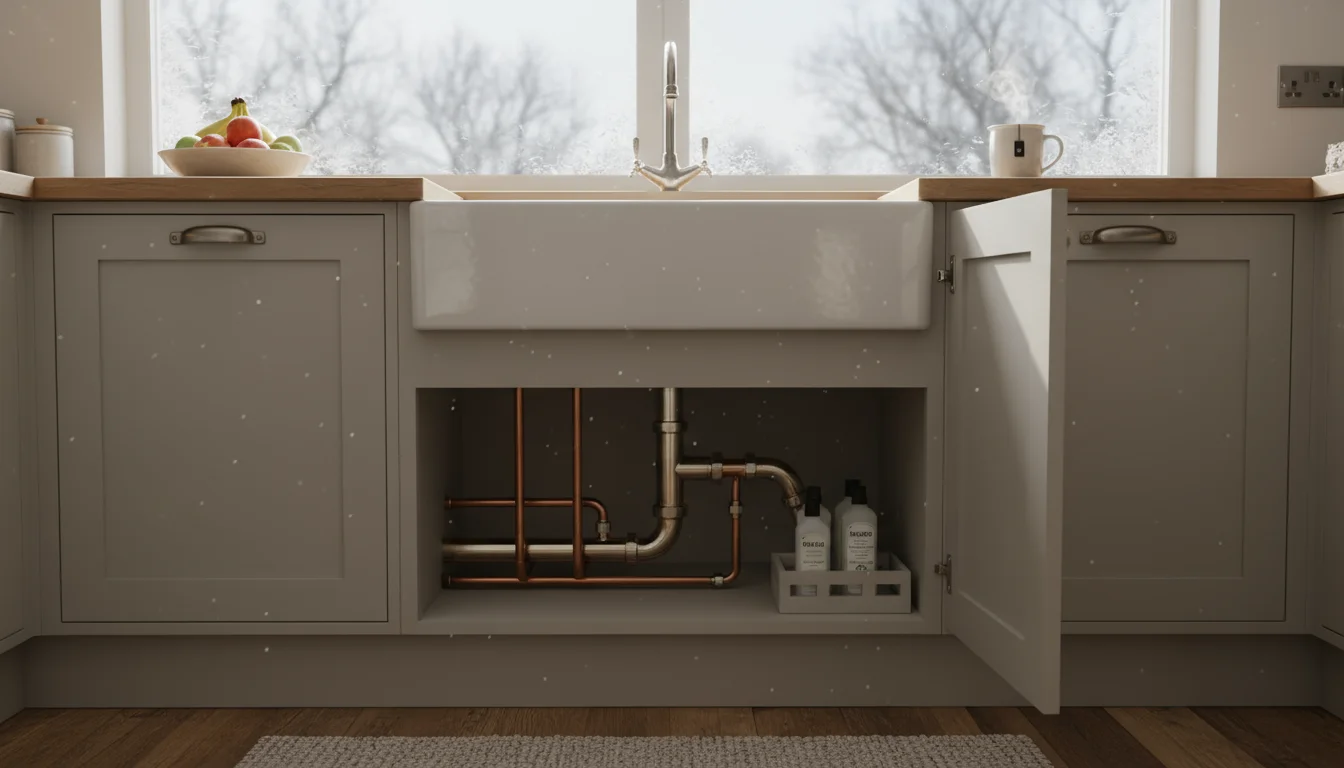
3. Open Cabinet Doors:
During extreme cold snaps, open cabinet doors under sinks on exterior walls. This allows warmer air from your heated living space to circulate around the pipes, providing a crucial buffer against freezing temperatures. This simple, no-cost weatherproofing tip is especially effective for preventing frozen pipes in kitchens and bathrooms.
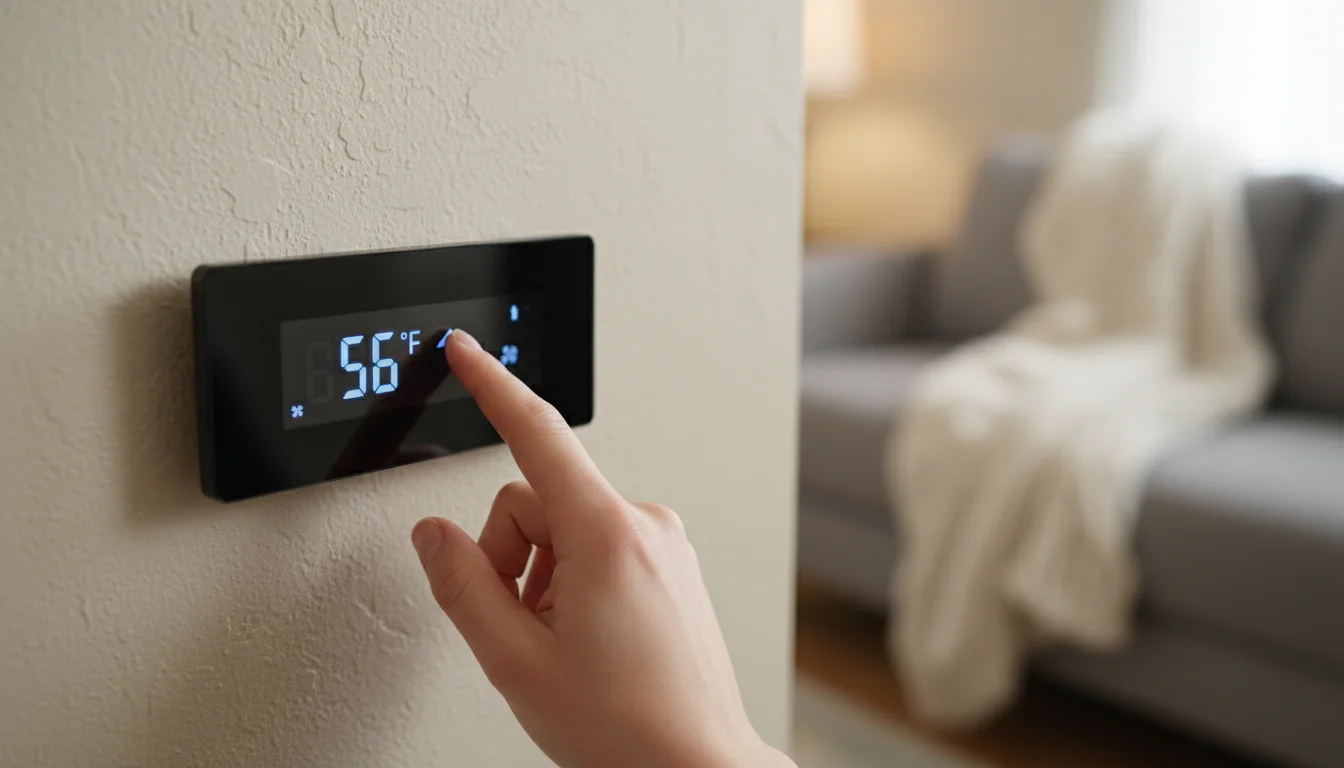
4. Maintain a Consistent Indoor Temperature:
Avoid lowering your thermostat too much when you leave your home for extended periods. Setting your thermostat to at least 55 degrees Fahrenheit (about 13 degrees Celsius) helps keep your pipes warm enough to prevent freezing. While you save on heating by turning down the thermostat, the cost of a burst pipe far outweighs any energy savings from an overly cold house.
Optimizing Your HVAC System for Winter Efficiency
Your heating, ventilation, and air conditioning (HVAC) system works hard during winter. Ensuring it runs efficiently is paramount to comfort and managing your energy budget. Proper maintenance helps you winterize home heating and keeps it reliable when you need it most.
Staying on top of HVAC maintenance prevents mid-winter breakdowns and ensures your furnace runs efficiently when you need it most.
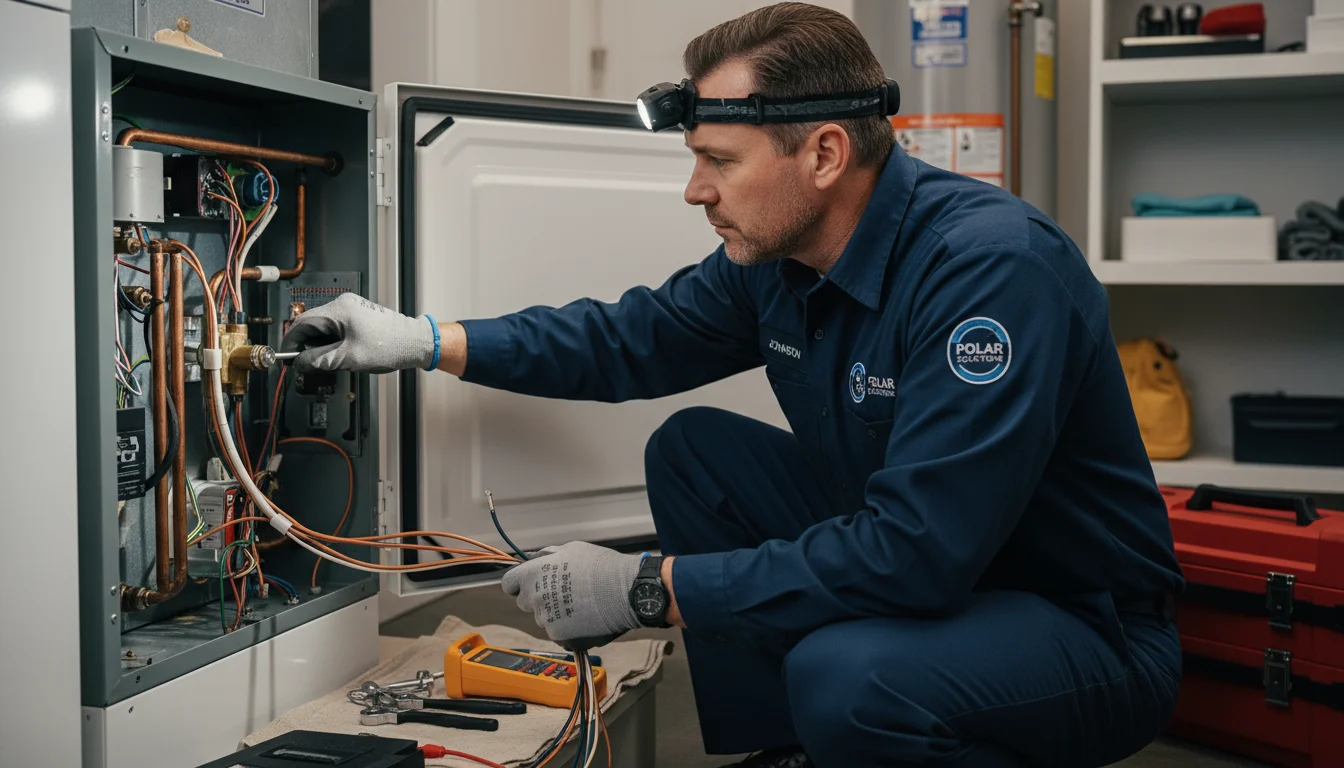
1. Schedule Professional HVAC Maintenance:
Before winter arrives, arrange for a professional HVAC technician to inspect your heating system. They clean components, check for wear and tear, verify thermostat calibration, and ensure everything operates safely and efficiently. This preventative measure catches small issues before they become major, expensive breakdowns in the middle of a cold snap. As noted by experts at Consumer Reports, regular maintenance extends the lifespan of your system and improves its energy efficiency.
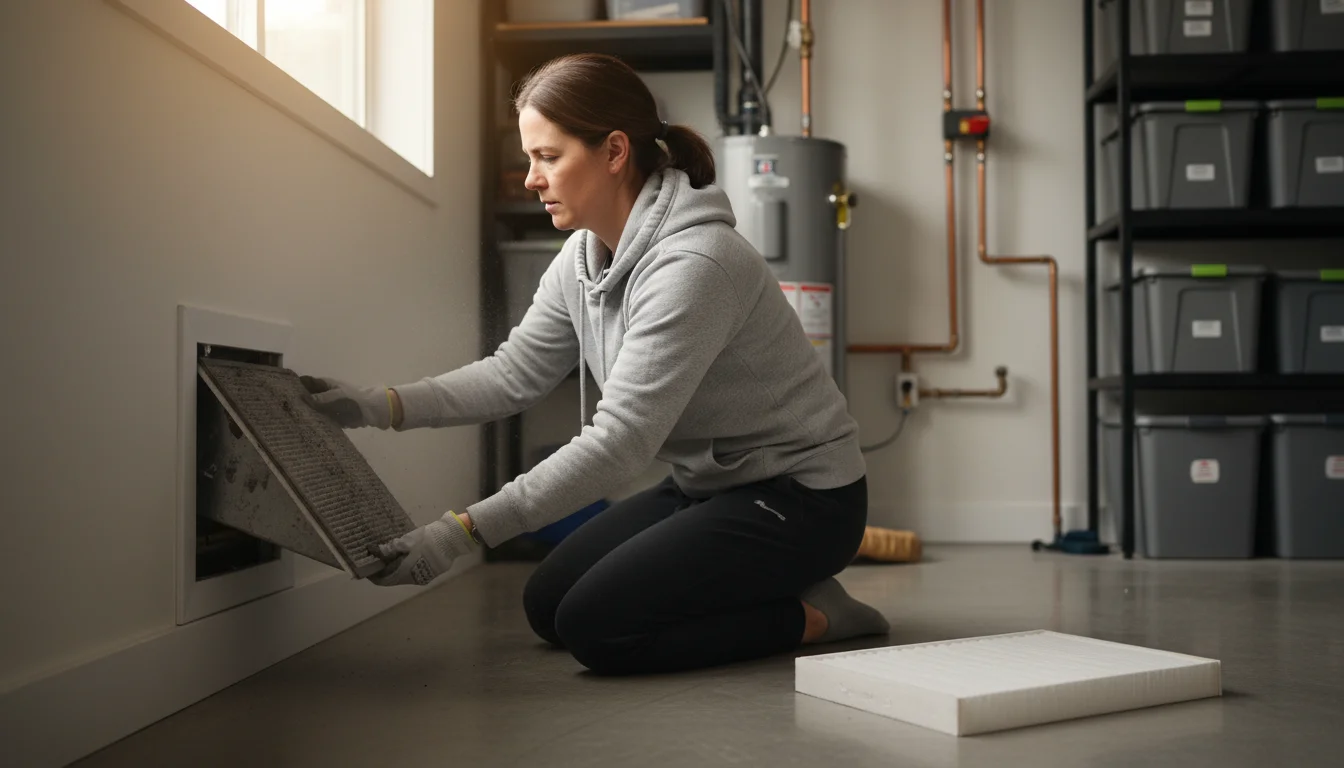
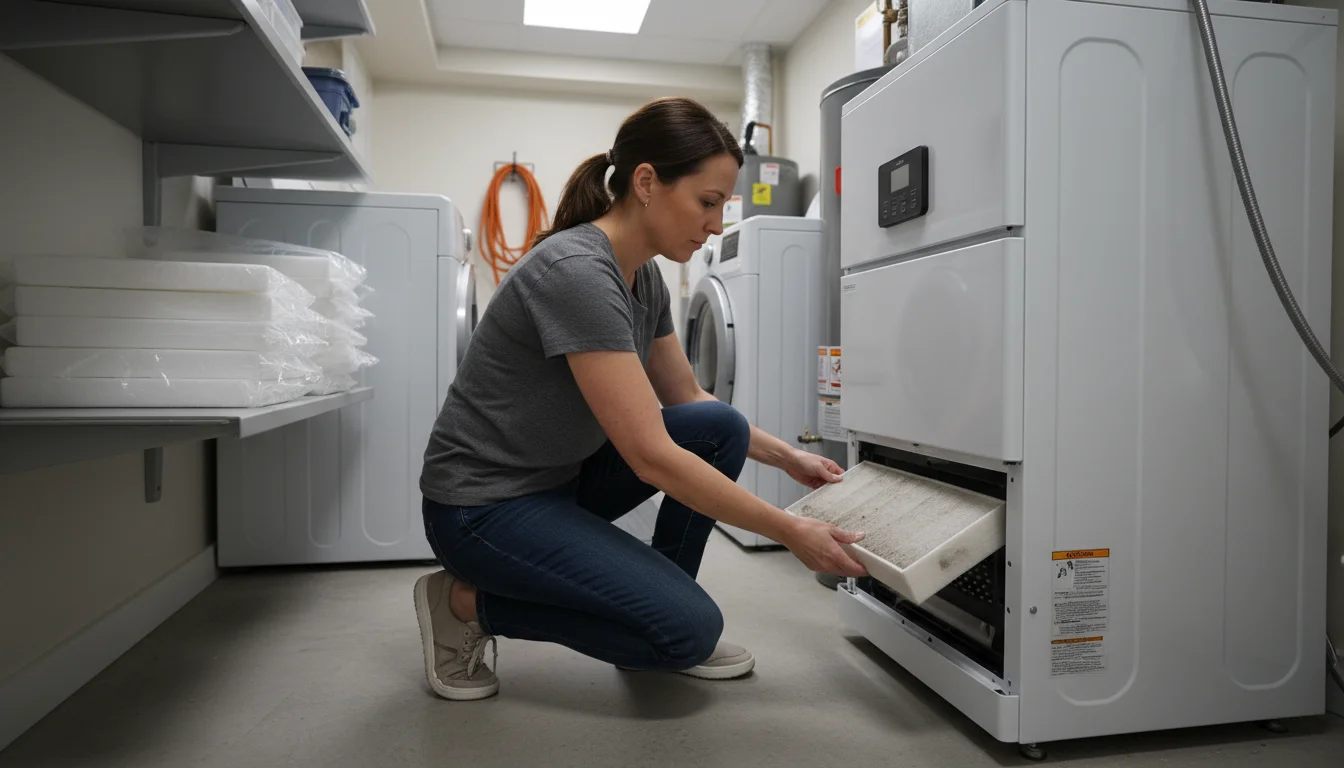
2. Change Your Furnace Filter:
A dirty furnace filter restricts airflow, forcing your heating system to work harder and consume more energy. It also reduces indoor air quality. Check your filter monthly and replace it every one to three months, or more frequently if you have pets or allergies. This is one of the simplest and most effective winter preparation steps you can take.
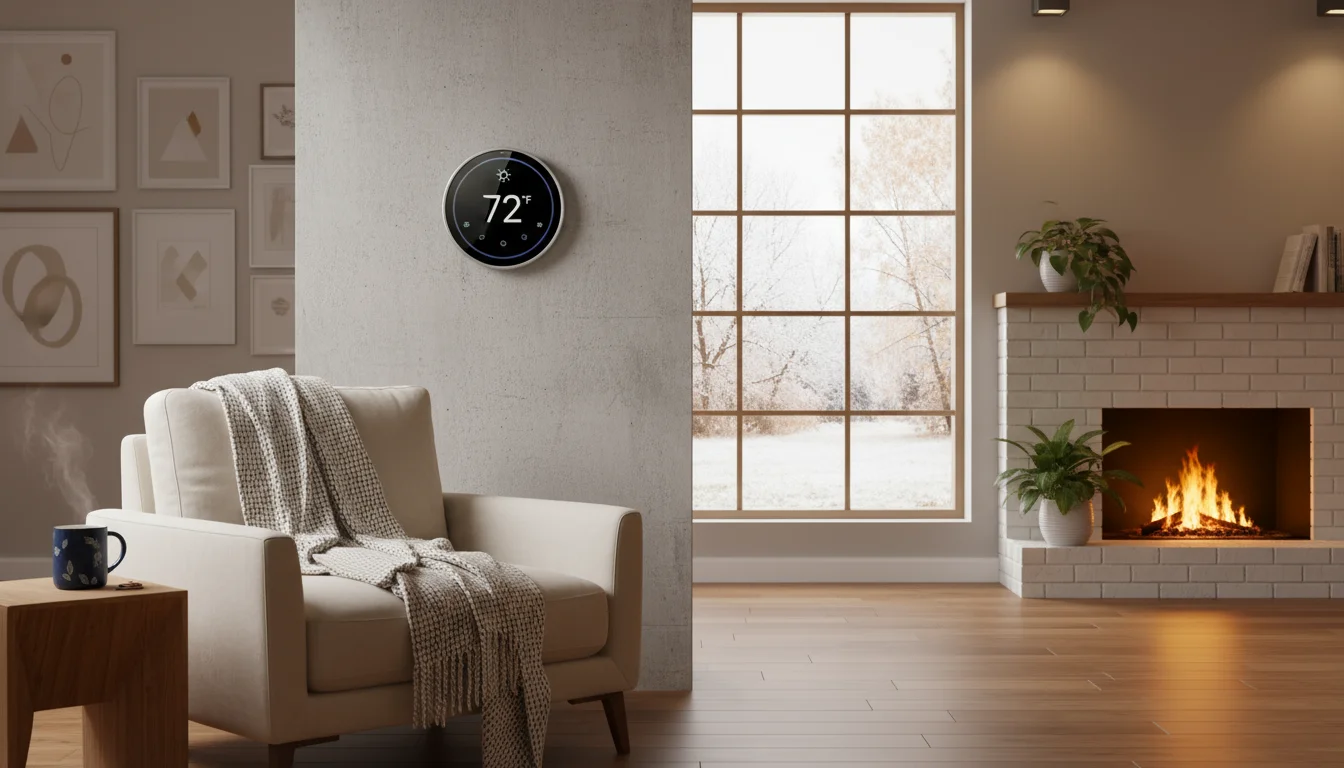
3. Program Your Thermostat:
Install a programmable or smart thermostat if you do not have one already. These devices allow you to set different temperatures for various times of the day, reducing heating when you are away or asleep and increasing it before you arrive home or wake up. Smart thermostats learn your habits and adjust automatically, optimizing energy use without sacrificing comfort. Aim to lower your thermostat by 7-10 degrees Fahrenheit for eight hours a day to save up to 10% on heating costs.
4. Clear Vents and Radiators:
Ensure furniture, drapes, or rugs do not obstruct your heating vents or radiators. Blocked vents restrict heat distribution, making rooms feel colder and forcing your system to run longer. Keep these areas clear to allow warm air to circulate freely throughout your home.
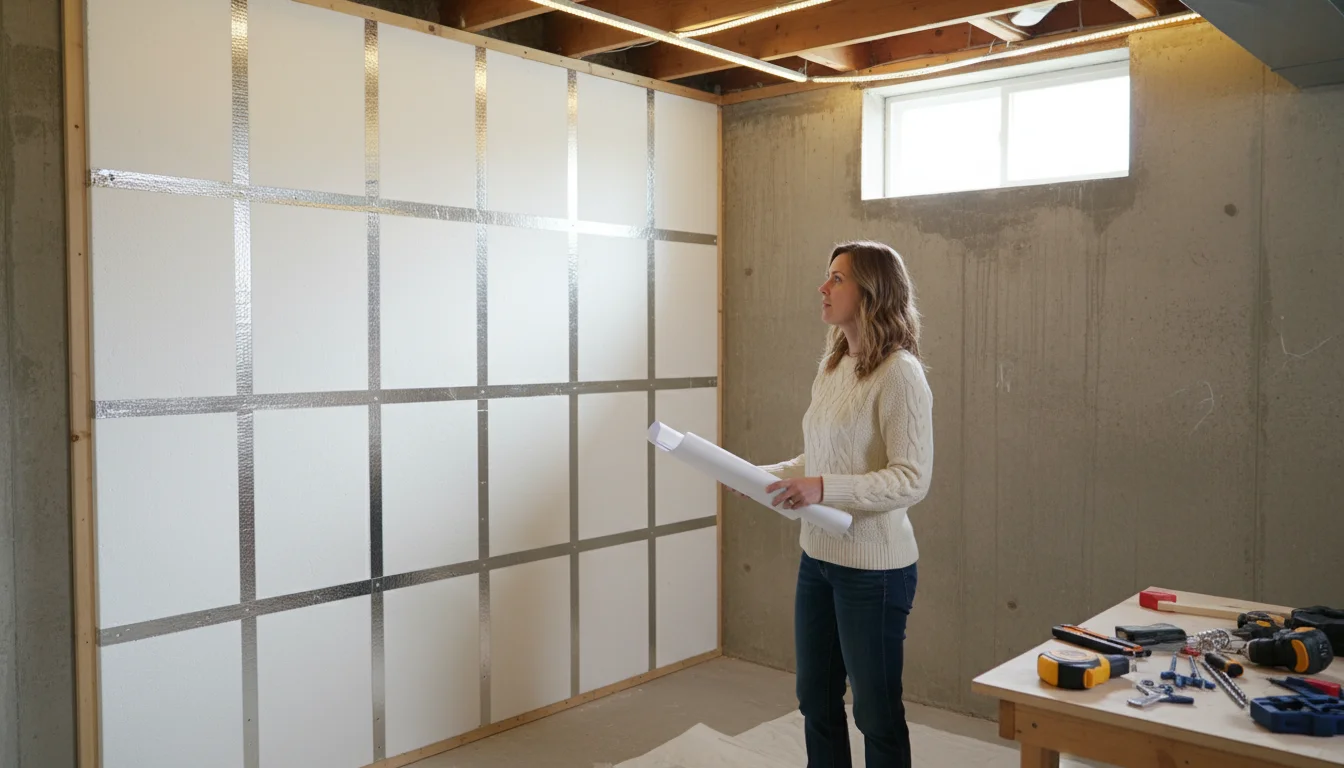
Attics, Basements, and Crawl Spaces: Overlooked Opportunities
While often out of sight, attics, basements, and crawl spaces play critical roles in your home’s overall thermal envelope. Neglecting these areas means allowing significant heat loss or cold air intrusion, undermining your other weatherization efforts. Addressing these “hidden” zones helps you truly winterize your home comprehensively.
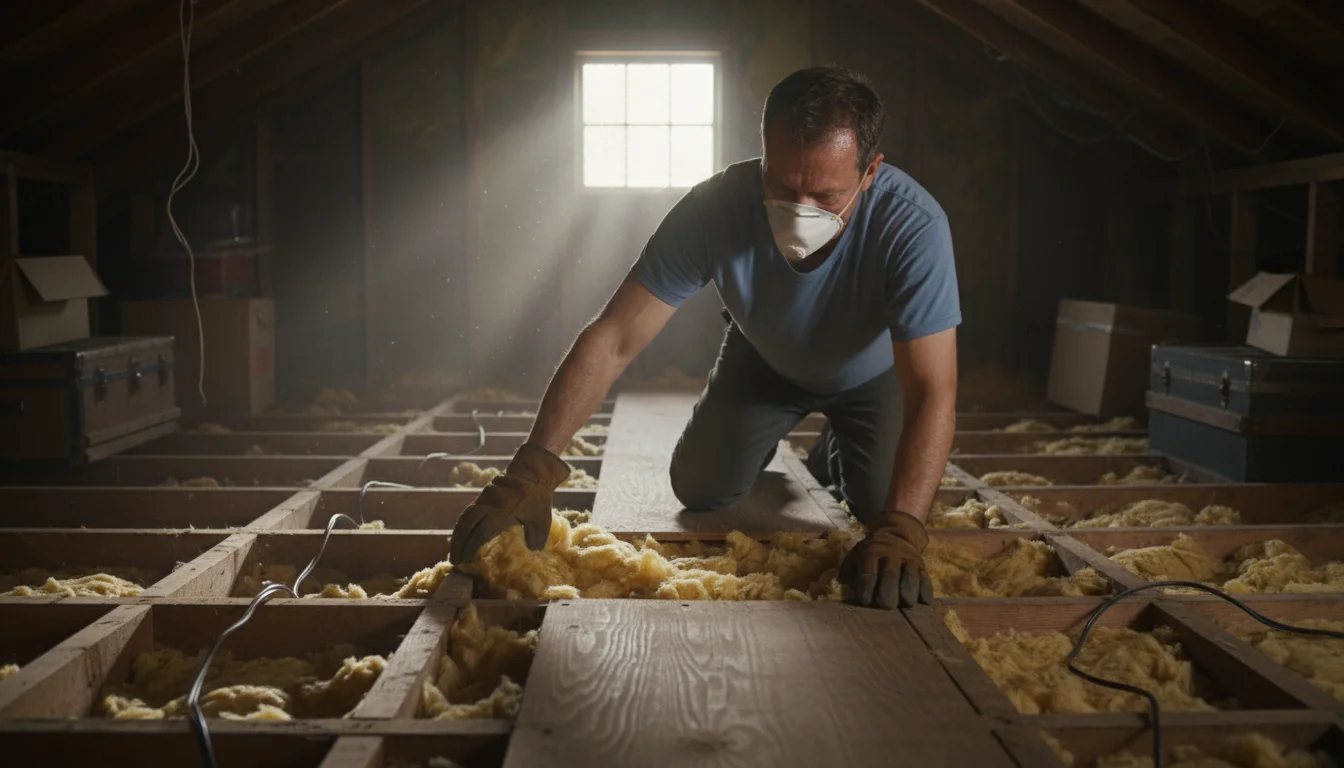
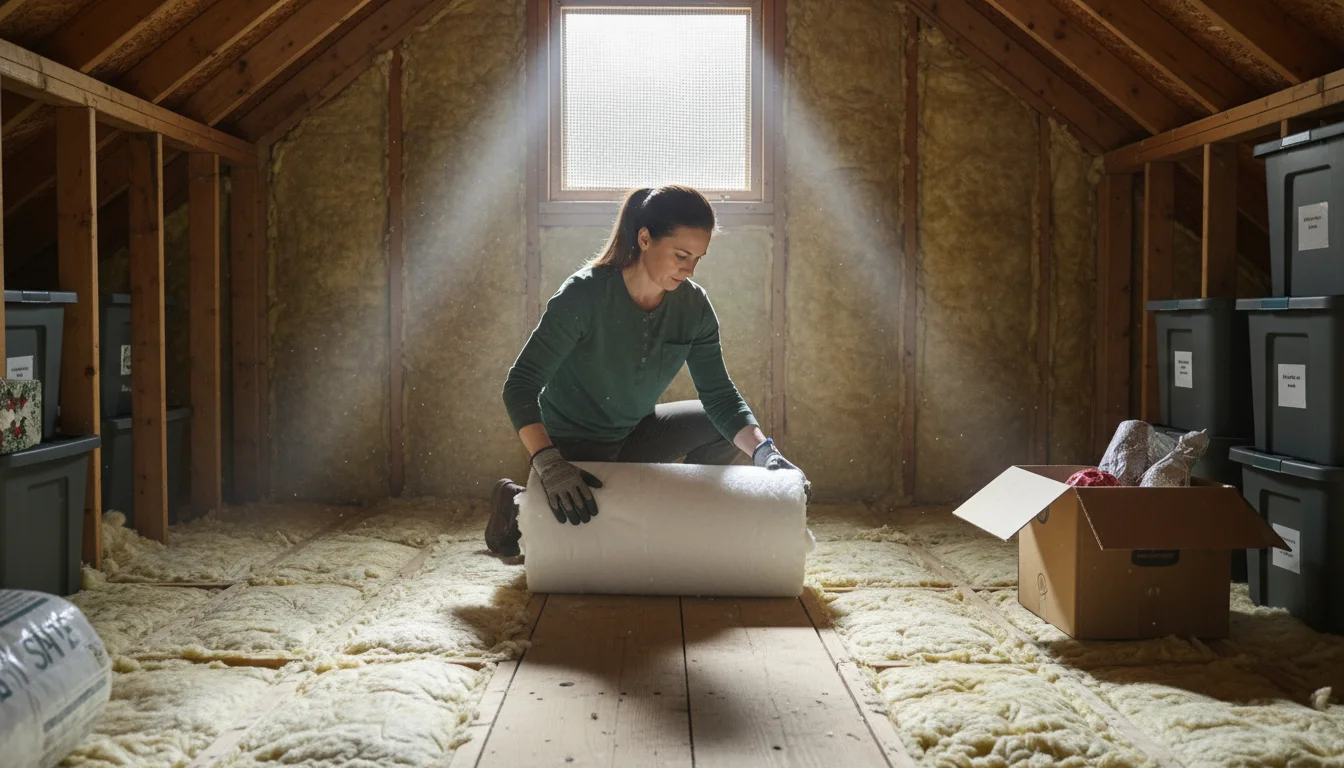
1. Boost Attic Insulation:
Your attic is a primary area for heat loss because heat rises. Check your attic’s insulation levels. If you see ceiling joists, you likely need more insulation. The recommended R-value for attics varies by region, but most homes benefit from at least 10-14 inches of insulation. Adding blown-in cellulose or fiberglass batts can be a significant DIY project or a professional upgrade that offers substantial energy savings. Ensure you do not block attic vents with insulation, as proper ventilation is crucial to prevent moisture buildup and ice dams.
2. Seal Attic Air Leaks:
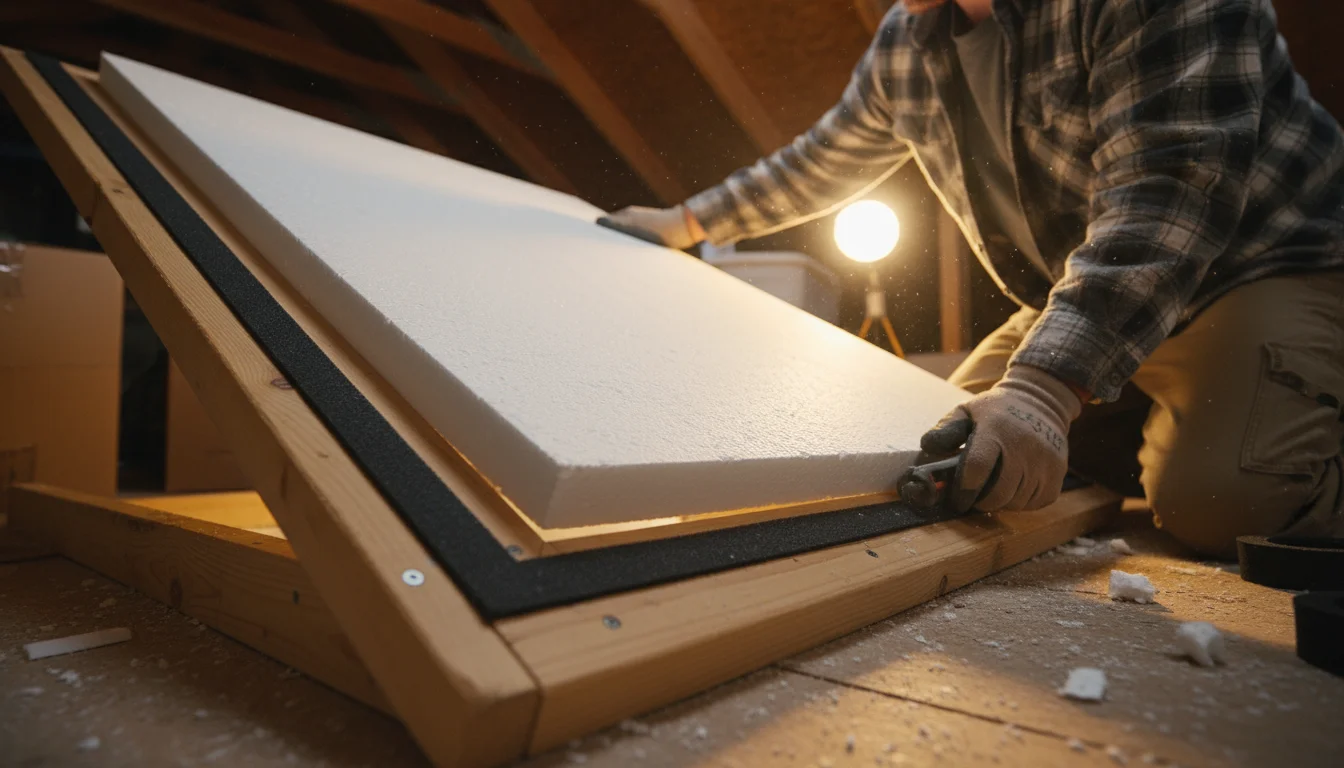
Insulation alone will not stop air leaks. Identify and seal air leaks where wiring, plumbing, and chimney flues penetrate the attic floor. Use caulk for small gaps and expanding spray foam for larger openings. Also, check the attic hatch. If it is not insulated and sealed, it acts as a major thermal bridge, allowing conditioned air to escape into the unconditioned attic space. Add weatherstripping and an insulation board to your attic hatch to seal it effectively.
3. Insulate Basement and Crawl Space Walls:
Basement and crawl space walls can allow cold air to seep into your home. Insulating these walls, especially in unheated basements, significantly improves your home’s energy performance. Rigid foam insulation boards are effective for this application. Ensure proper moisture control measures are in place before insulating, as trapping moisture can lead to mold and rot. According to Family Handyman, insulating foundation walls can prevent heat loss and make your home more comfortable.
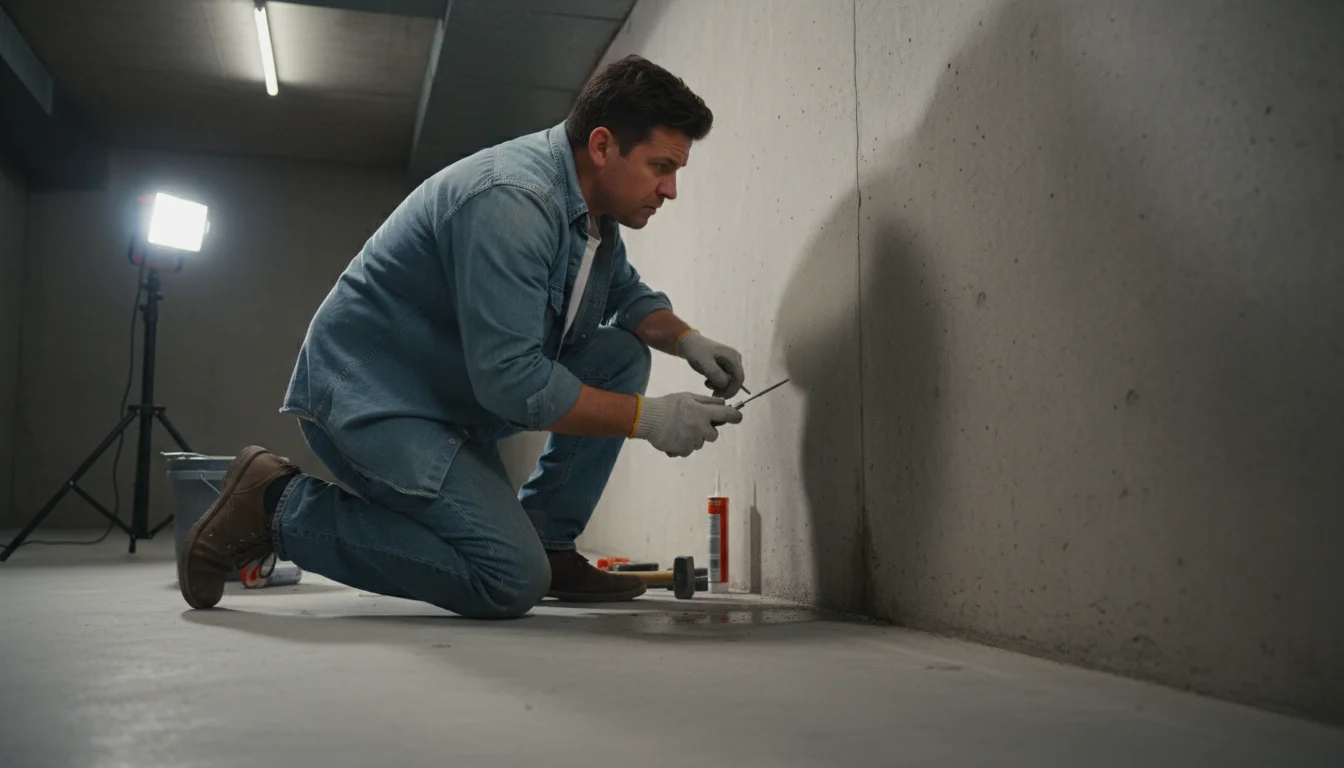
4. Seal Foundation Cracks:
Inspect your basement or crawl space foundation walls for cracks. Even hairline cracks allow cold air, moisture, and pests to enter. Use hydraulic cement or masonry caulk to seal these cracks. For larger cracks or signs of structural issues, consult a professional. Sealing these entry points is a crucial weatherproofing tip for both energy efficiency and preventing water intrusion.
Outdoor Prep: Gutters, Landscaping, and More
Winter preparation extends beyond your home’s interior. Addressing exterior elements prevents potential damage, maintains your property, and supports your indoor weatherization efforts. These outdoor weatherproofing tips help protect your entire property.
Additionally, ensure your hearth is ready for use by completing chimney and fireplace maintenance to prevent potential fire hazards and ventilation issues.
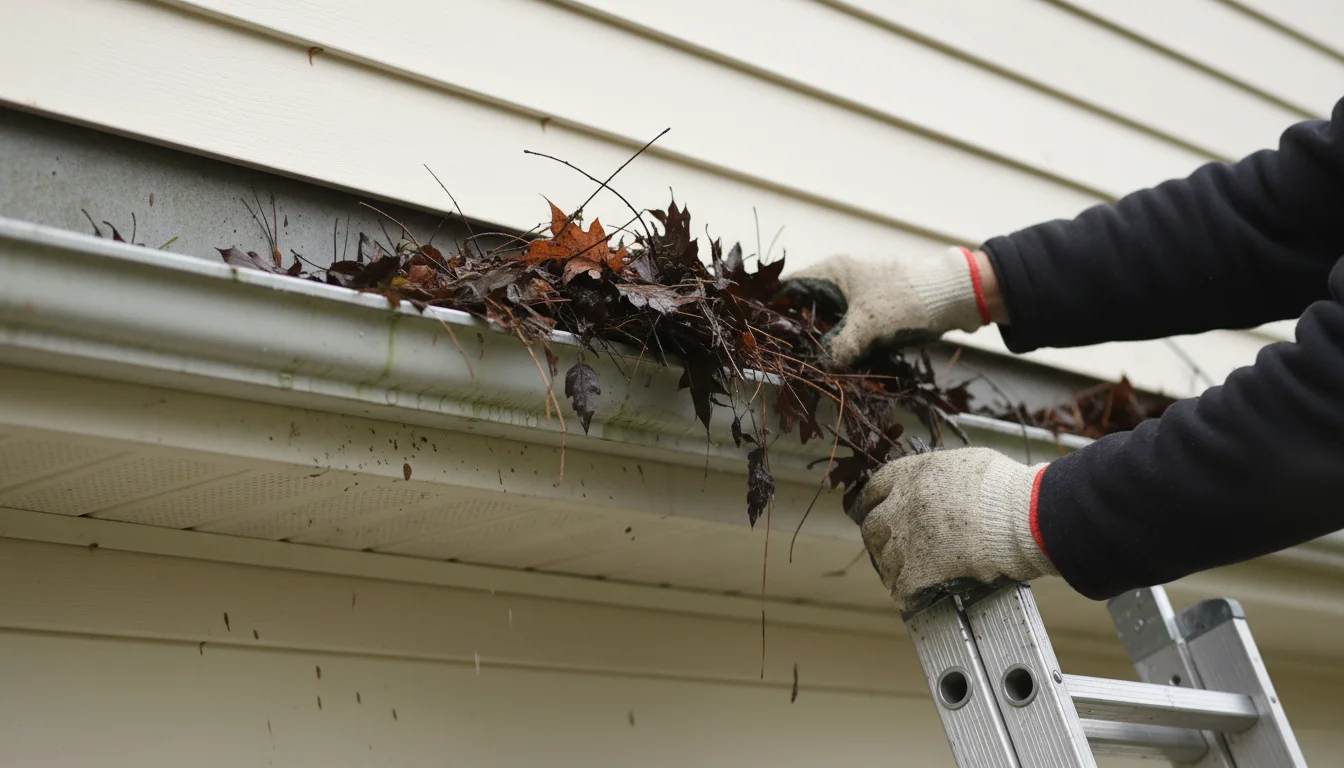
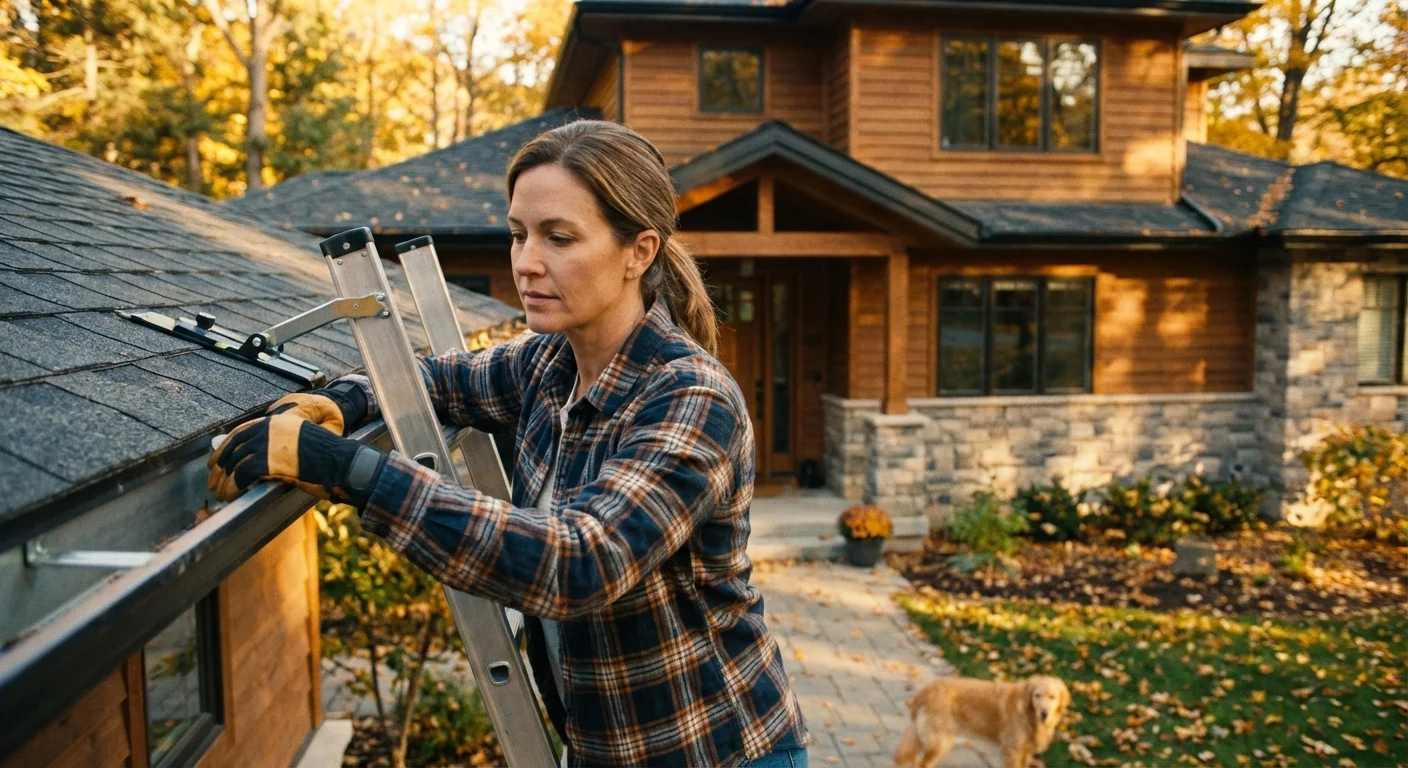
1. Clean Gutters and Downspouts:
Leaves, twigs, and debris accumulate in gutters and downspouts throughout the fall. Clogged gutters prevent melting snow and rain from draining properly, leading to ice dams that can damage your roof, fascia, and siding. Water backing up also creates foundation issues. Before winter, clear all gutters and ensure downspouts direct water away from your foundation. Consider installing gutter guards if frequent cleaning becomes an issue.
2. Trim Trees and Shrubs:
Prune tree branches that hang over your roof or are close to your home. Heavy snow or ice can cause weak branches to break, potentially damaging your roof, windows, or power lines. Also, trim shrubs away from your home’s foundation to prevent them from trapping moisture against the siding and to deter pests seeking winter shelter.
3. Protect Outdoor Faucets and Sprinkler Systems:
Beyond disconnecting hoses, ensure your outdoor faucets are completely drained. For sprinkler systems, you must “blow out” the lines using an air compressor to remove all water, preventing freezing and costly damage to pipes and sprinkler heads. If you are unsure how to do this, hire a professional irrigation specialist. Many modern homes have “frost-free” spigots, but even these benefit from hose disconnection.

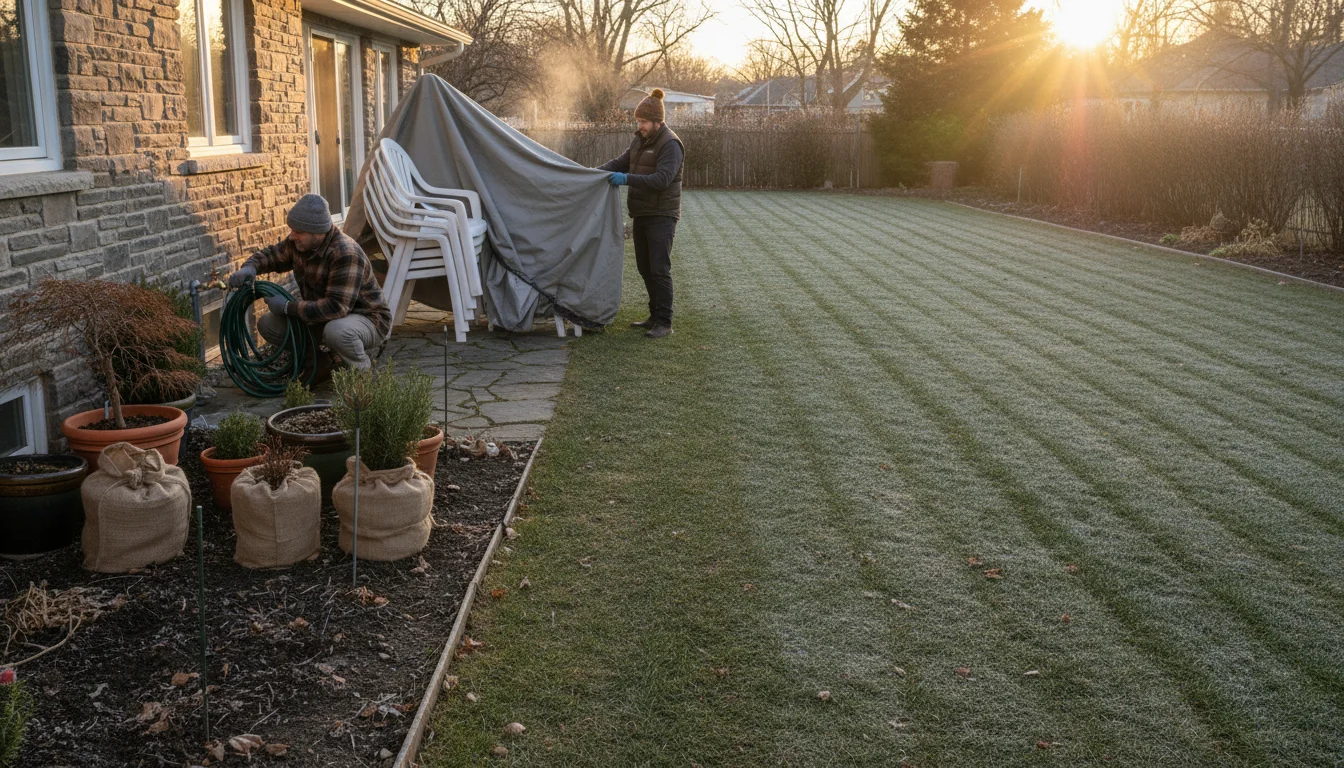
4. Store Outdoor Furniture and Equipment:
Clean and store patio furniture, grills, and garden tools in a shed or garage. This protects them from harsh winter weather, extending their lifespan and preventing rust or deterioration. Covering larger items that cannot be stored provides a good level of protection.
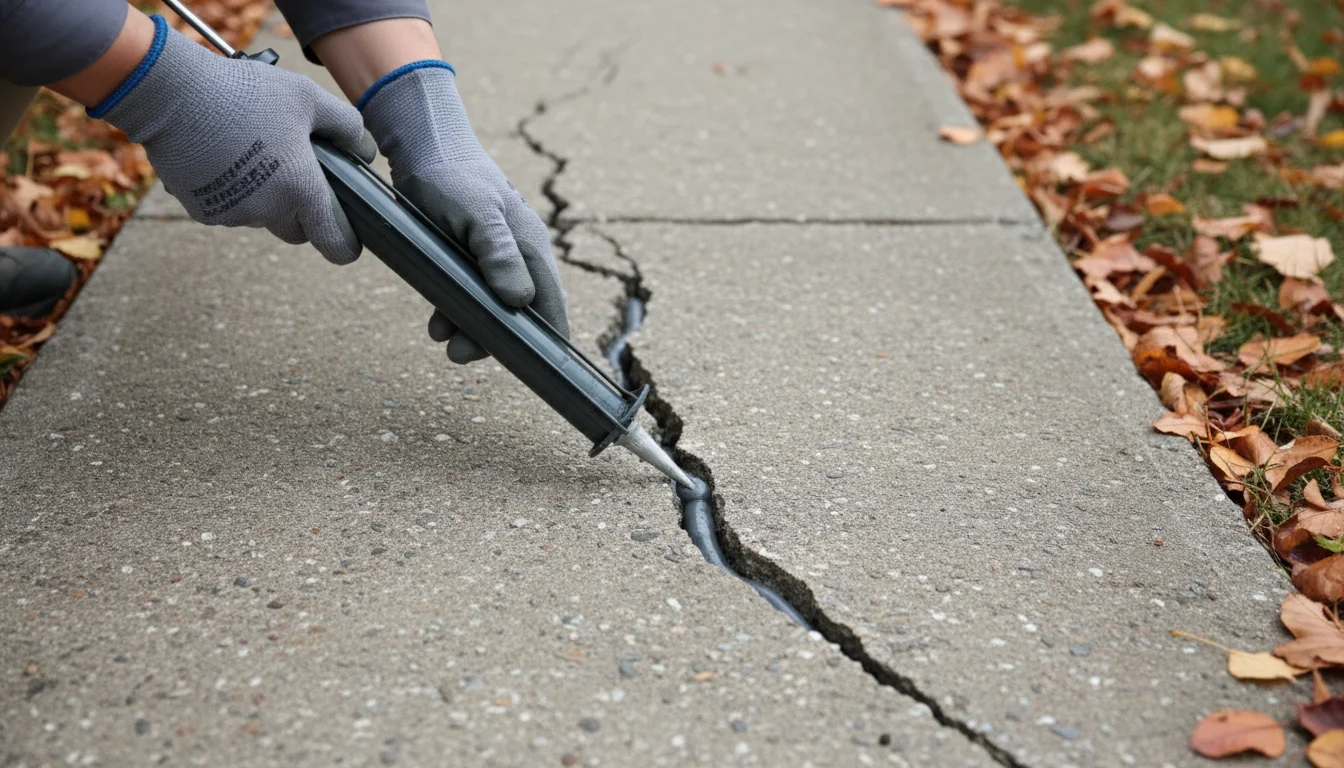
5. Inspect and Repair Walkways and Driveways:
Look for cracks or uneven surfaces in walkways and driveways. Water can seep into these cracks, freeze, and expand, exacerbating damage over winter. Repair minor cracks with concrete caulk or patching compounds to prevent them from worsening and creating trip hazards.
Budget-Friendly Weatherization Solutions
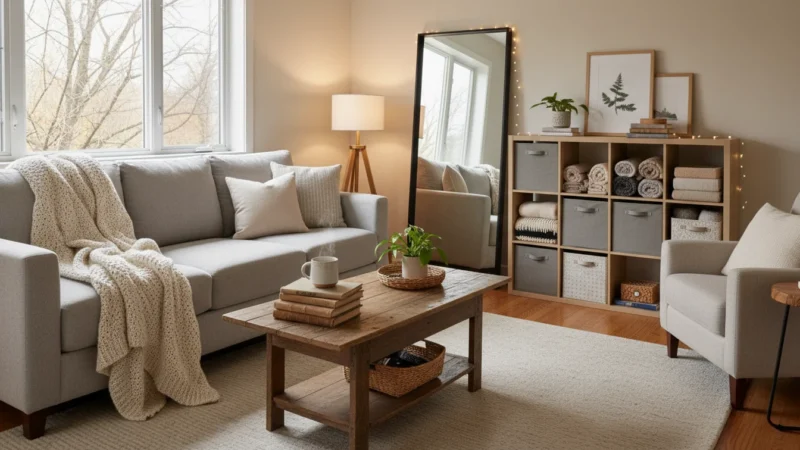
You do not need to spend a fortune to effectively winterize your home. Many impactful weatherproofing tips are inexpensive or even free, making them accessible regardless of your budget. Focus on high-impact, low-cost solutions first to maximize your savings.
For even more ways to warm up your home without breaking the bank, try these budget-friendly ways to make your living room cozier.
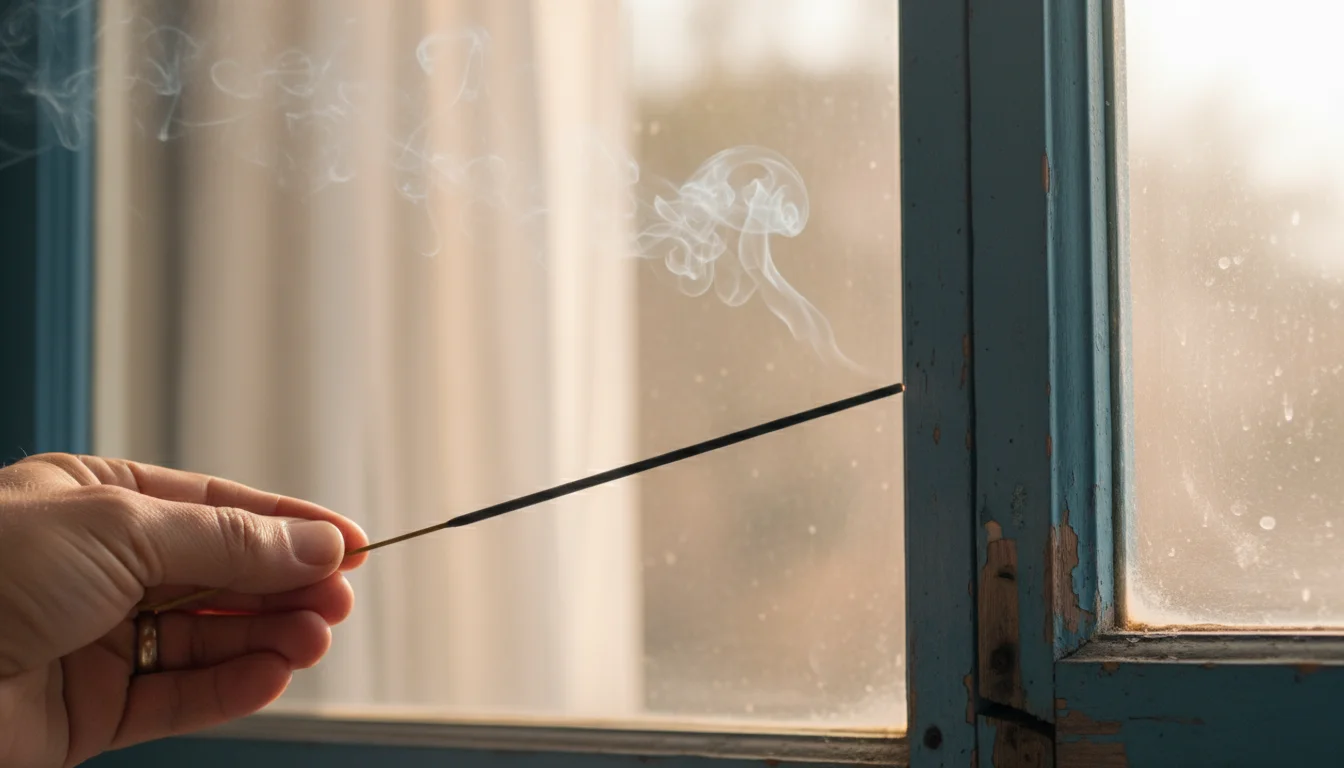
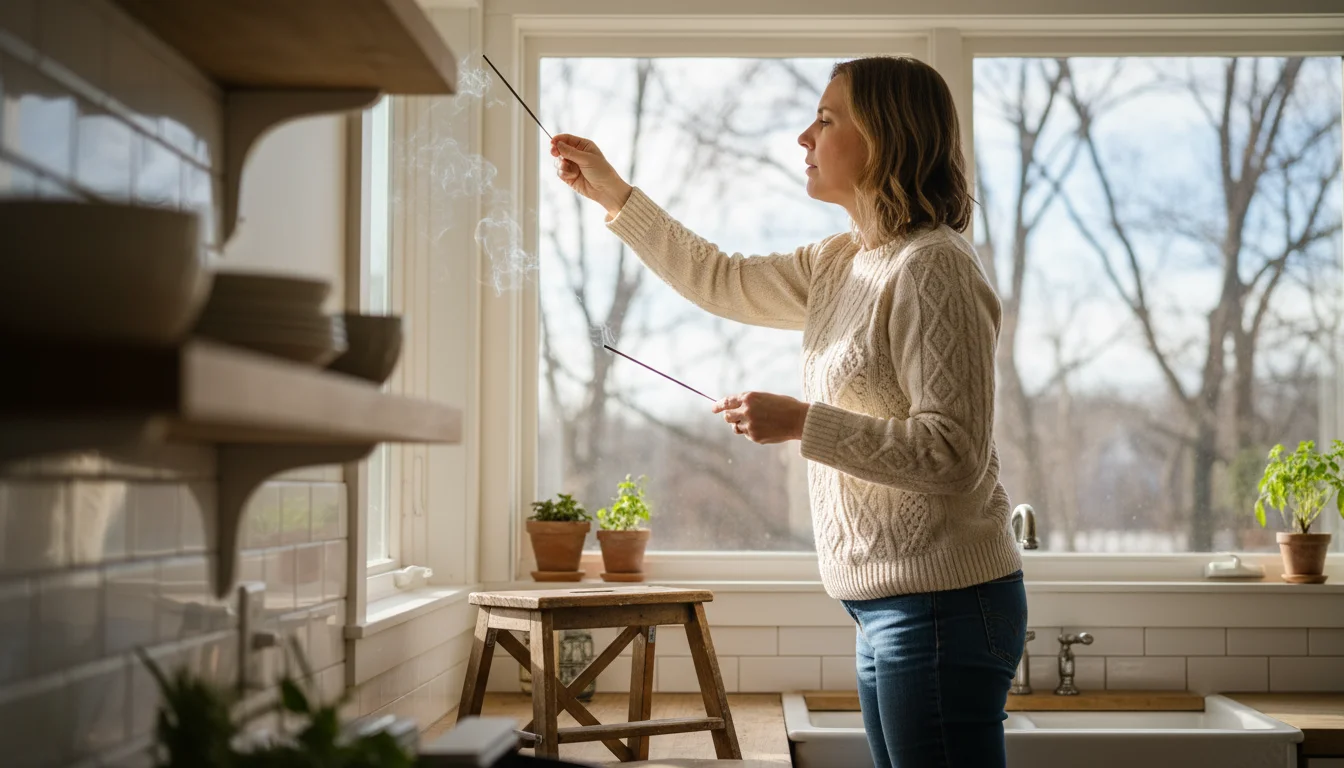
DIY Draft Detection:
Perform a simple draft test. Light an incense stick or a candle and hold it near windows, doors, electrical outlets, and plumbing penetrations on a breezy day. If the smoke wavers or the flame flickers, you have an air leak. This free method helps you pinpoint exactly where to apply your budget-friendly solutions. According to Bob Vila, draft detection is a critical first step in improving home energy efficiency.
Affordable Materials and Tools:
- Caulk: A tube of caulk costs a few dollars, and a caulking gun is under $10. This is one of the most cost-effective ways to seal air leaks.
- Weatherstripping: Rolls of foam or rubber weatherstripping are inexpensive and easy to apply around windows and doors.
- Window Insulation Kits: These plastic films, available for under $20, provide noticeable insulation for single-pane windows.
- Door Sweeps and Draft Stoppers: Ranging from $10-$30, these are quick fixes for drafts under doors.
- Foam Outlet Gaskets: Insulate electrical outlets on exterior walls for a few dollars per pack.
- Pipe Insulation Sleeves: Foam sleeves for pipes are very affordable and protect against freezing.
Even if your budget is tight, prioritizing these small investments can lead to significant energy savings over the winter months. Many utility companies also offer free or low-cost home energy audits, which identify specific areas for improvement and sometimes provide rebates for weatherization upgrades. Check with your local utility provider for these programs.

Frequently Asked Questions
Can I winterize my apartment or rental home?
Absolutely. Renters can implement many weatherproofing tips without permanent alterations. Focus on reversible solutions like window insulation film, door sweeps, draft stoppers, and foam outlet gaskets. Communicate with your landlord about larger issues, such as professional HVAC maintenance or sealing foundation cracks. They might cover the cost, as it benefits their property value and your comfort. Always check your lease agreement before making any modifications.
How much does it cost to professionally weatherize a home?
The cost varies widely based on the size of your home, its current condition, and the scope of work. A professional energy audit might cost a few hundred dollars, but it identifies the most cost-effective improvements. Major upgrades, like adding significant attic insulation or replacing windows, can range from hundreds to several thousands of dollars. However, the energy savings over time often offset these initial expenses. Start with DIY solutions to chip away at the most common issues, then consider professional help for complex tasks or major installations.
What is an “energy audit” and should I get one?
An energy audit is a comprehensive assessment of your home’s energy efficiency. A professional uses specialized tools, like a blower door test to detect air leaks and an infrared camera to spot insulation gaps. They provide a detailed report outlining where your home loses energy and recommend specific improvements. An audit is highly recommended if you experience high energy bills, inconsistent indoor temperatures, or want to make targeted improvements. It helps you prioritize your weatherization efforts for maximum impact.
How long does weatherization last?
The longevity of weatherization efforts depends on the material and application. Caulk typically lasts 5-10 years, while high-quality weatherstripping can last 5-20 years. Window film is a seasonal solution. Insulation, if properly installed and undisturbed, can last for decades. Regular maintenance and re-inspection every few years ensure your weatherization efforts remain effective. Think of it as an ongoing process, not a one-time fix. Small annual checks keep your home performing optimally.
Should I turn off my pilot light for a gas fireplace or furnace during winter?
For a gas furnace, you should generally leave the pilot light on during winter, as it is integral to the furnace’s operation. Turning it off means the furnace cannot ignite and provide heat. For a gas fireplace, you *can* turn off the pilot light to save a small amount of gas if you do not plan to use it for an extended period. However, remember to relight it safely according to your fireplace’s instructions when you want to use it again. Always consult your appliance’s manual or a qualified professional if you are unsure.
For expert home organization guidance, visit
IKEA Home Organization,
Martha Stewart — Home,
Houzz — Home,
The Spruce — Home Organization and
Real Simple — Organizing.
Disclaimer: This article is for informational purposes only and is not a substitute for professional advice. Consult professional organizers or specialists for personalized recommendations.
For a complete seasonal approach, follow a lawn and garden winterization checklist to protect your outdoor landscaping from freezing temperatures.


Leave a Reply