As the days lengthen and the first signs of spring emerge, many of us feel an innate urge to refresh our living spaces. Spring cleaning, however, is often perceived as an overwhelming, monumental task. We envision days spent scrubbing, decluttering, and reorganizing, often leading to procrastination or a less-than-thorough effort. This article will demystify spring cleaning, transforming it from a dreaded chore into an achievable, satisfying ritual that revitalizes your home and mind. We will deliver practical, science-backed strategies for a truly fresh start, focusing on realistic solutions for busy homeowners, renters, and apartment dwellers.
My goal is to empower you with an efficient, budget-conscious approach to deep cleaning and organization. You will learn the ‘why’ behind effective cleaning methods, debunk common myths, and adopt systems that maintain order long after the initial spring refresh. Forget about quick fixes; we build sustainable habits for lasting home comfort. Let’s create a cleaner, more organized space together.

Demystifying Spring Cleaning: More Than Just Dusting
Spring cleaning is more than a tradition; it is a vital practice for both your home’s longevity and your well-being. Over the winter months, our homes accumulate dust, allergens, and grime. Indoor air quality can decline significantly due to closed windows and reduced ventilation. A comprehensive spring clean addresses these hidden issues, improving your living environment and creating a sense of renewal. Research shows that a clean, organized space reduces stress and boosts productivity. It sets a positive tone for the year ahead, providing a fresh backdrop for your daily life.
If you are feeling short on time, learning how to speed clean your entire house can help you achieve a refreshed look in just a couple of hours.
Contrary to popular belief, spring cleaning does not require an entire weekend of frantic effort. Instead, approach it as a series of manageable tasks spread over a few weeks. This strategy prevents burnout and allows you to tackle each area thoroughly. Think of it as preventative maintenance, a crucial part of your overall home care checklist that extends the life of your appliances, surfaces, and textiles.
The Science of a Clean Home: Effective Products & Practices
Understanding the chemistry behind cleaning helps you choose the right tools and products, avoiding ineffective or even damaging practices. Many people reach for harsh chemicals, believing they are the only way to achieve deep cleanliness. However, effective cleaning often relies on simple, non-toxic solutions and mechanical action.
Beyond surface cleaning, maintaining your home’s systems is vital for air quality, so be sure to include HVAC maintenance in your seasonal routine.
Debunking Cleaning Myths
- Myth: More suds mean more clean. The truth is, excessive suds require more rinsing and do not necessarily indicate superior cleaning power. Surfactants, the active ingredients in many cleaners, lift dirt effectively without an abundance of foam.
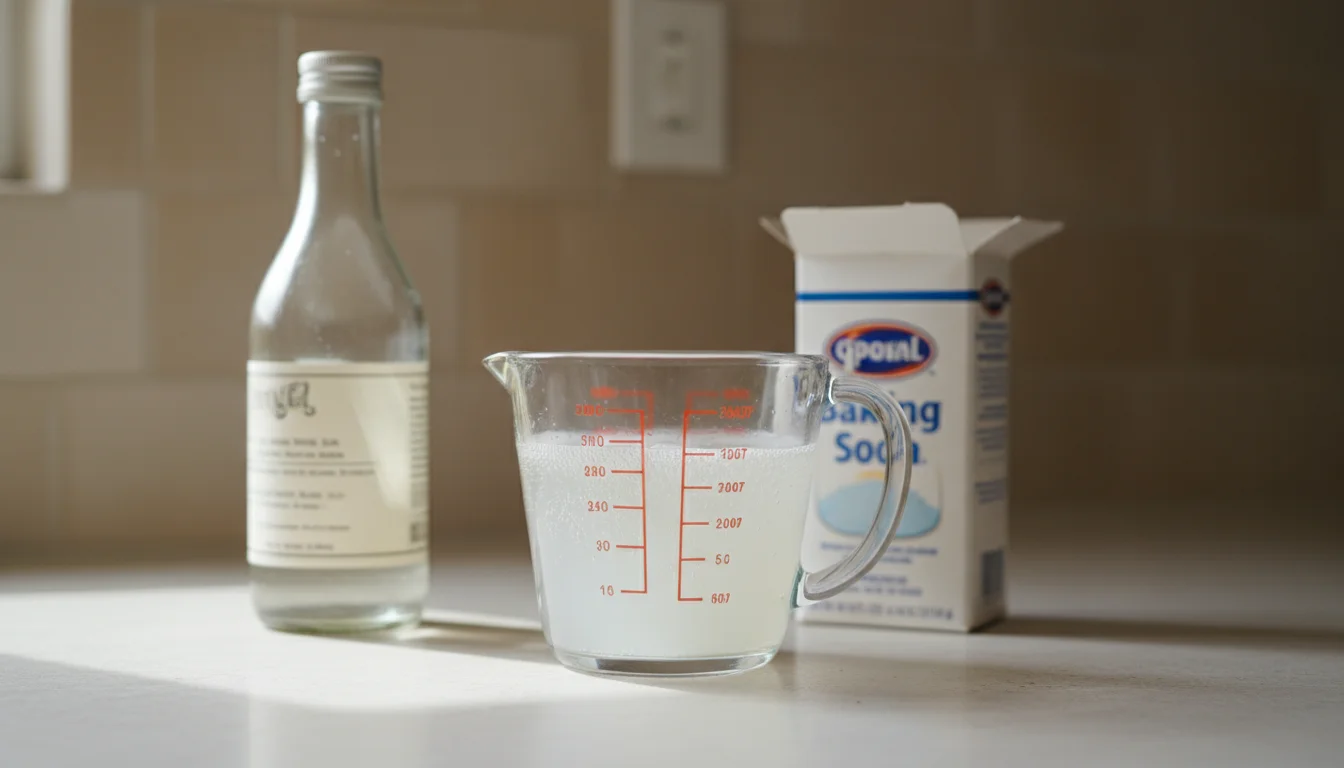
- Myth: Vinegar and baking soda create a powerful cleaner. Vinegar (acetic acid) reacts with baking soda (sodium bicarbonate) to produce carbon dioxide gas, which creates fizz. This reaction quickly neutralizes both substances, reducing their individual cleaning efficacy. While the fizz can help dislodge some grime through mechanical action, the resulting solution is largely water. For best results, use them separately for specific tasks: vinegar for acid-loving soils like mineral deposits, and baking soda as a gentle abrasive or odor absorber.
- Myth: Bleach is always necessary for disinfection. Bleach is a powerful disinfectant, but it is also corrosive and can pose health risks if not used properly. Many surfaces require only soap and water to remove germs effectively. For actual disinfection, ensure the surface is clean first, then apply an EPA-approved disinfectant and allow it to dwell for the recommended contact time. For daily cleaning, a simple all-purpose cleaner or even just microfiber cloths with water often suffice.
Smart Cleaning Chemistry: Non-Toxic Focus
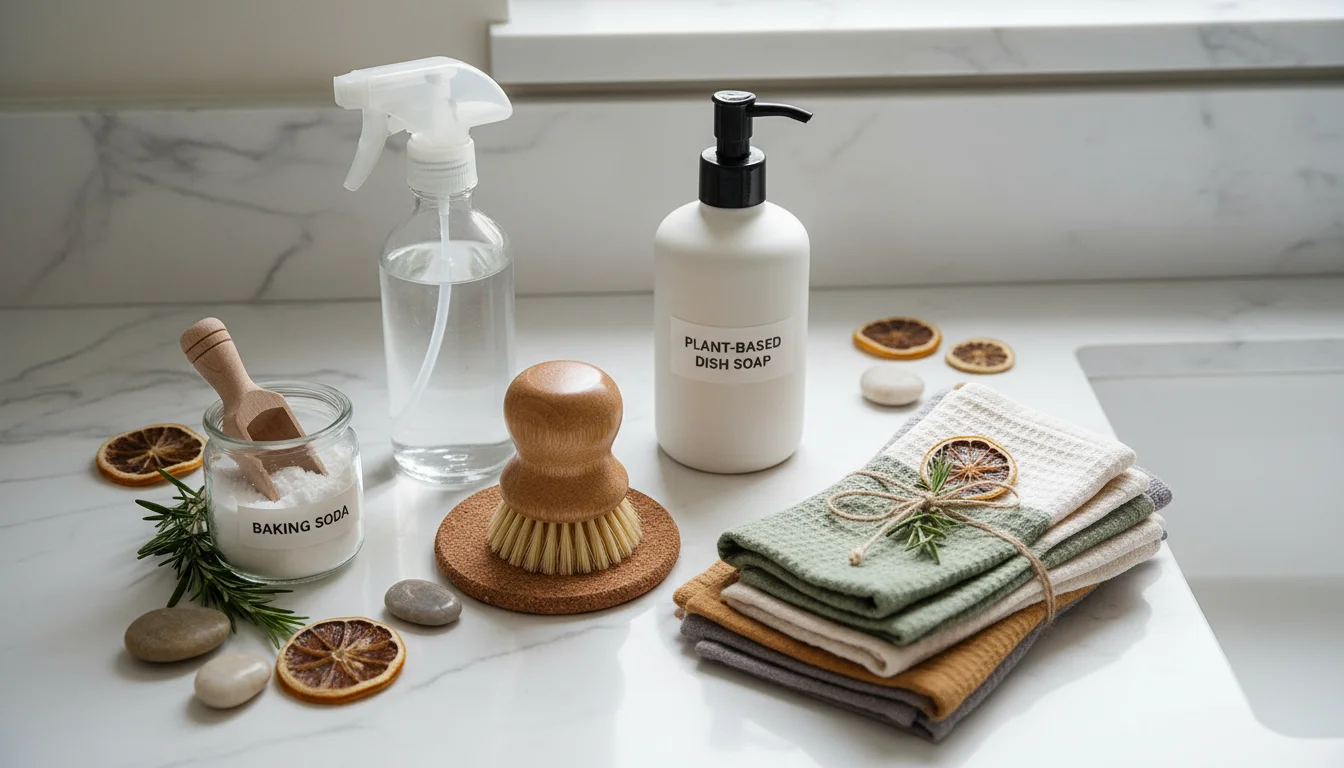
Your cleaning arsenal does not need a cabinet full of specialized chemicals. Here is what truly works and why:
- Surfactants (Soap/Detergent): These molecules have a hydrophilic (water-attracting) head and a hydrophobic (water-repelling, oil-attracting) tail. They work by lowering the surface tension of water, allowing it to penetrate dirt, and encapsulating oil and grime, lifting them from surfaces. This is why simple dish soap can be so effective on grease.
- Acids (Vinegar, Citric Acid): Acids excel at dissolving mineral deposits, rust, and soap scum. The acetic acid in white vinegar, for example, reacts with the calcium carbonate in hard water stains, breaking them down. Always dilute vinegar, especially on porous surfaces, and avoid using it on natural stone like marble or granite, as it can etch the surface.
- Bases (Baking Soda, Borax): Baking soda acts as a mild abrasive, useful for scrubbing without scratching, and an excellent odor absorber due to its alkaline nature. It neutralizes acidic odors.
- Enzymes: Enzyme cleaners contain specialized proteins that break down specific types of stains, such as food proteins, fats, and starches. They are particularly effective on organic matter and odors, making them ideal for pet stains or laundry pre-treatments.
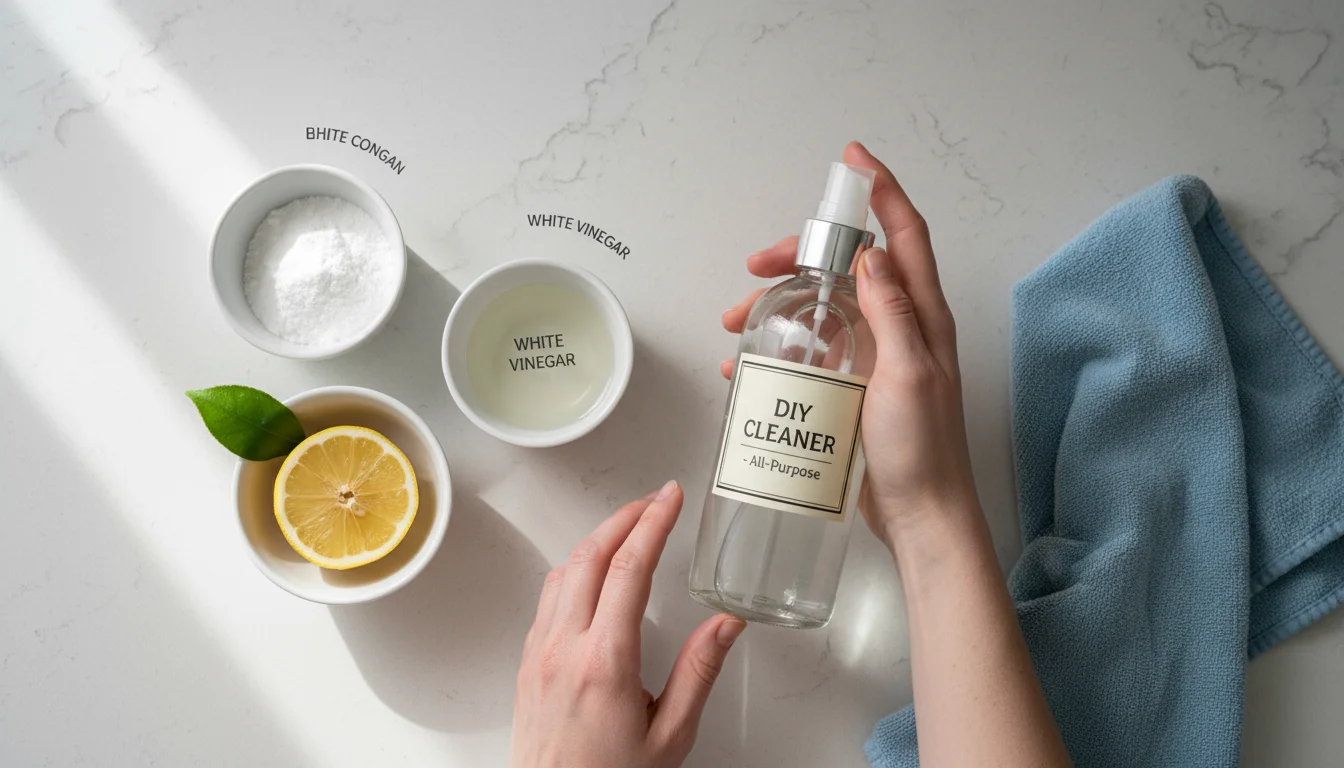
For most routine cleaning, a combination of warm water, dish soap, white vinegar, and baking soda can tackle a vast majority of tasks safely and effectively. Always test new cleaners, even natural ones, in an inconspicuous area first.

Your Spring Cleaning Strategy: A Home Care Checklist
A successful spring clean begins with a clear plan. Without a strategy, you risk feeling overwhelmed and skipping crucial tasks. This approach breaks down your spring home maintenance tasks into manageable steps, ensuring you address every area of your home systematically.
While you focus on the interior, don’t overlook outdoor preparation; following a gutter cleaning guide can prevent water damage during spring storms.
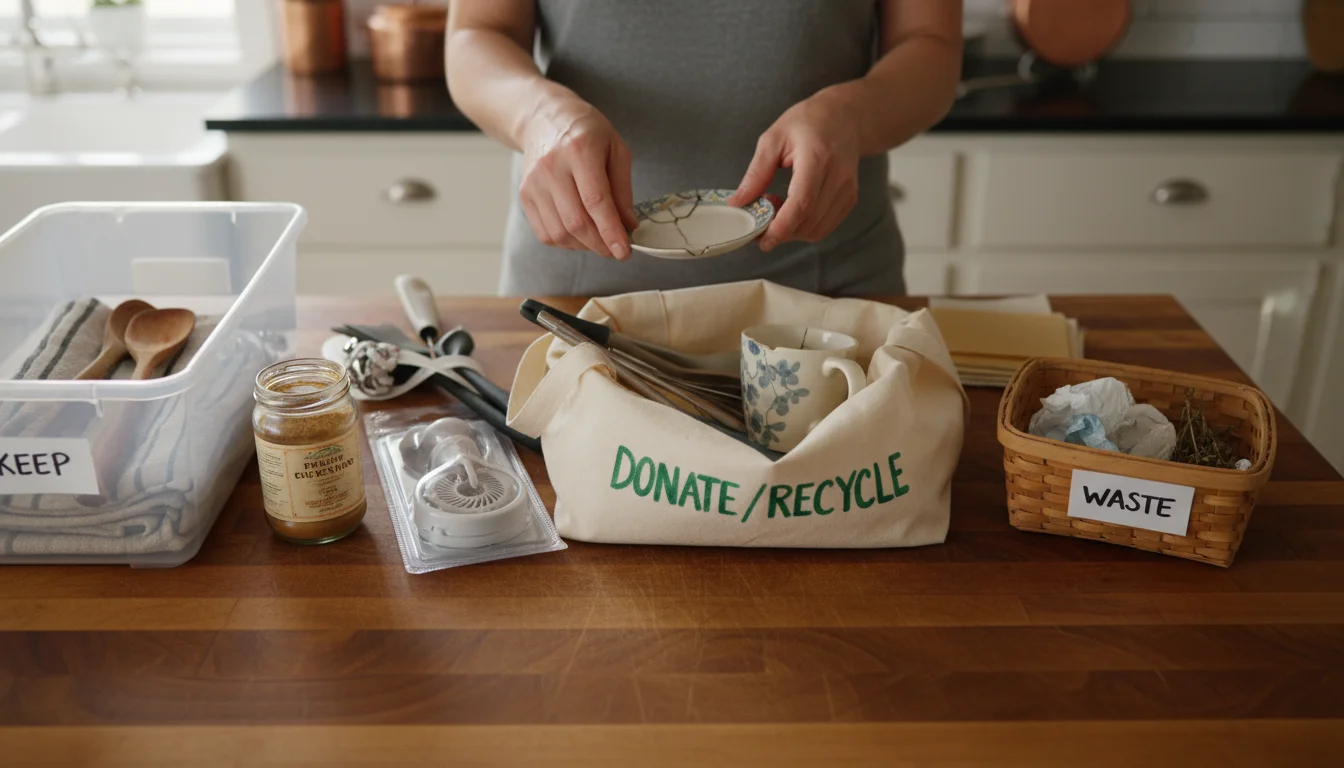
Step 1: Declutter First, Clean Second
Trying to clean around clutter is inefficient. Before you pick up a single cleaning cloth, dedicate time to decluttering each room. Follow a simple decision-making process for every item:
- Keep: Does it serve a purpose, or do you love it? Does it have a designated home?
- Donate/Sell: Is it still useful but no longer needed by you? Is it in good condition?
- Recycle: Is it made of paper, plastic, or glass and can be recycled?
- Discard: Is it broken, expired, or beyond repair?
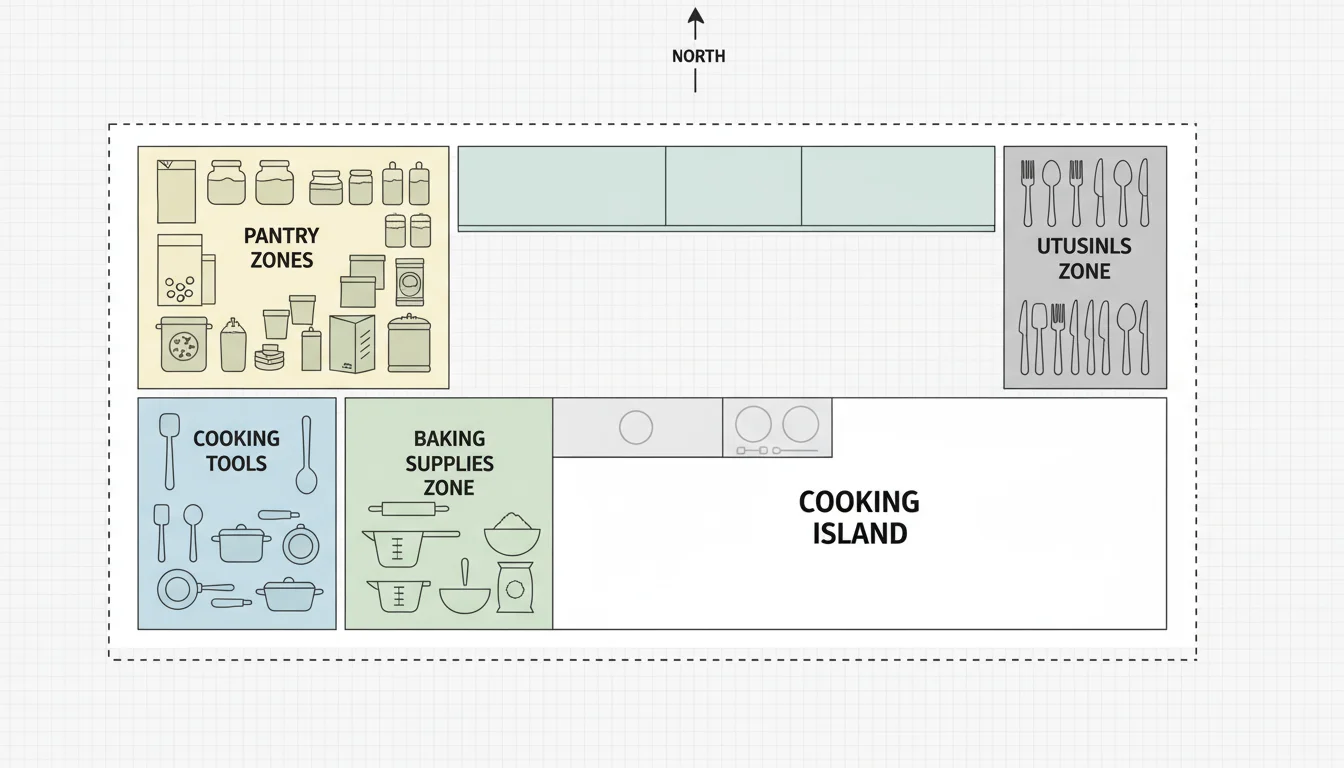
Designate zones for your “keep” items. For example, in a kitchen, zones might include “cooking tools,” “baking supplies,” or “pantry staples.” This method makes putting things away intuitive and easy to maintain. Many organizing experts, including those at the National Association of Professional Organizers, emphasize decluttering as the foundational step to any successful organizing project.
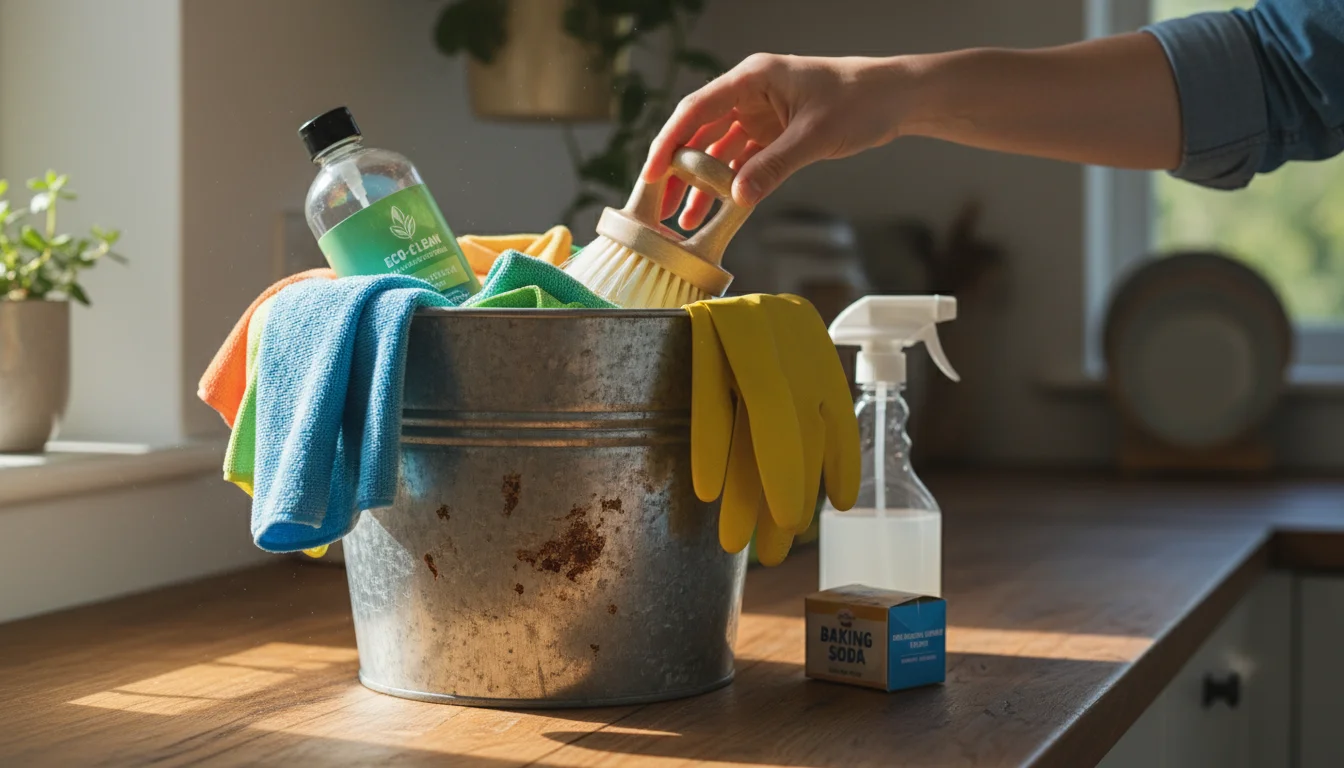
Step 2: Gather Your Supplies
Have everything ready before you start to avoid interruptions. Your basic kit should include:
- Microfiber cloths (absorbent, trap dust effectively)
- Bucket(s)
- Vacuum cleaner with attachments
- Mop
- Rubber gloves
- All-purpose cleaner (or DIY mix of water, white vinegar, a few drops of dish soap)
- Glass cleaner (or DIY mix of water, white vinegar, rubbing alcohol)
- Baking soda
- White vinegar
- Scrub brushes (small and large)
- Dusting tools (duster, damp cloth)
- Garbage bags and donation boxes

Step 3: Work Top-to-Bottom, Left-to-Right
This deep cleaning routine prevents you from re-cleaning areas. Dust falls downwards, so start with ceilings, light fixtures, and high shelves. Move across the room from one side to the other, ensuring you do not miss any spots. Finish with floors.
Step 4: Create a Realistic Seasonal Cleaning Schedule
Break down your home into zones or rooms. Allocate specific days or blocks of time to each area. For example, dedicate a Saturday morning to the kitchen, a Sunday afternoon to bathrooms, and spread out other tasks throughout the week. This makes the entire process feel less daunting. A comprehensive guide to household cleaning practices can be found on the American Cleaning Institute’s website, providing valuable insights into creating your own effective schedule.
Kitchen Reset: Deep Cleaning and Organization
The kitchen often functions as the heart of the home, but it also harbors the most grime. Our deep cleaning routine for the kitchen focuses on sanitation and efficiency.
To tackle the heart of the home effectively, refer to our complete guide to deep cleaning your kitchen for specific tips on degreasing cabinets and scrubbing appliances.
A deep clean of the kitchen is also a perfect time to check on your home’s infrastructure, including essential water heater maintenance to ensure everything runs smoothly.
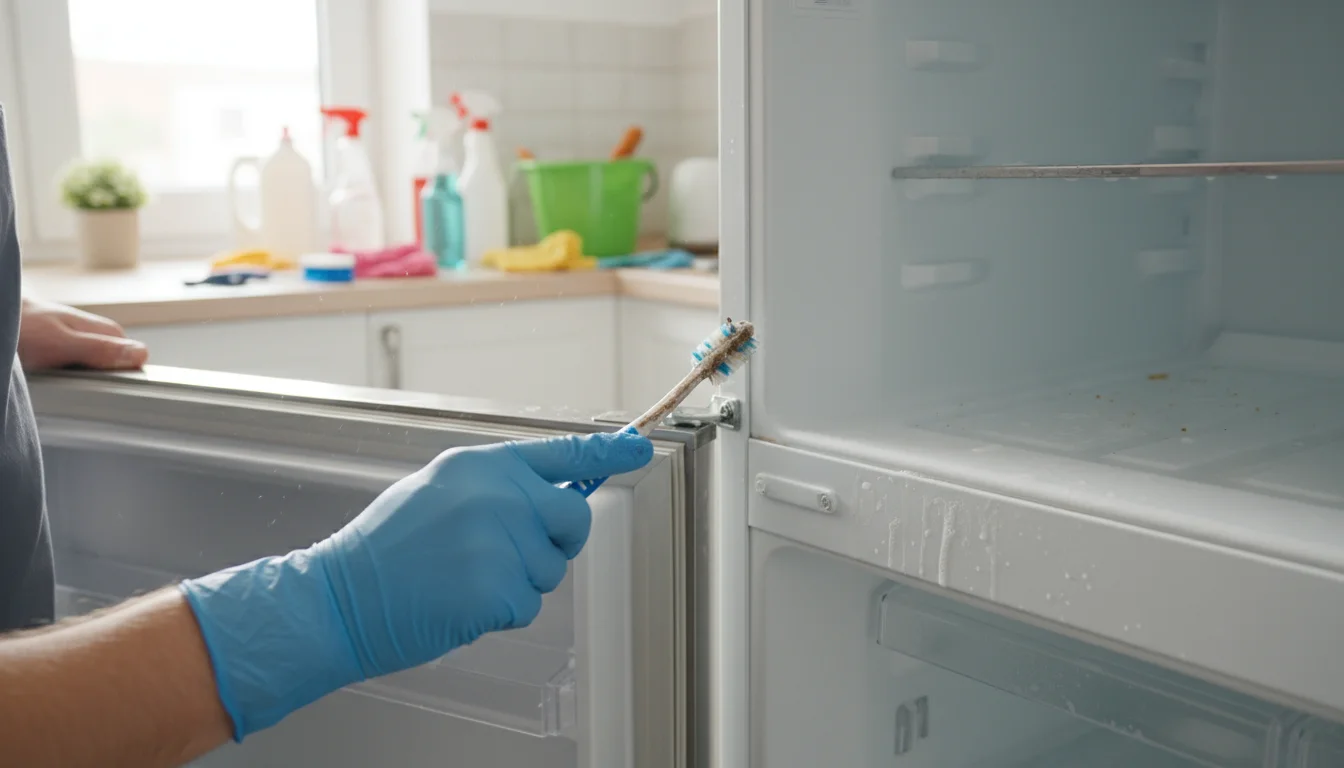
Refrigerator and Freezer
- Empty and Discard: Remove all contents. Toss expired food, questionable leftovers, and anything you no longer use. Wipe down jars and containers.
- Clean Interior: Remove shelves and drawers. Wash them in warm, soapy water. Spray the interior with a solution of warm water and a tablespoon of baking soda. This mixture neutralizes odors and gently cleans. Wipe thoroughly with a clean, damp cloth, then dry.
- Deep Clean Seals: Use an old toothbrush dipped in diluted all-purpose cleaner to scrub the rubber seals around the doors. Mold and food particles often hide here.
- Organize: Replace items, grouping similar foods together (e.g., dairy, produce, condiments). Consider clear bins to contain items and prevent spills.
- Exterior: Wipe down the exterior, including handles, paying attention to fingerprints and smudges.
Oven and Microwave
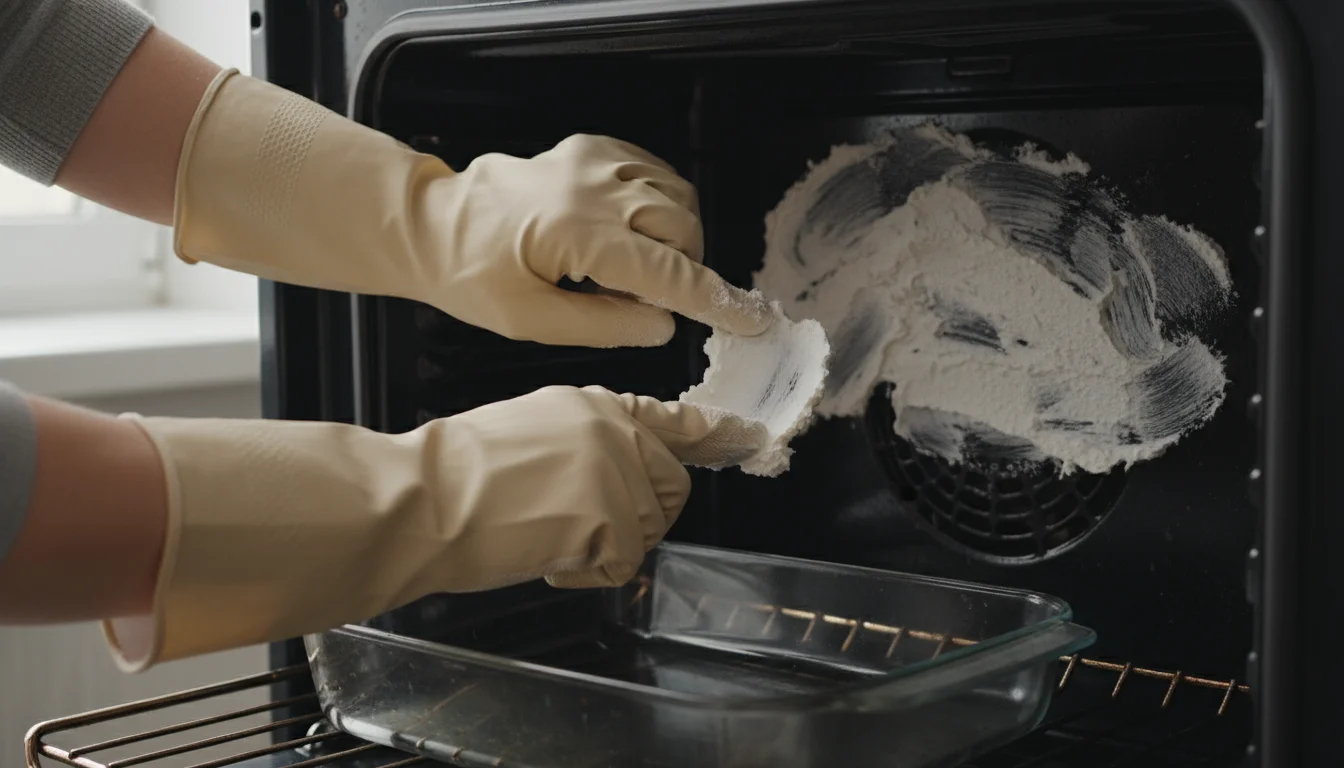
For your oven, avoid harsh self-cleaning fumes, which release toxic chemicals. Instead, use a non-toxic method:
- Baking Soda Paste: Mix 1/2 cup baking soda with a few tablespoons of water to form a thick paste. Spread it liberally over the interior surfaces, avoiding heating elements.
- Dwell Time: Let it sit overnight, or at least 12 hours. The baking soda acts as a gentle abrasive and breaks down baked-on grease.
- Scrub and Wipe: The next day, spray any dried paste spots with white vinegar (the fizz helps loosen it). Use a damp cloth and a plastic scraper to remove the softened grime. Repeat as needed.
- Microwave: Place a bowl of water with lemon slices or white vinegar inside. Heat until boiling and steam fills the microwave. Let it sit for 5-10 minutes, then easily wipe away splatters.
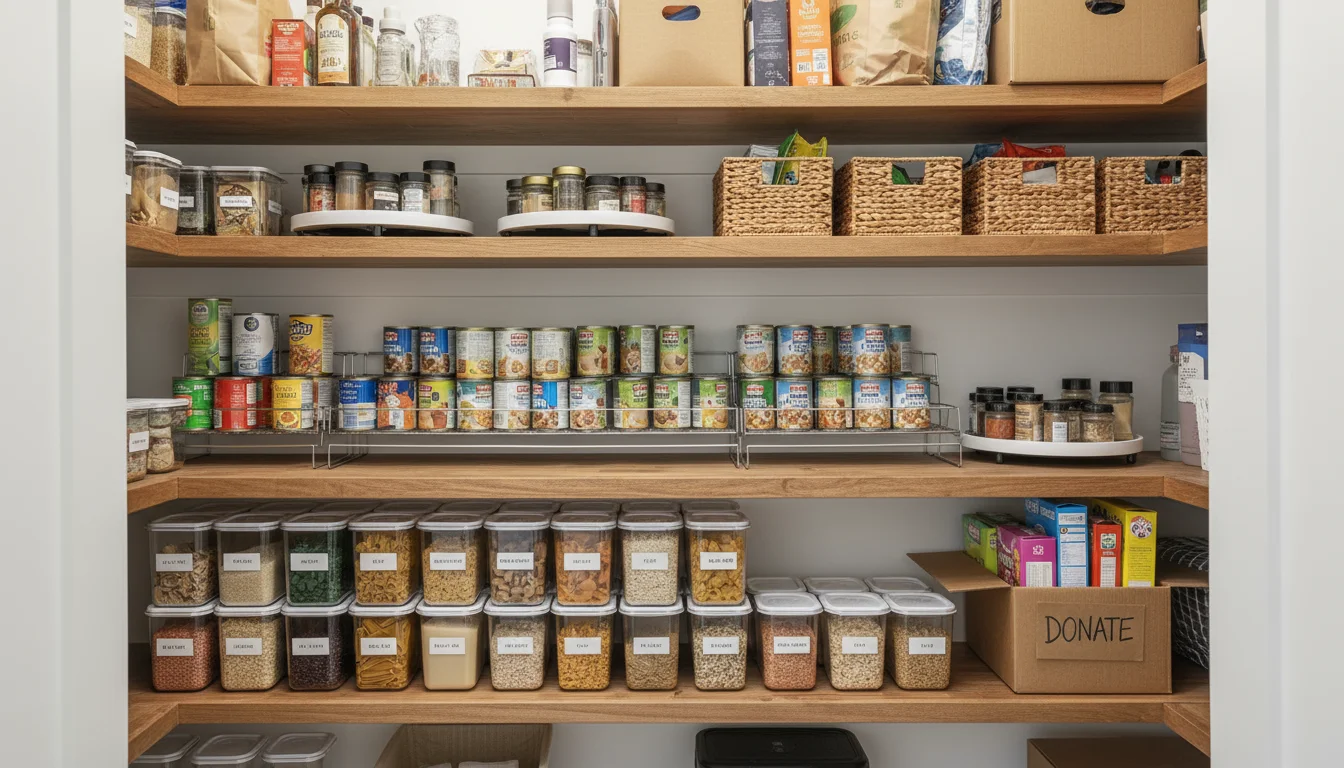
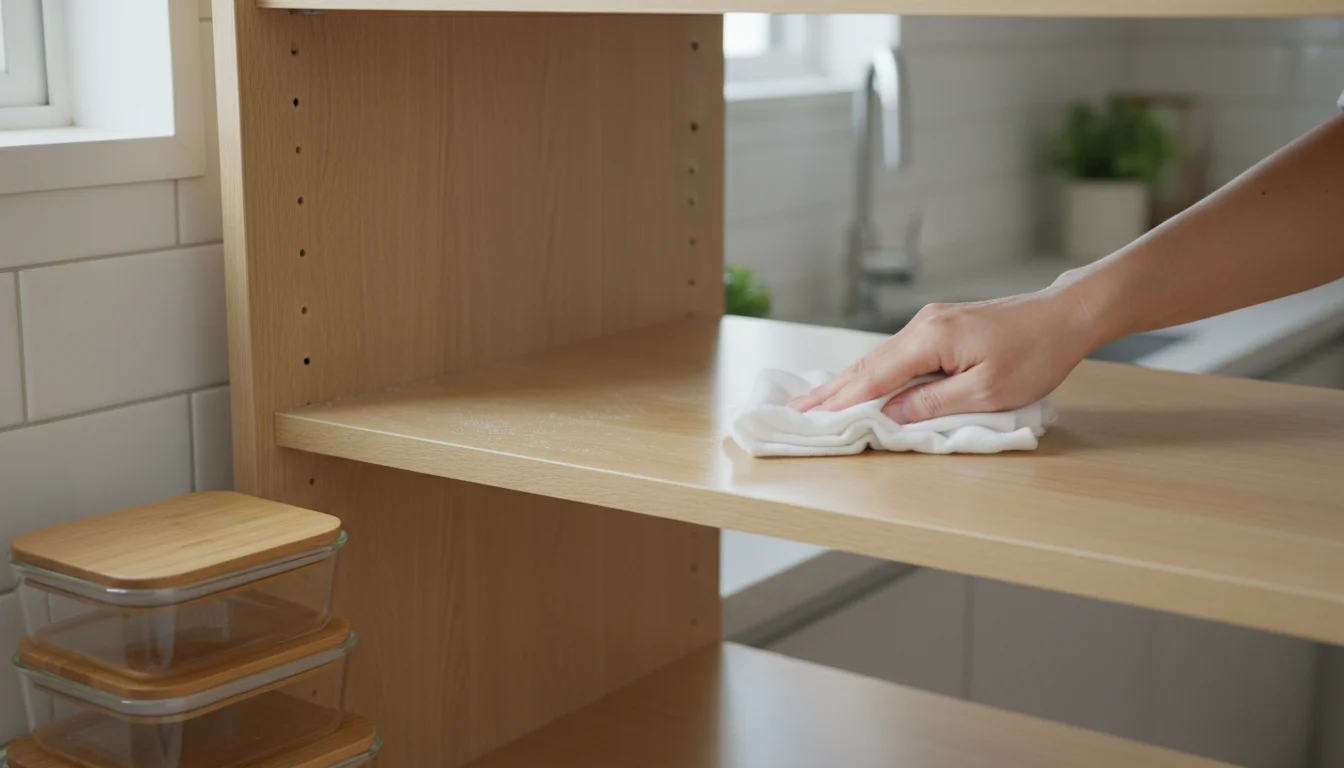
Pantry and Cabinets
- Empty and Assess: Take everything out. Check expiration dates and discard stale items. Donate unopened, unexpired food you will not use.
- Wipe Down: Wipe interior shelves and drawers with a damp cloth and all-purpose cleaner.
- Organize: Use risers for canned goods, clear containers for dry goods, and drawer dividers for utensils. Group similar items.
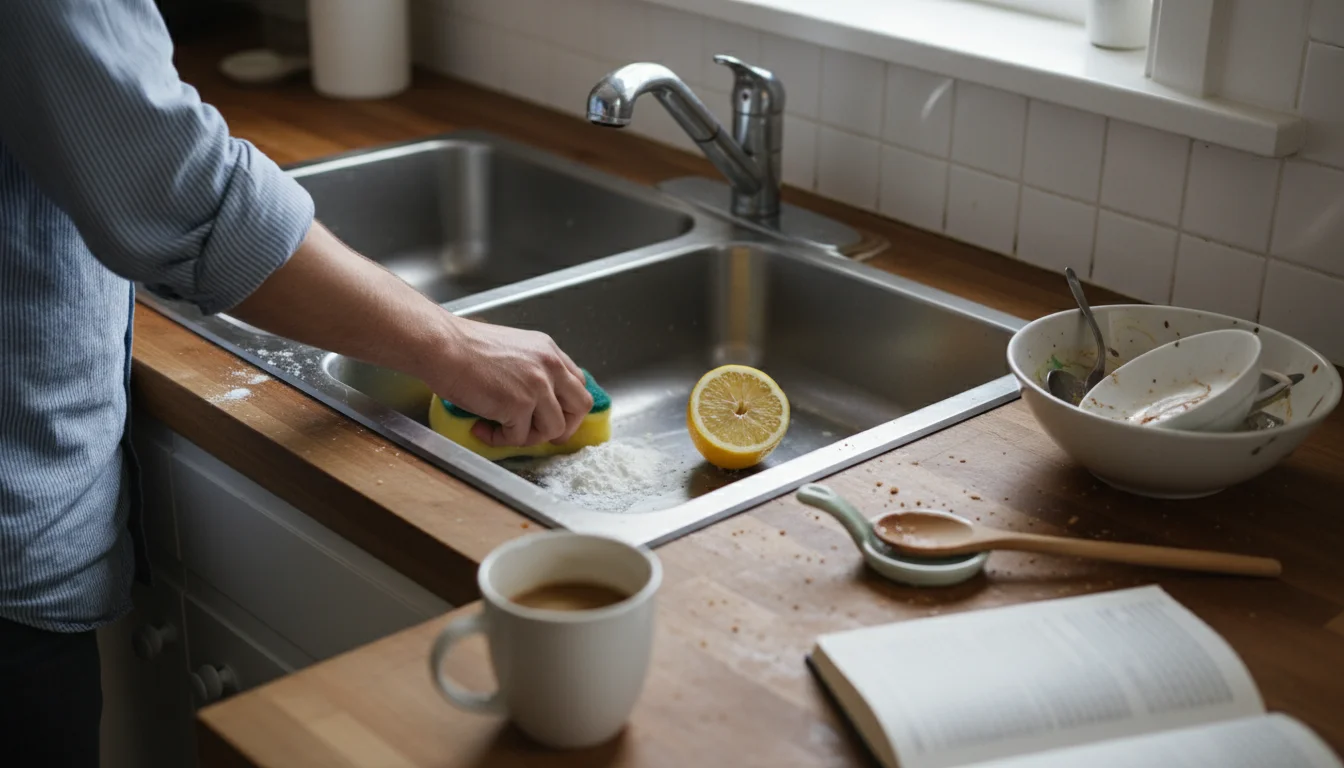
Dishwasher and Sink
- Dishwasher Deep Clean: Run an empty cycle with a cup of white vinegar placed in a top-rack, upright, dishwasher-safe bowl. This dissolves mineral deposits and deodorizes. Follow up by sprinkling baking soda on the bottom and running a short cycle.
- Sink Scour: For stainless steel sinks, sprinkle baking soda, then scrub with a sponge. Rinse, then follow with white vinegar for shine and to remove hard water spots. For porcelain, a paste of baking soda and hydrogen peroxide works wonders.
- Garbage Disposal: Grind citrus peels (lemons, oranges) with ice cubes and a splash of white vinegar to clean and deodorize.

Bathroom Blast: Eliminating Grime and Germs
Bathrooms are high-humidity zones, making them prone to mold, mildew, and soap scum. Our goal is to achieve a sparkling clean, hygienically safe space.
While scrubbing the shower, using natural methods to clean grout is a great way to remove stubborn stains without using harsh chemicals.
Once your spring refresh is complete, you can stay ahead of the curve by reviewing our summer home maintenance checklist for the months ahead.
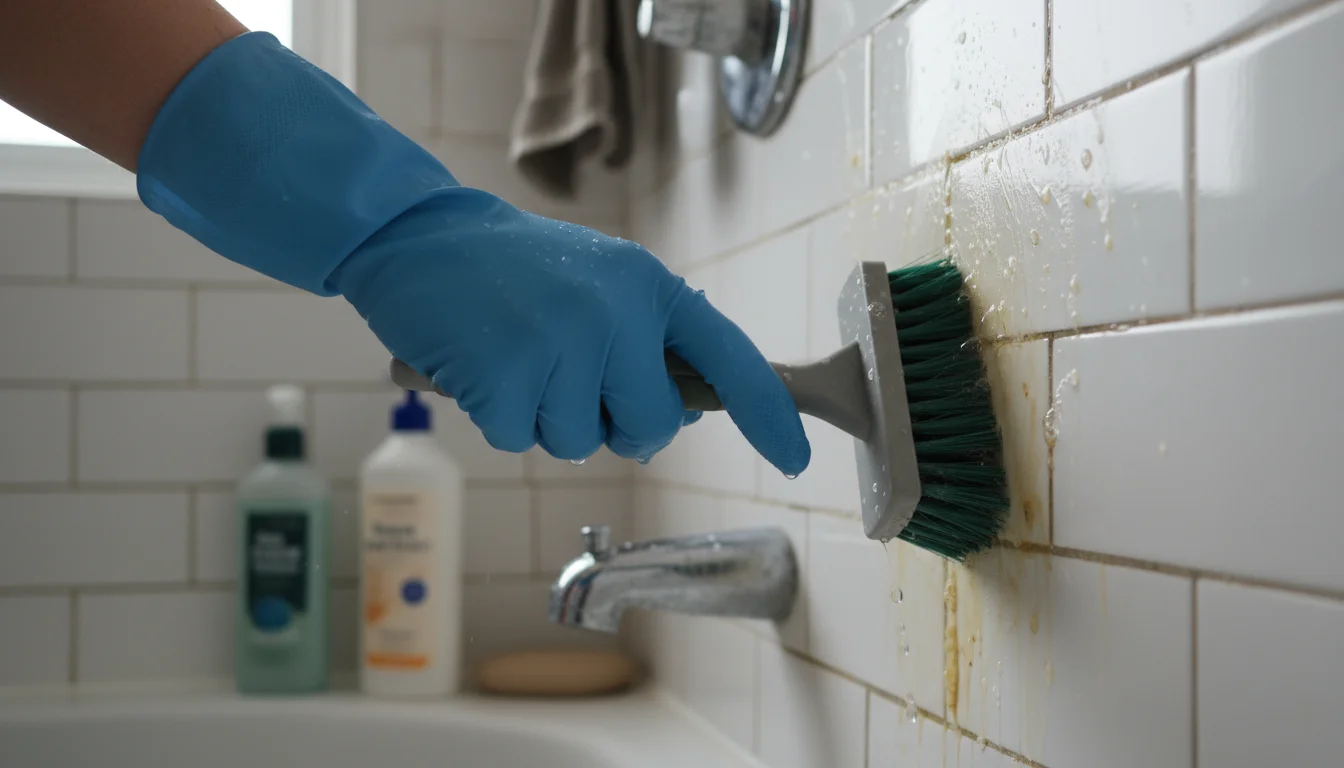
Showers and Tubs
- Pre-Treat: Spray surfaces with a mixture of equal parts white vinegar and dish soap. The vinegar tackles hard water and mildew, while the soap helps it cling and break down grease.
- Dwell Time: Let the solution sit for 15-30 minutes.
- Scrub: Use a stiff brush or non-abrasive scrubber. For stubborn grout, a baking soda paste applied with an old toothbrush works wonders.
- Rinse: Rinse thoroughly with warm water.
- Shower Curtain: Wash fabric curtains according to label instructions. For plastic liners, spray with vinegar solution and wipe down, or replace if heavily mildewed.
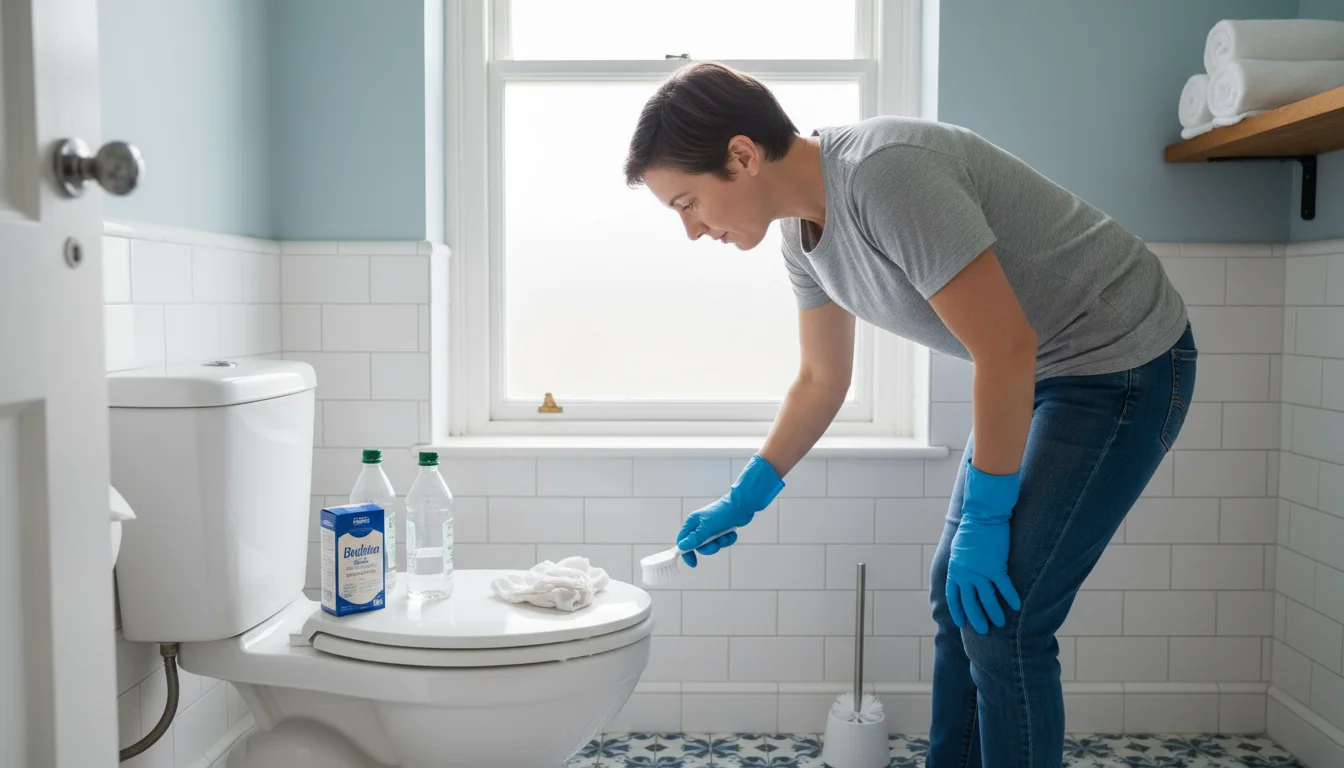
Toilets
Clean your toilet effectively with minimal harshness.
- Bowl: Pour a cup of white vinegar into the bowl and let it sit for 30 minutes to an hour before scrubbing with a toilet brush. For tough stains, sprinkle in a 1/2 cup of baking soda after the vinegar, let it fizz, then scrub.
- Exterior: Wipe down the outside, handle, and seat with an all-purpose cleaner or disinfecting wipes. Pay close attention to the base where dust and drips accumulate.
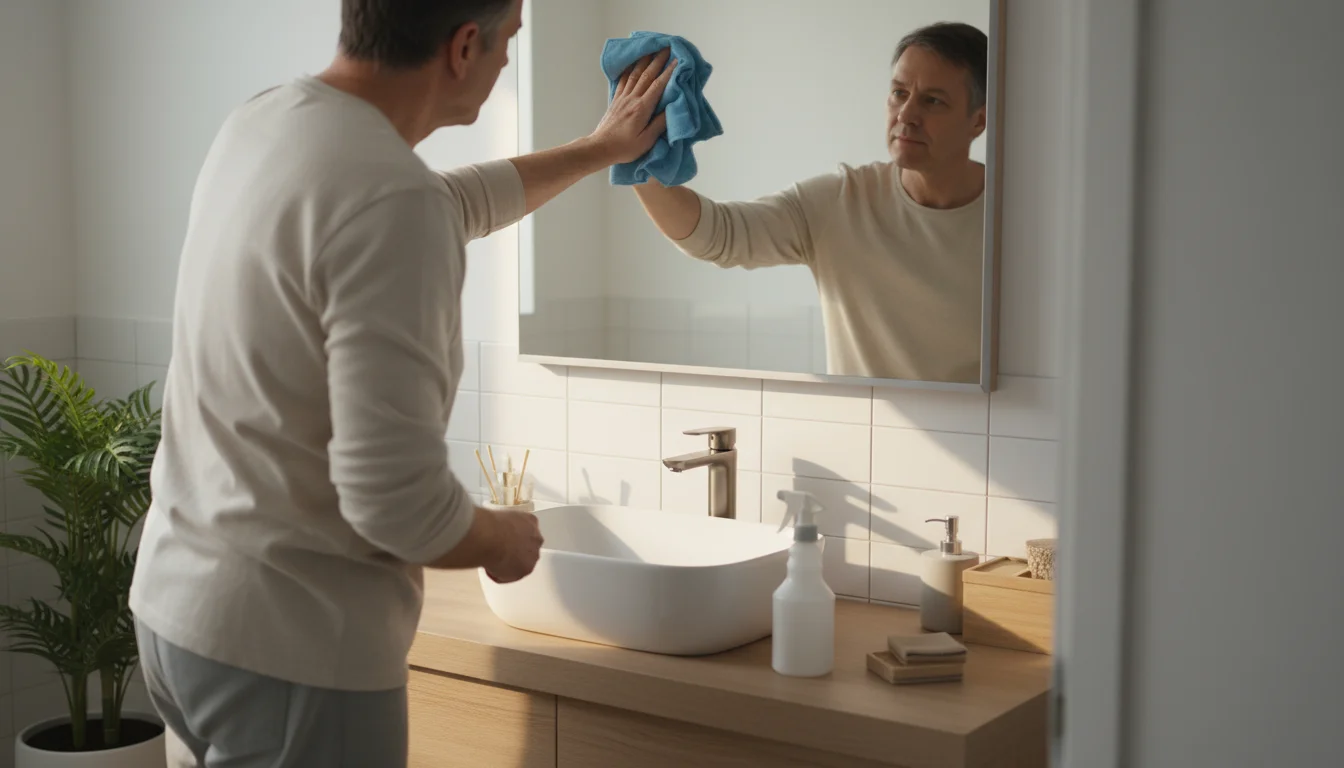
Vanity and Mirror
- Mirror: Use a mixture of equal parts water and white vinegar, with a few drops of rubbing alcohol, sprayed onto a microfiber cloth. Wipe in an “S” pattern for a streak-free shine.
- Countertop/Sink: Clean with an all-purpose cleaner. For tough stains, baking soda paste can be effective.
- Fixtures: Polish chrome fixtures with a microfiber cloth and a dab of olive oil for shine, or use diluted vinegar to remove water spots.
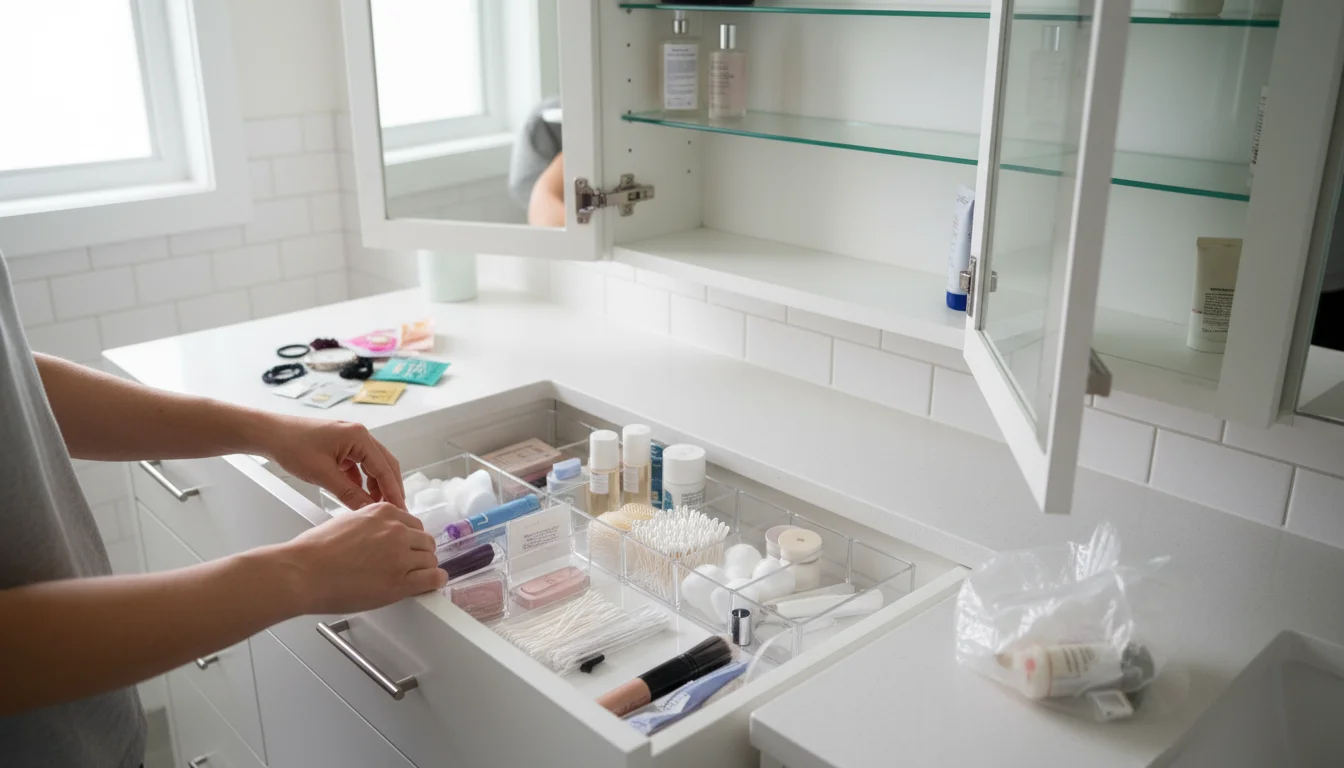
Medicine Cabinet and Drawers
Empty these spaces completely. Discard expired medications properly (check local guidelines, avoid flushing). Wipe down shelves. Organize items into categories: first aid, daily use, occasional use. Consider small bins or drawer dividers to keep things tidy. This creates designated zones for your bathroom essentials.

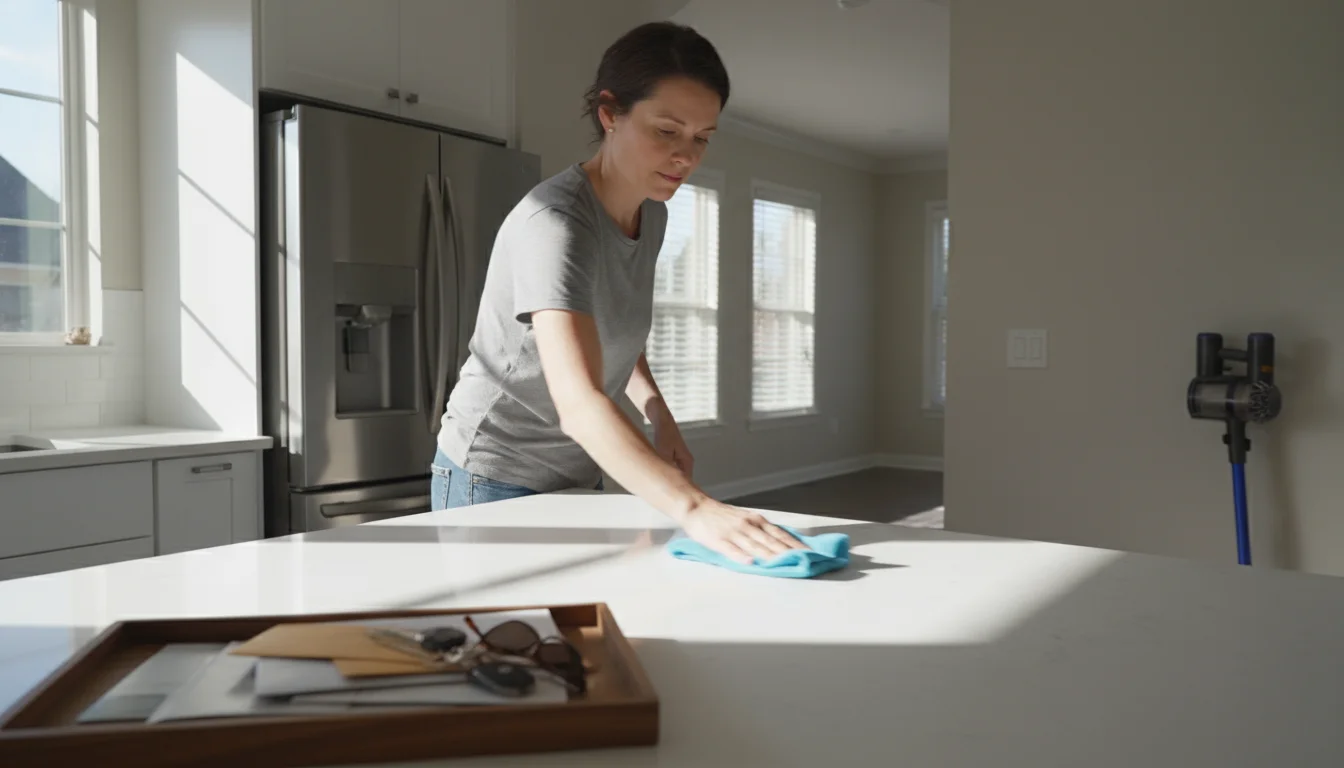
Living Spaces Refresh: For Comfort and Flow
Your living areas are where you relax and entertain. A spring refresh here means maximizing comfort, optimizing flow, and ensuring every surface contributes to a sense of calm.
To truly extend your living space outdoors for the warmer months, remember to follow a deck and patio maintenance schedule.
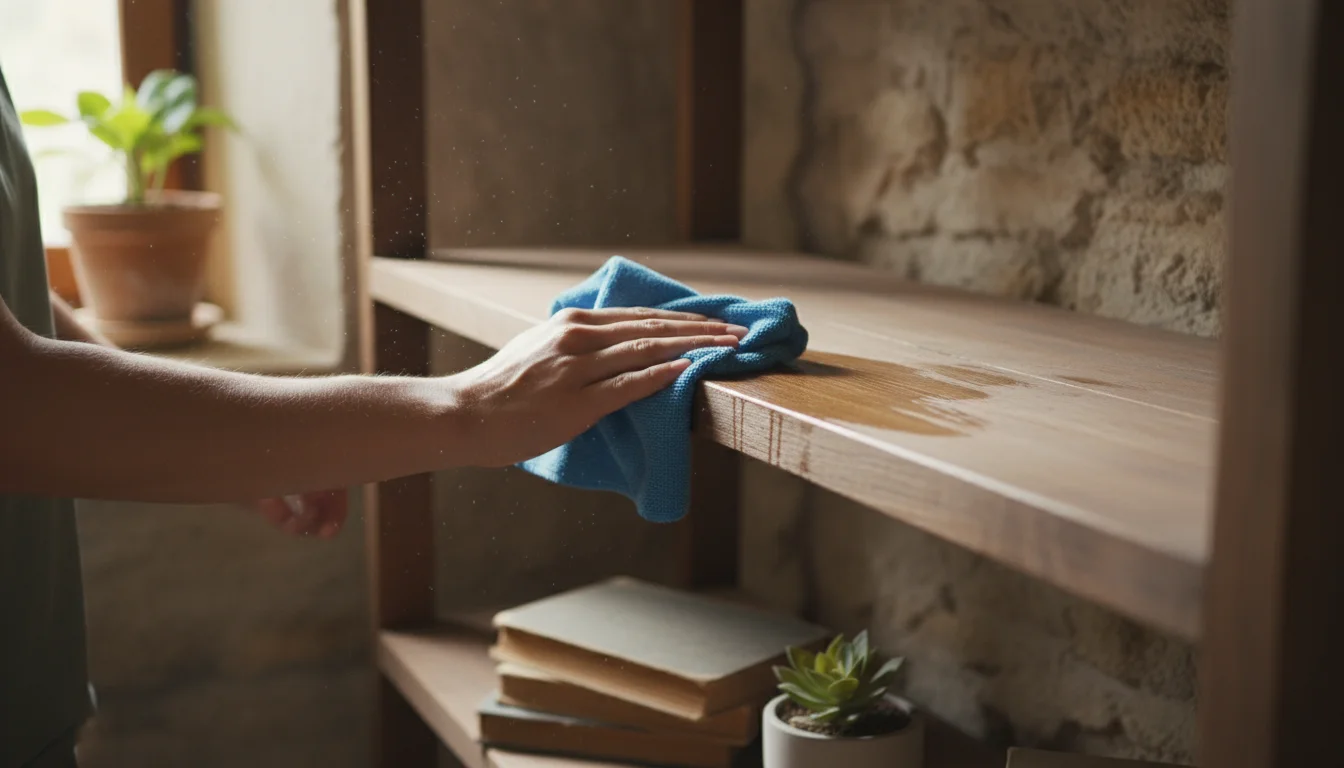
Dusting & Wiping Surfaces
This goes beyond a quick wipe. Use a damp microfiber cloth for dusting. The dampness helps trap dust particles, preventing them from scattering into the air. Start high (ceiling fans, light fixtures) and work your way down. Wipe:
- Shelves and bookcases (empty them first for a thorough clean)
- Window sills and ledges
- Baseboards and doorframes
- Electronics (TV screens, monitors) with specialized cloths or very lightly damp cloths.
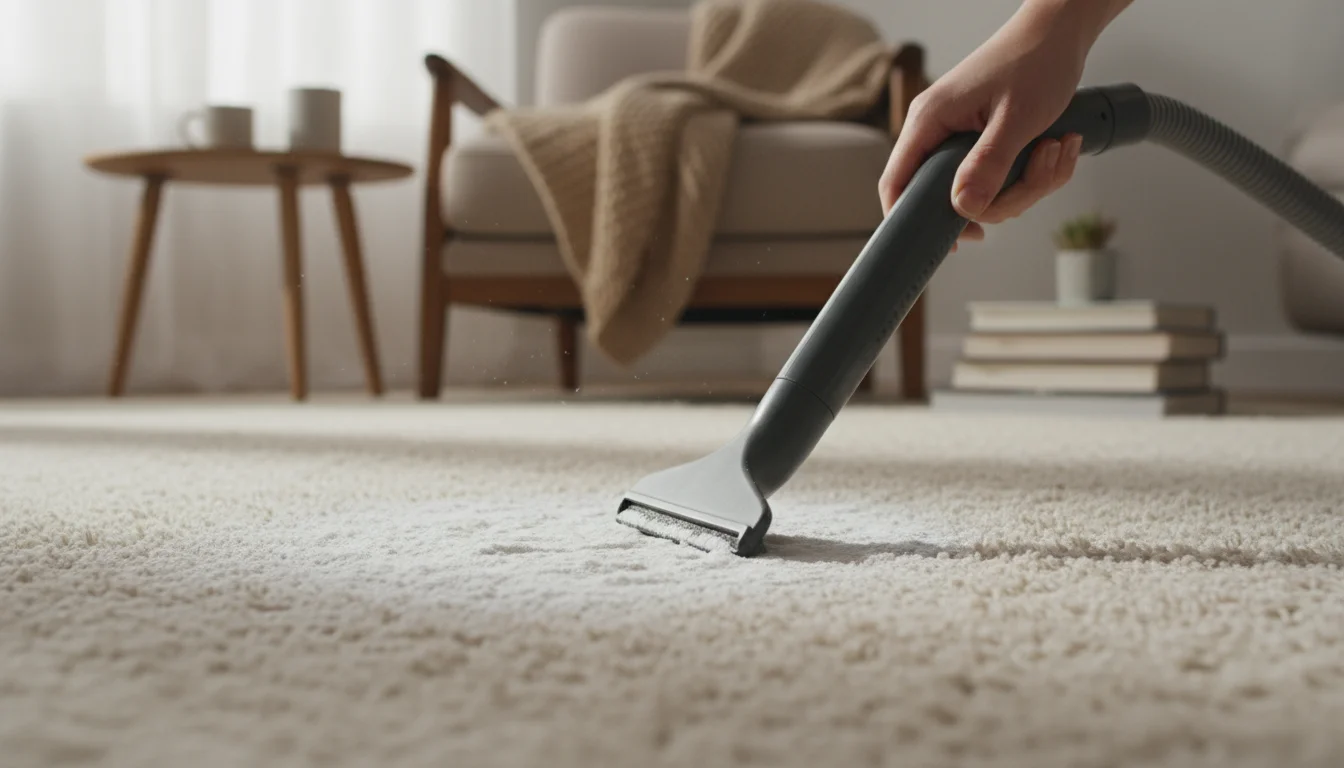
Upholstery and Carpets
- Vacuum: Use your vacuum’s upholstery attachment to thoroughly clean sofas, chairs, and rugs. Pay attention to crevices where crumbs and dust accumulate.
- Spot Clean: For stains, blot with a clean cloth and a gentle upholstery cleaner. Test in an inconspicuous area first. For carpets, a baking soda sprinkle can absorb odors before vacuuming.
- Rotate Furniture: Move furniture slightly to vacuum underneath and prevent uneven wear on carpets.
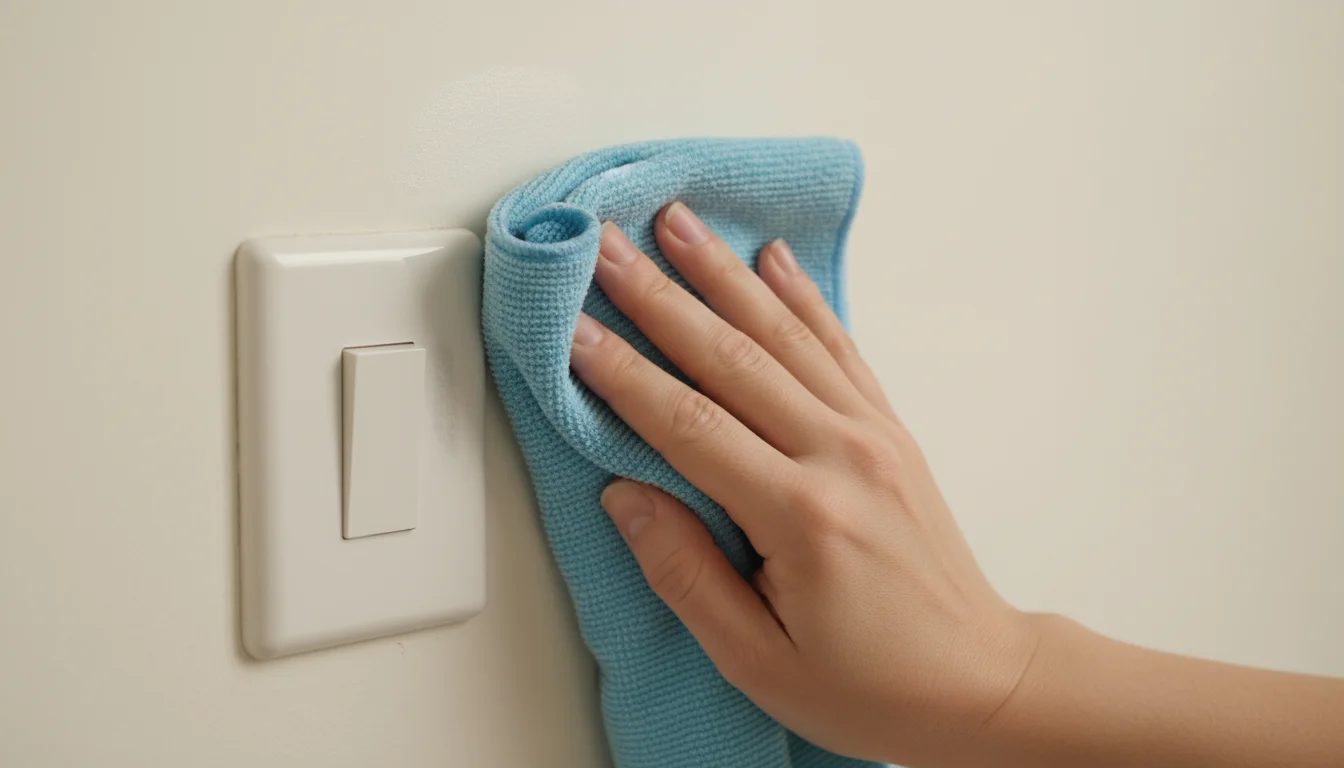
Walls and Doors
Walls accumulate dust, fingerprints, and scuffs. Lightly dampen a microfiber cloth with warm water and a tiny amount of mild soap. Gently wipe walls, working from top to bottom. Pay attention to high-traffic areas around light switches and doorknobs. For scuffs, a “magic eraser” type sponge can be effective, but test it first on an unseen area.

Bedroom Sanctuary: Decluttering for Rest
Your bedroom should be a haven for rest and rejuvenation. Spring cleaning here means creating a calm, clutter-free environment conducive to sleep and relaxation.
Focusing on your sleep environment is key, and you can easily declutter your bedroom in one weekend with a focused room-by-room strategy.
Once you have cleared out the dust and clutter, incorporate some cozy bedroom ideas to make your space even more inviting.
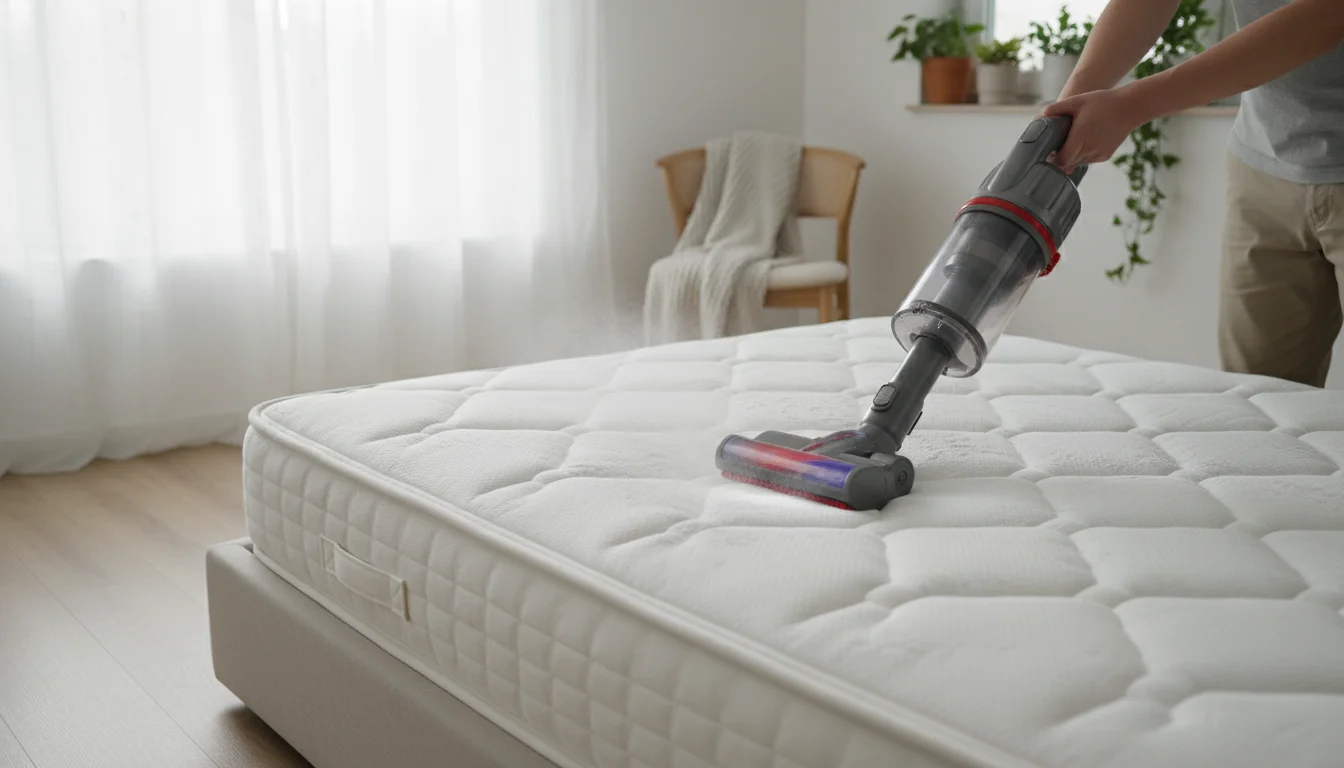
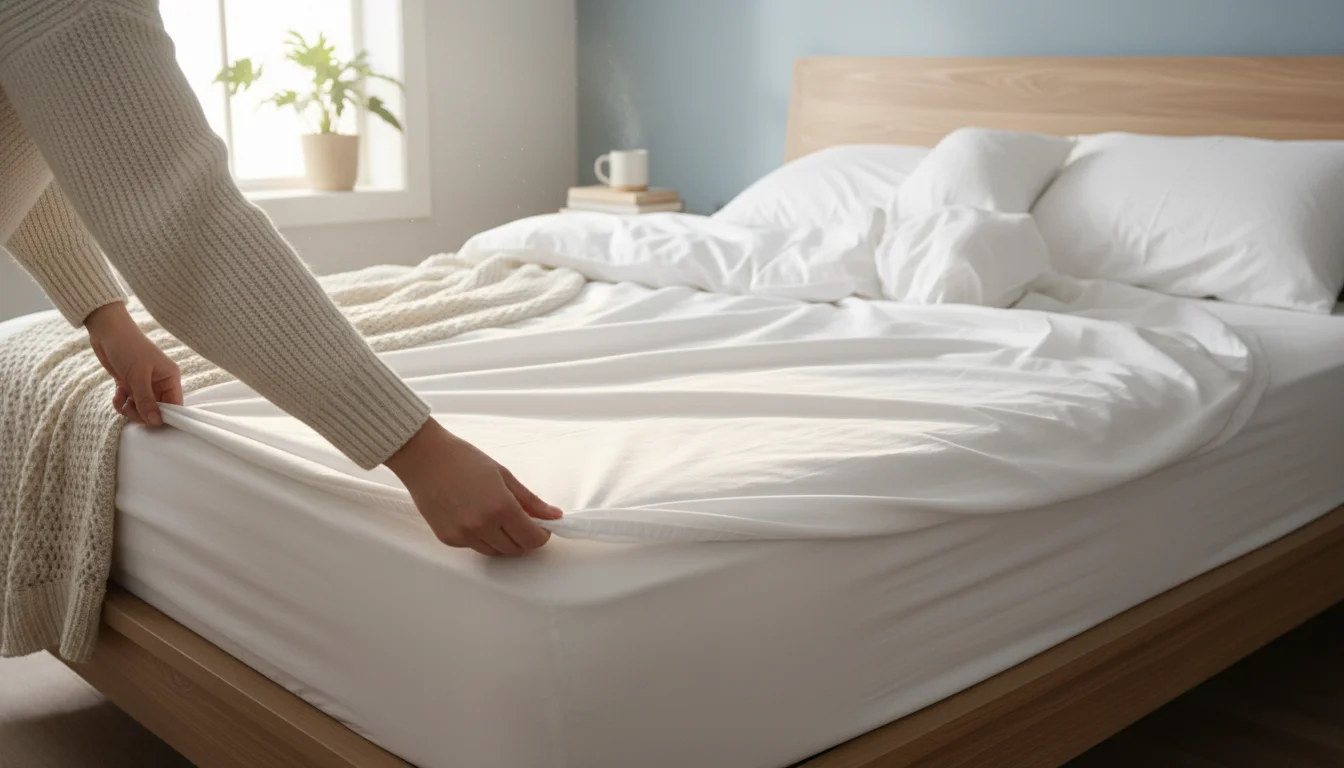
Bedding and Mattress
- Wash All Bedding: Strip sheets, duvet covers, pillowcases, and even mattress pads. Wash them according to their care instructions, preferably in hot water to eliminate dust mites and allergens.
- Mattress Care: Vacuum your mattress using the upholstery attachment. Spot clean any stains with a gentle fabric cleaner. Sprinkle baking soda over the entire mattress, let it sit for at least an hour (or longer to absorb deep odors), then vacuum thoroughly. Flip or rotate your mattress according to the manufacturer’s recommendations.

Closet and Dresser Declutter
This is a prime area for hidden clutter. Take everything out of your closet and dresser drawers. Sort items into “keep,” “donate/sell,” and “discard.”
- Seasonal Swap: Store winter clothing and pull out spring/summer wear. Use vacuum-sealed bags or clear bins for off-season items to save space and protect them from dust.
- Categorize: Group similar items together (e.g., all shirts, all pants).
- Utilize Vertical Space: Add shelves, hanging organizers, or drawer dividers to maximize storage in your zones. This makes finding clothes easier and reduces visual clutter.
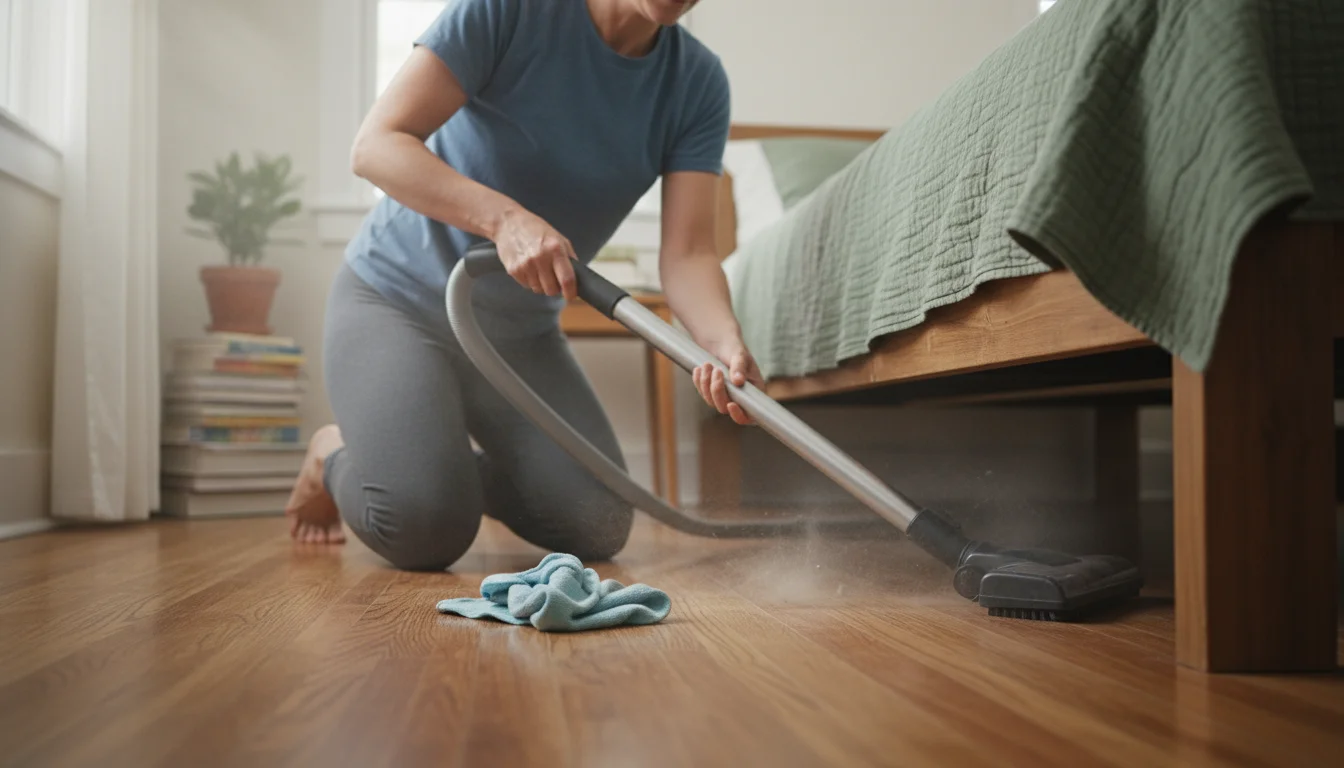
Surfaces and Floors
Dust all surfaces, including nightstands, dressers, and headboards, using a damp microfiber cloth. Clean mirrors and windows. Vacuum carpets or mop hard floors, paying attention to under the bed where dust bunnies frequently gather.

Special Tasks: Windows, Air Quality, and Appliance Care
Beyond the room-by-room deep clean, certain spring home maintenance tasks are crucial for comfort and efficiency. A proper window washing guide ensures clarity, while attention to indoor air quality supports your family’s health.
For crystal clear results, following a professional window cleaning method will maximize the natural light entering your home.
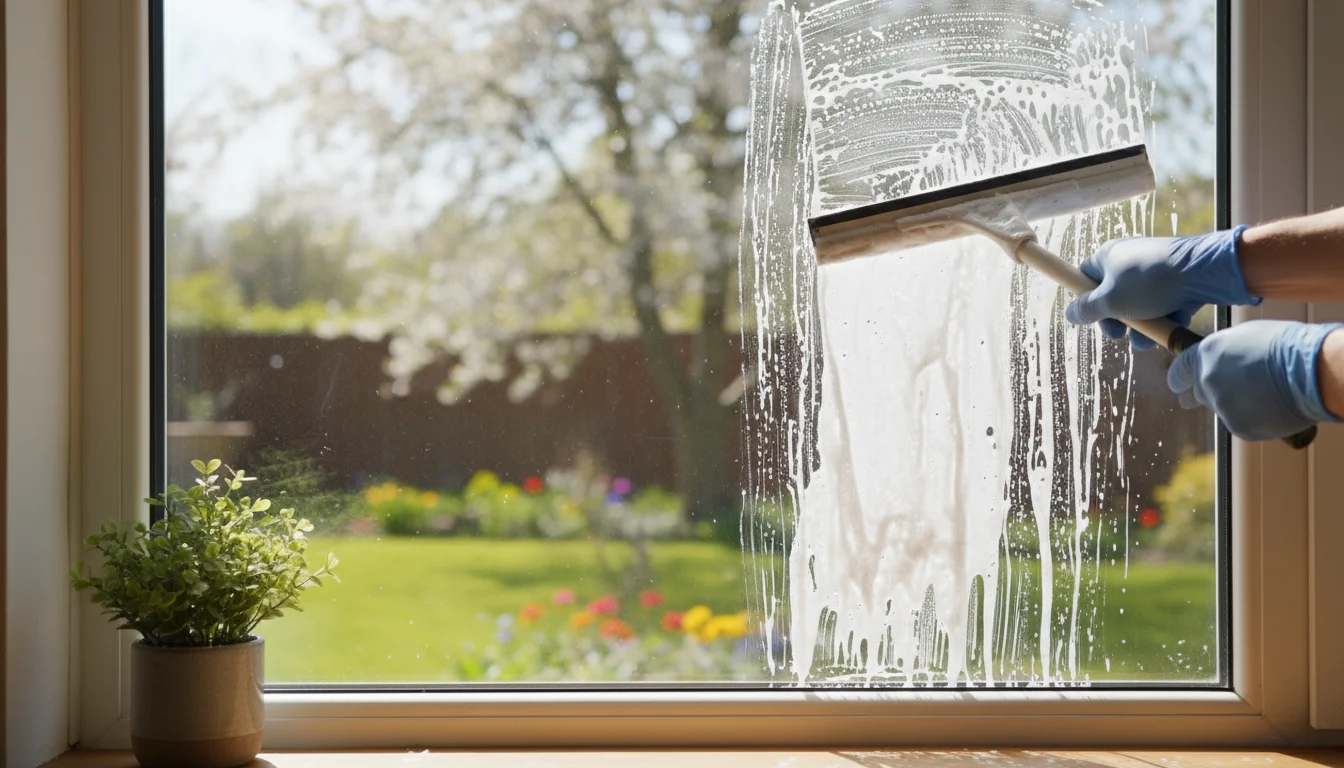
Window Washing Guide
Clear windows enhance natural light and boost your mood. Here is how to achieve streak-free panes:
- Gather Supplies: Two microfiber cloths (one for washing, one for drying), a bucket of warm water, a few drops of dish soap, and a squeegee (optional, but highly effective). For external windows, a hose is useful.
- Pre-Clean Frames and Sills: Wipe down window frames and sills with a damp cloth to remove loose dirt and cobwebs.
- Wash Windows:
- Method 1 (Squeegee): Mix warm water and a tiny drop of dish soap in a bucket. Dip a clean microfiber cloth or a window scrubber into the solution and wet the entire windowpane. Start at the top corner with your squeegee, pull it in a straight line across, then wipe the blade clean with a cloth. Overlap each stroke slightly. Finish by wiping the edges with a dry cloth.
- Method 2 (Microfiber Cloths): Spray your windows with a solution of equal parts water and white vinegar, with a few drops of rubbing alcohol (for quicker drying). Wipe with one clean, damp microfiber cloth, then immediately polish dry with a second, dry microfiber cloth.
- Clean Screens: Remove screens and gently brush them to remove loose dust. Hose them down or wipe with soapy water and a soft brush, then rinse and let them air dry completely before reinstalling.

Enhancing Indoor Air Quality (IAQ)
Winter often means closed windows, trapping allergens, dust, and pollutants. Spring is the perfect time to address indoor air quality. The EPA offers comprehensive guides on improving IAQ, emphasizing ventilation and source control.
- Clean Air Filters: Replace or clean filters in your HVAC system. A dirty filter reduces efficiency and recirculates dust and allergens. Check it monthly and replace as needed, typically every 1-3 months.
- Ventilate: Open windows and doors on mild days to allow fresh air to circulate, flushing out stale air and reducing indoor pollutants.
- Check Smoke and Carbon Monoxide Detectors: Test them and replace batteries annually.
- Clean Vents and Ducts: Vacuum air return and supply vents. Consider professional duct cleaning if you notice significant dust buildup, strange odors, or if someone in your home has severe allergies.
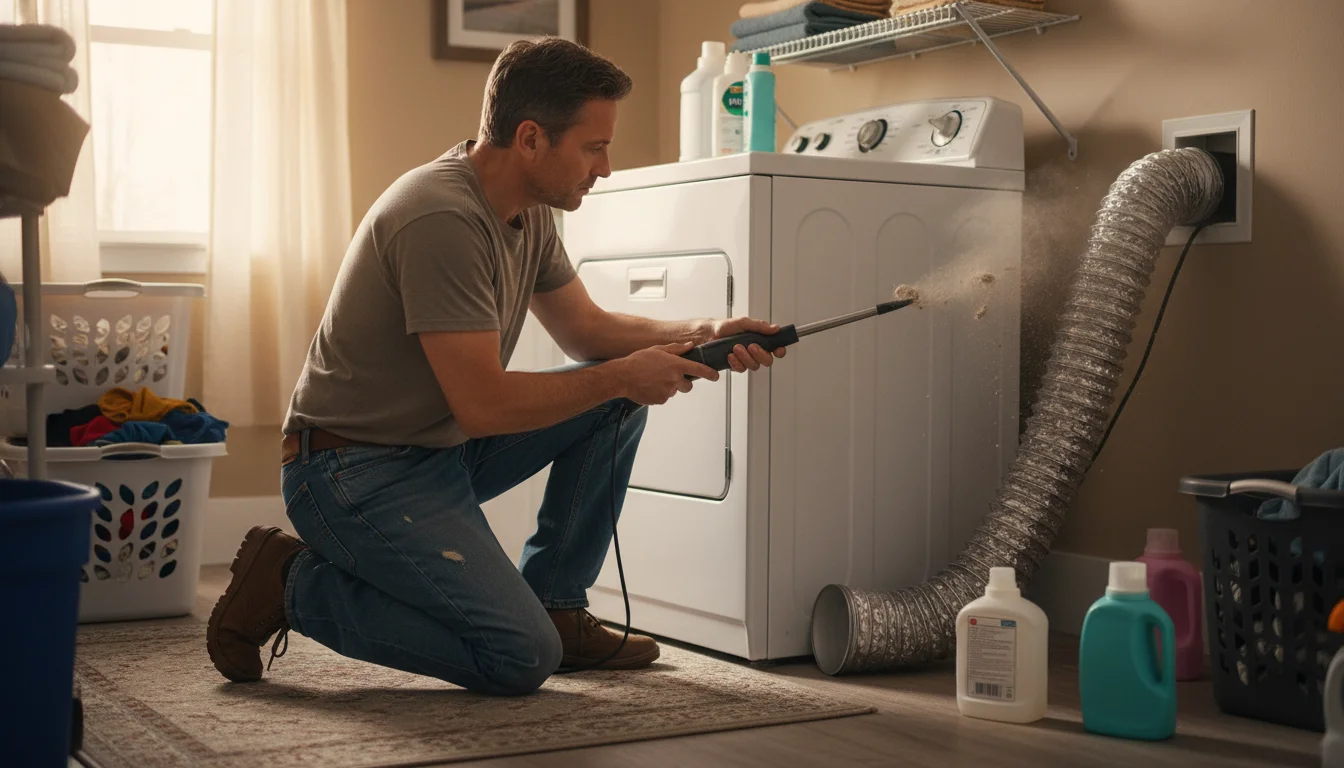
Appliance Care
Extend the life and efficiency of your major appliances with these simple steps:
- Washing Machine: Run an empty cycle on the hottest setting with two cups of white vinegar poured into the detergent dispenser. This helps remove soap scum and mildew. For front-loaders, wipe the rubber gasket around the door with a vinegar solution to prevent mold. Leave the door ajar after cycles to allow it to dry.
- Dryer: Clean the lint trap after every load. At least once a year, disconnect the dryer vent hose and vacuum out any accumulated lint. This prevents fire hazards and improves drying efficiency.
- Dishwasher: (Covered in Kitchen Reset, but important to reiterate).

Maintaining the Fresh: A Sustainable Seasonal Cleaning Schedule
The biggest challenge after a thorough spring clean is maintaining that refreshed feeling. The secret lies in establishing a sustainable routine, transforming your extensive deep cleaning routine into manageable, consistent habits. This prevents overwhelming future clean-ups and ensures your home remains a comfortable, orderly space year-round.
The best way to keep this feeling of renewal is to adopt a weekly house cleaning schedule that fits into your busy lifestyle.
Weekly Power Hour
Dedicate one hour each week to a quick tidy-up:
- Vacuum high-traffic areas.
- Wipe down kitchen and bathroom counters.
- Clean toilets and showers lightly.
- Do a quick declutter and put away stray items in their designated zones.
Monthly Maintenance Tasks
These tasks keep major areas in check:
- Dust all surfaces thoroughly.
- Clean mirrors and interior windows.
- Mop all hard floors.
- Change bed linens.
- Wipe down kitchen cabinet fronts.
- Deep clean one bathroom (or rotate bathrooms if you have multiple).

Quarterly Deep Dives
Rotate these deeper tasks throughout the year, so you are not tackling everything at once:
- Spring: Full room-by-room guide as outlined in this article.
- Summer: Focus on outdoor spaces, garage, and addressing mold/mildew prevention.
- Autumn: Prepare for cooler weather—clean gutters, check weather stripping, deep clean carpets before holiday season.
- Winter: Focus on organizing storage areas (basement, attic) and appliance maintenance.
By integrating a seasonal cleaning schedule, you ensure that no area of your home goes neglected for too long. This proactive approach saves time and effort in the long run, turning “spring cleaning” from a singular, daunting event into a series of achievable, habit-forming practices that support your everyday comfort and well-being.

Frequently Asked Questions
What is the most effective way to remove hard water stains without harsh chemicals?
The most effective non-toxic method for removing hard water stains involves using an acid, specifically white vinegar. Hard water stains are primarily mineral deposits, such as calcium and magnesium, which are alkaline. Vinegar’s acetic acid reacts with these minerals, dissolving them. For best results, spray undiluted white vinegar directly onto the stained surface (e.g., shower doors, faucets), allow it to sit for 15-30 minutes to give the acid time to work, then scrub with a non-abrasive sponge or brush and rinse thoroughly. For very stubborn stains, you can soak a cloth in vinegar and drape it over the area for several hours.
How often should I deep clean my entire home?
You should aim for a comprehensive deep cleaning of your entire home at least once or twice a year, typically in spring and fall. These seasonal deep cleans allow you to tackle tasks that are often overlooked during routine weekly or monthly cleaning, such as cleaning behind appliances, washing curtains, or organizing closets. However, for high-traffic areas like kitchens and bathrooms, a “deep clean” might be incorporated into your monthly maintenance routine, focusing on specific tasks within those rooms.
What is the best way to clean and disinfect kitchen sponges?
Kitchen sponges can harbor a significant amount of bacteria, including E. coli and Salmonella. Contrary to some myths, simply rinsing them is not enough. To clean and disinfect sponges, research indicates that microwaving a damp sponge for one to two minutes on high power effectively kills most bacteria. Another method is to run them through your dishwasher on the sanitize cycle. For a simple daily refresh, you can soak sponges in a solution of 1 part bleach to 9 parts water for five minutes, then rinse thoroughly. Replace sponges frequently, ideally every one to two weeks, depending on usage.
Can I use essential oils to make my cleaning products more effective?
While essential oils add a pleasant scent and some, like tea tree oil or lemon oil, have mild antimicrobial properties, they do not significantly enhance the cleaning or disinfecting power of your solutions. Their primary role in DIY cleaning is to mask odors and provide an aromatic experience. To truly clean and disinfect, rely on the proven chemistry of surfactants, acids, and bases, or EPA-approved disinfectants. If you use essential oils, ensure proper dilution and avoid them around pets or individuals with sensitivities.


Leave a Reply