Giving your kitchen a fresh, updated look often feels like an expensive dream, especially when you consider major renovations. But what if you could achieve a significant transformation for under $100? This guide delivers practical and actionable insights for creating a stunning DIY backsplash that protects your walls and elevates your kitchen’s style without breaking the bank. You do not need professional experience or a huge budget to achieve a beautiful space.

Why a DIY Backsplash Is Your Next Project
A kitchen backsplash serves both functional and aesthetic purposes. It protects your walls from splashes, spills, and grease, making cleanup much easier. Beyond protection, a backsplash introduces color, texture, and personality to your kitchen, acting as a focal point. You can transform a dull, outdated kitchen into a vibrant, inviting space with a DIY backsplash project.
Many homeowners, renters, and apartment dwellers desire an updated look but face constraints such as limited time, a tight budget, or rental agreements that prohibit permanent alterations. This is where budget-friendly DIY options shine. You can achieve a custom look without the expense and commitment of traditional tile installations. The satisfaction of completing a project with your own hands adds immense value to your home and confidence in your skills.
Understanding Your Backsplash Goals and Budget
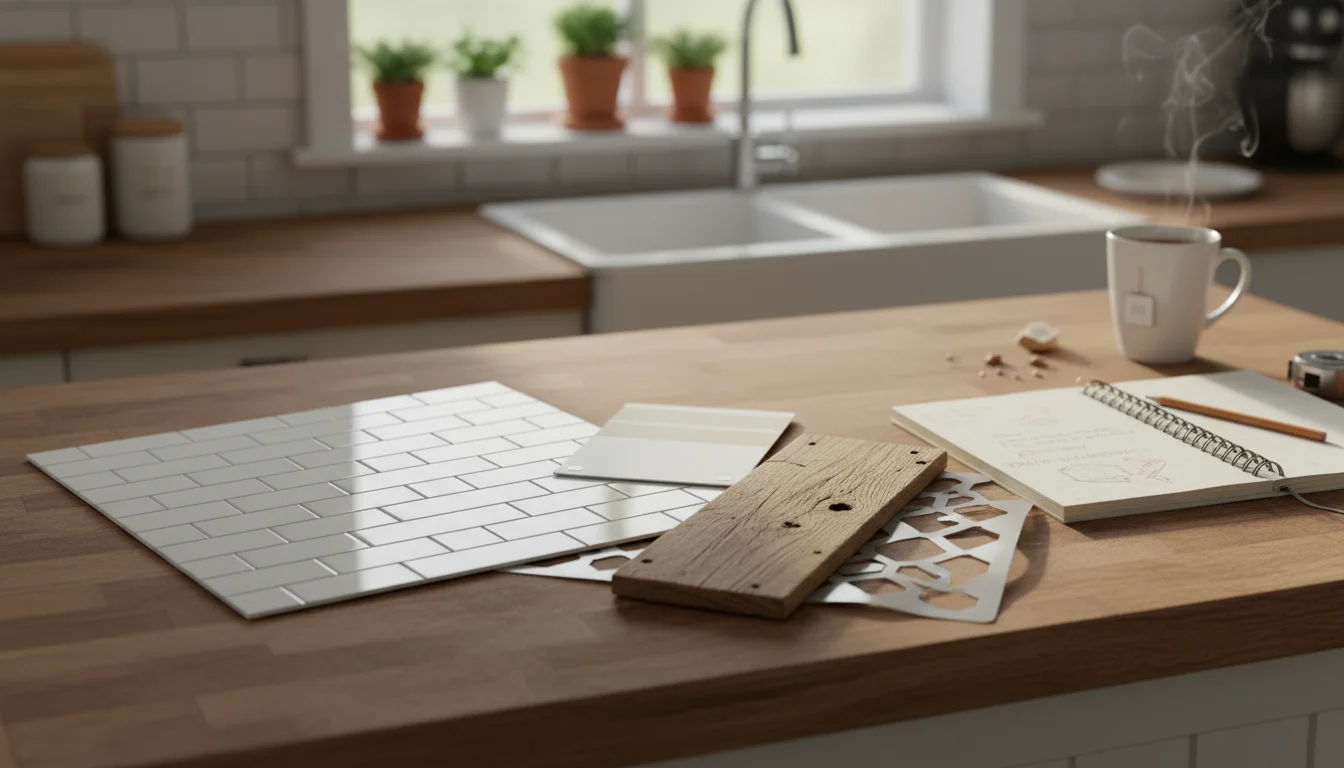
Before you pick up any materials, clearly define your vision and assess your budget. Your goal is to find a solution that matches your style, fits your living situation, and stays firmly under the $100 mark. Consider the overall aesthetic of your kitchen. Do you want a modern, rustic, industrial, or classic look? The materials you choose directly impact the final style.
You have many options for affordable materials, including peel-and-stick tiles, paint, stencils, and even reclaimed wood or beadboard. Each material has different costs associated with it, from the purchase of the material itself to the necessary tools and any sealants or adhesives. Researching these costs helps you stay within your budget. For instance, according to Family Handyman, thorough planning prevents costly mistakes in any home improvement project.
Renters, pay special attention to reversibility. Your lease likely requires you to return the property to its original condition. Many DIY backsplash options cater specifically to renters, allowing for easy removal without damaging walls. This guide prioritizes those renter-friendly, budget kitchen solutions.
Key Considerations Before You Start
Proper preparation is crucial for a successful DIY backsplash. Skipping these steps often leads to frustrating results or a project that does not last.
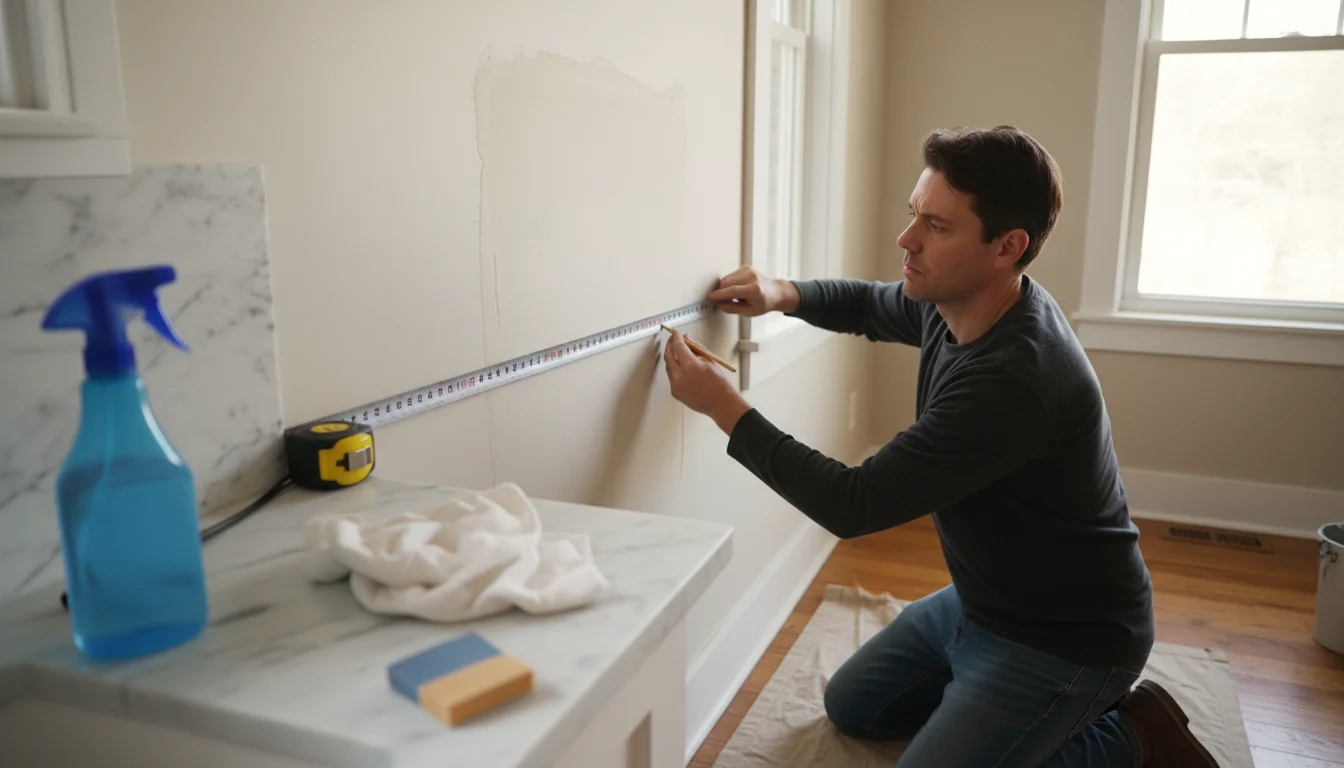
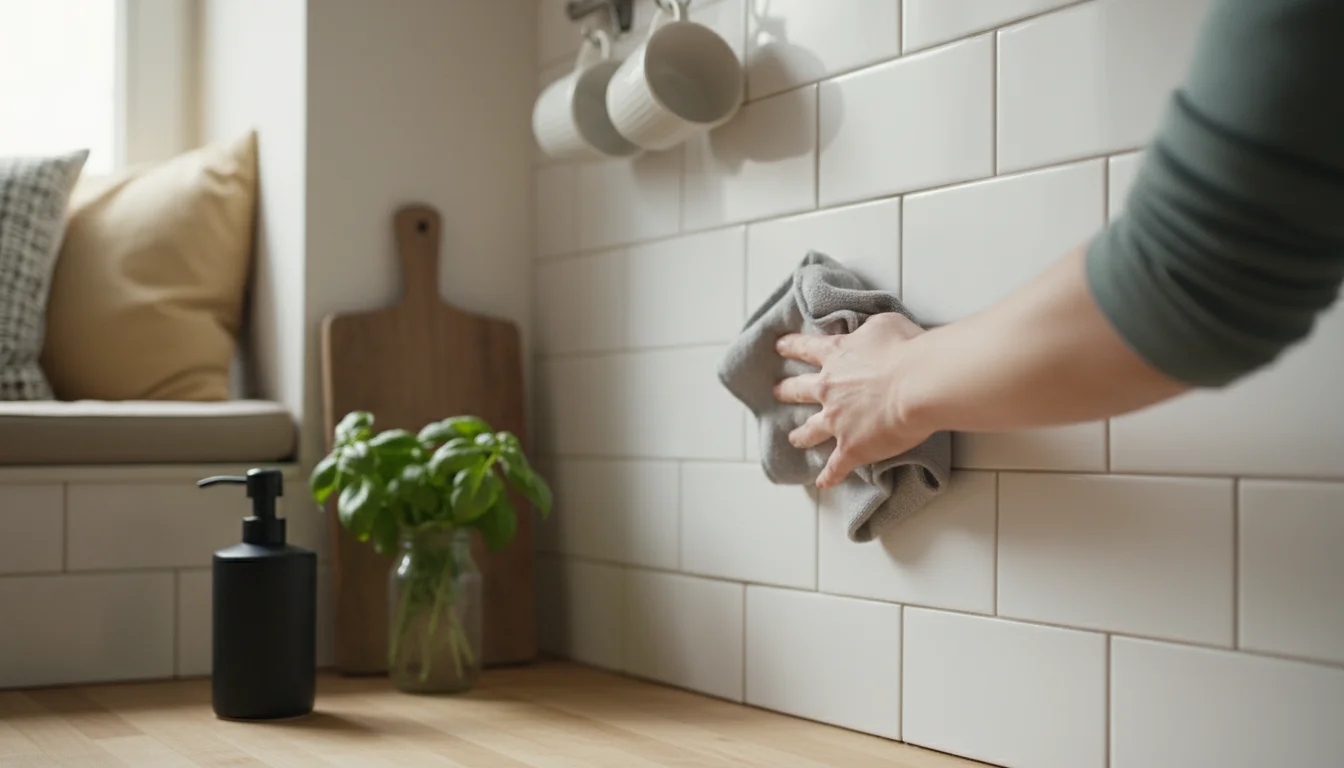
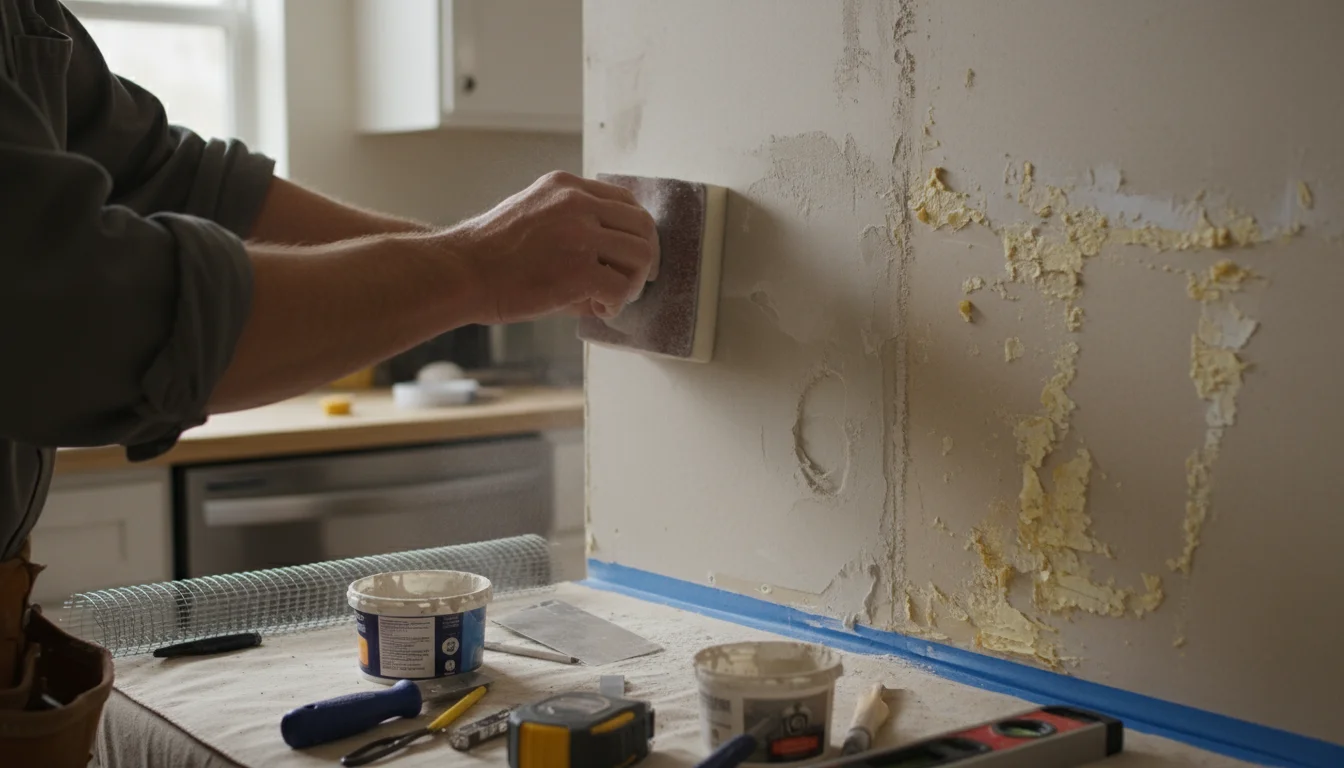
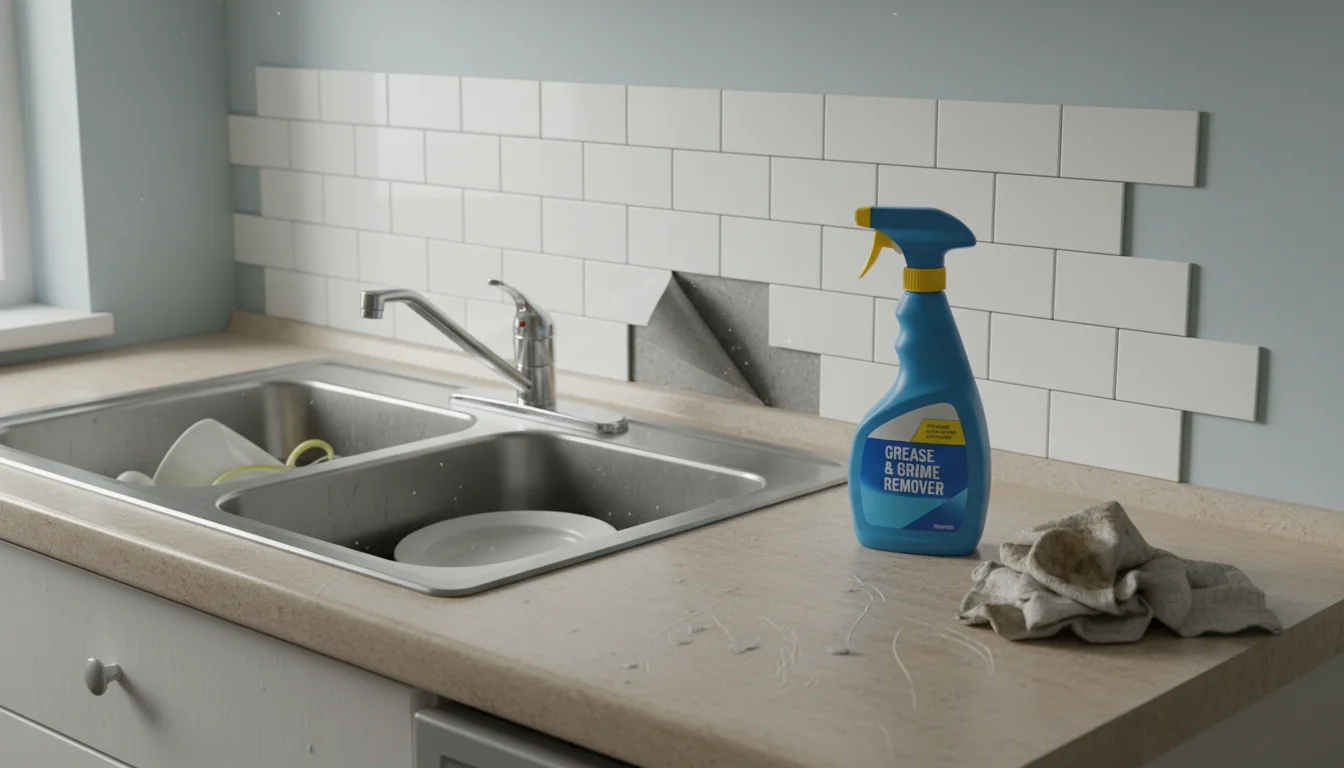
- Surface Preparation: Your wall surface needs to be clean, dry, and smooth. Wipe down the area thoroughly with a degreaser to remove any grease or grime. Fill any holes or cracks with spackle and sand smooth. A smooth, even surface ensures your backsplash materials adhere properly and look professional.
- Measuring Accurately: Measure the area you plan to cover multiple times. Always measure the height and width of your backsplash area. Account for outlets, windows, and any irregularities. It is always better to overbuy materials slightly to avoid running out mid-project. A good rule of thumb is to add 10-15% to your material estimate for cuts and mistakes.
- Tool Checklist: Gather all your tools before you begin. Most budget DIY backsplash projects require basic tools like a utility knife, measuring tape, level, pencil, and possibly a cutting mat or straight edge. Some projects may require a paint roller, brushes, or specific adhesive applicators.
- Ventilation: If you use paints, adhesives, or sealants, ensure proper ventilation. Open windows and doors, and use fans if necessary. Your safety and health come first. The EPA emphasizes the importance of good ventilation when working with household chemicals.
- Rental Agreements: If you rent, review your lease agreement regarding wall alterations. Opt for truly temporary solutions like peel-and-stick options that promise clean removal. Taking photos of the “before” state of your walls protects you when you move out.
Top DIY Backsplash Ideas Under $100
Here are several accessible, affordable tile ideas and material options that fit your budget and lifestyle:
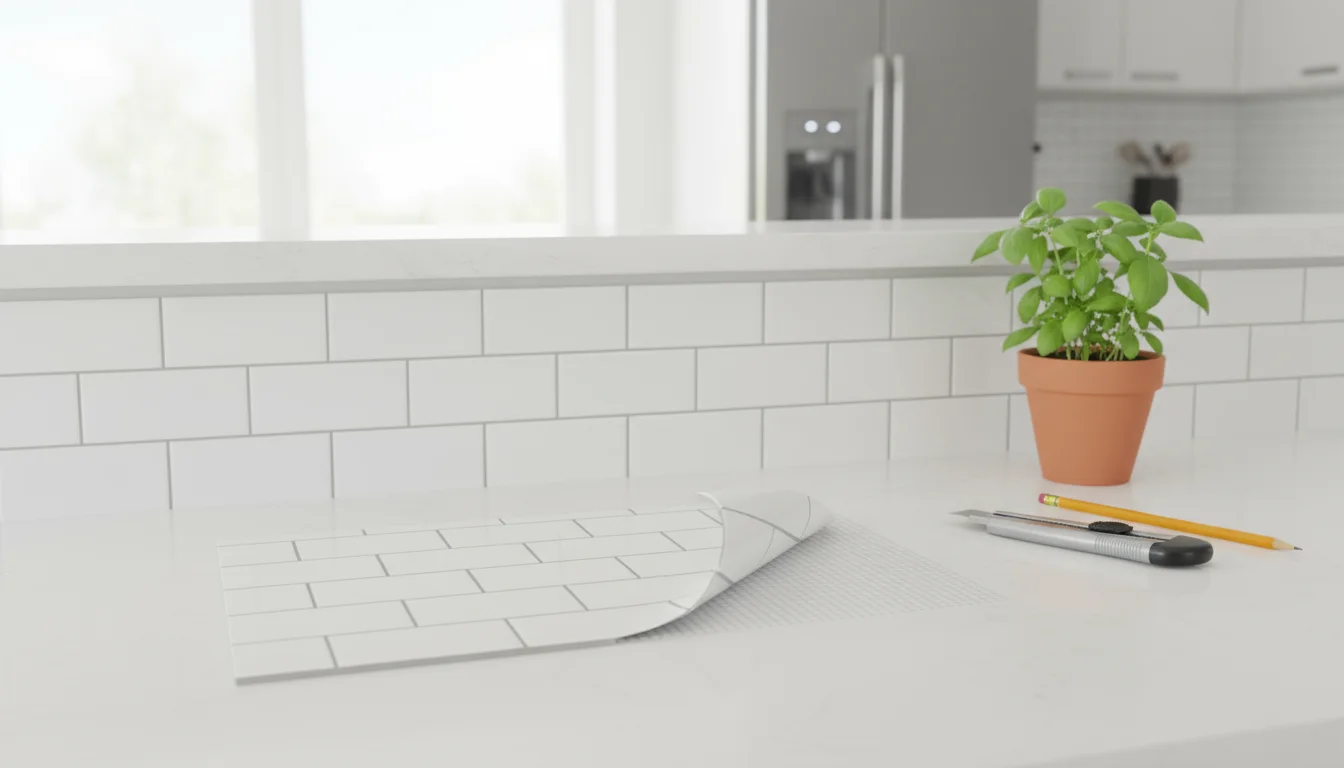
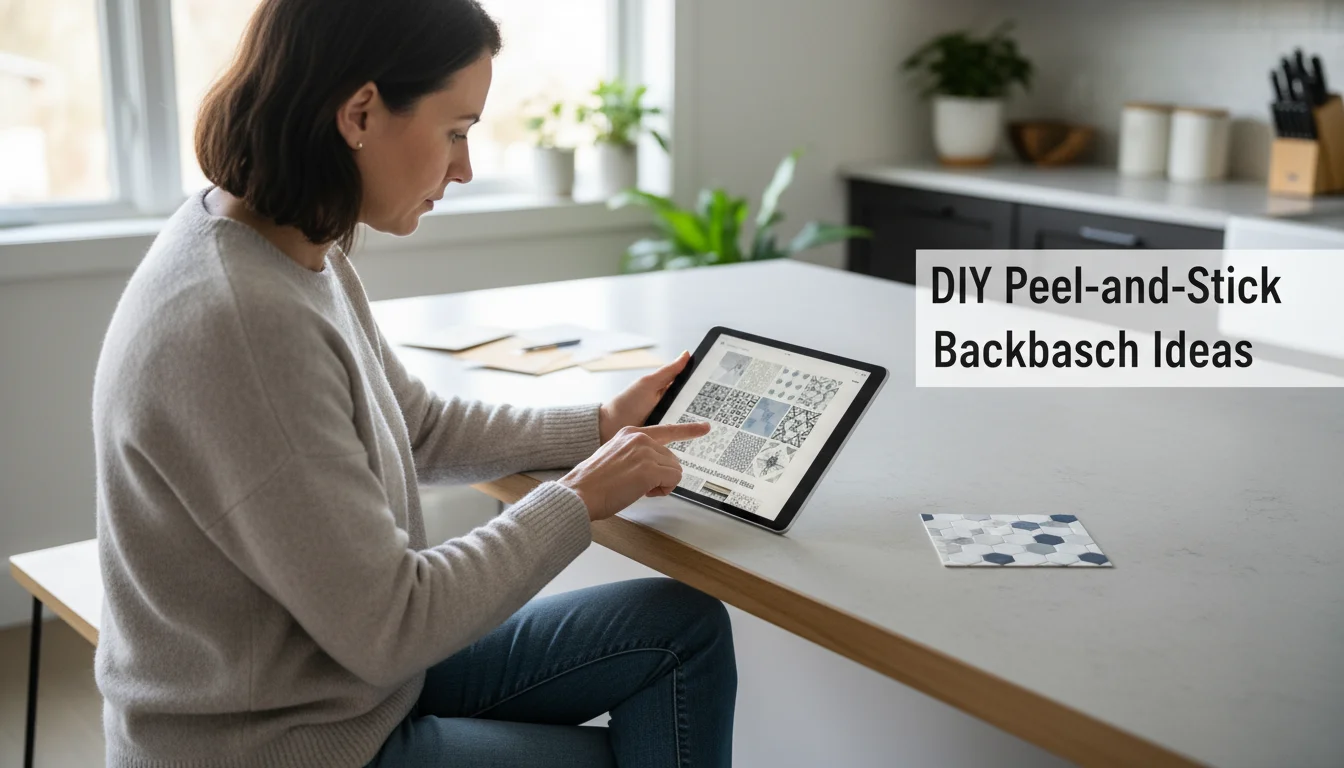
Peel-and-Stick Tiles
Peel-and-stick tiles offer the quickest and easiest way to update a backsplash. They come in various styles, including subway tile, mosaic, stone, and geometric patterns. These are often made of vinyl, gel, or thin metal. You simply peel off the backing and stick them to a clean, smooth wall. Many brands offer designs that convincingly mimic real tiles, providing a high-end look at a fraction of the cost. This option is particularly popular for renters because of its easy removal.
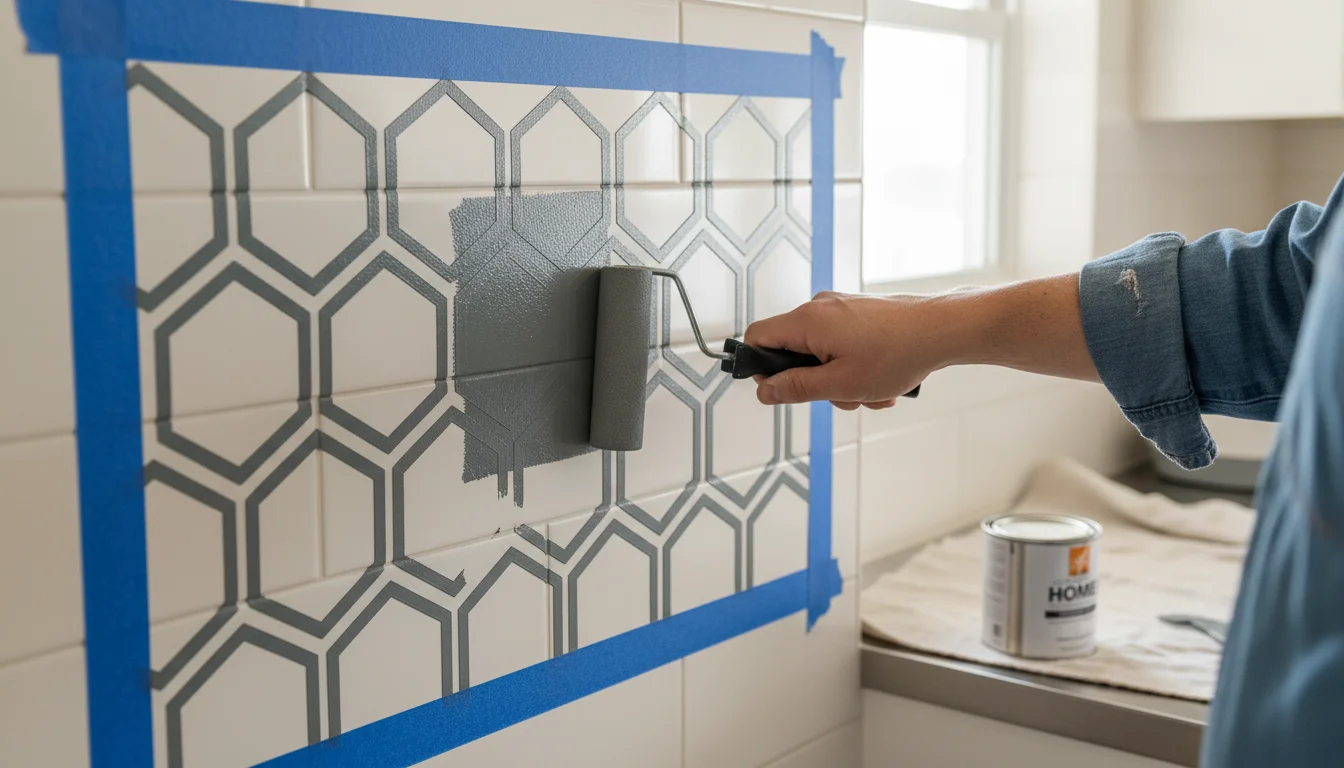
Stenciled Backsplash
A stenciled backsplash creates a custom, hand-painted look using paint and a reusable stencil. You choose a pattern you love, paint your wall a base color, then apply the stencil with a contrasting or complementary color. Once dry, seal the entire area with a durable, washable topcoat to protect against moisture and stains. This method allows for endless creativity and a truly personalized touch. It is also incredibly cost-effective, using only paint, a stencil, and a sealer.
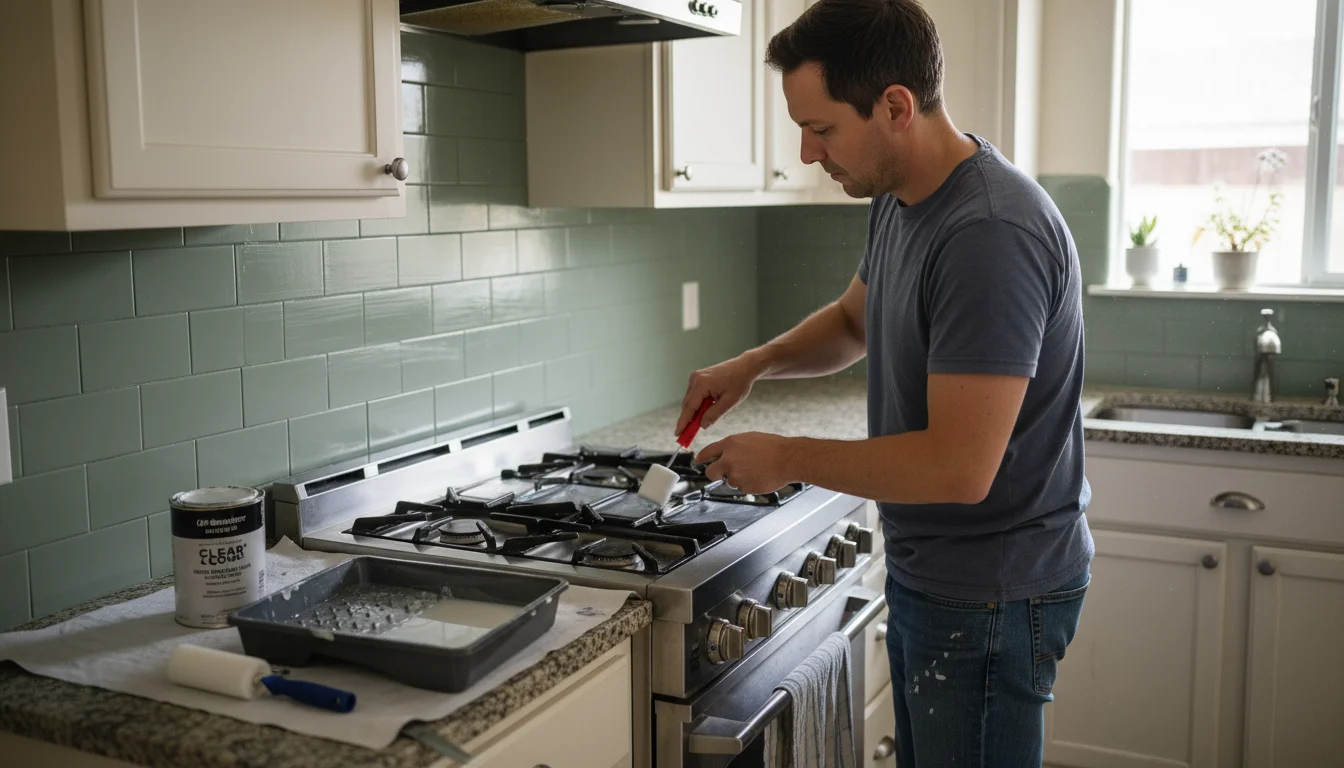
Painted Backsplash with Sealer
Sometimes, the simplest solution is the best. A fresh coat of paint in a bold color or a subtle shade can transform your kitchen. Choose a paint specifically designed for kitchens or bathrooms, as these paints offer better moisture resistance and durability. For extra protection, apply a clear, washable sealer over the painted area. This creates a smooth, wipeable surface similar to a traditional backsplash. This is the ultimate budget kitchen solution.
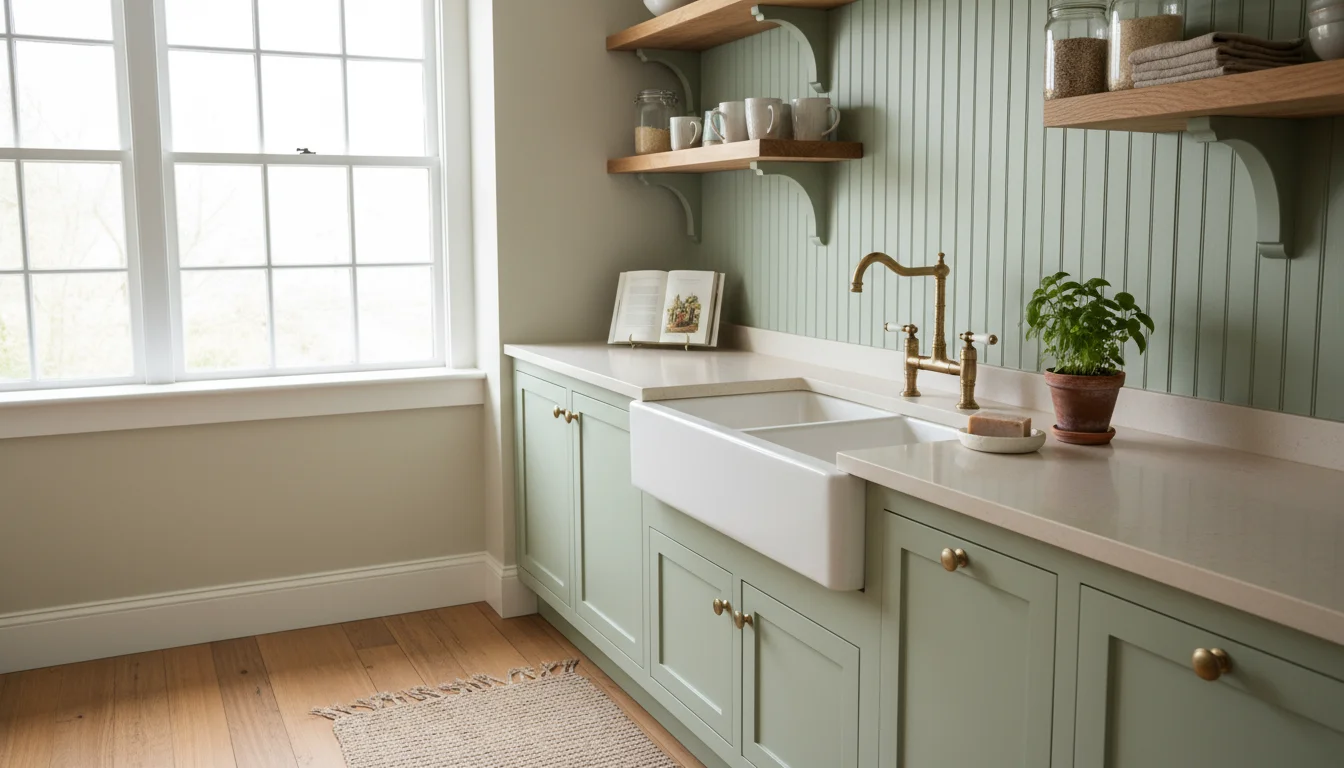
Beadboard Panels
Beadboard panels provide a classic, cottage-style look. You can find lightweight PVC or thin wood beadboard panels at home improvement stores. These are easy to cut and attach directly to your wall with construction adhesive or small nails. Once installed, paint the beadboard any color you desire. The vertical lines add texture and visual interest, making a small kitchen feel taller. This option offers a durable, charming finish.
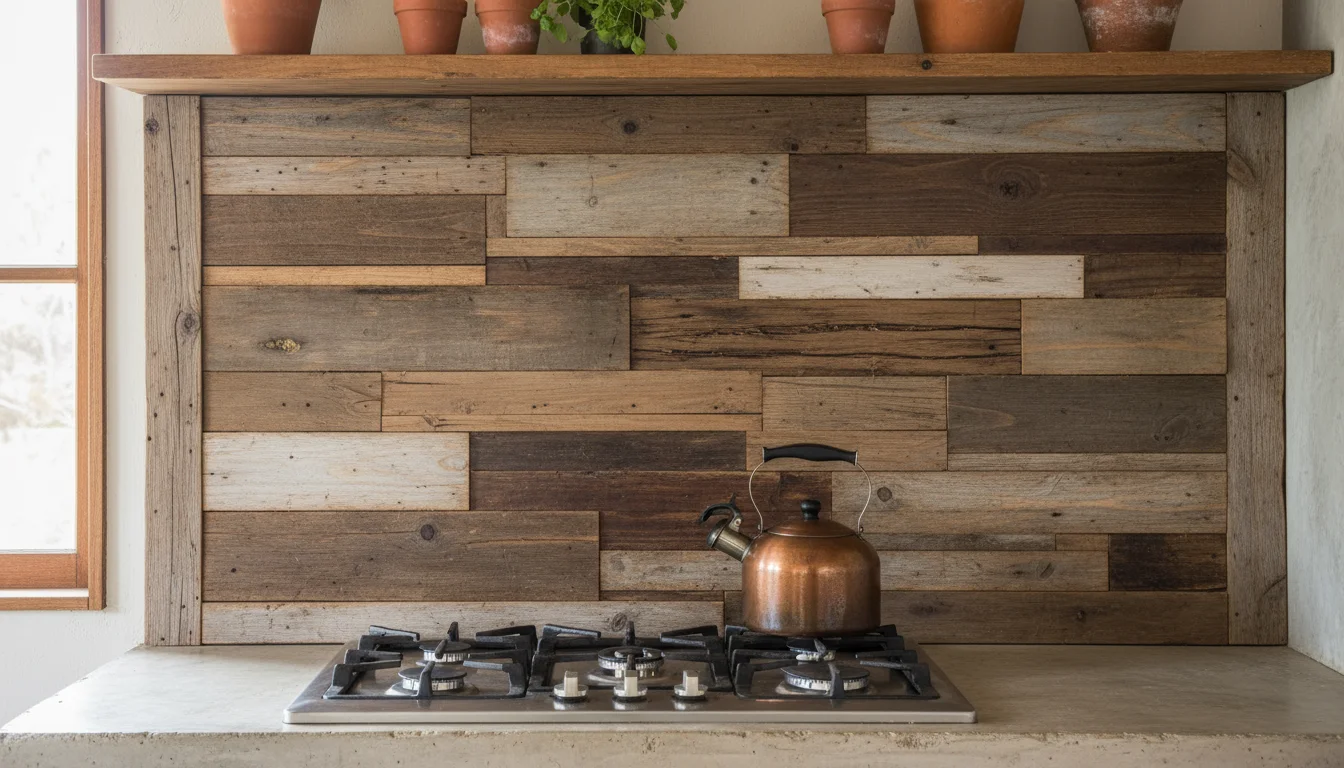
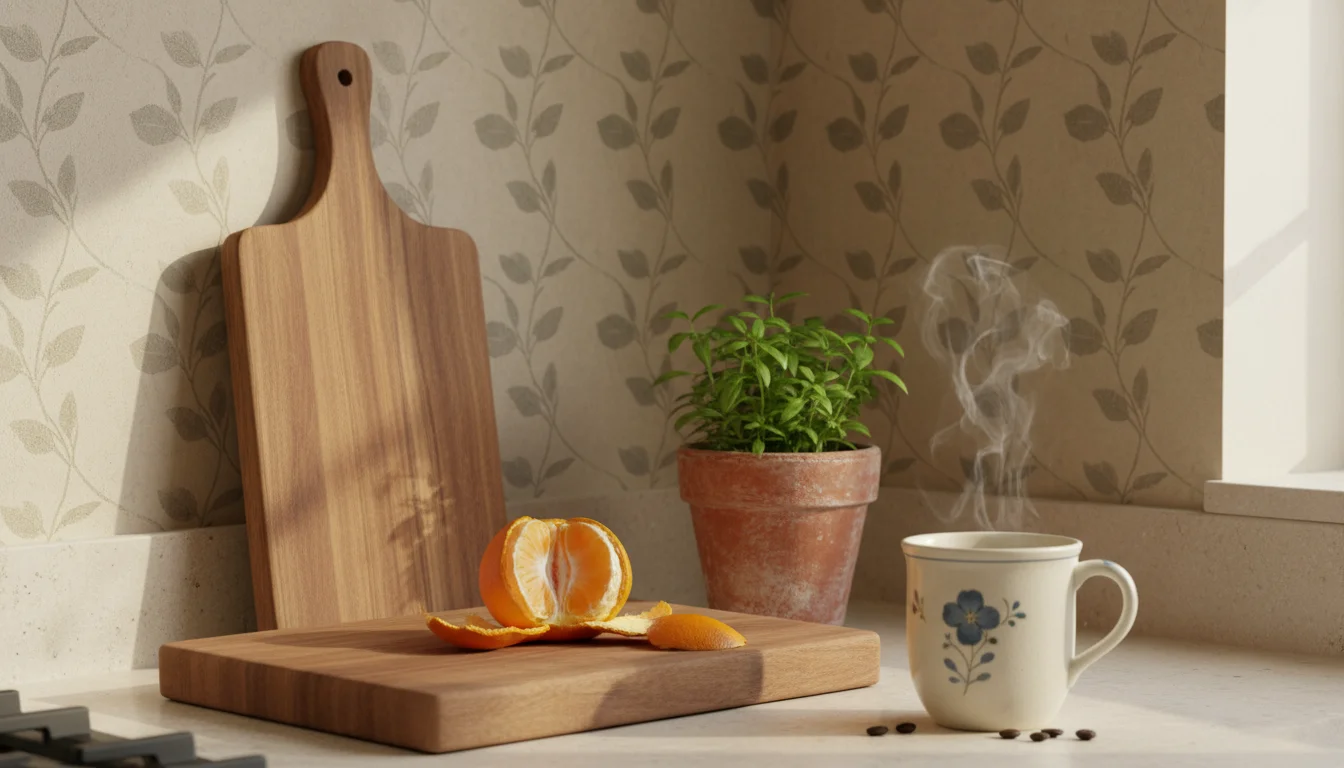
Reclaimed Wood (Small Sections)
For a rustic or farmhouse aesthetic, consider using reclaimed wood planks for a small section of your backsplash. Look for scraps or inexpensive pieces at lumberyards, salvage stores, or even online marketplaces. Cut the wood to size and attach it to the wall using construction adhesive or small nails. Always seal reclaimed wood to protect it from moisture and make it easy to clean. You can achieve a striking accent wall, staying within your budget by using only a few pieces.
Project Spotlight: Peel-and-Stick Tiles
Let’s walk through installing peel-and-stick tiles, an excellent option for a quick, affordable, and impactful transformation.
- Clean and Prep Your Surface: Thoroughly clean the wall surface with a degreaser. Allow it to dry completely. Fill any holes or imperfections with spackle and sand smooth. A clean, smooth, dry surface ensures optimal adhesion.
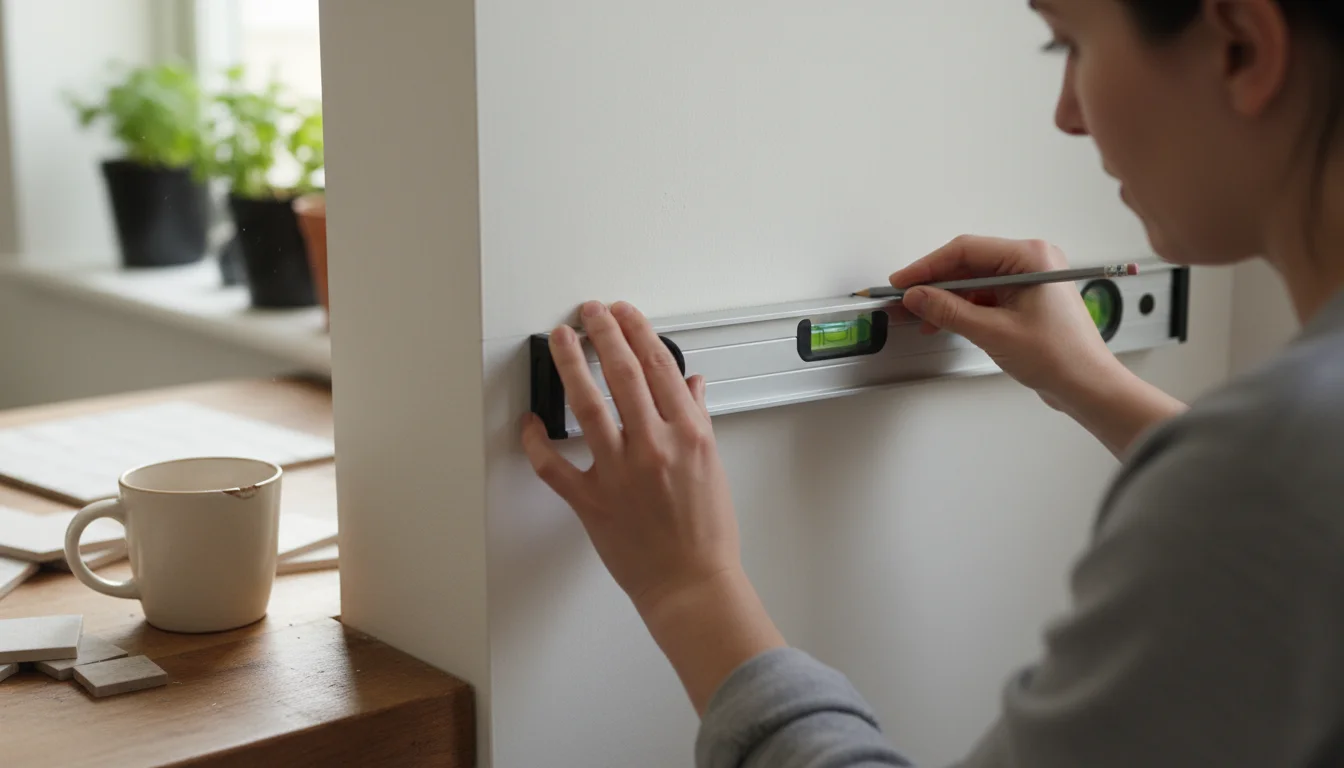
- Measure and Plan Your Layout: Measure your backsplash area. Use a pencil and level to draw a straight guideline across your wall where the bottom edge of your first tile row will sit. This ensures your tiles go on straight. Plan your layout by starting from the most visible corner and working outwards. You want to avoid small, awkward cuts in highly visible areas.
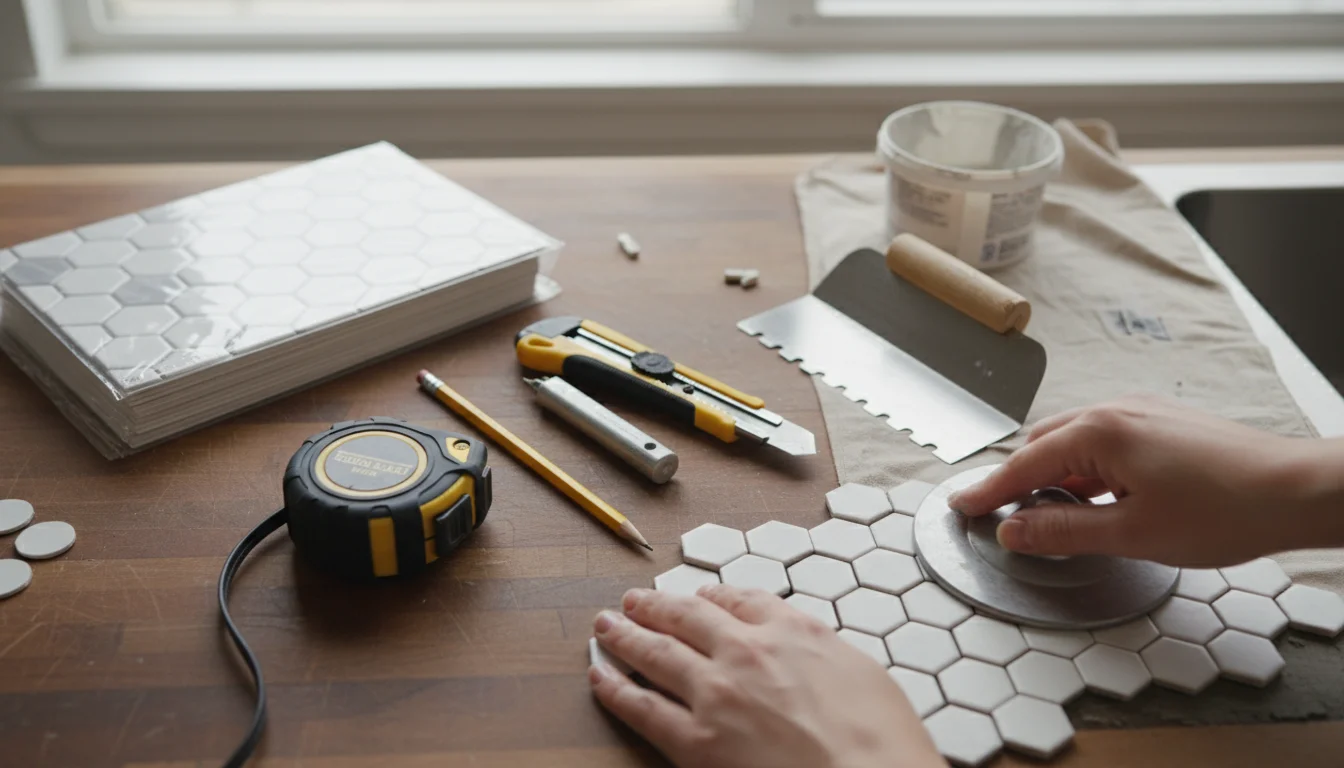
- Cut Tiles (if necessary): For cuts around outlets or edges, measure the needed dimension carefully. Place the tile on a cutting mat and use a utility knife and a straight edge to score and snap the tile. For intricate cuts, create a paper template first.
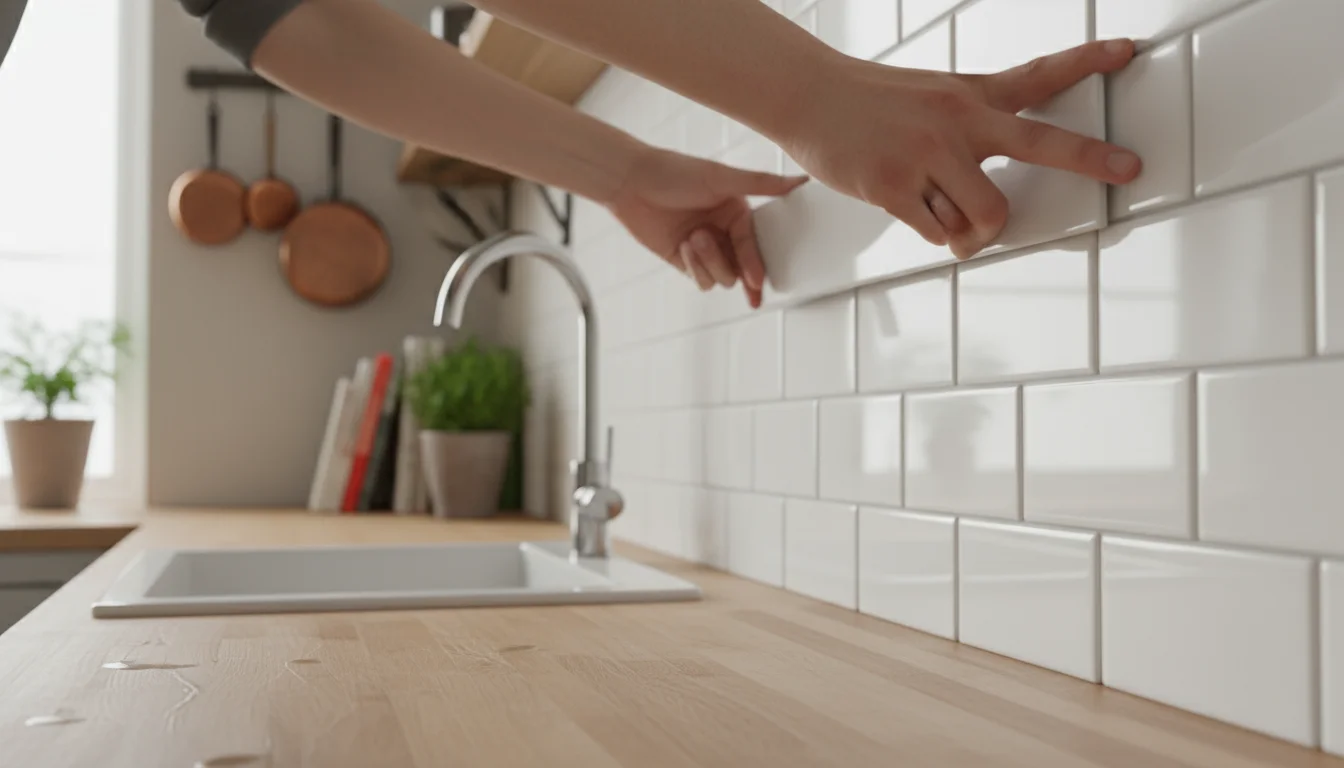
- Apply the First Tile: Peel off a small portion of the backing from your first tile. Align it precisely with your guideline and the corner. Press it firmly onto the wall, slowly peeling off the rest of the backing as you go. Use a J-roller or a flat, clean cloth to press out any air bubbles, working from the center outwards.
- Continue Laying Tiles: Repeat the process, ensuring each tile aligns perfectly with its neighbors. Many peel-and-stick tiles have overlapping edges designed to create a seamless look. Pay close attention to these overlaps.
- Work Around Outlets: For outlets, turn off the power at your breaker box first for safety. Remove the outlet cover. Cut your tiles to fit around the outlet opening. You might need to use snips or a craft knife for precision. Replace the outlet cover once all tiles are in place.
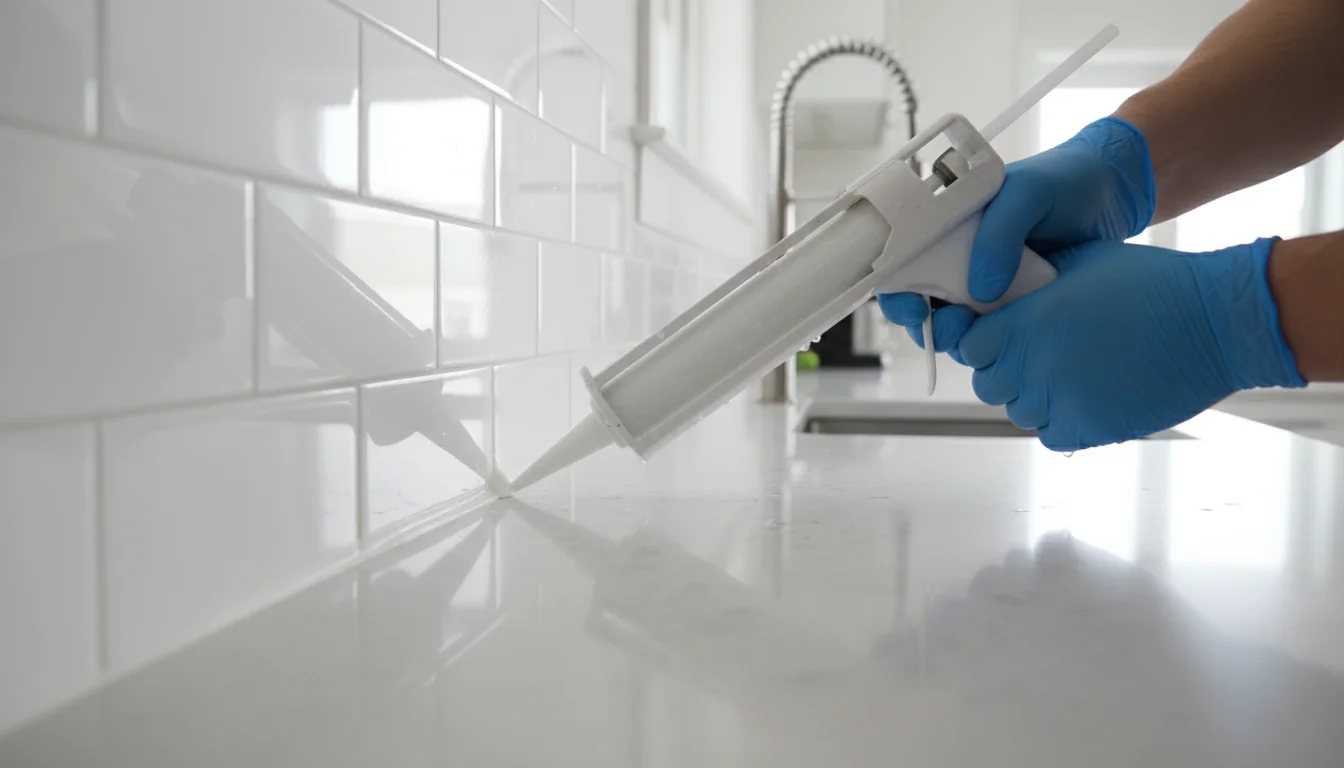
- Finish Edges: Use trim pieces or caulk to finish any exposed edges for a polished look. You can find peel-and-stick trim specifically designed to match your tiles.
- Cure Time: While peel-and-stick tiles adhere immediately, some manufacturers recommend a short curing time before heavy cleaning or exposure to high heat. Check the product instructions.
Tools and Materials: What You Really Need
Keeping your budget kitchen project under $100 requires smart material and tool choices. Often, you already own many of the necessary items.
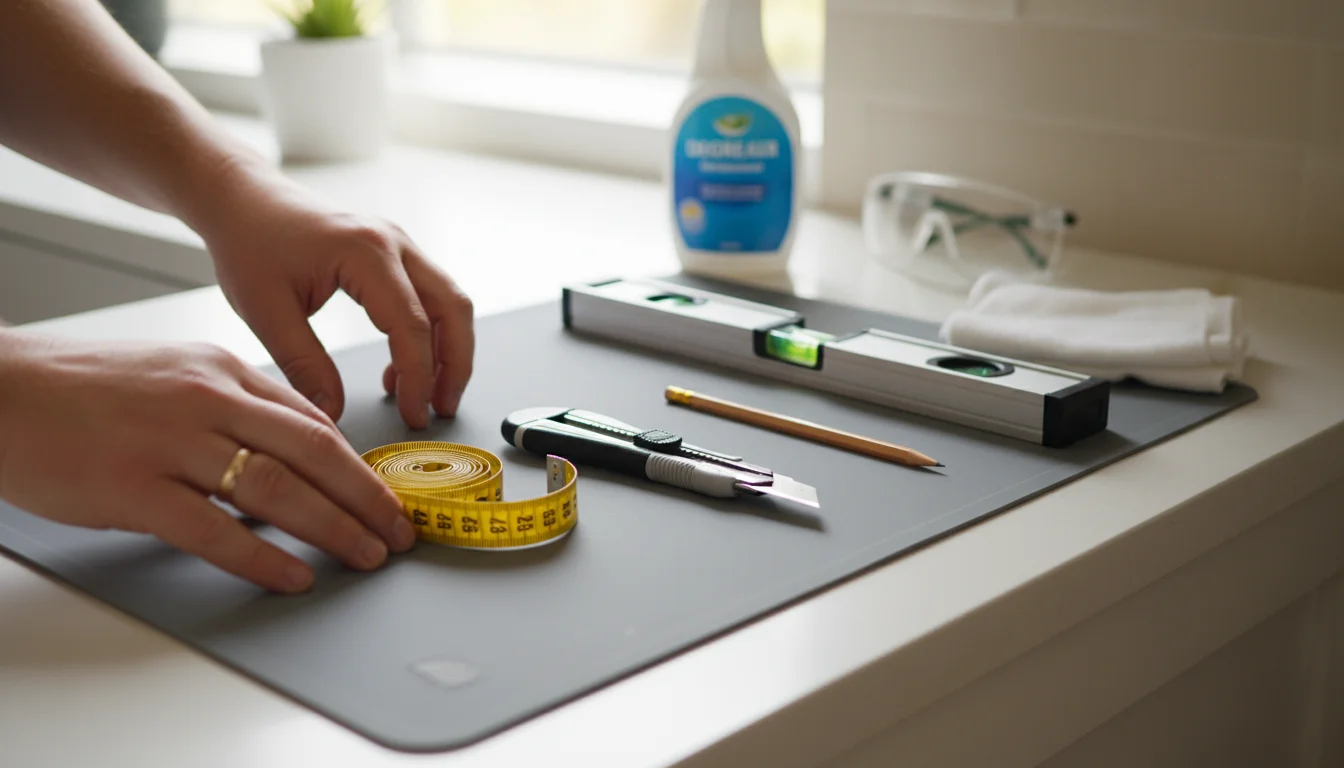
Basic Toolkit Essentials:
- Measuring Tape: Essential for accurate measurements.
- Pencil: For marking cuts and guidelines.
- Level: Ensures your backsplash rows are perfectly straight. A 2-foot level often suffices for backsplashes.
- Utility Knife and Cutting Mat: Crucial for cutting peel-and-stick tiles, stencils, or thin panels.
- Straight Edge Ruler: For making clean, straight cuts.
- Clean Cloths or Sponges: For cleaning and smoothing.
- Degreaser/Cleaner: To prep the wall surface.
- Safety Glasses: Protect your eyes, especially when cutting materials.
Material-Specific Needs (Choose based on your project):
- Peel-and-Stick Tiles: Purchase enough square footage, plus 10-15% extra. Look for sales or bulk packs.
- Paint and Stencils:
- Paint: Choose a durable, washable paint (kitchen/bath specific).
- Stencil: Reusable stencils offer great value.
- Painter’s Tape: To secure stencils and protect surrounding areas.
- Small Paint Roller or Brush: For applying paint.
- Clear Sealer: A water-based, clear, washable topcoat for durability.
- Beadboard Panels:
- Beadboard panels (PVC or thin MDF): Measure your area.
- Construction Adhesive: For attaching panels to the wall.
- Caulk: To seal edges and seams.
- Caulk Gun: For easy application of caulk.
- Fine-tooth Saw or Jigsaw: For cutting panels to size.
Many hardware stores offer budget-friendly versions of these tools. Consider borrowing tools from friends or family if you only need them for a single project. This approach helps keep your overall cost down significantly.
Maintaining Your Budget Backsplash
Proper maintenance ensures your DIY backsplash looks great and lasts for years. While budget materials are durable, they require care just like any surface.
- Gentle Cleaning: Use mild soap and water with a soft cloth or sponge for daily cleaning. Avoid abrasive cleaners, scouring pads, or harsh chemicals, which can damage the surface or dull the finish.
- Immediate Spill Cleanup: Wipe up spills immediately, especially acidic liquids like tomato sauce or lemon juice. This prevents staining and protects the integrity of your backsplash material.
- Check for Peeling (Peel-and-Stick): Occasionally check the edges of peel-and-stick tiles for any signs of lifting. If you find a loose edge, gently press it back down. For persistent issues, a small dab of construction adhesive can provide a more permanent bond.
- Re-seal (Painted/Stenciled/Wood): If you opted for a painted, stenciled, or wood backsplash, inspect the sealer annually. Over time, heavy use or cleaning can wear down the protective layer. Reapply a fresh coat of clear sealer every few years to maintain water resistance and durability.
- Address Moisture Promptly: Ensure proper ventilation in your kitchen to prevent excessive moisture buildup, especially around sinks and cooking areas. Persistent moisture can compromise adhesives and finishes over time. According to the CDC, proper cleaning and maintenance of surfaces contribute to a healthier home environment.

Troubleshooting Common DIY Backsplash Challenges
Even with careful planning, DIY projects can present unexpected hurdles. Here are common issues and practical solutions:
Uneven Wall Surface
Challenge: Your wall has bumps, divots, or old adhesive residue, making it difficult for new materials to adhere smoothly.
Solution: Spend extra time on surface preparation. Fill divots with spackle, sand down bumps, and scrape off any old residue. A primer can create a uniform surface for paint or improve adhesion for peel-and-stick products. Do not underestimate this step. A perfectly smooth wall makes all the difference.
Tiles Not Sticking (Peel-and-Stick)
Challenge: Your peel-and-stick tiles lift or do not adhere firmly.
Solution: Ensure your wall is impeccably clean and dry before application. Residue, dust, or moisture significantly reduce adhesion. Use a degreaser, allow the wall to dry completely, and then apply. If tiles still lift, you can try a small amount of spray adhesive or liquid nail glue on the back of the problematic tile for a stronger, more permanent bond. This might make future removal harder, so consider this option carefully if you are a renter.

Misaligned Lines or Patterns
Challenge: Your backsplash lines look crooked, or your stencil pattern is inconsistent.
Solution: Use a level religiously. Draw your initial guidelines with a pencil and level, and check frequently as you work. For stenciling, secure the stencil firmly with painter’s tape to prevent shifting. For peel-and-stick, gently peel back and realign a tile if you catch a mistake early. Many tiles allow for minor adjustments right after initial placement.
Gaps or Unsightly Edges
Challenge: You have small gaps between tiles or visible, unfinished edges.
Solution: Caulk is your best friend. A small bead of paintable caulk along seams, corners, and where the backsplash meets countertops or cabinets creates a clean, sealed finish. For peel-and-stick, many brands offer matching trim pieces to give a professional edge. For painted or stenciled backsplashes, use painter’s tape to create crisp lines along edges before painting, then remove the tape carefully when the paint is still slightly wet for a sharp finish.
Frequently Asked Questions
Can I install a DIY backsplash over existing tiles?
It depends on the existing tiles and your chosen DIY material. For peel-and-stick tiles, you can often install them directly over existing smooth, flat tiles if the grout lines are shallow. For deeper grout lines, you might need to skim-coat the wall with a leveling compound to create a smooth surface first. For painted or stenciled backsplashes, you typically need to prep and prime the existing tiles for proper paint adhesion.
How long does a budget DIY backsplash typically last?
The lifespan varies significantly by material and proper installation. A well-installed peel-and-stick backsplash can last 3-5 years or more, especially with good maintenance. Painted or stenciled backsplashes with a quality sealer can also last several years before needing a refresh. Durability often increases with the quality of the materials and how carefully you follow installation and maintenance instructions.
Is a DIY backsplash easy to clean?
Most budget DIY backsplashes are quite easy to clean. Peel-and-stick tiles typically have a smooth, wipeable surface. Painted or stenciled backsplashes, when sealed with a durable topcoat, become moisture-resistant and easy to wipe down. Always use mild soap and a soft cloth; avoid harsh chemicals or abrasive scrubbers to preserve the finish.
Can I remove a DIY backsplash without damaging the walls?
Yes, many DIY options are designed for easy, damage-free removal, making them ideal for renters. Peel-and-stick tiles, especially those specifically marketed as “removable,” usually come off with heat (like from a hairdryer) and a gentle touch, leaving minimal to no residue. Painted or stenciled backsplashes require painting over to revert to the original wall color. Always test a small, inconspicuous area first if you are unsure.
What if my wall is textured? Can I still do a DIY backsplash?
Textured walls present a challenge for peel-and-stick options, as they require a smooth surface for good adhesion. You might need to skim-coat the wall to create a smooth base first. For painted or stenciled backsplashes, a light texture might be manageable, but heavy textures can make stenciling difficult and lead to a less refined finish. Consider beadboard panels or wood planks as alternative solutions, as these materials cover the texture entirely.
For expert home organization guidance, visit
Bob Vila, HGTV — Home and Apartment Therapy.
Disclaimer: This article is for informational purposes only and is not a substitute for professional advice. Consult professional organizers or specialists for personalized recommendations.


Leave a Reply