Do you look at a worn-out dresser or a chipped coffee table and see only trash? With a bit of vision and effort, you can transform these overlooked pieces into stunning, functional treasures. Furniture refinishing offers a budget-friendly and sustainable way to update your home, giving old items new life. This guide empowers you to tackle your next project with confidence, turning a forgotten thrift store find into a cherished part of your home decor.

Why Refinish? Unlocking Hidden Value in Your Home
Embracing furniture refinishing means more than just a fresh coat of paint. You actively participate in a sustainable practice that benefits your wallet and the environment. Consider these compelling reasons to pick up a brush:
- Cost Savings: New furniture, especially solid wood pieces, costs a significant amount. A thrift store find, often priced for a fraction, becomes a high-quality item after refinishing. You invest your time, not your entire budget.
- Unique Style: Mass-produced furniture often lacks character. When you refinish a piece, you create something truly unique, tailored to your personal aesthetic. You select the color, finish, and hardware, making a statement piece no one else owns.
- Sustainability: Each piece you refinish keeps an item out of a landfill. This act of upcycling reduces demand for new resources and minimizes waste. You contribute to a circular economy, giving items multiple lifecycles.
- Quality and Durability: Older furniture often features solid wood construction, a stark contrast to modern pieces made from particleboard or MDF. By refinishing, you preserve and enhance this inherent quality, ensuring the item lasts for years to come. You gain a durable piece with real craftsmanship.
- Personal Satisfaction: Completing a DIY furniture project provides immense satisfaction. You develop new skills, solve problems, and stand back to admire a tangible result of your effort. It builds confidence and adds personal touches to your living space.
Is Refinishing Right for Your Piece? What to Look For
Not every piece of furniture deserves a second life through refinishing. Before you invest time and materials, carefully assess its potential. You need to identify items that offer a good return on your effort.
Assessing Potential: The “Good Bones” Checklist
Focus on structural integrity and material quality. Look for:
- Solid Wood Construction: This stands as the gold standard. Solid wood tolerates sanding, stripping, and repairs much better than other materials. Tap the piece; a solid thud indicates quality. Check drawer boxes for dovetail joints, a sign of craftsmanship.
- Structural Soundness: Does the piece wobble? Are joints loose? Minor wobbles are often fixable with wood glue and clamps, but extensive damage to the frame might be more trouble than it is worth. Test the drawers; they should slide smoothly.
- Minimal Damage: Small scratches, dings, and surface imperfections are easy to fix. Deep gouges, extensive water damage, or significant veneer peeling require more advanced techniques and time. You want manageable repairs, not a complete rebuild.
- Appealing Design: Even if the finish looks terrible, does the shape, lines, or overall style of the piece appeal to you? Refinishing enhances the existing form. You cannot change a fundamental design you dislike.

Red Flags: When to Walk Away
Sometimes, saying “no” saves you frustration and wasted effort. Avoid:
- Particleboard or MDF: These materials do not hold up well to sanding or moisture from paint. They often swell and crumble, making a smooth, durable finish nearly impossible. You will find your efforts quickly undone.
- Extensive Veneer Damage: While you can sometimes repair small sections of lifting veneer, large areas of missing or severely damaged veneer are challenging to fix seamlessly. The repair process can be painstaking and often noticeable.
- Mold or Pests: Immediately walk away from any piece showing signs of mold, mildew, or insect infestation. These issues are health hazards and can spread to your home. You do not want to bring these problems indoors.
- Overly Complex Repairs: If a piece requires major carpentry work, such as rebuilding large sections or fixing complicated joint failures, it might exceed your current DIY furniture skills or time commitment. You want a project, not a construction site.
As experts at Family Handyman note, a successful furniture refinishing project starts with choosing the right piece. Focus on solid construction and a design you love, then assess the level of repair needed.

Gathering Your Gear: Essential Tools and Materials
You need the right tools and materials to achieve a professional-looking finish. Think of this as your refinishing toolkit. You can often borrow some items or find budget-friendly alternatives.
Cleaning and Preparation
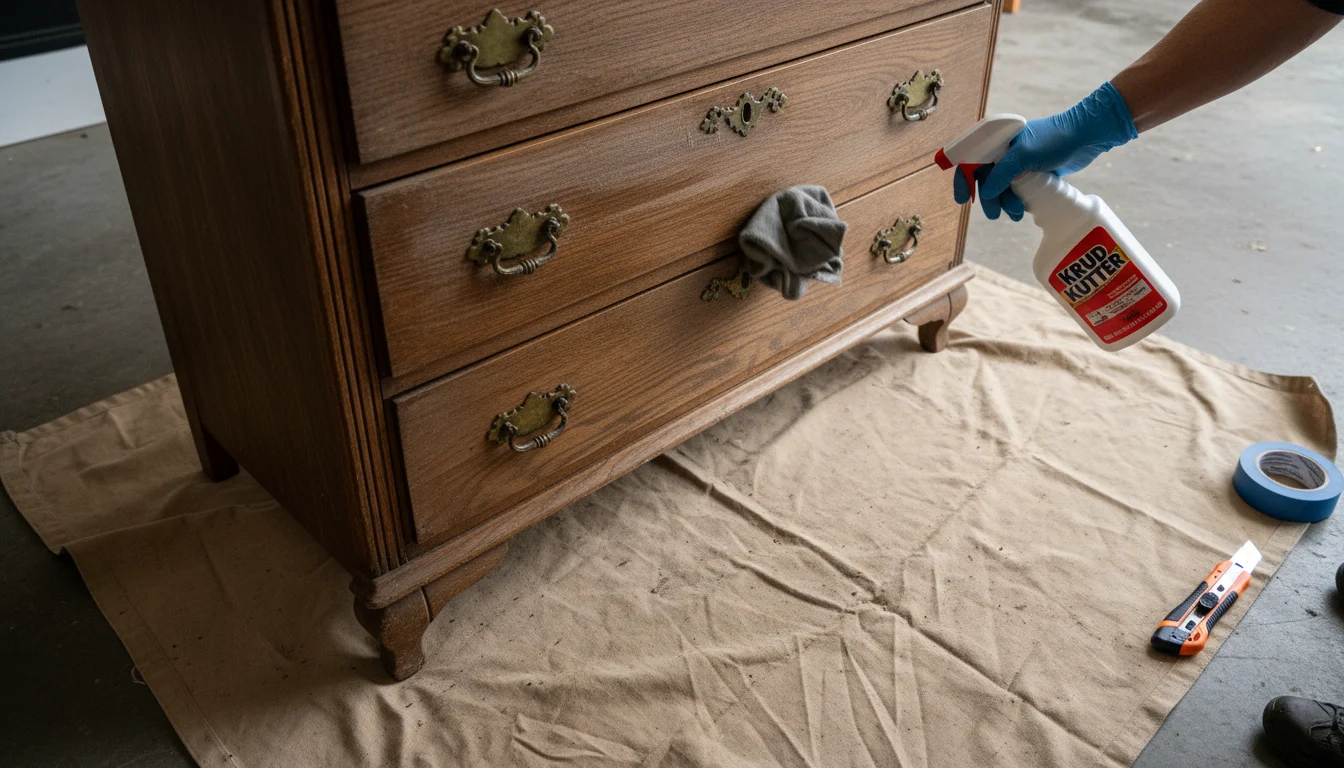
- All-purpose cleaner: Krud Kutter, TSP substitute, or a strong degreaser. This removes grime, wax, and oil.
- Cleaning cloths or sponges: Multiple rags for cleaning and wiping.
- Putty knife: For scraping or applying wood filler.
- Drop cloths: Protect your work surface and floor.
- Painter’s tape: Protect areas you do not want to finish, such as hardware or glass.
- Rubber gloves: Essential for protecting your hands during cleaning and chemical use.
Sanding and Stripping
- Sandpaper: Various grits are essential. Start with coarse (80-100 grit) for removing old finishes, move to medium (120-150 grit) for smoothing, and finish with fine (180-220 grit) for a silky surface.
- Sanding block: Helps you sand flat surfaces evenly.
- Orbital sander (optional, but highly recommended): Speeds up the sanding process significantly. Look for a random orbital sander for a swirl-free finish.
- Chemical stripper (optional): If you face a thick, stubborn finish, a chemical stripper saves immense sanding time. Look for a non-toxic, low-VOC option.
- Scrapers: Plastic or metal scrapers for removing stripped finish.
- Steel wool (optional): For intricate areas or applying certain finishes.
Repair and Filling
- Wood filler or wood putty: For filling dents, scratches, and small imperfections. Choose one that accepts stain if you plan to stain the piece.
- Wood glue: For re-gluing loose joints.
- Clamps: To hold glued joints securely while they dry.
Finishing
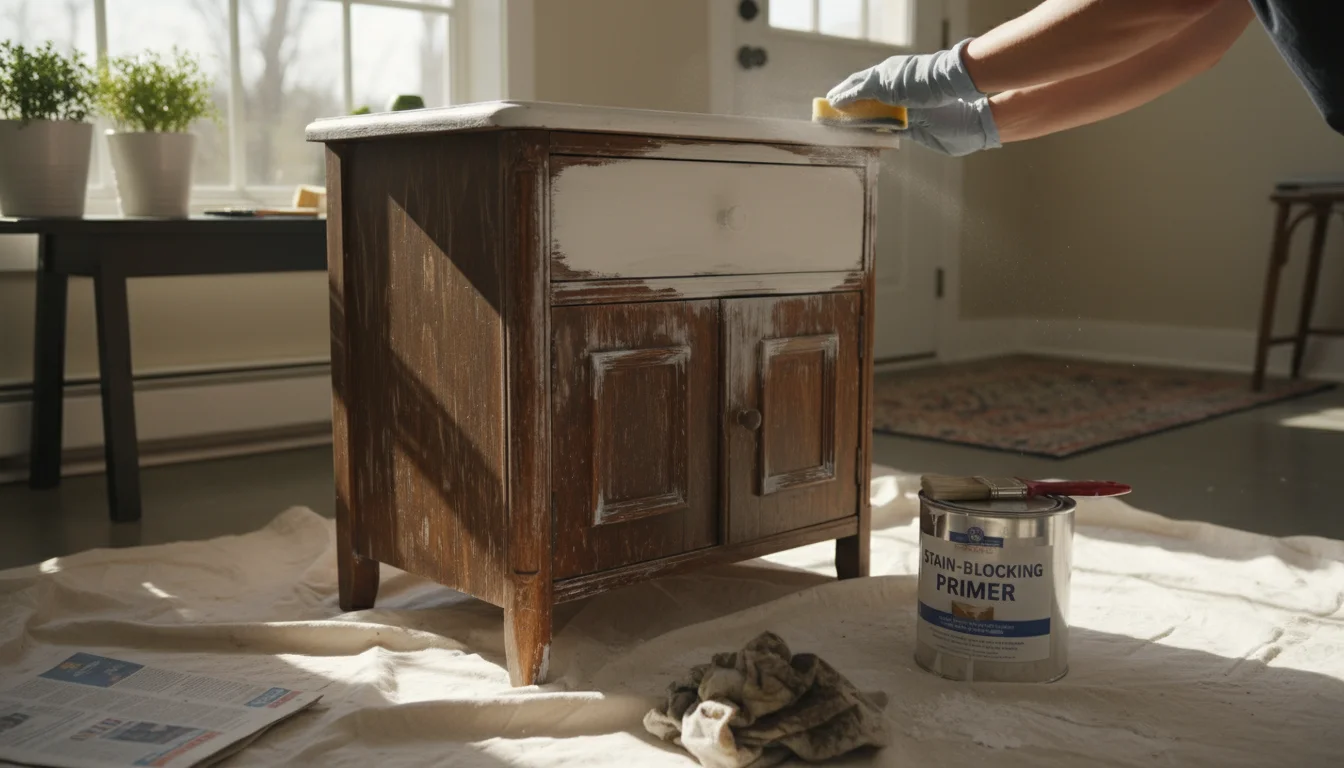
- Primer: Essential for good paint adhesion and preventing bleed-through, especially on older wood. Choose a stain-blocking primer.
- Paint or Stain:
- Paint: Choose a high-quality interior paint formulated for furniture. Chalk paint, milk paint, and acrylic latex paints are popular options.
- Stain: Oil-based or water-based wood stain, depending on your desired look and ease of cleanup.
- Brushes and Rollers: High-quality synthetic brushes for paint, natural bristle brushes for oil-based stains. Foam rollers or mini-rollers for large, flat surfaces.
- Topcoat/Sealer: Polyurethane (water-based or oil-based), clear wax, or lacquer. This protects your finish and provides durability.
- Tack cloth: For removing fine dust between coats.
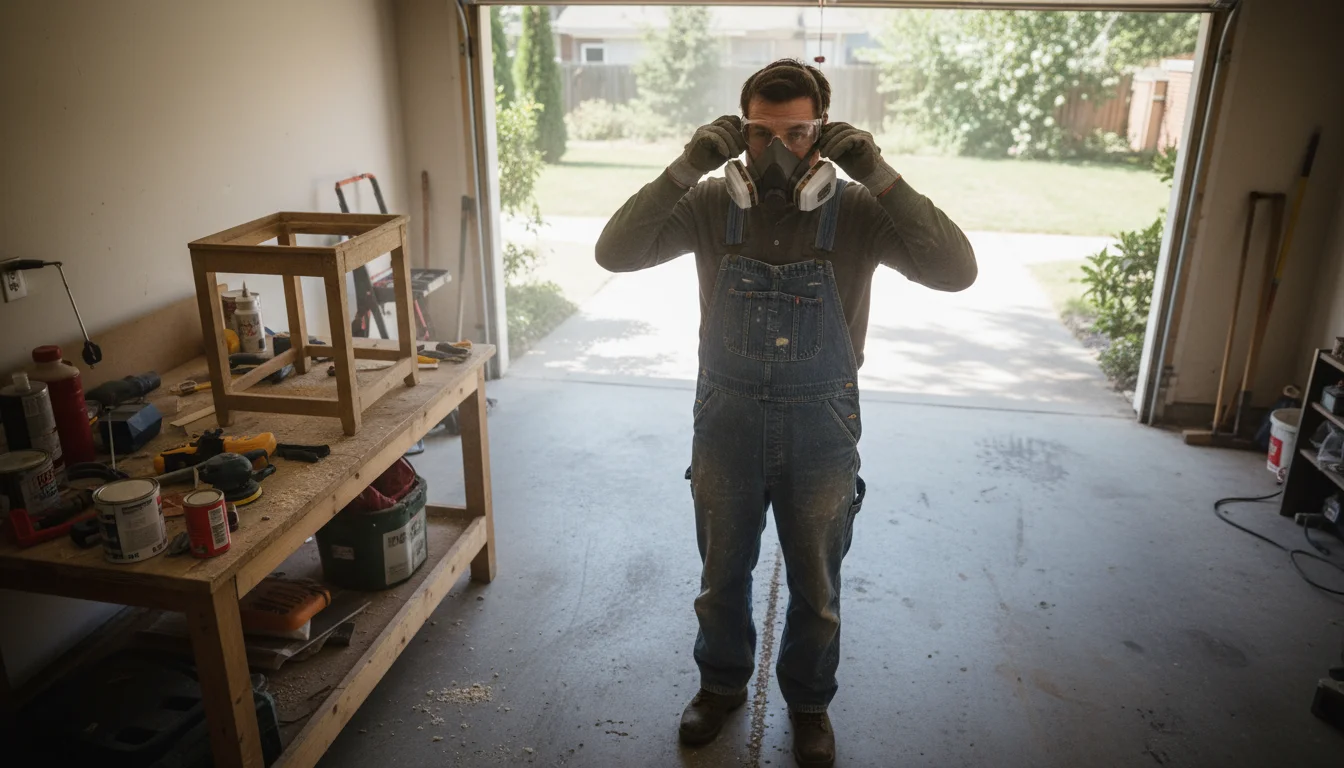
Safety Gear
- Safety glasses: Protect your eyes from dust and chemicals.
- Respirator mask: Crucial for sanding dust and chemical fumes. According to the EPA, Indoor Air Quality, ensuring proper ventilation and wearing appropriate respiratory protection significantly reduces exposure to harmful airborne particles and volatile organic compounds (VOCs) during projects like furniture refinishing.
- Ventilation: Work in a well-ventilated area, preferably outdoors or in a garage with open doors.
The Step-by-Step Refinishing Process
You can achieve fantastic results by following these steps carefully. Patience and thoroughness are your best friends in furniture refinishing.
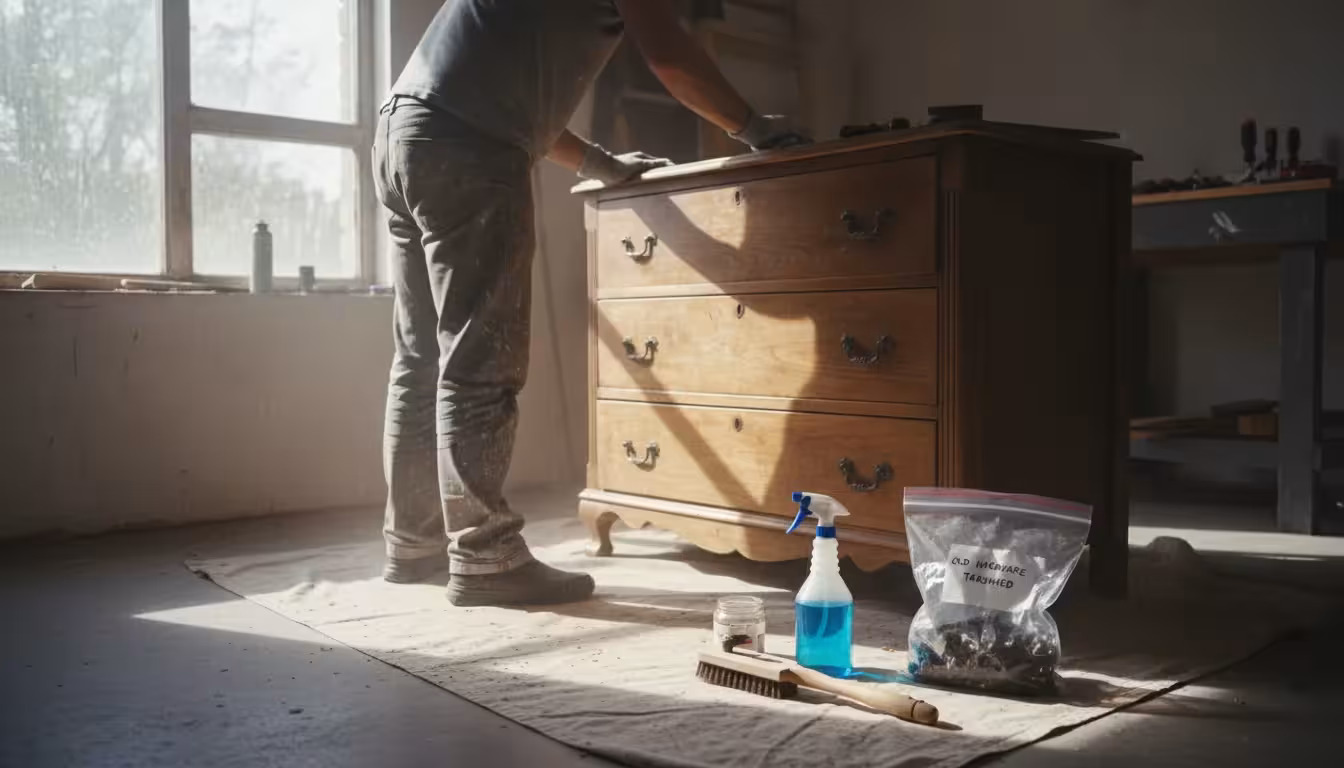
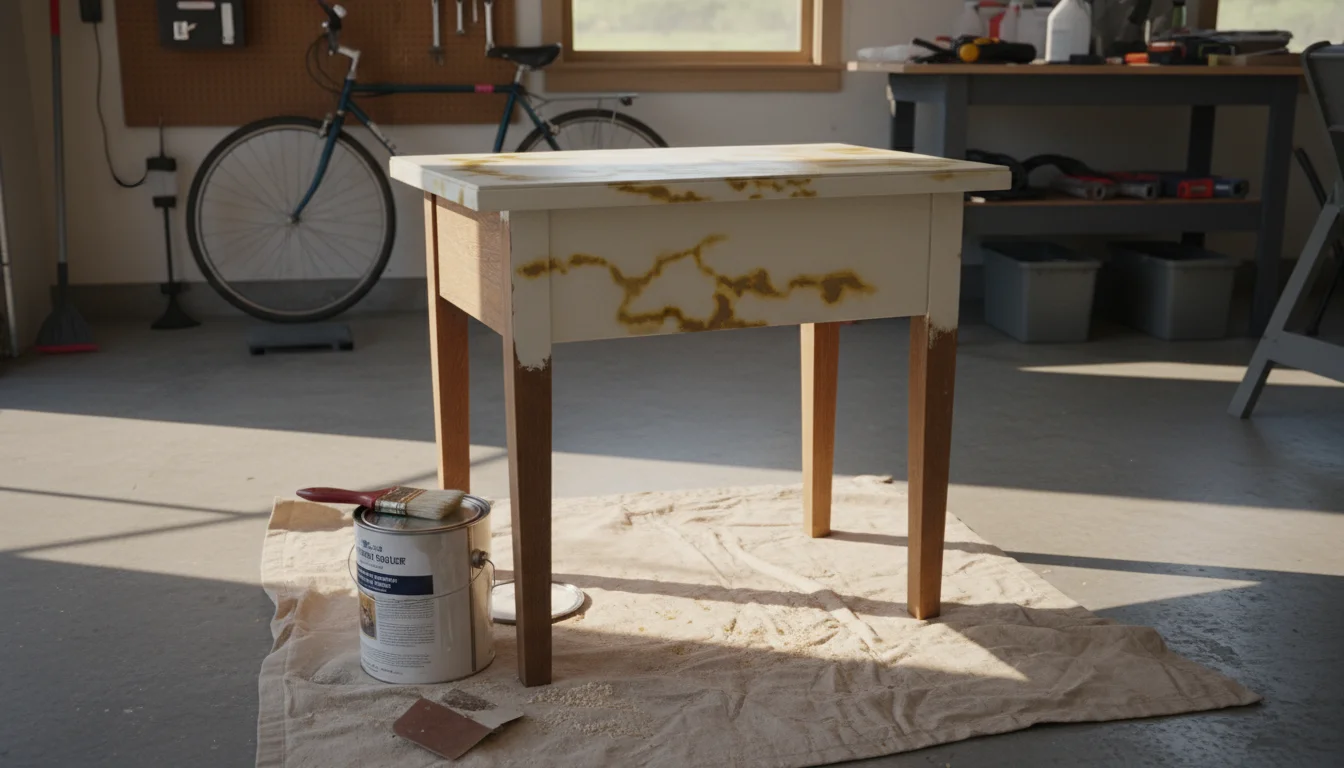
1. Preparation is Key
This phase lays the foundation for your entire project. Do not rush it.
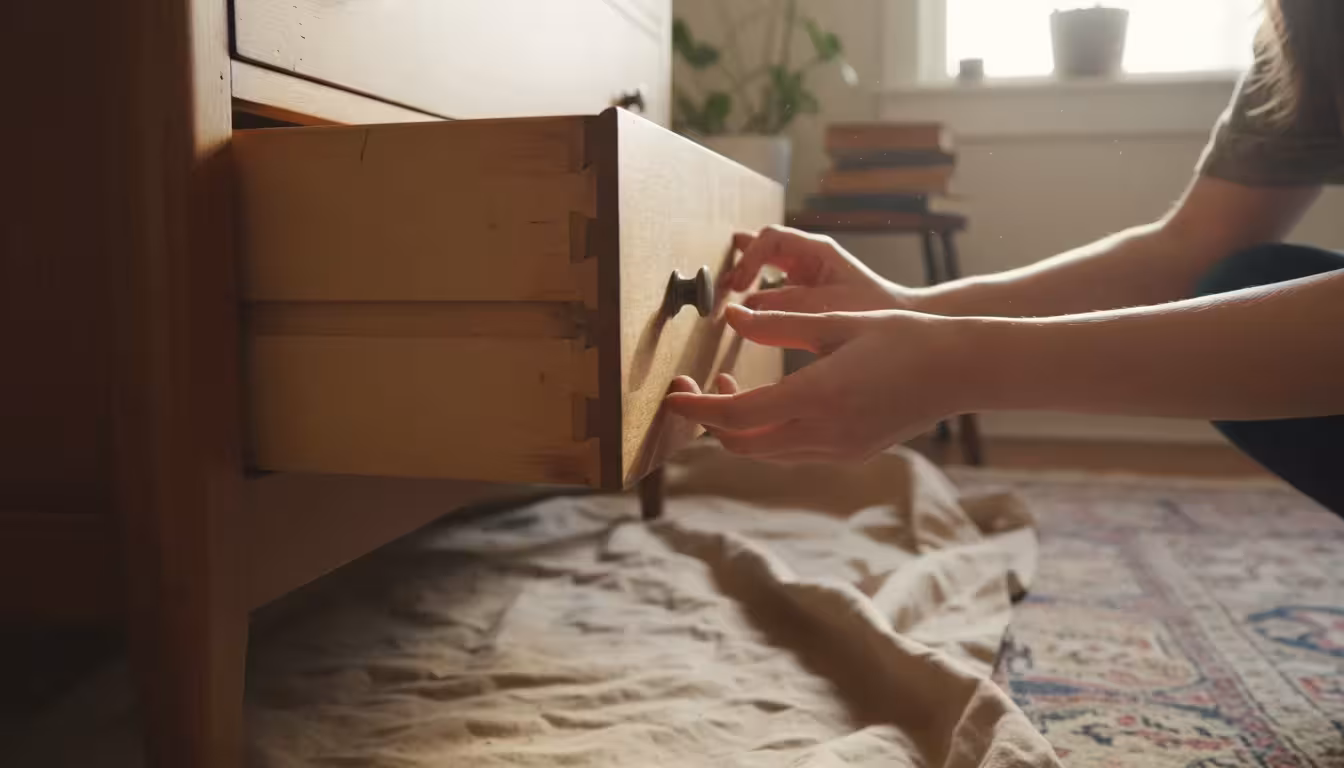
- Remove Hardware and Drawers: Take off all knobs, pulls, hinges, and any other hardware. Label them or store them in separate bags. Remove all drawers and doors.
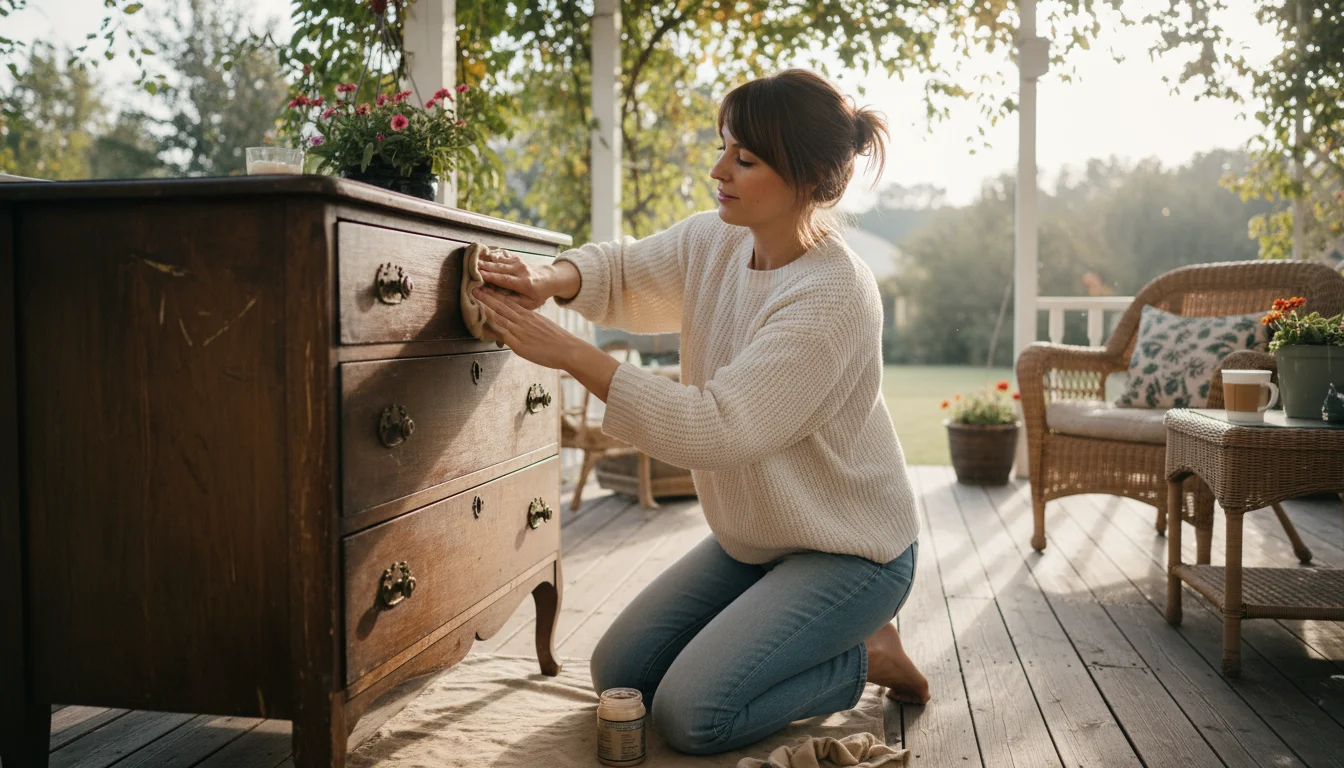
- Thoroughly Clean the Piece: Use your all-purpose cleaner or TSP substitute to scrub the entire piece. Old furniture often harbors years of grease, grime, and wax buildup. Rinse thoroughly and let it dry completely. A clean surface ensures proper adhesion for your new finish.
- Make Basic Repairs: Tighten any loose screws. Use wood glue and clamps to re-secure wobbly joints. Allow glue to dry fully, following manufacturer instructions.
2. Stripping or Sanding: Choose Your Path
Your goal here is to create a clean, receptive surface for the new finish.
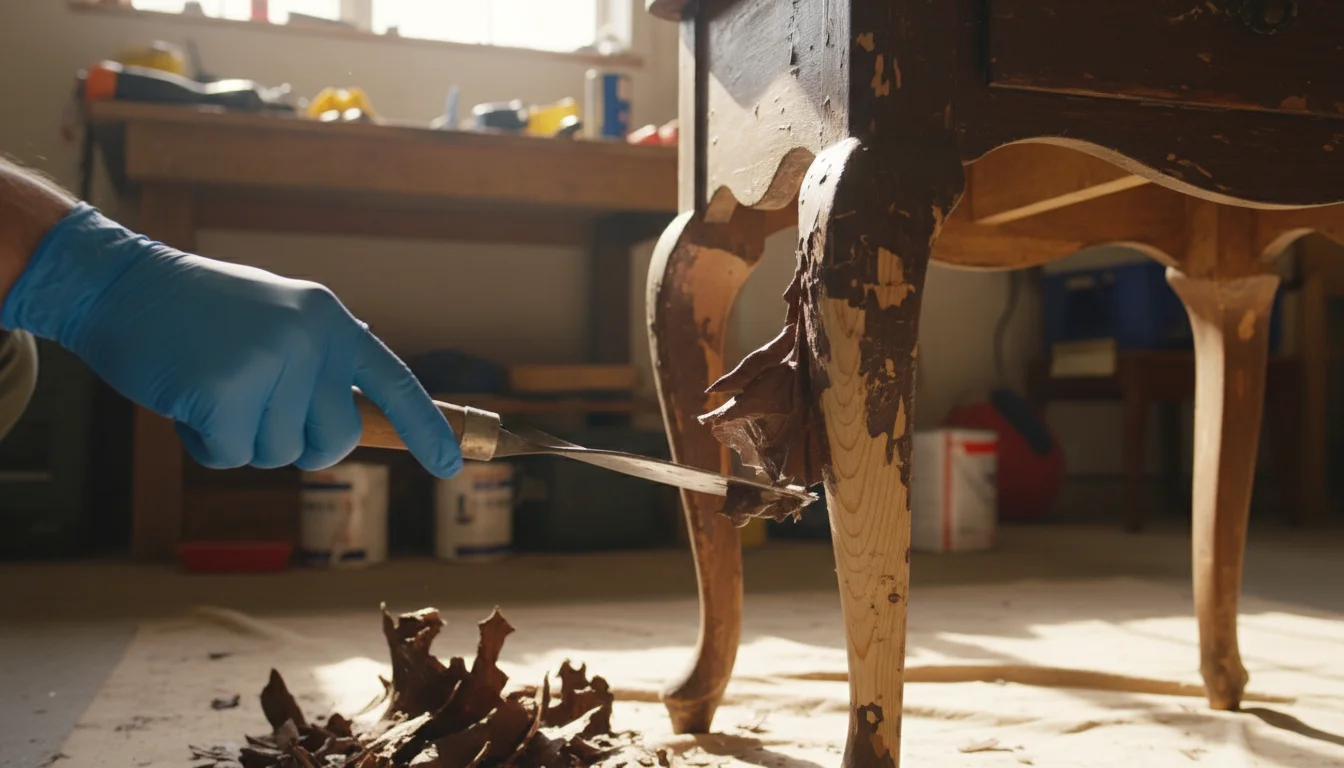
Option A: Chemical Stripping (for thick, stubborn finishes)
Chemical strippers dissolve old finishes, making them easier to scrape off. This method works well for intricate details or very thick layers of old paint.
- Apply Stripper: Work in a well-ventilated area. Apply a thick, even layer of chemical stripper with a brush, following the product’s instructions.
- Wait: Allow the stripper to work for the recommended time. You will see the old finish bubble and lift.
- Scrape: Use a plastic or metal scraper to gently remove the softened finish. Use steel wool for curved or detailed areas.
- Neutralize and Clean: Follow the stripper’s instructions for neutralizing the surface (often with water or mineral spirits). Wipe thoroughly and let it dry completely.
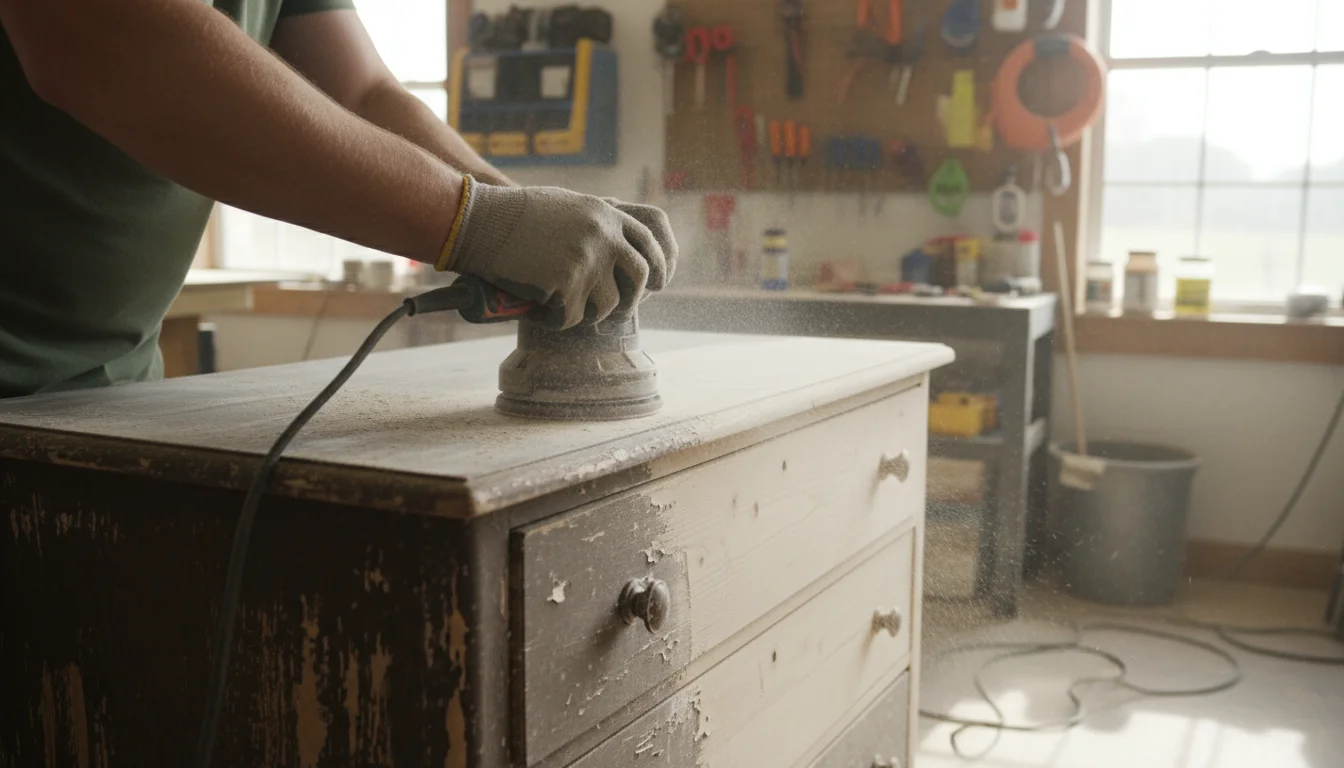
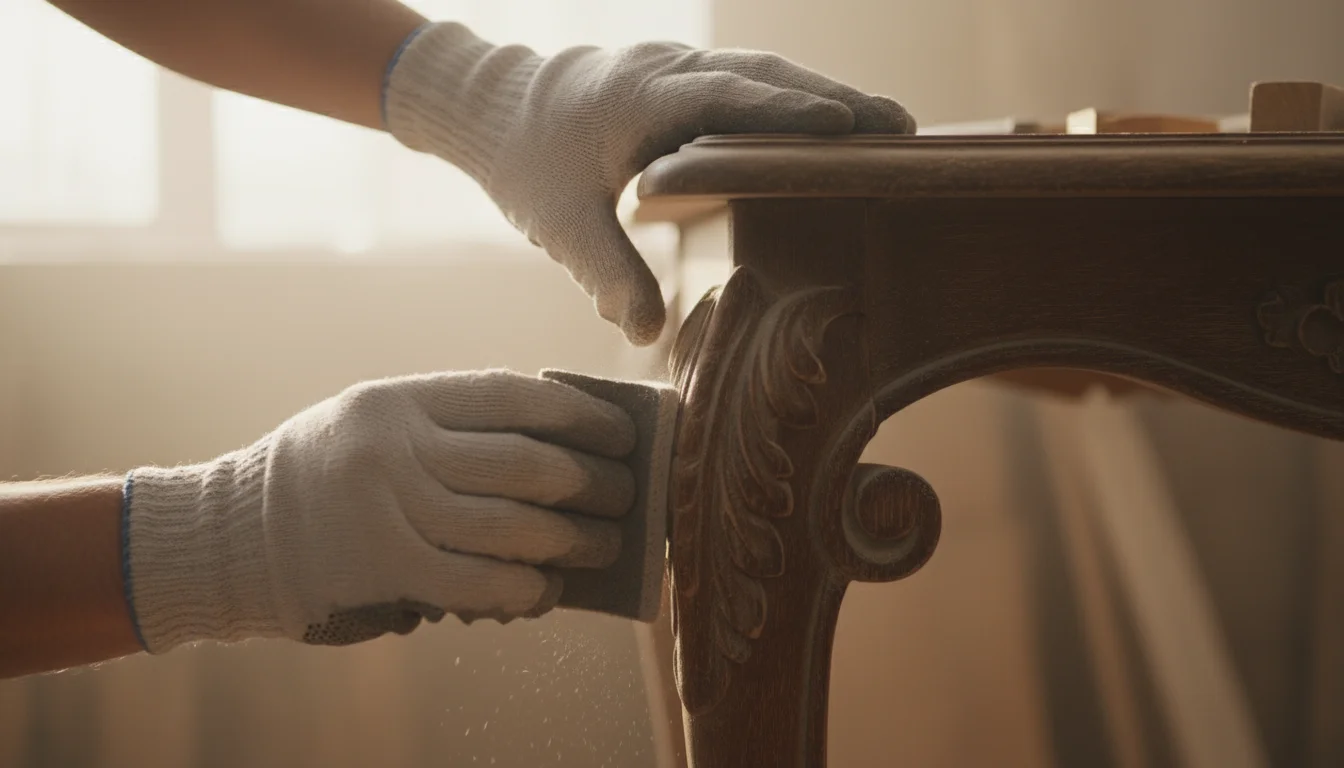
Option B: Sanding (for thinner finishes or to prep bare wood)
Sanding is often less messy than stripping and provides excellent surface preparation.
- Start with Coarse Grit (80-100): If removing an old finish or deep imperfections, begin with coarser sandpaper. Use an orbital sander for large flat surfaces, moving with the wood grain. For intricate areas, use a sanding block or sand by hand.
- Progress to Medium Grit (120-150): Once the old finish is mostly gone and major imperfections are smoothed, switch to a medium grit. This refines the surface and removes scratches from the coarser paper.
- Finish with Fine Grit (180-220): For a smooth, paint-ready or stain-ready surface, do a final pass with fine-grit sandpaper. This creates a uniform texture that accepts finish beautifully.
- Clean Thoroughly: After sanding, wipe down the entire piece with a tack cloth or a damp cloth to remove all dust. Dust acts as a barrier to adhesion.
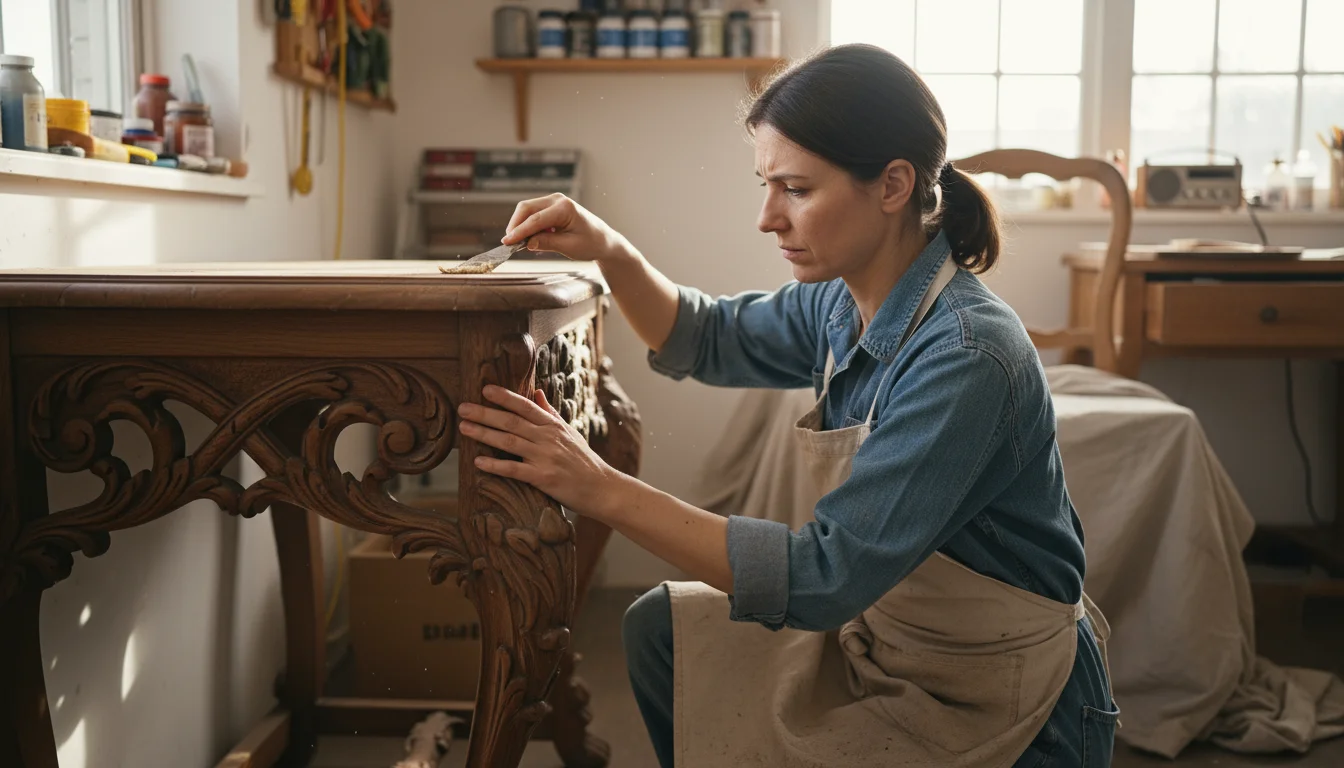
3. Repair and Refine
Address any remaining imperfections before applying your finish.
- Fill Imperfections: Use wood filler to patch small holes, deep scratches, or gouges. Apply it with a putty knife, slightly overfilling the area.
- Sand Smooth: Once the wood filler dries (check product instructions), sand the filled areas smooth and flush with the surrounding wood, using fine-grit sandpaper.
- Final Dusting: Wipe down the entire piece again with a tack cloth to ensure no dust remains.
4. Priming for a Perfect Finish
You might think you can skip primer, but it is a critical step, especially on older pieces or if you are painting a light color over dark wood.
- Apply Primer: Use a good quality, stain-blocking primer. Apply thin, even coats with a brush or roller. Avoid drips.
- Sand Lightly (Optional): After the primer dries, you can do a very light sanding with 220-grit sandpaper to smooth out any brush marks or imperfections. Clean off dust with a tack cloth.
- Apply Second Coat (if needed): Some pieces benefit from a second coat of primer, particularly if the wood still shows through or if you are covering a very dark color.
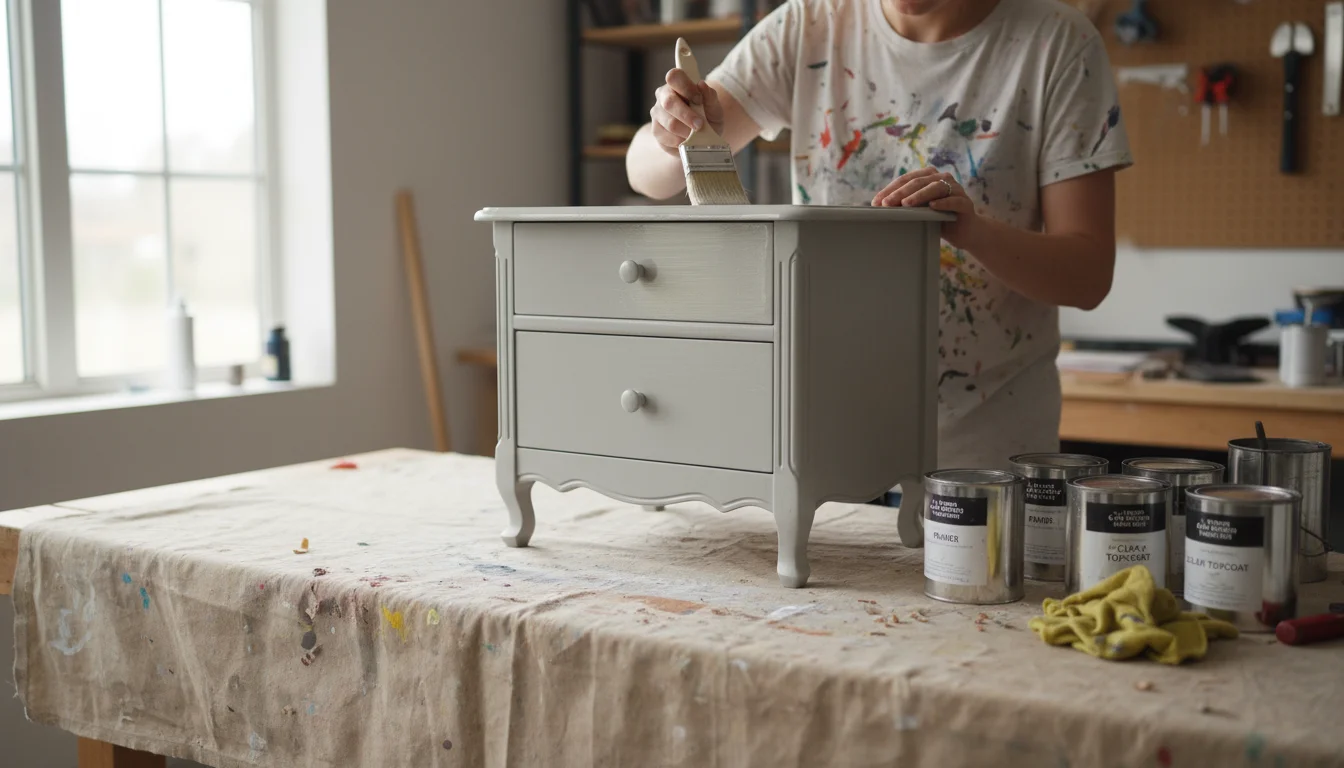
5. Painting or Staining: Adding Color and Depth
This is where your vision comes to life.
For Painting:
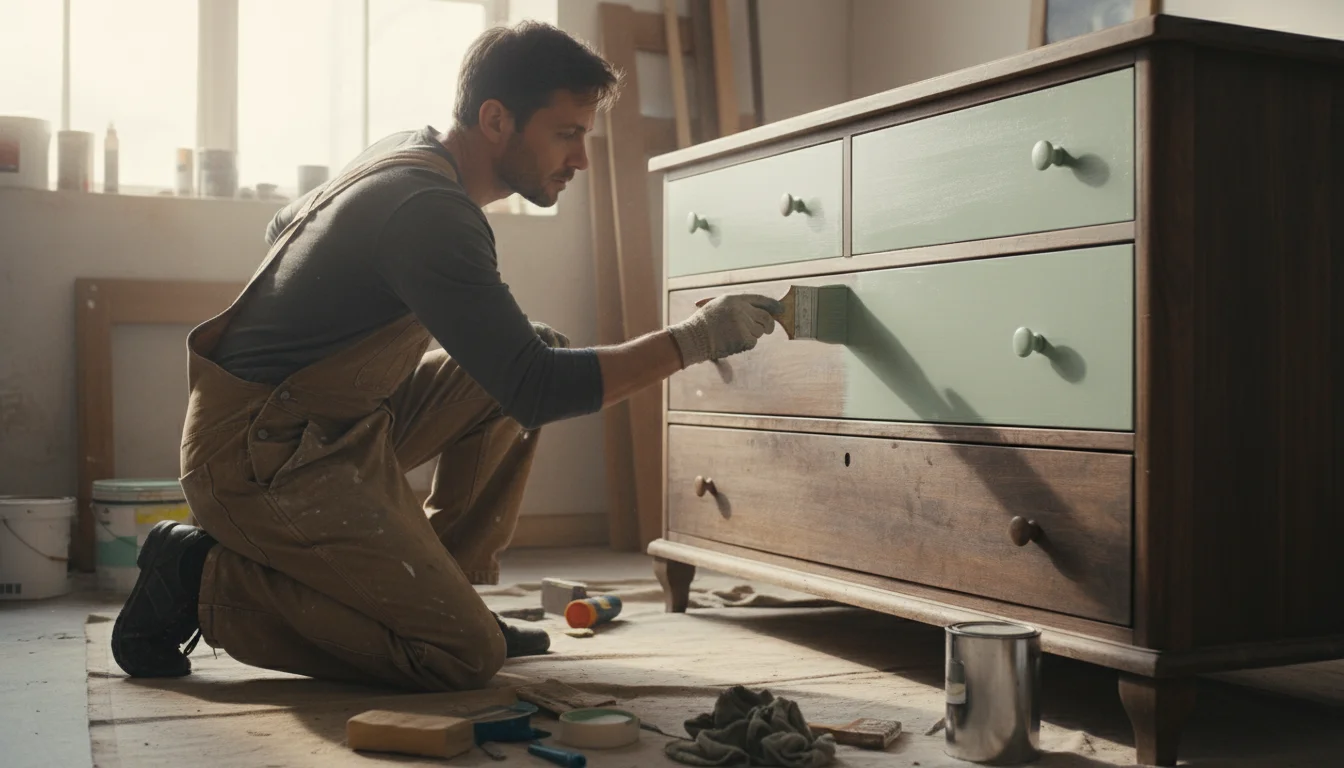
- Apply First Coat: Use a high-quality brush or roller. Apply thin, even coats. Avoid applying too much paint at once, which leads to drips and uneven drying.
- Dry and Lightly Sand: Allow each coat to dry completely. Lightly sand with 220-grit sandpaper between coats to smooth out imperfections and improve adhesion. Clean off dust.
- Apply Additional Coats: Continue applying thin coats, sanding lightly, and cleaning dust until you achieve full, even coverage. Most projects require 2-3 coats.
For Staining:
- Test Stain: Always test your stain on an inconspicuous area of the furniture or a scrap piece of the same wood to ensure you like the color.
- Apply Stain: Apply stain with a brush or rag, working with the wood grain. Allow it to penetrate for the recommended time (check product instructions).
- Wipe Off Excess: Use a clean rag to wipe off any excess stain, again, working with the wood grain. If you leave too much stain on, it will not dry properly and can become gummy.
- Apply Additional Coats (if desired): For a darker color, apply additional coats, allowing proper drying time between each, and wiping off excess.
6. The Protective Topcoat
This final step seals your hard work, protecting it from wear and tear. Do not skip this.
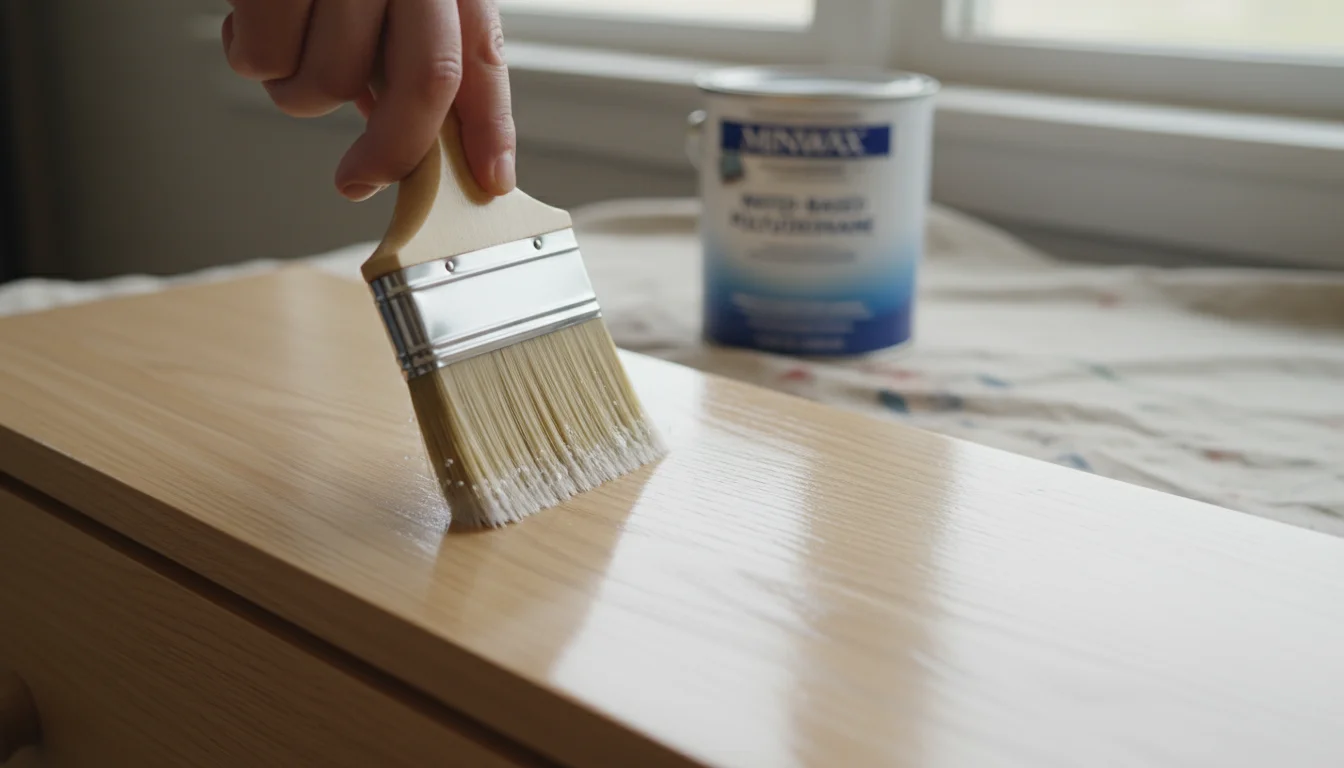
- Choose Your Topcoat: Polyurethane (water-based or oil-based) offers excellent durability. Water-based polyurethane dries faster and cleans up with water. Oil-based offers a slightly warmer tone and high durability. Clear wax provides a softer, matte finish, often used over chalk paint. Lacquer offers a hard, durable finish, but is more challenging to apply.
- Apply Thin Coats: Apply several thin, even coats of your chosen topcoat. Avoid pooling or drips.
- Sand Lightly (Optional): For an ultra-smooth finish, lightly sand with 400-grit sandpaper or very fine steel wool between the first few coats of polyurethane. Clean off dust with a tack cloth before applying the next coat.
- Allow Full Cure Time: While the topcoat may feel dry to the touch in a few hours, it takes several days, or even weeks, to fully cure and reach maximum hardness. Handle the piece carefully during this time.
Beyond the Basics: Creative Finishes and Techniques
Once you master the fundamentals of furniture refinishing, you can explore exciting techniques to truly personalize your pieces. This is where your creativity shines, transforming simple items into artistic focal points.
- Distressing and Antiquing: Achieve a charming, aged look by strategically sanding through layers of paint on edges and corners. You can also apply an antiquing glaze or a dark wax over your base paint color to settle into crevices, enhancing details and adding depth. This technique creates a sense of history and warmth.
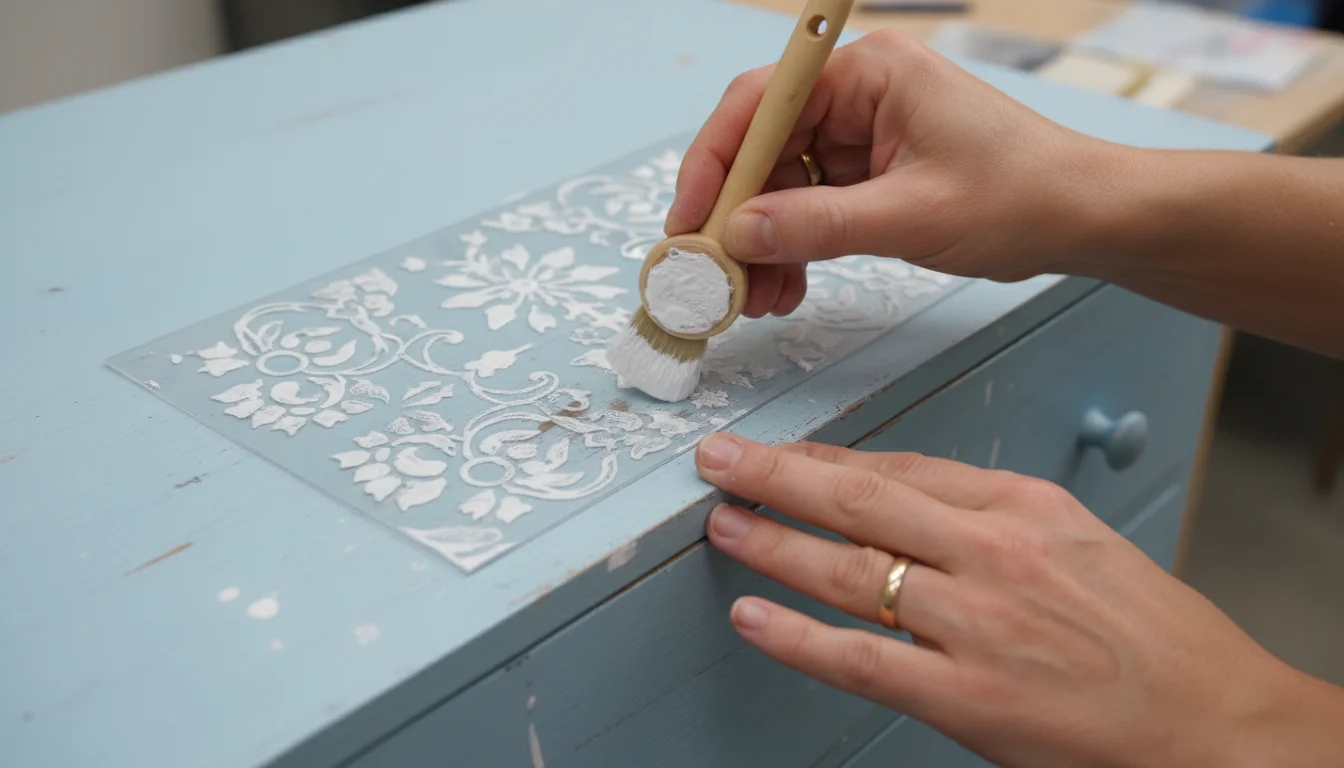
- Stenciling: Add intricate patterns or designs to tabletops, drawer fronts, or cabinet panels using stencils. Choose a contrasting color for a bold statement, or a subtle tone for a more delicate effect. This offers an immediate artistic upgrade.
- Two-Tone or Color Blocking: Paint different sections of a piece in contrasting or complementary colors. For example, paint the body of a dresser one color and the drawer fronts another. This modern approach adds visual interest and highlights different elements of the furniture’s design.
- Hardware Upgrades: Sometimes, the simplest change makes the biggest impact. Replace old, dated knobs and pulls with new ones that match your desired aesthetic. Modern pulls, vintage-inspired knobs, or even unique handmade hardware instantly elevate the piece. You find a wide range of options at home improvement stores and online retailers.
- Adding New Materials: Consider applying contact paper, wallpaper, or fabric to drawer interiors or cabinet backs. This unexpected pop of pattern or texture adds a luxurious, custom feel without extensive woodworking. It is an easy way to infuse personality.
By experimenting with these techniques, you move beyond mere refurbishment. You actively engage in upcycling, creating a truly bespoke piece of DIY furniture that reflects your individual style and enhances your home.
Troubleshooting Common Refinishing Problems
Even experienced DIYers encounter hiccups. Knowing how to address common issues saves you frustration and ensures a successful outcome. Do not get discouraged; you can fix most problems.
- Uneven Finish or Patchy Color:
- Cause: Inconsistent sanding, poor surface preparation, uneven application of paint/stain.
- Fix: If painting, apply another thin coat. Ensure you use an even pressure with your brush or roller. If staining, sand back the patchy areas and reapply. Remember to sand evenly across the entire surface before applying any finish.
- “Bleed-Through” or Stains Showing Through Paint:
- Cause: Old wood sometimes contains tannins (natural wood dyes) or previous oil-based finishes that bleed through new water-based paint, causing yellow or pinkish stains.
- Fix: This indicates inadequate priming. You need a good quality, oil-based, stain-blocking primer. Apply a coat or two, let it dry completely, and then proceed with your paint. Do not attempt to cover bleed-through with more paint; it will likely continue to show through.
- Drips or Brush Marks:
- Cause: Applying too much product, not spreading it evenly, or using a low-quality brush/roller.
- Fix: For fresh drips, gently brush them out. If dry, carefully sand the drip smooth with fine-grit sandpaper (220-320 grit) and apply another thin coat of your finish. Use lighter coats and a quality brush or roller for a smoother application.
- Peeling or Chipping Paint:
- Cause: Most often, this points to poor surface preparation. The paint did not adhere properly because of dirt, grease, or an insufficiently sanded surface.
- Fix: You need to sand down the peeling areas until smooth, clean thoroughly, and potentially re-prime before repainting. Unfortunately, this often means redoing the affected section. Proper preparation prevents this frustration.
- Bumps or Dust in the Finish:
- Cause: Dust in your work area settles on wet paint or topcoat.
- Fix: Lightly sand the affected area with very fine-grit sandpaper (400-600 grit) or a fine sanding sponge once the finish is dry. Wipe with a tack cloth and apply another thin coat. Always work in a clean, dust-free environment and wipe down your piece thoroughly before each coat.
As experts at Bob Vila emphasize, addressing problems early saves significant effort. Learning from these common mistakes improves your technique for future DIY furniture projects.
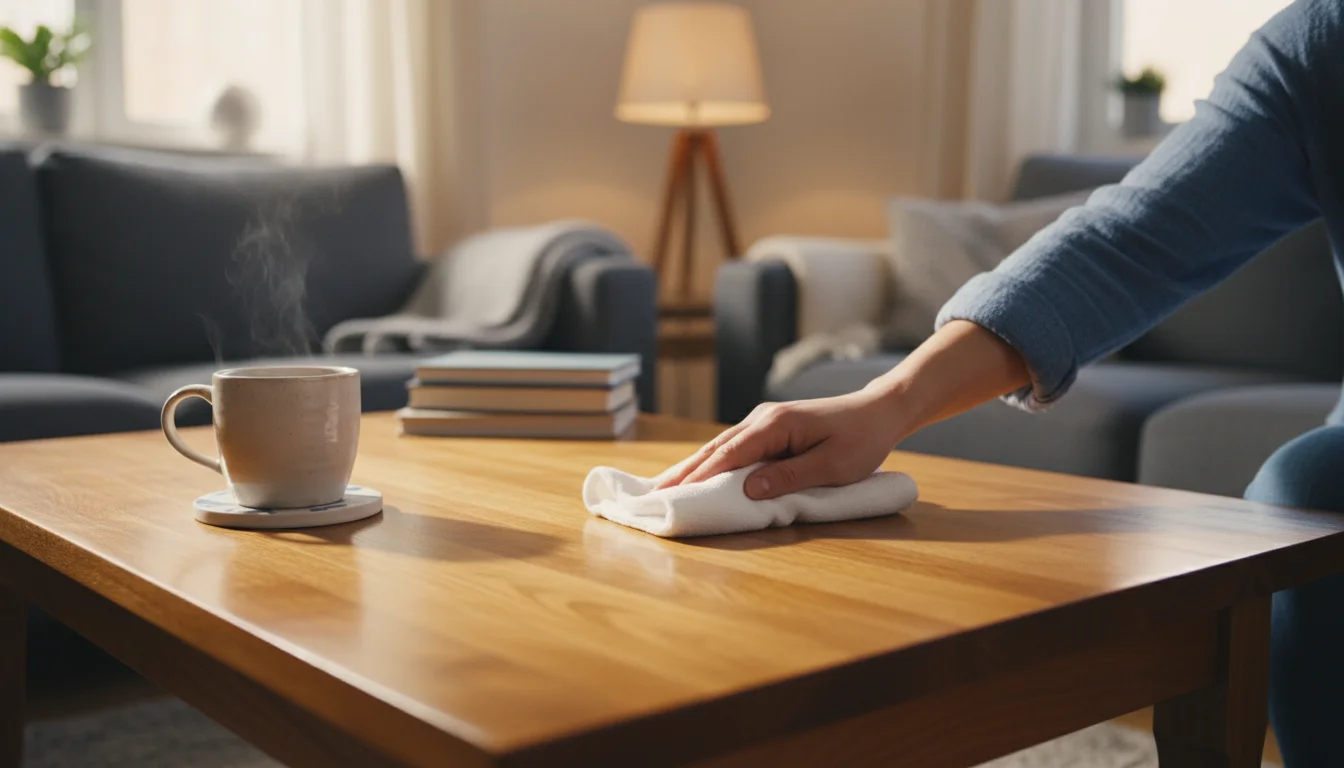
Maintaining Your Refinished Treasure
You have invested time and effort into creating a beautiful, unique piece of upcycled furniture. Now, ensure it stays looking fantastic for years to come. Proper care and maintenance protect your work and prolong the life of your refinished treasure.
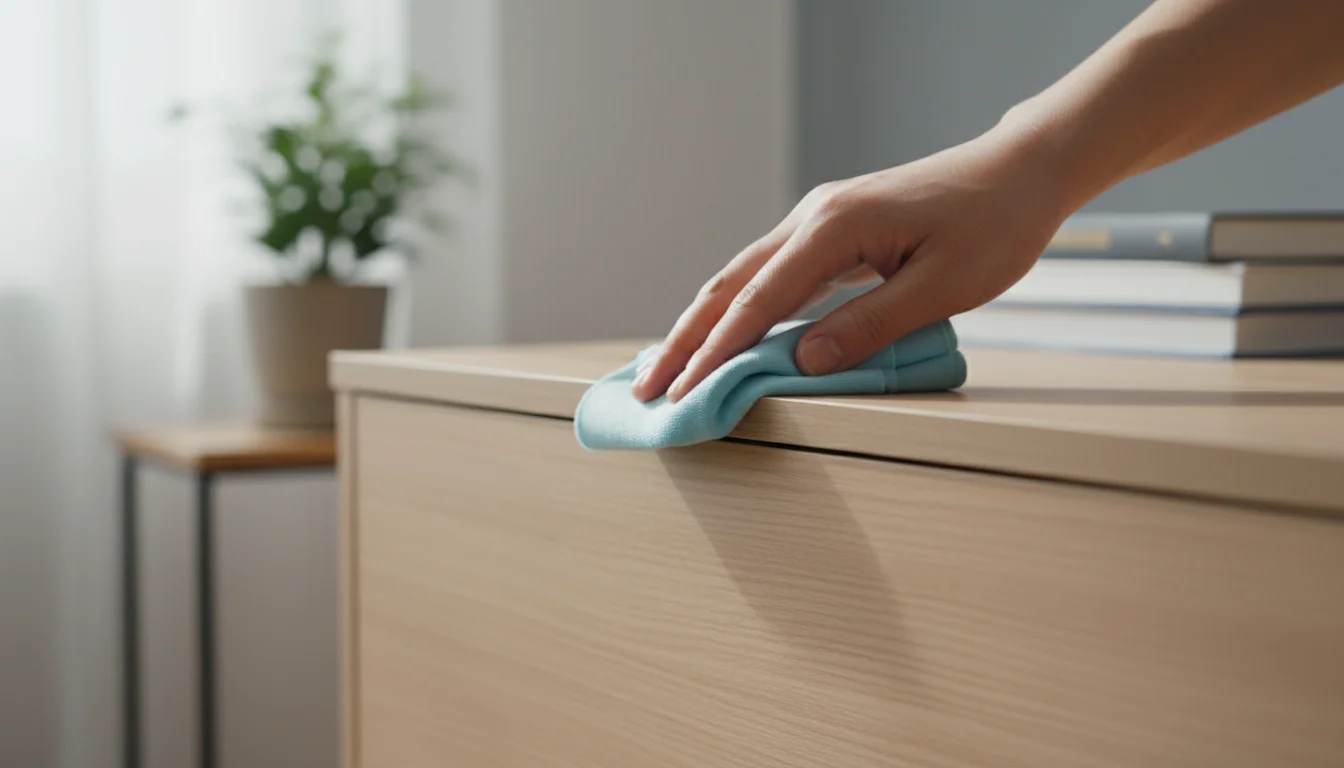
- Regular Cleaning: Use a soft, damp cloth to wipe down your furniture regularly. Avoid harsh chemical cleaners, especially those with ammonia or abrasive agents, as they can dull or damage your finish. For tougher spots, a mild soap solution (like a drop of dish soap in water) works well. Always dry the surface immediately with a clean, soft cloth.
- Protect from Moisture: Coasters and placemats are your best friends. Prevent water rings and moisture damage by using protective barriers under drinks and hot dishes. Immediately wipe up any spills. Water can seep into the finish and cause swelling or discoloration over time.
- Avoid Direct Sunlight: Prolonged exposure to direct sunlight causes fading, especially with stained pieces or certain paint colors. Position your refinished furniture away from direct, harsh sunlight, or use window treatments to diffuse the light.
- Handle with Care: When moving items on or across the furniture surface, lift them rather than dragging. This prevents scratches and scuffs. Place felt pads under lamps, vases, or decorative objects to protect the finish.
- Reapply Topcoat (as needed): Depending on usage, the protective topcoat might wear down over several years. If you notice dullness or minor scratches, you can lightly sand the surface with very fine-grit sandpaper (e.g., 600 grit) and apply a fresh, thin coat of your original topcoat. This revitalizes the finish and adds another layer of protection.
By following these simple maintenance tips, your furniture refinishing project remains a beautiful and functional addition to your home for many years. Consider your new piece a long-term investment in your home’s comfort and style. The CDC provides valuable guidance on safe cleaning practices, which you can adapt for your furniture, focusing on gentle methods and avoiding harsh abrasives.

Frequently Asked Questions
Can I refinish veneer furniture?
Yes, you can refinish veneer furniture, but it requires more caution. Veneer is a thin layer of wood applied over a less attractive base. You must sand very lightly, usually by hand, to avoid sanding through the veneer. Chemical strippers are generally not recommended for veneer, as they can loosen the adhesive and cause the veneer to peel or bubble. Focus on a light scuff sanding and then apply a bonding primer before painting. Staining veneer is often more challenging to achieve a uniform look if the veneer is damaged or has varying thickness.
How long does the refinishing process take?
The time it takes varies significantly depending on the size and complexity of the piece, the condition of the original finish, and your chosen new finish. A small end table might take a weekend, while a large dresser or dining table could take several weekends or even a few weeks, accounting for drying and curing times between coats. Preparation (cleaning, sanding, repairs) often takes the most time. Factor in at least 24 hours of drying time between most coats of primer, paint, and topcoat.
What’s the best paint for furniture?
Several types of paint work well for furniture, and the “best” depends on your desired look and durability needs. Acrylic latex paint offers good durability, easy cleanup, and a wide color range. Chalk paint creates a matte, distressed look with minimal prep. Milk paint also provides a matte finish and adheres well. For high-traffic pieces, consider an enamel paint or ensure you apply a very durable topcoat like a good quality polyurethane over your chosen paint. Always choose a paint designed for interior use and for adhesion to wood or previously painted surfaces.
Do I need to sand all the way down to bare wood?
Not always. If the existing finish is in good condition, firmly adhered, and you plan to paint, a thorough cleaning and a “scuff sand” (light sanding with 150-220 grit sandpaper) to dull the surface and create “tooth” for the new paint to adhere to is often sufficient. However, if the old finish is peeling, flaking, severely damaged, or if you plan to stain the piece, you must sand or strip down to bare, raw wood to achieve a smooth, even result.
Is furniture refinishing messy?
Yes, furniture refinishing can be quite messy. Sanding generates a lot of dust, and paint and stain can drip or splash. You should always work in a designated area, preferably outdoors or in a garage, and lay down drop cloths or old sheets to protect your floors and surrounding items. Wearing old clothes, gloves, and a mask is essential. Proper cleanup involves vacuuming up dust, wiping surfaces, and safely disposing of rags soaked in chemicals or oil-based products.
Your journey from thrift store to treasure offers immense rewards. You create a unique, meaningful piece for your home, save money, and contribute to a more sustainable lifestyle. Embrace the process, learn from each step, and enjoy the satisfaction of transforming something old into something beautifully new. Your next DIY furniture project awaits.
For expert home organization guidance, visit
Martha Stewart — Home, Houzz — Home, The Spruce — Home Organization, Real Simple — Organizing and Good Housekeeping — Organization.
Disclaimer: This article is for informational purposes only and is not a substitute for professional advice. Consult professional organizers or specialists for personalized recommendations.


Leave a Reply