As a renter, you often feel limited in how you personalize your living space. Landlords typically frown upon permanent changes, leaving you longing for design solutions that reflect your style without risking your security deposit. You want to make your rental feel like home, but without the hassle or the financial commitment of major renovations. This is where the magic of removable wallpaper comes in.
If you are planning a complete budget-friendly room makeover, temporary wall patterns are a high-impact first step.
If you’re looking for floor or backsplash solutions that are just as easy to install, consider checking out the best peel and stick tile for renters for a total room makeover.
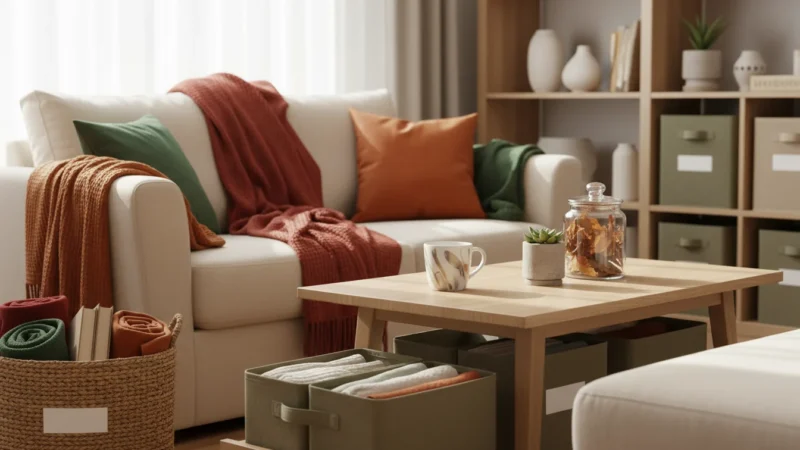
Applying temporary patterns is one of the most effective budget-friendly ways to make your living room cozier without a long-term commitment.
Removable wallpaper offers an incredible opportunity to transform your walls, furniture, and even small decor items, providing a burst of personality that’s completely renter friendly. It allows you to experiment with colors, patterns, and textures, creating a space you truly love, then easily remove it when it’s time to move out. You gain the freedom to refresh your decor on a whim, making it an ideal choice for anyone seeking temporary decor solutions.
What is Removable Wallpaper?
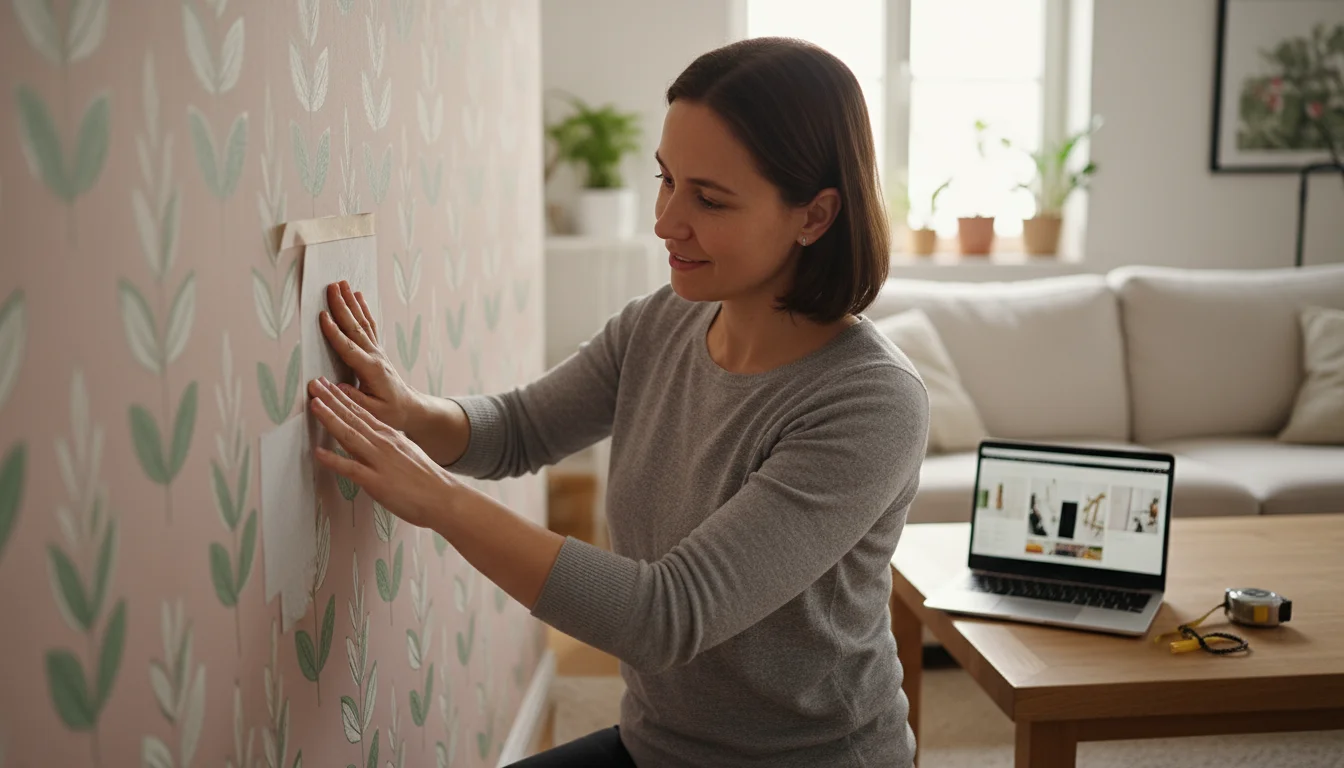
Removable wallpaper, often called peel-and-stick wallpaper, acts as a temporary wall covering designed for easy application and damage-free removal. Unlike traditional wallpaper that uses a messy paste, removable options feature an adhesive backing. You simply peel off the liner, stick the paper to your wall, and smooth it into place. When you no longer want it, you gently peel it away, leaving your wall surface intact.
Manufacturers engineer the adhesive specifically to be strong enough to stay put but gentle enough to release without damaging paint or leaving residue. This makes it a standout choice for anyone living in a rental property or those who love to change their home decor frequently. You get the aesthetic appeal of wallpaper without the permanence or commitment.
Why Renters Love Temporary Decor
Living in a rental often means navigating strict rules about wall alterations. You might find yourself staring at bland, off-white walls, yearning for a splash of color or a captivating pattern. Removable wallpaper bridges this gap, providing a creative outlet that adheres to your lease terms. You gain immense flexibility to personalize your space, making it feel truly yours, without the fear of losing your security deposit.
This flexibility is essential when using creative room divider ideas to create distinct zones in an open-plan home.
This type of customization is particularly helpful when following studio apartment layout tips to define different zones in a single room.
Consider the benefits. You can transform a dull accent wall into a vibrant focal point, add a whimsical pattern to a child’s room, or create a sophisticated backdrop in your home office. This temporary decor allows you to experiment with bold trends or subtle textures. When your lease ends, or your style evolves, you simply peel it off. According to Apartment Therapy, renters often seek versatile design solutions that allow for personal expression without permanent alteration, and removable wallpaper perfectly fits this need. It’s a low-risk, high-reward way to elevate your living environment.
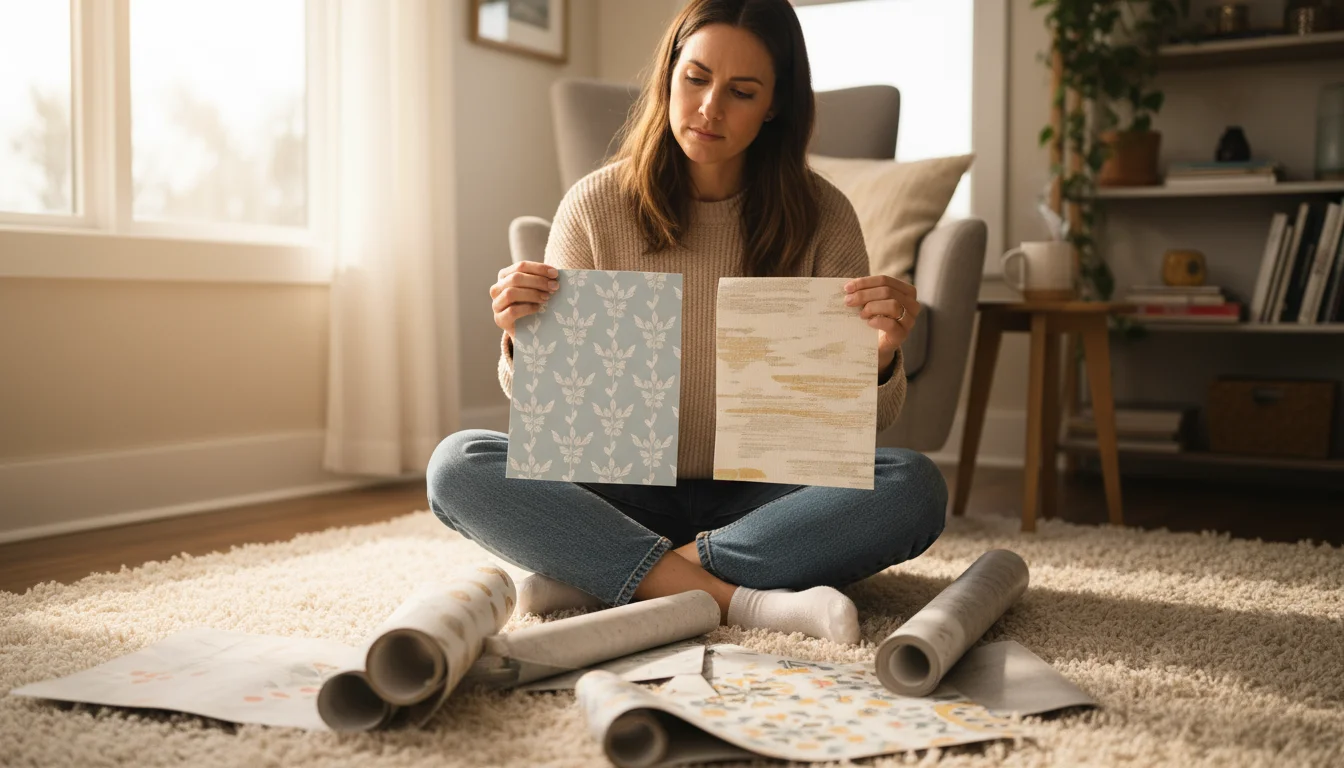
Key Features to Look for in Renter-Friendly Wallpaper
Not all removable wallpaper is created equal. When selecting the best option for your rental, several key features ensure a positive experience from application to removal. Prioritizing these characteristics helps you achieve a beautiful, damage-free result.
- Adhesion Strength: Look for a medium-tack adhesive. It needs to stick securely to your wall without peeling prematurely, but it must also release cleanly. Avoid anything labeled “permanent” or “high-tack.”
- Material Composition: Removable wallpapers typically come in vinyl or fabric-based options. Vinyl offers excellent durability and water resistance, making it suitable for high-traffic areas or even bathrooms. Fabric-based options provide a softer, more luxurious feel, often making them more forgiving during application as they stretch less.
- Breathability: Consider options that allow your walls to “breathe” to some extent, especially in humid environments. Some materials, particularly certain types of vinyl, can trap moisture, potentially leading to issues. Fabric-based papers generally offer better breathability.
- Durability and Cleanability: Your wallpaper should withstand everyday wear and tear. Look for materials that resist tears and scuffs. Most removable wallpapers are wipeable, meaning you can clean them with a damp cloth, which is essential for maintaining their fresh appearance.
- Pattern Match and Repeat: If you choose a patterned design, understand the pattern repeat. A larger repeat means you use more material to align the pattern across strips. Simpler, smaller patterns, or random designs, minimize waste and simplify installation.
- Ease of Repositioning: High-quality removable wallpapers allow you to reposition them multiple times during application without losing adhesive strength. This feature proves invaluable for achieving perfect alignment and smoothing out bubbles.
Selecting wallpaper with these attributes ensures you choose a product that performs well and keeps your rental property in excellent condition.
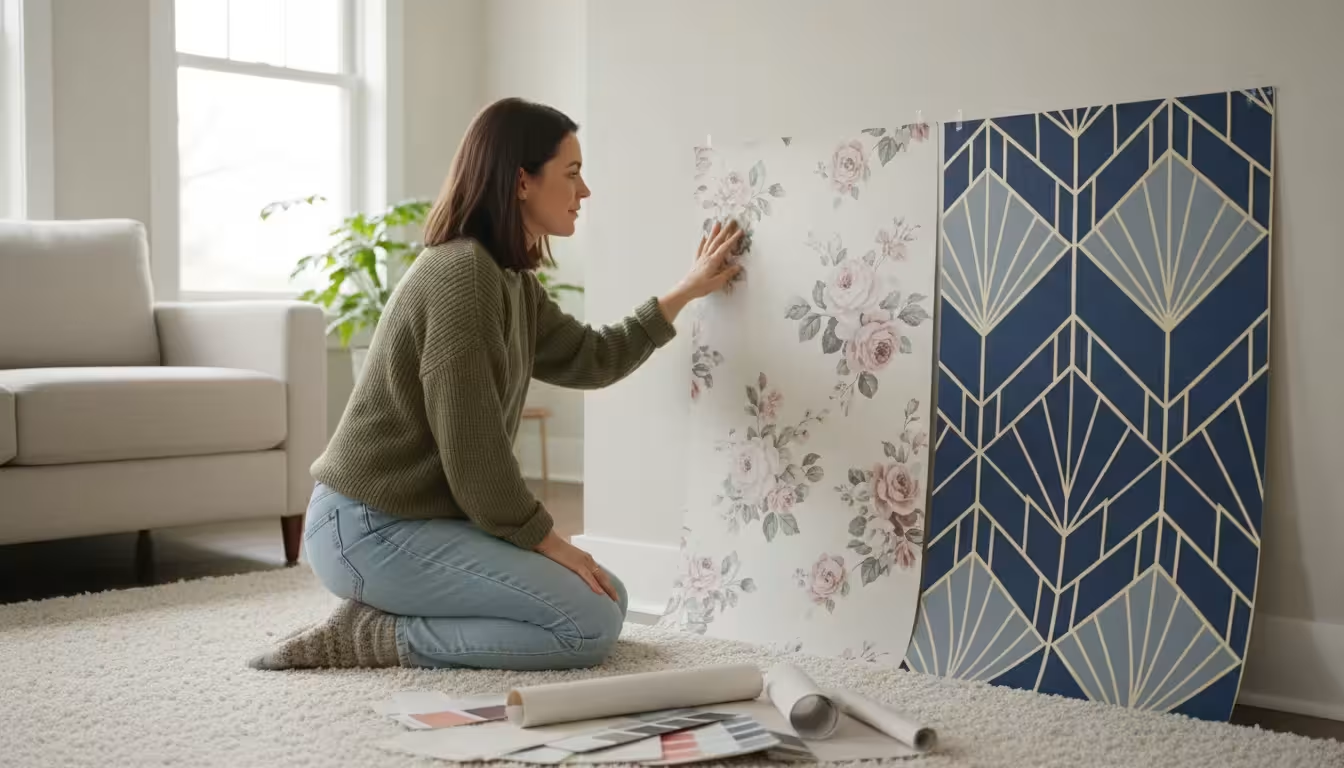
Types of Removable Wallpaper for Your Home
The market offers a diverse range of removable wallpaper types, each bringing unique benefits and aesthetic qualities. Understanding these differences helps you select the perfect option for your specific decor needs and lifestyle. Here, we break down common types, giving you a clear comparison.
| Type of Removable Wallpaper | Pros | Cons |
|---|---|---|
| Peel-and-Stick Vinyl | Affordable, vast design selection, highly durable, easy to clean, water-resistant. | Can stretch during application, less breathable, visible seams with some patterns. |
| Fabric-Based (Polyester/Canvas) | More forgiving for beginners (less stretching), breathable, textured finish, premium feel, often reusable. | Higher cost, less water-resistant than vinyl, fewer patterns available. |
| Textured/Embossed | Adds depth and dimension, hides minor wall imperfections, sophisticated look. | Can be harder to clean (texture traps dust), patterns might be harder to align, limited designs. |
| Metallic or Gloss Finish | Reflects light, creates a luxurious or dramatic effect, easy to wipe clean. | Shows imperfections on the wall more readily, can be tricky to apply without bubbles. |
| Chalkboard/Whiteboard | Functional and interactive, perfect for kids’ rooms or home offices, easily cleaned. | Limited aesthetic choices, primarily a solid color, not ideal for decorative accent. |
When selecting your wallpaper, consider the room’s function. For a bathroom or kitchen backsplash, a durable, water-resistant vinyl might be best. For a bedroom accent wall, a fabric-based option offers a softer, more inviting ambiance. As The Spruce advises, understanding the material is key to both application success and long-term satisfaction with your temporary decor.

Preparing Your Walls for Application
Proper wall preparation forms the foundation of a successful removable wallpaper installation. Skipping these crucial steps can lead to poor adhesion, bubbles, or even damage upon removal. Invest the time upfront, and you will achieve a professional-looking, long-lasting finish.
Labeling your leftover rolls with one of the best label makers is a great way to keep your storage closet tidy for future touch-ups.
Clear your workspace before beginning by utilizing vertical storage solutions to keep your tools and wallpaper rolls organized.
- Clean Your Walls Thoroughly: Dust, grime, and grease prevent the adhesive from sticking properly. Use a mild soap and water solution or a diluted all-purpose cleaner. Wipe down your walls, then rinse with a clean, damp cloth. Allow the walls to dry completely, ideally for 24 hours, before proceeding.
- Repair Imperfections: Fill any nail holes or cracks with spackle. Smooth the surface with fine-grit sandpaper after the spackle dries. You want a completely flat and smooth wall for the best results. Even minor bumps or textures will show through the wallpaper.
- Prime if Necessary: While not always required, priming can significantly improve adhesion and ensure damage-free removal, especially on freshly painted walls, highly textured surfaces, or dark-colored walls that might bleed through lighter wallpaper. Use a high-quality, water-based primer. Allow it to cure fully according to the manufacturer’s instructions, typically 3-7 days. Experts at This Old House recommend priming for optimal adhesion and longevity of your wall covering.
- Measure Your Space: Accurately measure the height and width of your wall. Add 2-4 inches to both measurements for each strip to allow for trimming. This extra buffer helps accommodate slightly uneven walls and ensures precise pattern matching.
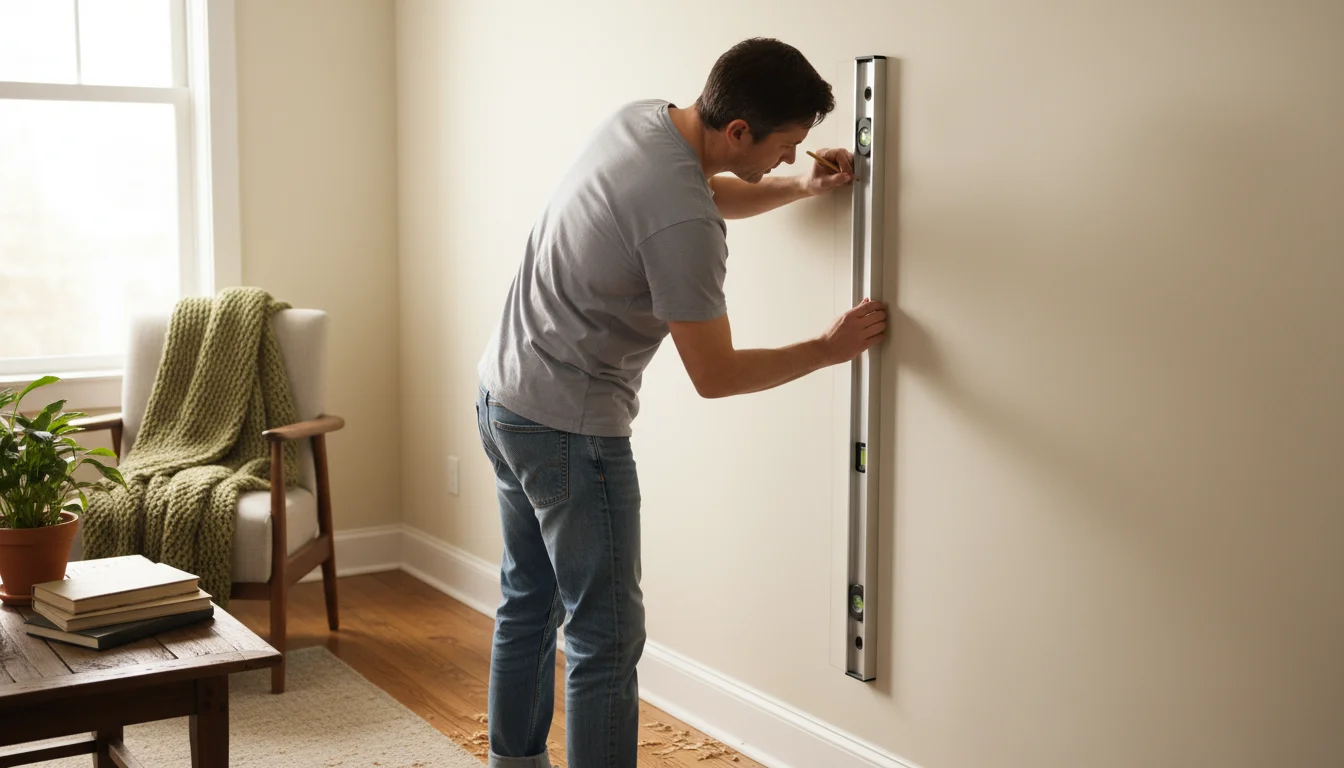
- Gather Your Tools: Have everything ready before you start. You will need a tape measure, pencil, level, sharp utility knife or razor blade, a smoothing tool (like a squeegee or plastic credit card), and a step stool.
These preparatory steps set you up for a smooth application process, leading to a beautiful and durable result.
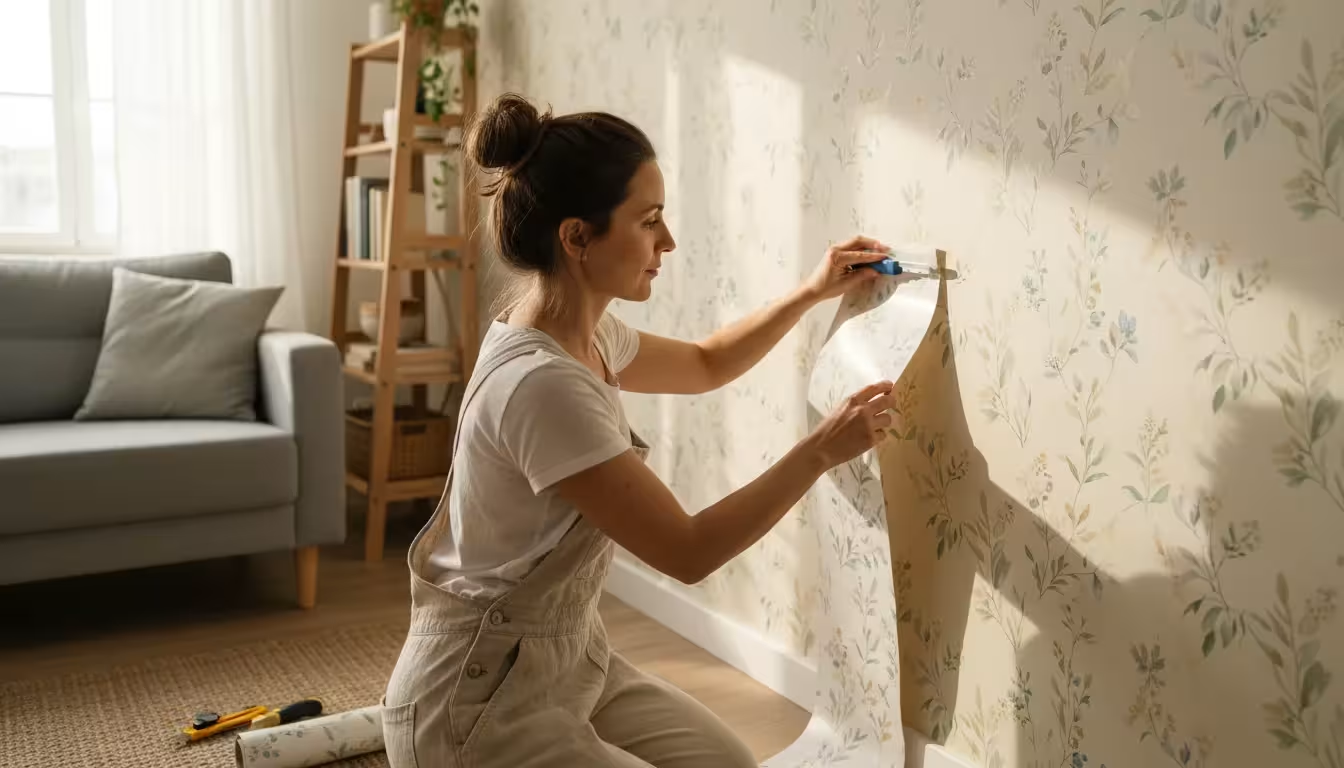
Applying Removable Wallpaper Like a Pro
With your walls prepped and tools at hand, you are ready to apply your removable wallpaper. Take your time with each step; patience makes a significant difference in the final appearance.
- Mark Your Starting Point: Begin in an inconspicuous corner or near a door frame if your wall is visible from multiple angles. For your first strip, draw a vertical line using a level about an inch less than the width of your wallpaper strip from the corner. This ensures your first piece goes on perfectly straight, which is critical for the rest of the installation.
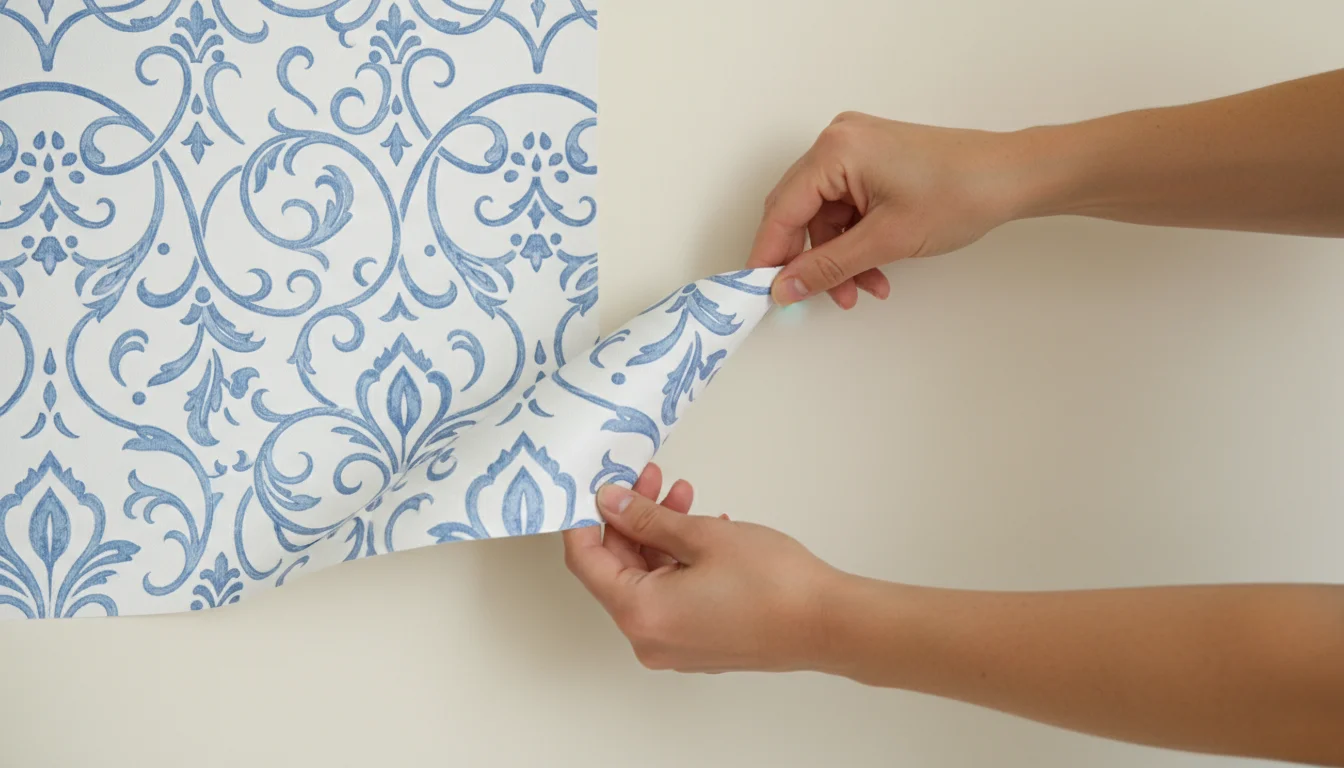
- Peel and Stick the First Strip: Carefully peel back about 6-12 inches of the backing paper from the top of your first strip. Align the exposed edge with your vertical guideline and the top edge of your wall, leaving a few inches of overhang at the ceiling. Slowly press the wallpaper onto the wall, working from the top down.
- Smooth as You Go: As you peel more of the backing paper away (only peel a few inches at a time), use your smoothing tool to press the wallpaper firmly against the wall. Work from the center outwards to push out any air bubbles. If a bubble appears, gently lift the wallpaper and re-smooth it. This is where the repositionable nature of quality removable wallpaper truly helps.
- Trim Excess: Once the first strip adheres completely, use your utility knife and a straight edge (like a ruler or metal scraper) to trim the excess wallpaper at the ceiling and baseboard. A sharp blade ensures a clean cut.
- Apply Subsequent Strips: For the next strip, align its edge with the previous strip. Most removable wallpapers are designed to butt up against each other without overlapping. Pay close attention to matching any patterns seamlessly. If your paper has an overlap instruction, follow it precisely. Repeat the peel, stick, and smooth process.
- Troubleshoot Bubbles: If you find a stubborn bubble you cannot smooth out, use a small pin to prick a tiny hole in the center of the bubble, then gently push the air out.
Working methodically ensures a smooth, professional-looking application. Take breaks if you feel fatigued, and remember that even small imperfections often disappear once you step back and view the entire wall.
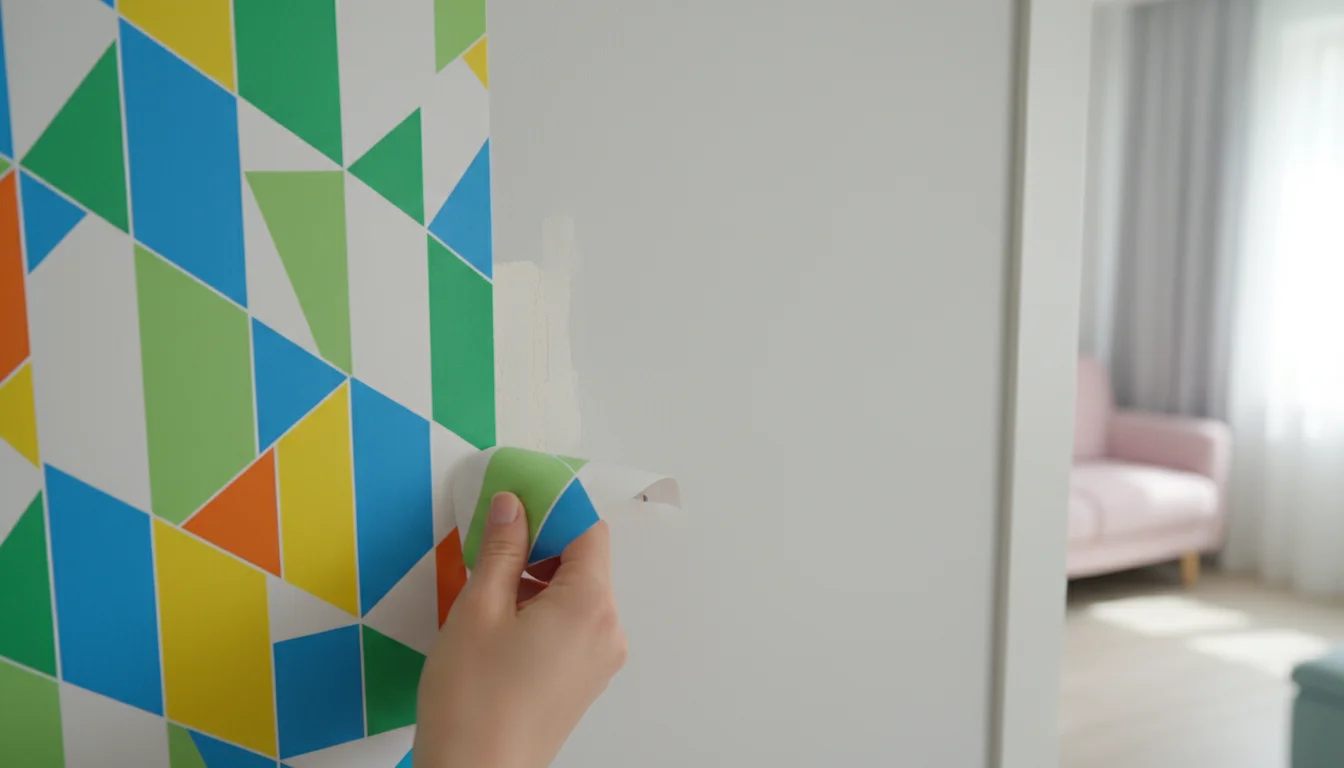
Damage-Free Removal: The Renter’s Guide
The true beauty of removable wallpaper lies in its ability to come off cleanly, leaving your walls pristine. This is paramount for renters who need to restore their space to its original condition. Follow these steps for damage-free removal:
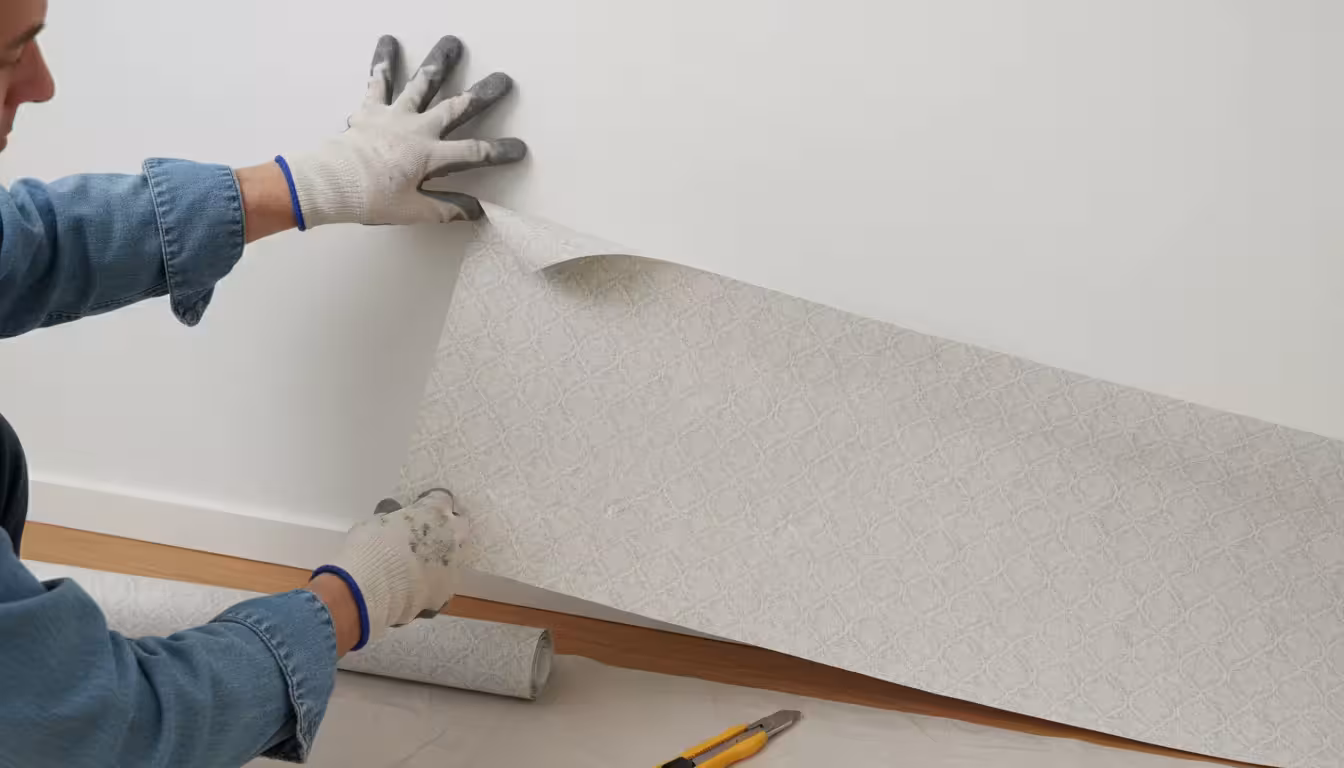
- Start at a Corner: Locate a top corner of a wallpaper strip. Gently begin to peel the paper away from the wall. You might need to use a fingernail or a thin, non-abrasive scraper to get the initial lift.
- Peel Slowly and Steadily: Once you have a grip, pull the wallpaper down and towards you at a 45-degree angle. Pulling too quickly or straight away from the wall can tear the wallpaper or, in rare cases, pull paint off. Maintain a consistent, slow pace.
- Use Gentle Heat (If Needed): If the wallpaper proves particularly stubborn, or if it feels like it might tear the paint, a little heat can help. Use a hairdryer on a low setting, moving it slowly over a small section of the wallpaper as you peel. The warmth softens the adhesive, making it easier to release. Keep the hairdryer moving to prevent overheating any one spot.
- Address Any Residue: High-quality removable wallpaper typically leaves no residue. However, if you find any sticky spots, a gentle adhesive remover designed for walls (test in an inconspicuous area first) or a cloth dampened with rubbing alcohol can help. Wipe gently, then clean the area with mild soap and water. Family Handyman provides excellent resources for home maintenance and damage prevention, including tips for safely removing adhesives.
- Inspect Your Walls: After removing all the wallpaper, inspect your walls carefully for any signs of damage or residue. Take photos for your records.
With careful removal, you ensure your landlord sees perfectly clean walls, preserving your security deposit and reputation as a responsible tenant.
Common Mistakes and How to Avoid Them
Even with renter-friendly removable wallpaper, missteps can occur. Knowing the common pitfalls helps you steer clear of frustration and ensures a successful project.
- Poor Wall Preparation: Applying wallpaper to dirty, dusty, or textured walls causes adhesion issues, leading to peeling or bubbling. Always clean and repair your walls thoroughly before starting.
- Rushing the Process: Impatience often leads to crooked strips, misaligned patterns, or trapped air bubbles. Take your time, measure twice, and work slowly, especially when smoothing out each strip.
- Not Using a Level: Starting with a crooked first strip throws off the entire project. Always use a level to draw a plumb line for your initial strip, ensuring a straight foundation for all subsequent pieces.
- Ignoring Overhang and Trimming: Failing to leave excess wallpaper at the top and bottom makes precise trimming difficult, resulting in gaps or uneven edges. Always allow a few extra inches and trim cleanly with a sharp utility knife after application.
- Pulling the Backing Too Quickly: Peeling off the entire backing at once creates a large, sticky surface that becomes difficult to manage. Peel only 6-12 inches at a time, gradually working your way down the wall.
- Improper Smoothing Technique: Smoothing from the edges inwards traps air. Always smooth from the center of the strip outwards to effectively push air bubbles to the sides.
- Applying to Highly Textured Walls: While some removable wallpapers tolerate minor textures, heavily textured walls prevent good adhesion. The wallpaper might not stick well, or the texture will show through prominently. Consider priming or using a thick, textured wallpaper designed for such surfaces, or opt for other decor solutions.
By avoiding these common mistakes, you ensure a smoother application and a more satisfying result for your temporary decor project.
Creative Uses Beyond Walls
Removable wallpaper offers versatility far beyond simply covering an accent wall. Its peel-and-stick nature makes it an excellent medium for various DIY projects, allowing you to add personality and style to countless items in your rental home. You can transform ordinary objects into unique decor pieces, making the most of this adaptable temporary decor.
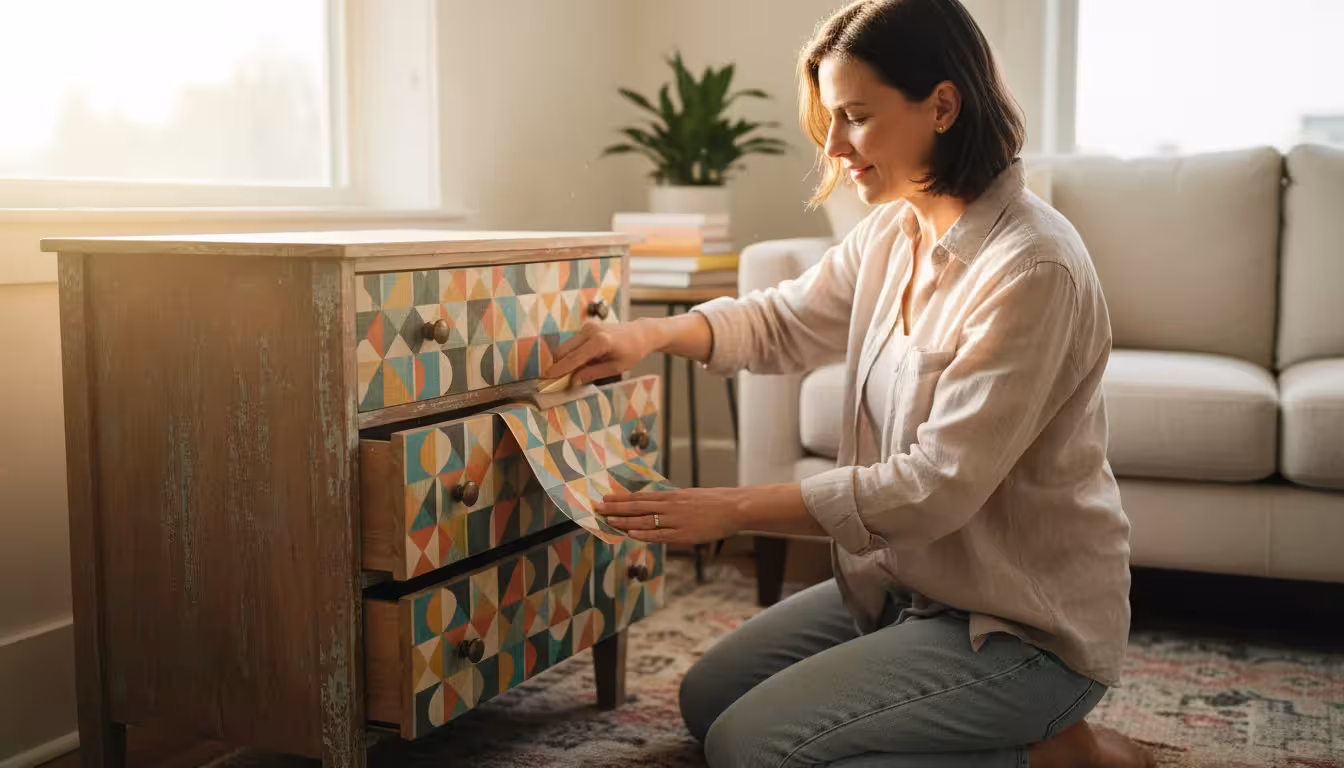
- Refresh Furniture: Give an old dresser a new lease on life by covering the drawer fronts with a vibrant pattern. Apply it to the top of a coffee table for a pop of color or line the back of a bookshelf for a custom look.
- Upgrade Appliances: Believe it or not, you can apply removable wallpaper to smooth appliance surfaces. Add a metallic finish to a refrigerator or a faux wood grain to a dishwasher panel for an instant kitchen upgrade.
- Line Drawers and Shelves: Protect your shelves and drawers while adding a stylish touch. This works wonderfully in kitchen cabinets, bathroom vanities, or even closet shelves.
- Create Faux Backsplashes: Transform your kitchen or bathroom with a temporary backsplash. Choose a tile-effect or geometric pattern to simulate real tiling without any grout or permanent adhesive.
- Adorn Doors and Cabinets: Add a bold pattern to an interior door or refresh kitchen cabinet doors. This creates a custom, high-end appearance with minimal effort.
- Craft Wall Art or Headboards: Cut the wallpaper into interesting shapes or frame pieces to create unique wall art. You can even design a faux headboard above your bed for a dramatic focal point.
- Decorate Risers: Apply strips of removable wallpaper to the risers of your stairs for a surprising and elegant design element.
These creative applications allow you to integrate your chosen pattern and color scheme throughout your living space, providing cohesive and personalized temporary decor. According to Houzz, leveraging materials like removable wallpaper for furniture and smaller accents helps unify design themes across a room, creating a more polished and intentional aesthetic.
Budget-Savvy Strategies for Temporary Decor
You want to personalize your rental without breaking the bank. Removable wallpaper offers a budget-friendly solution, but smart shopping and strategic application help you maximize its impact while minimizing cost. You can achieve a high-end look without the premium price tag.
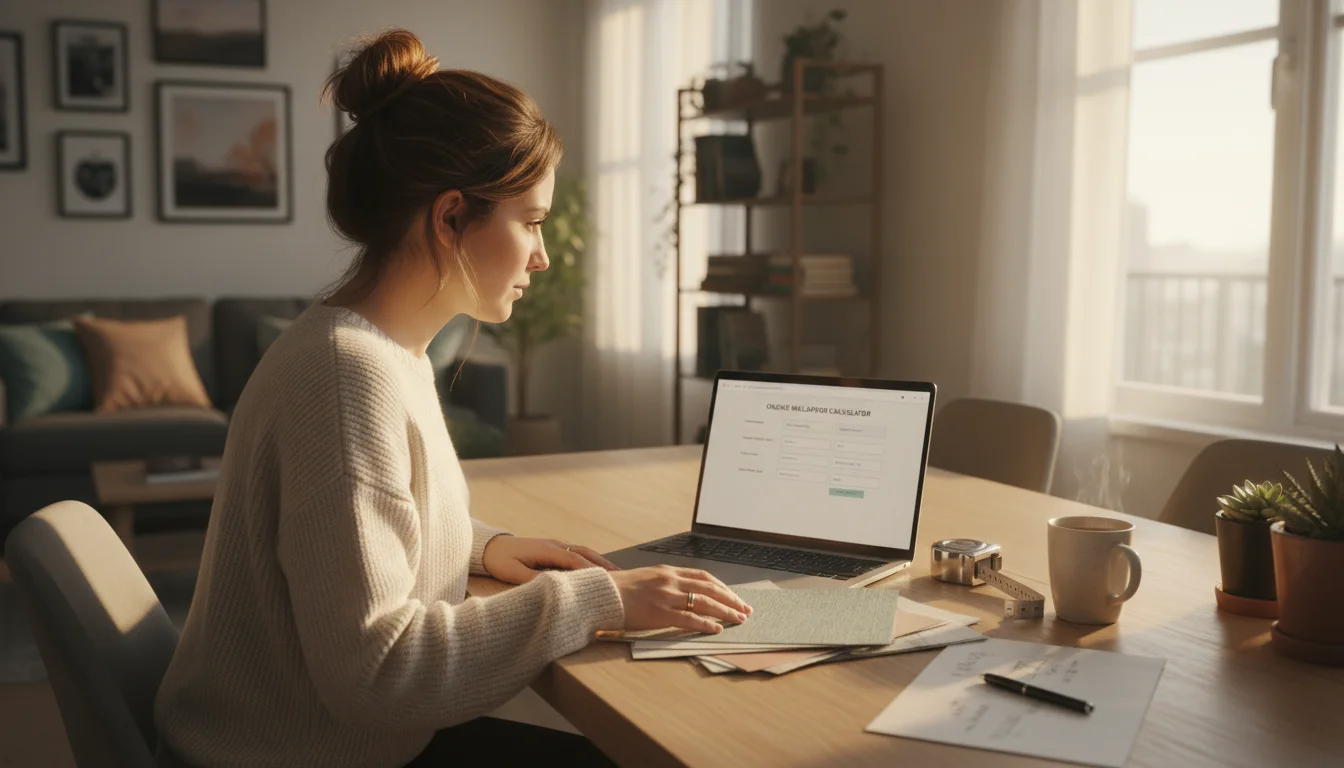
- Calculate Your Needs Precisely: Overbuying wallpaper means wasted money. Underbuying means you might not find the same dye lot for additional rolls, leading to color discrepancies. Measure your walls carefully, accounting for pattern repeats, and use online calculators to determine the exact number of rolls you need. Always add an extra roll as a buffer for mistakes or future touch-ups.
- Look for Sales and Discounts: Many retailers offer sales on home decor items, including removable wallpaper. Sign up for email newsletters from your favorite brands or home improvement stores to receive notifications about promotions.
- Consider Less Expensive Brands: While quality matters, some lesser-known brands offer excellent removable wallpaper at more competitive prices. Read reviews to ensure their products meet your adhesion and removal criteria.
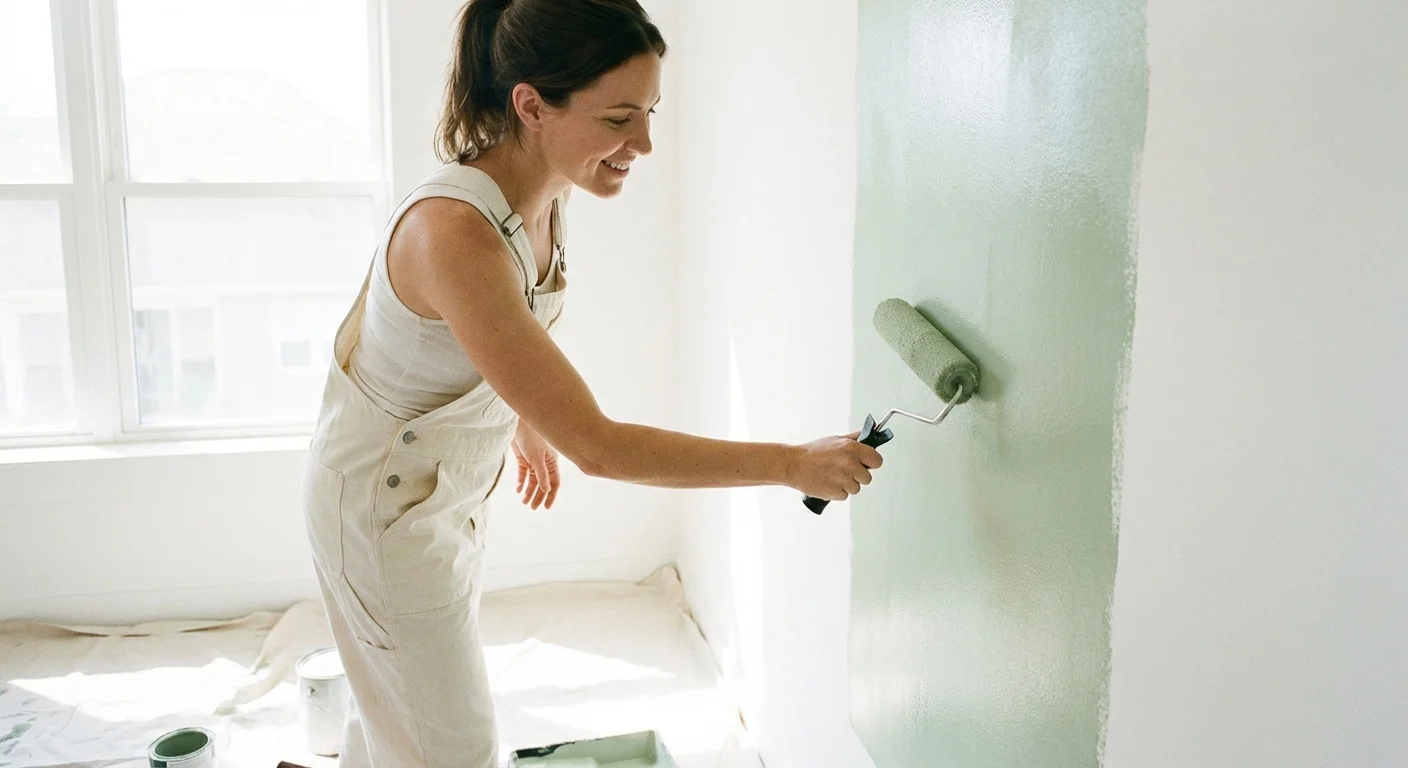
- Focus on Accent Walls: Covering an entire room can get expensive. Instead, choose one accent wall to highlight, or apply wallpaper to the top half of a wall, pairing it with a complementary paint color on the bottom.
- Embrace Smaller Projects: Instead of entire walls, use removable wallpaper for smaller, impactful projects. Line the backs of bookshelves, cover a tabletop, or create framed art. This uses less material and stretches your budget further.
- Choose Simple Patterns: Intricate patterns with large repeats generate more waste because you need more paper to align the design. Simpler, smaller patterns or solid textures often prove more cost-effective as they require less trimming and strategic alignment.
- Compare Price Per Square Foot: Different brands package wallpaper in varying roll sizes. Always compare the price per square foot to understand the true cost-effectiveness of each option.
By implementing these budget-savvy strategies, you transform your rental space with beautiful, personalized temporary decor that aligns with your financial goals.
Frequently Asked Questions
Can I apply removable wallpaper to textured walls?
You can apply removable wallpaper to lightly textured walls, but a very rough or heavily textured surface might present challenges. The wallpaper might not adhere well, or the texture could show through prominently. For best results, lightly sand textured walls smooth or apply a wallpaper primer specifically designed to smooth surfaces before application. Test a small, inconspicuous area first.
Will removable wallpaper damage my paint?
High-quality removable wallpaper designed for renters should not damage your paint or walls upon removal, provided your walls were properly prepared and the paint was in good condition when applied. Freshly painted walls need a minimum of 3-4 weeks to cure completely before wallpaper application. Follow removal instructions carefully, peeling slowly and at a shallow angle, to ensure a damage-free outcome.
How long does removable wallpaper last?
Most removable wallpapers last for several years, often 3-5 years or even longer, depending on the quality of the product, the condition of your walls, and environmental factors like humidity or direct sunlight. Manufacturers typically provide a lifespan estimate for their specific products. Its temporary nature means you can refresh it whenever your style changes or your lease ends.
How do I clean removable wallpaper?
Most removable wallpapers are easy to clean. You can typically wipe them down with a soft, damp cloth and a mild, non-abrasive soap. Avoid harsh chemicals or abrasive scrubbers, which can damage the surface or remove the print. Always test cleaning solutions on a small, hidden area first.
Is removable wallpaper reusable?
Some premium fabric-based removable wallpapers specifically advertise themselves as reusable. These often come with a protective backing that allows you to reapply them. Most standard vinyl peel-and-stick wallpapers are not designed for reuse, as the adhesive might lose its effectiveness or pick up debris after the initial removal. Check the product specifications carefully if reusability is a priority for you.
For expert home organization guidance, visit
Institute for Challenging Disorganization,
Consumer Reports — Home and
This Old House.
Disclaimer: This article is for informational purposes only and is not a substitute for professional advice. Consult professional organizers or specialists for personalized recommendations.


Leave a Reply