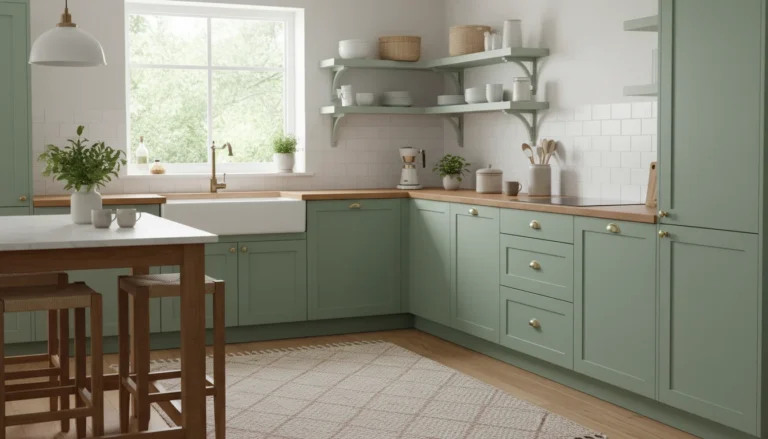
A peel-and-stick backsplash can make a dated or bare kitchen wall look finished in an afternoon. The wrong type can also peel within weeks, warp behind a gas burner, or take the paint with it when a renter moves out.
What sits behind and in front of the tile decides the type. Gel or vinyl suits sinks, prep counters and electric ranges on painted drywall, while rigid metal or stone suits gas cooktops and covering old tile.
Four conditions that decide whether a stick-on backsplash lasts
The brand matters less than the conditions in your kitchen. Check each one before you compare patterns.
The wall underneath
Adhesive needs a smooth, sound, fully cured surface. Painted drywall, smooth ceramic tile, glass and smooth wood panels work; popcorn texture, heavy orange peel, raw plywood and brick do not.
Skim-coat a textured wall with joint compound and prime it before tiling. On a freshly painted wall, wait out the full cure time printed on the paint can.
Distance to the burners
Gas flames push heat up the wall, and standard gel and vinyl tiles can warp, discolor or loosen there. Follow the minimum clearance in the tile maker’s instructions, and skip thin tiles behind a gas range that has no backguard.
Rigid metal and stone tiles handle that zone better. One maker of rigid stone and metal peel-and-stick tiles rates both the tiles and their adhesive to 200°F, which is the kind of published figure to look for before tiling behind a cooktop.
Thickness over old tile
Thin vinyl and gel follow whatever is beneath them. Deep or wide grout lines on old ceramic tile show through as faint grooves, so choose a rigid PVC, metal or stone tile that bridges them.
How it comes off
For renters, removal is the spec that matters most. Stick one tile in a hidden spot, such as inside a pantry, wait a week, then warm and peel it to see whether the landlord’s paint survives.
Read your lease for any clause on wall alterations, and photograph the bare wall before you start. Flat paint is more likely to lift than satin or semi-gloss.
Peel-and-stick tile types compared
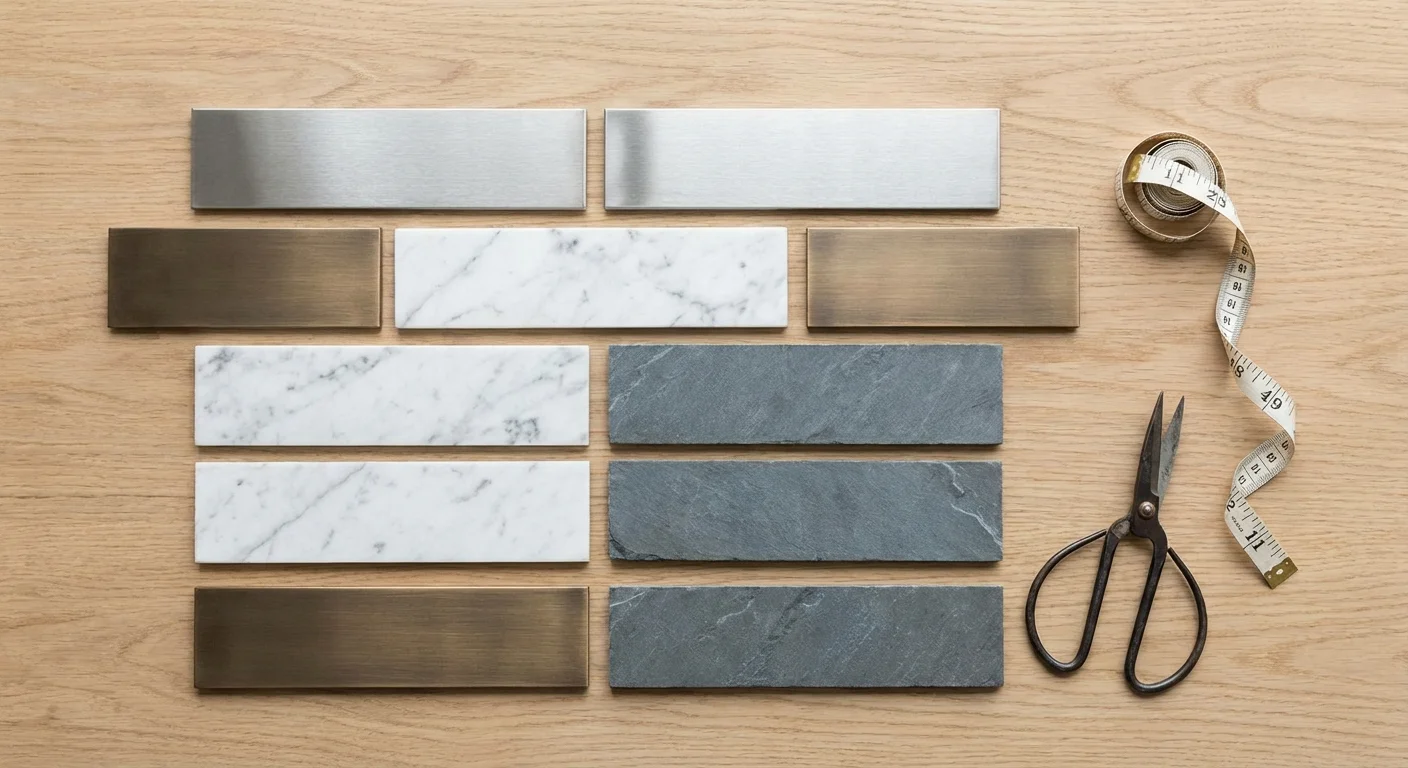
| Type | Best spot | Near a gas cooktop | Cuts with | Over old tile | Typical cost per sq ft |
|---|---|---|---|---|---|
| Printed vinyl sheet | Low-splash walls, coffee bars | Keep away | Scissors | Grout lines show | $1–$4 |
| Gel (polyurethane over vinyl) | Sink and prep walls, electric ranges | Only at the maker’s stated clearance | Utility knife | Deep grout may show | $5–$20 |
| Rigid PVC foam | Over old tile | Check the heat rating | Heavy-duty utility knife | Bridges grout lines | $4–$12 |
| Metal composite | Behind gas ranges, modern kitchens | Often heat-rated | Tin snips, or score and snap | Bridges grout lines | $10–$30 |
| Real stone or glass veneer | Focal walls, long-term owners | Often heat-rated | Wet saw or glass scorer | Bridges grout lines | $15–$40 |
Costs are typical retail ranges and shift with pattern and finish. Always confirm heat and moisture ratings on the product’s own installation sheet.
Gel tiles get their depth from a clear polyurethane layer over a printed vinyl face. That is why they pass for glossy ceramic and cut with a knife, and also why they are the weak point near flames.
Stone and glass veneers look and feel like mortared tile but need real tile tools. One stone-tile maker’s manual says to acclimate the tiles in a room between 65°F and 100°F and wear eye protection while cutting.
How much tile to buy for your wall
Multiply wall length by height in inches and divide by 144 for square feet. Subtract windows, then add 10% for a straight layout or 15% for herringbone and other patterns that waste more on cuts.
The usual gap between counter and upper cabinets is 18 inches, which keeps the math quick. Check the square-foot coverage on the box, because sheet sizes vary by brand.
| Kitchen | Area to cover | Amount to order | Estimated material cost |
|---|---|---|---|
| Rented basement-apartment kitchen, 10 ft of counter, 18 in high, subway pattern | 15 sq ft | 17 sq ft (+10%) | $85–$340 in gel |
| L-shaped kitchen, 16 ft of counter, 18 in high, minus a 36 x 18 in window, herringbone | 19.5 sq ft | 23 sq ft (+15%) | $115–$460 in gel |
| Gas range wall only, 36 in wide x 30 in to the hood | 7.5 sq ft | 9 sq ft (+10%) | $90–$270 in metal |
Buy the full amount at once so printed colors match from box to box. Leftover sheets become replacements if a tile gets scorched or gouged later.
Gel, metal or stone by renter status and range type
Renters with painted drywall
A thin gel tile is usually the right call. It is light, cuts cleanly around outlets, and comes off with a hair dryer.
If you want written permission, a sample tile and a photo of the wall make the request easy to approve.
Owners with a gas range
Use metal composite or stone for the run behind the cooktop, or for the whole wall so finishes match. If the cabinets look tired next to the new wall, the guide to updating kitchen cabinets without replacing them covers paint, hardware and door options.
Covering dated ceramic tile
Rigid tile bonds well over smooth glazed ceramic once the old surface is fully degreased. If the old tile is simply dingy rather than dated, restoring the grout may be all it needs.
Bathrooms and showers
The same tiles work behind a bathroom vanity, where they see occasional splashes. They are not made for the inside of a shower, where running water and steam break down the adhesive.
When paint, a stencil or beadboard is the better buy
For a long wall on a tight budget, kitchen-and-bath paint finished with a clear, washable topcoat costs far less than tile. A stencil over a base color adds pattern for the price of one more can of paint.
PVC beadboard attached with construction adhesive gives a cottage look and wipes clean once painted. Neither option is renter-friendly, and the wall-painting guide covers the prep both depend on.
Prep and outlet work that prevents most failures
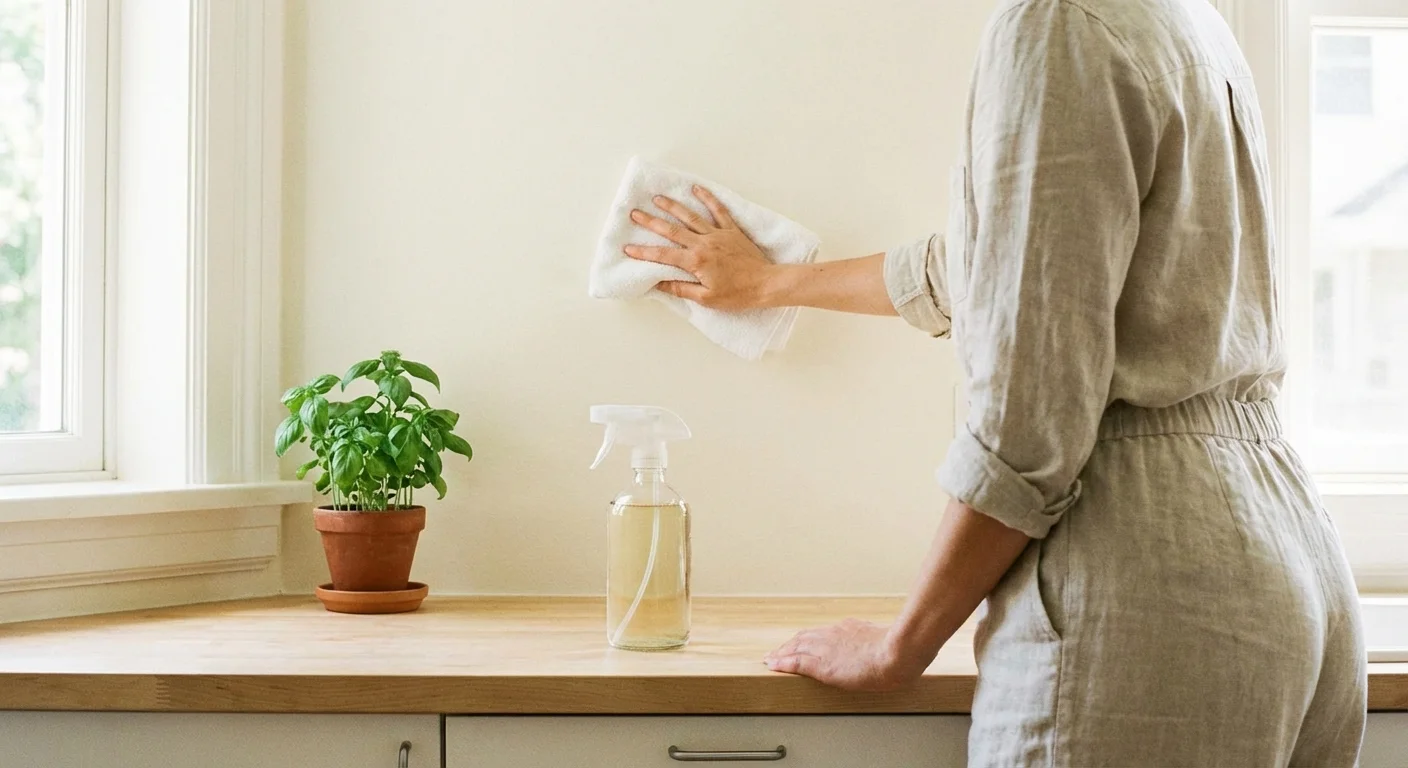
- Degrease the wall. Kitchen walls carry a film of cooking grease, and one tile maker’s instructions call for a degreaser such as TSP rather than dish soap. Wear gloves, rinse with plain water and let the wall dry completely. Our kitchen deep-cleaning guide covers the rest of the room.
- Ventilate. Degreasers give off fumes, and interior finishing adhesives can emit volatile organic compounds, so open a window and run a fan while you work.
- Acclimate the tiles. Lay the boxes flat in the kitchen overnight, or longer if they arrived cold or hot. Stiff, cold adhesive bonds poorly.
- Draw a level line. Find the lowest point of the counter and draw a level pencil line from there. Follow the line, not the counter, and caulk any small gap at the bottom later.
- Dry-fit from the focal point. Start behind the range or sink and work outward so narrow slivers land in corners, not in plain sight.
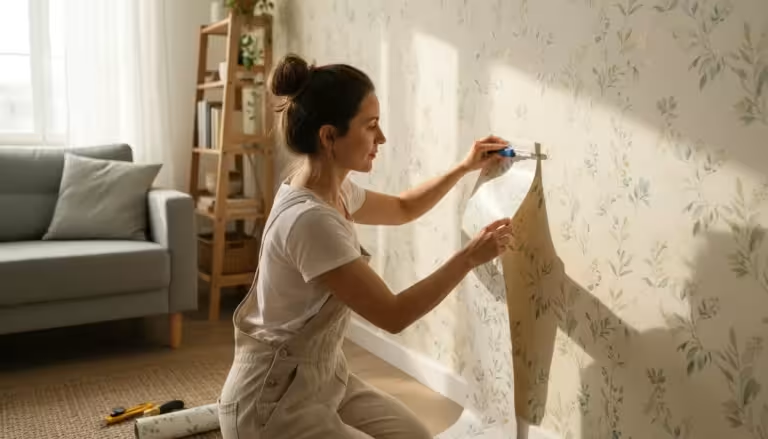
- Peel, align and press. Trim the interlocking tabs on the first tile where it meets a wall edge. Peel back two inches of liner, align, then pull the liner down while pressing from the center out with a J-roller. Keep fingers off the adhesive and never stretch vinyl or gel; it shrinks back and opens the seams.
- Cut around outlets safely. Switch off the breaker, confirm the outlet is dead with a non-contact voltage tester, remove the cover and trace the opening on paper as a template. Reinstall the cover with longer screws.
- Let it cure. Gel tiles need time to bond; one maker specifies a 48-hour adhesive curing period, so skip scrubbing and heavy steam for two days.
Thicker stone or rigid tile can leave an outlet box recessed behind the new surface. The electrical code requires such a box to be brought forward, typically with a box extender.
Call a licensed electrician if a box is loose, wiring is damaged or countertop outlets lack GFCI protection.
Cleaning, wear and clean removal
Wipe the tiles with a damp microfiber cloth and mild dish soap. Skip scouring pads, steel wool and bleach, which scratch gel and dull metal finishes.
Clean splatters behind the stove the same day, before heat bakes them on. Gel tiles in strong direct sun can also discolor over time, so a sunny wall favors metal or stone.
If a corner lifts, warm it with a hair dryer and press it firmly for 30 seconds. If it keeps lifting, grease or texture is underneath; remove the tile, clean the spot and use a spare.
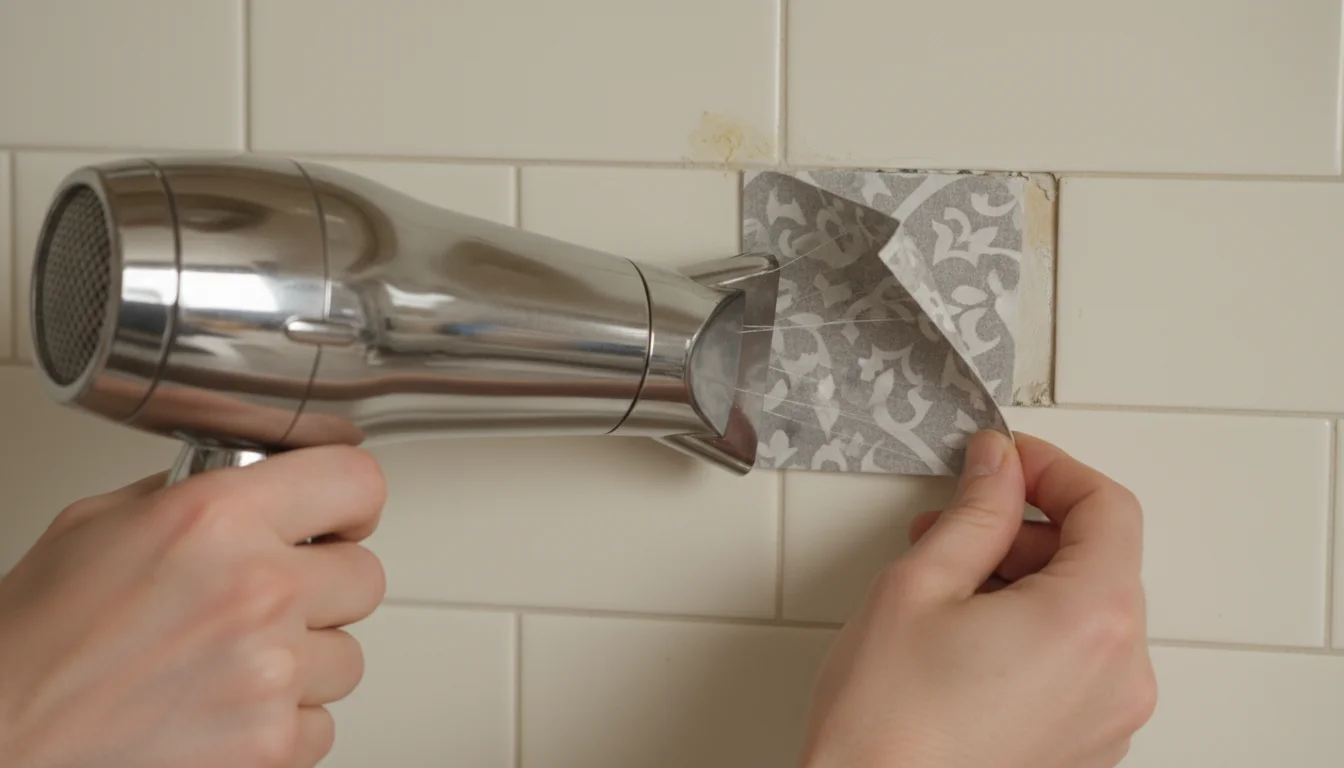
To remove a backsplash, heat each tile on high for 30 to 60 seconds, then peel slowly at a low angle. Clear leftover residue with an adhesive remover or warm soapy water, and keep touch-up paint ready.
How long a stick-on backsplash lasts depends more on prep and heat than on price. A gel tile on a clean, smooth wall away from flames can last for years; the same tile over grease may fail in weeks.