Most homes harbor an untapped reservoir of square footage sitting right beneath the main living areas. If your lowest floor currently serves as a chilly, concrete repository for holiday decorations, outgrown clothes, and forgotten fitness equipment, you are overlooking your home’s greatest potential asset. A well-executed remodel completely redefines how you live in your house—adding functional space without the exorbitant costs associated with building a traditional home addition.
By incorporating the art of Danish Hygge into your design, you can shift the atmosphere from a cold storage area to a true sanctuary.
Transforming a damp, dark lower level into a vibrant living space requires more than just slapping up some drywall and rolling out a rug. True comfort in subterranean spaces hinges on a careful orchestration of moisture control, strategic lighting, thermal insulation, and intentional design choices. This comprehensive basement transformation guide walks you through the exact steps required to turn your lowest floor from a neglected storage zone into the most highly sought-after destination in your home.

Evaluating Your Subterranean Space: Moisture and Air Quality
Before you even begin looking at paint swatches or browsing cozy basement ideas, you must rigorously evaluate the structural health of your space. The most beautifully designed room will quickly lose its appeal if it smells musty or develops mold behind newly installed walls.
As you address these environmental factors, it is also a wise time to winterize your home to protect your new investment from seasonal temperature swings.
Start by performing a simple moisture test. Tape a two-foot square of clear plastic sheeting to your concrete floor and another to your foundation wall, ensuring all edges are sealed tightly with duct tape. Leave it there for 48 hours. If condensation forms on the outside of the plastic, you have high indoor humidity; if moisture collects on the underside, water is seeping through your foundation. Both issues require immediate remediation before you introduce building materials into the environment.
To establish a truly inviting basement design, your foundation must be entirely watertight. Minor cracks can often be sealed with a polyurethane or epoxy injection, while chronic moisture issues might require a French drain system and a robust sump pump. Even in basements that appear perfectly dry, installing an active ventilation system and managing indoor humidity is non-negotiable. According to the EPA’s guidelines on indoor air quality, keeping relative humidity between 30 and 50 percent is crucial for preventing mold growth and maintaining healthy indoor air.

Insulation and Climate Control: The Foundation of Comfort
Concrete is naturally porous and notoriously cold, acting as a thermal bridge that pulls the heat straight out of your room. Achieving a warm, inviting environment requires breaking that bridge with proper insulation. Traditional fiberglass batts pressed against concrete walls often lead to disaster, as they trap moisture and invite mold. Instead, closed-cell spray foam or rigid extruded polystyrene (XPS) foam boards provide the most reliable solution.
Beyond structural insulation, adding thick textiles and area rugs is an effective way to make any room feel warmer during the coldest months.
Rigid foam boards glued directly to the concrete foundation create an impermeable vapor barrier and provide excellent thermal resistance. Once the foam is properly sealed with specialized tape at the seams, you can frame your wooden stud walls directly in front of it. This two-layer approach ensures that warm interior air never meets the freezing concrete wall, eliminating the condensation that plagues so many poor basement renovations.
Do not rely on space heaters to manage your lower-level climate. Extend your home’s existing HVAC ductwork if your system can handle the additional load, or consider installing a ductless mini-split system. Mini-splits offer exceptional energy efficiency and allow you to control the basement temperature independently from the rest of the house. For supplemental humidity control, integrate a whole-house dehumidifier or invest in a standalone unit. Look for Energy Star certified appliances to keep your operational costs manageable while running the unit continuously during humid summer months.
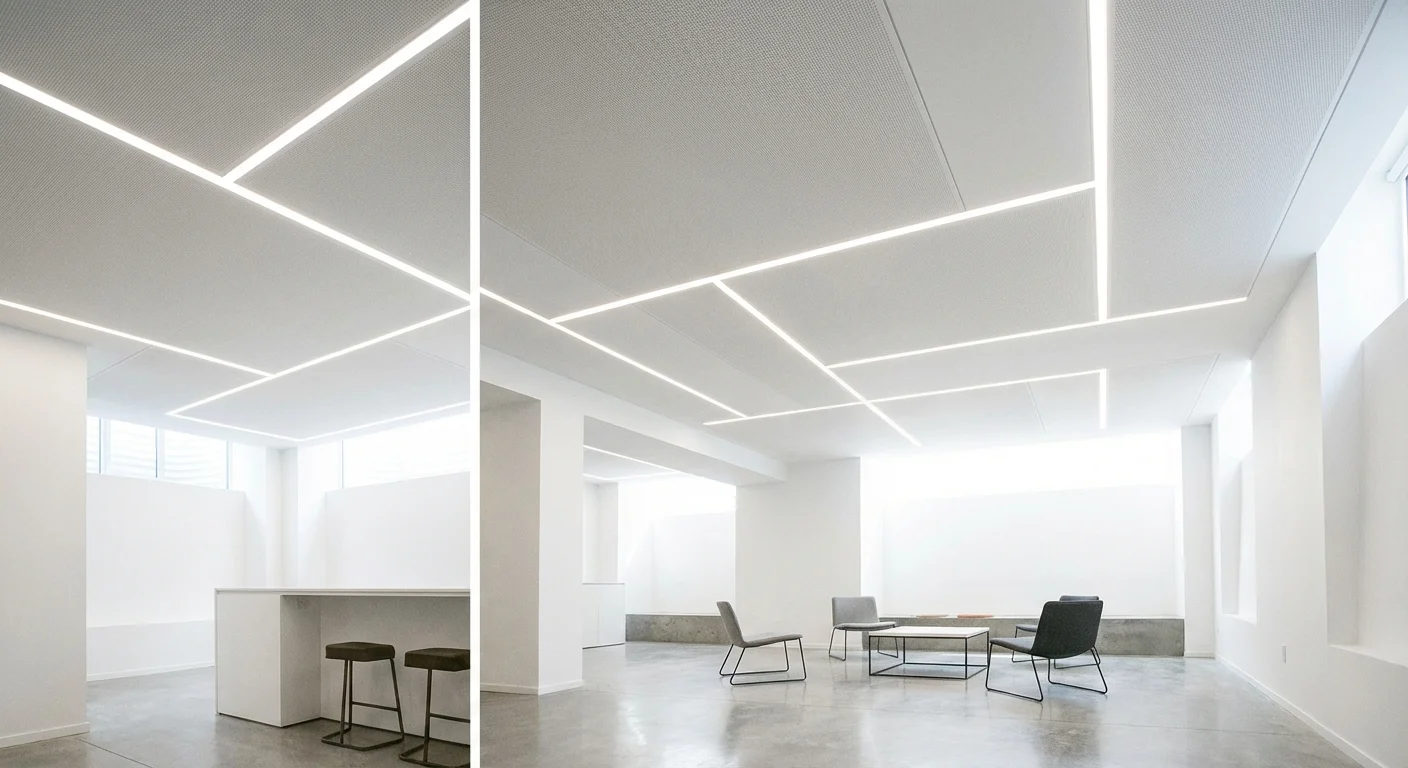
Strategic Lighting for Windowless Wonders
Lighting makes or breaks a basement. Because subterranean spaces severely lack natural sunlight, your artificial lighting plan must work overtime to trick the eye and elevate the mood. Relying on a single flush-mount fixture in the center of the room guarantees a gloomy, cavernous atmosphere.
A successful lighting strategy relies on three distinct layers: ambient, task, and accent lighting. Ambient lighting provides the overall illumination for the space. In low-ceiling basements, ultra-thin LED recessed lights (often called canless LEDs) are a lifesaver. They require very little clearance above the ceiling and provide broad, even light distribution. Space them roughly four to five feet apart, depending on their wattage and beam angle.
Once your ambient lighting is established, add task lighting over desks, reading nooks, or bar areas. Finally, introduce accent lighting to wash the walls with warmth and add dimension to the room. Sconces are particularly effective in basements because drawing the eye to the perimeter of the room visually expands the space.
Pay strict attention to the color temperature of your bulbs, which is measured in Kelvin (K). Bulbs labeled 4000K or 5000K emit a stark, blue-toned light that mimics a hospital or a commercial garage—the absolute opposite of cozy. To achieve warm basement decor, select bulbs in the 2700K to 3000K range. This spectrum mimics the warm, golden glow of traditional incandescent bulbs and immediately softens the harshness of a windowless room. Furthermore, put every light circuit on a dimmer switch; the ability to lower the lights in the evening is essential for transitioning the space from a daytime playroom to an evening home theater.

Selecting the Right Flooring: Materials That Defeat the Chill
Basement flooring presents a unique challenge. You need materials that feel warm underfoot, look beautiful, and can withstand potential moisture without warping or rotting. Solid hardwood is entirely unsuitable for below-grade applications due to its tendency to expand and buckle when exposed to humidity. Fortunately, modern manufacturing offers several brilliant alternatives that align with practical basement renovation tips.
Always start your flooring project with a proper underlayment. A dimpled plastic subfloor membrane installed directly over the concrete provides an essential air gap. This gap allows the concrete to breathe, permits minor moisture to evaporate, and offers a slight thermal break that makes the finished floor noticeably warmer.
| Flooring Material | Pros | Cons | Best Application |
|---|---|---|---|
| Luxury Vinyl Plank (LVP) | 100% waterproof; highly durable; convincingly mimics real wood; budget-friendly. | Can feel hard underfoot without a good underlayment; cannot be refinished. | High-traffic areas, playrooms, and basements prone to occasional dampness. |
| Carpet Tiles | Soft and warm; excellent acoustic dampening; easily replaceable if stained or damaged. | Not waterproof; can trap dust and allergens; less premium appearance than hard surfaces. | Home theaters, bedrooms, and dedicated play areas for young children. |
| Engineered Hardwood | Provides the authentic look and feel of real wood; more dimensionally stable than solid wood. | Expensive; susceptible to damage from standing water; requires precise humidity control. | High-end lounge areas and dry, well-ventilated walk-out basements. |
| Ceramic/Porcelain Tile with Radiant Heat | Completely impervious to water; elegant appearance; electric radiant mats make them incredibly warm. | High installation cost; unforgivingly hard; poor acoustic properties (echoes easily). | Basement bathrooms, wet bars, and home gym areas. |
Ceiling Solutions: Maximizing Height and Acoustic Comfort
Basement ceilings are notorious battlegrounds where ductwork, plumbing pipes, and electrical wires constantly compete for overhead space. When considering how to finish the ceiling, you have three primary options, each with distinct advantages.
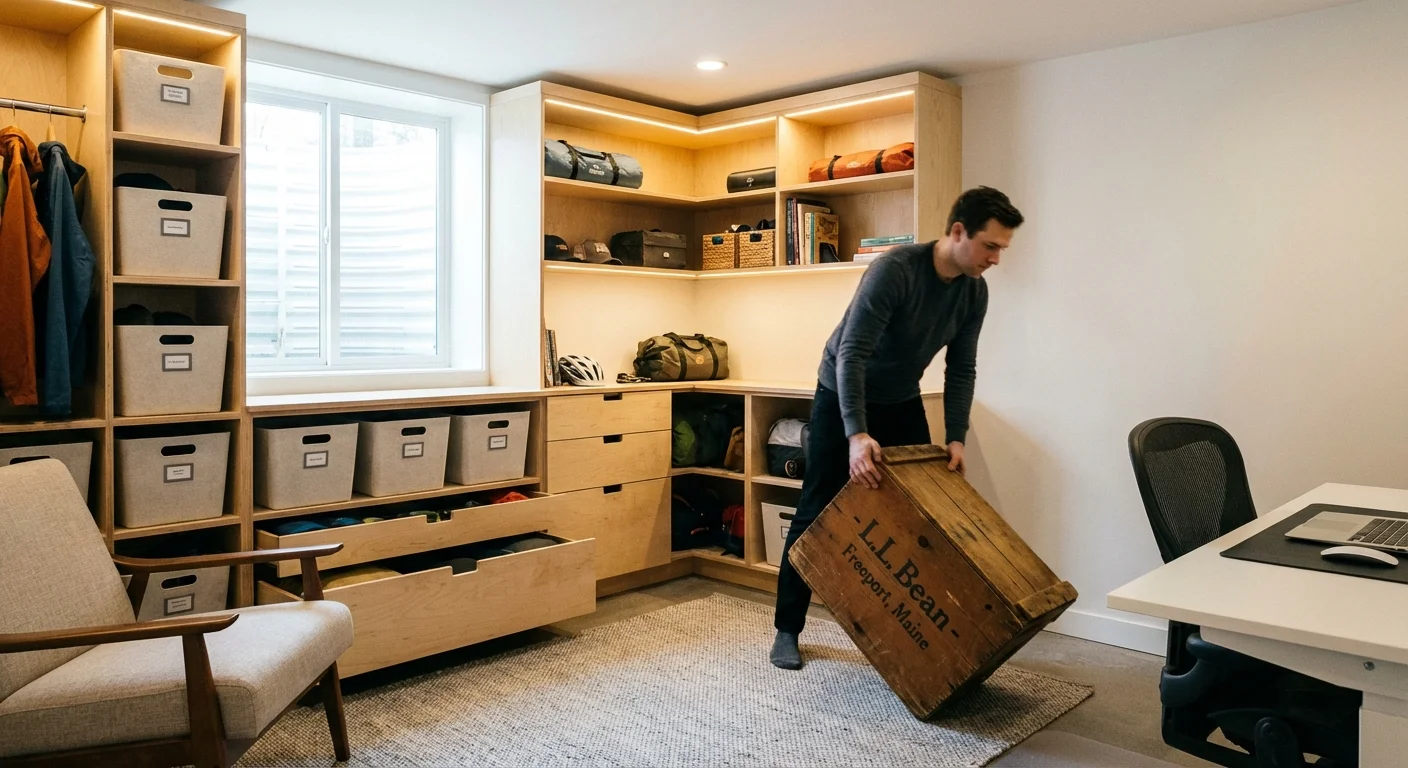
A finished ceiling also provides the necessary soundproofing if you plan to create a cozy home office in your new lower-level retreat.
Traditional Drywall: Finishing the ceiling with drywall provides the most seamless, residential look, instantly making the basement feel like an upper level of the home. However, it permanently seals away your utilities. If a plumbing valve leaks or you need to run a new electrical wire in the future, you will have to cut through the drywall and patch it afterward. If you choose this route, meticulously plan your utility layout and install access panels near critical shut-off valves.
Drop Ceilings (Suspended Ceilings): Modern drop ceilings have evolved far beyond the crumbly, water-stained acoustic tiles of the 1980s. Today, you can find stunning suspended panels that mimic coffered wood, stamped tin, or sleek architectural drywall. The primary benefit of a drop ceiling is immediate, unrestricted access to your home’s mechanical systems. The downside is that the suspension grid requires at least three to four inches of clearance, which can be detrimental in basements with already low ceilings.
Exposed and Painted Joists: A highly popular trend in modern industrial design is leaving the floor joists exposed and painting the entire ceiling cavity—wood, ductwork, pipes, and all—a single uniform color. Flat black or deep charcoal makes the ceiling seemingly disappear into the shadows, while crisp white can make the space feel taller and airier. This method preserves maximum headroom and allows for easy utility access. Just be aware that an exposed ceiling offers zero sound dampening; footsteps from the floor above will be clearly audible.

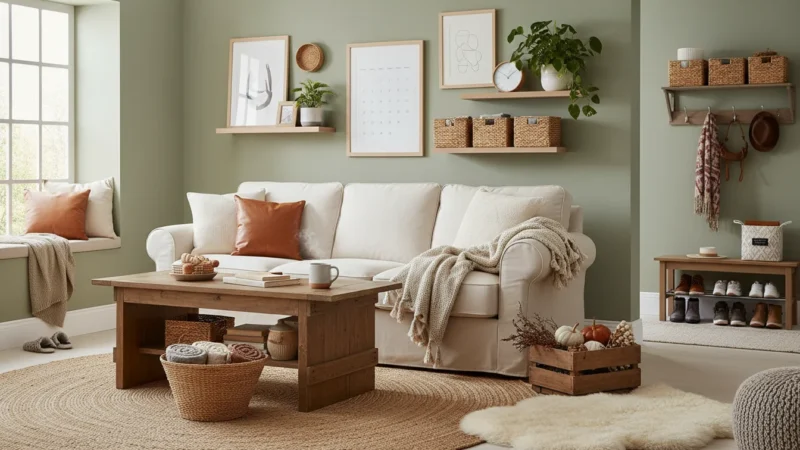
Warm Basement Decor and Color Palettes
Color profoundly influences how we perceive the temperature and dimensions of a room. When dealing with an environment that lacks natural sunlight, your paint choices carry significant weight. A common misconception is that a dark room must be painted bright white to feel larger. In reality, pure white paint in a room without natural light often looks dingy, gray, and institutional.
You can also use budget-friendly accent wall ideas like dark paint or wood textures to create a stunning focal point in windowless rooms.
Once you have selected your palette, focus on arranging your furniture to create intimate zones that maximize both comfort and flow.
Instead of stark white, look for colors with warm undertones. Creamy off-whites, soft greiges (gray-beige), warm terracottas, and muted sage greens bring life into the space. When selecting paint, check the Light Reflectance Value (LRV) on the back of the swatch. The LRV is a scale from 0 to 100 that measures how much light a color reflects. For a basement, aim for an LRV between 60 and 75; this ensures the color is light enough to brighten the room but saturated enough to avoid looking sterile.
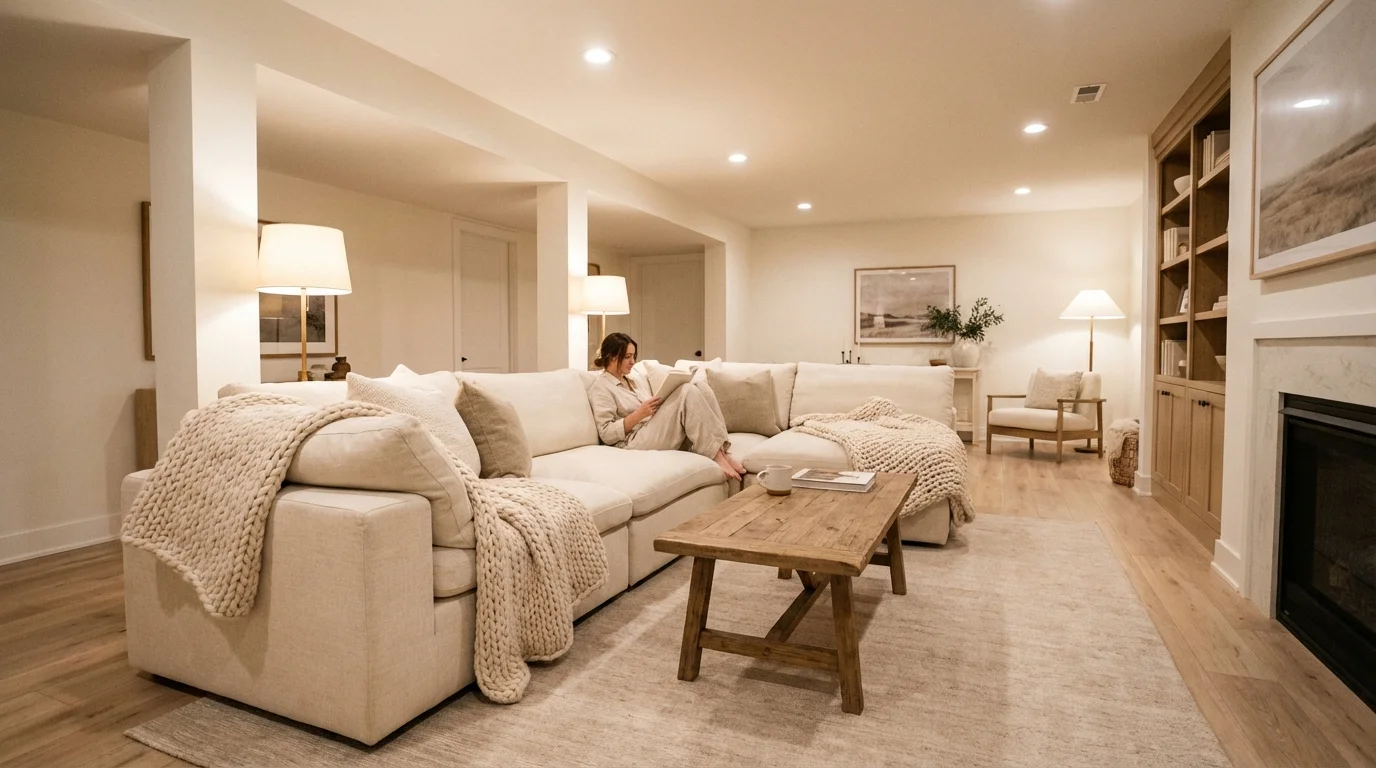
Textiles play a critical role in establishing warm basement decor. Hard surfaces bounce sound waves around the room, creating an unpleasant echo. Soften the acoustics and the visual aesthetic by layering plush area rugs over your hard flooring. Hang floor-to-ceiling drapes along an accent wall to mimic the appearance of a hidden window, a clever trick used by interior designers to make a space feel less enclosed. Incorporate heavy knit throw blankets, velvet accent pillows, and upholstered furniture to invite relaxation.
“The most successful basement remodels don’t try to hide the fact that they are downstairs; instead, they lean into the inherent coziness of the subterranean space by utilizing deep, enveloping colors and heavily textured fabrics.” — Lauren Smith, Interior Architecture Consultant
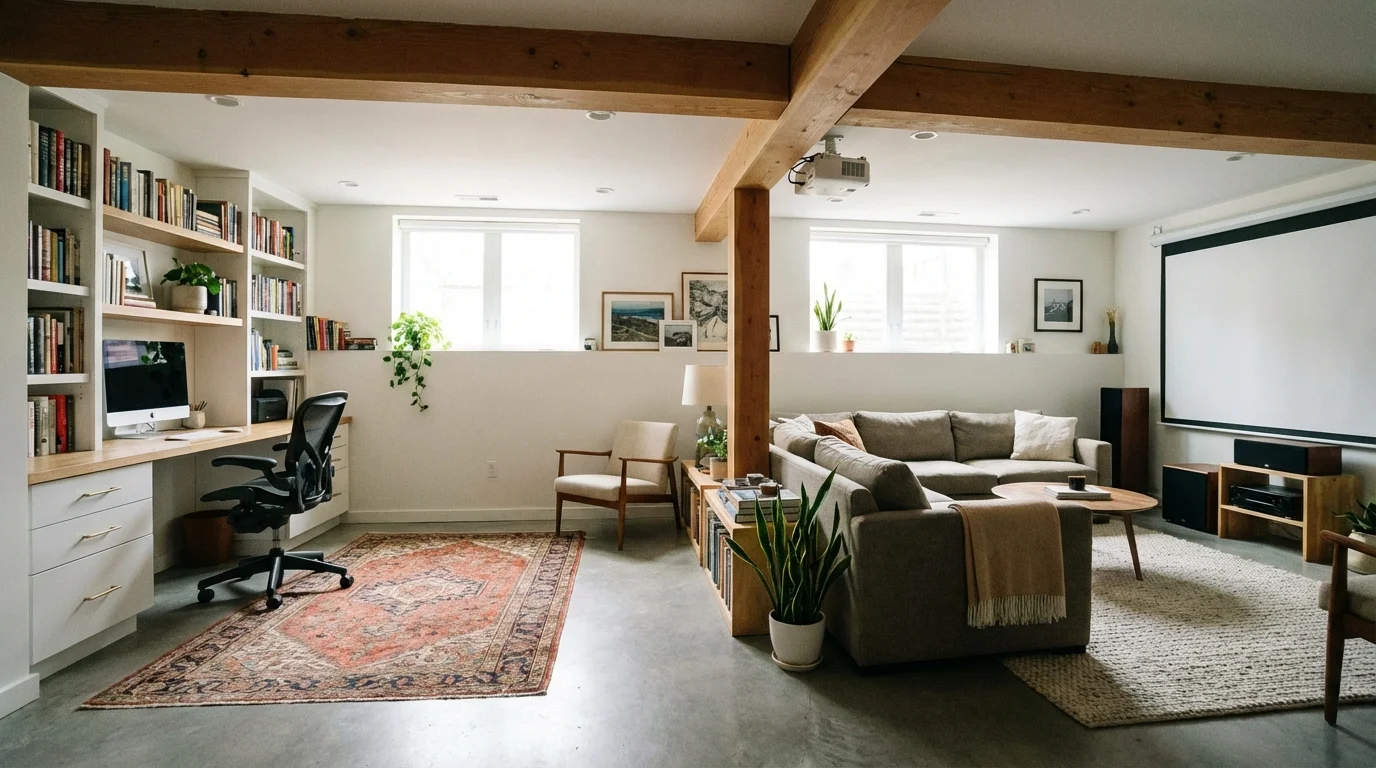
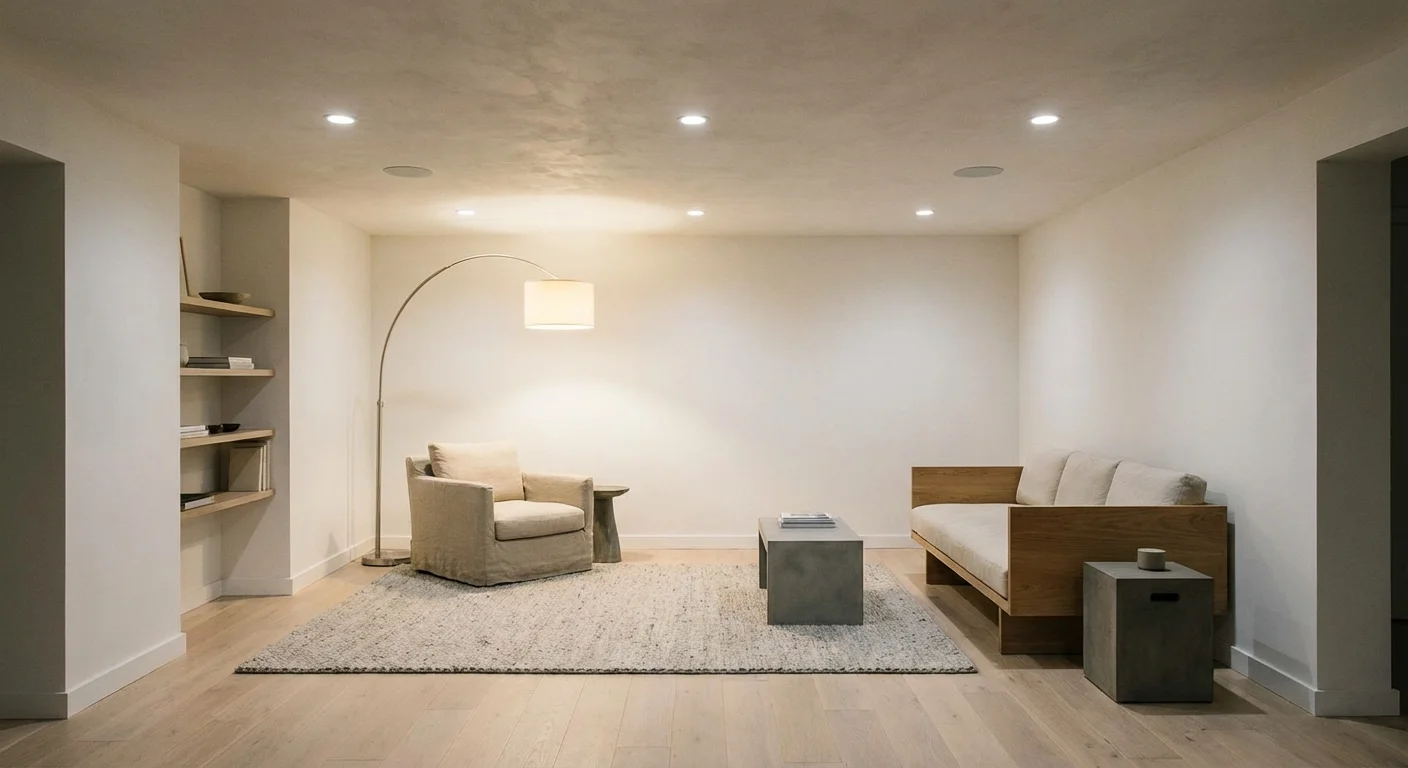
Creating Distinct Functional Zones
Most basements feature a long, rectangular footprint. Treating a large, open space as a single room often results in a bowling-alley effect, where furniture floats awkwardly in the center. The secret to inviting basement design lies in establishing distinct functional zones without erecting view-blocking walls.
Start by identifying your family’s core needs. Do you need a home office, a dedicated movie area, and a workout space? Map these zones out on the floor plan.
- The Anchor Zone: Place your largest focal point—typically the television or a fireplace—in the darkest, coziest corner of the basement. The lack of natural light is actually an advantage for home theaters because it prevents screen glare. Use a large, plush sectional sofa to define the boundary of this entertainment zone.
- The Activity Zone: Position game tables, wet bars, or home gyms in the areas with the highest ceilings and the easiest access to the stairs. These spaces benefit from bright, energetic lighting and highly durable flooring.
- The Quiet Zone: If your basement includes an egress window, reserve that naturally lit space for a guest bedroom or a home office. Natural light is essential for maintaining focus during the workday and ensuring guests feel comfortable rather than trapped.
Use visual cues to separate these zones. A large area rug instantly designates the living room space. A change in lighting—switching from recessed cans to a low-hanging pendant light—signals the transition to a dining or card table. Open bookcases or console tables placed behind a sofa provide physical separation without blocking the flow of light and air.
Common Mistakes to Avoid
Even with the best intentions, homeowners frequently fall into several well-documented traps during basement renovations. Avoiding these pitfalls saves you significant time, money, and frustration.
Neglecting the Egress Requirements: Building codes strictly dictate that any basement room functioning as a bedroom must have a secondary means of egress—typically a large window that opens easily to the outside. Beyond legal compliance, egress windows are crucial for fire safety and inject much-needed natural light into the space. Never skip this step if you are adding a sleeping quarters.
Boxing in Ductwork Too Tightly: While it is tempting to build drywall soffits as tightly around HVAC ducts as possible to preserve headroom, this often restricts airflow and creates condensation issues. Always leave a small air gap around ductwork, and strongly consider having your ducts professionally sealed and insulated before enclosing them.
Overlooking Soundproofing: If your basement will serve as a home theater or a playroom, soundproofing the ceiling is vital. Standard drywall does very little to stop the transmission of low-frequency sounds (like bass from a movie) or impact noises (like heavy footsteps from the floor above). Install specialized acoustic insulation batts between the ceiling joists and use resilient channels—metal strips that decouple the drywall from the wooden joists—to drastically reduce noise transfer.

Professional vs. DIY: Where to Invest Your Renovation Budget
A full basement transformation represents a significant financial investment. Knowing which tasks you can safely tackle yourself and which require licensed professionals is a critical component of smart home management. The experts at This Old House frequently emphasize that knowing your limits is the most valuable tool in your DIY arsenal.
Hire a Professional For:
- Plumbing rough-ins: Cutting into the main concrete slab to install drain lines for a new basement bathroom requires specialized equipment and precise slope calculations. Mistakes here lead to disastrous sewage backups.
- Electrical wiring: Basements require dedicated circuits for heavy-draw appliances like dehumidifiers, space heaters, and home theater receivers. A licensed electrician ensures your new sub-panel is safely integrated and up to code.
- HVAC modifications: Altering your home’s ductwork can unbalance your entire heating and cooling system. A professional HVAC technician will perform load calculations to ensure your main unit can support the additional square footage.
Tackle as a DIY Project:
- Framing non-load-bearing walls: Building standard stud walls is a straightforward weekend project that requires only basic carpentry skills, a level, and a framing nailer.
- Installing floating floors: Luxury Vinyl Plank (LVP) and laminate floors feature simple click-and-lock installation mechanisms. With a chop saw and a utility knife, an enthusiastic DIYer can floor a large basement in a single weekend.
- Painting and trim work: Baseboards, door casings, and wall painting represent highly labor-intensive tasks that contractors charge a premium for. By taking on the finishing details, you can save thousands of dollars without compromising the structural integrity of the project.
Frequently Asked Questions
How much does a typical basement transformation cost?
Costs vary wildly based on your geographic location, the size of the space, and the quality of the finishes. A basic DIY finish using budget materials might cost between $10,000 and $15,000. A comprehensive, professionally managed remodel featuring a custom bathroom, a wet bar, and high-end flooring easily ranges from $40,000 to $80,000. Always budget an additional 15 percent for unexpected structural or moisture issues.
How do I make a low ceiling look higher?
Paint the ceiling and the walls the exact same color, preferably a light, warm hue. This blurs the visual boundary where the wall ends and the ceiling begins. Additionally, rely on low-profile recessed lighting rather than hanging fixtures, and use vertical wall paneling or floor-to-ceiling drapes to draw the eye upward.
What is the best way to hide support columns?
Structural lally columns cannot be removed without highly expensive steel beam engineering. Instead of fighting them, incorporate them into your design. You can wrap them in finished wood to mimic craftsman-style pillars, box them in and cover them with stacked stone, or integrate them directly into a half-wall or a custom bar counter.
Is it necessary to heat a finished basement?
Yes. Even if you live in a mild climate, subterranean spaces naturally hold a temperature around 55 to 60 degrees Fahrenheit year-round. Providing a dedicated heat source is essential for both your personal comfort and for maintaining the integrity of your drywall and flooring over time.
Final Thoughts on Reclaiming Your Space
Creating a gorgeous, functional lower level is one of the most rewarding home improvement projects you can undertake. By meticulously addressing the hidden mechanics of the space—moisture control, insulation, and lighting—you set the stage for a room that naturally draws people in. Take your time layering warm textures, strategic lighting, and comfortable furniture to erase the stigma of the dark, dreary cellar.
Whether you envision a lively family game room, a tranquil home office, or an immersive home theater, the foundation beneath your feet holds endless possibilities. Start with a solid plan, prioritize comfort, and watch as your forgotten storage space blossoms into your family’s favorite destination. This guide provides general home improvement information. Every home is different—what works in one space may need adaptation in yours. For structural changes or electrical/plumbing work, consult a licensed professional.
Last updated: February 2026


Leave a Reply