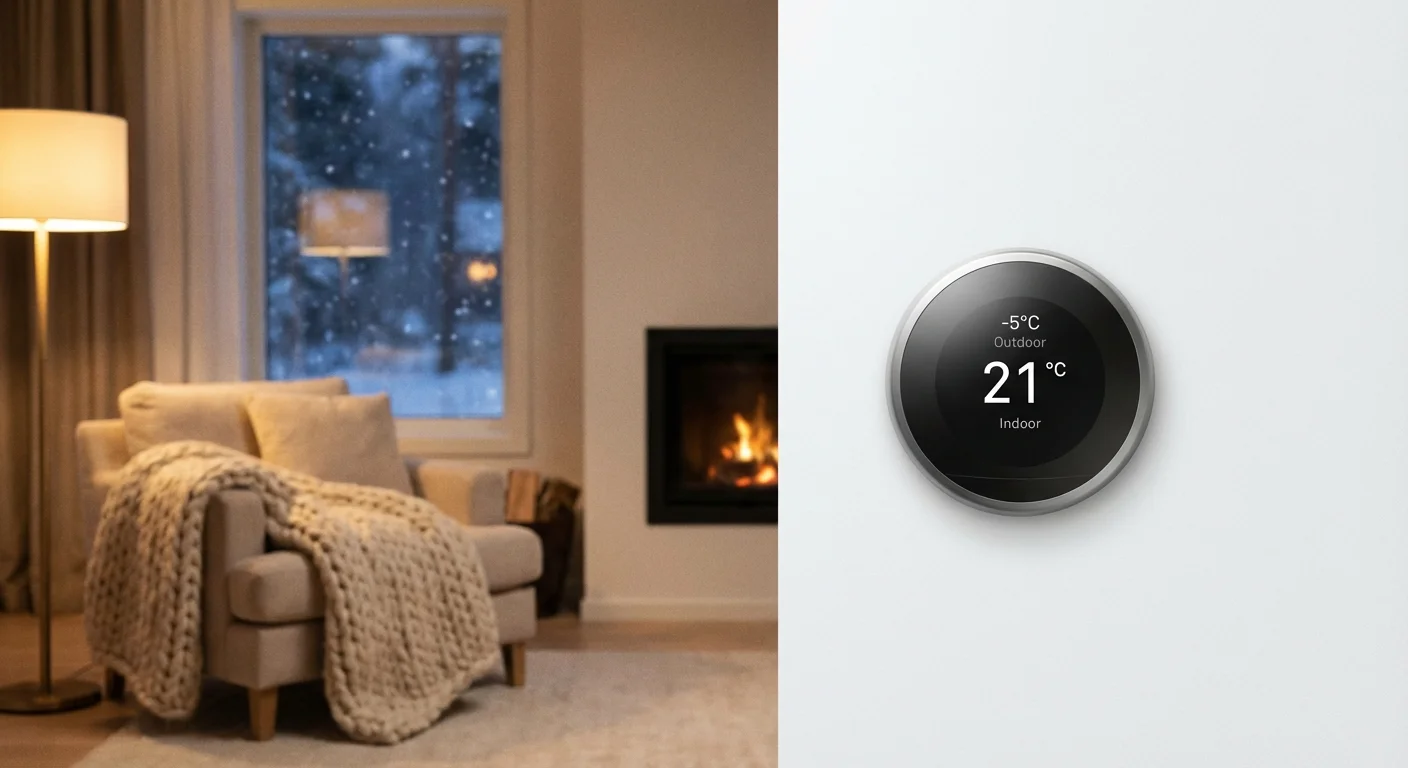
When water freezes, it expands by nearly nine percent. Inside a rigid copper or PVC pipe, that expansion creates staggering pressure—up to 2,000 pounds per square inch. This physical reality means a seemingly minor oversight in your autumn home maintenance can lead to catastrophic water damage, turning a cozy winter night into an expensive emergency. A burst pipe sends hundreds of gallons of water rushing through your ceilings, walls, and floors before you even locate the main shut-off valve.
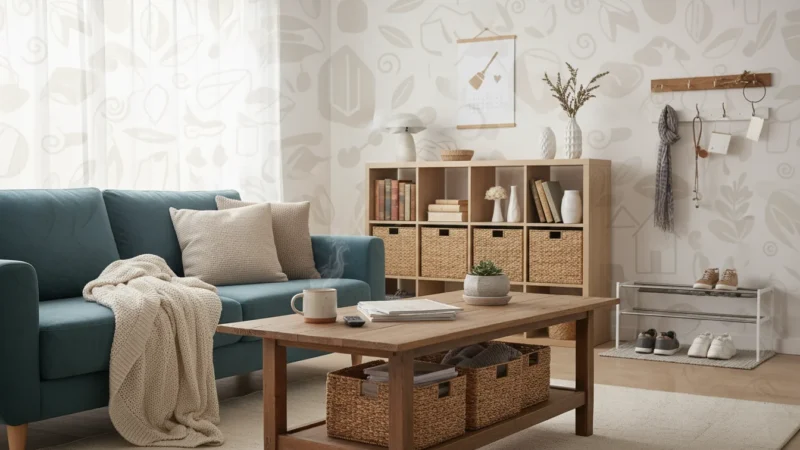
Before focusing solely on pipes, consider following a room-by-room winterization guide to ensure your entire property is protected from the cold.
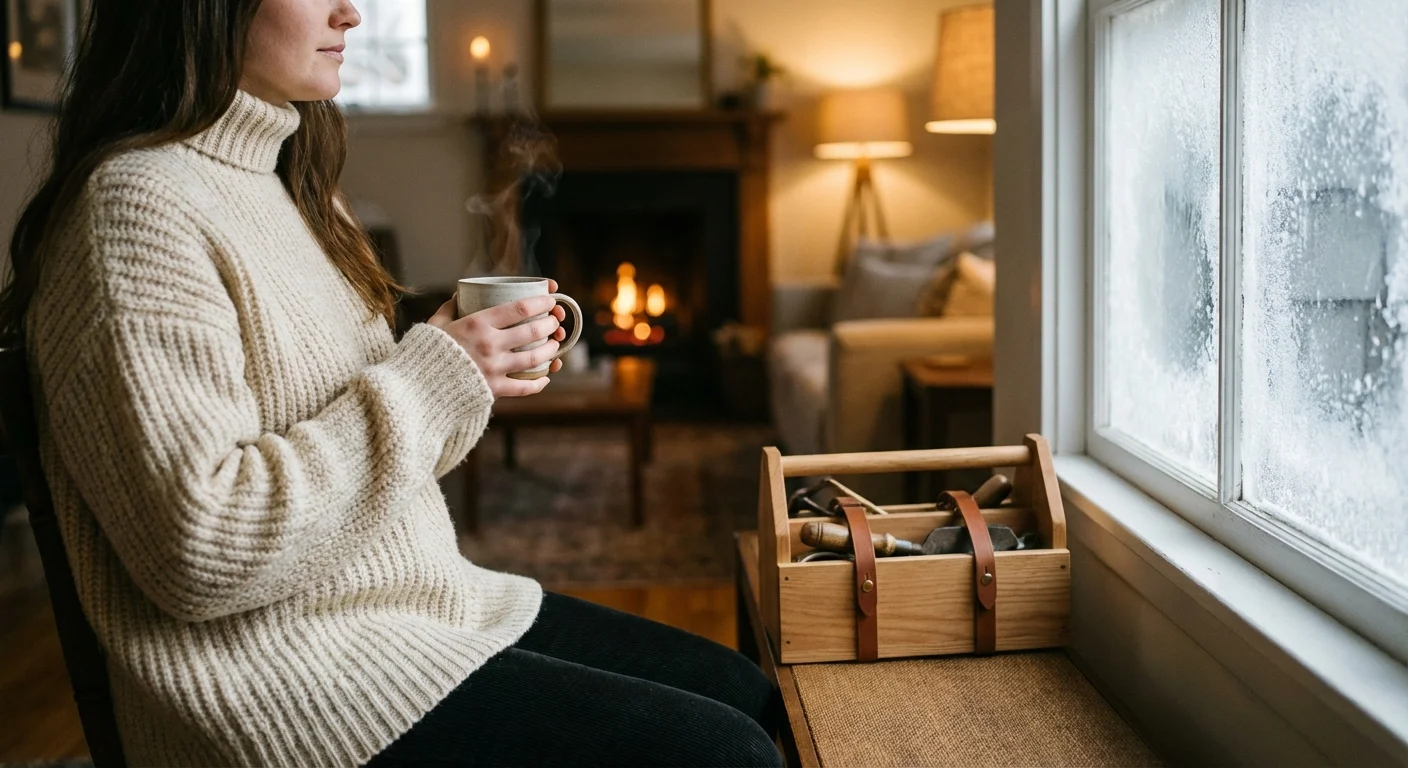
You do not need to wait for the first hard freeze to protect your home. Securing your water lines requires just a few hours of preparation, basic materials from your local hardware store, and a systematic approach. By understanding how cold air infiltrates your living spaces and taking proactive steps to winterize plumbing, you can safeguard your property against severe winter weather. This comprehensive frozen pipe prevention guide will walk you through exactly what to do before the temperatures drop, how to identify your most vulnerable infrastructure, and how to respond if a pipe does freeze.
The Physics of Freezing: Identifying Your Most Vulnerable Pipes
Water freezes at 32 degrees Fahrenheit, but your indoor pipes typically enjoy the ambient heat of your home. Building research indicates that the true danger zone for uninsulated interior pipes begins when the outdoor temperature drops to 20 degrees Fahrenheit or below. However, wind chill, poor wall insulation, and structural drafts significantly alter this threshold; a stiff winter wind whistling through a crawlspace vent freezes pipes much faster than still air at the exact same temperature.
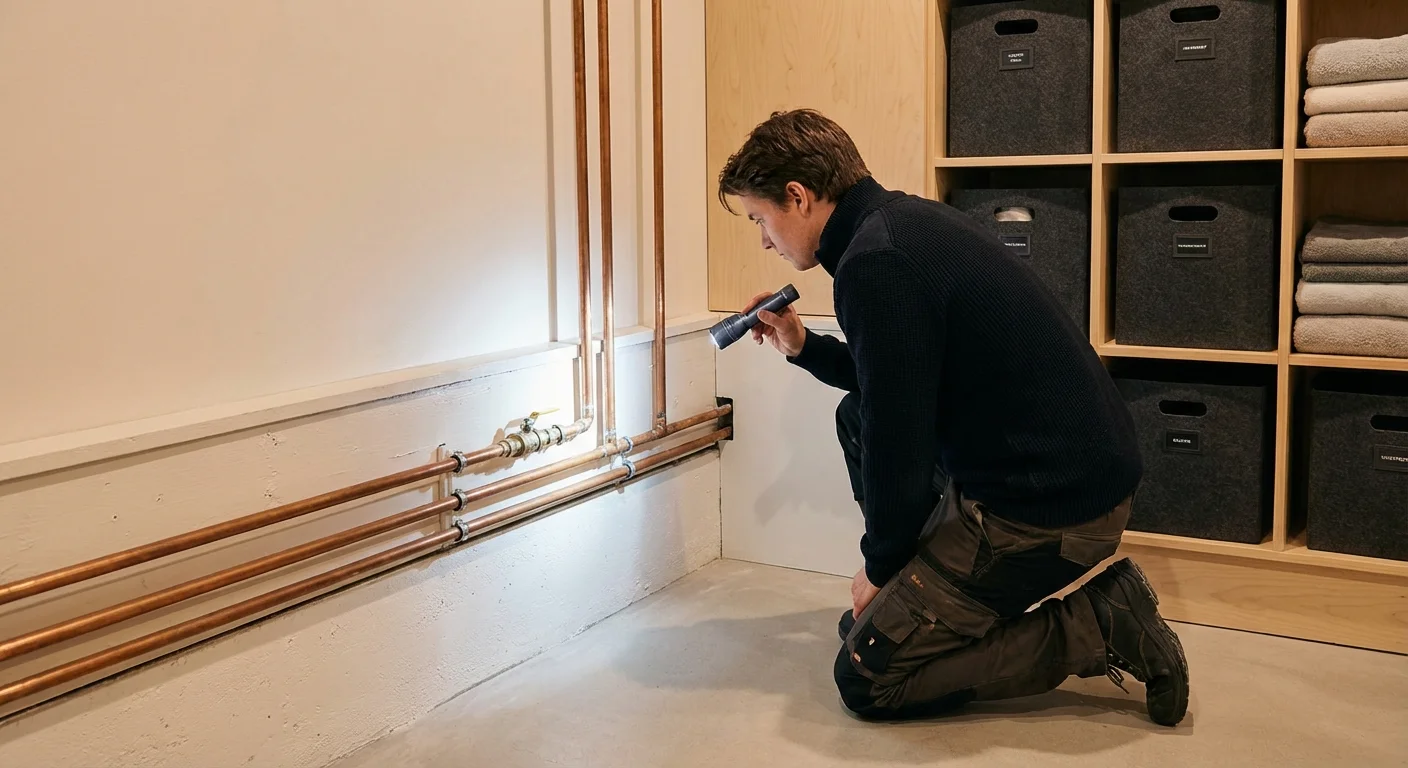
To effectively prevent frozen pipes, you must first locate your high-risk areas. Plumbing systems hidden deep within insulated, heated interior walls rarely freeze. The real danger lies in the exposed and under-insulated zones of your property.
- Unheated Basements and Crawlspaces: Pipes running along the ceiling of an unfinished basement or passing through an unheated crawlspace sit completely exposed to freezing air.
- Exterior Walls: Sinks located on outside-facing walls—especially in older homes with inadequate fiberglass batting—are highly susceptible to cold transfer.
- Attics and Garages: Any water lines supplying second-story bathrooms, washing machines in garages, or attic water heaters face severe temperature drops.
- Outdoor Faucets (Hose Bibs): Exterior spigots provide a direct bridge for freezing temperatures to travel straight into your home’s interior plumbing.
Inspect these areas carefully. Look for obvious daylight shining through foundation cracks, feel for cold drafts around rim joists, and trace the path of your water lines from the meter to your fixtures. Identifying these weak points dictates where you must focus your insulation efforts.
How to Insulate Pipes: Choosing the Right Materials
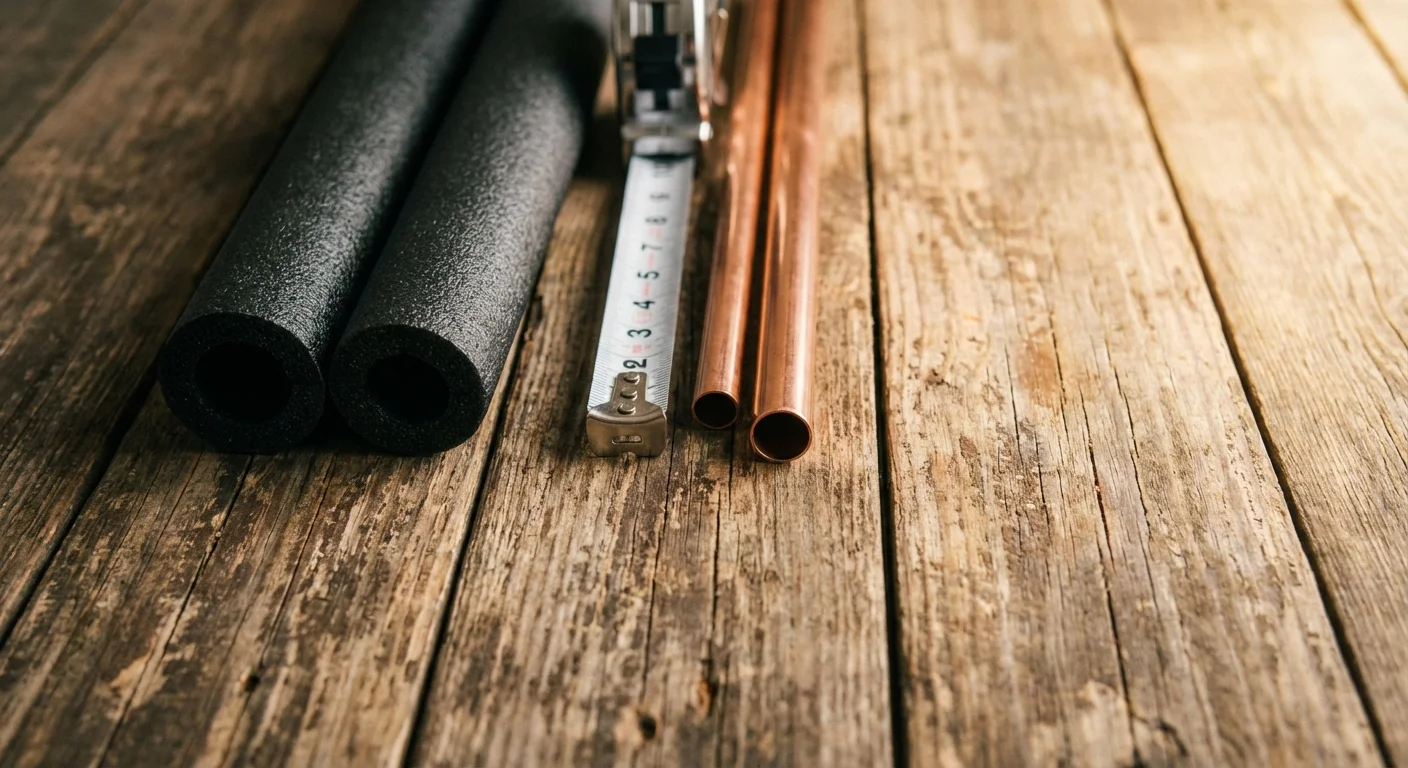
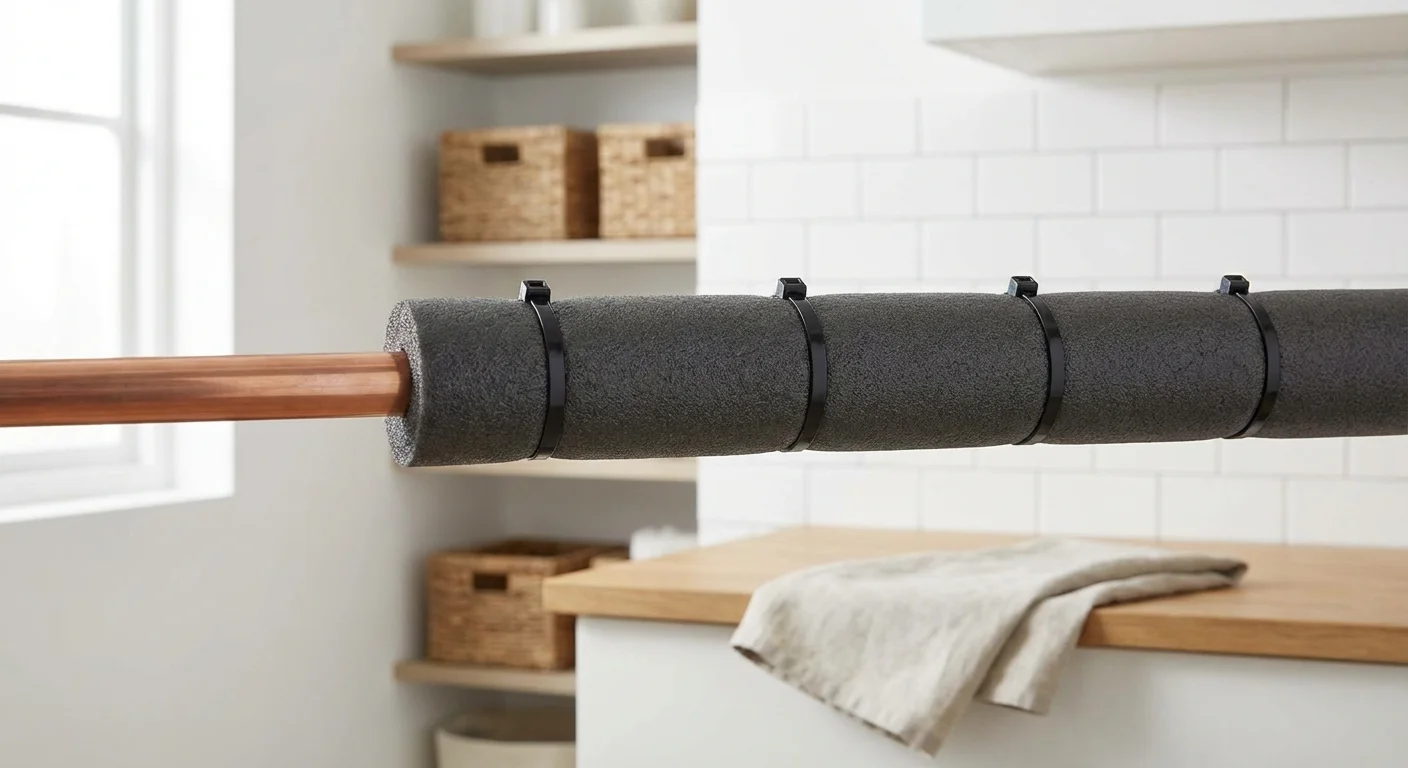
Adding a thermal barrier between your water lines and the freezing air is your most effective line of defense. Learning how to insulate pipes correctly ensures you get the maximum protective value from your materials. Do not simply wrap old rags around your copper lines; moisture accumulation causes fabric to freeze, making the problem significantly worse. Instead, utilize purpose-built insulation.
Before purchasing materials, measure the outside diameter of your pipes (usually ½-inch or ¾-inch for residential supply lines) to ensure a snug fit. Loose insulation allows cold air to circulate against the metal, defeating the purpose of the sleeve.
| Insulation Material | Best Application | Installation Notes | Estimated Cost |
|---|---|---|---|
| Polyethylene Foam Sleeves | Straight runs of exposed pipe in basements and garages. | Features a pre-cut slit. Snap over the pipe and secure the seam with waterproof duct tape or zip ties. | Low ($) |
| Fiberglass Wrap with Foil | High-heat areas near water heaters or tight corners with multiple fittings. | Wear gloves and a mask. Wrap spirally around the pipe, overlapping the edges by at least half an inch. | Medium ($$) |
| Electric Heating Tape | Extremely vulnerable pipes in unheated crawlspaces or mobile homes. | Must be plugged into a GFCI outlet. Follow manufacturer instructions strictly to prevent fire hazards. | High ($$$) |
| Rubber Insulation (Elastomeric) | Outdoor environments or damp basements needing condensation control. | More flexible than foam. Requires contact adhesive or specialized tape for a permanent seal. | Medium ($$) |
When applying foam sleeves, pay special attention to elbows, tees, and valves. Cut the foam at 45-degree angles to create mitered corners that fit tightly around bends. Leave no gaps; even a half-inch of exposed metal compromises the entire run of insulation. For areas requiring electric heating tape, never overlap the heating cable upon itself unless the manufacturer specifically designates the product as self-regulating, as standard heat tape overheats and creates a severe fire risk.
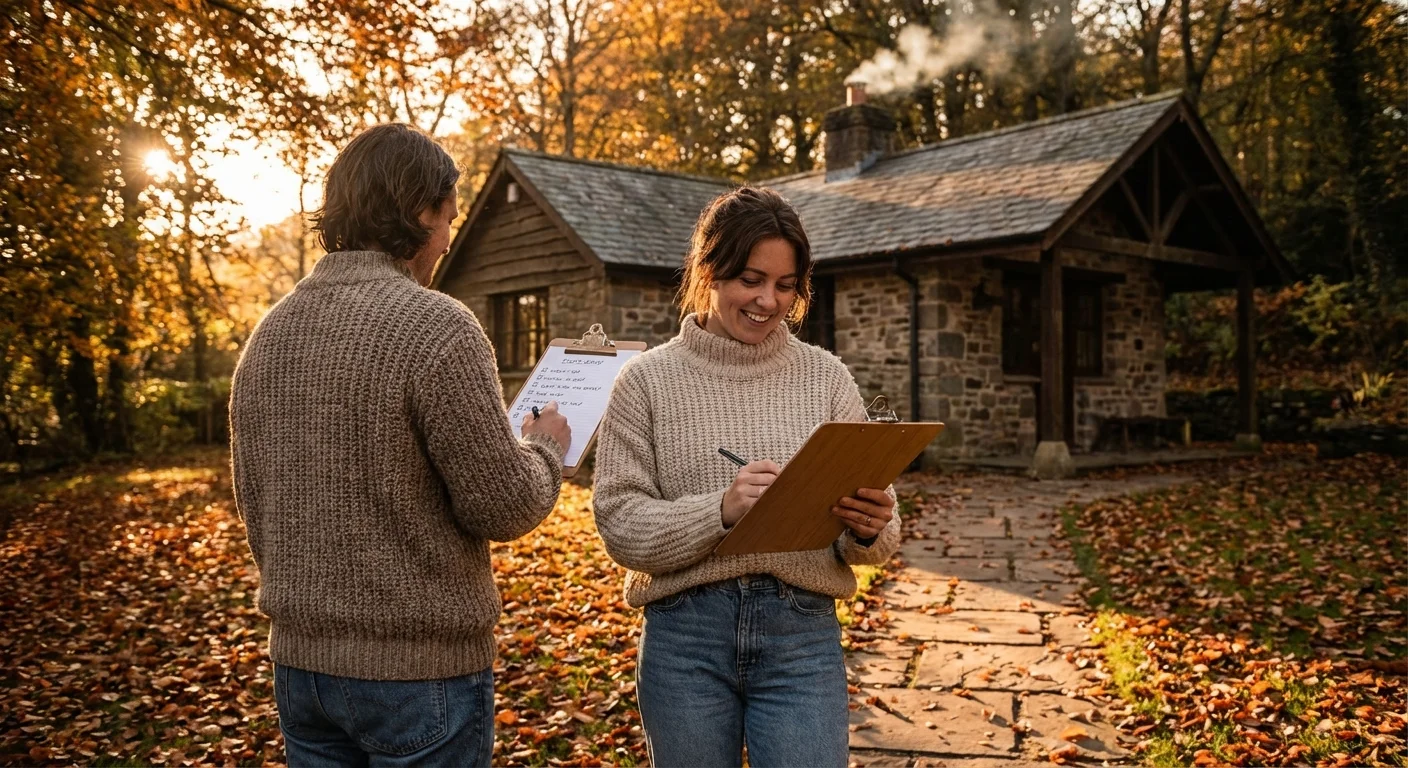
Essential Winter Plumbing Tips: Your Pre-Season Checklist
Effective weatherization extends beyond simply wrapping foam around copper. Your home requires a systematic shutdown of seasonal water features and a reinforcement of its thermal envelope. Follow this pre-winter plumbing checklist before the first hard frost arrives in your region.
Integrating these steps into your monthly home care tasks helps you avoid expensive emergency calls when the weather is at its worst.
1. Disconnect and Drain Garden Hoses
Leaving a garden hose attached to an exterior spigot traps water inside the fixture. When the water in the hose freezes, the ice expands backward into the pipe inside your wall, easily fracturing the valve. Disconnect every hose, drain them completely, and store them in a garage or shed to prolong their lifespan.
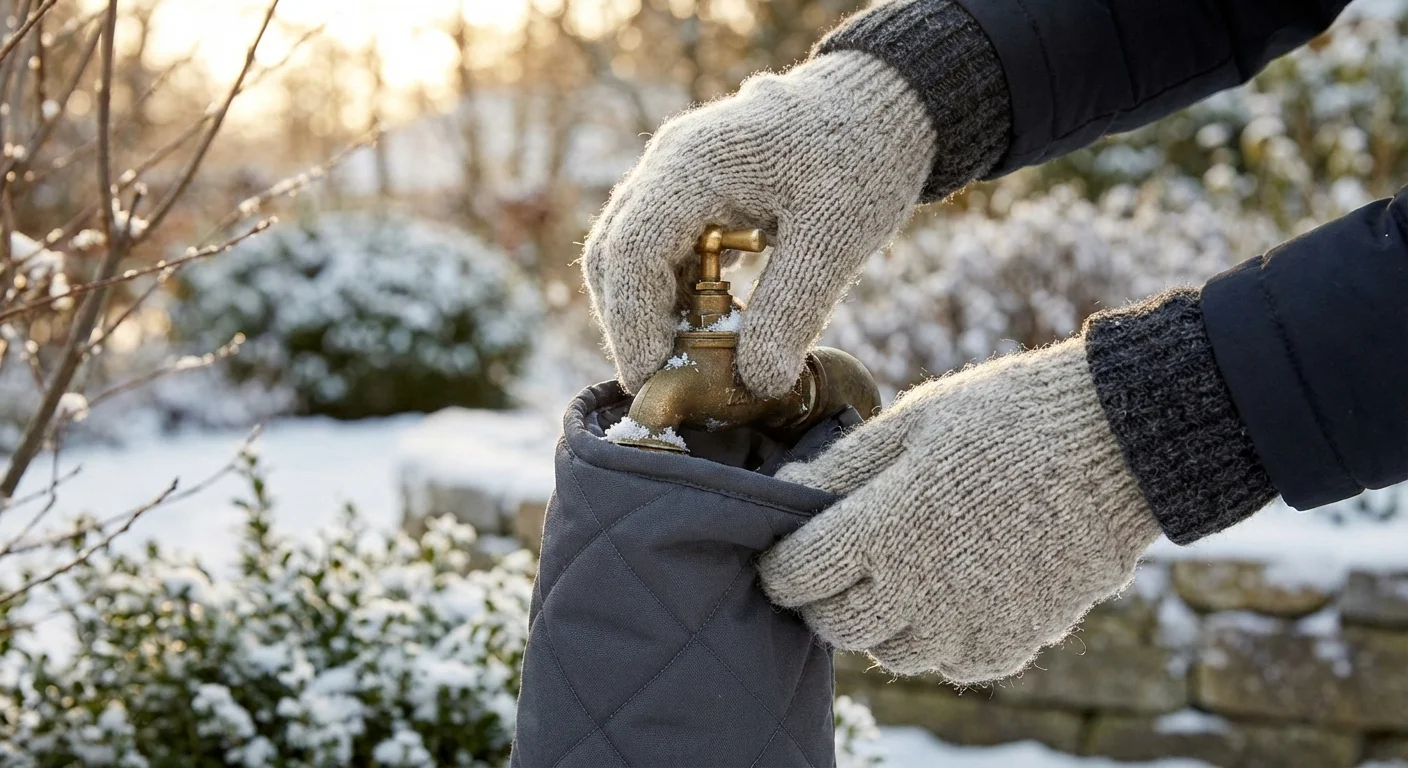
2. Isolate and Drain Outdoor Faucets
If your home features interior shut-off valves for your exterior spigots, turn them off. Once the interior valve is closed, go outside and open the spigot to allow any remaining water to drain out. Leave the exterior valve open throughout the winter. If you do not have interior shut-offs, install insulated faucet covers—inexpensive foam domes that trap ambient heat escaping from your home against the valve.
3. Winterize Irrigation Systems
In-ground sprinkler systems hold significant amounts of water just inches below the frost line. You must purge these lines completely. While some systems feature manual drain valves, most require a professional “blowout” using a high-capacity air compressor to force all residual water from the underground PVC pipes and sprinkler heads.
4. Seal Air Leaks Around the Home
Insulation only slows heat transfer; it does not generate heat. If a freezing wind blows directly onto an insulated pipe, the pipe eventually freezes. Inspect your foundation, sill plates, and basement windows for gaps. Use expanding polyurethane foam or exterior-grade silicone caulk to seal cracks where cold air enters. According to Energy Star, sealing your home’s thermal envelope not only protects your plumbing but also significantly reduces your winter heating bills.
What to Do When the Temperature Plummets
Even with rigorous preparation, extreme arctic blasts push residential infrastructure to its absolute limits. When meteorologists forecast historic lows, you must shift from passive preparation to active defense. These emergency winter plumbing tips keep water flowing during severe deep freezes.
Keep Cabinet Doors Open
The plumbing beneath your kitchen and bathroom sinks resides behind closed doors, isolated from the warm air circulating through your home. Open these cabinet doors to allow heated room air to reach the uninsulated pipes near the exterior walls. If you store household chemicals under the sink, relocate them temporarily to protect children and pets.
Let Faucets Drip
Allowing a slow, steady drip from faucets connected to vulnerable pipes provides dual protection. First, moving water requires much lower temperatures to freeze than stagnant water. Second—and more importantly—an open faucet relieves the immense water pressure that builds between an ice blockage and the fixture. A pipe bursts because of this trapped pressure, not because of the expanding ice itself. A drip the size of a pencil lead provides enough pressure relief to save your plumbing.
Maintain Consistent Thermostat Settings
While dropping your thermostat at night saves on energy costs, the sudden drop in ambient heat allows the temperature inside your wall cavities to plummet. During severe cold snaps, keep your thermostat set to the exact same temperature day and night. The minor increase in your heating bill pales in comparison to the cost of major water damage restoration.
“The most critical protective measure a homeowner can take is simply knowing exactly where their main water shut-off valve is located. If a freeze happens and a pipe bursts, shutting off the water in seconds rather than minutes is the difference between a mop-up job and a major home renovation.” — Richard Trethewey, Plumbing and Heating Expert at This Old House
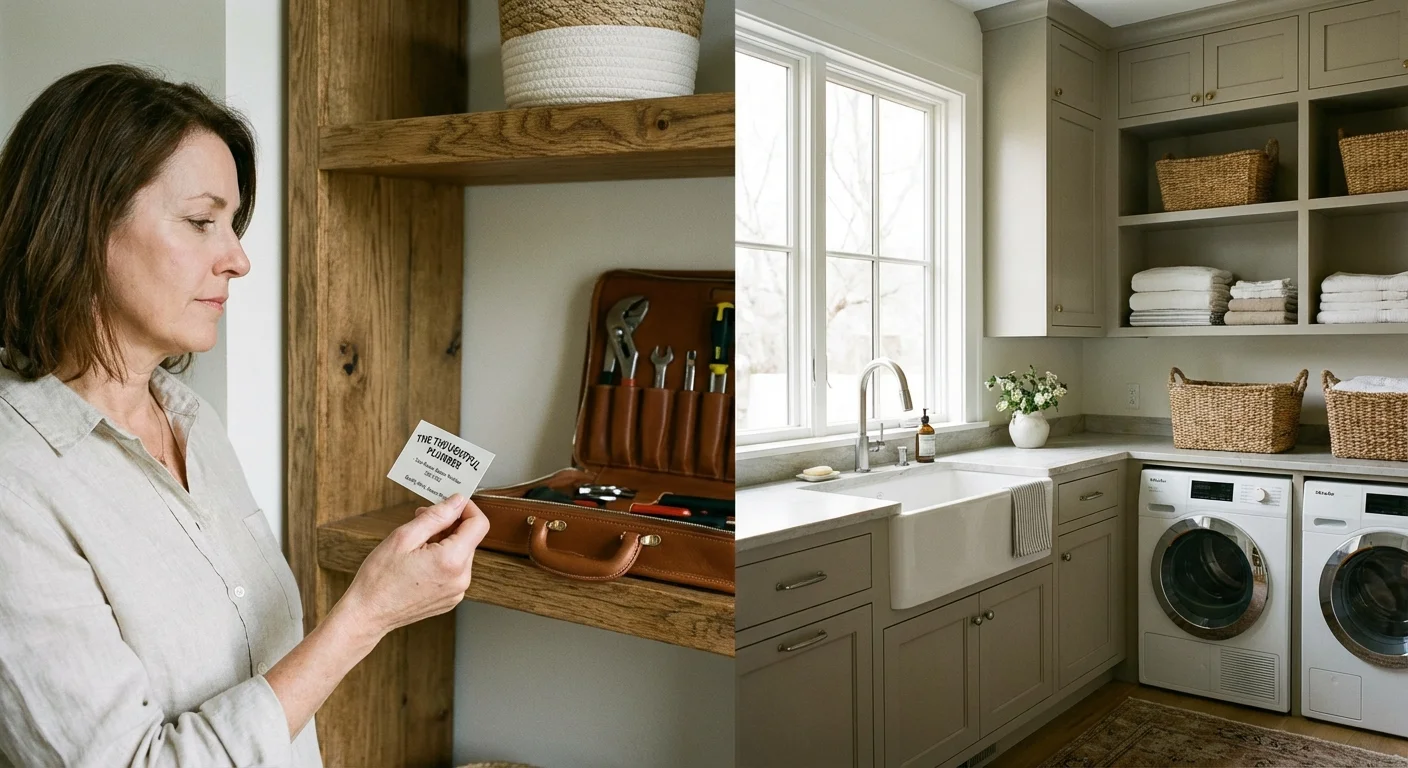
Professional vs. DIY: Knowing When to Call a Plumber
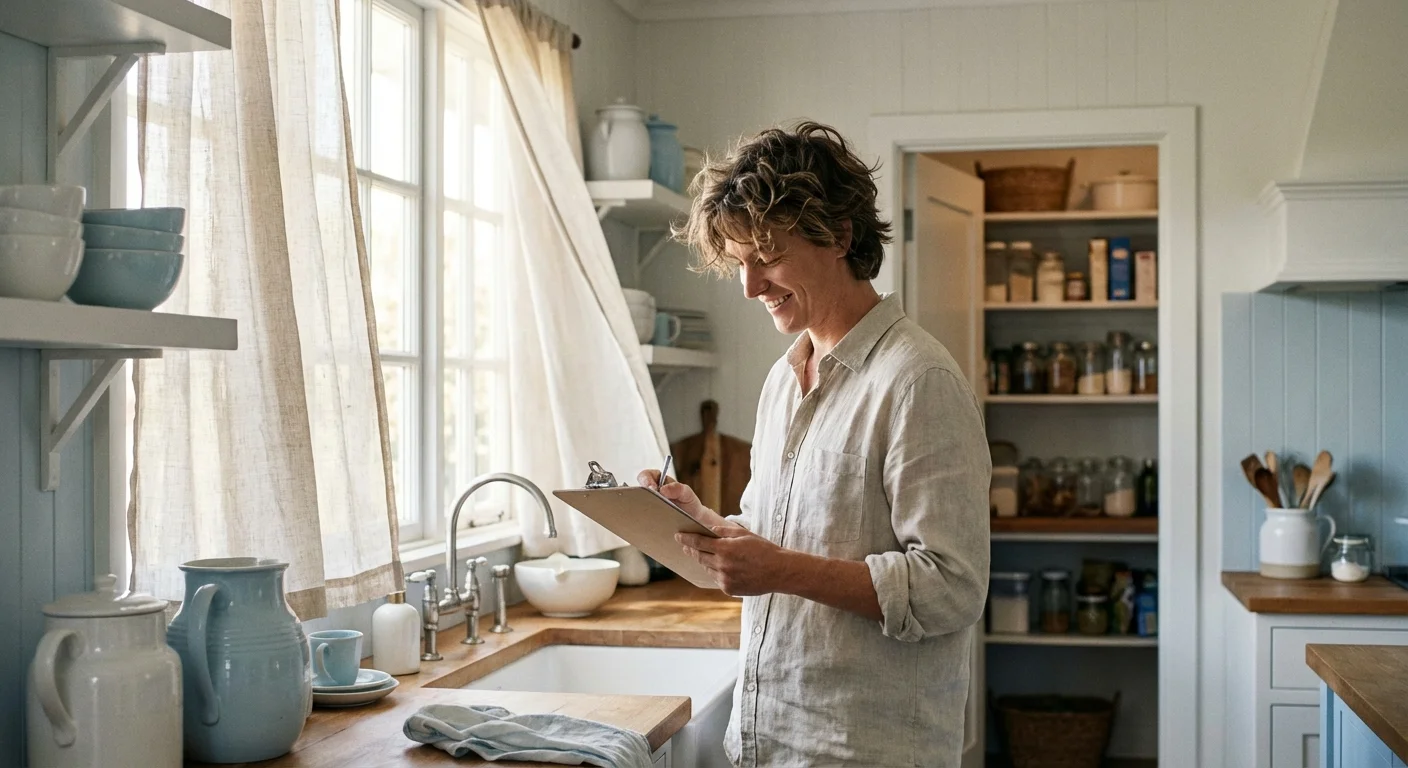
While most homeowners easily handle basic insulation and draft sealing, certain weatherization projects require specialized tools and building code knowledge. Assess your capabilities honestly to avoid making costly mistakes.
Tracking these seasonal chores as part of your monthly home maintenance calendar ensures no vital part of your home care is forgotten.
Scenario 1: Insulating exposed basement pipes
Verdict: DIY. Measuring pipes, cutting foam sleeves, and taping seams requires no specialized skills and poses zero risk to your home’s integrity.
Scenario 2: Upgrading to frost-proof sillcocks
Verdict: Professional. Replacing standard exterior spigots with modern frost-proof sillcocks requires cutting copper pipes, soldering new joints, and ensuring the valve stems pitch downward for proper drainage. Unless you possess significant plumbing and soldering experience, hire a licensed professional.
Scenario 3: Installing a whole-house shut-off valve
Verdict: Professional. If your home lacks a reliable, easy-to-turn main shut-off valve (e.g., you only have a rusted gate valve that requires a wrench), upgrading to a modern quarter-turn ball valve requires working with the main municipal water supply line. This is strict professional territory.
Scenario 4: Applying electric heat tape
Verdict: DIY (with caution). You can install plug-in heat tape yourself, provided you strictly adhere to the manufacturer’s safety guidelines. However, if your crawlspace lacks a dedicated, code-compliant GFCI outlet, you must hire a licensed electrician to install the power source.
Common Mistakes to Avoid When You Winterize Plumbing
Even well-intentioned homeowners make critical errors that inadvertently invite cold air into their homes or compromise their plumbing infrastructure. Avoid these frequent missteps.
Closing Foundation Vents Too Early (or Too Late)
Crawlspace vents serve a crucial purpose in the summer: ventilating moisture to prevent mold and wood rot. However, leaving them open during a freeze blasts your plumbing with arctic air. Close your foundation vents securely as soon as daytime temperatures consistently drop below 40 degrees Fahrenheit, and remember to reopen them in the spring.
Turning the Heat Off Completely During Vacations
If you travel south for the winter or leave for a holiday vacation, never turn your furnace completely off. Set your thermostat no lower than 55 degrees Fahrenheit. Open all interior room doors to ensure warm air circulates evenly throughout the house, reaching remote bathrooms and laundry rooms.
Relying on Space Heaters in Unattended Areas
Placing a portable electric space heater inside a garage or crawlspace to warm exposed pipes introduces a massive fire hazard. Space heaters must never run unattended, nor should they be used in damp or dusty environments. Always rely on proper pipe insulation or UL-listed electric heat tape designed specifically for plumbing applications.
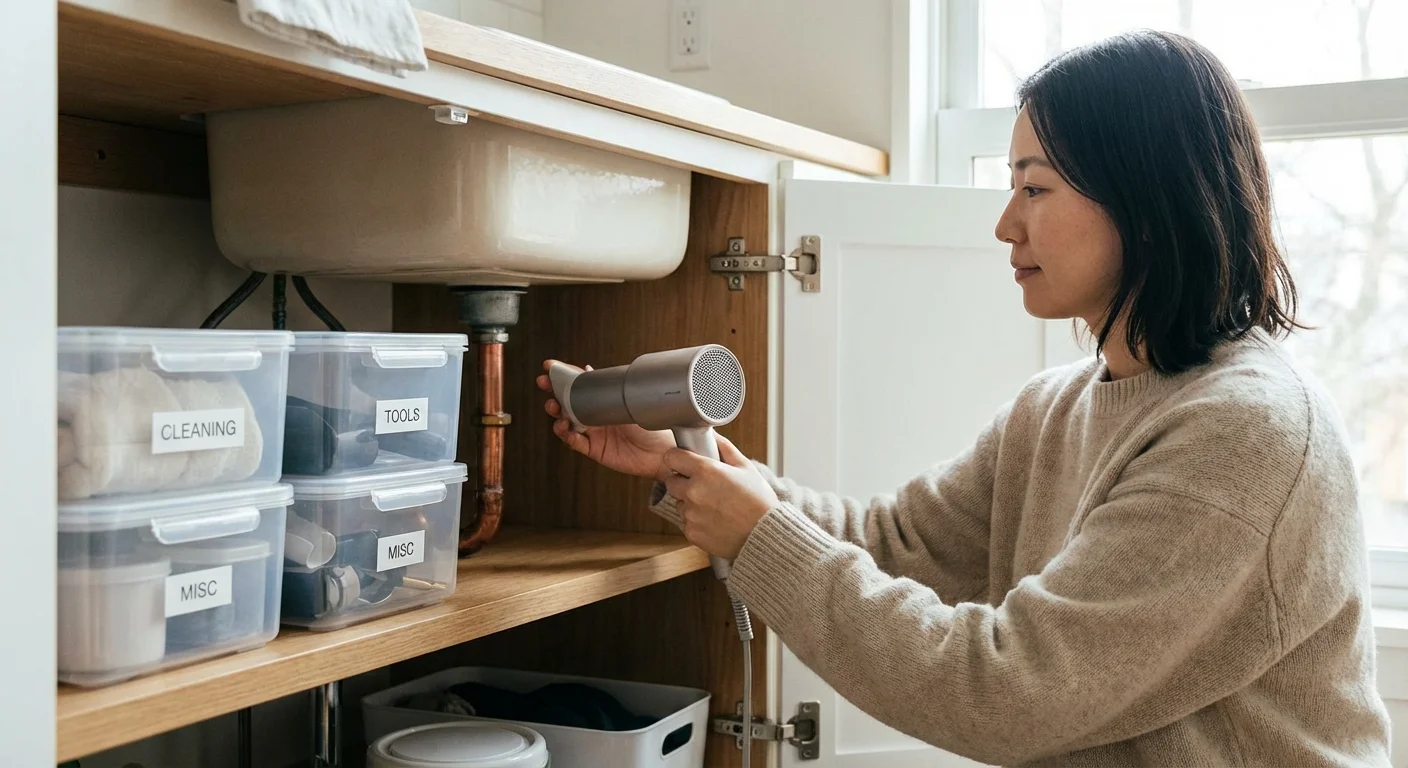
How to Safely Thaw a Frozen Pipe
If you turn on a faucet on a frigid morning and discover only a slow trickle or no water at all, your pipe has likely frozen. Immediate, careful action prevents the ice blockage from expanding further and rupturing the metal.
First, immediately shut off your home’s main water valve. If the pipe is already cracked, shutting off the water prevents a massive flood once the ice melts. Next, open the affected faucet completely; as you thaw the ice, the water needs an escape route.
Begin warming the pipe working backward from the open faucet toward the frozen area. This allows melting water to flow out easily. You can apply heat using several safe methods:
- Aim a hair dryer directly at the pipe, sweeping back and forth.
- Wrap heavy towels soaked in hot water around the affected area.
- Position a portable space heater to blow warm air into the general area (keeping it far from flammable materials and water).
- Apply an electric heating pad wrapped around the pipe.
Never use a blowtorch, propane heater, or any open flame to thaw a plumbing line. The intense, concentrated heat boils the water trapped inside, causing an explosive steam rupture. Furthermore, using open flames inside wall cavities or near floor joists is a leading cause of catastrophic winter house fires. If you cannot locate the frozen section, or if the pipe remains inaccessible behind drywall, call a licensed emergency plumber immediately.
Frequently Asked Questions About Winter Pipe Protection
At what temperature do house pipes freeze?
While water freezes at 32 degrees Fahrenheit, indoor pipes generally do not face freezing risks until outdoor temperatures drop to 20 degrees Fahrenheit or below. However, poorly insulated exterior walls, high winds, and open crawlspace vents accelerate freezing at much higher outside temperatures.
Does dripping a faucet actually work?
Yes. Dripping a faucet provides two major benefits: moving water resists freezing longer than stagnant water, and the open valve relieves the immense hydraulic pressure that builds between an ice blockage and the faucet. This pressure relief is what actually stops the pipe from bursting.
Should I turn off my water if I go on winter vacation?
Absolutely. According to resources from The Spruce regarding home water management, shutting off your main water valve before leaving for an extended winter trip eliminates the risk of catastrophic flooding. Once you shut off the main valve, briefly open your highest and lowest faucets to drain the residual pressure from the lines.
Is foam pipe insulation enough for severe cold?
Standard polyethylene foam insulation delays freezing but cannot prevent it indefinitely if temperatures drop extremely low for an extended period. Insulation requires a heat source—even just the ambient heat from the nearby room—to be effective. For severe cold in unheated areas, heavy-duty fiberglass wrap or thermostatically controlled heat tape is required.
Taking the time to insulate pipes and seal drafts provides incredible peace of mind when the winter wind starts howling. A methodical walk-through of your property today ensures your home remains a warm, secure, and dry sanctuary all season long. Locate your main water shut-off valve, double-check your exterior spigots, and stock up on insulation sleeves before the local hardware store sells out during the first major cold snap.
This is educational content based on general best practices. Individual results vary based on your home, budget, and circumstances. Always prioritize safety and consult professionals for major projects.
Last updated: February 2026


Leave a Reply