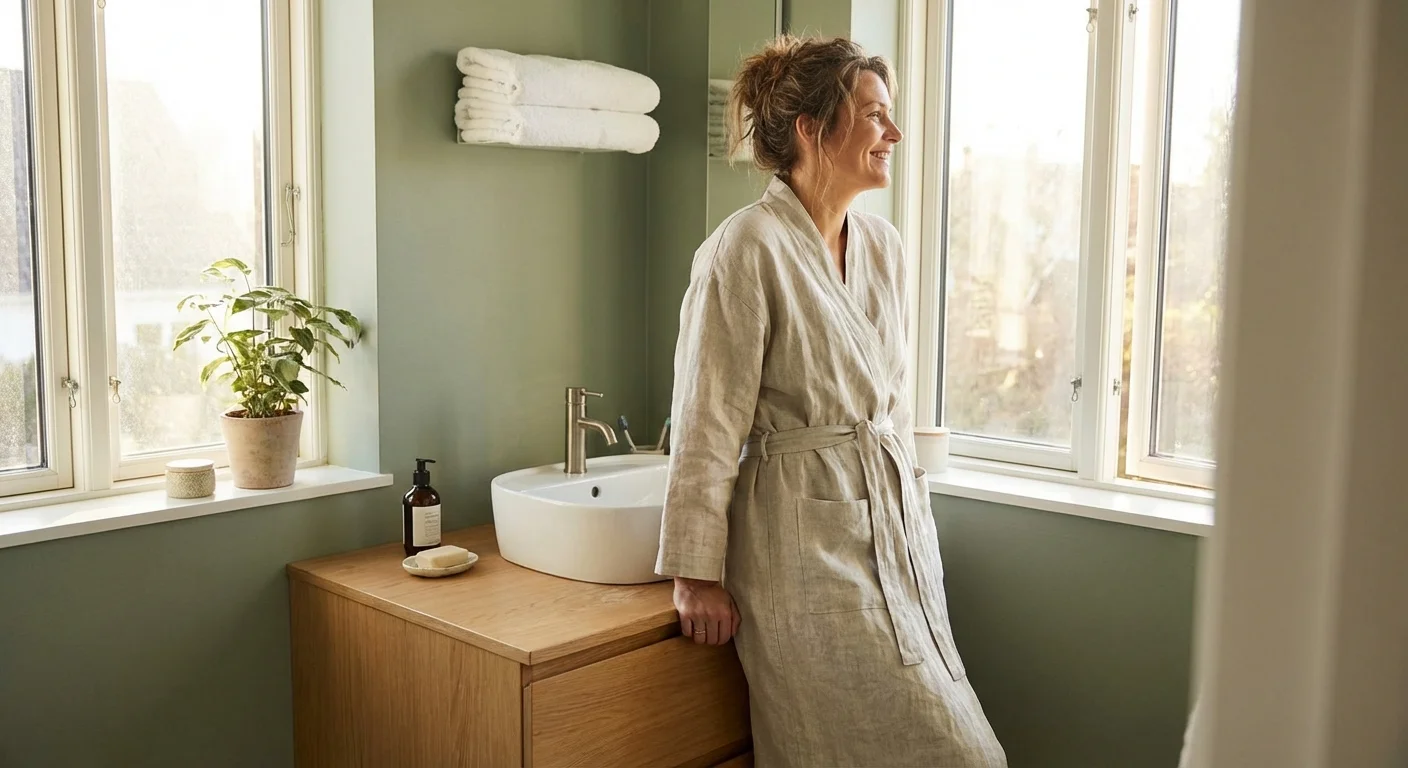
A full bathroom gut job easily costs upwards of $15,000, leaving many homeowners and renters staring at 1990s oak vanities and builder-grade mirrors in dismay. You do not need a demolition crew to transform your space. The most dramatic interior transformations often happen not through tearing down walls, but through strategic, surface-level upgrades. A budget bathroom refresh relies on the clever application of paint, updated hardware, modernized lighting, and smart styling to completely shift the feeling of the room over a single weekend.
Whether you want to execute a cheap bathroom makeover to increase your home’s resale value or simply desire a more relaxing environment for your morning routine, you have plenty of accessible options. Tackling a few targeted DIY projects allows you to modernize a bathroom on a budget while keeping your existing layout and plumbing intact.
At a Glance: The Essentials of a Budget Update
- Focus on high-impact surfaces: Repainting walls and cabinets provides the highest return on investment.
- Swap the jewelry: Upgrading cabinet knobs, drawer pulls, and faucets instantly modernizes a dated vanity.
- Improve the lighting: Changing out old fixtures and selecting the correct bulb temperature changes the entire atmosphere.
- Cover, don’t replace: Use modern solutions like peel-and-stick flooring and epoxy tub kits to bypass expensive tile demolition.
- Elevate through organization: Proper storage solutions make even the oldest bathroom feel intentional and luxurious.
The Transformative Power of Paint
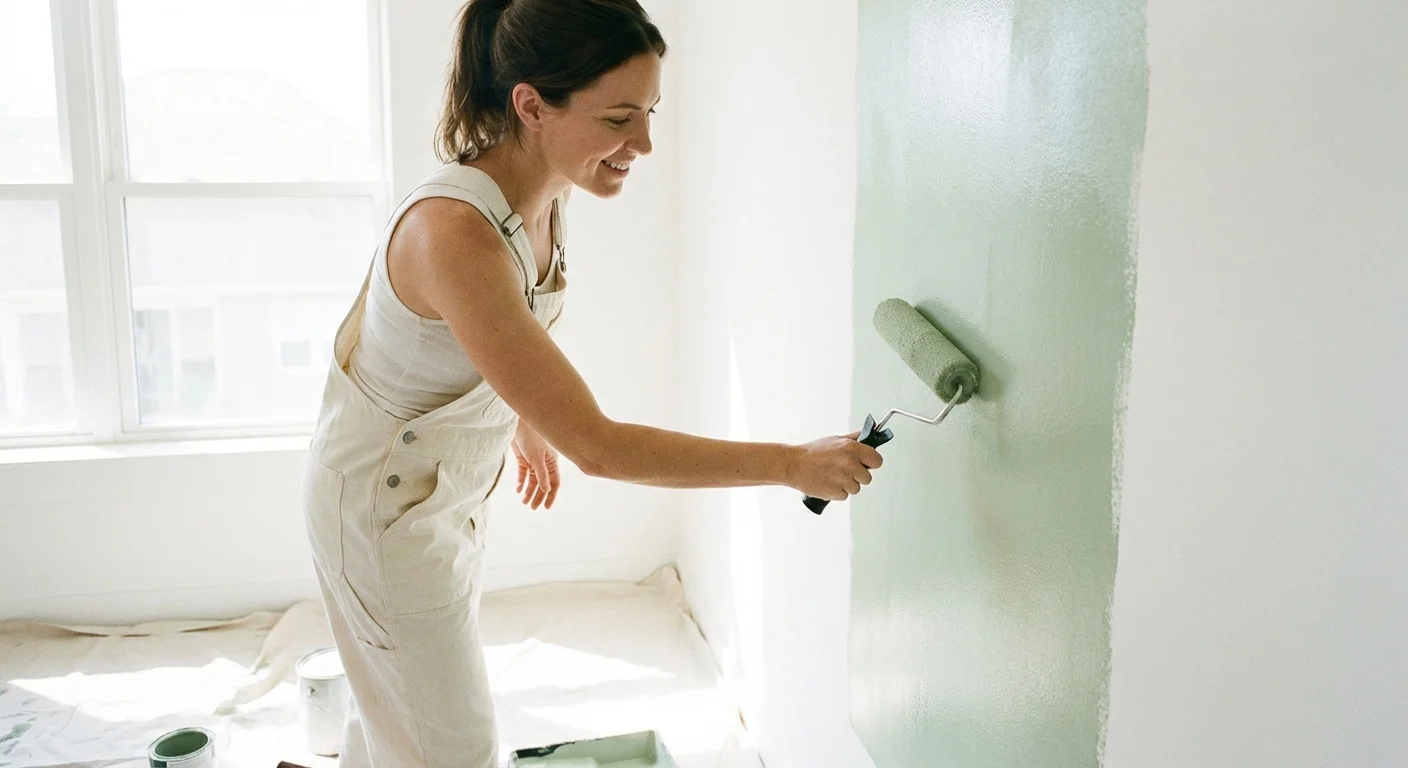
Paint serves as your most powerful weapon during an affordable bathroom renovation. Bathrooms present a unique microclimate in your home—they endure drastic temperature fluctuations and high humidity on a daily basis. You must select the right products to ensure your hard work survives these harsh conditions.
Selecting the Right Wall Paint
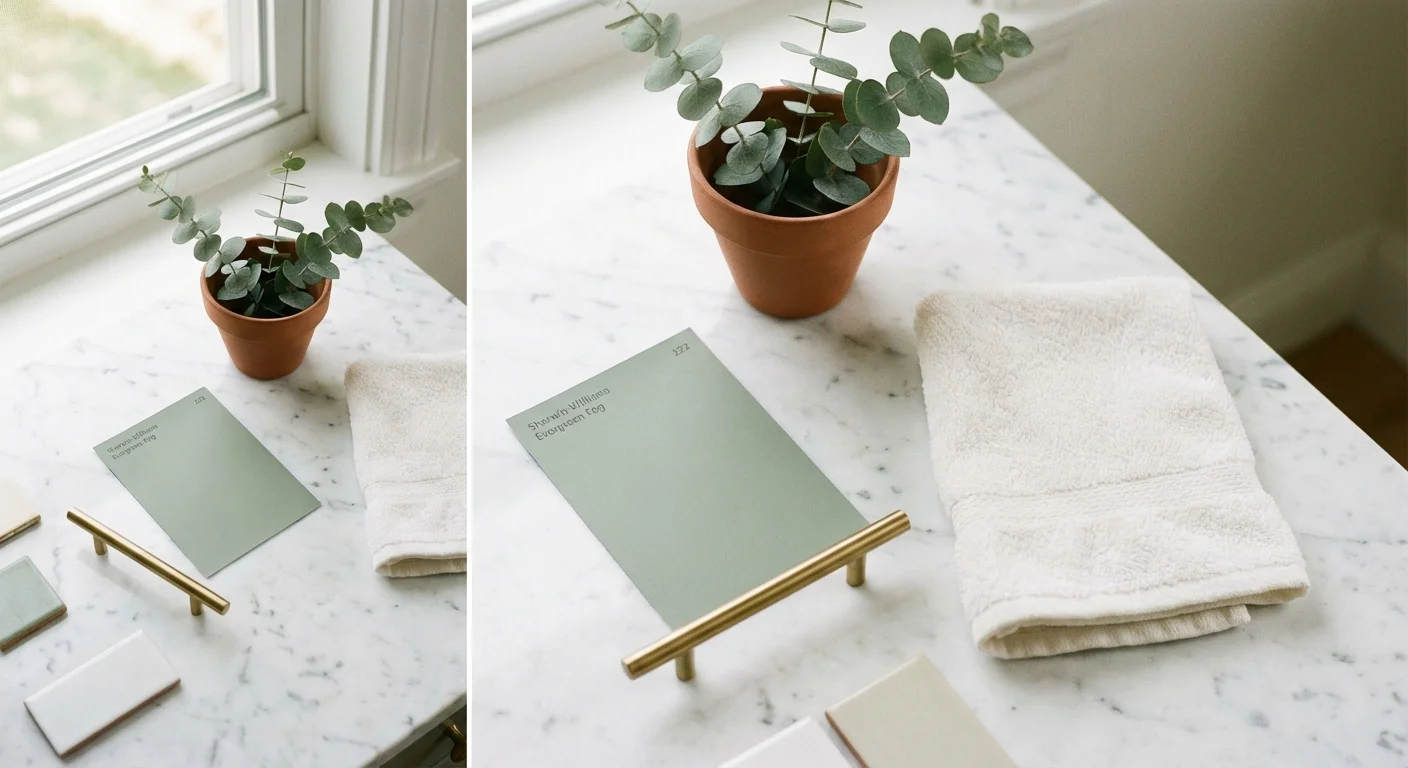
Flat and matte finishes absorb moisture and show water marks easily; they have no place in a full bathroom. Opt for a satin or semi-gloss finish. These sheens repel moisture and withstand regular wiping. Many premium paint brands now offer specific “bath and spa” lines formulated with mold and mildew inhibitors. Light, airy colors—such as soft sage greens, warm off-whites, and pale grayish-blues—help small bathrooms feel expansive and clean. If you want to explore modern palettes, Better Homes & Gardens offers excellent guidance on trending bathroom color schemes that maximize light.
Reviving an Outdated Vanity
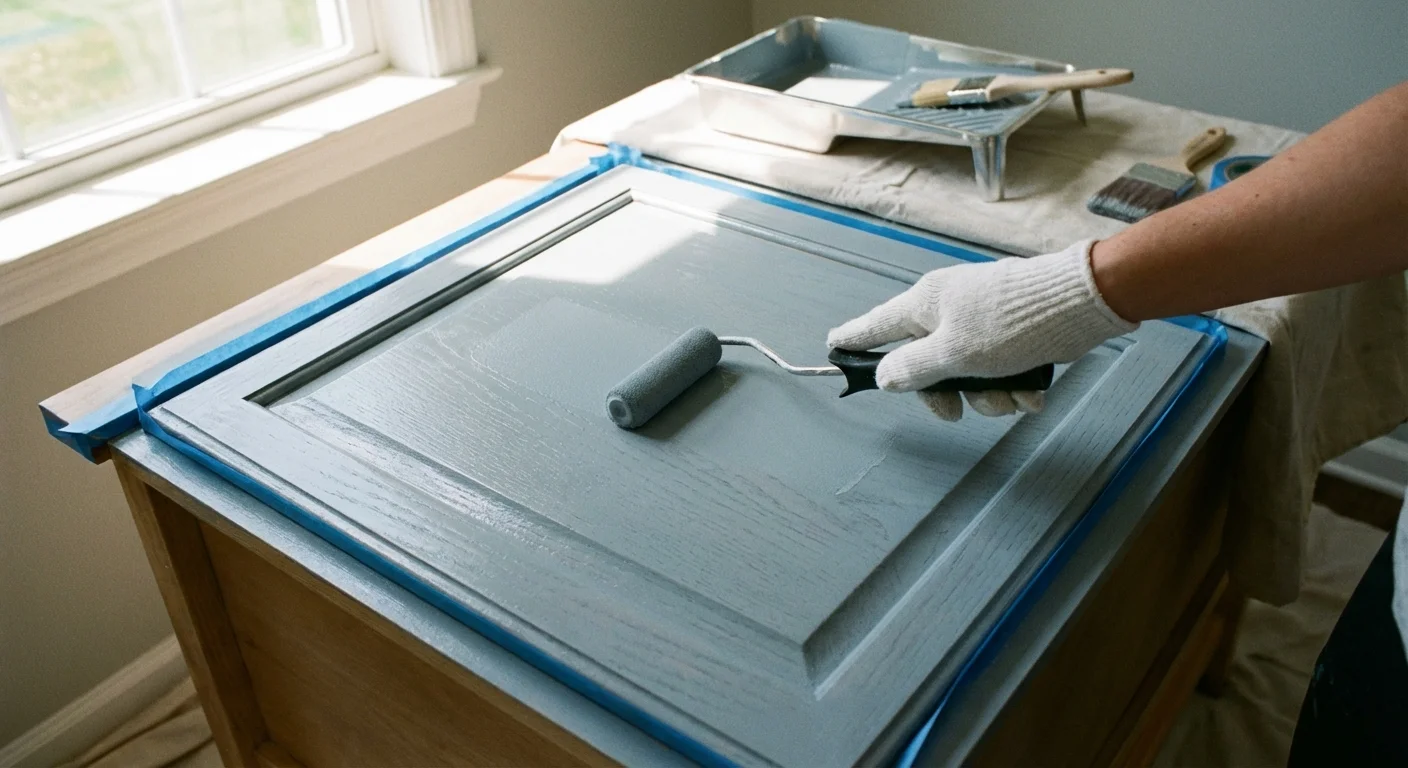
Replacing a solid wood vanity simply because you dislike the honey-oak finish wastes both money and quality materials. Painting your vanity cabinets completely alters the room’s focal point. Achieving a durable, factory-like finish requires strict adherence to preparation steps:
- Remove all hardware and doors: Never try to paint around hinges or knobs. Take the doors off and lay them flat.
- Clean thoroughly: Bathrooms accumulate hairspray, lotions, and soap residue. Scrub every surface with a heavy-duty degreaser like TSP (trisodium phosphate).
- Scuff sand: Use 120-grit sandpaper to break the existing glossy clear coat. You do not need to sand down to bare wood; you only need to create a rough surface for the primer to grip.
- Apply a bonding primer: Use a high-quality, stain-blocking primer. Allow it to cure completely according to the manufacturer’s instructions.
- Paint with urethane enamel: Standard wall paint will chip off a cabinet within weeks. Invest in a water-based alkyd or urethane enamel. These paints level out beautifully to hide brush strokes and dry to a hard, cabinet-grade shell.
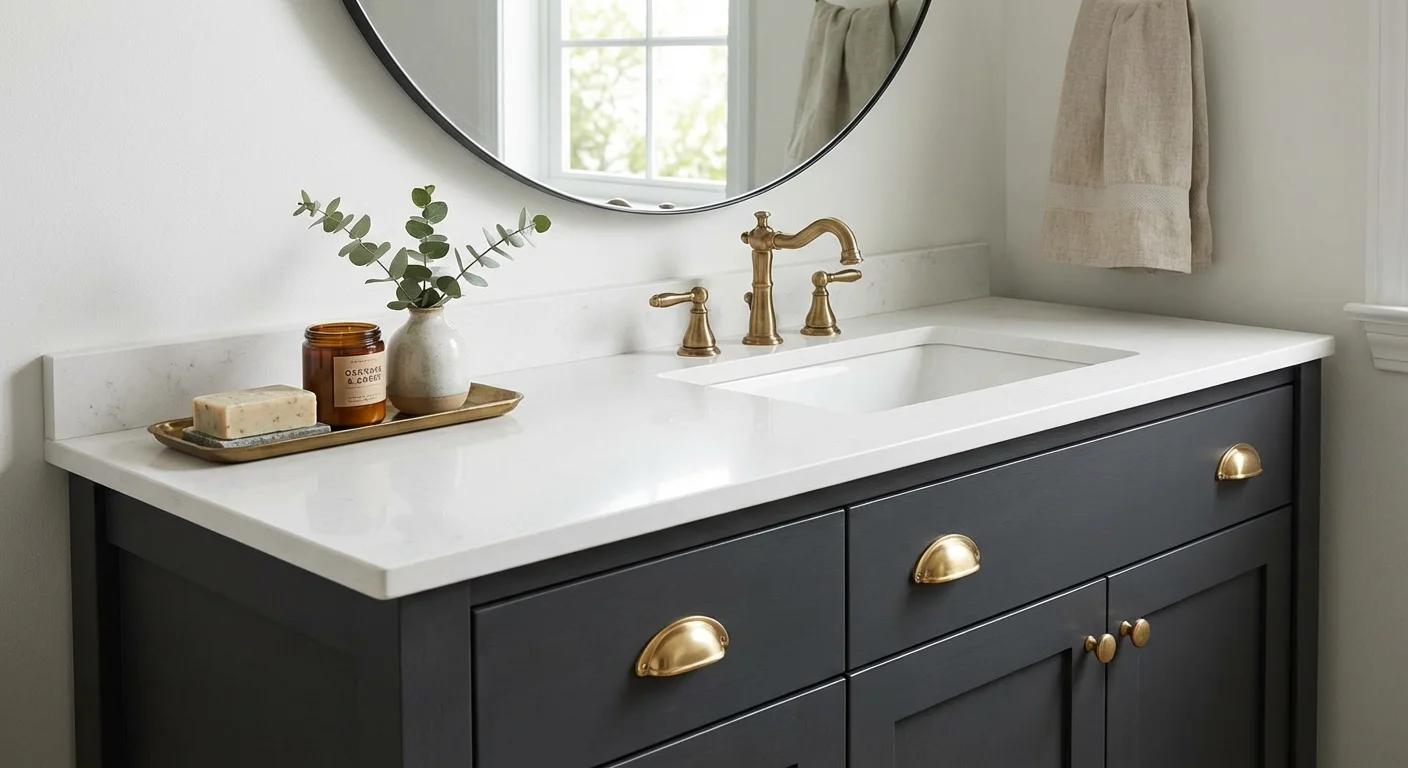
Darker, moody colors look exceptionally sophisticated on bathroom vanities. Deep navy blue, forest green, or even a soft charcoal gray pair beautifully with crisp white sinks and warm brass hardware.
Updating Hardware and Fixtures
If your bathroom features tarnished 1980s brass or cheap plastic knobs, updating the hardware offers instant gratification. Think of hardware as the jewelry of your bathroom; it dictates the style era of the space.
Cabinet Pulls and Knobs
To keep this project fast and simple, measure the “center-to-center” distance of your existing drawer pulls (the exact distance between the two screw holes). Purchasing new hardware with identical measurements allows you to install the new pieces using a simple screwdriver in minutes. Matte black, brushed nickel, and champagne bronze are currently dominating modern bathroom designs. They resist water spots better than polished chrome and add a tactile richness to the room.
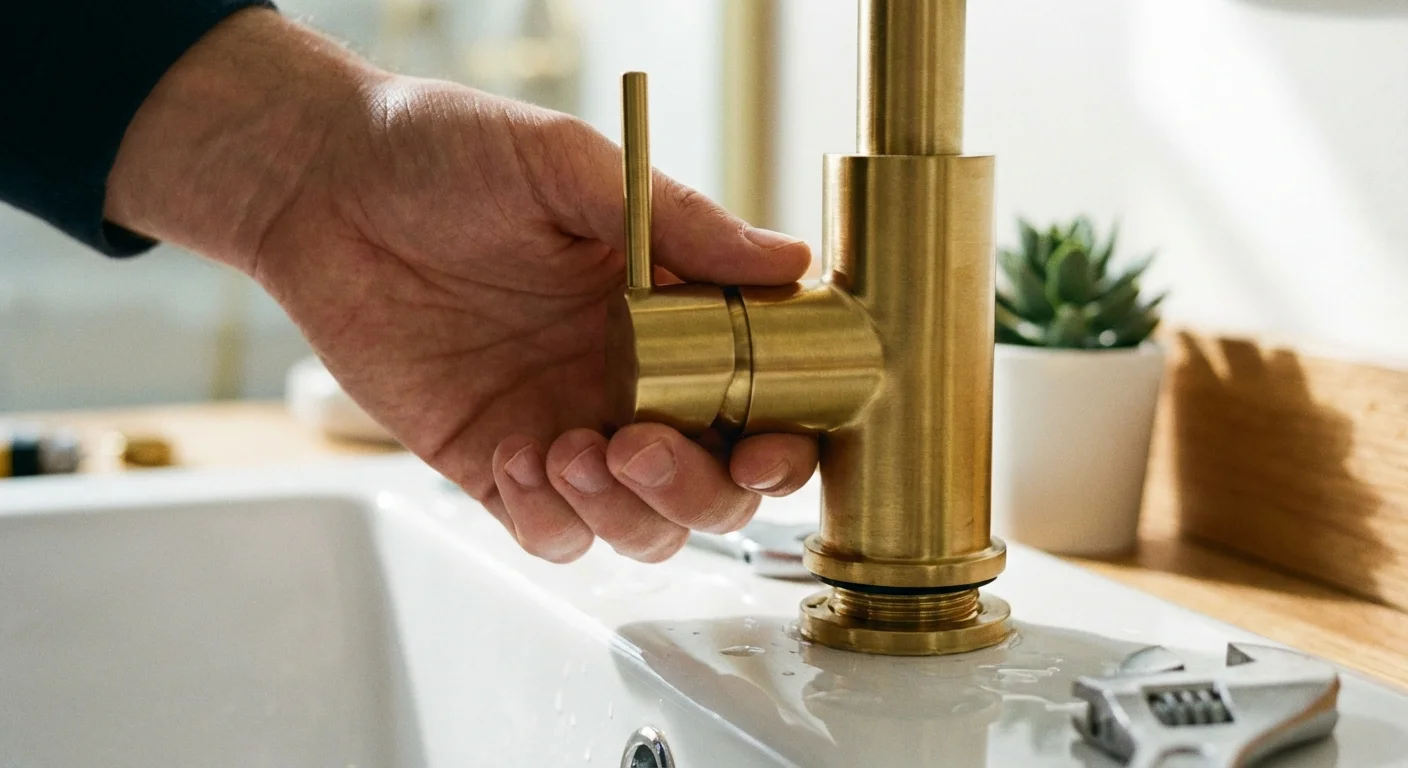
Replacing the Faucet
Many people assume plumbing requires a professional, but replacing a sink faucet sits well within the capabilities of a determined DIYer. A sleek, modern faucet elevates the entire vanity area. Before purchasing a new faucet, check your sink’s hole configuration. If you have a single-hole sink, you need a single-hole faucet. If you have three holes, measure the distance between the far left and far right holes to determine if you need a “centersat” (usually 4 inches) or “widespread” (usually 8 inches) faucet.
Always turn off the water supply valves under the sink before beginning this project. Keep a bucket and towels handy to catch the residual water trapped in the old supply lines. For a comprehensive visual guide on handling the underlying connections, This Old House provides excellent step-by-step tutorials on safe faucet replacement.
Comparing Vanity Update Options
When deciding how to handle an ugly vanity, you have three primary budget-conscious paths. Review this comparison to determine which method fits your timeline and skill level.
| Method | Estimated Cost | Time Required | Skill Level | Durability |
|---|---|---|---|---|
| Painting Existing Vanity | $50 – $100 | 2-3 Days (includes drying time) | Beginner to Intermediate | High (if using enamel) |
| Applying Contact Paper/Vinyl | $20 – $40 | 3-5 Hours | Beginner | Medium (edges may peel over time) |
| Replacing Doors Only (Refacing) | $150 – $300 | 1 Day | Intermediate | Very High |
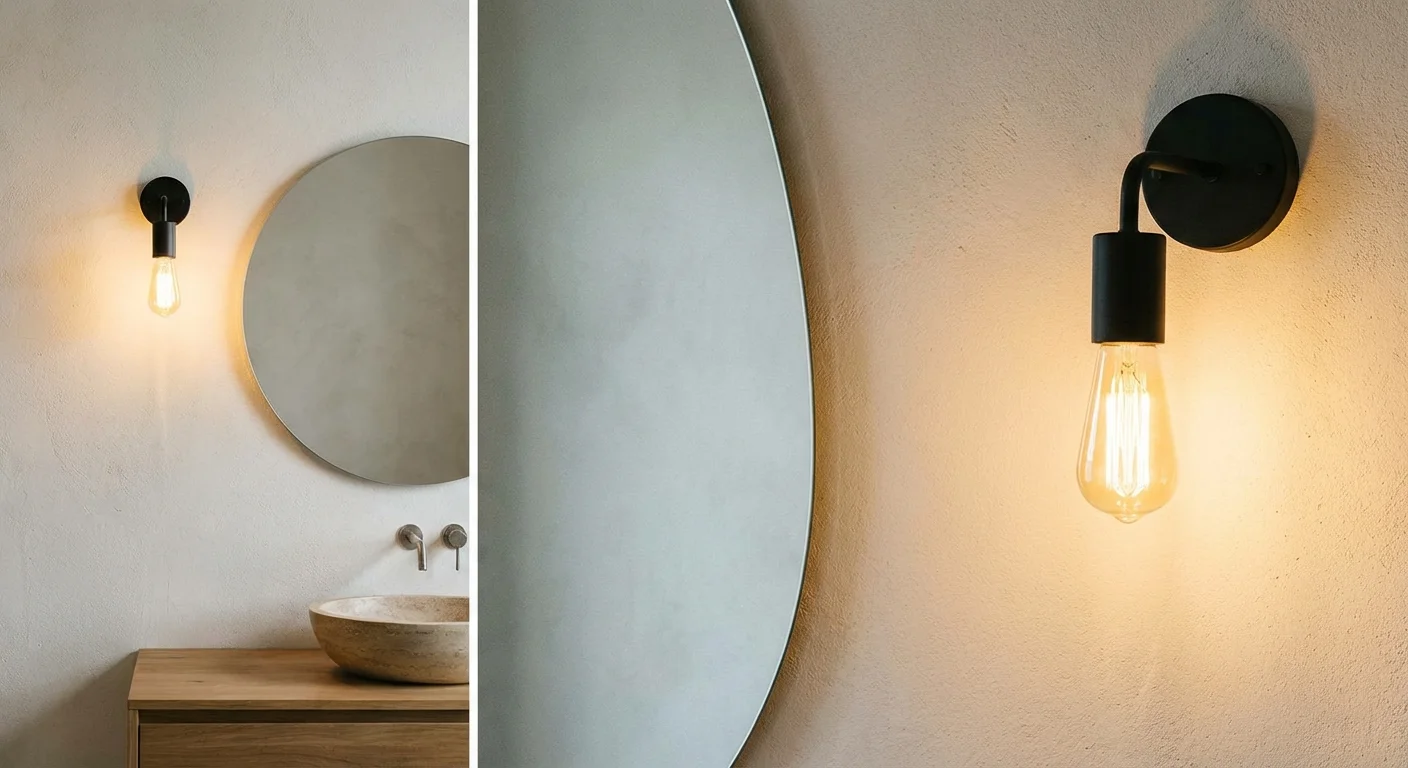
Upgrading Lighting for a Modern Glow
Nothing dates a bathroom faster than a strip of round, Hollywood-style vanity bulbs or a rusted builder-grade light fixture. Poor lighting casts harsh shadows, distorts paint colors, and makes the space feel dingy regardless of how thoroughly you clean it.
Replacing a light fixture involves basic electrical work. You must turn off the power at your home’s main breaker box—never rely solely on the wall switch. Once you remove the old fixture, connecting the new one generally requires matching the black wire to the black wire, the white wire to the white wire, and securing the copper ground wire. If your new fixture is smaller than the old one, you may need to patch and paint a small section of the wall before hanging the new light.
The bulbs you choose matter just as much as the fixture itself. To achieve a clean, modern aesthetic, pay attention to the Kelvin scale, which measures color temperature. Bulbs rated between 3000K and 4000K provide a crisp, bright, neutral white light that flatters skin tones and renders colors accurately. Avoid bulbs below 2700K, which cast a yellow, dingy hue, and bulbs above 5000K, which create a harsh, clinical blue glare.

Reviving or Disguising Outdated Flooring
Tearing up old ceramic tile creates massive amounts of dust, requires specialized tools, and often necessitates repairing the subfloor. Fortunately, you have several methods for updating bathroom floors that bypass demolition entirely.
Peel-and-Stick Vinyl Tiles
Modern peel-and-stick vinyl tiles have evolved dramatically from the cheap, curling squares of the past. Today’s options feature high-resolution prints mimicking cement tile, marble, and natural wood. You can install these directly over existing linoleum or flat ceramic tile. The key to a successful installation lies in deep cleaning the existing floor and using a specialized vinyl floor primer to ensure the adhesive bonds permanently. Apartment Therapy frequently features stunning renter-friendly flooring transformations using these versatile tiles.
Painting Ceramic Floor Tiles
If your existing ceramic tile sits firmly in place but sports an undesirable color or pattern, you can paint it. This process requires a heavy-duty bonding primer and a specialized floor-grade epoxy or urethane paint. Many DIYers use stencils to create a custom patterned look. You must finish the project with several coats of a water-based polyurethane sealer to protect the paint from foot traffic and moisture. Painted floors require gentle cleaning—avoid harsh scrubbing brushes and bleach.
Strategic Rug Placement
If you lack the time or desire to alter the flooring permanently, invest in an oversized, washable bathroom rug. A large, plush rug hides a significant portion of the offending floor, adds warmth underfoot, and introduces modern texture and color to the room.
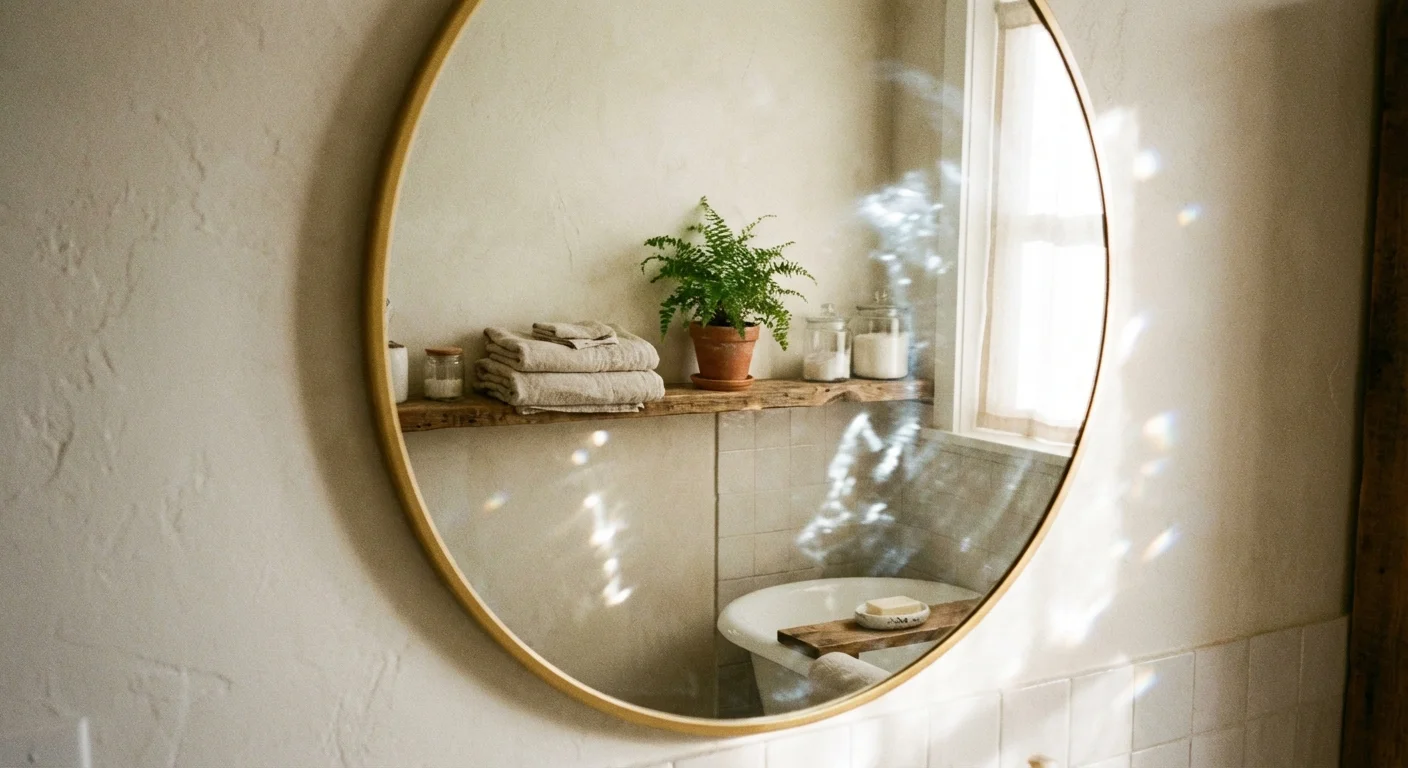
Mirror Makeovers
Large, frameless mirrors glued directly to the wall scream “builder-grade.” Removing them risks shattering the glass and tearing the drywall paper. Instead of tearing the mirror down, frame it out.
You can purchase custom mirror framing kits designed to press directly onto the glass using heavy-duty double-sided tape. Alternatively, you can create a DIY frame using baseboard molding or simple 1×3 pine boards. Paint or stain the wood in your garage, cut the pieces to size, and adhere them directly to the perimeter of the mirror using a construction adhesive formulated for glass. This simple weekend project instantly gives the bathroom a custom, high-end appearance.
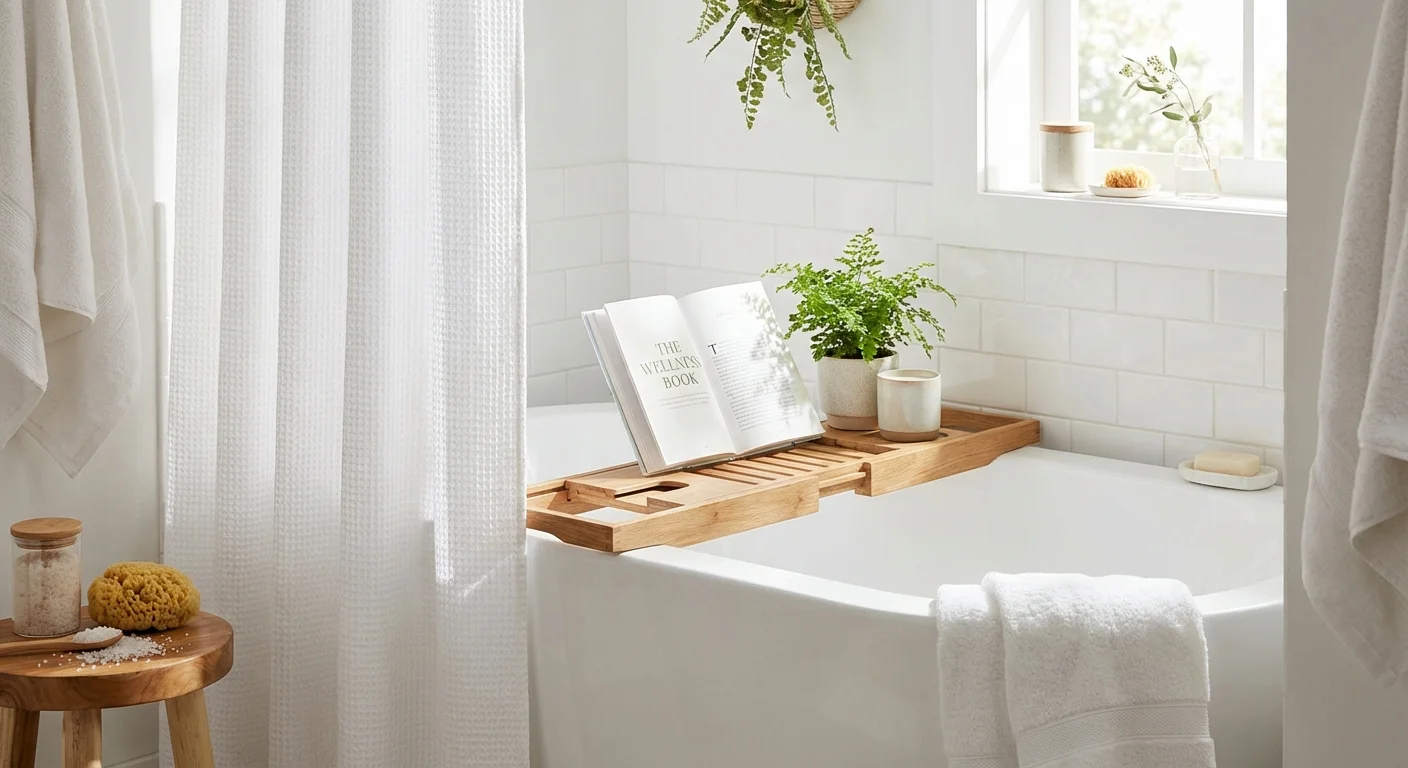
Refreshing the Tub and Shower Area
You can execute a brilliant bathroom update without touching the tub itself. Grimy grout and peeling caulk ruin the aesthetic of an otherwise clean space. Removing old caulk and applying a fresh, bright white line of 100% silicone caulk around the perimeter of the tub makes the entire fixture look brand new. Use a specialized caulk removal tool to scrape away the old material, clean the joint with rubbing alcohol, and use painter’s tape to ensure a perfectly straight caulk line.
Before you begin applying new caulk or paint, ensure the entire room is prepped with a comprehensive bathroom deep clean to remove all residue.
Next, evaluate your shower curtain setup. Swap out a flimsy, straight tension rod for a permanently mounted, curved shower rod. A curved rod pushes the curtain outward, adding noticeable elbow room inside the shower and creating a luxurious, hotel-like feel. Pair this with an extra-long, textured fabric shower curtain mounted close to the ceiling to draw the eye upward and make the room appear taller.
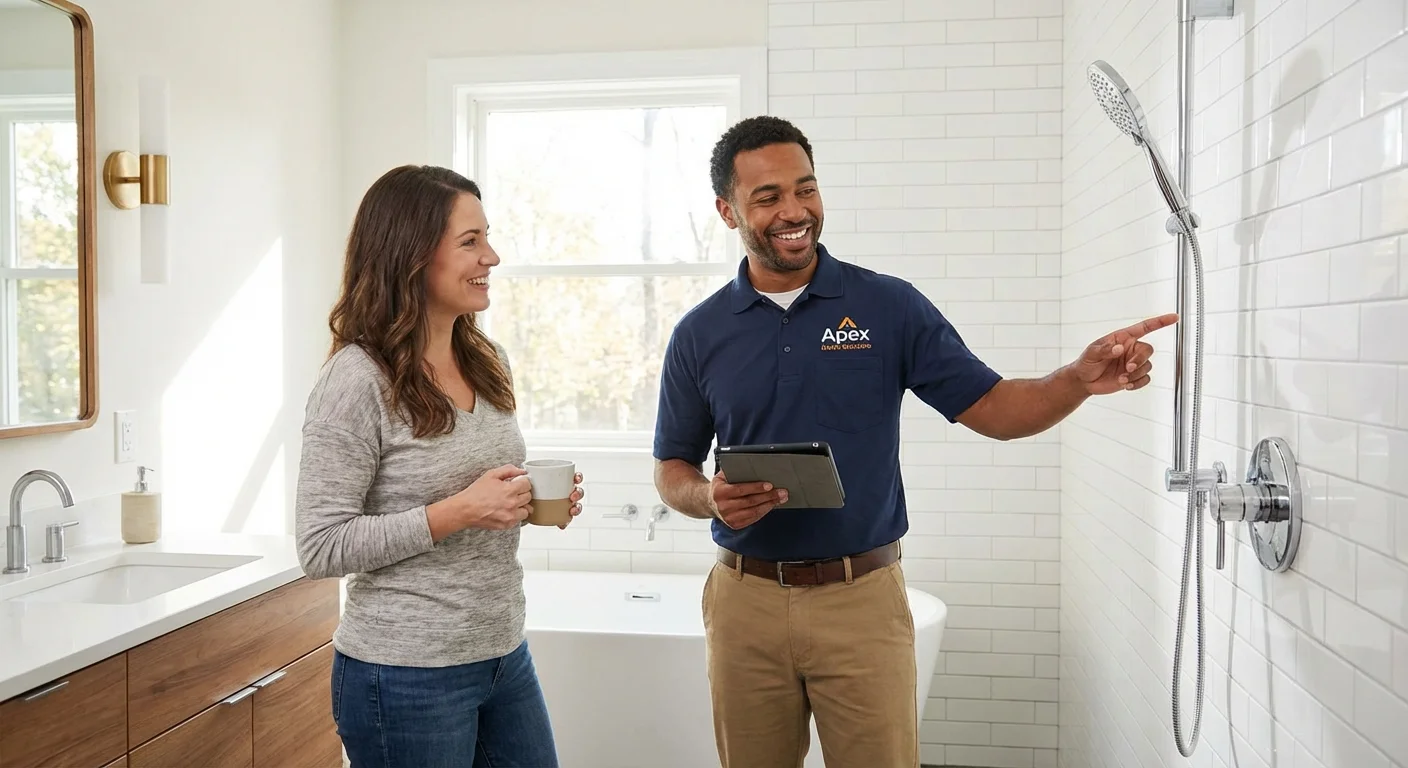
Finally, unscrew your old, calcified showerhead and replace it with a modern rainfall showerhead or a sleek handheld unit. This upgrade takes five minutes, requires nothing more than an adjustable wrench and some Teflon tape, and dramatically improves your daily shower experience.
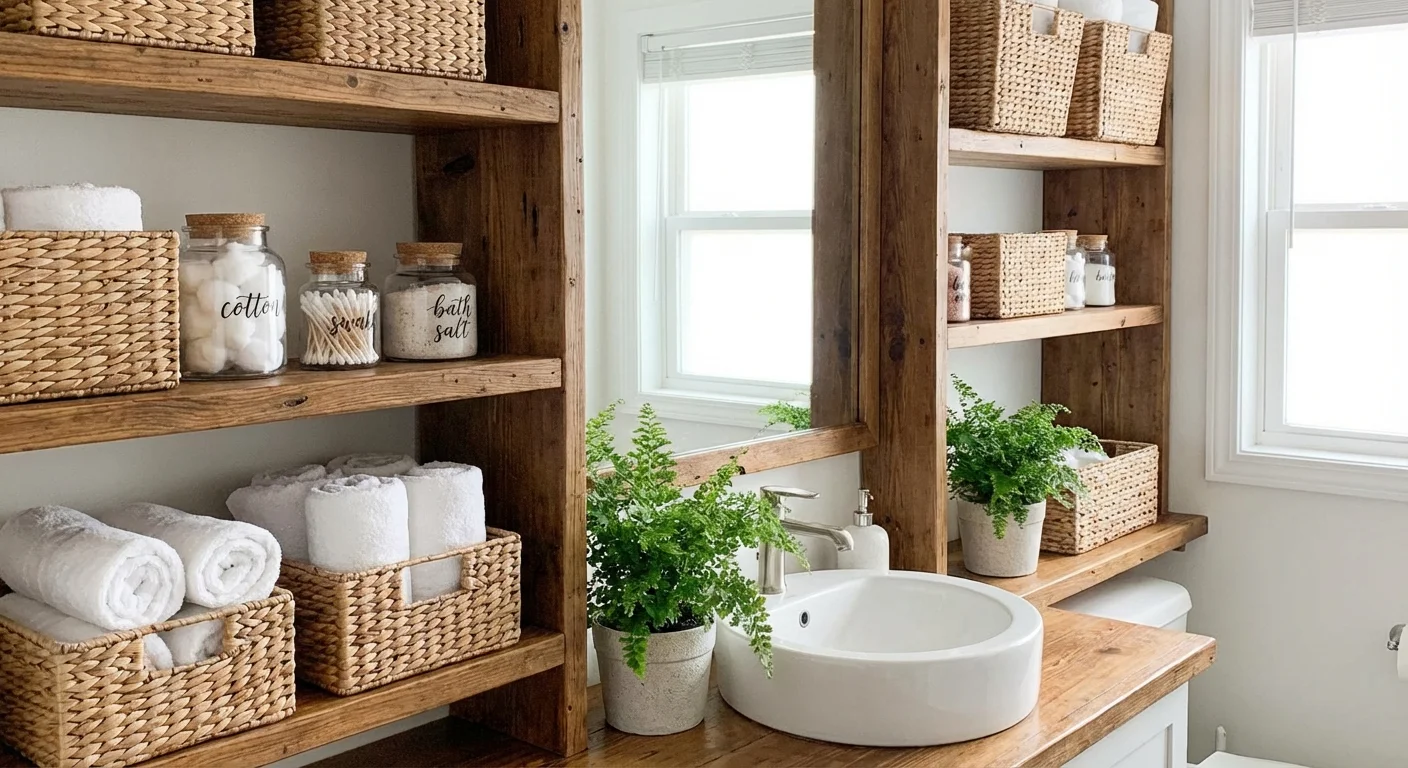
Smart Storage and Organization Solutions
Clutter instantly degrades the look of a bathroom. Bottles of half-empty shampoo, hair tools with tangled cords, and scattered cosmetics make a space feel chaotic and small. A true budget bathroom refresh must include a strategic approach to organization.
“The objective of cleaning is not just to clean, but to feel happiness living within that environment.” — Marie Kondo, Organizing Consultant and Author
Take everything out of your vanity, medicine cabinet, and linen closet. Discard expired medications, dried-out cosmetics, and products you haven’t used in the past six months. Once you have pared down your belongings, implement structured storage:
- Drawer dividers: Use clear acrylic organizers to separate makeup, dental care, and grooming tools. Giving every item a specific boundary prevents the drawer from turning into a junk pile.
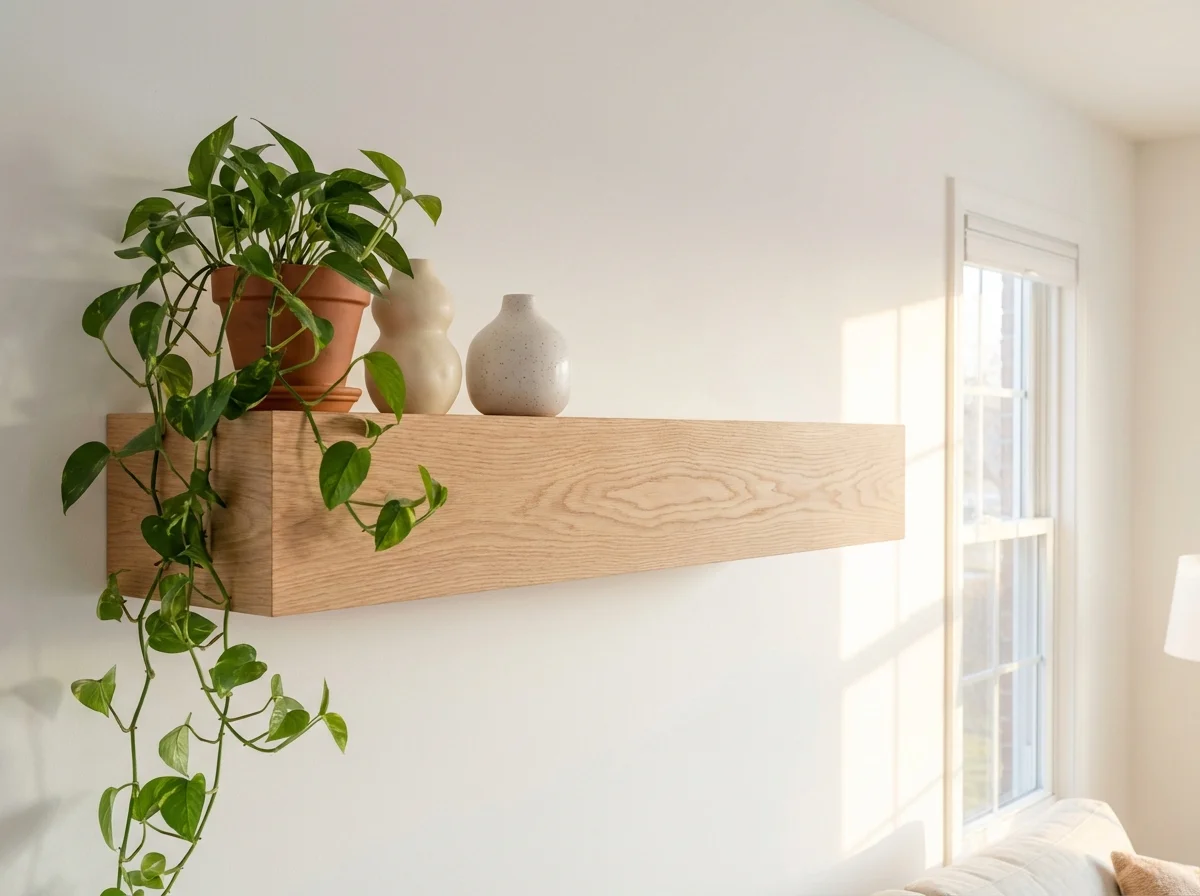
- Vertical space: Install floating wood shelves above the toilet. Use these shelves to store extra toilet paper in woven water hyacinth baskets, keeping essentials accessible but out of sight.
- Decanting: Transfer bright, visually noisy products into cohesive containers. Pour cotton balls and Q-tips into glass apothecary jars. Use uniform, refillable amber pump bottles for your hand soap and lotion.
- Door storage: Mount narrow spice racks or specialized acrylic bins to the inside of your vanity cabinet doors to hold tall items like hairspray and cleaning supplies.
If you need inspiration on maximizing tight vertical spaces, Bob Vila regularly details clever, hidden storage projects designed specifically for small bathrooms.

Avoiding Common Errors
When executing bathroom update ideas on a tight budget, enthusiasm often overrides caution. Avoid these frequent pitfalls that can ruin your hard work:
Skipping the Prep Work: Paint will not adhere to glossy, dirty surfaces. If you skip degreasing and sanding your vanity, your new paint job will begin peeling within a month. Preparation accounts for 80% of a successful paint project.
Ignoring Ventilation: If your bathroom lacks an exhaust fan, or if your current fan barely moves air, prioritize fixing this before starting cosmetic updates. Persistent moisture ruins drywall, causes paint to blister, and breeds mold. Keep a window open or run a high-quality fan during and after showers.
Mixing Too Many Metals: While mixing metal finishes adds depth to a room, mixing too many creates visual chaos. Stick to a maximum of two finishes—for example, matte black fixtures paired with warm brass vanity lighting and cabinet pulls. Ensure the dominant metal repeats at least twice in the space.
Using the Wrong Caulk: Never use acrylic latex painter’s caulk around a bathtub or sink. It will wash away and invite water damage. Only use 100% waterproof silicone caulk for plumbing fixtures and wet areas.
When DIY Isn’t Enough
While cosmetic updates empower you to save thousands of dollars, certain situations demand professional intervention. Recognize your limits to protect your home from severe damage.
- Moving Plumbing Lines: Swapping a faucet is simple; relocating a toilet or converting a single vanity into a double vanity requires opening walls and altering plumbing stacks. Hire a licensed plumber.
- Extensive Water Damage: If you press on the drywall near your shower and it feels spongy, or if your floor feels soft and yielding around the base of the toilet, you have hidden rot. Do not cover this up with fresh paint or peel-and-stick tiles. You must address the underlying leak and structural damage.
- Electrical Relocation: Swapping an existing light fixture on the same electrical box is a safe DIY task. Pulling new wire to install recessed lighting over a shower or adding a new grounded outlet requires an electrician to ensure code compliance and safety in a wet environment.
- Extensive Mold: Surface mildew on grout cleans easily with bleach or hydrogen peroxide. However, if you find thick, black mold growing inside a wall cavity or under your flooring, stop working and contact a mold remediation specialist.
Frequently Asked Questions
How much does a DIY budget bathroom refresh typically cost?
If you focus on paint, new hardware, a replacement faucet, updated lighting, and fresh linens, you can expect to spend between $300 and $800. Adding peel-and-stick flooring or a new mirror frame will push the budget toward the higher end of that range.
Can I paint over old shower tiles?
Yes, you can paint shower wall tiles using specialized epoxy or urethane tub-and-tile refinishing kits. However, this process requires intense ventilation and meticulous preparation. Note that painted shower tiles generally do not last as long as painted vanity cabinets and may require touch-ups every few years due to constant water exposure.
What is the easiest way to make a small bathroom look bigger?
Maximize your lighting and clear the visual clutter. Paint the walls and ceiling the same light color to blur the boundary lines of the room. Mount your shower curtain close to the ceiling to draw the eye upward, and keep countertops completely clear of daily products.
How long do peel-and-stick floor tiles last in a bathroom?
When installed correctly over a clean, primed surface, high-quality peel-and-stick vinyl tiles can last 3 to 5 years in a high-traffic bathroom. To extend their lifespan, run a thin bead of clear silicone caulk around the perimeter of the room where the tiles meet the baseboards to prevent water from seeping under the edges.
Embrace Your Refreshed Space
A beautiful, highly functional bathroom does not require tearing your home down to the studs. By focusing your energy and budget on high-impact surfaces like paint, lighting, and hardware, you dictate the style and atmosphere of the room. Take your time with the preparation steps, choose moisture-appropriate materials, and enjoy the satisfaction that comes from transforming your home with your own hands.
Start small if you feel overwhelmed. Paint the vanity this weekend, swap the faucet next month, and update the lighting when you have extra time. Every individual step moves you closer to the modern, serene bathroom you deserve.
The tips in this article are meant as general guidance. Your specific situation—including your home’s age, layout, and local building codes—may require different approaches. When in doubt, consult a professional.
Last updated: February 2026


Leave a Reply