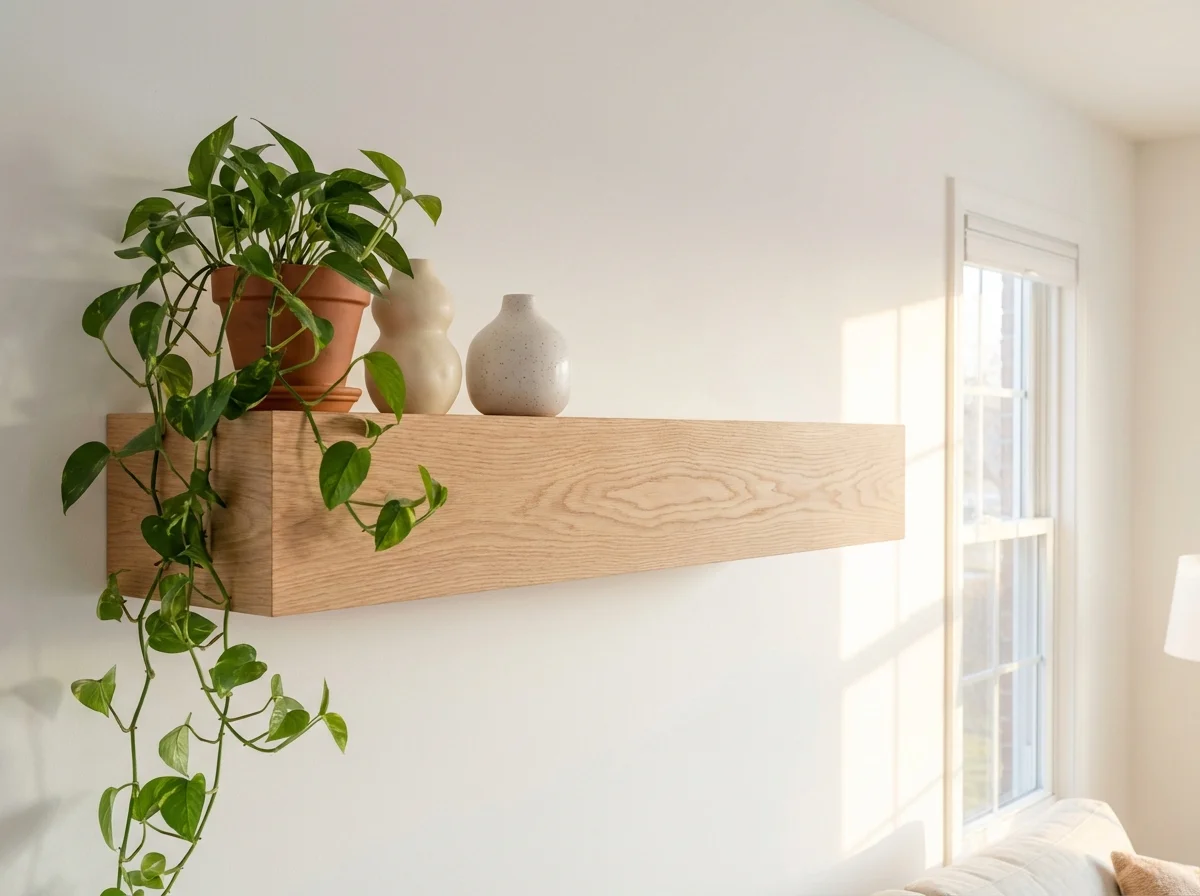
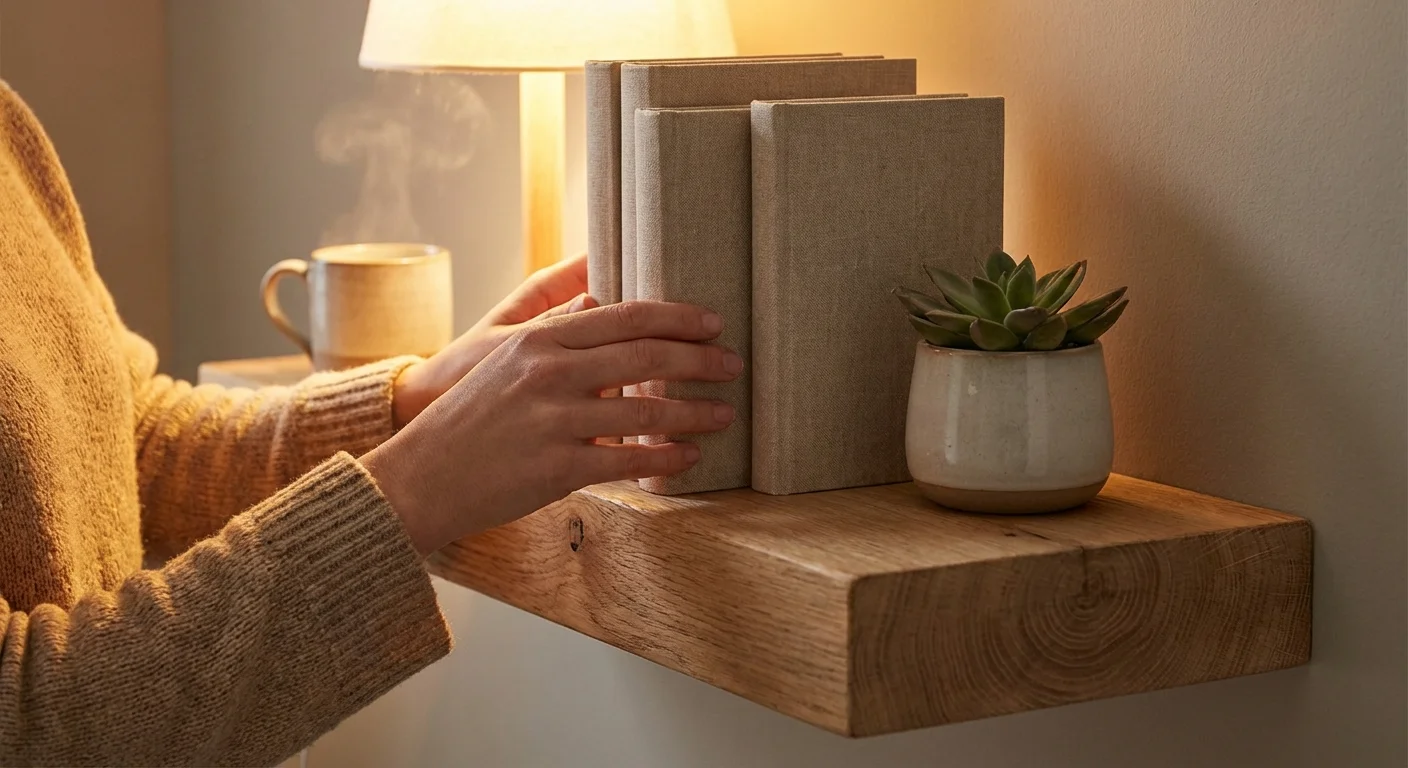
A blank expanse of drywall presents both a design dilemma and an organizational opportunity. You stare at that empty space above your desk, sofa, or kitchen counter, knowing it could hold your growing collection of hardcover books, trailing pothos plants, or favorite ceramics. Traditional shelving units with bulky external brackets often disrupt the visual flow of a room; floating shelves, on the other hand, offer a clean, minimalist aesthetic that makes your items appear as though they are resting on thin air.
Learning how to install floating shelves gives you the power to transform dead space into functional storage—without paying premium prices for professional installation. While the hardware remains hidden, the structural demands of a floating shelf are entirely real. Gravity exerts continuous downward force on the front edge of the shelf, turning the internal bracket into a highly stressed fulcrum. Success depends entirely on how well you anchor that hidden bracket to the wall.
You do not need to be a master carpenter to achieve a secure, perfectly level wall shelf installation. By understanding the hardware, choosing the right anchors, and following a methodical process, you can mount beautiful, sturdy shelves in a single afternoon. This DIY floating shelf guide walks you through every phase of the project, from locating hidden wall studs to tightening the final set screws.
“Your home should tell the story of who you are, and be a collection of what you love. Displaying those items thoughtfully brings order to the chaos of daily life.” — Nate Berkus, Interior Designer
Understanding Floating Shelf Brackets
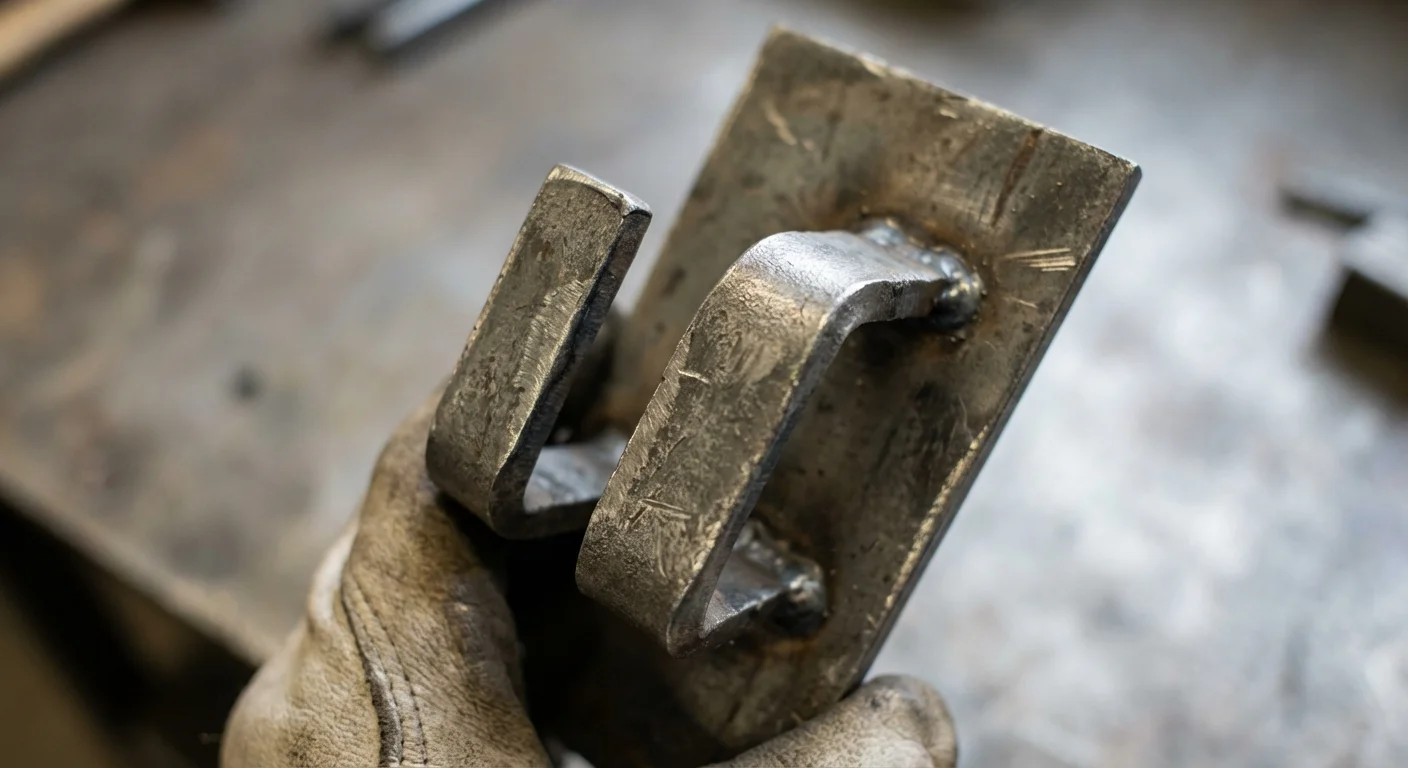
Before drilling a single hole, you must understand the hardware supporting your display. A floating shelf is only as strong as its internal skeleton. Manufacturers use three primary mounting systems, each designed for specific weight loads and shelf thicknesses. Knowing what you are working with dictates your installation strategy.
| Bracket Type | Weight Capacity | Best Used For | Installation Difficulty |
|---|---|---|---|
| Hidden Post / Prong Bracket | Medium to Heavy (30-50+ lbs) | Thick, solid wood shelves; holding books or heavy dishes | Moderate |
| French Cleat System | Heavy (50+ lbs) | Long, custom-built shelves and heavy living room displays | Advanced |
| Keyhole / Slide-on Bracket | Light (10-20 lbs) | Small decorative ledges, picture frames, and lightweight objects | Easy |
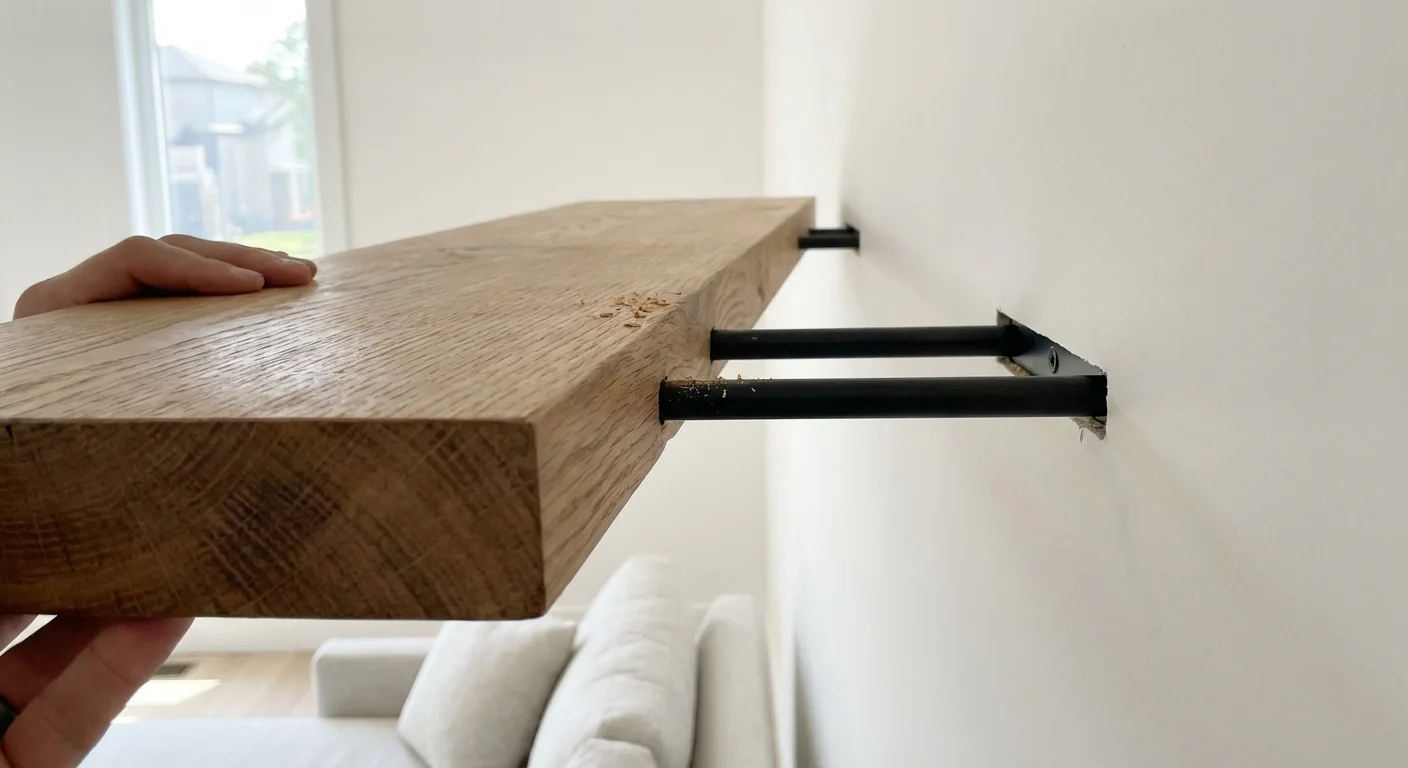
The hidden post bracket remains the most common system for store-bought floating shelves. This setup features a long metal backplate that sits flush against the wall, with two or more cylindrical metal prongs extending outward. The wooden shelf itself contains hollowed-out channels that slide directly over these metal prongs. Because the backplate offers multiple screw holes spanning several inches, this system provides excellent flexibility for hitting wall studs.
Gathering Your Tools and Materials
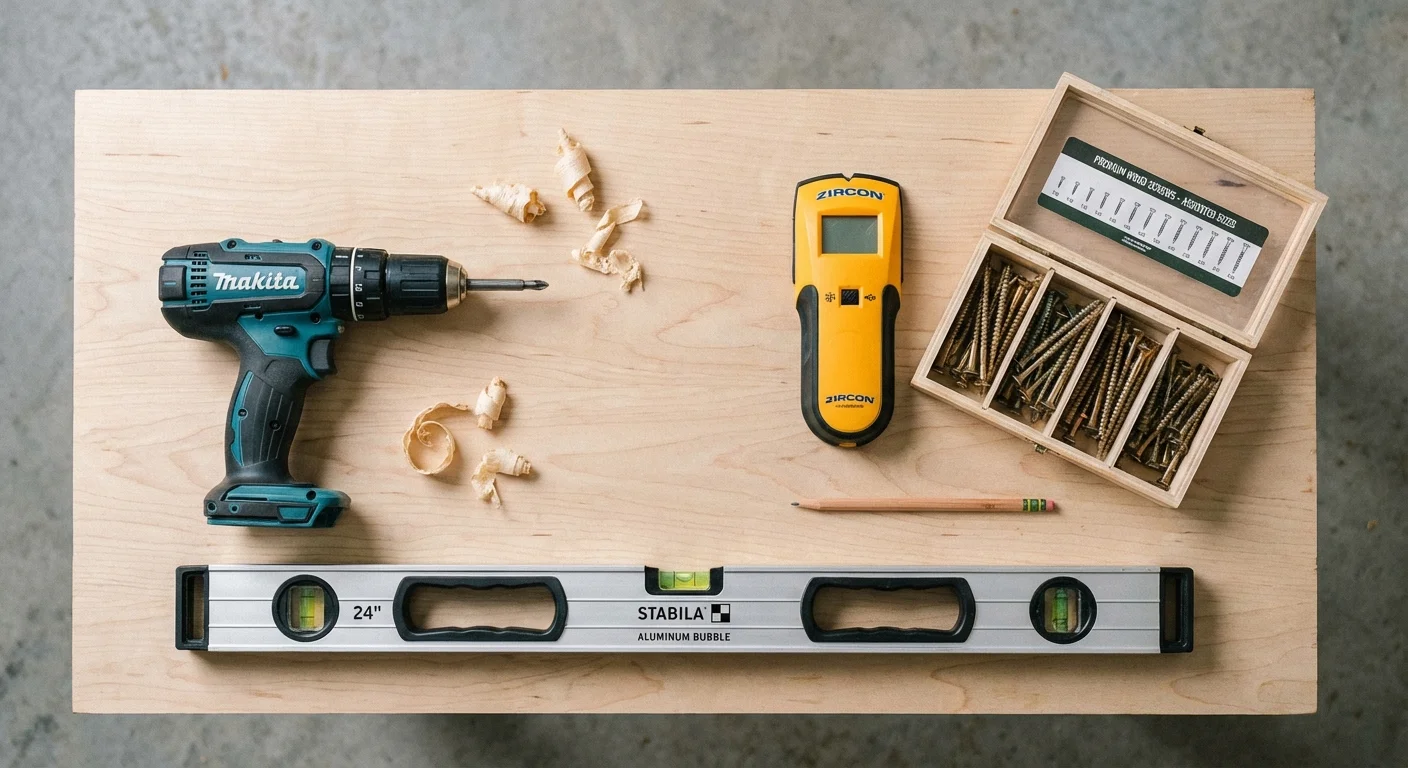
Attempting this project without the proper tools leads to crooked shelves, stripped screws, and unnecessary frustration. Assemble everything you need before you begin. Having your equipment within arm’s reach makes easy shelf mounting a reality rather than a struggle.
Once your tools are ready, think about how lighting upgrades under $100 can eventually illuminate your finished work.
- Your floating shelf kit: This includes the shelf, the internal bracket, and usually a set of mounting screws.
- Electronic stud finder: A reliable stud finder detects the dense wood framing behind your drywall.
- Level: A standard 24-inch bubble level works best; torpedo levels are often too short for long shelves.
- Power drill: You need this for driving screws and drilling pilot holes.
- Drill bit set: Have both wood bits for studs and slightly larger bits for drywall anchors on hand.
- Measuring tape and pencil: Essential for mapping out your wall layout.
- Painter’s tape: Use this to mark hole placements without drawing directly on your paint.
- Upgraded wall anchors: Never rely on the cheap plastic sleeves included in most budget shelf kits. Purchase heavy-duty toggle bolts or threaded drywall anchors if you cannot mount directly into a stud.
For extensive guidance on choosing the exact right fasteners for tricky walls, Family Handyman offers comprehensive breakdowns of drywall anchor pull-out strengths.
Planning Your Wall Layout and Spacing
Proper placement ensures your shelves look intentional rather than haphazardly tacked onto the wall. Visual balance requires careful consideration of the surrounding furniture, ceiling height, and the items you plan to display.
For particularly awkward layouts, specialized corner shelving ideas can help you utilize every square inch of the room.
If you are hanging shelves above a piece of furniture—like a sofa or a desk—leave 18 to 24 inches of clearance between the top of the furniture and the bottom of the lowest shelf. This prevents bumped heads and allows adequate room to use the space below. When stacking multiple floating shelves vertically, space them 12 to 18 inches apart. Measure the tallest items you intend to display, such as coffee table books or tall vases, and add at least two inches of breathing room above them.
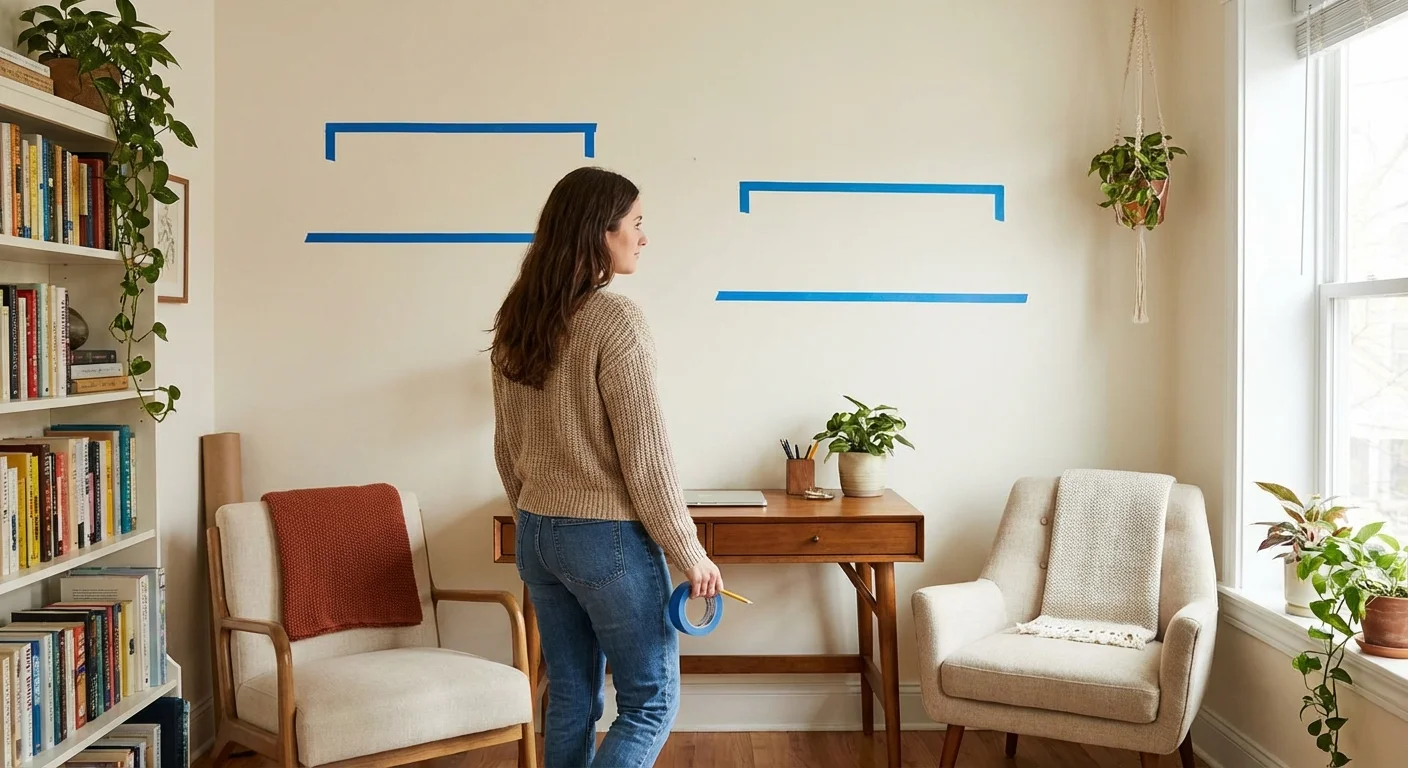
Consider the visual weight of the room. Centering floating shelves on a wall makes sense symmetrically, but an asymmetrical arrangement often feels more modern and dynamic. Use strips of painter’s tape to mock up the shelf locations on your wall. Step back and evaluate the arrangement from different angles in the room before committing to the placement.
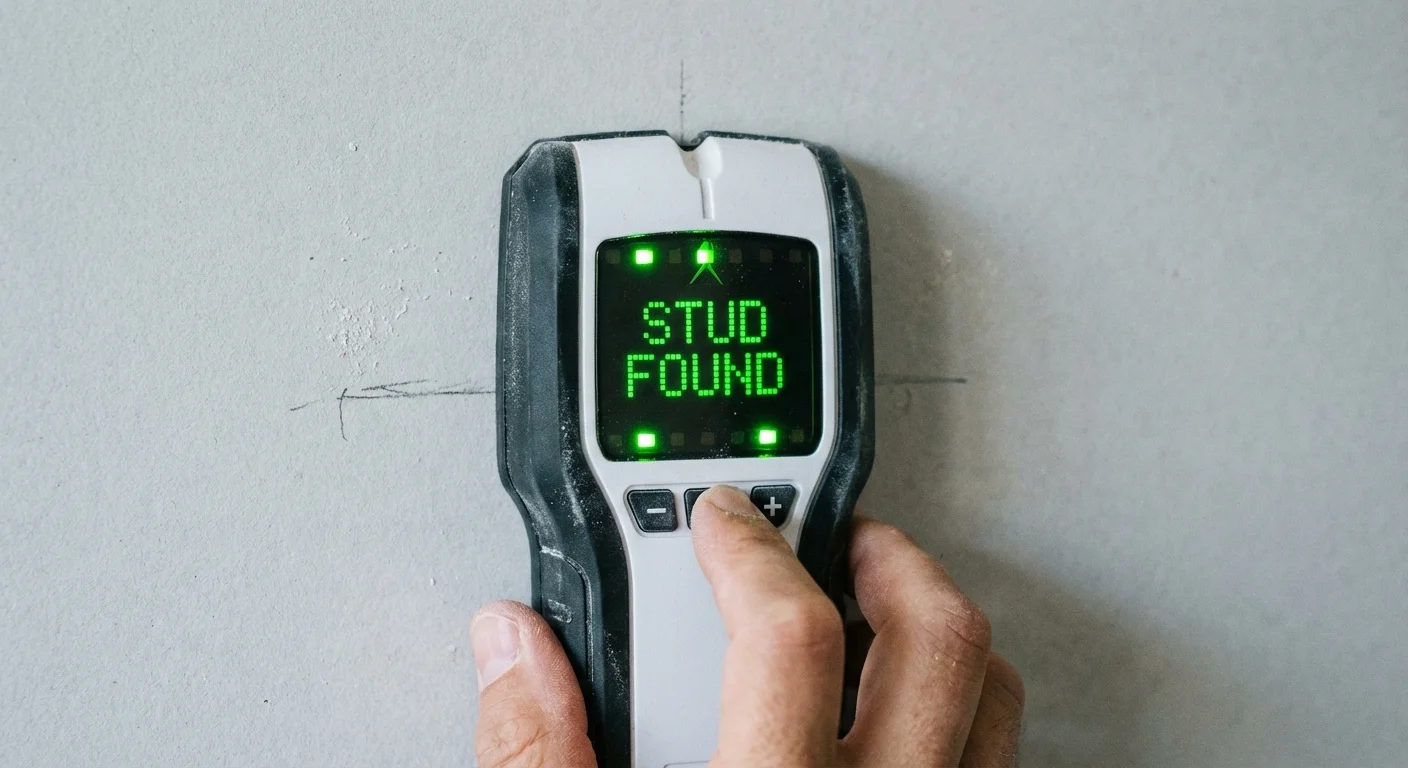
Step 1: Locating and Marking the Wall Studs
The golden rule of wall shelf installation is simple: anchor your brackets to the wooden wall studs whenever physically possible. Drywall consists merely of compressed gypsum dust wrapped in paper; it possesses very little structural integrity on its own. Wall studs—the vertical two-by-four wooden beams framing your house—provide the vital biting surface your screws need to support heavy loads safely.
In standard North American construction, builders place wall studs exactly 16 inches apart, measured from the center of one stud to the center of the next. Use your electronic stud finder to locate the edges of each stud within your target installation area. Slowly glide the device horizontally across the wall. When the device beeps or lights up, mark that spot with a pencil—this is the edge of the stud. Continue moving the device until the beep stops, and mark that second edge. The dead center between those two pencil marks is your optimal drilling target.
If you live in an older home with lath and plaster walls, standard electronic stud finders often give false readings. In these situations, you can use a strong rare-earth magnet to sweep the wall; the magnet will pull toward the hidden nails attaching the wood lath to the studs. For deeper insights into navigating the quirks of older residential construction, check the archives at This Old House.
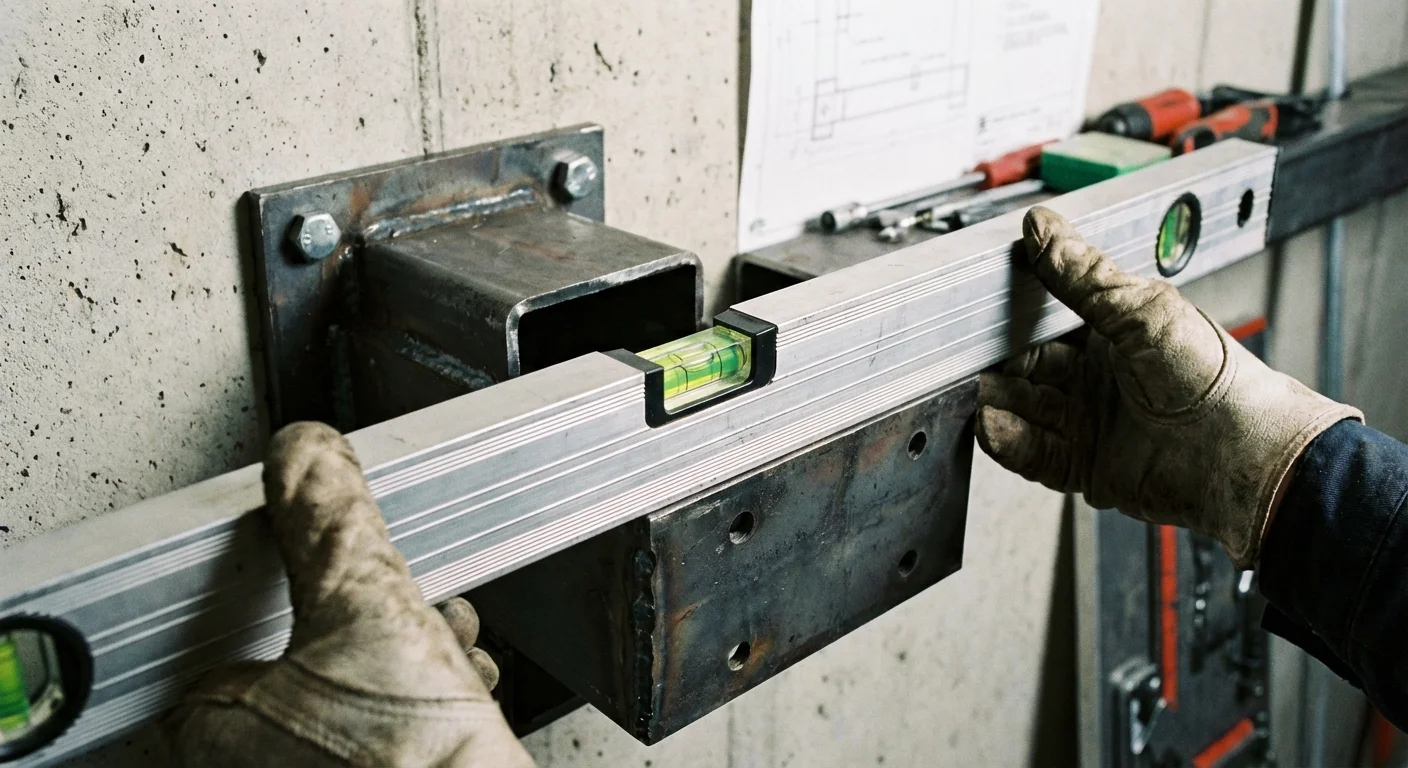
Step 2: Positioning and Leveling the Bracket
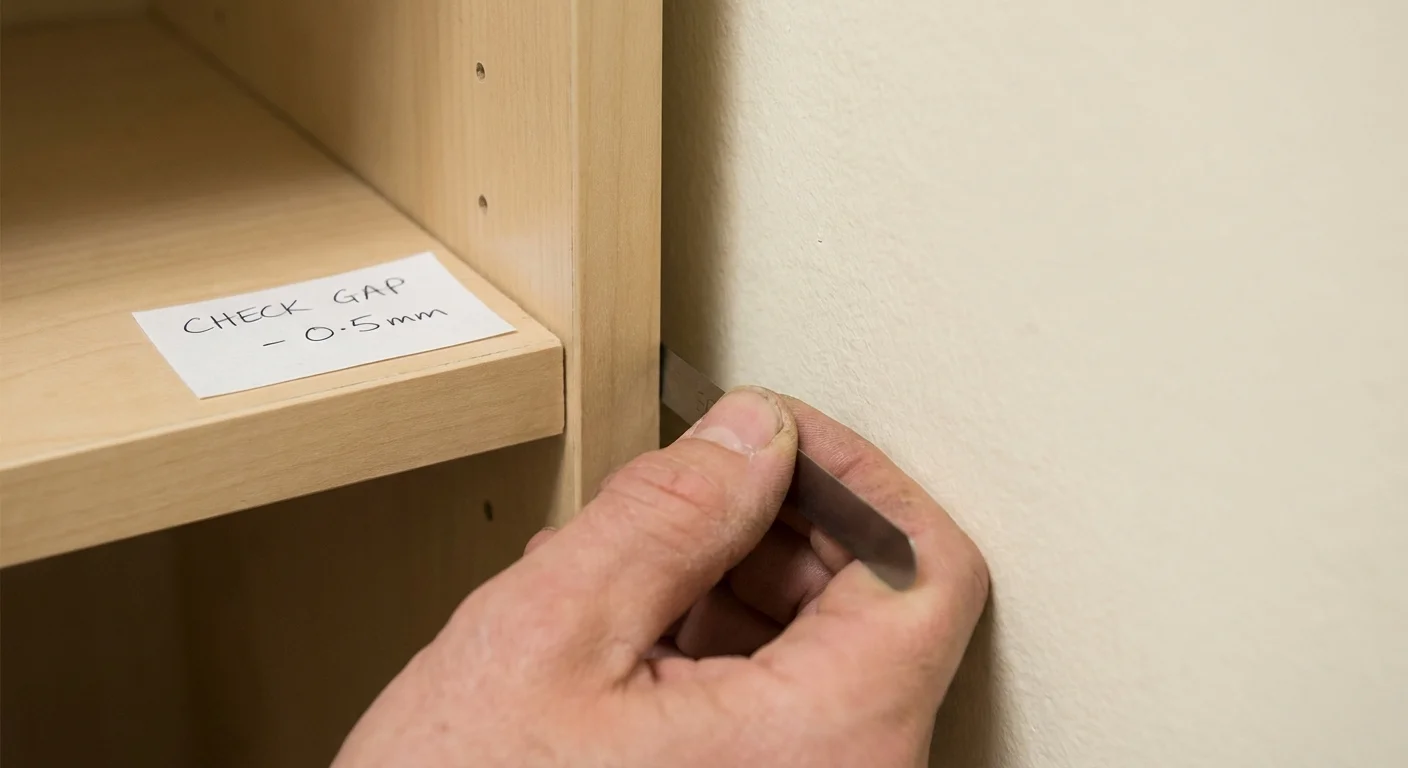
With your studs clearly marked, it is time to position the metal mounting bracket. This step requires precision; a bracket that sits just one-eighth of an inch off-level will create a visibly slanted shelf where round objects roll off the edge.
Place the metal bracket against the wall at your desired height. Align the pre-drilled holes in the bracket with the center-marks of the wall studs you found in the previous step. Place your bubble level directly on top of the bracket’s top edge. Shift the bracket up or down on one side until the bubble rests perfectly suspended between the two indicator lines on the glass vial.
While holding the perfectly leveled bracket firmly against the wall, use your pencil to draw a small circle inside every mounting hole you intend to use. If your bracket is long enough to cross two wall studs, prioritize those screw holes. Remove the bracket and set it aside. You should now see a row of perfectly leveled pencil circles on your wall.
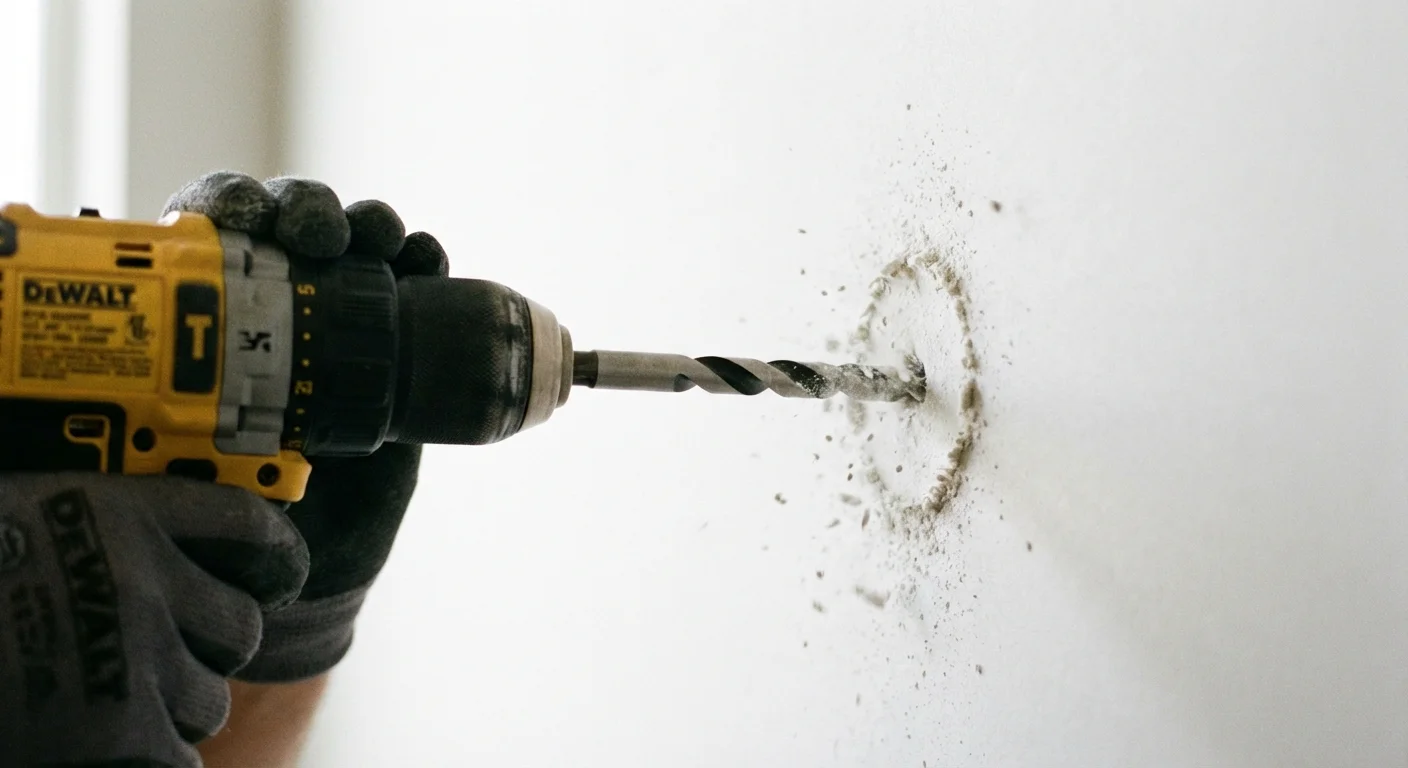
Step 3: Drilling Pilot Holes and Inserting Anchors
The strategy you use for drilling depends entirely on what lies behind the drywall. Treat stud locations differently than hollow wall locations.
For the holes that align with wooden wall studs, select a wood drill bit slightly narrower than the mounting screws provided with your shelf. Drill a straight pilot hole about two inches deep into the stud. This pilot hole prevents the dense wood from splitting when you drive the thick mounting screw into it later.
For the pencil marks that fall over hollow drywall—areas between the studs—you must install heavy-duty wall anchors. Do not use the smooth plastic plugs that push into the wall; they will eventually pull out under the leverage of a floating shelf. Instead, use zinc-threaded self-drilling anchors for light-to-medium loads, or toggle bolts for heavy loads.
To install a toggle bolt, drill a hole large enough to accommodate the folded metal wings of the toggle mechanism. Thread the bolt through the mounting bracket, attach the metal wings to the tip of the bolt, squeeze the wings flat, and push them through the hole in the wall. You will hear a distinct snap as the wings spring open inside the hollow wall cavity. Pull the bracket toward you slightly so the expanded wings grip the backside of the drywall, then use your drill to tighten the bolt completely.
Step 4: Securing the Bracket and Sliding on the Shelf
You are now ready to attach the metal bracket permanently. Align the bracket over your pilot holes and wall anchors. Drive your screws or bolts partially into the wall, working your way from left to right. Before tightening anything completely down, place your level back on top of the metal bracket for one final check.
If the bracket remains perfectly level, drive all screws tightly against the metal plate. The bracket should sit entirely flush against the wall; if it wobbles or bows, you either have an uneven wall surface or a screw that requires more tightening. A rigid, immovable bracket ensures your floating shelf brackets will not sag over time.
Finally, pick up the wooden shelf casing. Align the hollow channels on the back of the shelf with the protruding metal prongs of the wall bracket. Push the shelf firmly toward the wall until it sits flush against the drywall. Most high-quality floating shelf kits include small set screws located underneath the shelf. Use a screwdriver to drive these set screws upward through the bottom of the wood and into the metal prongs. This locking mechanism prevents the shelf from accidentally sliding off the bracket if bumped from below.
Styling Your Newly Installed Shelves
Once the dust settles and your shelf feels secure, the most rewarding part begins. Thoughtful styling turns a simple wooden ledge into a focal point of your room’s design.
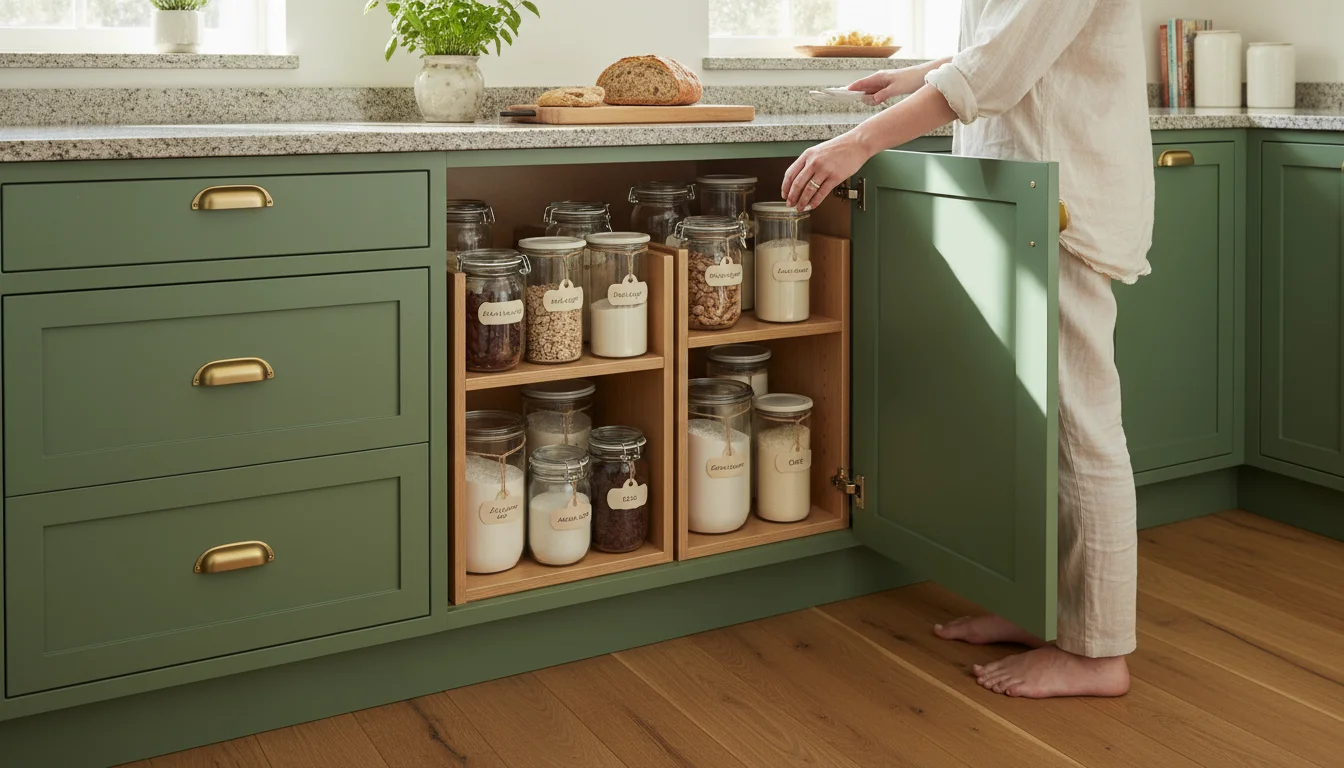
If you are installing these in a kitchen, they can be a central part of a larger pantry organization project to clear your countertops.
Begin by establishing a visual anchor. Place your largest, heaviest items—such as a stack of art books or a substantial ceramic bowl—near the center or slightly off-center to ground the arrangement. Once your anchor is in place, build around it using the rule of thirds. Group items in odd numbers, varying the heights and textures to keep the eye moving across the display.
Mix practical storage with decorative elements. Lean a framed piece of artwork against the wall at the back of the shelf to create depth, then place smaller objects like candles, trailing vines, or small sculptural pieces in the foreground. If you need design inspiration and spacing techniques, The Spruce provides excellent visual guides on creating balanced, layered shelf displays without causing visual clutter.
Pitfalls to Watch For
Even cautious DIYers occasionally run into trouble when mounting hardware to walls. Avoiding these common mistakes saves you from repairing torn drywall and starting over.
- Trusting the factory hardware: Manufacturers frequently include cheap, low-grade plastic anchors to save on shipping weight and production costs. Throw them away. Investing five dollars in high-quality toggle bolts prevents your shelf from crashing down in the middle of the night.
- Over-tightening toggle bolts: When using a power drill to tighten toggle bolts against hollow drywall, you risk crushing the gypsum core of the wall if you apply too much torque. Drive the bolt most of the way with your drill, but use a manual hand screwdriver for the final few turns.
- Ignoring the leverage factor: A shelf rated for 30 pounds assumes that weight is distributed evenly or placed near the wall. Placing a heavy object on the extreme front edge of a deep floating shelf drastically increases the leverage and pulling force on your top mounting screws. Keep heavier items pushed toward the back.
- Failing to account for plumbing and wiring: Be extremely cautious when drilling into walls shared with bathrooms or kitchens. Plumbers run pipes vertically alongside studs. If your drill bit suddenly hits resistance before penetrating the stud, stop immediately—you may have hit a metal protective plate covering electrical wiring or plumbing.

Getting Expert Help
While installing floating shelves serves as an excellent weekend project, certain residential quirks push the job beyond typical DIY boundaries. Recognize when your specific environment requires a professional touch.
Crumbling Plaster Walls: Homes built before the 1950s often feature lath and plaster walls rather than modern drywall. Plaster is brittle; drilling into it without the proper masonry bits and techniques can cause large, dinner-plate-sized chunks of your wall to crack and detach. A professional carpenter or handyman possesses the specialized anchors and experience to mount shelves to historic walls safely.
Metal Wall Studs: Many modern high-rise condominiums and commercial apartment buildings utilize metal framing studs instead of wood. Wood screws will strip and fail in metal studs. Attaching heavy loads to thin-gauge steel framing requires specialized toggle-style fasteners and precise drilling techniques best left to professionals.
Custom Masonry and Tile: Mounting a floating shelf across a tiled kitchen backsplash or a brick fireplace surround requires diamond-tipped drill bits and water-cooling techniques to prevent the tile from shattering. If you are dealing with stone, brick, or expensive tile, hire a professional to ensure clean, crack-free anchor points.
Frequently Asked Questions
Can you install floating shelves without hitting a wall stud?
Yes, but you must strictly limit the weight you place on the shelf. If you cannot align your bracket with a wall stud, you must use high-capacity drywall anchors, such as strap toggles or heavy-duty toggle bolts. These metal anchors expand behind the drywall to distribute the pulling force. However, even with the best anchors, a shelf mounted purely in hollow drywall should only hold lightweight decor—never heavy books or expensive dinnerware.
How much weight can a typical floating shelf hold?
Weight capacity varies wildly based on the bracket design, the depth of the shelf, and how it is anchored. A bracket secured directly into two wooden wall studs can typically support 40 to 50 pounds safely. The same shelf mounted with basic drywall anchors might only support 10 to 15 pounds. Always consult the manufacturer’s weight rating, and remember that deep shelves (10 inches or more) exert much more leverage on the bracket than shallow shelves.
Why is my floating shelf leaning forward, and how do I fix it?
A sagging shelf usually results from one of two issues: either the wall anchors are pulling loose from the drywall, or the metal prongs on the bracket are bending under excess weight. First, remove the wooden shelf and inspect the metal backplate. If the backplate is pulling away from the wall, you need to reinstall it using stronger anchors or reposition it to hit a stud. If the plate is flush but the metal prongs point downward, the shelf is overloaded, and you need a sturdier bracket system.
Can I cut a floating shelf to fit a specific wall length?
Most commercially bought floating shelves consist of hollow core construction—a thin wood veneer wrapped over a honeycomb cardboard interior. Cutting these shelves destroys their structural integrity and leaves an exposed, hollow end. If you need a specific length, you must purchase a solid wood shelf and a separate heavy-duty floating bracket system, which allows you to cut the solid wood to your precise measurements.
Wrapping Up Your Project
Mastering how to install floating shelves unlocks a new level of design flexibility in your home. By taking the time to map out your studs, verify your level, and choose robust wall anchors, you guarantee that your new display will remain secure, functional, and visually striking for years to come. Start by organizing the books or decor you plan to feature, grab your stud finder, and reclaim that empty wall space.
The tips in this article are meant as general guidance. Your specific situation—including your home’s age, layout, and local building codes—may require different approaches. When in doubt, consult a professional.
Last updated: February 2026


Leave a Reply