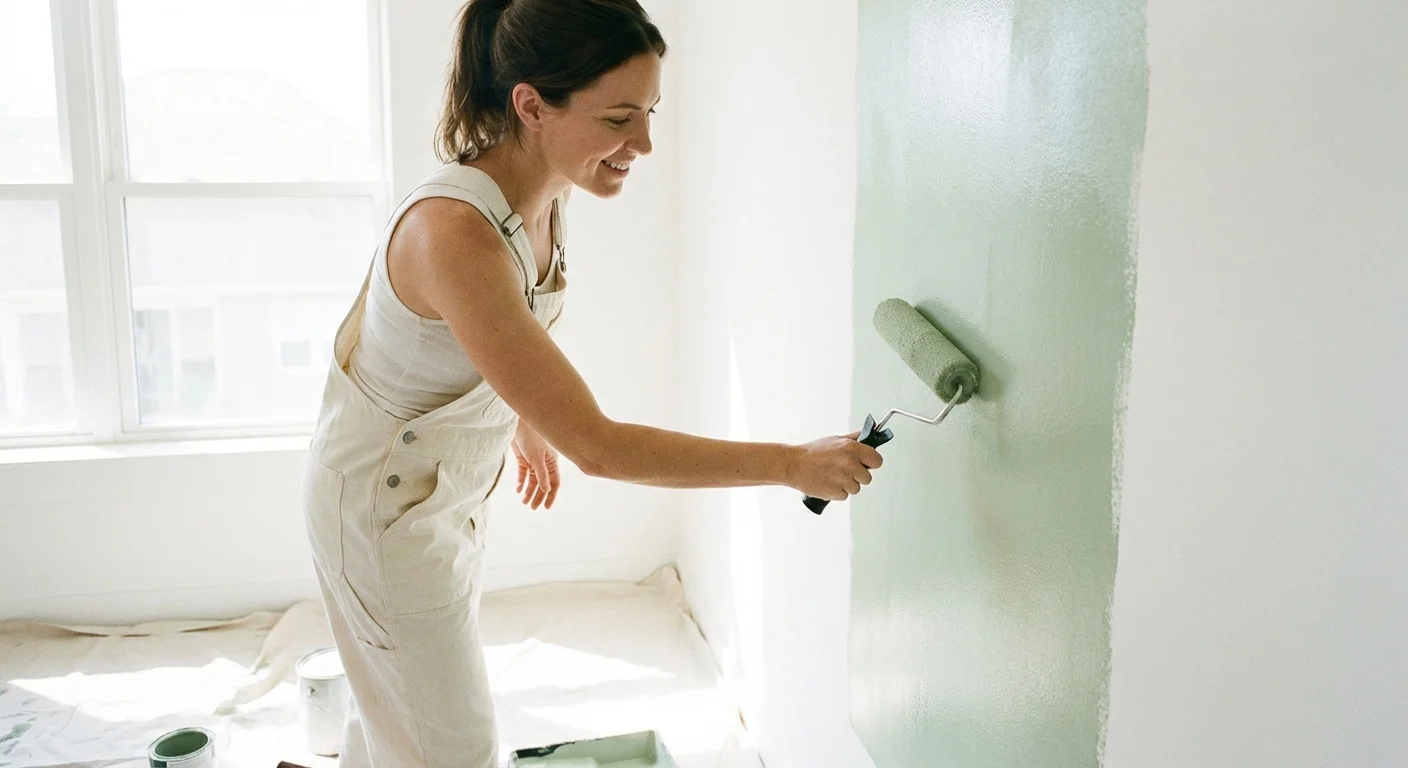
Most homeowners assume the secret to a flawless room transformation lies entirely in the bucket of paint they bring home from the hardware store. But if you watch an experienced contractor tackle a room, you will quickly notice a surprising reality—the actual process of applying color to the drywall takes up barely twenty percent of their total time on the job site. The remaining eighty percent is dedicated entirely to methodical, unglamorous preparation. If you want to learn how to paint walls without leaving behind roller marks, uneven edges, or dried drips on your baseboards, you must shift your focus from the paint itself to the rigorous process surrounding it.
Executing a flawless paint job completely changes the atmosphere of your home; it makes small spaces feel expansive, modernizes dated architecture, and covers up years of scuffs and stains. This comprehensive interior painting tutorial breaks down every specific technique, tool, and environmental factor required to achieve results that rival a seasoned contractor. By mastering the right sequence of steps, you can save thousands of dollars in labor costs while ensuring your home looks perfectly polished.
Gathering Your Professional-Grade Arsenal
Your finished walls will only ever look as good as the tools you use to paint them. Bargain-bin brushes shed bristles directly into your wet paint, while cheap roller covers mat down quickly and leave a heavy, orange-peel texture across your surfaces. Investing in high-quality equipment is the single most effective way to elevate your DIY wall painting guide from a weekend chore to a true home upgrade.
This collection of tools will serve you well for many other weekend DIY projects that can increase your home’s value.
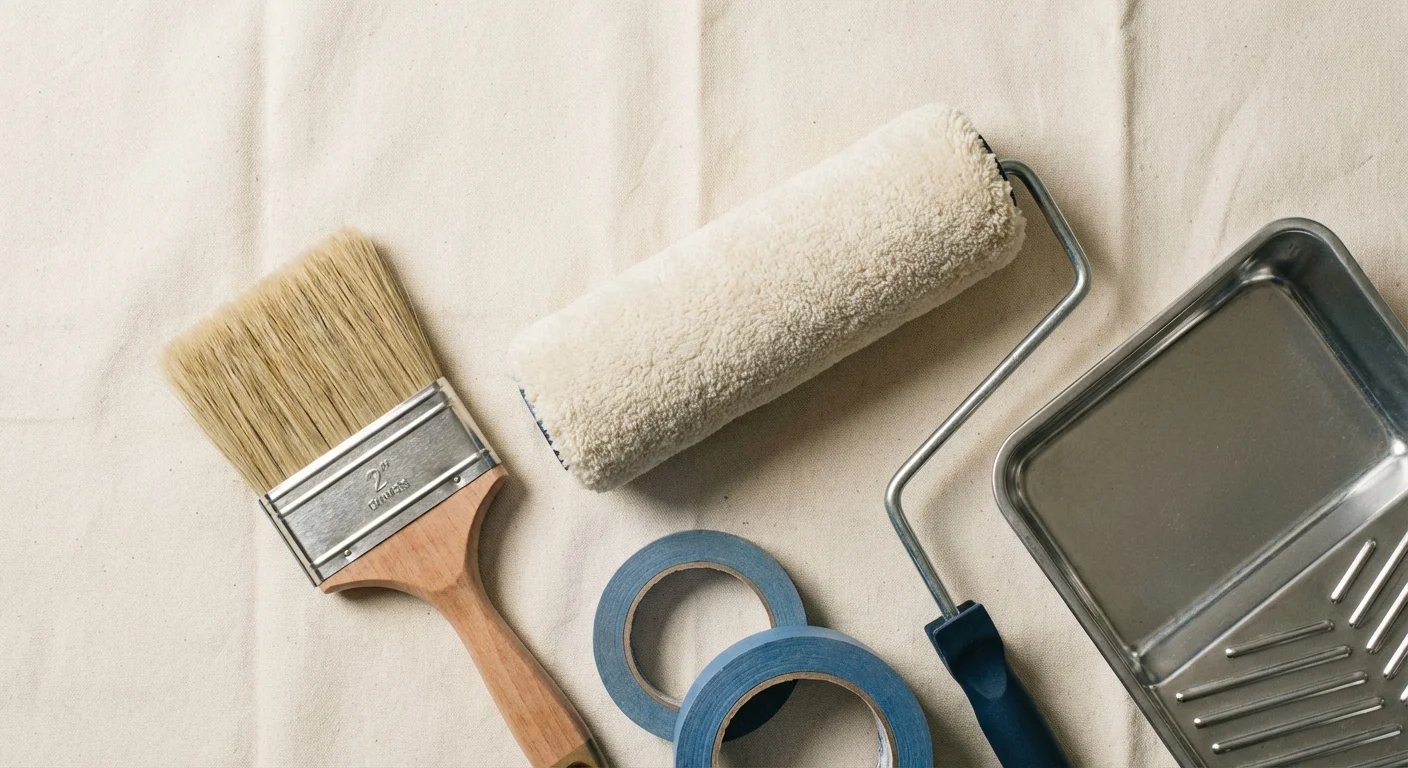
Before you open a single can of paint, assemble the following essential supplies:
- A 2.5-inch angled sash brush: Look for a brush featuring a blend of nylon and polyester bristles, which hold their shape beautifully in modern latex paints and allow you to draw razor-sharp lines along your trim.
- A sturdy roller frame and extension pole: A high-quality metal cage prevents the roller cover from slipping, while an extension pole saves your back and allows you to apply even pressure from the floor to the ceiling.
- Premium roller covers: Select a 3/8-inch nap for smooth drywall or a 1/2-inch nap for lightly textured walls. Microfiber covers hold an enormous amount of paint and release it smoothly, minimizing splatter.
- A metal paint tray and plastic liners: Using liners makes cleanup effortless, allowing you to easily switch between primer and topcoats.
- Canvas drop cloths: Avoid thin plastic sheeting on floors. Plastic shifts under your feet, creates a slipping hazard, and allows wet paint drops to pool, which you will inevitably step in and track across your home. Canvas absorbs stray drips safely.
- Painter’s tape: Look for medium-adhesion tape treated with edge-blocking technology to prevent paint from bleeding underneath.
- Patching compound and a putty knife: Lightweight spackle works well for small nail holes, while joint compound is necessary for larger dents.
- Sanding sponges: Keep a fine-grit (120 to 150) sanding sponge on hand to smooth out your patches before painting.
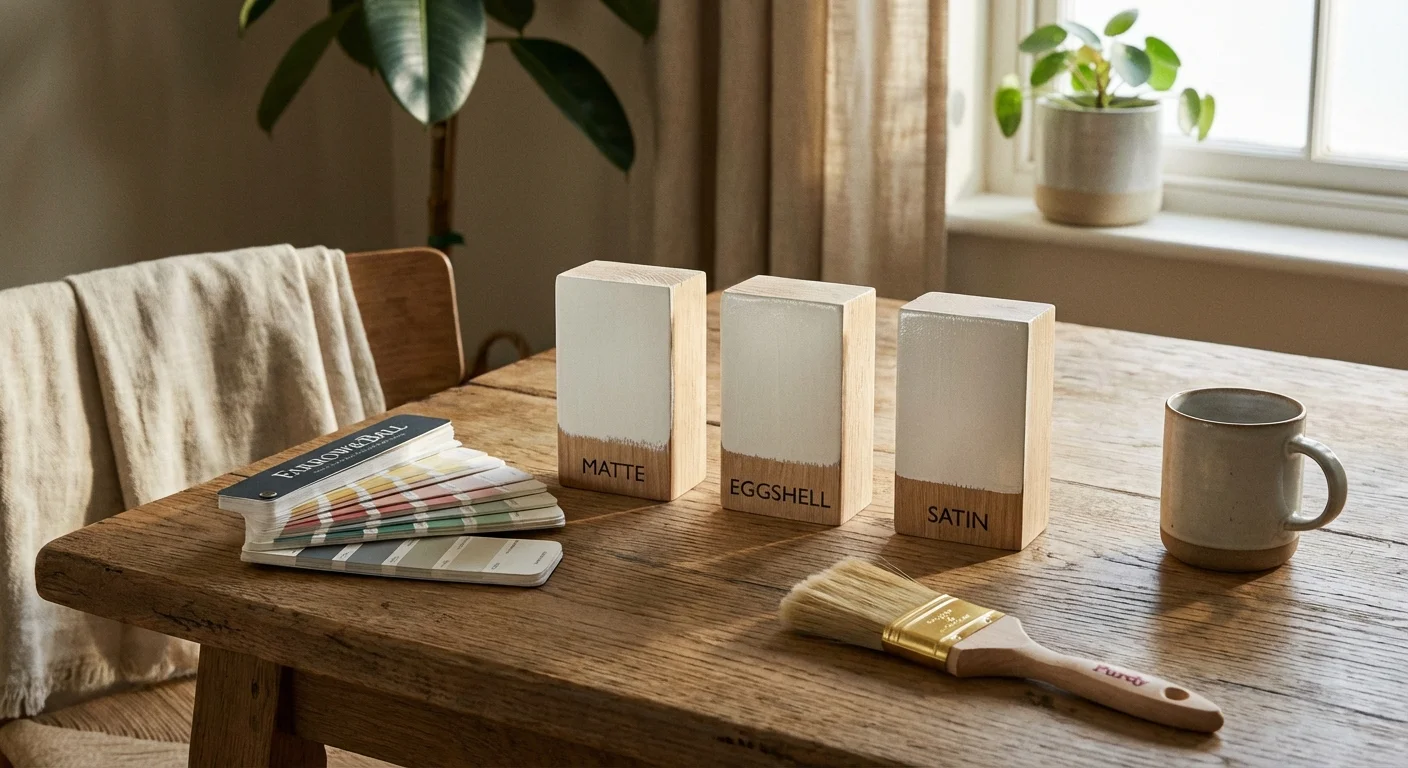
The Architecture of Paint: Choosing the Right Finish
Selecting the right color is highly personal, but choosing the right paint formulation is purely scientific. Modern interior paints are categorized by their sheen—the amount of light they reflect when completely dry. High-sheen paints contain more resins, making them incredibly durable and easy to wipe down, but they aggressively highlight every single dent, nail pop, and uneven patch on your wall. Flat paints hide imperfections beautifully but are historically difficult to scrub clean without removing the color.
Understanding the chemistry of your living space is vital. For example, the EPA Indoor Air Quality guidelines recommend selecting paints labeled as Low-VOC (Volatile Organic Compounds) or Zero-VOC to maintain healthy air inside your home, especially in bedrooms and poorly ventilated corridors. Aside from chemical makeup, you must select the appropriate sheen for your room’s daily traffic.
| Paint Finish | Characteristics & Durability | Ideal Room Applications |
|---|---|---|
| Flat / Matte | Absorbs light completely. Exceptional at hiding drywall imperfections. Low durability against scrubbing. | Master bedrooms, formal dining rooms, ceilings. |
| Eggshell | Offers a very subtle, velvety glow. Provides a great balance of washability and imperfection-hiding qualities. | Living rooms, hallways, adult bedrooms, home offices. |
| Satin | Noticeably reflective finish. Highly durable and stands up well to regular washing and light scrubbing. | Kitchens, bathrooms, children’s bedrooms, mudrooms. |
| Semi-Gloss | Highly reflective and slick. Extremely tough, making it resistant to moisture and grease. Highlights all wall flaws. | Baseboards, window trim, doors, wainscoting, cabinetry. |
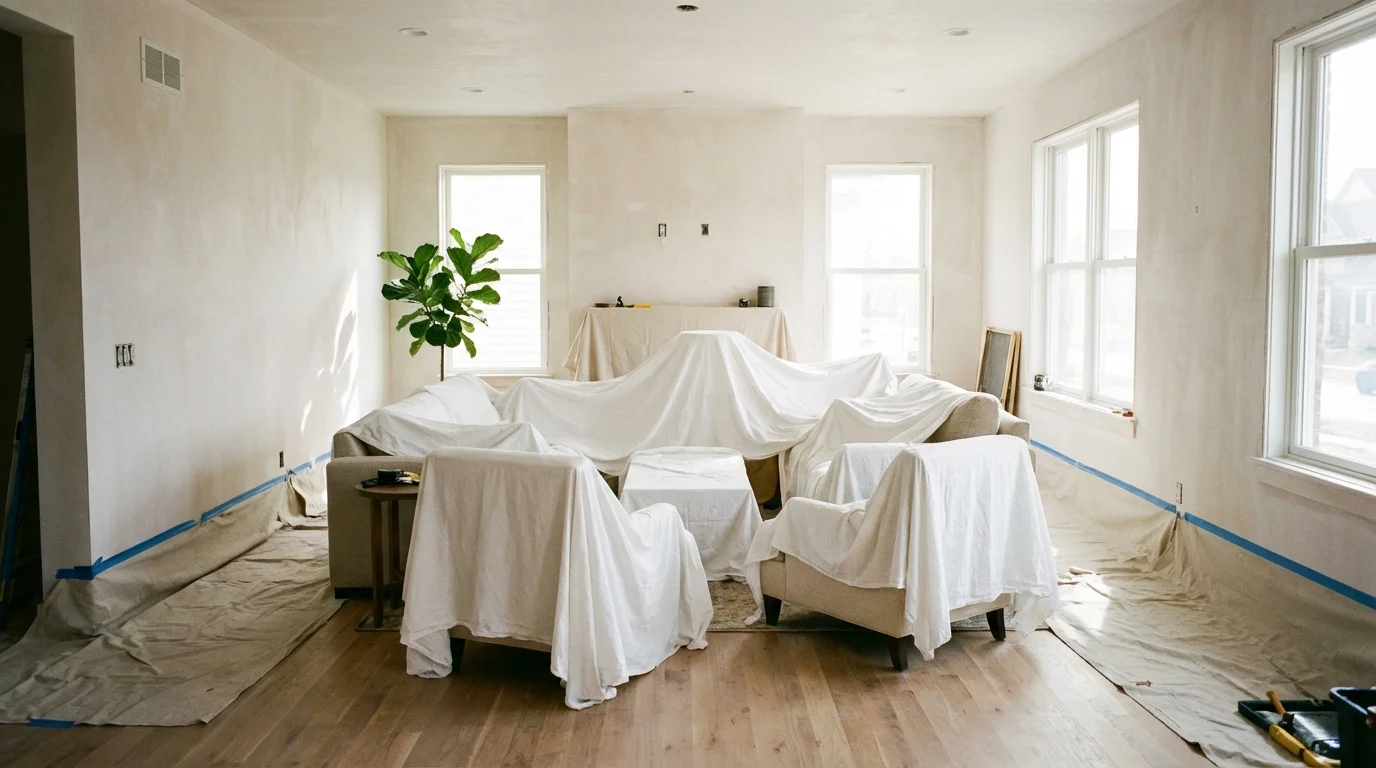
Clearing and Protecting Your Space
Preparation dictates the success of your project. Begin by completely clearing the room of all small furniture, rugs, and décor. Move heavy pieces—like beds, sofas, and dining tables—directly to the center of the room, leaving yourself at least three feet of walking space around the entire perimeter. Cover this central cluster of furniture tightly with plastic sheeting.
While you have the room cleared, it is also a great opportunity to plan a budget bathroom refresh for nearby high-traffic areas.
Next, tackle the hardware. Never try to paint around light switch plates and outlet covers; taking two minutes to unscrew them yields a remarkably cleaner finish. Store the screws and covers in a small plastic bag so nothing gets lost. If you have hanging light fixtures or ceiling fans nearby, drape them in plastic to protect them from the microscopic mist that flying roller covers create.
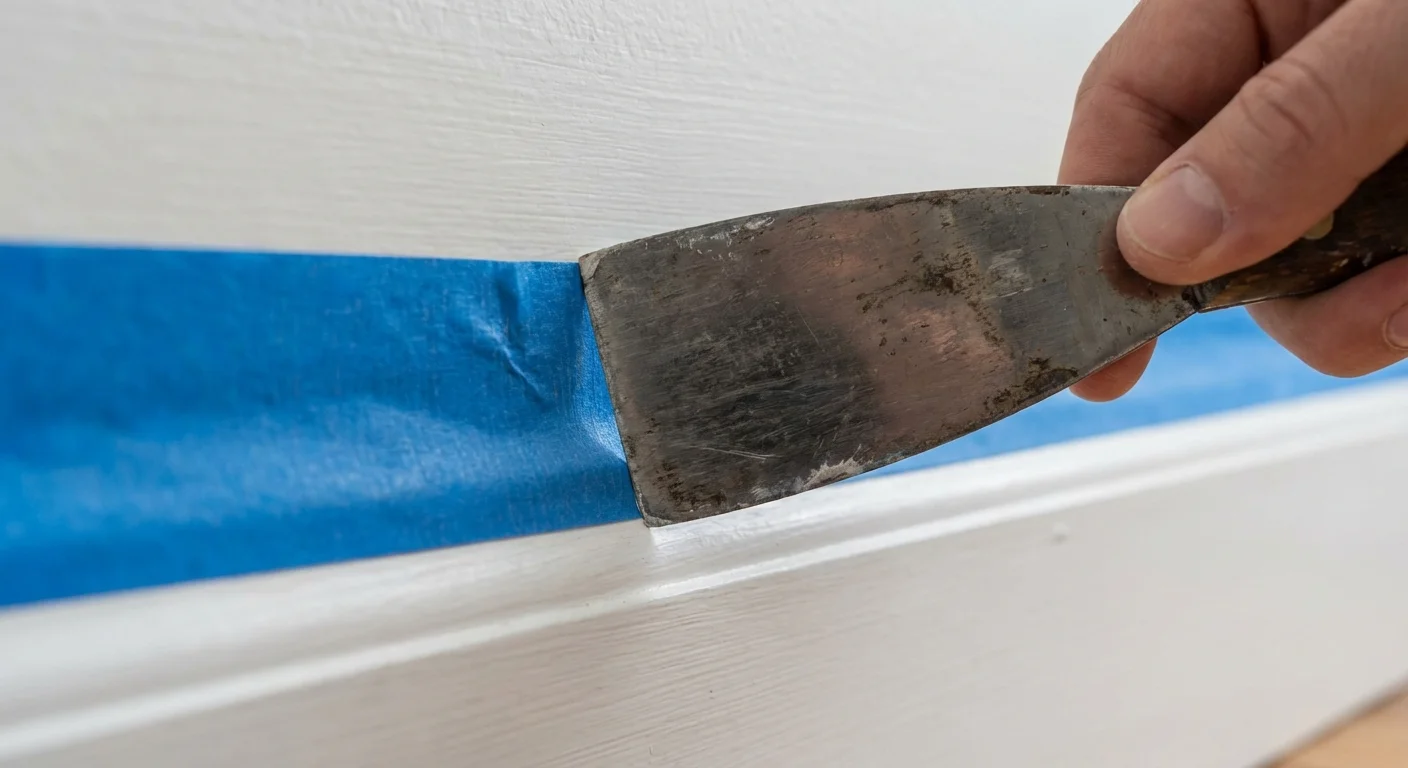
Lay your canvas drop cloths tight against the baseboards. When applying painter’s tape to protect your trim, press the tape down firmly and then run a flexible putty knife—or an old credit card—over the edge of the tape to seal it tightly against the wood. This simple professional painting tip prevents the liquid paint from seeping beneath the tape line.
Surface Preparation: The Invisible Foundation
Paint requires a clean, slightly porous surface to adhere properly. If you roll fresh paint over walls covered in airborne cooking oils, fingerprint oils, or fine dust, the new layer will eventually peel or flake away. Mix a few drops of mild dish detergent into a bucket of warm water and lightly wash your walls using a large sponge; pay special attention to the areas around door frames and light switches, where hand oils naturally accumulate. Rinse the walls with clean water and let them dry completely.
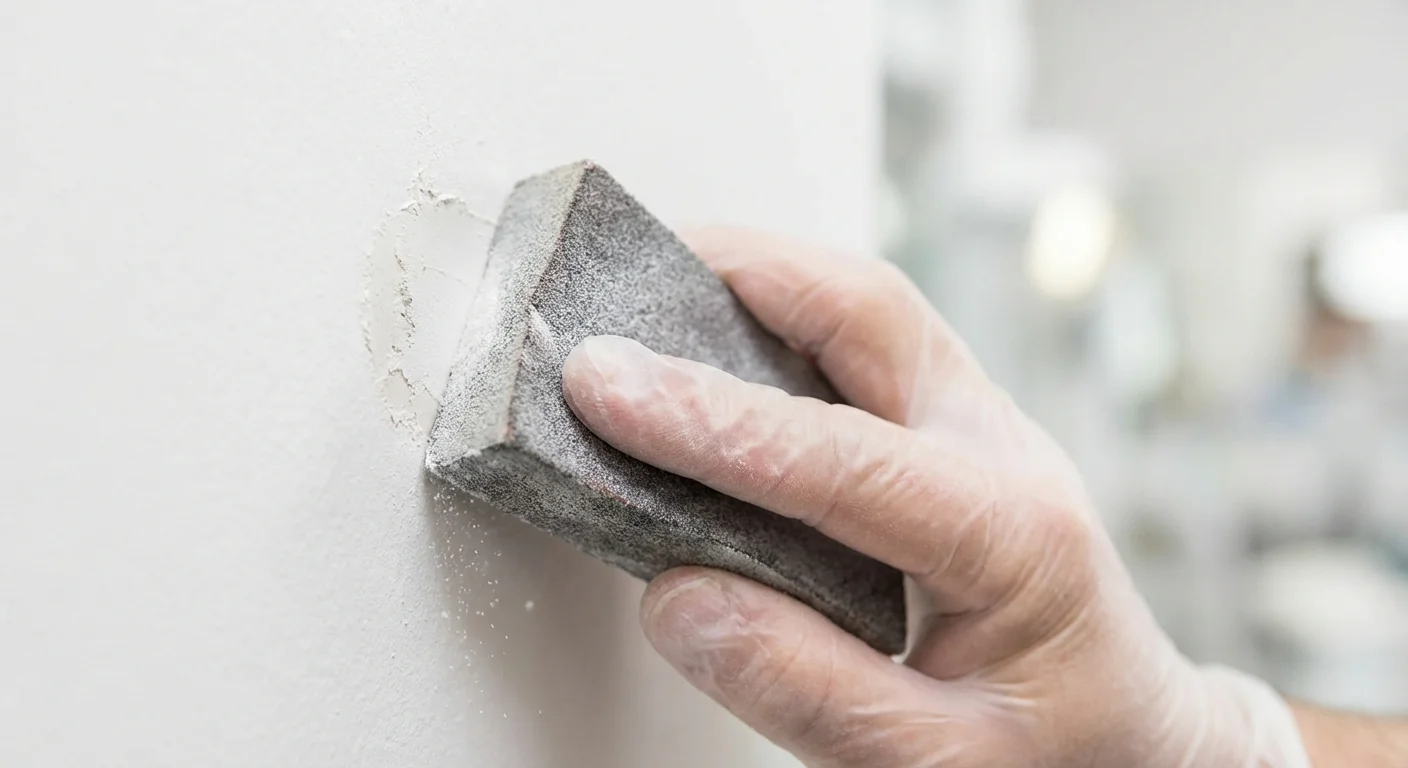
Once the walls are clean, inspect them meticulously with a harsh light. Shine a bright work lamp parallel to the wall to reveal shadows cast by dents, old nail holes, and peeling edges. Fill holes with your patching compound, leaving the patch slightly proud (raised) above the wall surface, as the compound shrinks slightly as it dries. Once dry, use your fine-grit sanding sponge to feather the edges of the patch until it blends invisibly into the surrounding drywall. Run your hand over the sanded area—if you can feel the transition between the patch and the wall, you will see it once the paint dries.
“The most crucial step in any successful room transformation happens long before the paint can is opened. A pristine, well-prepped surface is the absolute foundation of durable design; paint simply acts as a magnifying glass for whatever lies beneath it.” — Interior Design Experts, Architectural Digest
The Critical Role of Primer
Many homeowners view primer as an unnecessary upsell, but skipping it is one of the most detrimental mistakes you can make. Primer serves a fundamentally different purpose than paint; while paint is designed to provide rich color and a durable topcoat, primer is formulated with special binders that seal porous surfaces and create a highly adhesive base layer.
Once your walls are perfectly primed and painted, you can further customize the space by learning how to install floating shelves for a modern look.
You do not always need to prime the entire room, but you absolutely must use primer in the following scenarios:
- Over fresh patches: Spackle and joint compound are incredibly porous. If you paint directly over them, they will absorb the paint faster than the surrounding wall, creating dull, flashing spots in your finished sheen.
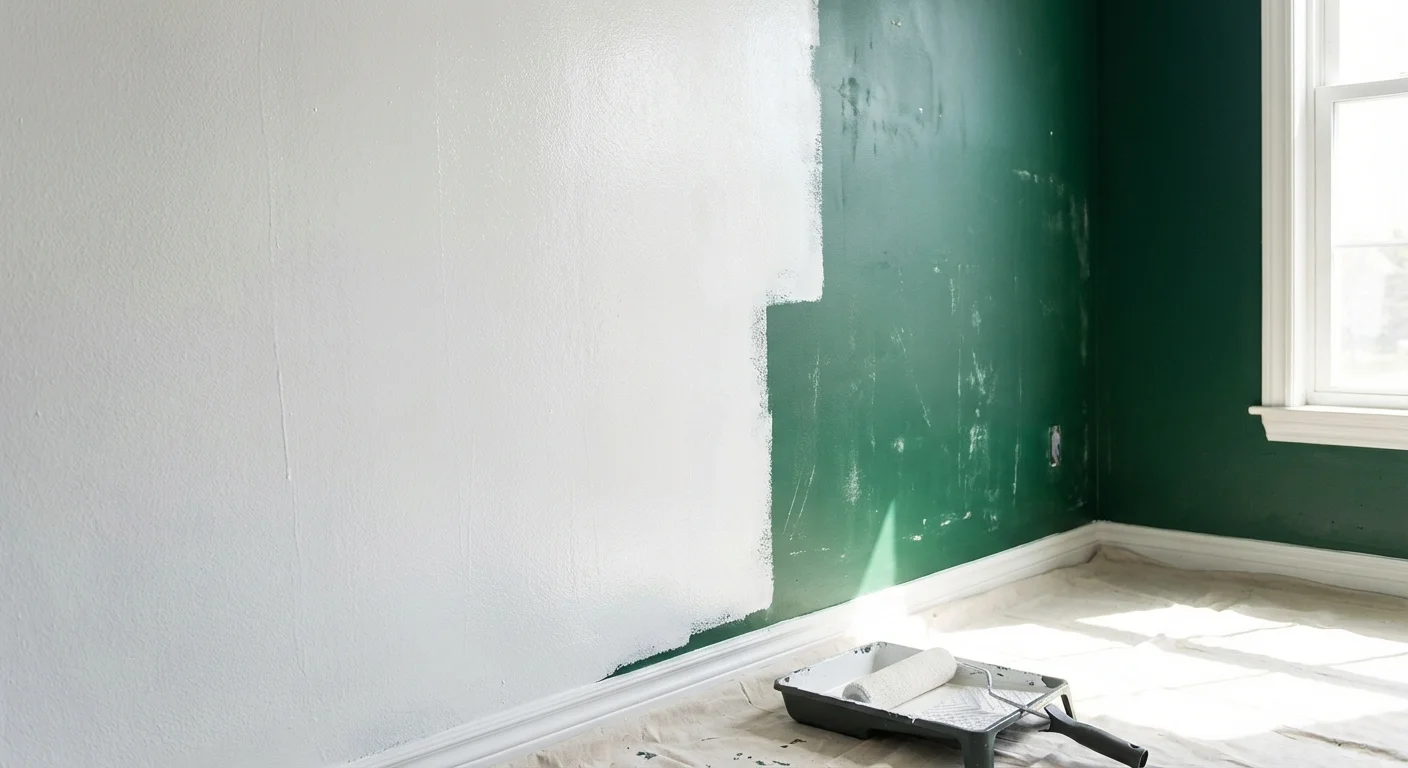
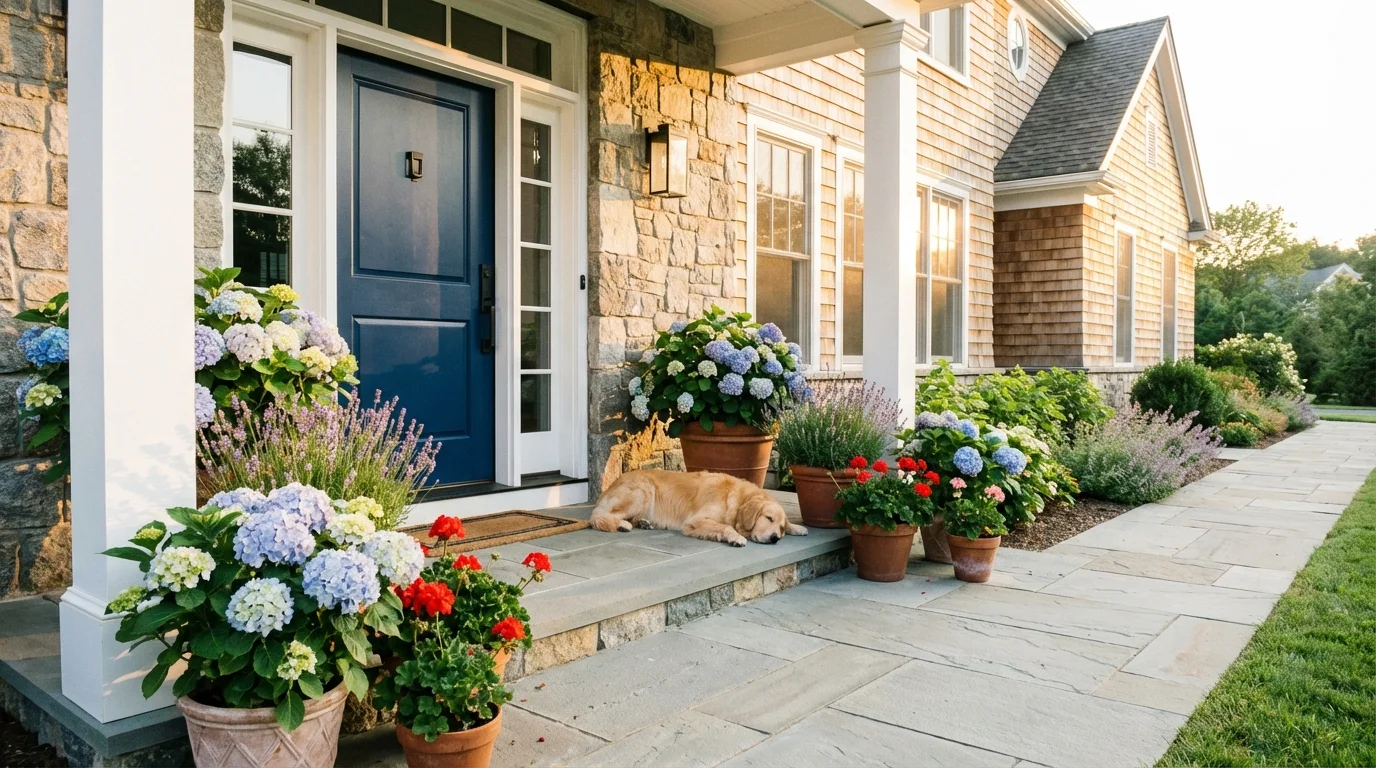
- Drastic color changes: If you are transitioning from a deep navy blue to a pale cream, a high-hide white primer will prevent the dark base from distorting your new light color, saving you from having to apply three or four coats of expensive topcoat.
- Transitioning sheens: Moving from a slick semi-gloss wall to a flat finish requires a bonding primer to ensure the new layer grips the glossy surface properly.
Mastering the Wall Painting Technique
With the room prepped, masked, and primed, you are ready to begin the actual application. Professional painters follow a strict sequence of events: they always paint from the top down, meaning the ceiling comes first, followed by the walls, and finally the trim. If you are only painting the walls, the process involves two distinct actions performed in tandem: cutting in and rolling.
The Art of Cutting In
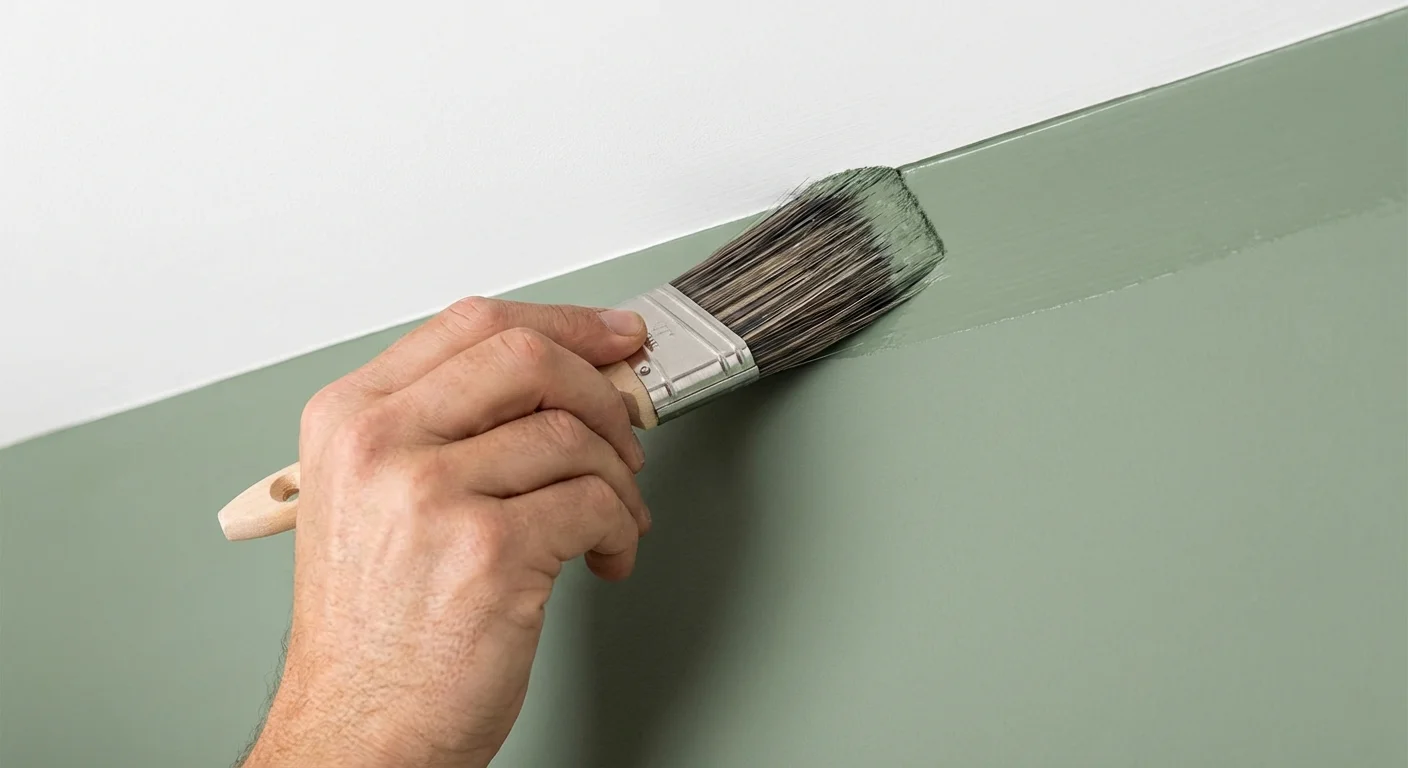
“Cutting in” refers to the process of painting the tight corners, the edges along the ceiling, and the spaces around baseboards and window frames using a brush, as your roller cannot reach these tight areas without bumping into adjacent surfaces. This is where your high-quality angled sash brush proves its worth.
Dip your brush into a small container of paint, loading only the bottom third of the bristles. Tap the brush gently against the inside of the container—never wipe it aggressively over the rim, which strips away the paint you just loaded. Hold the brush like a pencil and approach the edge of the ceiling or trim. Start your stroke about half an inch away from the actual corner, pressing gently so the bristles splay out slightly. As you move the brush forward in a smooth, steady line, slowly guide the splayed edge of the bristles directly into the corner. This technique pushes a precise bead of paint right to the edge without bleeding over onto the ceiling.
Cut in only one wall at a time. If you cut in the entire room before you start rolling, the brushed edges will dry completely, creating an unsightly raised border known as “picture framing” when you finally overlap it with your roller.
Rolling the Walls
To integrate your brushwork with your roller work, you must maintain a “wet edge.” While your cut-in lines are still wet, load your roller cover heavily with paint. Roll it back and forth in the shallow end of your paint tray until the nap is evenly saturated but not dripping.
Start near the top corner of your wall, rolling downward in a slightly diagonal direction to form the shape of a large letter “W” or “V” roughly three feet wide. Without lifting the roller from the drywall, immediately fill in the blank spaces of the “W” using parallel, vertical strokes. This wall painting technique rapidly distributes a heavy, even coat of paint across the section without leaving thick ridges at the edges of the roller.
Once that three-foot section is filled, execute a technique called “laying off.” Starting at the ceiling, lightly pull the roller straight down to the baseboard in one continuous motion, using almost zero pressure. Overlap your next downward stroke by an inch or two. Laying off aligns all the tiny stipple marks left by the roller nap so they face the exact same direction, resulting in a flawless, glass-smooth finish once the wall cures.
Continue this process—cutting in a section, rolling the “W”, and laying it off—until you have worked your way entirely around the room. Check your work frequently from different angles to ensure you haven’t missed any spots or left any thick drips running down the wall.

Drying Times and the Crucial Second Coat
Most premium interior paints technically offer complete coverage in a single coat, but applying two thinner coats always yields a richer, more durable, and more professionally uniform appearance. The first coat rarely goes on perfectly level; the second coat fills in the microscopic peaks and valleys.
You must respect the chemistry of the drying process. While water-based latex paint may feel dry to the touch within sixty minutes, it is not actually ready for a second coat. Applying wet paint over a partially dried layer causes the first coat to re-wet and pull away from the wall, creating heavy, peeling textures. Always check the manufacturer’s label on your specific can, but generally, you should allow at least four hours of drying time between coats under ideal conditions (around 70 degrees Fahrenheit and moderate humidity). If you are painting in a damp or highly humid environment, extend that waiting period significantly.
Common Mistakes to Avoid
Even with premium tools and a solid understanding of the mechanics, DIYers occasionally stumble. Keep these common pitfalls in mind as you work through your project:
- Squeezing the roller dry: When your roller runs low on paint, you might feel tempted to press harder against the wall to squeeze out the last few drops. This action crushes the roller nap and forces a hard, raised line of paint out the sides of the roller frame. Instead of pressing harder, simply reload your roller.
- Painting in poor lighting: It is incredibly easy to miss patches, drips, or thin spots if you are relying solely on a dim overhead light. Bring in bright, movable work lights to illuminate your walls from various angles as you work.
- Waiting too long to remove the tape: If you allow the paint to dry completely and cure over your painter’s tape, the tape will bond with the paint film. Pulling it up will rip jagged chunks of new paint right off the wall.
Professional vs. DIY: Knowing When to Hire Out
While painting a standard bedroom or living space is a highly accessible weekend project, certain scenarios demand the expertise, specialized equipment, and insurance of a professional crew. You should strongly consider hiring a professional painter if you encounter any of the following situations:
- Lead Paint Hazards: If your home was built before 1978, the existing layers on your walls might contain lead. Sanding or scraping lead paint releases highly toxic dust into your home’s HVAC system. Professional contractors certified in lead-safe practices—as outlined by resources like This Old House and the EPA—must handle this mitigation to protect your family’s neurological health.
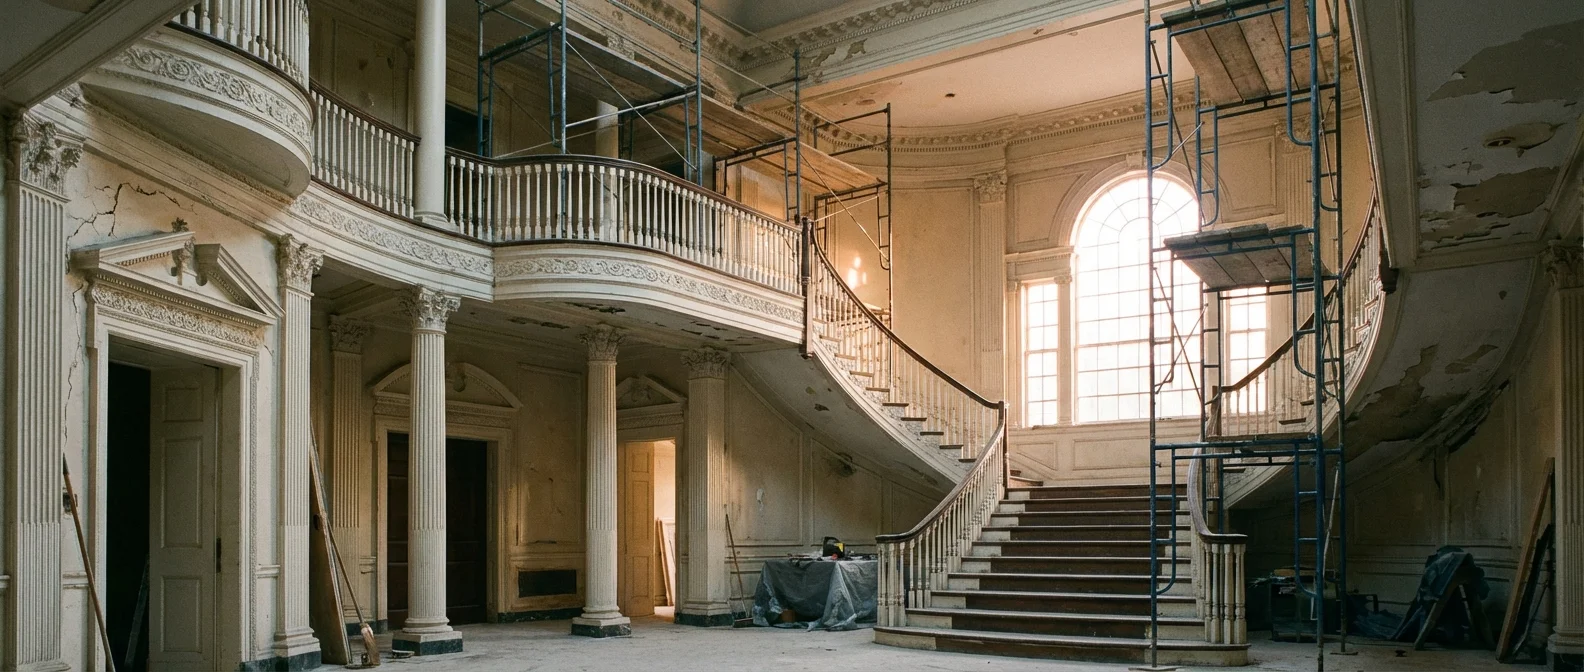
- Vaulted Ceilings and Stairwells: Working on a ladder is dangerous enough, but attempting to cut in a twenty-foot ceiling while balancing a heavy paint bucket on an extension ladder over a staircase is a recipe for severe injury. Professionals utilize specialized scaffolding and articulating ladders to navigate these massive heights safely.
- Extensive Drywall Damage: If your walls have suffered severe water damage, deep gouges, or require extensive skim-coating to hide heavy, outdated textures, the underlying repair work requires a highly specialized skill set. A professional will ensure the drywall itself is structurally sound and perfectly smooth before a single drop of paint is applied.
The Final Steps: Cleanup and Curing
Once you have applied your final coat, your immediate attention should turn to the painter’s tape. The optimal time to remove the tape is when the paint is dry to the touch but still slightly soft and pliable—usually about an hour after you finish painting. Grasp the end of the tape and pull it back on itself at a tight 45-degree angle. Move slowly. If you notice the tape pulling the wall paint with it, stop immediately. Take a sharp utility knife and gently score the seam where the tape meets the wall to break the bond before continuing.
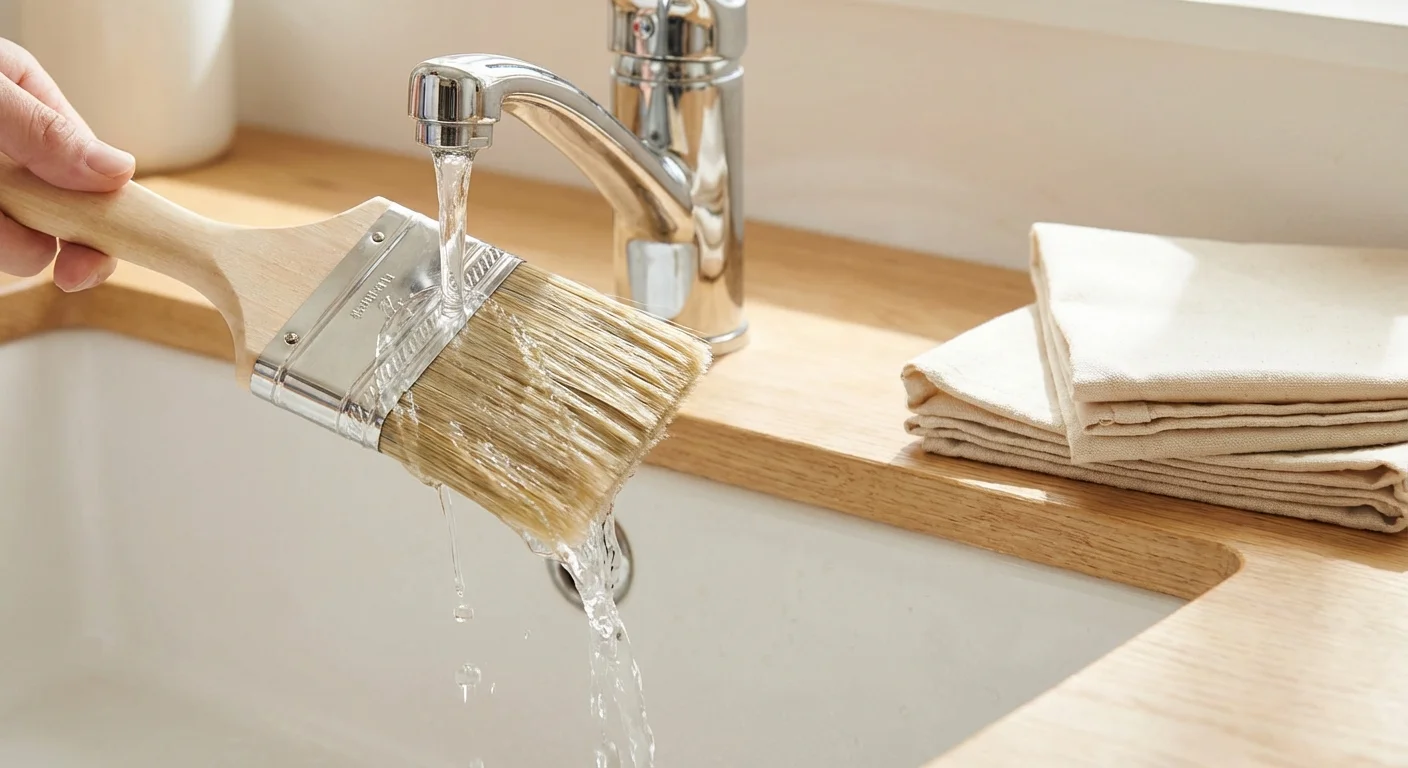
Wash your brushes and rollers immediately using warm water and a few drops of dish soap. Use a wire brush comb to strip the paint from the heel of your sash brush, ensuring the bristles remain soft and straight for your next project. Store brushes in their original cardboard covers to help them maintain their angled shape.
Finally, exercise patience. While you can move your furniture back into the room the next day, latex paint takes up to 30 days to fully cure and harden. During this first month, avoid scrubbing the walls, leaning heavy objects against them, or applying chemical cleaners, as the paint film remains surprisingly vulnerable to scuffing.
Frequently Asked Questions
How much paint do I actually need to buy?
A standard gallon of high-quality interior paint covers approximately 400 square feet. To calculate your needs, measure the perimeter of your room and multiply that number by the ceiling height to get the total square footage. Subtract roughly 15 square feet for every window and 20 square feet for every standard door. Since you will need two coats, double that final number, and divide by 400 to determine your gallon count.
Should I paint the ceiling or the walls first?
Always paint the ceiling first. When you roll a ceiling, microscopic drops of paint inevitably splatter downward onto the surrounding walls. If you paint the walls first, these tiny ceiling drips will permanently ruin your fresh wall finish. Work from the top down: ceiling, walls, and then baseboards and trim.
Can I store leftover paint in the garage?
Paint is highly sensitive to extreme temperatures. If latex paint freezes in an unheated garage during the winter, the emulsion breaks down; once thawed, it will have the consistency of cottage cheese and is entirely unusable. Store leftover paint inside your home in a temperature-controlled closet or basement, making sure to tap the lid down tightly with a rubber mallet to prevent air from entering.
Do I need to clean the walls if they look perfectly fine?
Yes. Even if a wall appears visually clean, it holds a thin, invisible layer of airborne dust, aerosolized cooking oils, and pet dander. Skipping the cleaning phase prevents your new paint from gripping the drywall paper, leading to bubbling and peeling a few months down the line.
Transforming your living space with color is one of the most rewarding home improvement tasks you can undertake. By slowing down, investing in the right tools, and honoring the preparation process, you elevate your work from a standard DIY chore to a durable, architectural finish. Take your time masking, trust the slow rhythm of the brush, and enjoy the profound satisfaction of stepping back to admire a perfectly executed room.
This is educational content based on general best practices. Individual results vary based on your home, budget, and circumstances. Always prioritize safety and consult professionals for major projects.
Last updated: February 2026


Leave a Reply