
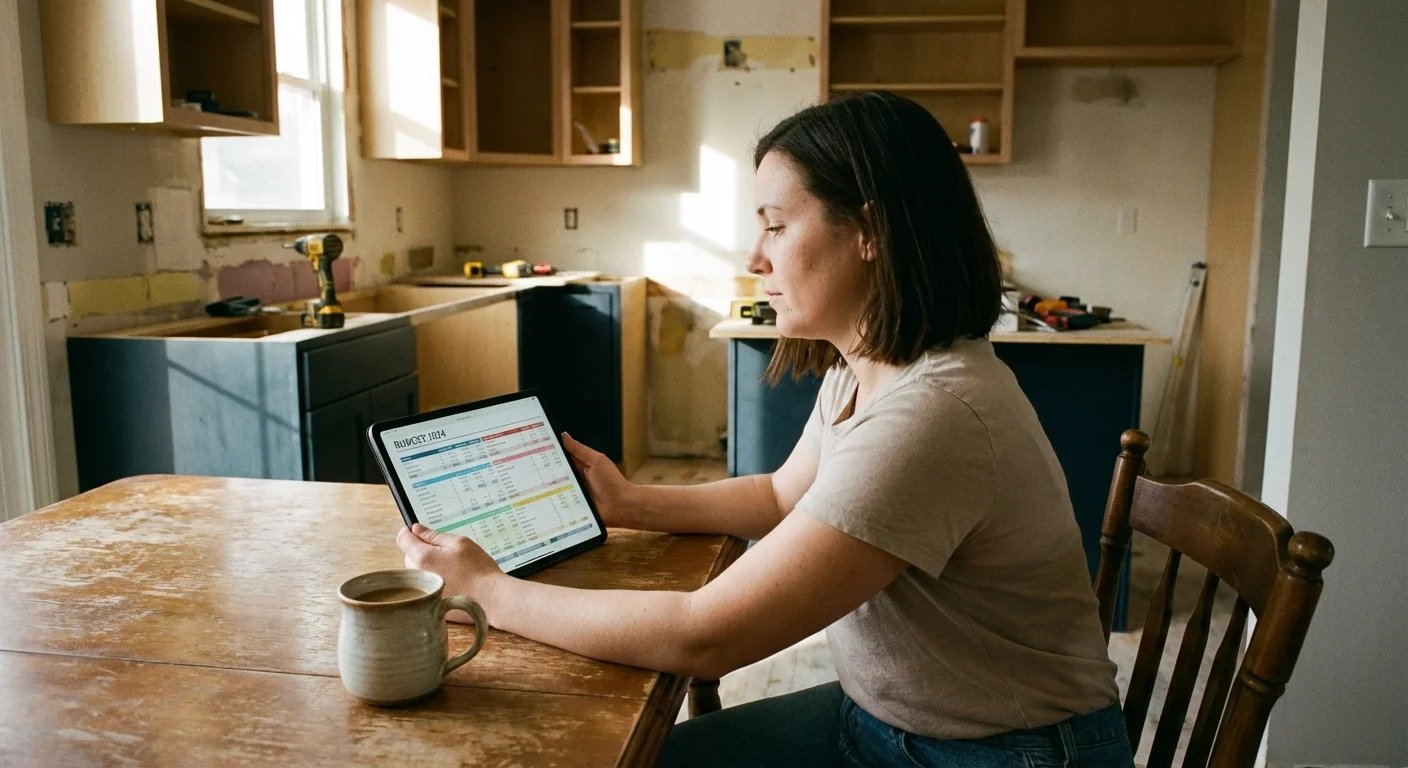
Kitchen renovations carry a notoriously high price tag; custom cabinet installation alone regularly consumes up to 40 percent of a total remodeling budget. When you stare at an outdated kitchen, tearing out the old boxes and starting fresh feels like the only path forward. However, if your existing cabinet frames remain structurally sound, discarding them wastes valuable materials and drains your renovation fund unnecessarily. You can achieve a stunning transformation using the foundational elements you already own.
Planning a cabinet makeover without replacing the entire system saves thousands of dollars while significantly reducing construction waste. Whether you rent a modest apartment and need reversible solutions or own an older home requiring a complete aesthetic overhaul, strategic updates yield professional-grade results. Let’s break down the most effective, budget-friendly methods to modernize your kitchen spaces.

The Essentials: What You Will Learn
- Surface Restoration: How deep cleaning and targeted wood treatments revive dull finishes.
- Hardware Modernization: The mechanics of measuring, selecting, and installing contemporary pulls and knobs.
- Professional Paint Techniques: The exact prep and paint processes required for a durable, factory-like finish.
- Architectural Enhancements: Upgrading builder-grade boxes with crown molding, custom trims, and glass inserts.
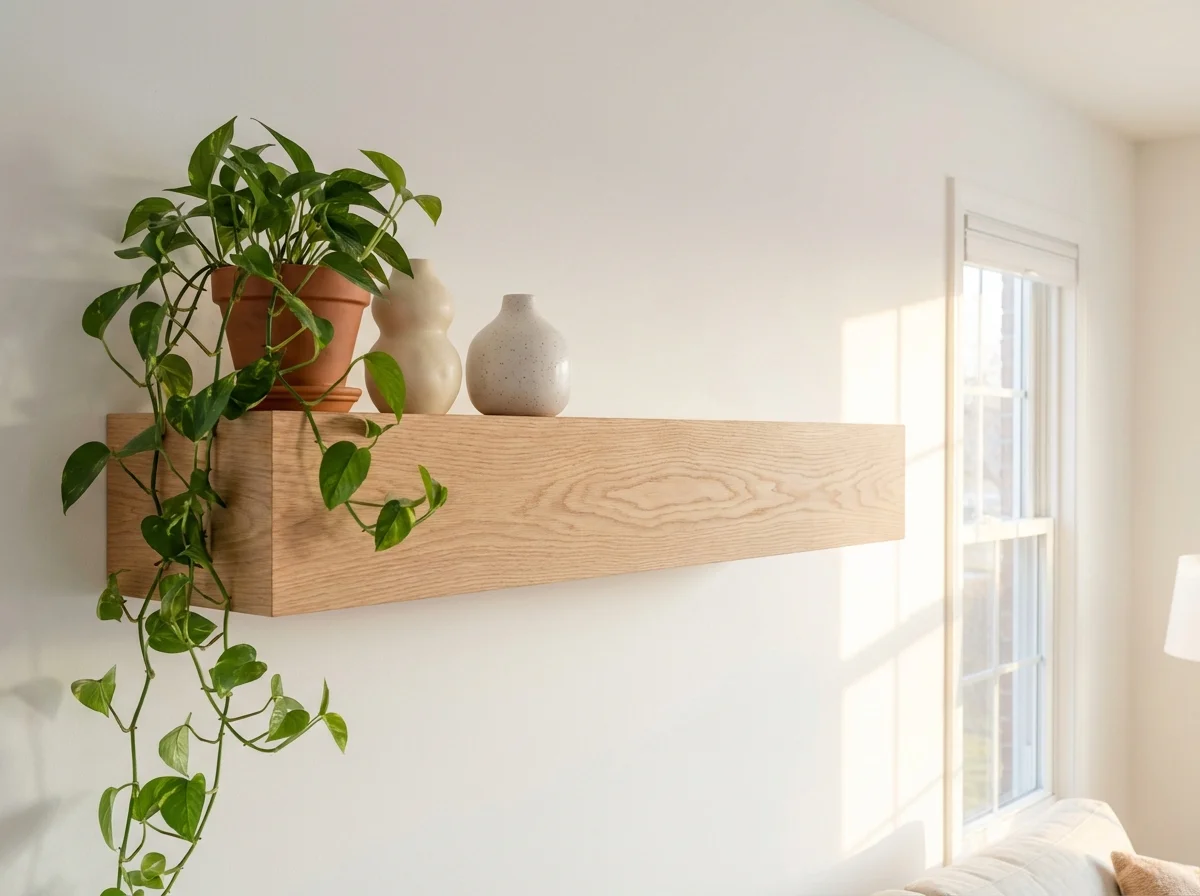
- Lighting and Presentation: Elevating the kitchen’s atmosphere through under-cabinet illumination and open shelving concepts.
1. Perform a Deep Clean and Polish Restorative Treatment
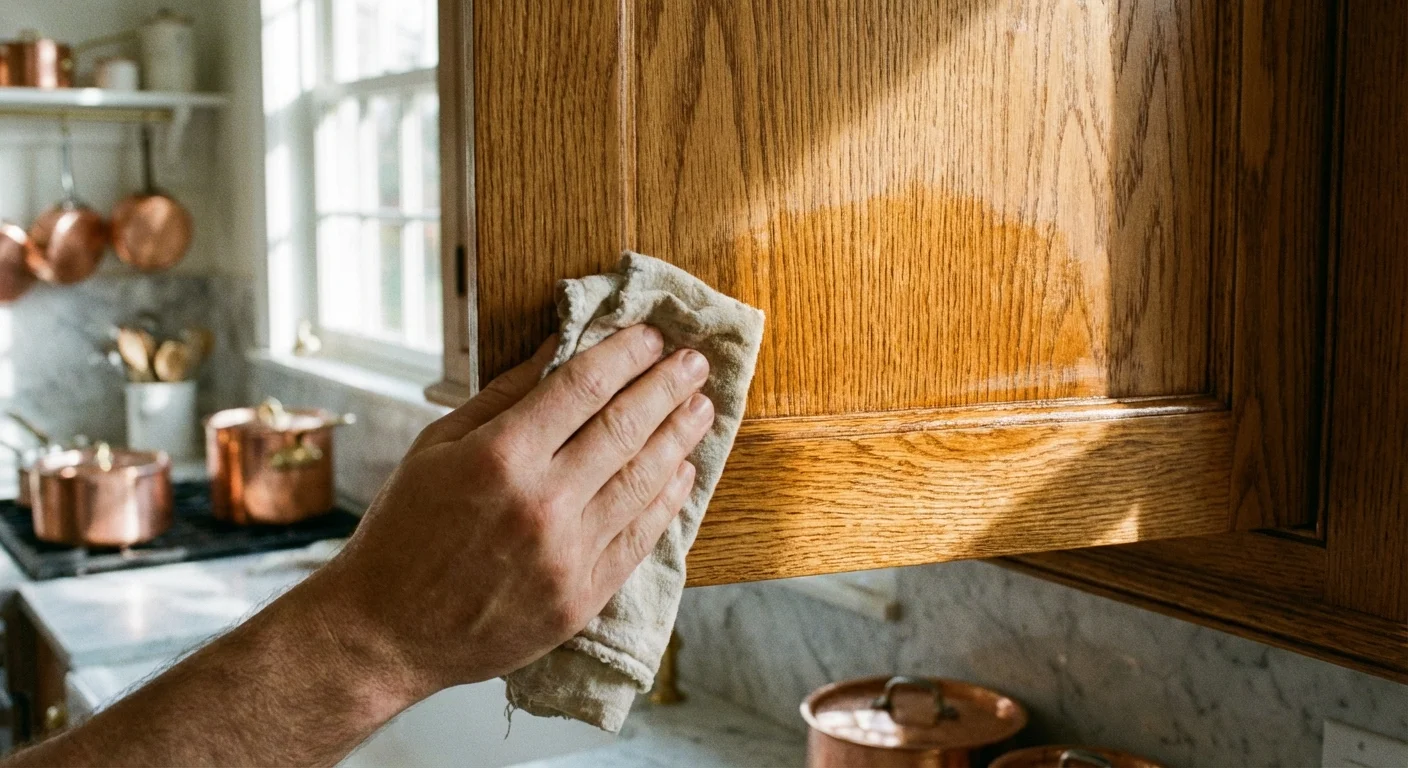
Years of cooking oil, steam, and everyday handling leave an invisible—and sometimes sticky—layer of grime on kitchen surfaces. Before attempting any structural or aesthetic modifications, address this buildup. A heavy-duty cleaning often reveals that your wood cabinets look far better than you thought, representing the easiest way to update kitchen cabinets cheap.
Start with a heavy-duty degreaser like Trisodium Phosphate (TSP) or a specialized citrus-based cabinet cleaner. Mix the solution according to the manufacturer’s directions, put on heavy rubber gloves, and scrub every surface. Pay special attention to the areas immediately surrounding the stove and the cabinet handles, as these zones harbor the highest concentration of airborne cooking oils.
Once you completely strip away the grease, evaluate the wood. Minor scratches, heat marks, and water rings frequently disappear with a wipe-on restorative product. Wood restoring solutions blend specialized solvents with stains to penetrate minor blemishes, temporarily restoring the original color and luster of varnished finishes. Apply the restorer with a fine steel wool pad (0000 grade) going with the grain, then immediately buff the surface with a clean microfiber cloth. You will lift away decades of oxidation and leave behind a warm, revitalized glow.
2. Execute a Cabinet Hardware Upgrade
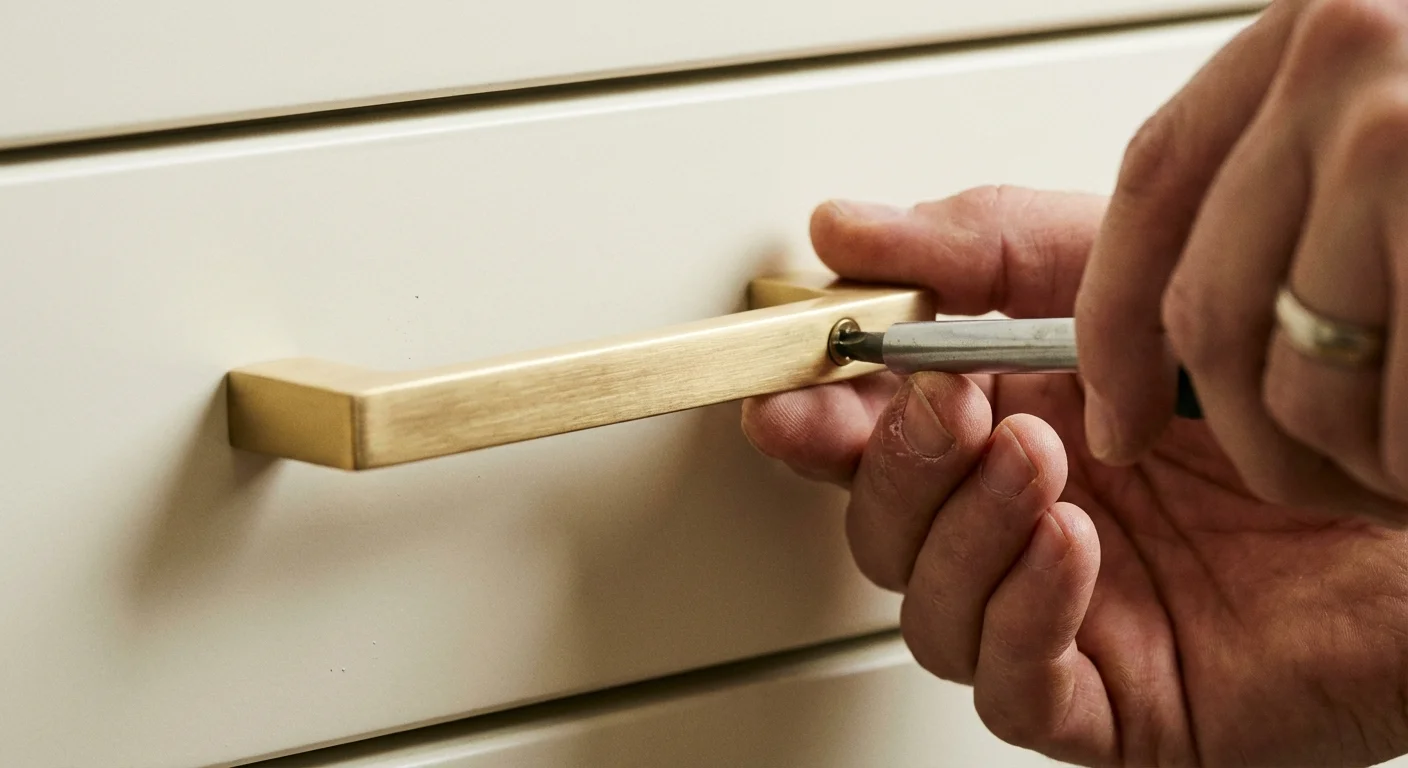
Swapping out outdated pulls and knobs stands as the quickest, most visually striking upgrade you can perform in a single afternoon. If your kitchen currently features tarnished brass knobs from the 1990s or cheap plastic pulls, upgrading to modern metallic finishes completely shifts the room’s energy.
Executing a cabinet hardware upgrade is just one of many kitchen cabinet updates under $100 that provide a fresh look without a full renovation.
When executing a cabinet hardware upgrade, accuracy matters. If you plan to use the existing drilled holes, measure the distance between the drill centers precisely. This measurement—known as the center-to-center distance—dictates what replacement hardware will fit without requiring you to drill new holes or patch old ones. Common center-to-center sizes include 3 inches, 3 ¾ inches, and 4 inches.
If you decide to shift from a single-hole knob to a wider handle pull, you must patch the original holes with wood filler, sand them smooth, and touch up the finish. To drill new holes accurately, purchase a plastic cabinet hardware template or jig. This inexpensive tool hooks onto the corner of your cabinet door and provides pre-measured drilling guide holes, ensuring every single handle aligns perfectly across your entire kitchen. For insight into matching hardware finishes with contemporary design movements, reviewing current trends in Architectural Digest can guide your selections toward timeless materials like unlacquered brass or matte black iron.
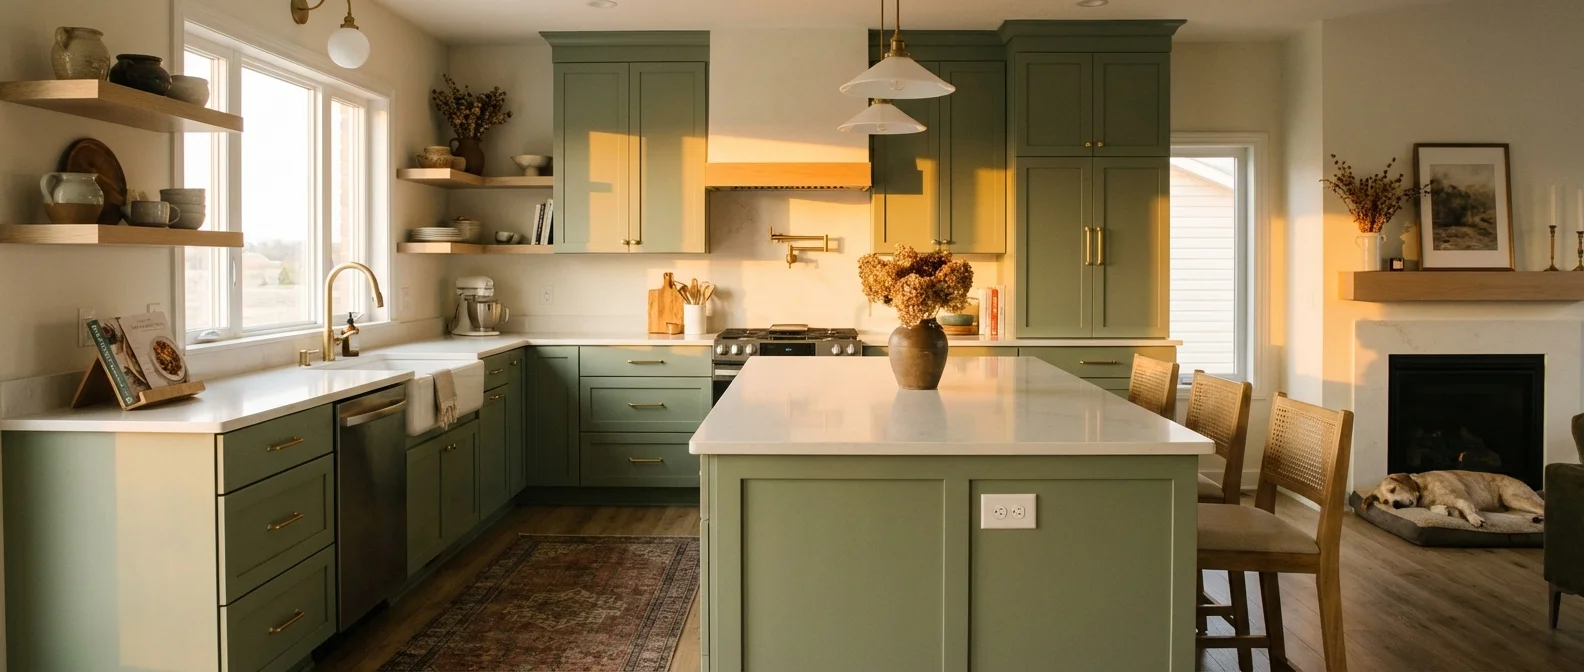
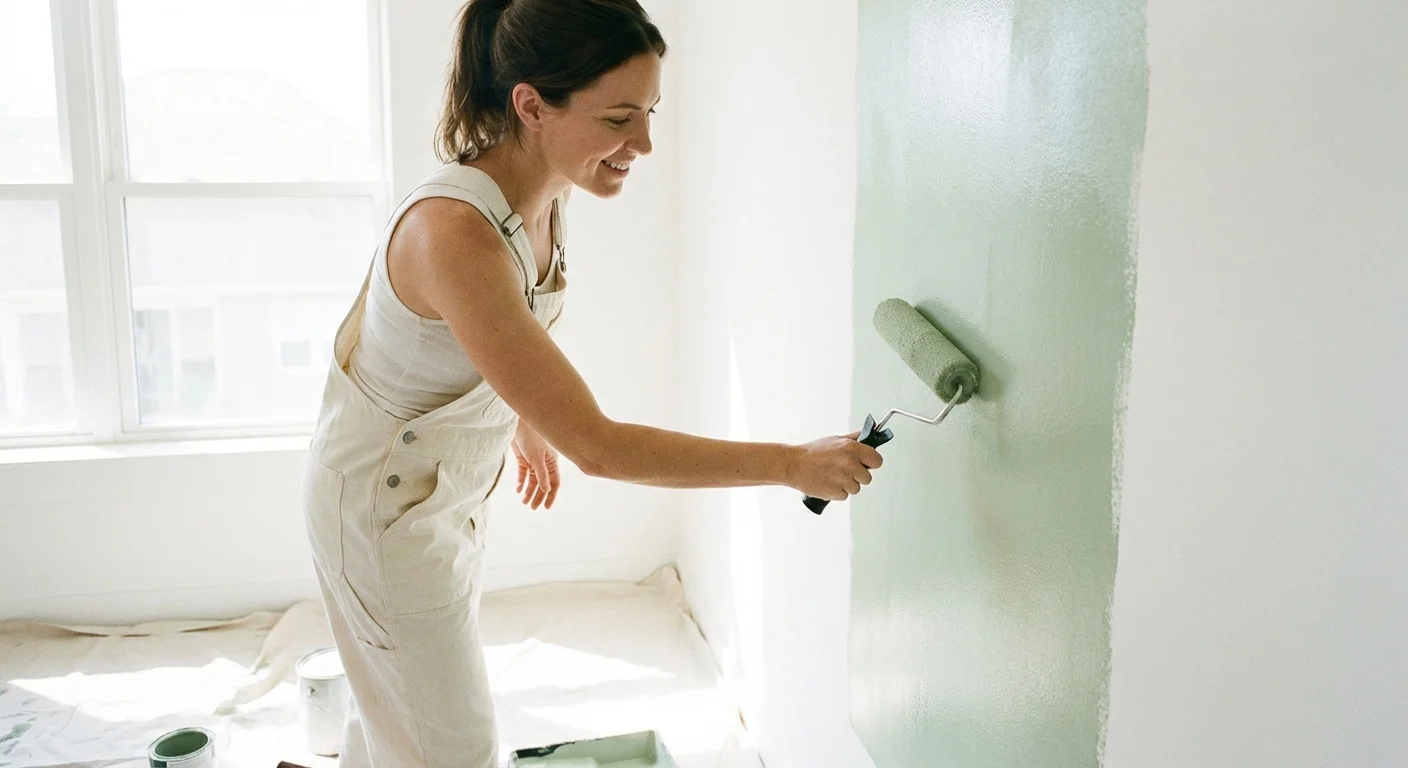
3. Paint Kitchen Cabinets for a Classic Transformation
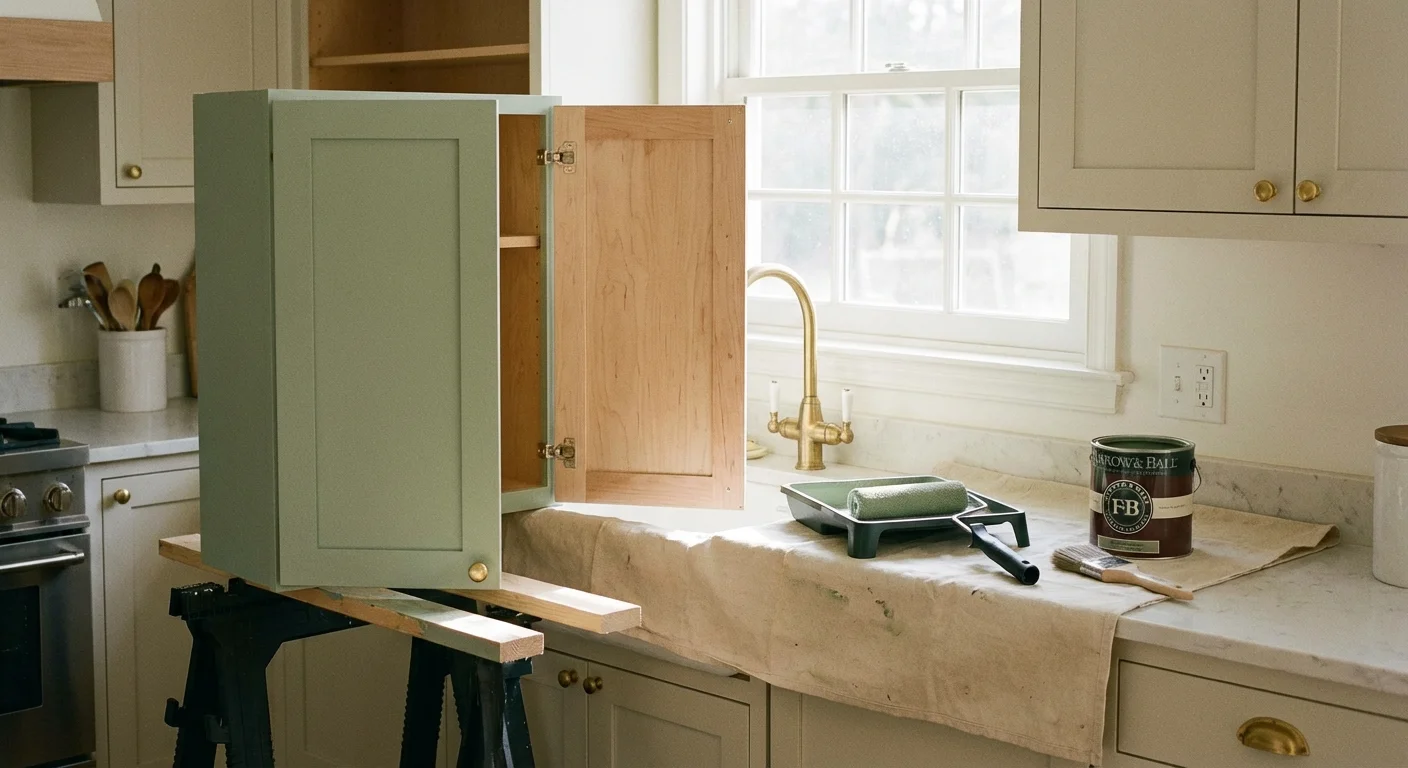
When the existing finish feels completely unredeemable, nothing impacts a room quite like fresh paint. Deciding to paint kitchen cabinets requires patience and meticulous preparation; the actual painting represents only about 20 percent of the total project time.
If you are new to DIY, learning how to paint like a professional will ensure your cabinetry finish remains durable for years.
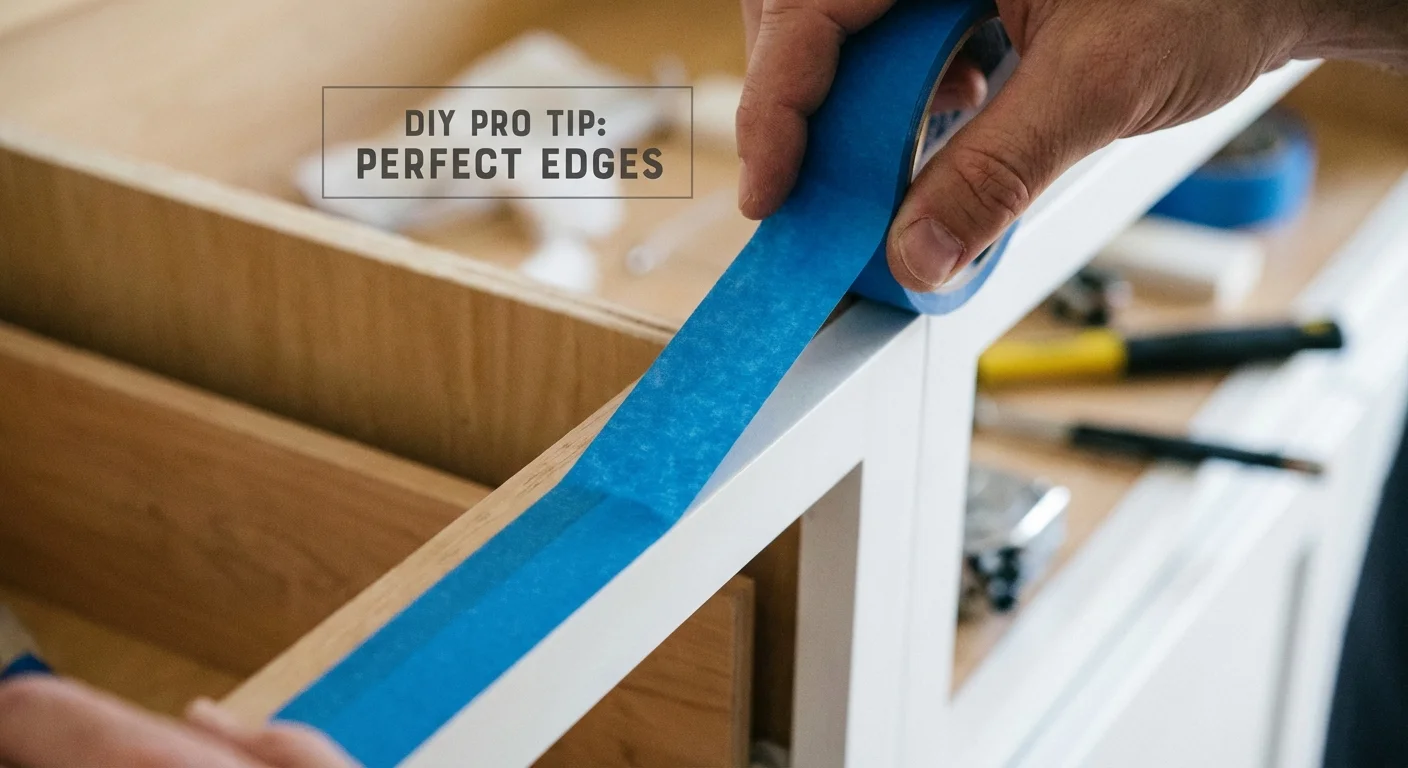
Remove all doors, drawers, and hardware before beginning. Use a piece of masking tape to label the back of each door (e.g., “Upper Left Sink”) so you can reinstall them in their exact original locations. Skipping this step leads to frustrating hinge alignment issues later.
The Professional Prep Process:
- Clean: Scrub everything with a degreaser. Paint will immediately peel off greasy surfaces.
- Sand: Scuff every surface with 220-grit sandpaper. You do not need to sand down to bare wood; you merely need to dull the glossy clear coat so the primer can bond mechanically.
- Dust: Vacuum the sanding dust, then wipe every surface down with a sticky tack cloth.
- Prime: Apply a high-adhesion, stain-blocking primer. If your cabinets are oak or another heavy-grain wood, use a heavy-duty primer and a grain filler if you desire a completely smooth finish.
For the topcoat, avoid standard latex wall paint. It lacks the durability required for high-traffic kitchen environments and will chip within months. Instead, invest in a water-based urethane alkyd enamel or an acrylic-urethane cabinet-specific paint. These formulas level out beautifully—minimizing brush marks—and dry to a hard, scrubbable finish. Use a high-quality angled synthetic brush for the recessed panels and a high-density foam roller or a mohair roller for the flat surfaces. Better yet, if you have the outdoor space, using an HVLP (High Volume Low Pressure) paint sprayer guarantees a flawless, factory-like finish. Excellent step-by-step guides on sprayer prep and technique can be found through resources like Family Handyman.
“Replacing cabinets can consume up to 40 percent of your kitchen renovation budget. Prepping, priming, and repainting existing structurally sound frames gives you a completely bespoke look for a fraction of the cost.” — Home Improvement Experts, This Old House
4. Apply Peel-and-Stick Contact Paper or Vinyl Wrap
Renters seeking a budget cabinet refresh often encounter lease restrictions prohibiting paint or permanent alterations. Architectural vinyl wraps and high-quality peel-and-stick contact papers offer an ingenious, fully reversible workaround.
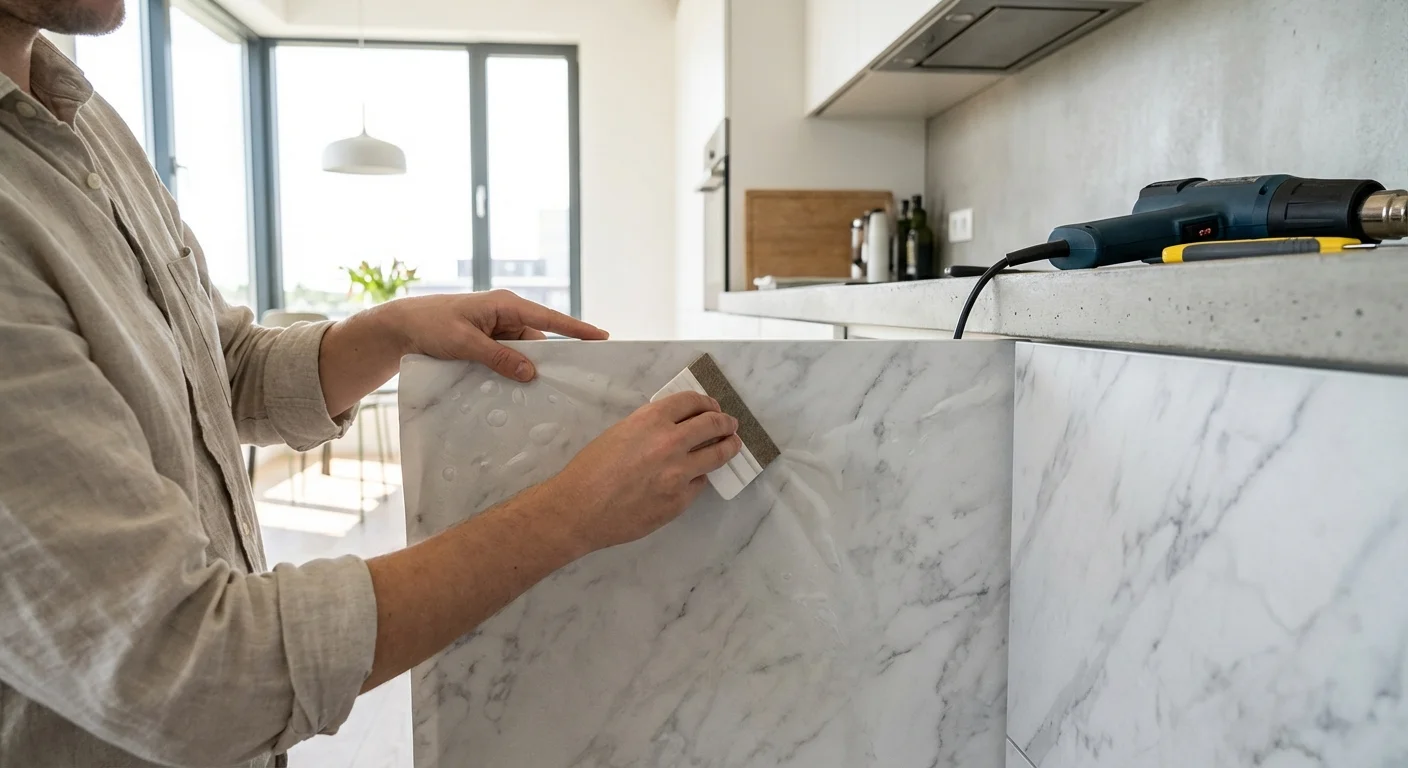
Modern vinyl wraps have evolved far beyond the thin, easily torn shelf liners of the past. Today’s architectural films feature air-release channels to prevent bubbles, realistic wood grain textures, and robust water resistance. You can wrap flat-panel (slab) doors entirely, transforming a dated laminate kitchen into a sleek matte-black or light oak sanctuary in one weekend.
To apply vinyl wrap successfully, remove the doors and clean them thoroughly with isopropyl alcohol. Cut the vinyl a few inches larger than the door. Peel back the first few inches of the backing, stick the edge to the door, and slowly smooth the material downward using a felt-edged squeegee. When wrapping the edges and corners, use a hairdryer or heat gun on a low setting. The heat temporarily softens the vinyl, allowing it to stretch tightly over the corners without wrinkling. Once you move out, simply warm the vinyl with the hairdryer and slowly peel it away, leaving the original surface intact.
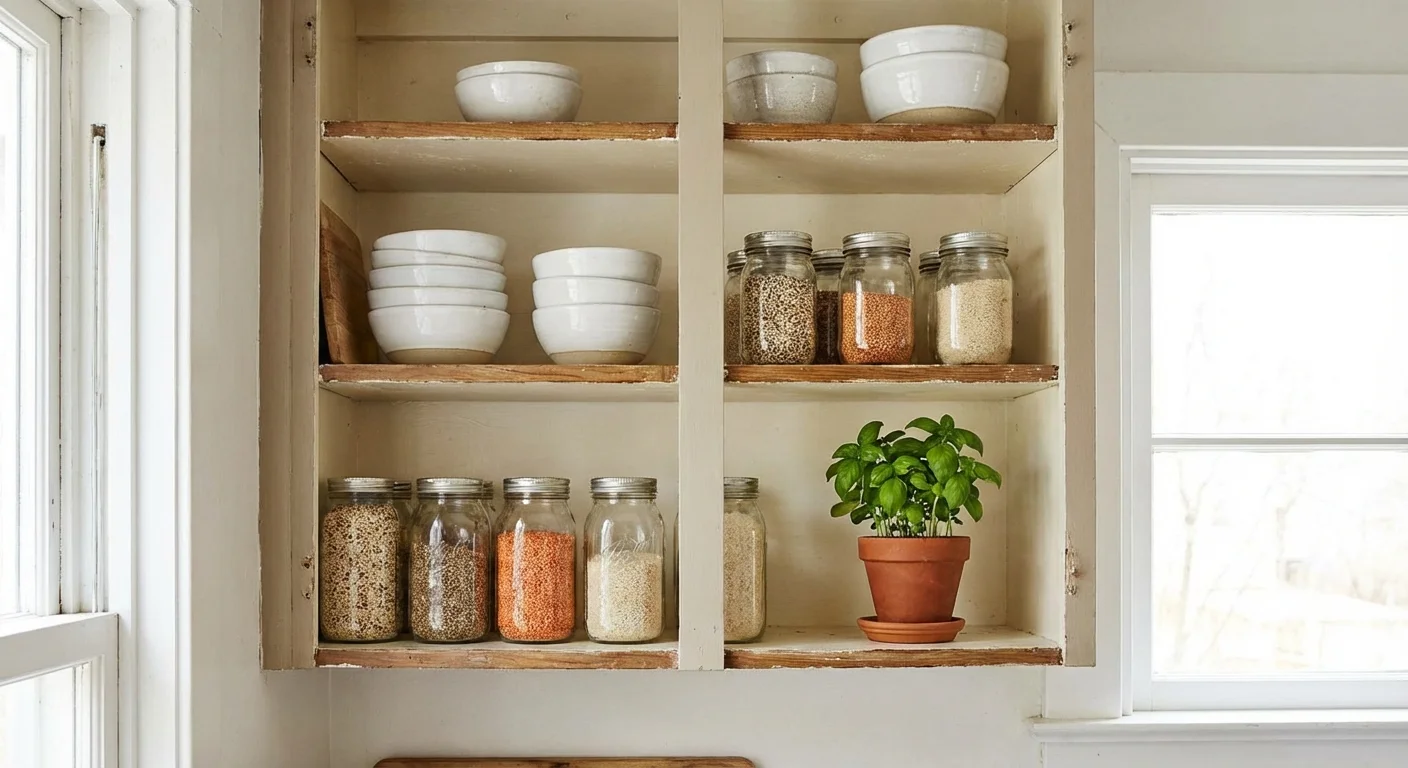
5. Remove Doors for an Open Shelving Concept
Sometimes, heavy upper cabinets make a small kitchen feel cramped and claustrophobic. You can instantly modernize your space and create a bright, airy atmosphere by simply taking the doors off a few strategically chosen upper cabinets.
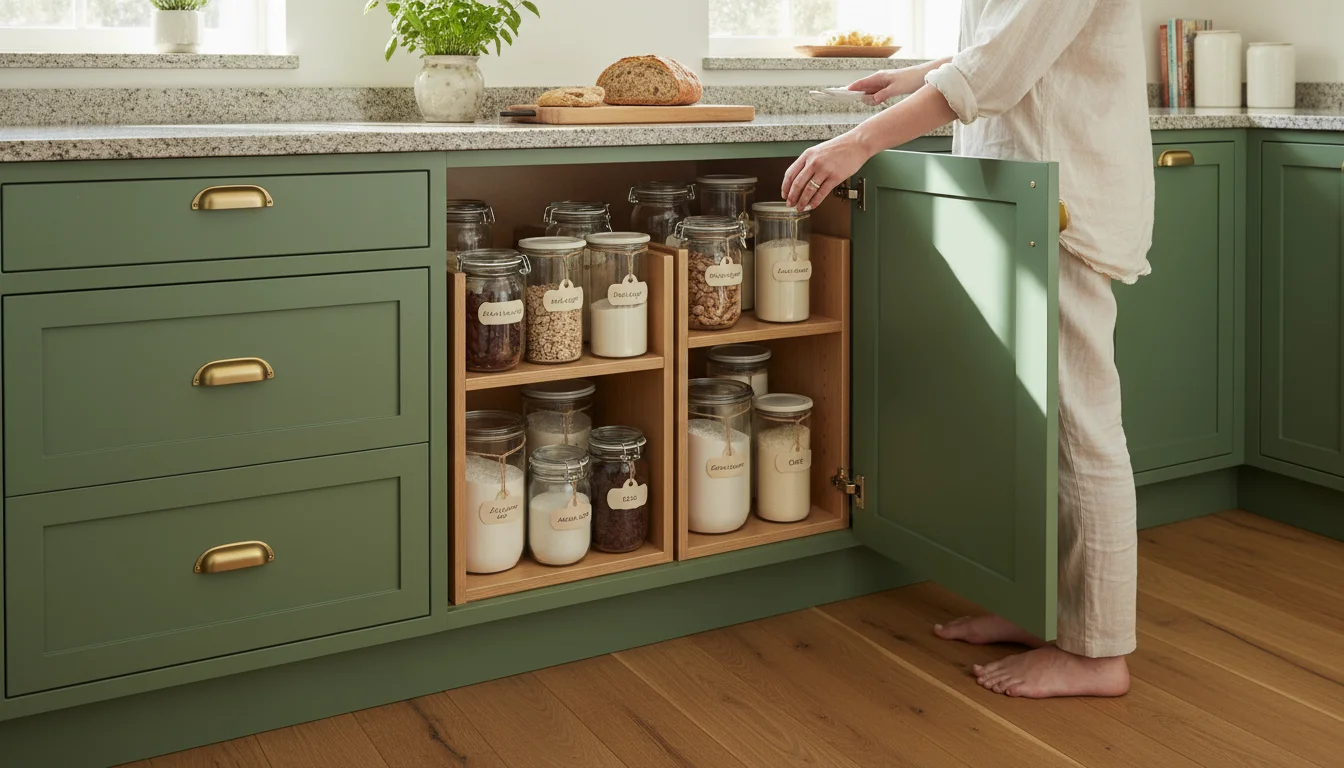
This method costs almost nothing. Select cabinets that naturally display attractive items—like neatly stacked everyday dishes, glassware, or cookbooks. Remove the doors, take out the hinges, and fill the hinge holes with wood filler. Sand the filler flush, then paint the inside of the cabinet boxes to match or contrast with your kitchen walls. A contrasting interior color (such as deep navy or rich terracotta) behind white shelving creates striking visual depth.
Maintain strict organization on these open shelves; clutter quickly defeats the purpose of this sleek, modern aesthetic. Group items by color or purpose, and store mismatched plastic containers in the lower, closed cabinets.
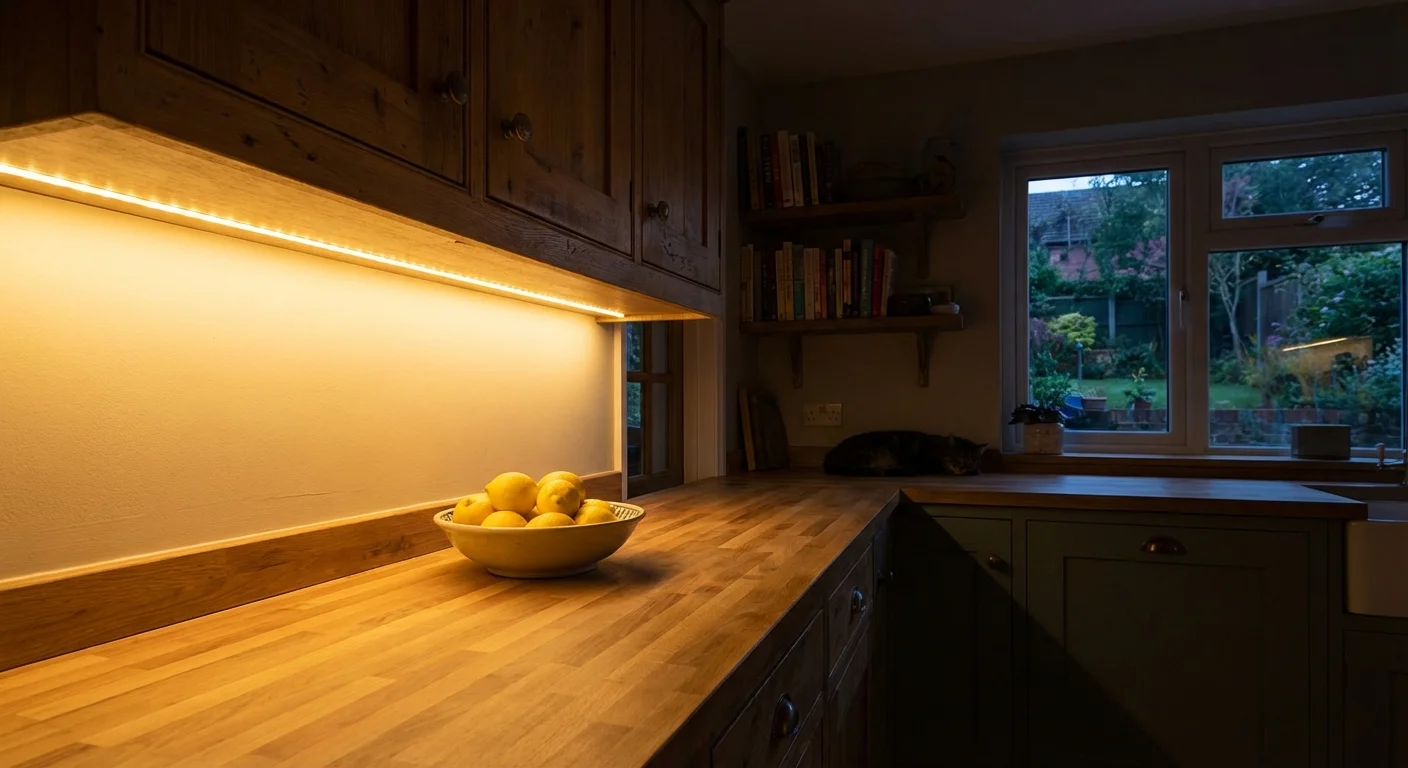
6. Install Under-Cabinet LED Lighting
Upgrading your kitchen’s lighting drastically alters how your cabinetry looks. Older kitchens often rely heavily on a single overhead fixture, casting deep, unflattering shadows under the upper cabinets and making the workspace feel dark and uninviting.
These lighting upgrades under $100 are an excellent way to modernize your space while staying on a strict budget.
Installing under-cabinet lighting highlights the backsplash, illuminates countertops for safe food prep, and creates a high-end, custom ambiance. Budget-friendly LED strip lights come with adhesive backing, making installation remarkably simple. For a more polished look, invest in aluminum channel tracks with frosted diffuser covers; these channels hide the individual LED diodes, creating a seamless, uniform bar of light.
When selecting your lighting, pay attention to the color temperature. Choose LEDs in the 2700K to 3000K range for a warm, inviting glow that complements wood tones, or 3500K to 4000K for a crisp, neutral white that flatters modern, brightly colored kitchens. Ensure you look for Energy Star certified fixtures to maintain efficiency while leaving the accent lighting on during the evening.
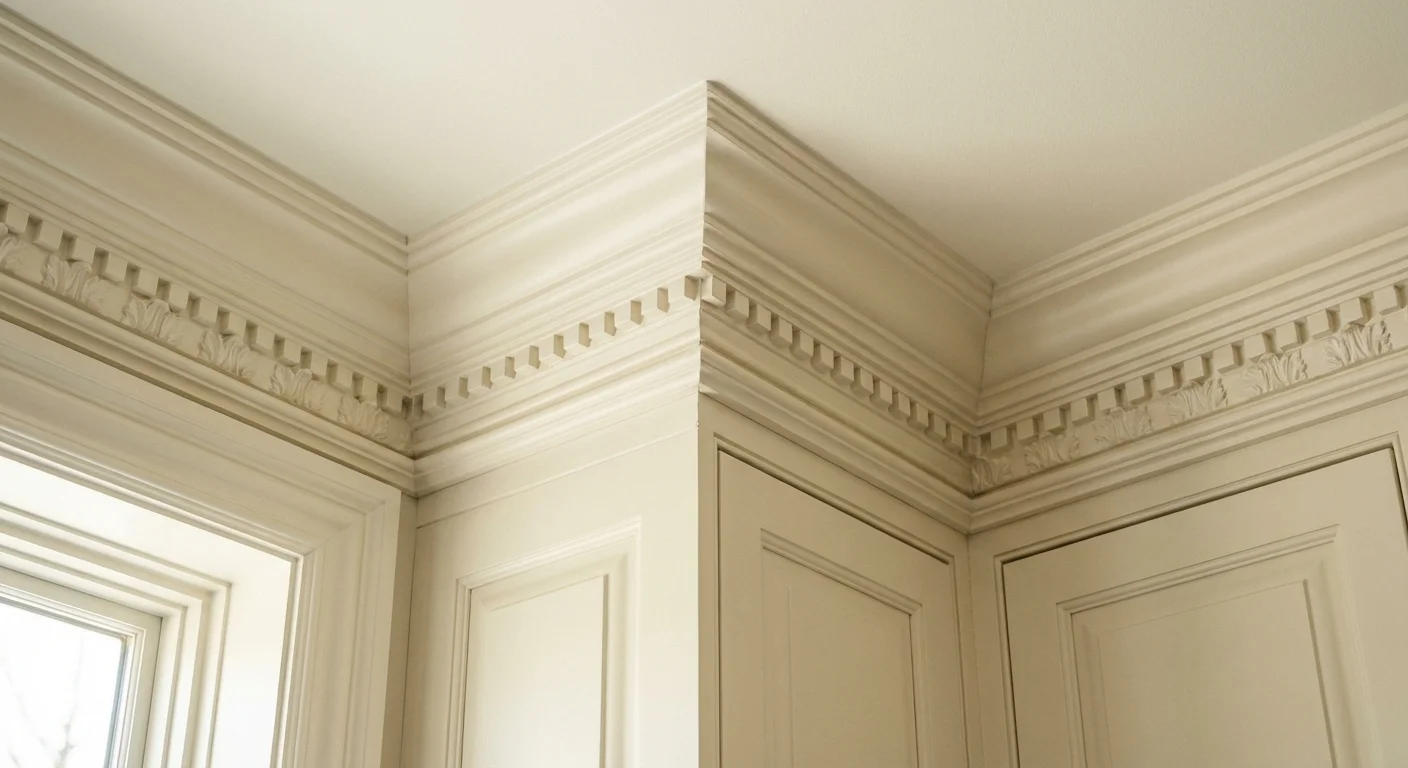
7. Upgrade Builder-Grade Cabinets with Crown Molding
Standard builder-grade upper cabinets frequently stop several inches shy of the ceiling. This awkward gap collects dust and visually truncates the room, making the ceilings feel lower than they actually are. Bridging this gap with crown molding or custom trim boards gives off-the-shelf cabinets the illusion of being expensive, custom-built, ceiling-height cabinetry.
To execute this upgrade, construct a simple wooden frame—often called a fascia—that attaches to the top of your existing upper cabinets and extends to the ceiling. Secure crown molding to the top edge of this fascia where it meets the drywall. Fill all nail holes with wood putty, caulk the seams meticulously, and paint the new wood and the existing cabinets the exact same color.
This structural addition requires basic carpentry skills, a miter saw for angled corner cuts, and a brad nailer. However, the dramatic vertical lift it provides to the room makes the effort incredibly rewarding.
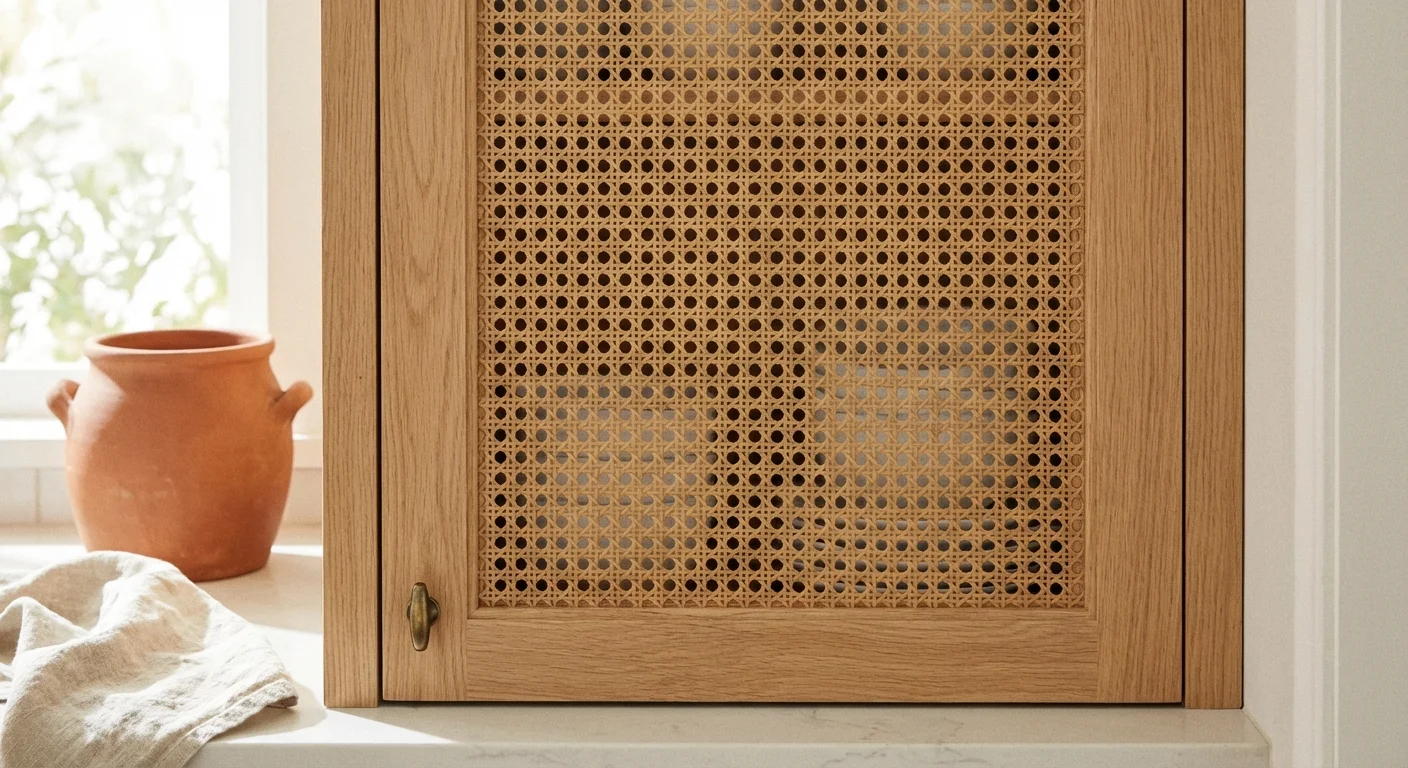
8. Reface Center Panels with Glass or Cane Webbing
If you own shaker-style cabinets or standard flat-panel doors, cutting out the center section opens up vast design possibilities. By replacing the solid wood center with decorative inserts, you break up the monotony of endless wooden facades.
Using a jigsaw or a router, carefully cut away the recessed center panel of the cabinet door, leaving only the outer frame intact. Once you have an open frame, use a router to create a lip (rabbet) on the back inner edge. Drop in a piece of frosted, fluted, or seeded glass, and secure it with clear silicone caulk or glass retainer clips. Fluted glass currently dominates modern design, obscuring the exact contents of the cabinet while still reflecting light back into the room.
For a softer, organic, bohemian look, soak sheets of natural cane webbing in warm water for 30 minutes until pliable. Stretch the damp cane tightly across the back of the cut-out door frame and staple it into place. As the cane dries, it shrinks and pulls drum-tight. Trim the excess edges and attach thin wooden molding strips over the staples for a clean, professional finish inside the door.
Comparison: Cost vs. Effort for Cabinet Updates
Evaluating which method suits your timeline and budget prevents mid-project burnout. The table below outlines realistic expectations for each approach.
| Update Method | Estimated Cost (Average Kitchen) | Time Commitment | Skill Level Required |
|---|---|---|---|
| Deep Cleaning & Restoring | $20 – $55 | 1 Day | Beginner |
| Hardware Upgrade | $50 – $250 | 1 Day | Beginner |
| Vinyl Wrap / Contact Paper | $80 – $200 | 1 – 2 Days | Beginner / Intermediate |
| Open Shelving Conversion | $15 – $40 | 1 Day | Beginner |
| Painting Cabinets | $150 – $400 | 4 – 7 Days | Intermediate |
| Under-Cabinet Lighting | $40 – $150 | 1 Day | Beginner |
| Adding Crown Molding | $100 – $300 | 2 – 3 Days | Intermediate / Advanced |
| Glass/Cane Inserts | $100 – $350 | 2 – 3 Days | Advanced |
Avoiding Common Errors
DIY kitchen updates carry a high return on investment, but simple missteps quickly turn a budget refresh into an expensive headache. Protect your hard work by avoiding these frequent pitfalls.
Skipping the Deglosser or Primer: Paint absolutely refuses to stick to greasy or glossy surfaces. If you attempt to paint directly over an old varnish without sanding, using a liquid deglosser, and applying an adhesion-promoting primer, your new paint will peel off in rubbery strips the first time you bump it with a fingernail.
Ignoring Drying and Curing Times: Cabinet paint requires patience. While modern acrylic-alkyd enamels feel dry to the touch within a few hours, they take up to 30 days to fully cure and reach their maximum hardness. If you rehang the doors too quickly, they will stick to the cabinet frames and peel the fresh paint off. Wait at least 48 to 72 hours before rehanging doors, and handle them gently for the first month.
Overloading Hardware Visually: Upgrading hardware improves aesthetics, but choosing overly ornate or massive pulls overwhelms small spaces. Ensure the scale of your handles matches the scale of your cabinet doors. A massive 10-inch bar pull looks ridiculous on a tiny drawer front.
When DIY Isn’t Enough
While the techniques outlined above handle aesthetic fatigue perfectly, certain structural issues indicate that cosmetic updates will not suffice. Recognize these warning signs before sinking money into surface-level fixes.
- Severe Water Damage: If the cabinet boxes beneath your sink feel soft, spongy, or show extensive dark discoloration, the structural integrity of the wood is compromised. Paint cannot fix rotting wood.
- Warping and Delamination: Many older cabinets utilize medium-density fiberboard (MDF) or particleboard covered in a thermofoil or veneer layer. If water penetrates the seams, the MDF swells irreversibly, and the outer layers peel away. Once MDF warps, you must replace the affected components.
- Mold or Mildew Issues: Pervasive musty smells or visible mold inside lower cabinets point to ongoing moisture issues. Attempting to paint over mold traps spores and allows the fungus to continue eating the wood beneath. If you suspect toxic mold growth, review the EPA Indoor Air Quality guidelines for safe remediation or replacement protocols.
- Failing Drawer Boxes: If the physical wooden sides of your drawers are splitting or the bottoms are falling out, new drawer tracks won’t solve the problem. You need new drawer boxes entirely.
Frequently Asked Questions
Do I absolutely have to sand cabinets before painting?
Yes. While “no-sand” primers exist, applying light friction to the cabinet surface remains the most reliable way to ensure your paint adheres permanently. You do not need a heavy power sander; a quick, thorough hand-scuffing with 220-grit sandpaper creates microscopic grooves that give the primer something to grip.
Can you put new hidden hinges on old cabinets?
Upgrading exposed exterior hinges to modern, soft-close hidden European hinges dramatically improves functionality. However, it requires drilling large, specific recessed cups into the back of your cabinet doors using a Forstner bit. It requires patience and a specialized jig, but it remains highly achievable for a dedicated DIYer.
What is the most durable finish for kitchen cabinets?
Satin or semi-gloss sheens provide the best balance of aesthetic appeal and durability. Flat or matte finishes absorb grease and are incredibly difficult to wipe clean without burnishing the paint. High-gloss finishes wipe down easily but highlight every tiny dent, scratch, and brushstroke on the wood. A high-quality urethane alkyd enamel in a satin finish offers the optimal result.
How long does a painted cabinet finish last?
If you properly clean, sand, prime, and use cabinet-grade paint, your painted cabinets should look excellent for eight to ten years before requiring a touch-up. Proper curing time and avoiding harsh chemical cleaners prolong the life of the finish.
Practical Next Steps
Revitalizing your kitchen does not require taking out a second mortgage or living in a dusty construction zone for months. Start by identifying your primary pain point. If the wood looks dingy but you love the color, begin with a deep clean and restorative polish. If the color makes the room feel small and dark, commit the time to a proper paint job and lighting upgrade. Tackle one manageable project at a time, and watch your space transform into a modern, functional environment you genuinely enjoy cooking in.
This guide provides general home improvement information. Every home is different—what works in one space may need adaptation in yours. For structural changes or electrical/plumbing work, consult a licensed professional.
Last updated: February 2026


Leave a Reply