
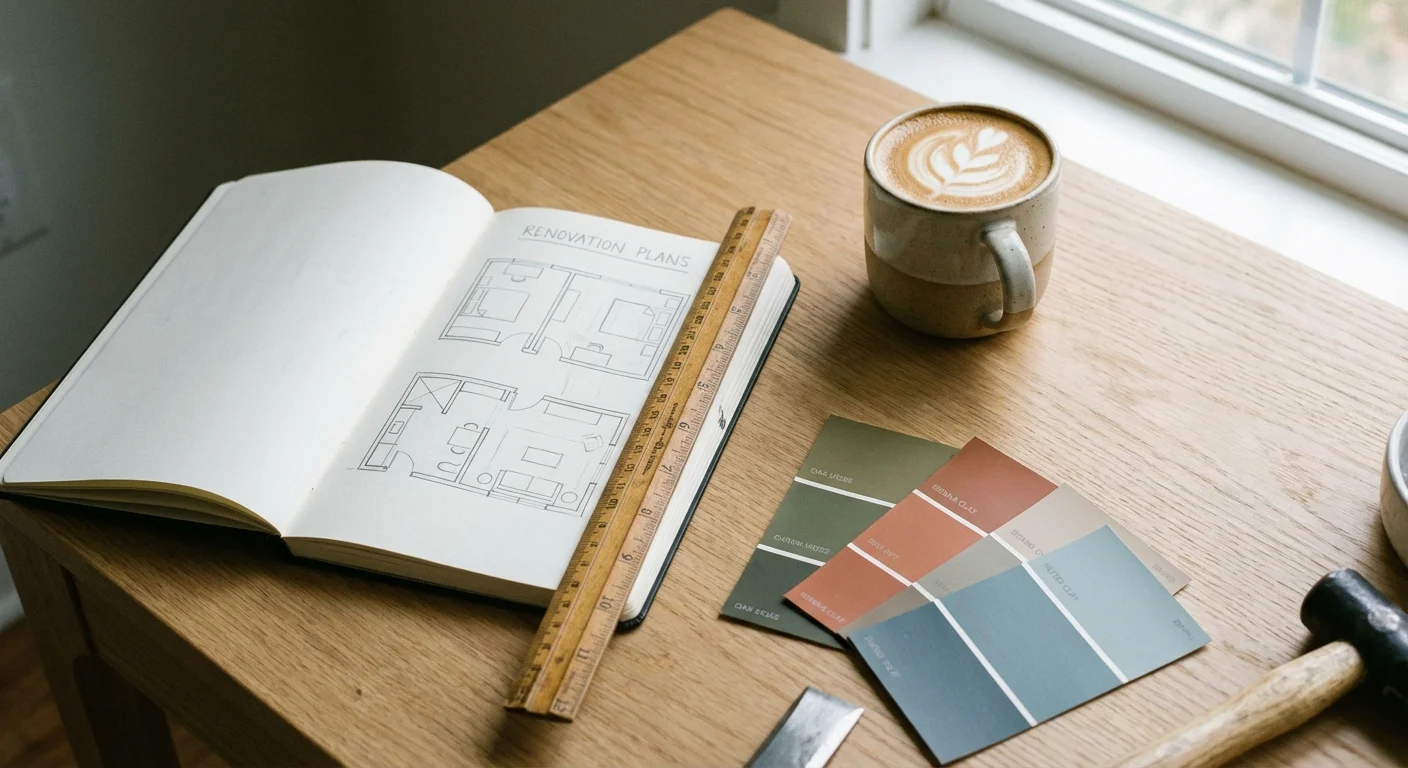
You have forty-eight hours of precious weekend time stretched out before you. It is tempting to spend those hours lounging, but dedicating just one weekend to targeted home improvement projects can transform your living space and build substantial equity. The secret lies in choosing the right tasks—projects that deliver maximum visual impact and functional improvement without requiring a contractor’s license or a demolition crew.
Regular care is also vital; following a monthly home maintenance calendar prevents small issues from becoming major repairs.
When you tackle easy home upgrades, you accomplish two things simultaneously: you enhance your daily living experience, and you increase the market appeal of your property. Buyers and appraisers notice the details. A dripping faucet, scuffed paint, and dated lighting silently signal neglect; conversely, fresh finishes and modern fixtures suggest a well-maintained, high-value home.
You do not need to tear down walls to see a return on your investment. Let us explore the most effective weekend DIY projects that add genuine, measurable value to your property.
Elevate Your Entryway for Instant Curb Appeal
First impressions dictate how people perceive your entire house. When someone walks up to your home, they make subconscious judgments about its value within seconds. Upgrading your entryway is one of the most cost-effective quick home renovation ideas you can execute.
“A well-designed entryway sets the tone for the rest of the house, offering a welcoming embrace before you even step inside.” — Nate Berkus, Interior Designer
Transform the Front Door
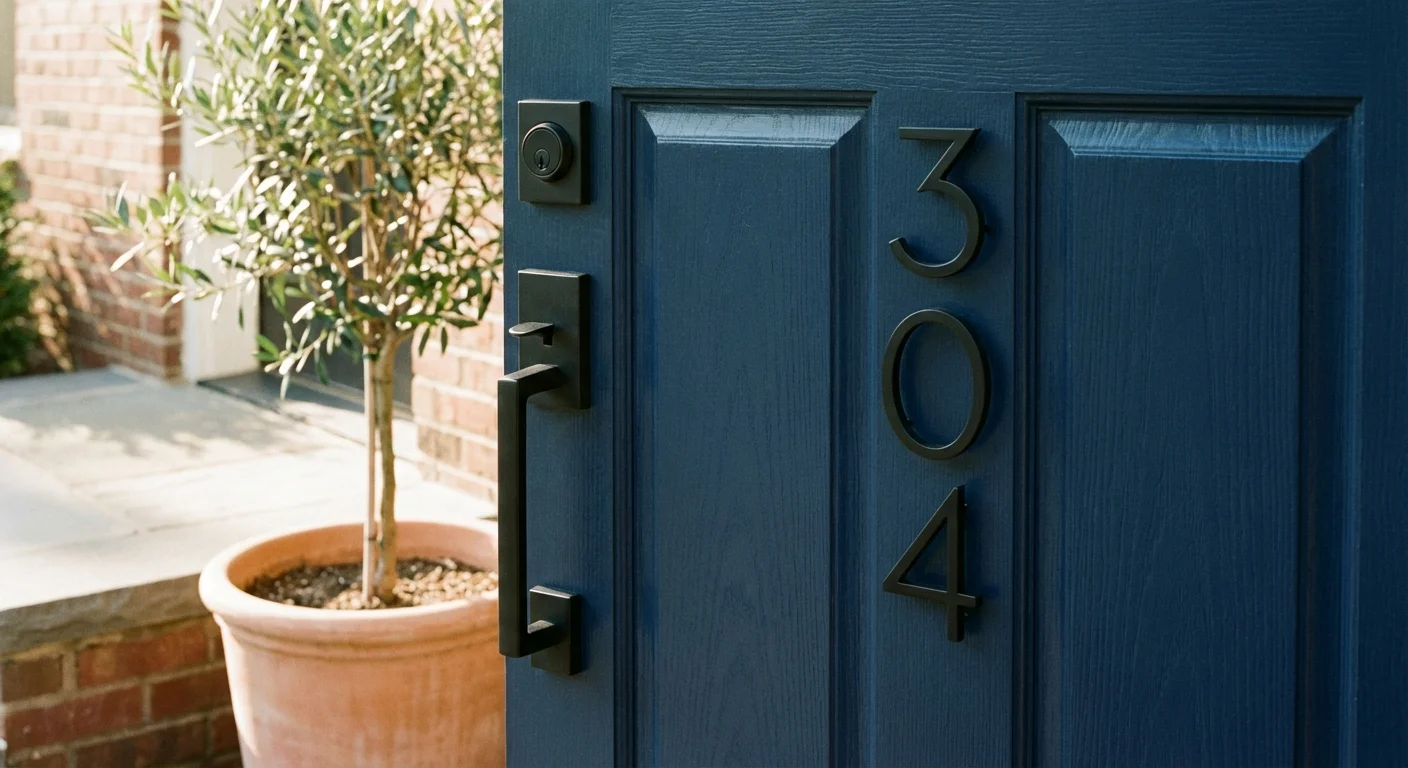
Replacing a front door is expensive; painting it costs less than fifty dollars. A bold, fresh color—like deep navy, classic charcoal, or vibrant rich red—creates an immediate focal point. To achieve a professional finish, follow these steps:
- Remove the hardware: Take off the doorknob, deadbolt, and knocker. Do not try to tape around them; removing them ensures a clean, factory-like finish.
- Prep the surface: Wash the door thoroughly with a degreaser. Once dry, sand it lightly with 120-grit sandpaper to rough up the old finish so the new paint adheres properly.
- Apply the right paint: Use an exterior-grade, fade-resistant paint in a semi-gloss finish. Semi-gloss reflects light beautifully and is easy to wipe clean. Apply a high-quality primer first if you are making a drastic color change.
- Paint systematically: If your door has panels, paint the recessed areas first, followed by the horizontal rails, and finally the vertical stiles.
Upgrade the Hardware and Numbers
Once your freshly painted door dries, do not reinstall pitted, tarnished hardware. Invest in a new, heavy-duty handle set. Matte black, brushed brass, and satin nickel remain top choices for modernizing an exterior. Swap out your faded house numbers for large, architectural numbers that are easily visible from the street. These small touches signal quality and attention to detail.
Install Strategic Outdoor Lighting
A well-lit exterior looks safer, more expensive, and more inviting. If you have existing hardwired fixtures that look dated, swapping them out for modern lanterns is a straightforward electrical task you can complete in an hour—just ensure you turn off the breaker first. If you want to illuminate your garden path or highlight architectural features without running new wiring, install high-quality solar LED landscape spotlights. Position them to shine upward onto the front of your house or the trunks of large trees.
Refresh the Kitchen Without a Full Renovation
Real estate experts universally agree that kitchens sell houses. While a full kitchen remodel requires tens of thousands of dollars and months of disruption, you can dramatically improve the space over a single weekend.
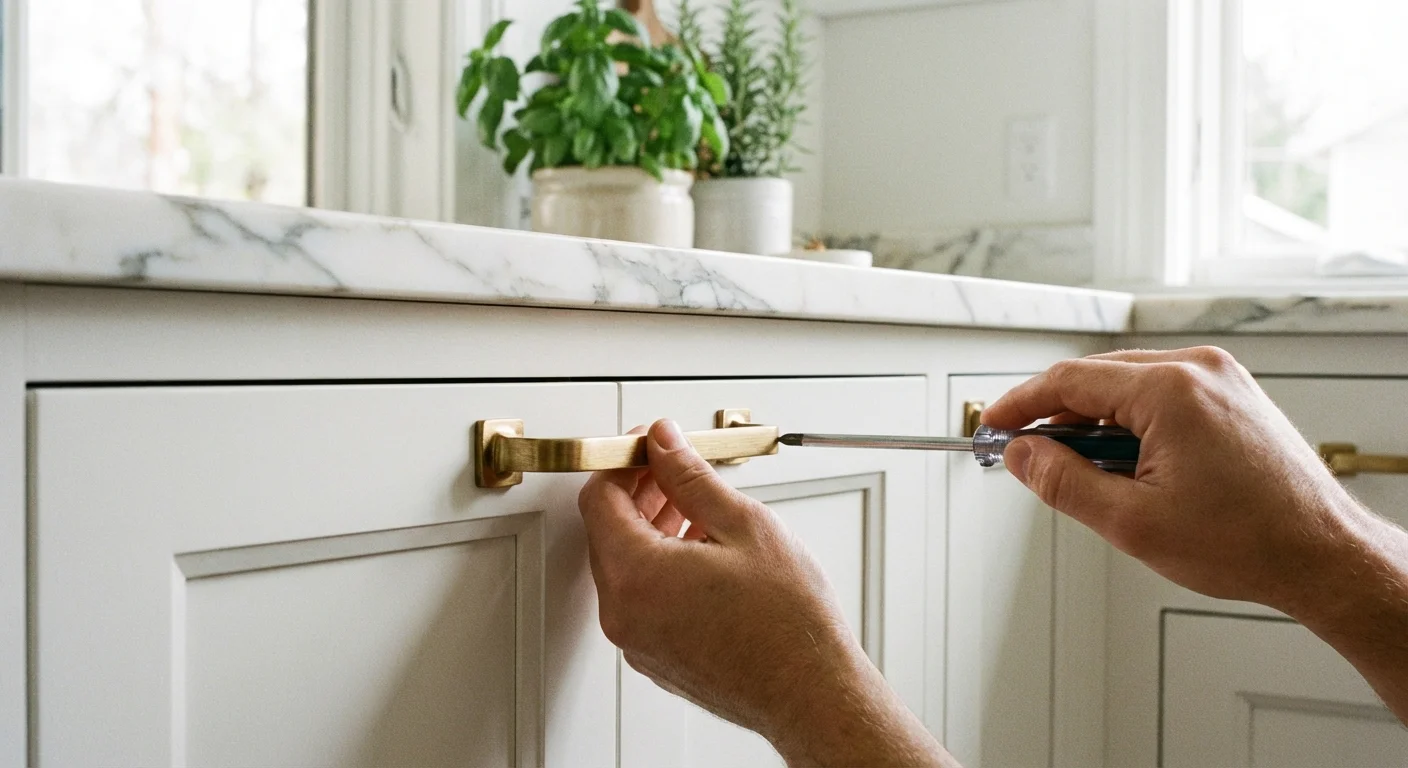
Swap Out Cabinet Hardware
Changing your cabinet pulls and knobs is the equivalent of adding jewelry to an outfit. If your kitchen currently features builder-grade round wooden knobs or dated polished brass from the nineties, modernizing them will instantly lift the room.
- Measure precisely: If you are replacing existing handles, measure the distance between the two screw holes (the “center-to-center” measurement) to ensure your new hardware fits the existing holes perfectly.
- Use a template: If you are drilling new holes for pulls, buy a plastic cabinet hardware template. This inexpensive tool ensures every handle aligns perfectly, preventing costly mistakes on your cabinet doors.
Install a Peel-and-Stick or Simple Tile Backsplash
A bare painted wall behind a sink or stove feels unfinished. Adding a backsplash protects your walls from moisture and grease while injecting personality into the kitchen. If you are comfortable using a wet saw and applying mastic, setting subway tile is a manageable weekend project. For an even faster transformation, modern peel-and-stick tiles have evolved significantly. Premium vinyl options mimic the look and texture of real ceramic or glass without the need for thinset mortar or grout. They wipe clean effortlessly and can be cut with heavy-duty utility scissors.
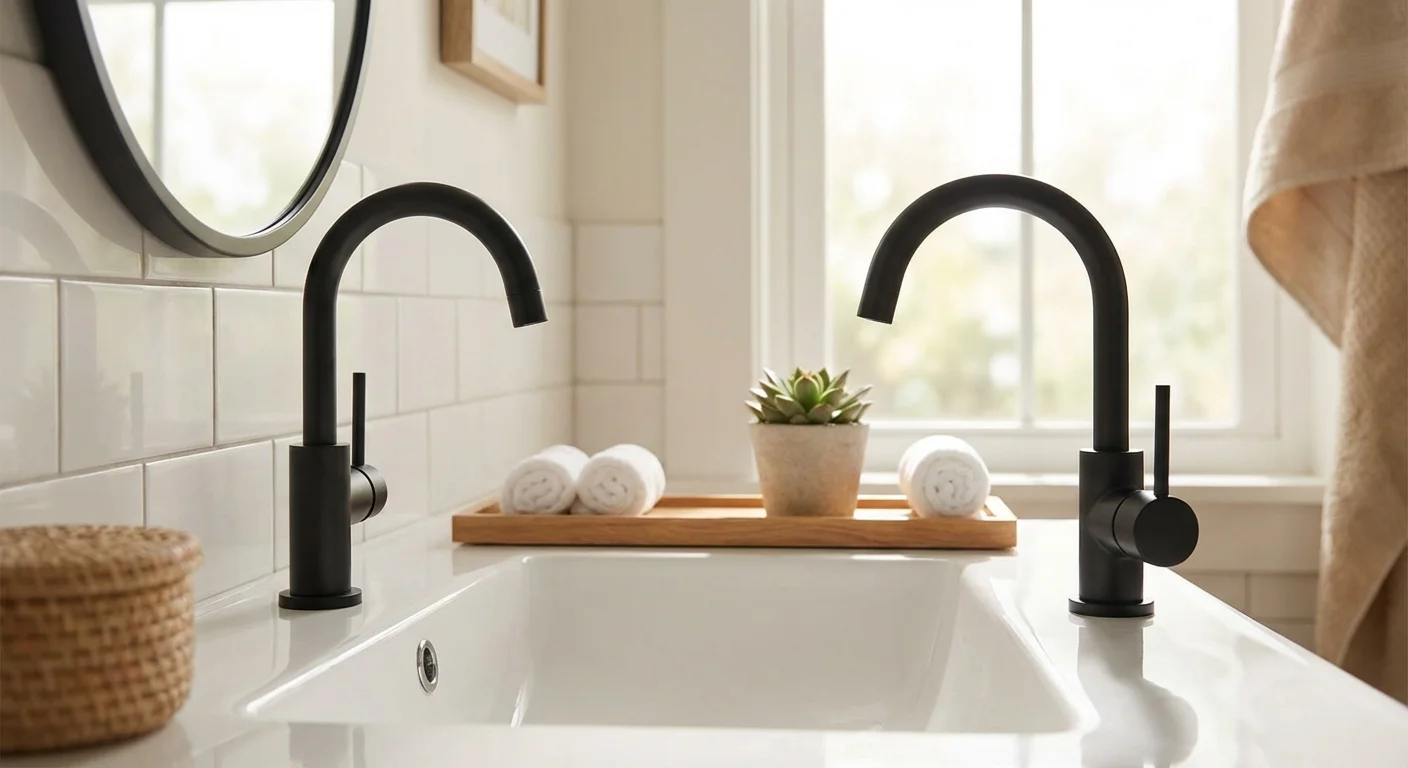
Upgrade the Kitchen Faucet
A sleek, high-arc faucet with a pull-down sprayer makes washing dishes easier and serves as a striking visual centerpiece. Manufacturers design modern faucets specifically for DIY installation. Before you begin, clear everything out from under the sink, set down a towel, and grab a bucket and a basin wrench. Turn off the hot and cold water supply valves, disconnect the old lines, and follow the manufacturer’s instructions to secure the new fixture. For comprehensive guides on plumbing basics and avoiding leaks, consult trusted resources like This Old House.
Bathroom Upgrades That Punch Above Their Weight
Bathrooms are intimate spaces where cleanliness and comfort are paramount. Buyers scrutinize bathrooms heavily, looking for signs of water damage or deferred maintenance. A weekend spent modernizing your bathroom yields an excellent return on investment.
“If you want a quick return on investment, focus on the kitchen and bathrooms. Even minor cosmetic updates can make a massive difference in how buyers perceive the home’s overall condition.” — Remodeling Magazine Cost vs. Value Data
Frame the Builder-Grade Mirror
Large, unframed mirrors glued to the wall scream “builder-grade.” You do not need to pry the mirror off the wall—which often results in shattered glass and damaged drywall. Instead, build a frame directly over the existing mirror. You can purchase pre-cut mirror framing kits online, or you can buy basecap molding from your local hardware store, paint it, and affix it to the perimeter of the mirror using construction adhesive formulated specifically for mirrors.
Replace the Showerhead
Few things improve your daily routine quite like a luxurious shower experience. Unscrew your crusty, low-pressure showerhead and replace it with a modern rainfall showerhead or a multi-function wand. Clean the threads on the shower arm, wrap them clockwise with fresh plumber’s tape (Teflon tape) three times, and twist on the new fixture. It takes ten minutes, costs under a hundred dollars, and makes your bathroom feel like a spa.
Regrout and Recaulk for a Spotless Finish
Yellowing, cracked caulk or mildew-stained grout instantly ages a bathroom. Removing old caulk and applying a fresh bead of 100-percent silicone caulk around the tub and sink seals out moisture and brightens the space. If your floor or shower wall grout looks dingy, use a grout saw or a rotary tool to carefully remove the top layer of the old grout, then apply fresh grout. Alternatively, a high-quality grout paint and sealer can completely recolor existing grout lines in a single afternoon.

Enhance Interior Lighting and Ambience
Lighting profoundly impacts how a room feels. Spaces that are too dark feel cramped; spaces illuminated by harsh, blue-toned bulbs feel clinical. Updating your lighting strategy is one of the most effective DIY home value boosters available.
Swap Outdated Light Fixtures
That frosted glass “boob light” in the center of your hallway or bedroom is doing your home no favors. Replacing flush-mount fixtures with sleek drum shades, semi-flush modern designs, or small chandeliers elevates the design vocabulary of your home. Always turn off the power at the main breaker box before touching any electrical wires. Use a non-contact voltage tester to verify the power is completely off. If you are unsure about the wiring, this is the time to call an electrician.
Add Dimmer Switches
Dimmer switches give you total control over the mood of a room. Installing them in the dining room, living room, and bedrooms allows you to transition from bright, task-oriented lighting during the day to a soft, relaxing glow in the evening. Ensure you purchase dimmer switches that are compatible with LED bulbs to prevent flickering or buzzing.

Boost Efficiency and Smart Home Features
Modern buyers look for homes that run efficiently. Upgrading your home’s technology and energy retention not only appeals to the market but lowers your monthly utility bills immediately.
Install a Smart Thermostat
Smart thermostats learn your schedule, allow you to adjust the temperature from your smartphone, and significantly reduce energy consumption. Installation typically takes less than forty-five minutes. Most systems guide you through the process step-by-step, including taking a photo of your existing wiring before you disconnect the old unit. Make sure your system has a “C-wire” (common wire), which provides continuous power to the smart unit; if it does not, most top-tier brands include an adapter kit.
Weatherstrip and Seal Drafts
Drafty windows and doors force your HVAC system to work overtime. Spend a Saturday afternoon inspecting the perimeter of your home. Apply weatherstripping tape to the interior tracks of loose windows. Replace the sweeping gasket at the bottom of your exterior doors. Use an exterior-grade sealant to caulk gaps between your window frames and the siding. The Energy Star program notes that sealing drafts can save homeowners up to 20 percent on heating and cooling costs.
Revitalize Your Walls with Purpose
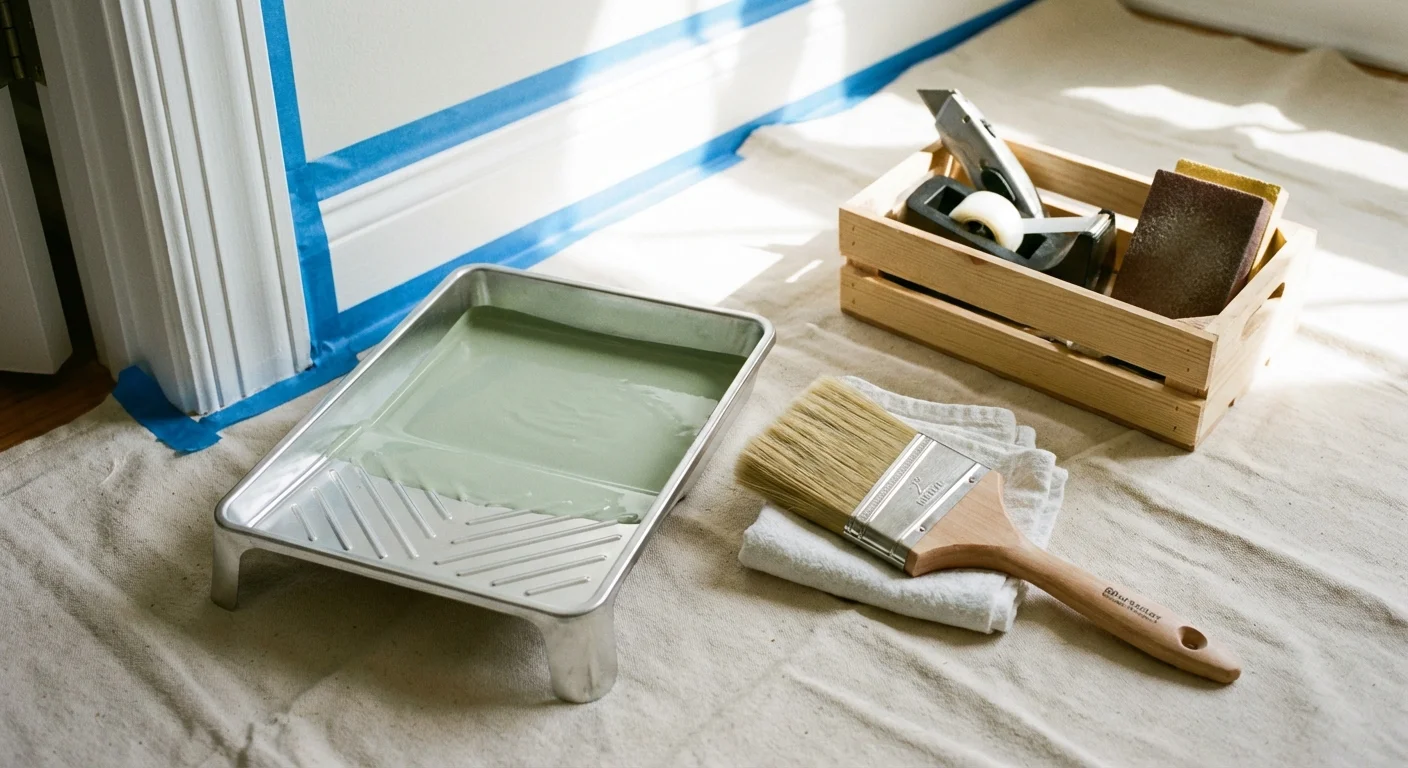
We cannot discuss weekend home improvement projects without mentioning paint. It remains the undisputed champion of home transformation.
To ensure your hard work looks its best, learn how to paint your walls like a professional before starting your first coat.
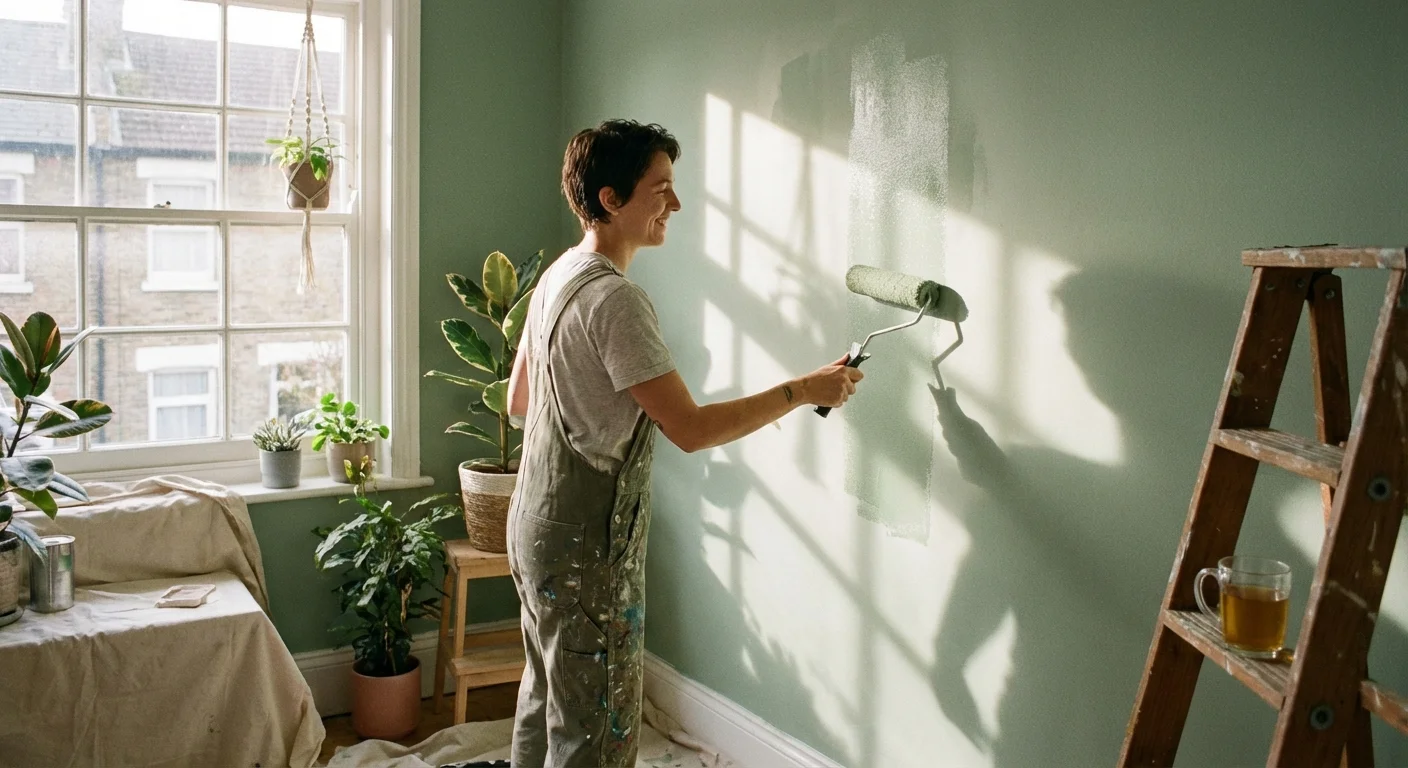
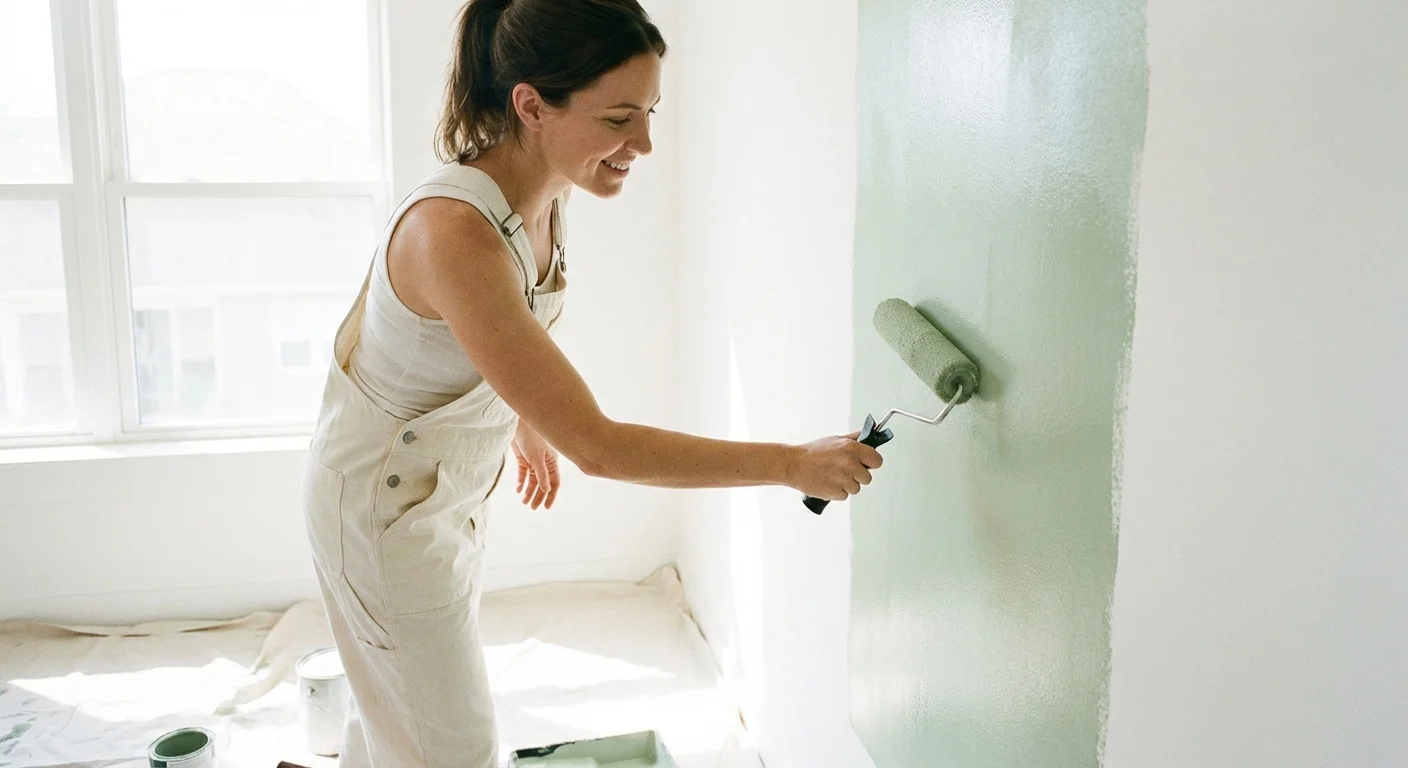
Paint Strategic Accent Walls
If painting an entire room feels too ambitious for a weekend, focus on a single accent wall. Choose the wall that naturally draws the eye—usually the one anchoring the bed, the fireplace, or the primary sofa. Deep greens, warm terracottas, and rich charcoals are highly popular right now. Use high-quality painter’s tape to protect your baseboards and ceiling, and invest in an angled sash brush for clean edges.
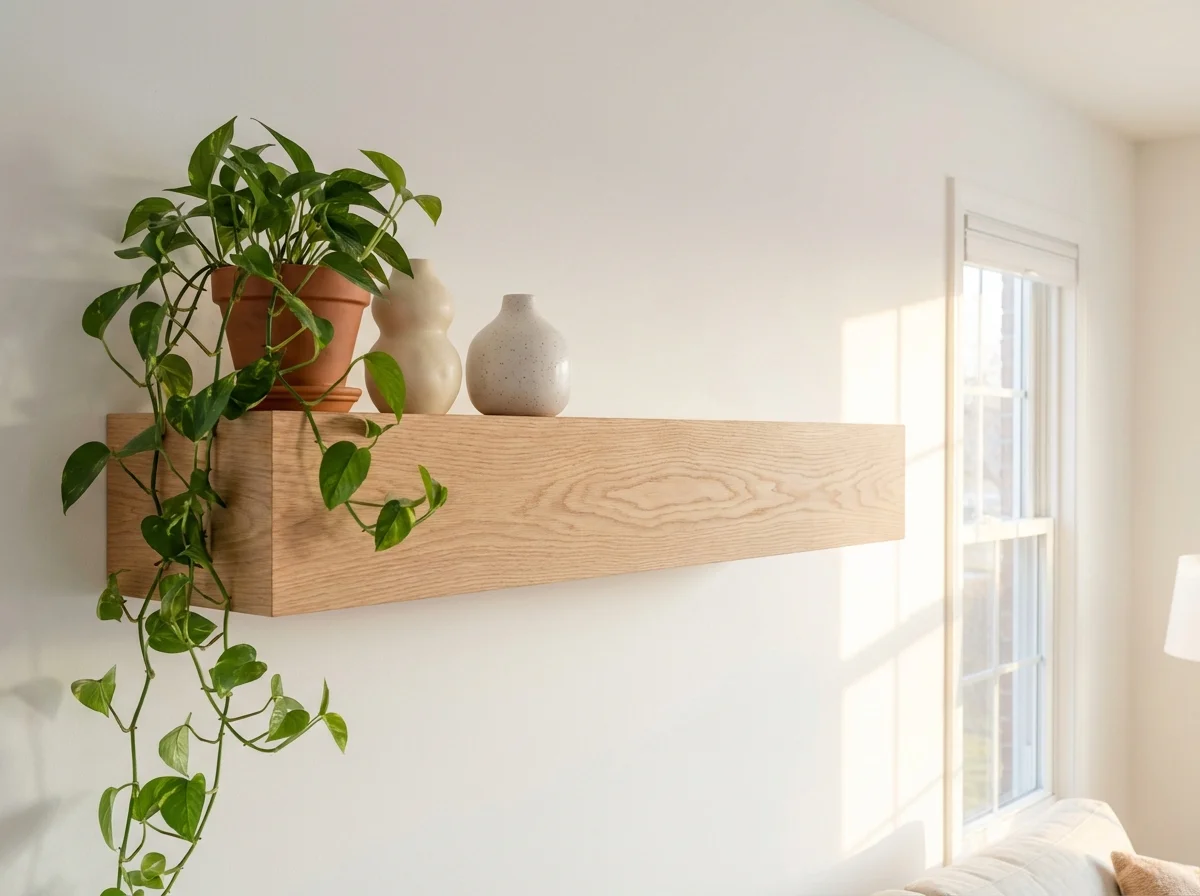
Add Architectural Interest with Molding
Flat, bare walls lack dimension. Adding picture molding, a chair rail, or board-and-batten paneling brings instant architectural character to a plain dining room or hallway. You can achieve this easily with pre-primed MDF boards, a brad nailer, a level, and some construction adhesive. Once installed, caulk all the seams and paint the molding and the wall the same color for a sophisticated, custom-built look.
Comparing ROI: Which Projects Pay Off?
To help you prioritize your weekend tasks, consider how different projects stack up regarding time commitment, financial outlay, and overall return on investment. The following table breaks down typical expectations for these popular upgrades.
| DIY Project | Estimated Time | Estimated Cost | Value Added (ROI) | Impact Level |
|---|---|---|---|---|
| Painting Front Door | 4-6 hours | $40 – $80 | High (Curb Appeal) | Visual / Exterior |
| Cabinet Hardware Swap | 2-4 hours | $100 – $300 | Moderate-High | Visual / Kitchen |
| Installing Smart Thermostat | 1 hour | $130 – $250 | High (Energy Savings) | Functional / Efficiency |
| Replacing Showerhead & Caulk | 2-3 hours | $50 – $150 | Moderate | Functional / Bathroom |
| Adding Board & Batten Molding | 12-16 hours | $150 – $400 | High (Architectural) | Visual / Interior |
| Swapping Light Fixtures | 1-2 hours per fixture | $100+ per fixture | Moderate-High | Visual / Ambiance |
Note: Cost estimates vary based on the quality of materials selected and regional pricing differences.
Pitfalls to Watch For
Even the most approachable DIY projects can derail if you rush the process. Protect your time and your property by avoiding these common mistakes.
- Skipping the Prep Work: Painting over dirty, glossy surfaces guarantees peeling. Applying caulk over old, moldy caulk ensures the new seal will fail. Eighty percent of a successful DIY finish relies on the cleaning, sanding, and taping you do before the main event begins.
- Using the Wrong Products: Not all paints and adhesives are created equal. Using interior paint on a front door will result in fading and chipping within months. Using standard wall grout in a high-moisture shower area will lead to water damage. Always read the manufacturer’s label to ensure the product matches your specific application.
- Underestimating Dry Times: Projects like painting or caulking require adequate curing time. If you close a freshly painted front door before it fully cures, it will stick to the weatherstripping and peel the paint right off the wood. Plan your weekend timeline around the required drying phases.
- Forgetting to Turn Off the Mains: Never assume a light switch being “off” means the wire is dead. Always turn off the breaker for the specific room you are working in, and shut off the main water valve under the sink before unthreading any plumbing connections.

Getting Expert Help
Knowing your limits is a crucial part of being a successful DIYer. While weekend projects build confidence, certain scenarios require a licensed professional to ensure safety and code compliance. For deeper insights into home maintenance and when to hire a pro, you can consult Family Handyman or similar expert publications.
Call a professional if you encounter the following situations:
- Electrical Panel Work: Swapping a light fixture is manageable; running a new circuit, upgrading your electrical panel, or dealing with ungrounded knob-and-tube wiring requires a licensed electrician.
- Moving Plumbing Lines: Replacing a faucet or a showerhead is a great DIY task. However, if you want to move the location of the sink, tub, or toilet, you need a plumber to handle the complex venting and drainage requirements.
- Structural Changes: Never remove a wall to create an open concept without consulting a structural engineer or a licensed contractor. Removing a load-bearing wall can cause catastrophic damage to the structural integrity of your roof and upper floors.
- Extensive Mold or Rot: If you pull up old bathroom caulk and find soft, crumbling drywall or extensive black mold, stop immediately. You have an active leak that requires professional remediation and repair.
Frequently Asked Questions
Do I need a permit for minor weekend DIY projects?
Generally, cosmetic upgrades like painting, changing flooring, replacing existing light fixtures, or swapping out faucets do not require a permit. However, if your project involves moving plumbing, altering structural walls, or running new electrical wire, a permit is likely required. Always check your local municipal building codes before starting.
What is the highest ROI weekend project I can do?
Improving curb appeal consistently yields the highest return on investment. Painting the front door, upgrading exterior hardware, and maintaining the landscaping cost very little but significantly influence a buyer’s perceived value of the home.
How do I know if my existing wiring can handle a smart thermostat?
Pop the faceplate off your current thermostat. If you see a wire labeled “C” (Common wire) attached to the terminal, your system is already equipped to power a smart thermostat. If not, look for an extra, unused wire tucked into the wall; you may be able to connect it to the C-terminal on your furnace. If no extra wire exists, look for a smart thermostat model that includes a power adapter kit.
Can I paint over my dated kitchen cabinets in a single weekend?
Painting kitchen cabinets properly is highly labor-intensive and usually takes more than one weekend to do correctly. It requires removing doors, deep cleaning with a deglosser, sanding, priming, painting multiple coats, and allowing proper curing time. For a single weekend, focus on changing the hardware instead.
Your home is a living, breathing space that should adapt to your needs and reflect your style. By dedicating a weekend to these focused, manageable projects, you bridge the gap between your current space and your dream home. You do not need to wait for a massive budget to make meaningful improvements. Grab your tools, pick a project from this list, and start building equity and comfort today.
This guide provides general home improvement information. Every home is different—what works in one space may need adaptation in yours. For structural changes or electrical/plumbing work, consult a licensed professional.
Last updated: February 2026


Leave a Reply