
Did you know a refrigerator with dusty condenser coils can consume up to 30 percent more electricity than a clean one? Every day, your household appliances work tirelessly to keep your food safe, your clothes fresh, and your dishes sanitary. Yet, the very machines we rely on to clean our homes are frequently the last items on our weekly chore list. Ignoring them does more than just create a gross environment; it forces their motors to work harder, drives up your utility bills, and significantly shortens their lifespan.
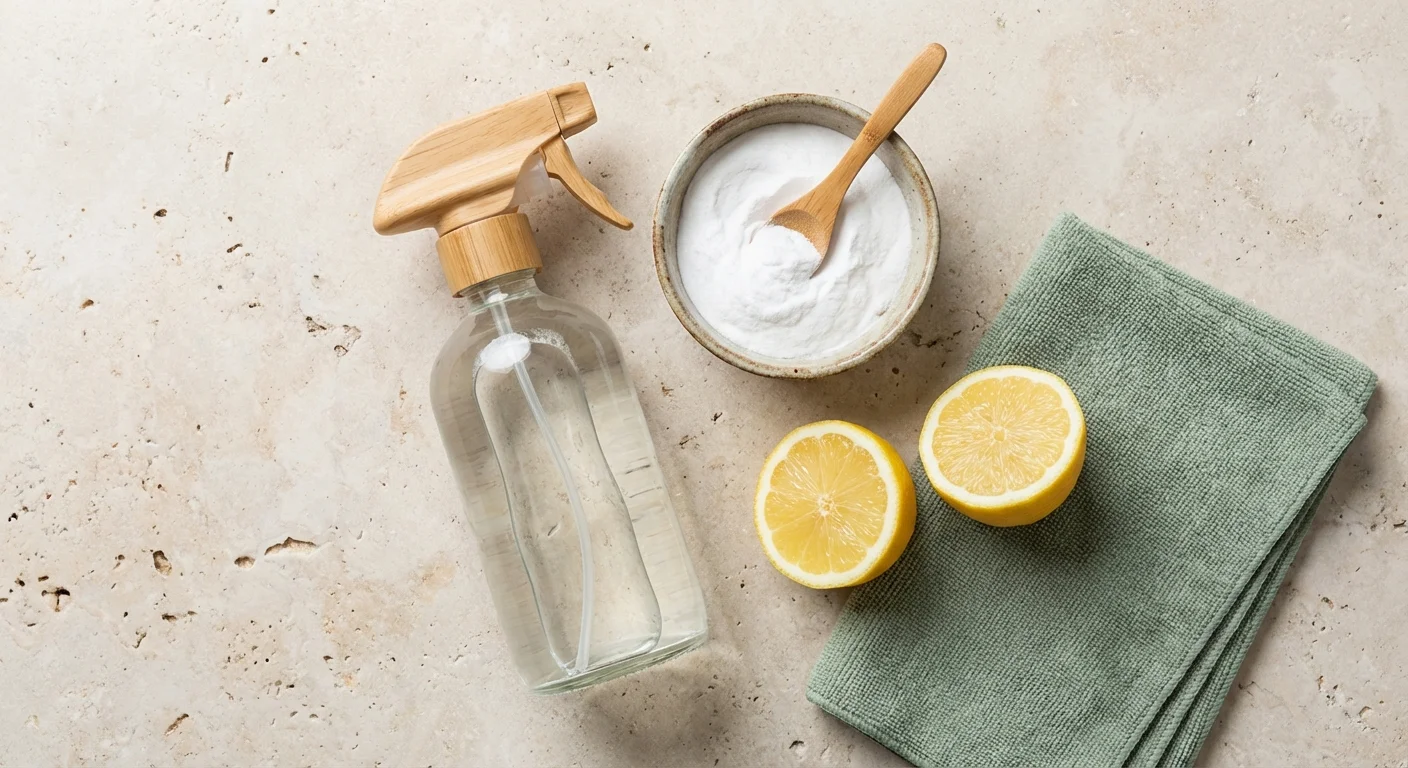
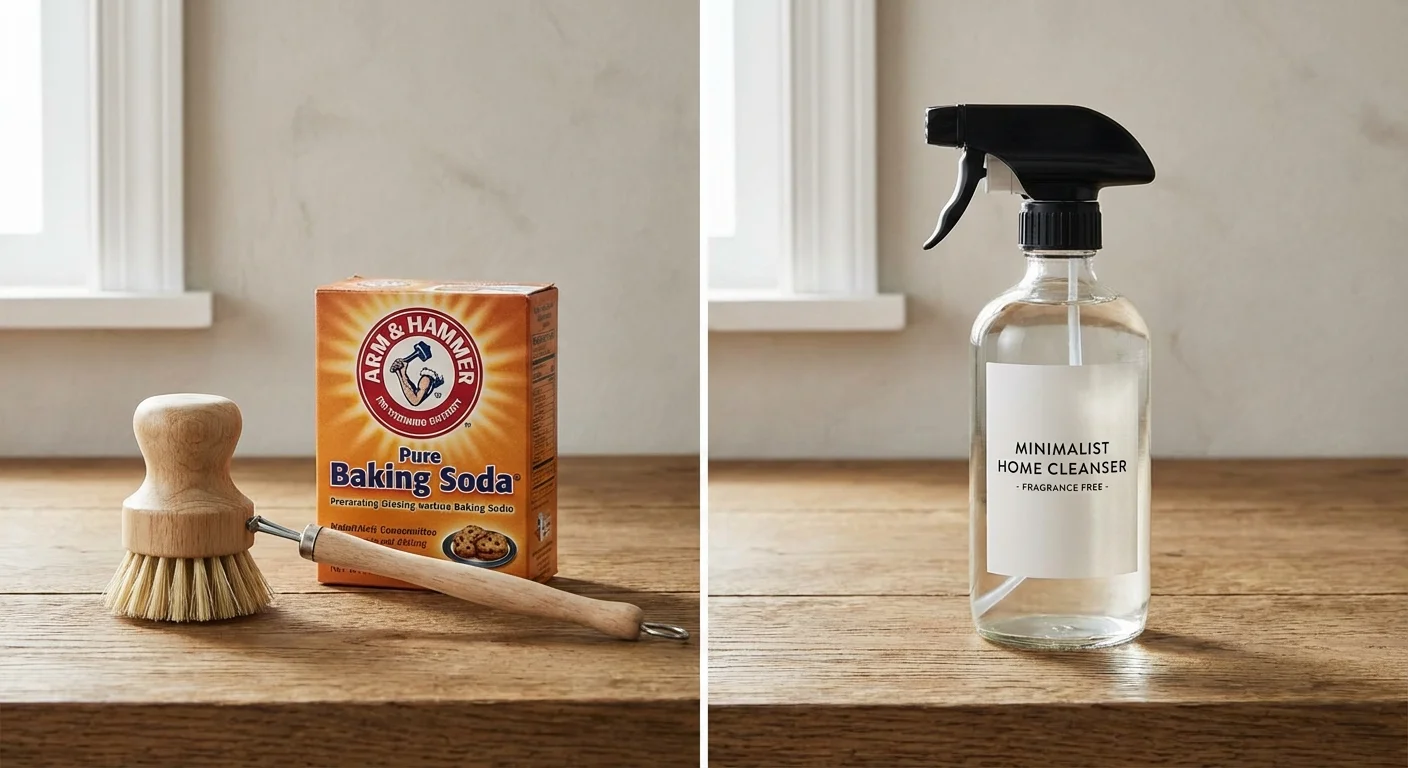
A comprehensive appliance cleaning guide changes how you approach kitchen and laundry maintenance. You do not need a cabinet full of expensive, highly toxic chemicals to keep your home running smoothly. With a few basic supplies—like white vinegar, baking soda, dish soap, and a reliable microfiber cloth—you can restore your major appliances to peak condition. Whether you are dealing with baked-on oven grease, a dishwasher that leaves a funky residue on your glassware, or a washing machine that smells faintly of mildew, the right techniques make the job straightforward and highly satisfying.
At a Glance: The Essentials
- Routine is everything: Wipe down exteriors weekly, tackle filters monthly, and perform a deep internal clean twice a year.
- Heat is the enemy of electronics: Avoid using self-cleaning oven cycles right before major holidays, as the extreme heat frequently blows thermal fuses.
- Airflow equals efficiency: Vacuuming refrigerator coils and clearing dryer vents are critical safety and energy-saving measures.
- Skip the harsh chemicals: Baking soda and vinegar safely dissolve grease and mineral buildup without damaging sensitive appliance seals.

The Kitchen Workhorse: How to Deep Clean Your Refrigerator
Your refrigerator is the only major appliance in your home that runs twenty-four hours a day, seven days a week. Keeping it clean ensures your food stays safe and your energy bills remain low. To effectively deep clean refrigerator compartments and mechanical parts, you need to address both the interior food zones and the exterior mechanical components.
If your unit is struggling even after cleaning, it might be time to check out the best energy-efficient appliances of 2026 for a high-performance replacement.
These tasks are the perfect foundation for a broader spring cleaning room-by-room guide to refresh your entire home.
Start with the mechanics. Pull the refrigerator away from the wall—you might need a second person to help guide it evenly to avoid scratching your floors. Unplug the unit. Locate the condenser coils; on older models, they sit on the back, while newer models house them behind a kickplate at the bottom front. Use a vacuum with a narrow crevice attachment to gently remove dust, pet hair, and lint. Energy Star notes that keeping these coils clean allows the compressor to release heat efficiently, preventing the motor from burning out prematurely.
Next, tackle the interior. Empty the entire contents of your fridge onto your counters, using this opportunity to toss expired condiments and mystery leftovers. Remove all drawers and shelves. Crucial tip: If your shelves are made of glass, let them sit at room temperature for at least thirty minutes before washing them in warm water; shocking cold glass with hot water will cause it to shatter instantly.
Wash the interior walls with a mixture of two tablespoons of baking soda dissolved in one quart of warm water. This solution cuts through sticky spills and naturally absorbs lingering food odors without leaving a chemical fragrance behind. Pay special attention to the rubber door gasket. Crumbs and sticky residues collect in the accordion folds of the seal, preventing the door from closing flush. Scrub the gasket gently with an old toothbrush dipped in warm soapy water, dry it thoroughly, and apply a very light coating of petroleum jelly to keep the rubber supple.
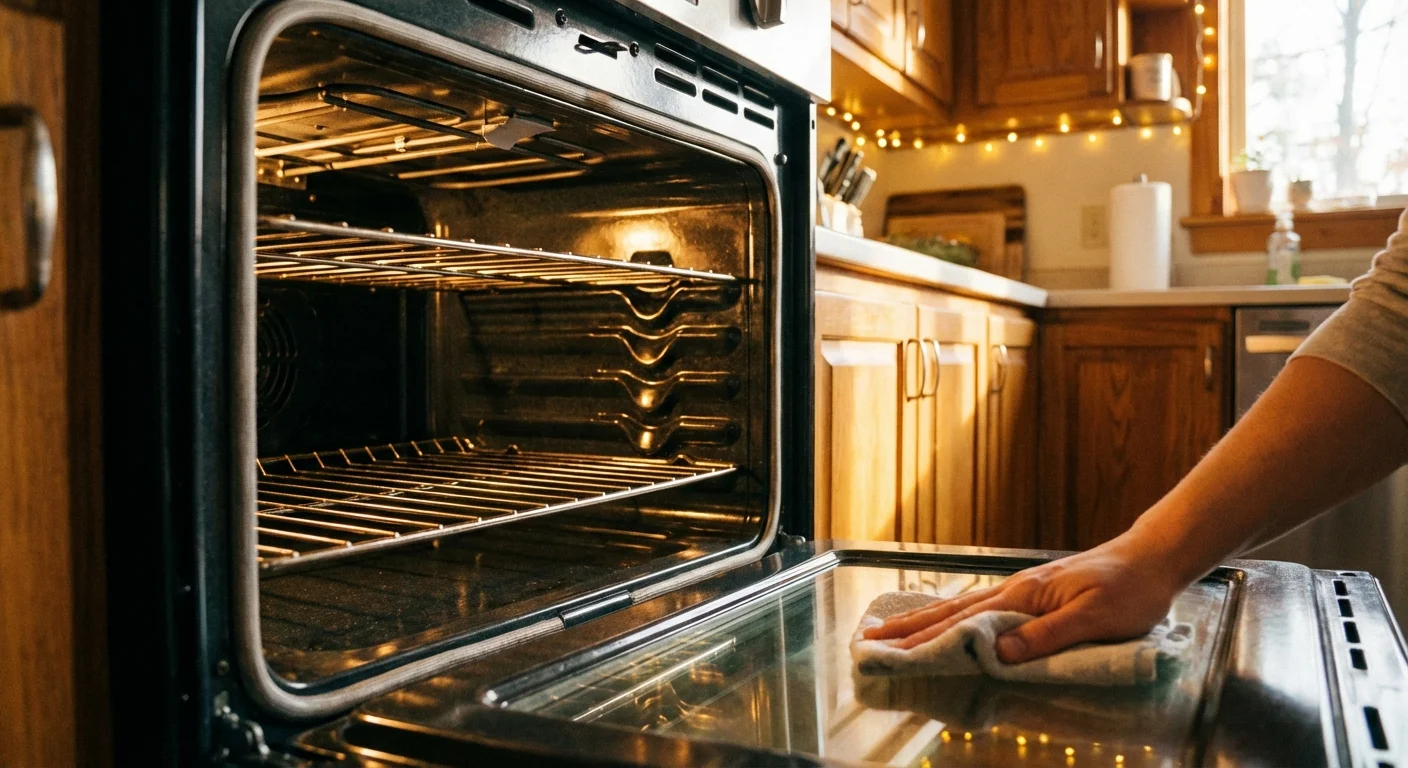
Banishing Baked-on Grease: How to Clean Your Oven
If your oven emits a faint smell of burning smoke every time you preheat it to 400 degrees, it is time for a deep clean. Many homeowners rely heavily on the high-heat self-cleaning function, but appliance repair technicians frequently advise against it. The self-cleaning cycle superheats the oven to over 900 degrees Fahrenheit, turning food soil to ash. Unfortunately, this extreme heat can warp racks, fry electronic control boards, and emit noxious fumes into your kitchen.
Learning how to clean oven interiors manually is safer and extends the life of your heating elements. The most effective method utilizes the power of alkaline cleaning.
Remove the oven racks and soak them in your bathtub. Place an old towel at the bottom of the tub to prevent scratching the porcelain, lay the racks flat, and submerge them in very hot water with a half-cup of powdered dishwasher detergent. Let them soak overnight; the grease will rinse right off the next morning.
For the oven interior, mix a half-cup of baking soda with just enough water to form a spreadable paste. Coat the bottom, sides, and glass door of the oven, avoiding the bare metal heating elements. Let the paste sit for at least twelve hours. As it rests, the baking soda breaks down the complex polymers in the baked-on grease. The next day, wipe out the dried paste with a damp microfiber cloth. For stubborn spots, spritz a little white vinegar over the remaining baking soda. The ensuing chemical reaction lifts the final traces of carbonized food. Use a flat razor blade scraper held at a 45-degree angle to safely shave off any hardened grease on the glass door.

Refreshing the Wash: Dishwasher Cleaning Tips
It seems counterintuitive that a machine designed entirely for washing would need to be washed itself. However, dishwashers trap food particles, grease, soap scum, and hard water minerals. If your glasses are coming out cloudy or the appliance emits a swampy odor when you open the door, it needs immediate attention.
The most vital of all dishwasher cleaning tips involves the filter. Most modern dishwashers use manual filters rather than hard food disposers to keep the machines quiet. Locate the cylindrical filter at the bottom of the tub beneath the lower spray arm. Twist it counterclockwise to unlock and pull it out. Wash it under warm running water using a soft brush and dish soap to remove grease and trapped food matter. Do this once a month.
Next, inspect the spray arms. Hard water scales and tiny food particles frequently clog the water jets. Spin the arms manually to ensure they move freely, and use a wooden toothpick to poke any debris out of the individual spray holes. Never use a metal wire, as it can scratch the plastic and alter the spray pattern.
To descale and deodorize the interior tub, use a simple two-part wash cycle:
- The Vinegar Wash: Place a glass measuring cup filled with two cups of distilled white vinegar on the top rack of the empty dishwasher. Run a heavy, hot water cycle. The acidic vinegar dissolves hard water minerals and sanitizes the interior walls.
- The Baking Soda Rinse: Once the first cycle finishes, sprinkle one cup of baking soda across the bottom of the dishwasher tub. Run a short, hot water cycle. This step neutralizes lingering odors and brightens the stainless steel or plastic tub.
Finish by wiping down the rubber seal around the door opening with a damp cloth, as this area sits outside the wash zone and frequently harbors mold.
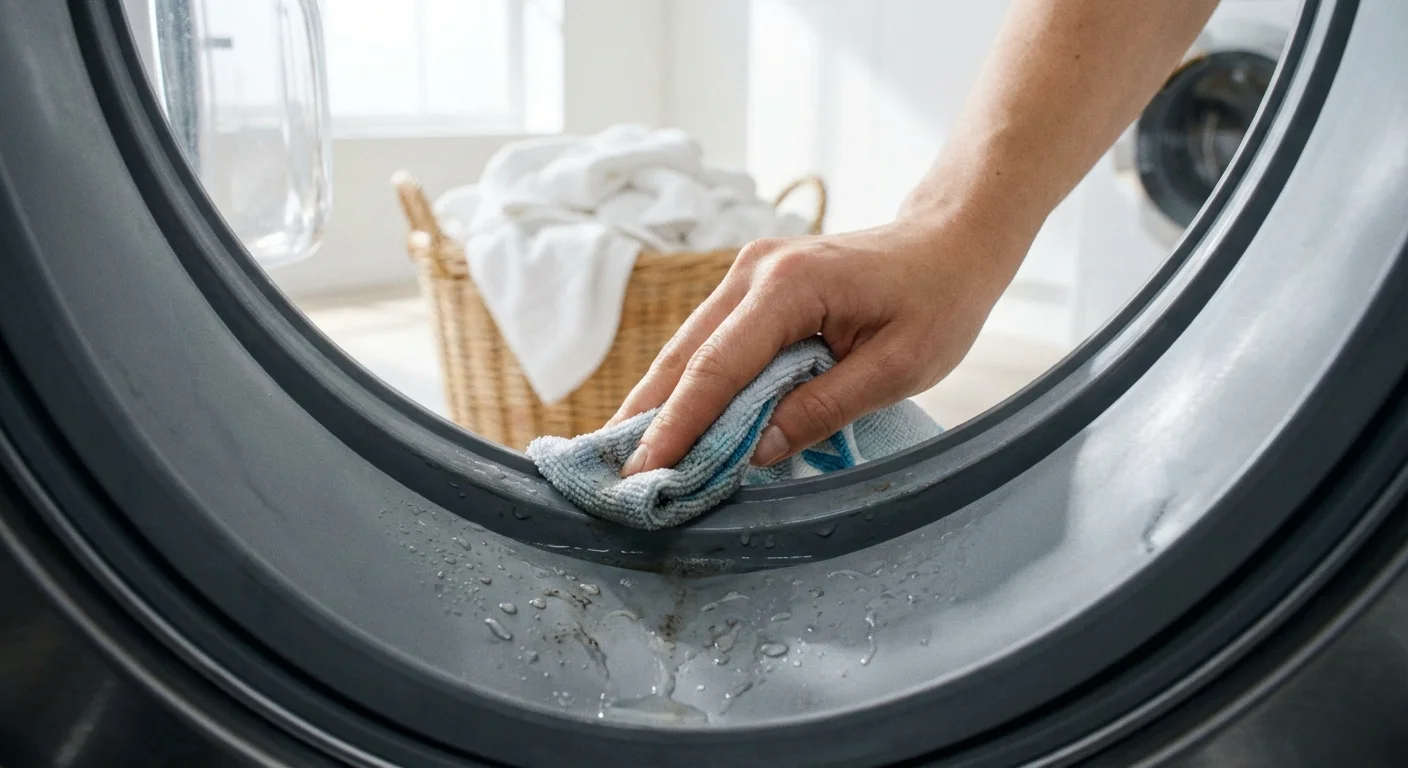
The Laundry Room Rescues: Washing Machine Maintenance
A washing machine tackles our dirtiest garments, but the dark, damp environment inside the drum is the perfect breeding ground for mold and mildew. Proper washing machine maintenance protects your clothes from developing a sour, musty smell and keeps the mechanical drain pump functioning correctly.
Staying consistent is key, so try adding these laundry tasks to your monthly home maintenance calendar to keep everything running smoothly.
Front-loading and top-loading machines require slightly different approaches, but both need regular attention.
If you own a front-loader, the thick rubber door gasket is your primary concern. After every load of laundry, water pools in the bottom fold of this seal. Pull back the gasket carefully and wipe it dry with a microfiber cloth. Once a month, wipe the entire gasket down with a solution of equal parts water and white vinegar. Always leave the washer door cracked open when the machine is not in use to allow moisture to evaporate; this single habit eliminates 90 percent of washing machine odor issues.
Remove the detergent dispenser drawer completely. Fabric softener and liquid detergent are highly viscous and leave a sticky residue behind that quickly turns into black mold. Wash the drawer in your sink with warm soapy water and use a small bottle brush to clean the cavity where the drawer sits inside the machine.
Every washing machine has a drain pump filter that catches lint, coins, hairpins, and forgotten tissues before they reach your plumbing. On a front-loader, this is usually located behind a small access panel on the bottom front of the machine. Place a shallow towel and tray underneath to catch the residual water, unscrew the filter, and clean it thoroughly. According to Consumer Reports, a clogged drain pump filter is one of the leading causes of standing water and spin-cycle failures in washing machines.
Finally, run a dedicated cleaning cycle. Select the “Tub Clean” setting or the hottest, longest cycle available. Add a specialized washing machine cleaner tablet or pour two cups of liquid bleach into the detergent dispenser. Never mix bleach and vinegar; pick one or the other to run through the empty machine.
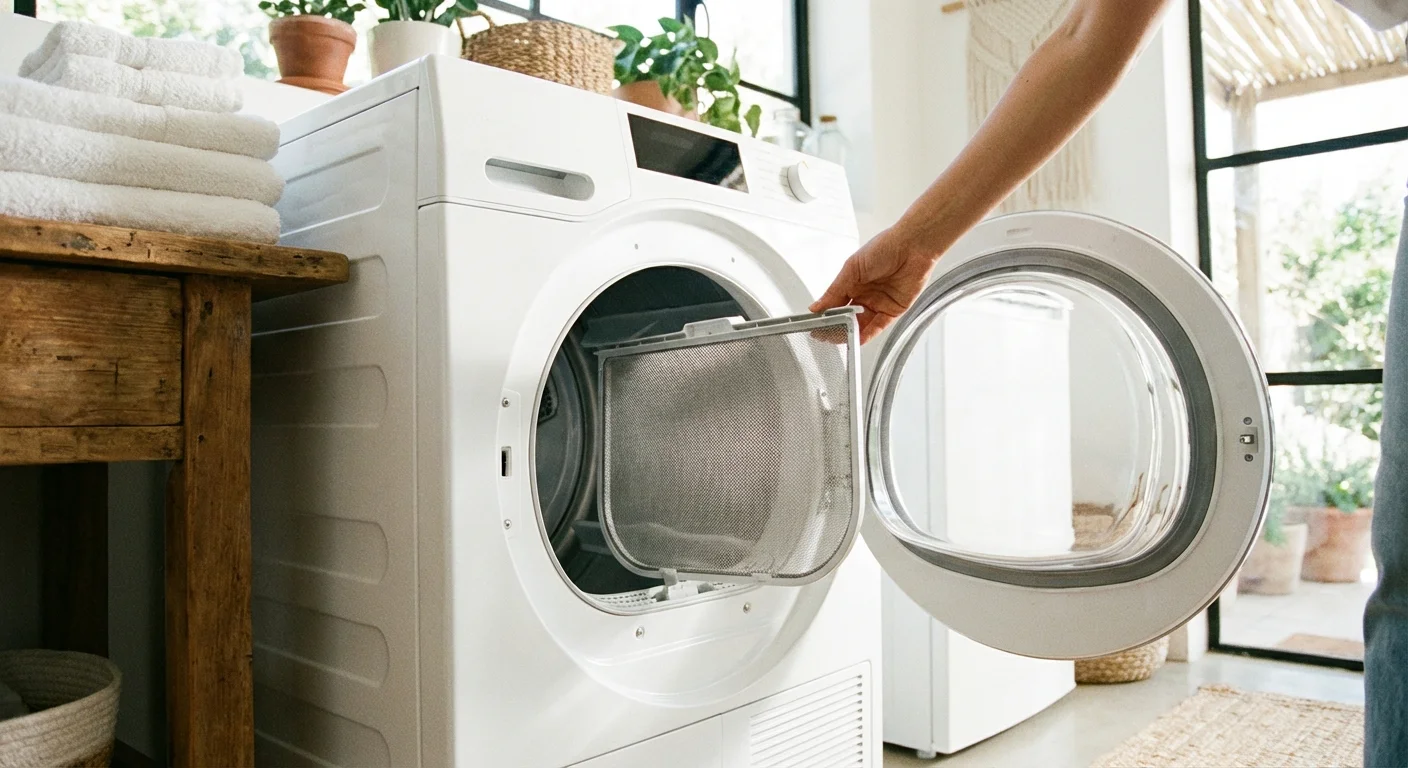
Dryer Care: Beyond the Lint Trap
Dryer maintenance is less about odor control and entirely about fire prevention and energy efficiency. While cleaning the lint screen after every single load is a mandatory habit, the screen itself requires a deeper clean every few months. If you use dryer sheets, a nearly invisible layer of chemical residue builds up on the screen’s mesh, restricting airflow. Take the screen to the sink and scrub it gently with warm water, dish soap, and a soft brush. Let it air dry completely before reinstalling it.
Inside the dryer drum, locate the moisture sensors—usually two small curved metal bars near the lint trap. These sensors tell the machine when your clothes are dry. If they are coated in fabric softener residue, the dryer will run much longer than necessary, wasting electricity and baking your clothes. Wipe these sensors down with a cotton ball soaked in rubbing alcohol.
The most critical task is cleaning the dryer vent pipe that leads to the exterior of your home. Disconnect the dryer from the wall and remove the flexible duct. Use a specialized dryer vent cleaning brush kit to sweep the pipe all the way to the exterior exhaust hood. A clogged vent traps hot, moist air inside the dryer, forces the heating element to run continuously, and serves as a major fire hazard.
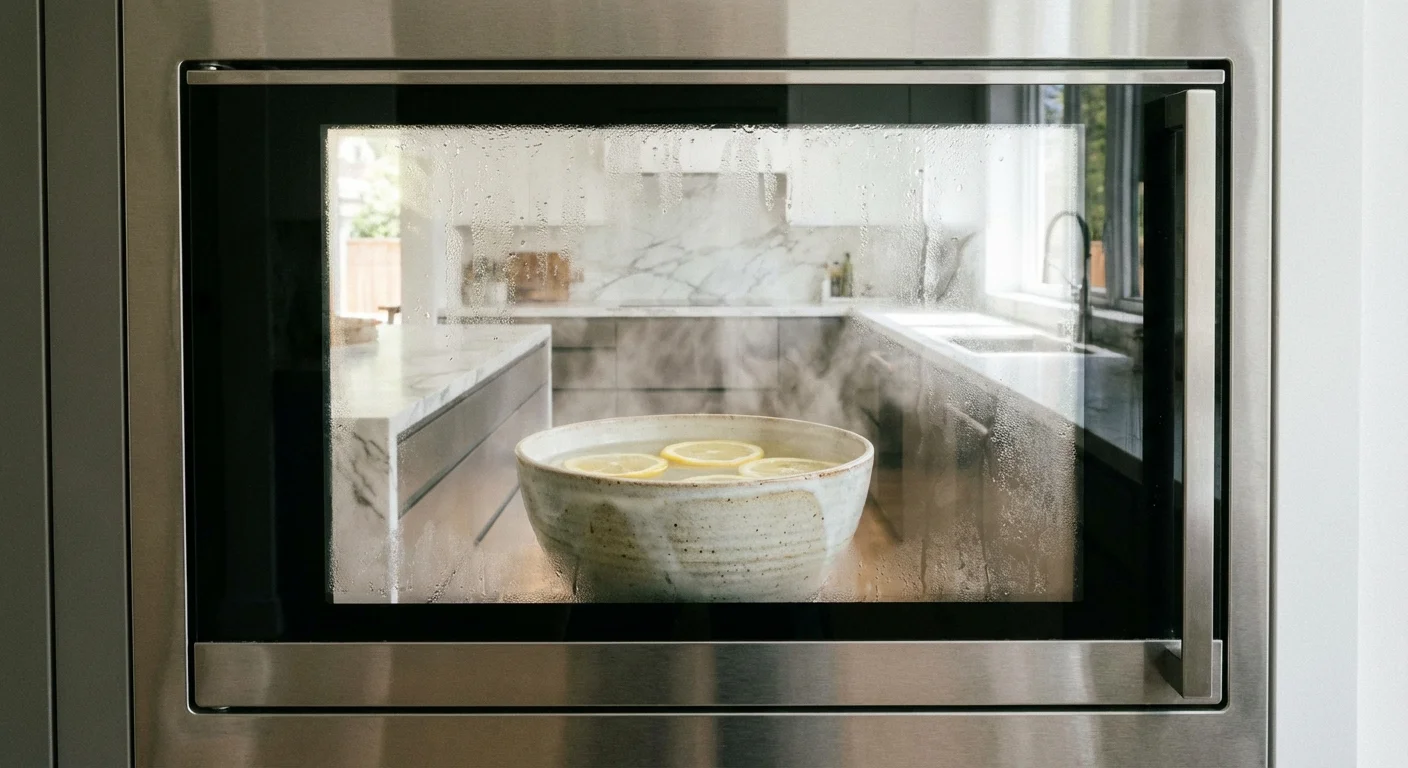
The Microwave Revamp
Microwaves suffer from explosive food splatters that bake onto the walls, creating a concrete-like crust. Scrubbing these stains cold requires immense effort and risks scratching the interior coating.
Combining these steam tricks with a natural cleaning products guide helps you maintain a toxin-free kitchen effortlessly.
Instead, use steam to do the heavy lifting. Fill a microwave-safe bowl with one cup of water and two tablespoons of white vinegar or lemon juice. Place the bowl inside and microwave it on high for five minutes, or until the water comes to a rolling boil and the window steams up. Leave the door closed for an additional five minutes. The trapped steam softens the dried-on food, allowing you to easily wipe the interior clean with a damp sponge. Remove the glass turntable and the roller ring underneath, washing them in the sink with warm soapy water.
“Caring for your appliances isn’t just about aesthetics; it’s about protecting your investment. Regular maintenance prevents the buildup of soils and minerals that cause mechanical friction, extending the useful life of these expensive household tools.” — American Cleaning Institute
Comparing Cleaning Methods: Natural vs. Commercial Solutions
When standing in the cleaning aisle, you face a wall of specialized, brightly colored bottles promising instant results. While commercial cleaners have their place, natural methods are often safer for appliance surfaces and indoor air quality. Here is a breakdown of when to use which approach:
| Appliance Surface | Natural Method | Commercial Alternative | Best Use Case |
|---|---|---|---|
| Stainless Steel Exteriors | Microfiber cloth with a drop of olive oil applied in the direction of the grain. | Aerosol stainless steel polish (e.g., Weiman). | Natural method works well for daily smudges; commercial polishes provide a longer-lasting protective barrier against fingerprints. |
| Oven Interiors | Baking soda and water paste left overnight, activated with vinegar spray. | Heavy-duty aerosol oven cleaner (lye-based). | Natural method is safest and scent-free. Commercial cleaners are best only for neglected, deeply charred ovens where baking soda fails. |
| Dishwasher Tubs | Two cups of white vinegar run on a hot, empty cycle. | Citric acid-based dishwasher cleaning tablets (e.g., Affresh). | Vinegar handles routine maintenance. Commercial tablets are superior for dissolving severe, long-term hard water scale buildup. |
| Glass Cooktops | Baking soda paste and a non-scratch scrub sponge. | Ceramic cooktop polishing cream with a razor scraper. | Commercial creams include micro-abrasives that buff out minor scratches and leave a protective sheen that baking soda cannot provide. |

What Can Go Wrong: Common Appliance Cleaning Mistakes
Even with the best intentions, improper cleaning techniques can permanently damage your appliances and void manufacturer warranties. Avoid these common pitfalls:
- Spraying electronics directly: Never spray liquid cleaners directly onto control panels, touchscreens, or dials. Liquid easily seeps behind the plastic fascia, short-circuiting the sensitive computer boards inside. Always spray your cleaner onto a microfiber cloth, then wipe the panel.
- Using abrasive scrubbers on stainless steel: Steel wool, magic erasers, and stiff brushes permanently scratch stainless steel finishes. These scratches destroy the protective chromium oxide layer, leading to visible rust spots.
- Mixing incompatible chemicals: A common and dangerous mistake is attempting to make a “super cleaner.” Never mix bleach with vinegar, ammonia, or rubbing alcohol. Doing so creates highly toxic chloramine or chlorine gas that causes severe respiratory distress.
- Neglecting the power supply: Always unplug an appliance or flip its circuit breaker before opening access panels, cleaning near heating elements, or working around internal wiring to prevent electric shock.

When to Call a Professional
Routine cleaning resolves most aesthetic and minor functional issues. However, if you notice persistent problems while performing your maintenance, it is time to stop cleaning and bring in an expert. Contact a certified appliance repair technician if you encounter the following scenarios:
- Gas odors: If you smell gas while cleaning your oven or stovetop, stop immediately. Open your windows, leave the house, and call your utility company. Do not attempt to clean or diagnose a gas burner that is functioning improperly.
- Sealed system failures: If you have thoroughly vacuumed your refrigerator coils and checked the door seals, but the fridge still runs continuously without holding a safe temperature (below 40°F), the sealed freon system or the compressor is likely failing.
- Inaccessible dryer vents: If your dryer vent travels up through the walls and out of the roof, and your clothes are taking multiple cycles to dry, hire a professional vent cleaning service. Roof-vented systems require specialized high-powered vacuums and rotary brushes to clear safely.
- Electrical sparking or burning smells: If a washing machine motor smells like melting plastic, or an oven element sparks when turned on, disconnect the power immediately. Cleaning cannot fix internal electrical shorts.
Frequently Asked Questions
How often should I clean the exterior of my kitchen appliances?
Wipe down the exteriors of your heavily used appliances—like the refrigerator handles, microwave keypad, and oven door—at least once a week using a damp microfiber cloth and a mild soap solution. This prevents the buildup of sticky kitchen grease that traps airborne dust.
Is stainless steel polish strictly necessary?
No, it is not strictly necessary for cleaning, but it is highly beneficial for maintenance. Stainless steel polish contains oils that fill in the microscopic pores of the metal. This barrier repels water spots and makes future fingerprints much easier to wipe away.
What removes persistent hard water stains from my dishwasher interior?
If vinegar does not cut through the chalky white residue, the mineral scale is likely calcified. Purchase a citric acid powder or a commercial descaler specifically designed for dishwashers and washing machines. Run it through the hottest cycle available. If your home has well water, you may need to descale your appliances every 30 to 60 days.
Can I use vinegar on the rubber seals of my appliances?
Occasional use of diluted white vinegar is excellent for killing mold spores on rubber gaskets. However, soaking rubber in undiluted vinegar frequently can cause the material to dry out and crack over time. Always wipe the seal down with plain water after treating it with vinegar to neutralize the acidity.
A beautifully organized, highly functional home relies on machines that run efficiently behind the scenes. Dedicating a few hours a month to deep cleaning your refrigerator, oven, dishwasher, and laundry pair prevents unexpected breakdowns and keeps your daily routines running without interruption. Start with the appliance that gets the most use—likely your refrigerator—and systematically work your way through the house. You will quickly notice quieter operation, cleaner dishes, and fresher laundry.
This is educational content based on general best practices. Individual results vary based on your home, budget, and circumstances. Always prioritize safety and consult professionals for major projects. Check your manufacturer’s manual before applying new cleaning solutions to your specific appliance models.
Last updated: February 2026


Leave a Reply