Bathrooms harbor a unique intersection of household grime; they are the only rooms in our homes that routinely deal with high humidity, biological waste, mineral-heavy tap water, and the sticky residue of personal care products. When you combine hairspray, steam, and shed skin cells, you create an environment where bacteria and mildew thrive. Haphazardly wiping down the sink and swishing a brush in the toilet bowl will not cut it. To truly reset your space, you need a systematic approach that eliminates grime without simply moving it from one surface to another.
Professional cleaners rely on a strict set of rules to maximize efficiency and minimize cross-contamination. By adopting a top-to-bottom, dry-to-wet methodology, you stop wasting energy re-cleaning surfaces you just wiped down. This comprehensive bathroom cleaning checklist breaks down the exact steps required to deep clean your bathroom efficiently. Whether you are preparing for guests, recovering from a chaotic week, or executing your seasonal deep clean, this framework guarantees professional-level results.
“The objective of cleaning is not just to clean, but to feel happiness living within that environment.” — Marie Kondo, Organizing Consultant
The Golden Rules of Efficient Bathroom Cleaning
Before you pick up a sponge, you must understand the mechanics of how dirt and cleaning agents interact. If you skip these foundational rules, you will double your workload and potentially damage your fixtures.
Integrating this deep dive into a weekly house cleaning schedule helps maintain that ‘just-cleaned’ feeling without the overwhelm.
- Work Top to Bottom: Dust and debris obey gravity. If you clean your floors before dusting your light fixtures, you will ruin your freshly mopped floor. Always start at the ceiling and work your way down.
- Work Dry to Wet: Remove dust, hair, and loose debris while the room is completely dry. The moment water or liquid cleaners hit stray hairs, they glue themselves to the surface, making them incredibly frustrating to remove.
- Respect Dwell Time: Disinfectants and soap scum removers do not work instantly. Most antibacterial sprays require three to ten minutes of undisturbed surface contact to kill pathogens. Spray your heavy-duty cleaners and walk away to let the chemistry do the heavy lifting.
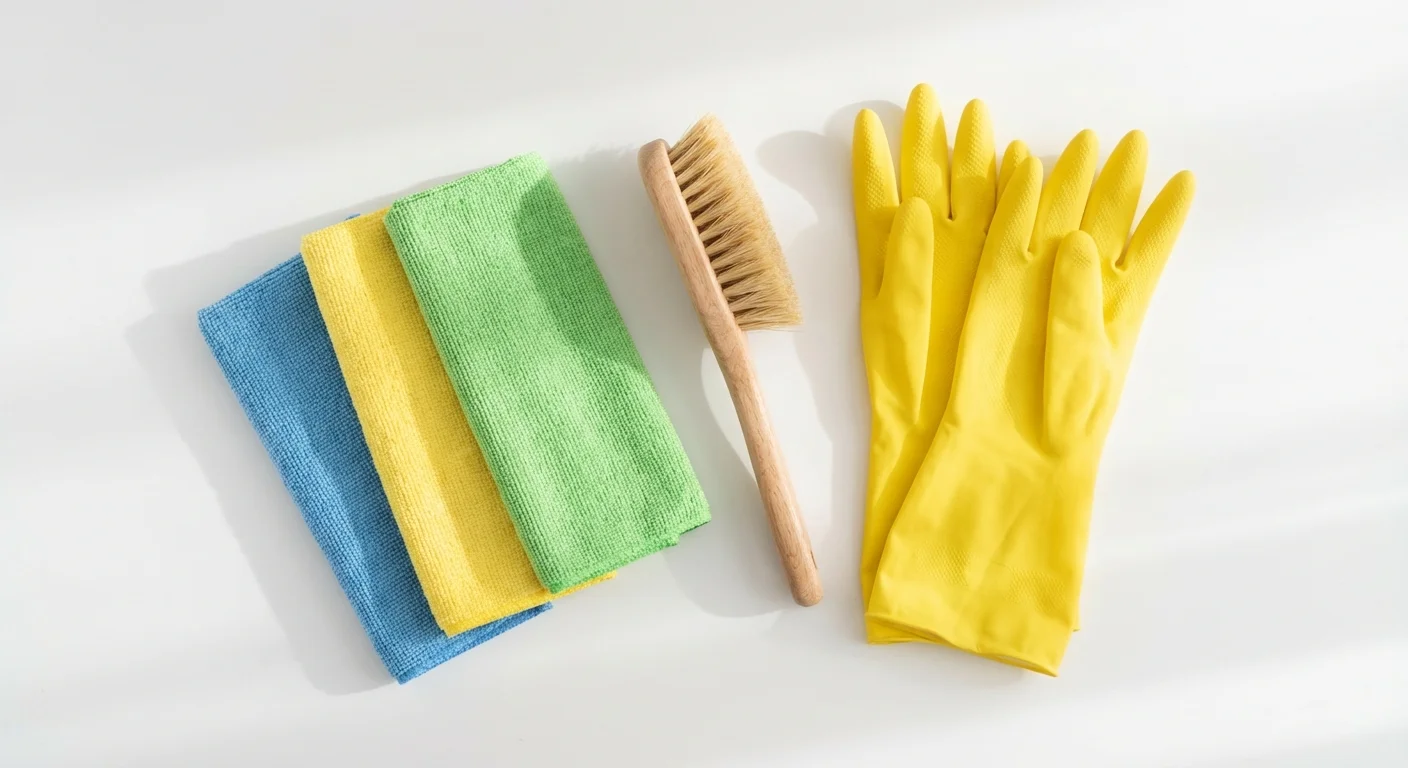
- Isolate Your Tools: Never use the sponge that cleans your toilet on your bathroom sink. Color-code your microfiber cloths—for example, use yellow for the toilet and blue for the glass—to prevent cross-contamination.
Phase 1: The Pre-Clean Purge
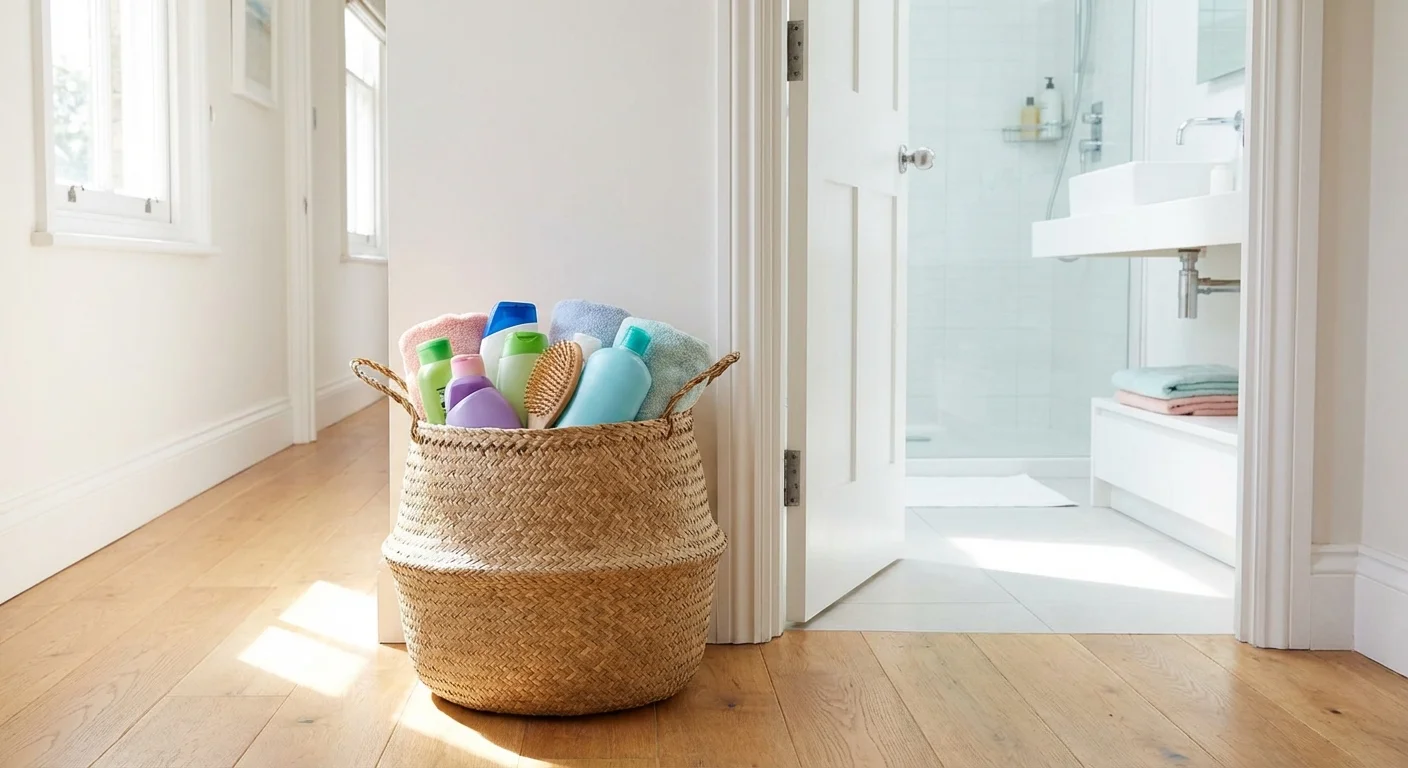
You cannot effectively clean a bathroom that is cluttered with half-empty shampoo bottles, makeup brushes, and damp towels. Clearing the space is your critical first step.
Once you have mastered the bathroom, apply these same systematic principles to deep cleaning your kitchen to revitalize your entire home.
Remove every single movable item from the bathroom. Empty the shower caddy, clear off the vanity counter, remove the trash can, and take out the bathmats. Place all these items in a laundry basket in the hallway. Take down the shower curtain and liner; toss them directly into the washing machine with a few old towels to act as scrubbers, using warm water and your standard detergent. Leaving the room completely bare gives you unobstructed access to the surfaces you need to scrub, significantly speeding up the process.
Phase 2: The Dry Sweep and Dust
Now that the room is empty, begin your dry cleaning phase. Arm yourself with a microfiber duster with an extendable handle and a dry microfiber cloth.
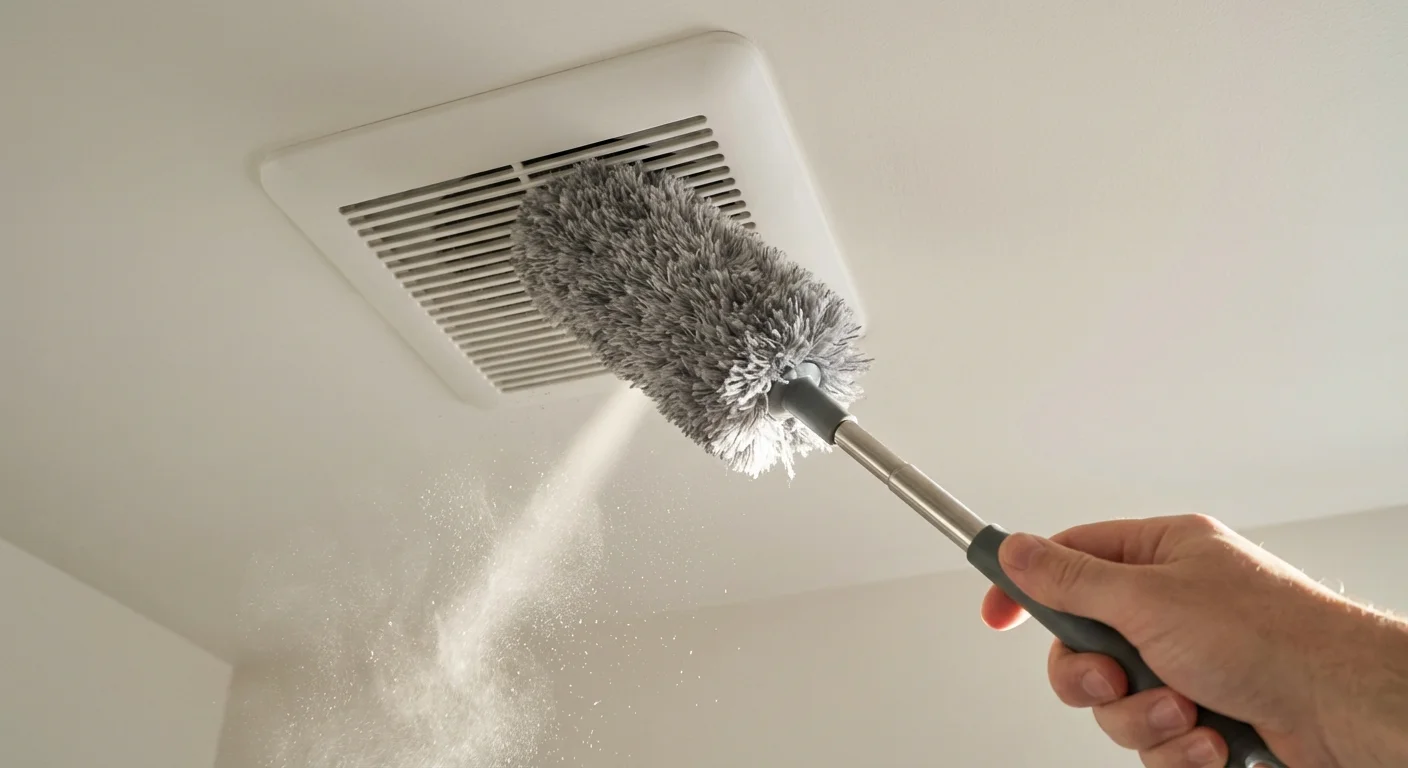
Start at the exhaust fan. Bathroom exhaust fans pull moisture from the air, but they also pull dust, which cakes onto the damp fan cover. Use your duster to brush away the loose dust, or use the brush attachment on your vacuum cleaner to suck the debris out of the vents. EPA Indoor Air Quality guidelines emphasize that maintaining clean, highly functional exhaust fans is the single most effective way to prevent indoor mold growth.
Move to the light fixtures, wiping away dust and dead bugs. Wipe down the tops of the door frame, the window ledges, and any open shelving. Finally, grab your vacuum or a dry sweeper and thoroughly vacuum the entire floor, paying special attention to the corners, behind the toilet, and along the baseboards. You want to extract every single stray hair before introducing liquid to the room.
Phase 3: Product Application and Dwell Time
With the room dust-free, it is time to deploy your cleaning agents. Your goal here is not to scrub yet; your goal is to apply the products and let them break down the grime.
Start in the shower and bathtub. Spray your preferred soap scum remover or a mixture of equal parts dish soap and warm white vinegar over the shower walls, the tub basin, and the glass doors. Ensure total coverage, particularly on the grout lines and the lower third of the shower where soap scum accumulates most heavily.
Next, move to the toilet. Apply a heavy-duty toilet bowl cleaner under the rim of the bowl, allowing it to coat the sides as it drips down. Spray a disinfecting all-purpose cleaner over the exterior of the toilet tank, the handle, the seat, and the base.
Leave the room for ten minutes. This waiting period is the secret to a stress-free bathroom scrub routine. The active ingredients require this time to dissolve hard water minerals, cut through body oils, and sanitize surfaces according to the safety standards outlined by the American Cleaning Institute.
Phase 4: The Ultimate Bathroom Scrub Routine
Return to the bathroom with your scrubbing tools: a non-abrasive sponge, a grout brush (or an old toothbrush), and a squeegee.
Tackling the Shower and Bathtub
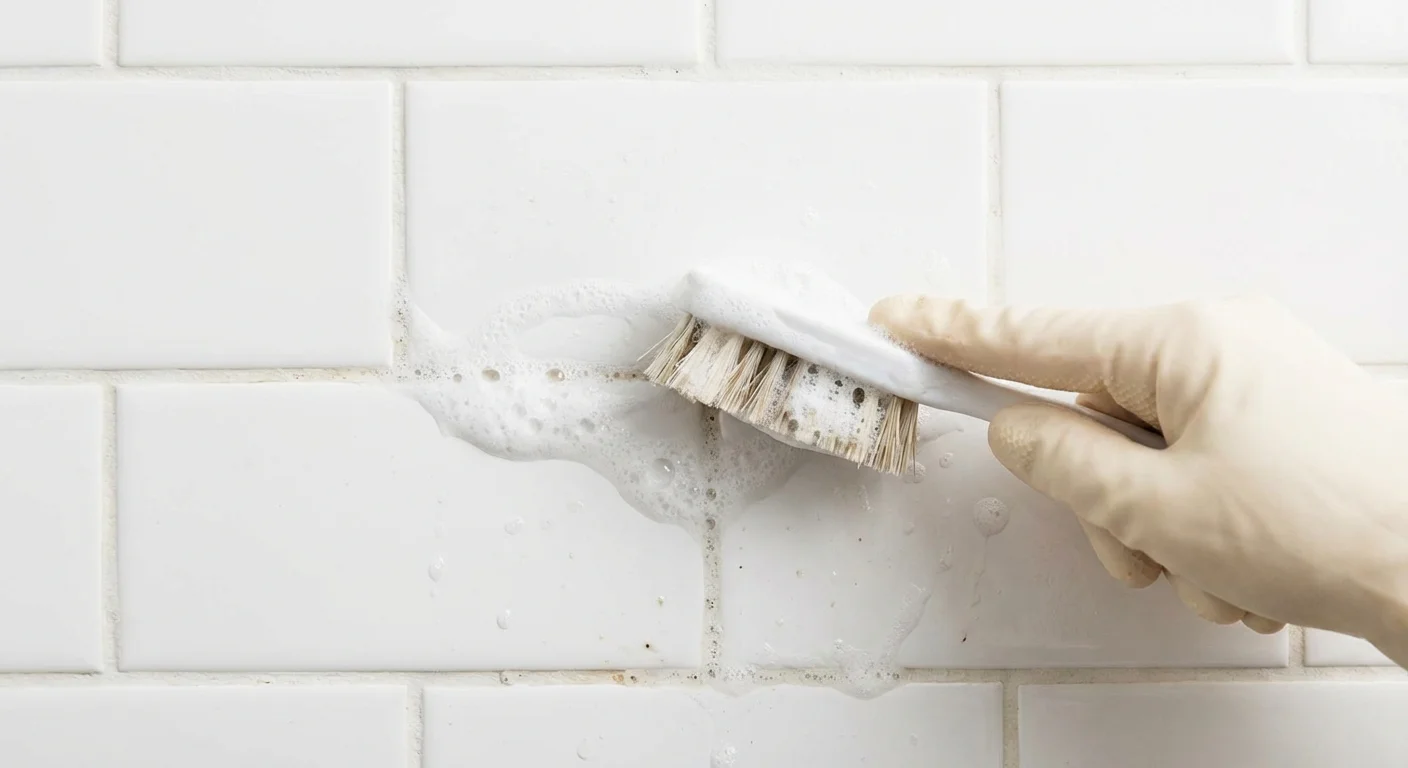
The cleaning agents have now loosened the grime. Start at the top tile of the shower and scrub downward. Use your grout brush to agitate the cleaner in the tight lines between the tiles, focusing heavily on corners where pink bacteria (Serratia marcescens) tend to breed. For the bathtub basin, use a non-abrasive scrub pad to lift the soap scum ring.
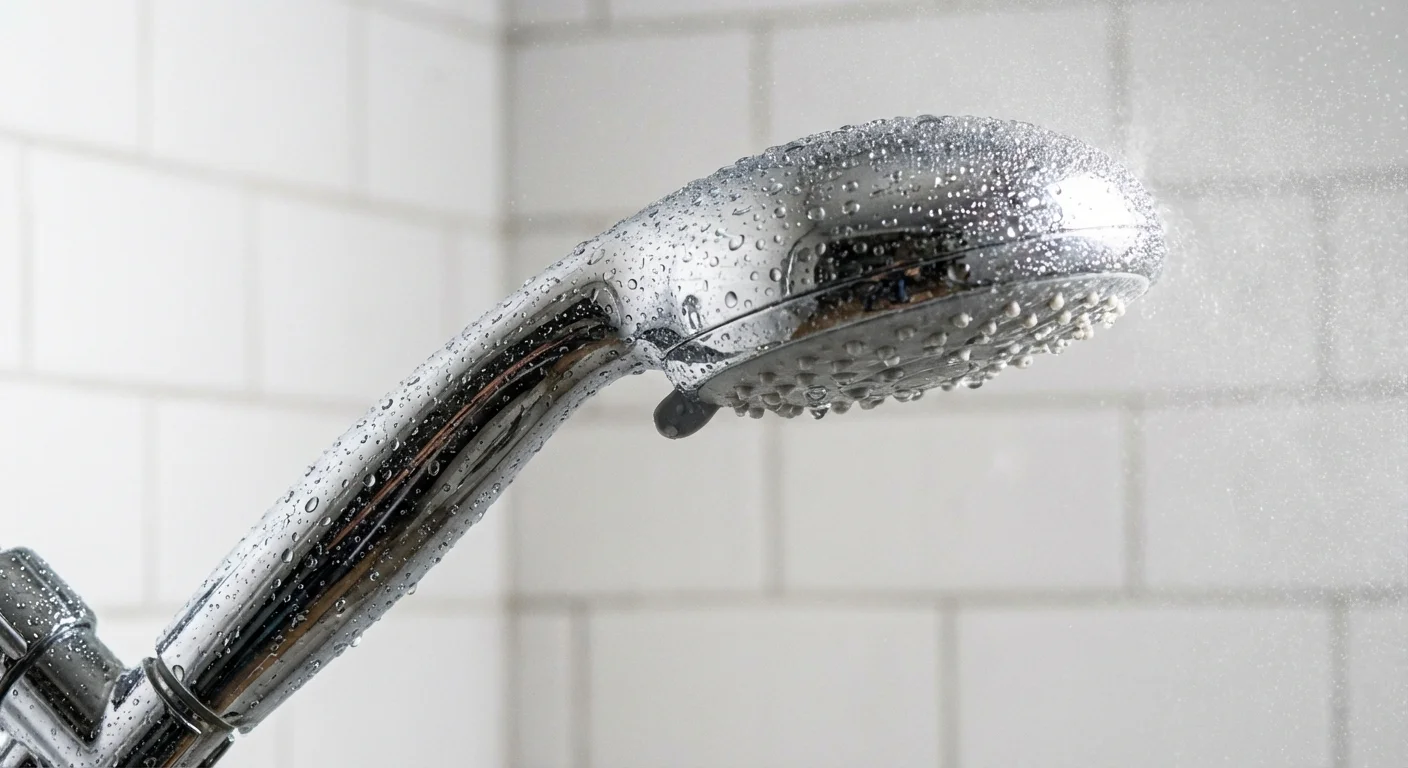
If you have glass shower doors, scrub them with a non-scratch pad, then rinse the entire shower enclosure thoroughly with warm water. Use a squeegee to pull the water off the glass doors and the flat tile walls. This simple squeegee step prevents hard water spots from forming as the shower dries. Finally, use a dry microfiber cloth to buff the shower fixtures, handles, and showerhead until they shine.
Sanitizing the Toilet
Grab your toilet brush and scrub the inside of the bowl vigorously, making sure to push the brush deep into the trap and hard up under the rim where the water jets are located. Flush the toilet, holding the brush in the rushing water to rinse it clean, then trap the brush wand under the toilet seat so the brush head drips dry over the bowl.
Take a fresh microfiber cloth (specifically designated for the toilet) and wipe down the exterior surfaces you sprayed earlier. Start at the cleanest part—the flush handle and the top of the tank—and work your way down to the seat, the underside of the rim, and finally the base and the floor immediately surrounding the base. Pay close attention to the hinges of the toilet seat; dirt hides in these tiny crevices.
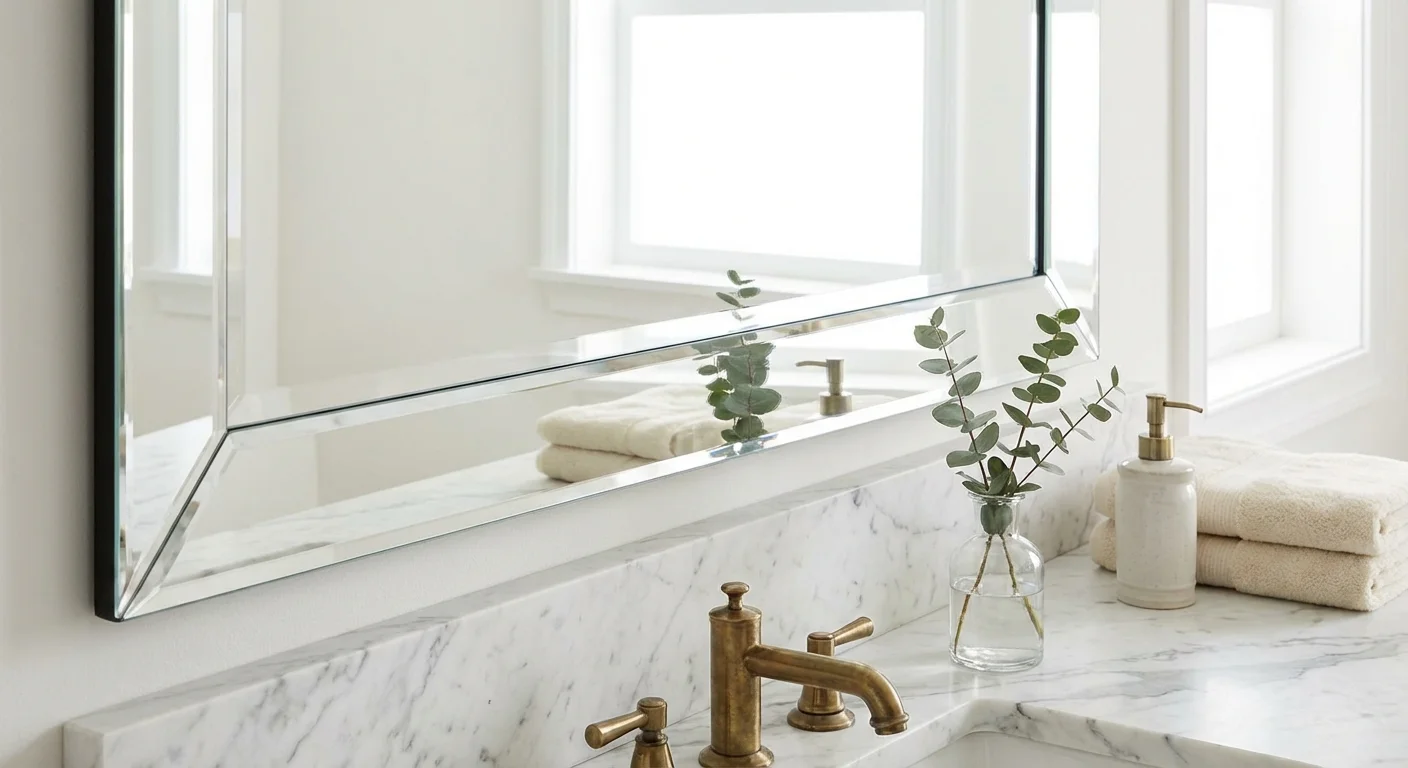
Phase 5: The Vanity, Sink, and Mirrors
The vanity requires a delicate touch, as you are often dealing with natural stone, porcelain, and highly reflective glass. Start by spraying glass cleaner directly onto your mirror. Wipe it down using a flat-weave microfiber cloth, using an “S” pattern to avoid leaving streaks. Move quickly before the cleaner evaporates.
If a deep clean isn’t enough to revive your space, consider a budget-friendly bathroom refresh to modernize your fixtures.
Next, clean the sink basin and the countertop. If you have toothpaste splatters glued to the bowl, a mild abrasive cleaner like baking soda mixed with a little water works wonders without scratching porcelain or composite materials. Scrub the sink basin, the drain cover, and the overflow hole. Use your small detail brush to scrub the seam where the faucet meets the countertop—this area traps a surprising amount of hard water buildup and mildew.
Wipe the entire vanity counter down with an all-purpose cleaner. Take a dry cloth and buff the faucet and handles; removing all water droplets is the key to achieving that sparkling, hotel-level finish.
Phase 6: Baseboards and Floors
You have finally reached the bottom of the room. By now, any drips from the sink or shower have fallen to the floor. Wipe down your bathroom baseboards using a damp cloth sprayed with all-purpose cleaner. Baseboards catch a massive amount of dust and hairspray, which hardens into a stubborn, sticky layer if left uncleaned.
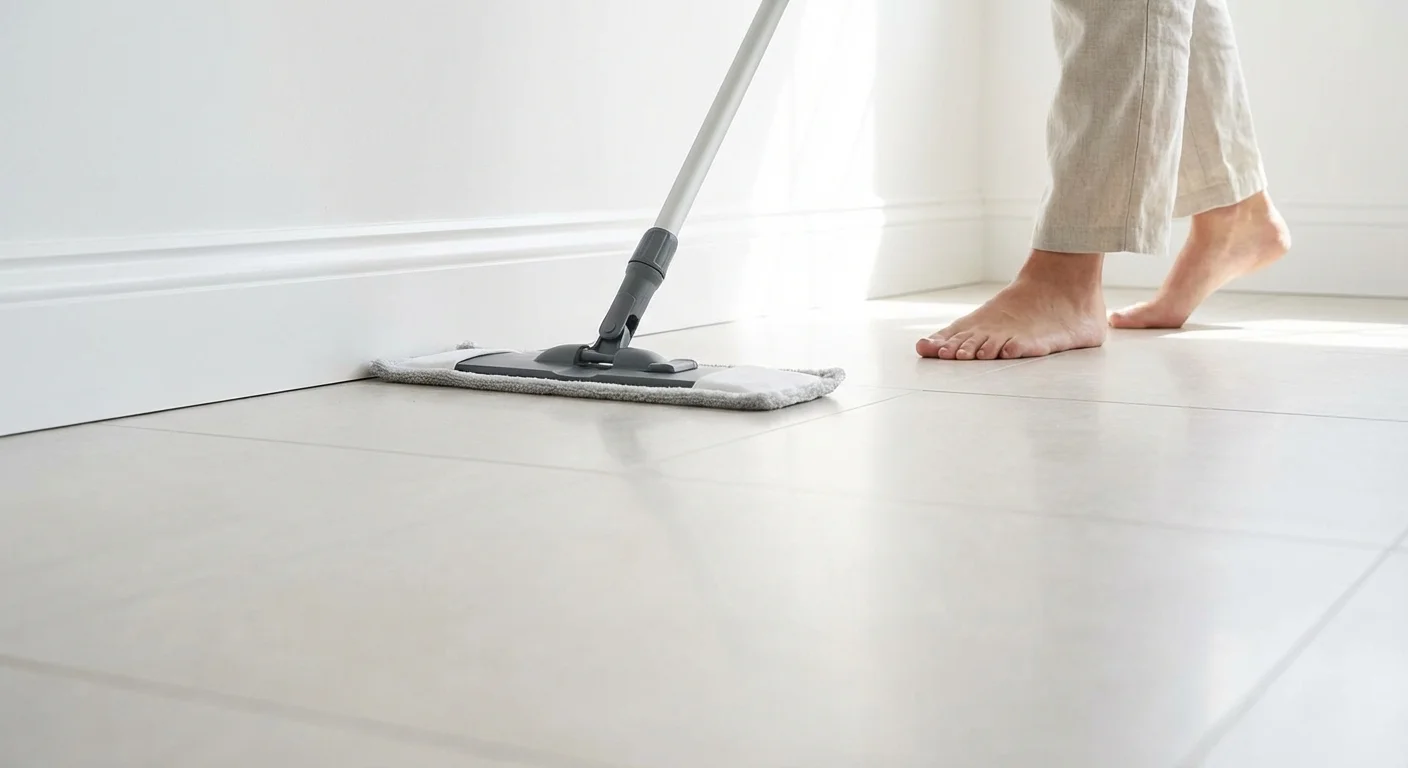
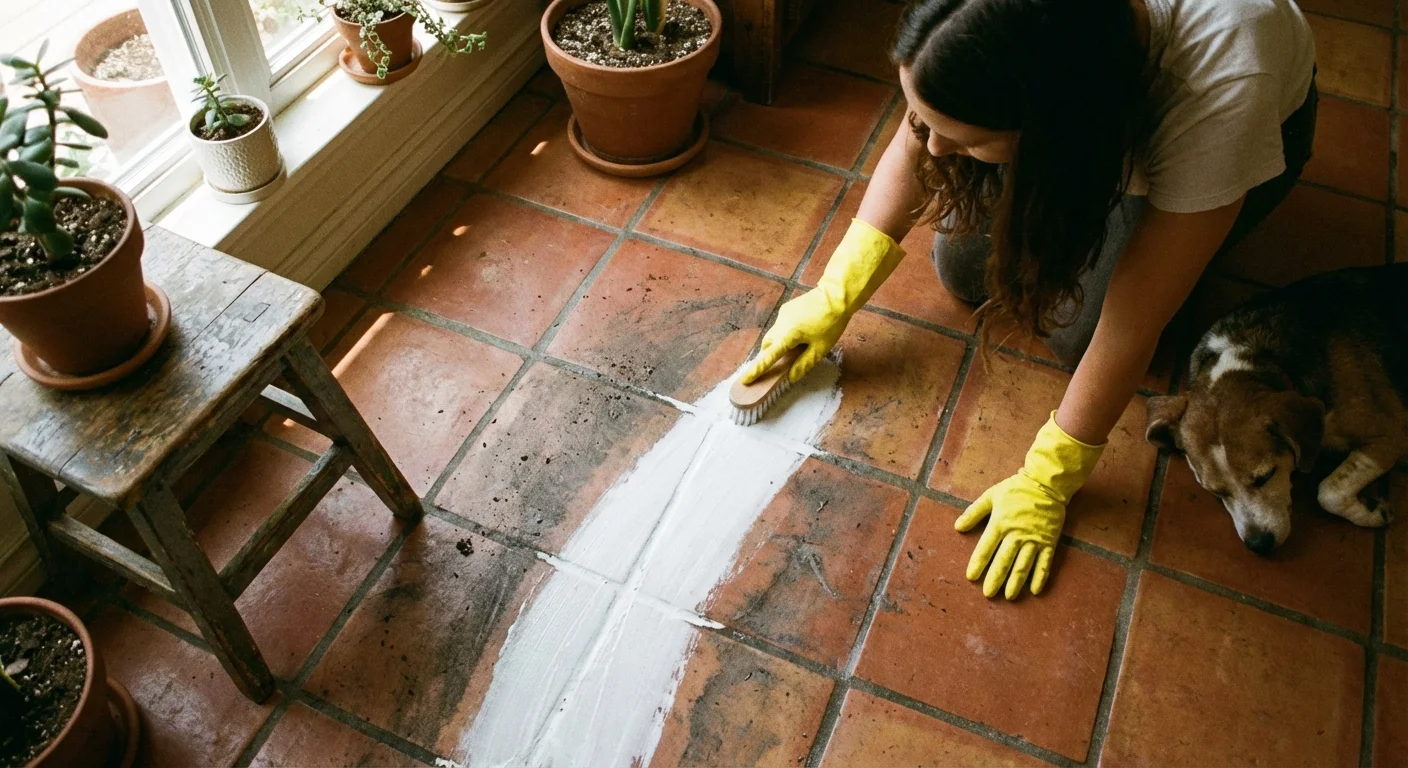
For the floor, fill a bucket with hot water and a pH-neutral floor cleaner. If you are dealing with porcelain or ceramic tile, you can use a slightly more aggressive cleaner, but natural stone floors require gentle, neutral solutions to prevent etching. Mop your way out of the room, starting from the farthest corner and working backward toward the door. Leave the door open and turn on the exhaust fan to speed up the drying time.
Comparing Bathroom Cleaning Agents
Walking down the cleaning aisle can be overwhelming. Understanding the chemical properties of your cleaners ensures you use the right tool for the specific type of bathroom grime.
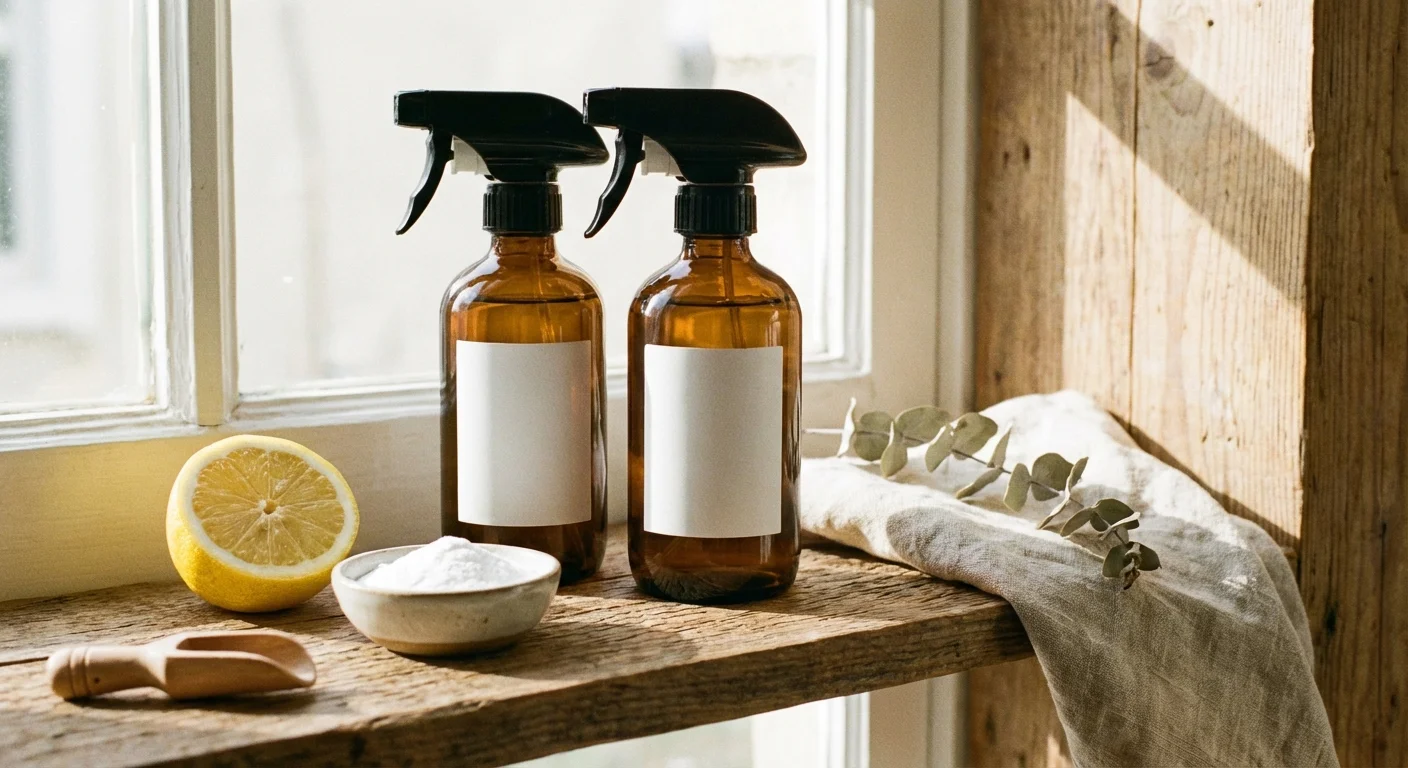
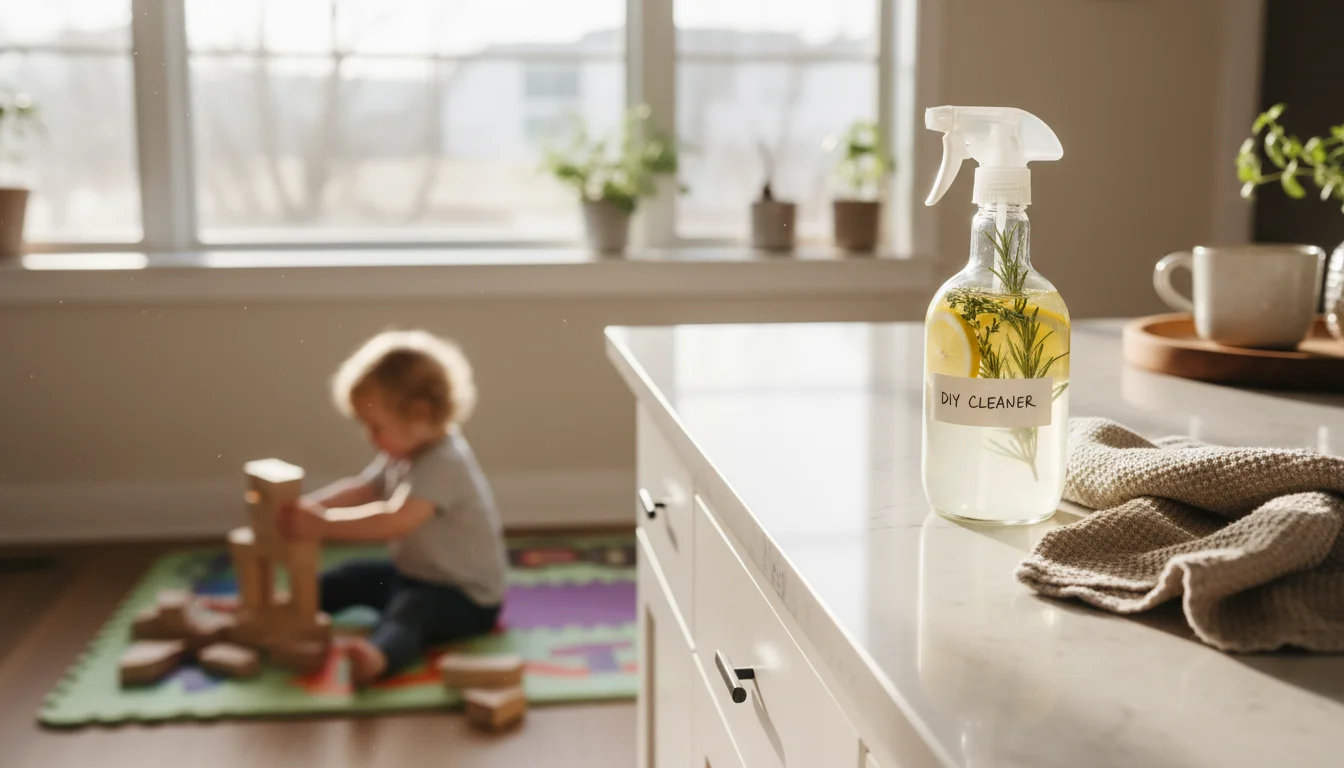
If you prefer making your own solutions, check out our natural cleaning products guide for effective DIY recipes.
| Cleaning Agent | Best Used For | Avoid Using On | Why It Works |
|---|---|---|---|
| White Vinegar (Acidic) | Hard water stains, mineral deposits, glass, and showerheads. | Natural stone (marble, granite), unsealed grout. | The mild acid dissolves alkaline mineral deposits and cuts through cloudy buildup. |
| Baking Soda (Mild Abrasive) | Scrubbing sinks, removing soap scum, absorbing odors in drains. | Highly polished glass or soft plastics (if applied too heavily). | It provides gentle friction to lift stuck-on debris without deep scratching. |
| Chlorine Bleach (Alkaline) | Whitening caulking, disinfecting toilets, eliminating severe mold. | Colored grout, metal fixtures (causes rust/pitting), mixed with other cleaners. | It chemically alters the pigment in stains and destroys the cell walls of bacteria. |
| Oxygen Bleach (Eco-Friendly) | Deep cleaning tile floors, brightening dirty grout lines safely. | Delicate painted surfaces or unfinished wood. | Releases oxygen bubbles when mixed with water, lifting dirt out of porous surfaces. |

Pitfalls to Watch For
Even seasoned homeowners make critical mistakes when trying to clean a bathroom thoroughly. Avoid these common traps to protect your health and your home’s finishes:
- Mixing Chemicals: Never mix bleach with ammonia, vinegar, or any other cleaning product. Mixing bleach and acid creates toxic chlorine gas, which can cause severe respiratory damage within seconds. Stick to one chemical at a time, and rinse thoroughly between applications.
- Ruining Natural Stone: If your bathroom features marble or travertine tiles, you must banish vinegar and acidic tub cleaners from the room. Acids etch natural stone, eating away the polished finish and leaving permanent dull spots. Use only pH-neutral stone cleaners.
- Using Abrasive Sponges on Fixtures: The green side of a heavy-duty kitchen sponge is essentially sandpaper. If you use it to scrub hard water stains off your matte black, brushed nickel, or chrome faucets, you will permanently scratch the finish. Rely on chemical dwell time to dissolve minerals, not physical force.
- Ignoring the Shower Curtain Liner: Wiping down the tiles but leaving a mildewed shower liner hanging in the tub defeats the purpose of a deep clean. If the liner is beyond salvaging in the washing machine, replace it. A fresh, clear liner instantly makes the entire room feel brighter and cleaner.
Getting Expert Help
While a rigorous bathroom cleaning checklist handles the vast majority of household dirt, some issues require professional intervention. Know when to put down the sponge and call in the experts:
- Extensive Mold Remediation: If you discover thick, black mold growing behind the drywall, under the vanity, or spreading rapidly across the ceiling, surface cleaners will not solve the problem. You need a mold remediation specialist to address the source of the moisture safely.
- Failing Grout and Caulk: If the grout between your shower tiles is crumbling, cracking, or missing, water is getting behind your walls. Cleaning it aggressively will only make the damage worse. Hire a tile professional or a handyman to rake out the old material and apply fresh, waterproof grout and silicone caulk. You can find excellent guidance on maintaining tile integrity from The Spruce.
- Persistent Odors and Drain Issues: If a sewage smell persists in your bathroom despite a deep clean, you may have a dry P-trap, a blocked vent pipe, or a failing wax ring under the toilet. These are plumbing issues that require a licensed plumber to diagnose and repair.
- Inadequate Ventilation: If your bathroom walls sweat heavily during a shower and stay wet for hours, your exhaust fan is either broken, improperly vented into the attic instead of outdoors, or severely underpowered. An electrician or HVAC technician can upgrade your ventilation system to protect your home from rot.
Frequently Asked Questions
How often should I deep clean my bathroom?
For a standard bathroom used daily by multiple people, you should perform a basic surface clean once a week and execute this full top-to-bottom deep clean once a month. Guest bathrooms that see less traffic can stretch to a bi-monthly deep clean. The more consistent you are with weekly maintenance, the faster your monthly deep cleans will go.
What is the fastest way to dissolve hard water stains on glass?
Warm white vinegar is your best weapon against hard water. Heat equal parts white vinegar and water in the microwave until hot (but not boiling). Add a few drops of dish soap to help the solution cling to the glass. Spray it heavily on the shower doors, wait fifteen minutes, and lightly scrub. The minerals will wipe away effortlessly.
Can I use bleach on colored bathroom grout?
You should avoid using chlorine bleach on colored grout. Bleach is highly alkaline and will strip the dye out of colored grout, leaving it splotchy and faded over time. Instead, use an oxygen bleach powder mixed into a paste with water. Let the oxygen paste sit on the grout lines for thirty minutes before scrubbing; it brightens the grout safely without removing the pigment.
How do I get rid of a persistent damp smell in the bathroom?
First, wash all textiles, including the shower curtain, bathmats, and towels, using hot water and a cup of baking soda. Next, check the sink overflow drain (the small hole near the rim of the basin); this dark, damp passage often harbors odor-causing bacteria. Pour a funnel of white vinegar down the overflow hole and flush it with boiling water. Finally, run your exhaust fan for at least thirty minutes after every shower to lower the room’s humidity.
Maintaining the Shine
Once you execute this bathroom cleaning checklist, the goal is to protect your hard work. Keep a daily shower spray in the bathroom and mist the wet walls after you bathe; this simple ten-second habit prevents soap scum from ever taking hold. Store a container of disinfecting wipes under the sink to quickly address toothpaste splatters as they happen. By combining daily awareness with a structured, methodical deep clean, your bathroom will remain a hygienic, welcoming space year-round.
This guide provides general home improvement information. Every home is different—what works in one space may need adaptation in yours. For structural changes or electrical/plumbing work, consult a licensed professional.
Last updated: February 2026


Leave a Reply