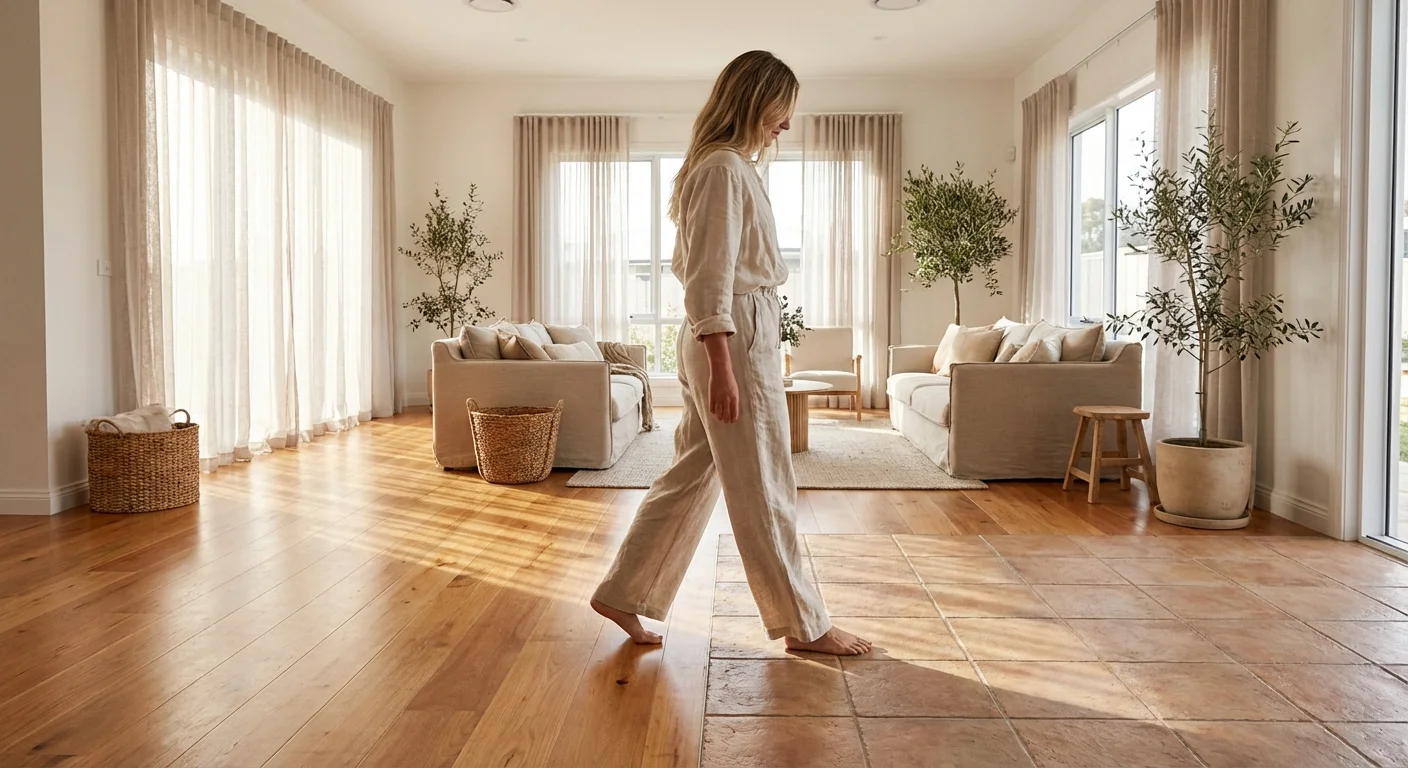
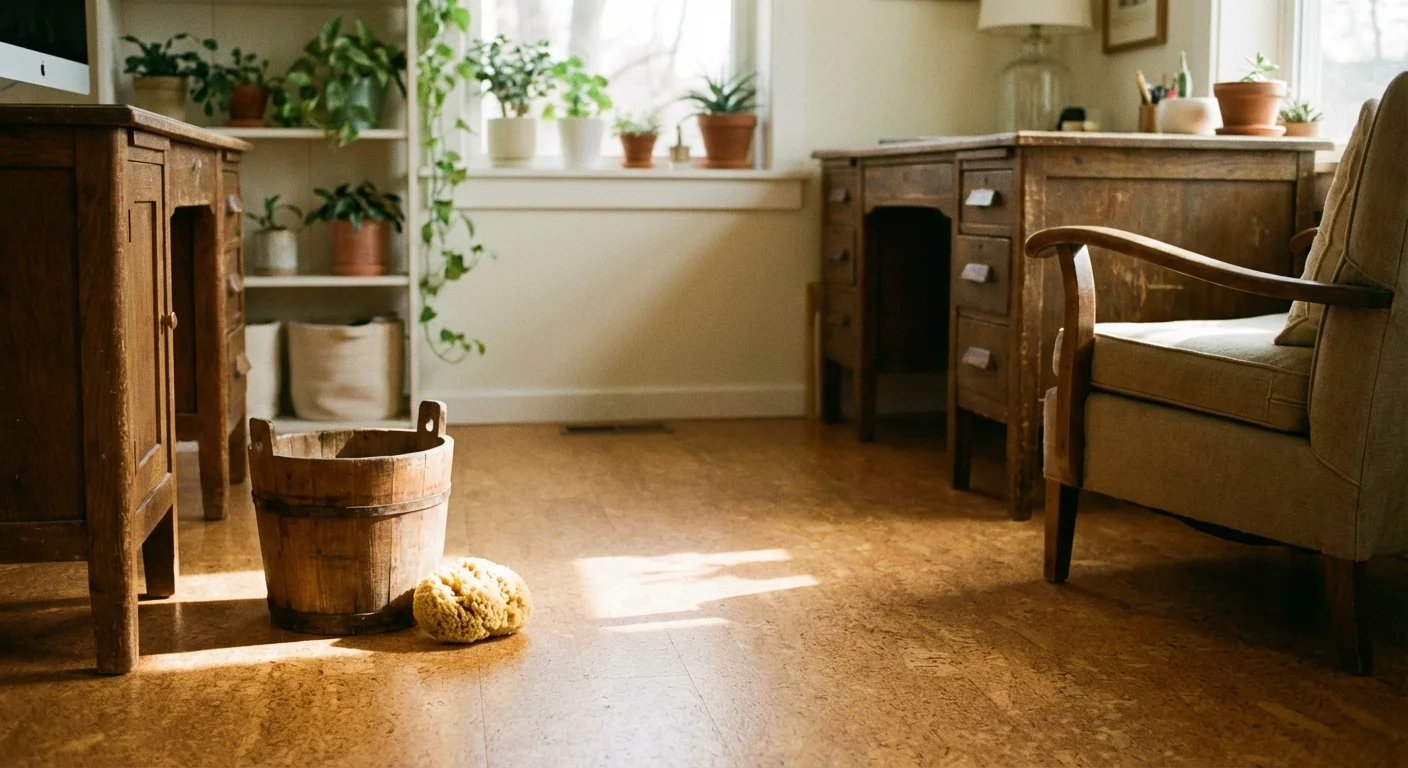
The average pair of shoes carries hundreds of thousands of bacteria, tracking pollen, grit, and chemicals right across your living room. Knowing exactly how to clean flooring does more than keep your home looking presentable; it dramatically extends the lifespan of your expensive surfaces and improves your indoor air quality. However, treating your delicate hardwood the same way you treat your bathroom tile is a fast track to warped planks, stripped finishes, and costly repairs.
Choosing the right surface is the first step in home comfort; see our guide to cozy flooring options for inspiration on finding the perfect fit for your aesthetic.
Every surface in your home requires a specific chemical balance and moisture level. This floor cleaning guide by material will walk you through the precise tools, techniques, and schedules needed to maintain everything from luxury vinyl plank to porous natural stone. You will learn how to protect your investments, eliminate cloudy streaks, and achieve a barefoot-ready clean without damaging your home.
The Golden Rules of Floor Preparation
Before mixing a single drop of cleaning solution, you must master dry extraction. Mopping a floor covered in loose dirt simply creates a layer of mud that gets pushed into the porous textures and grout lines of your flooring. Dry cleaning always precedes wet cleaning.
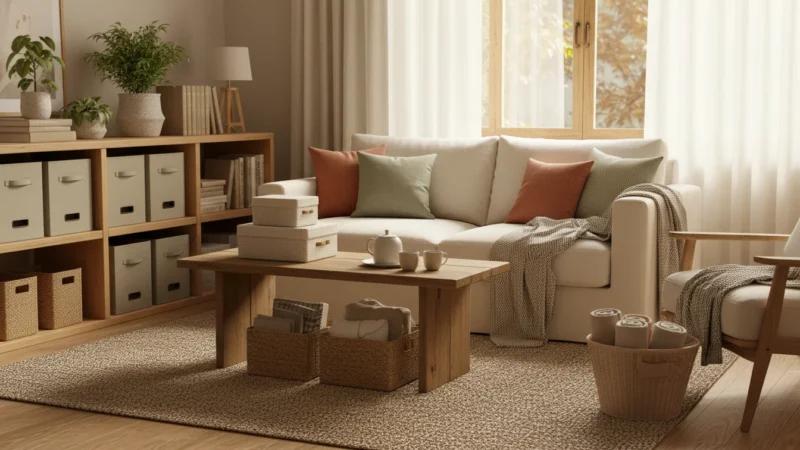
Managing these tasks becomes much easier when you incorporate them into a weekly house cleaning schedule to prevent abrasive dirt buildup.
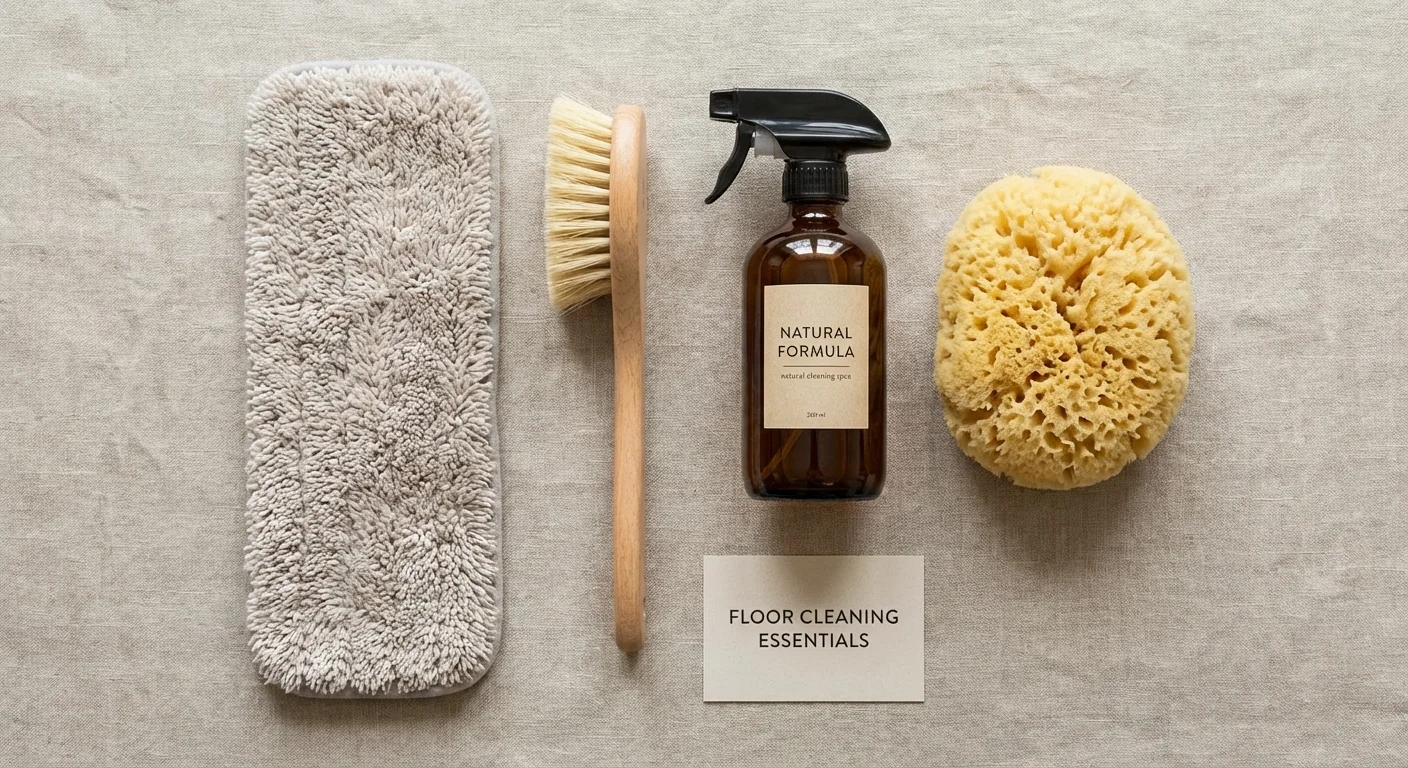
Invest in a high-quality microfiber dust mop and a vacuum equipped with a hard floor setting. Rotating beater brushes—the bristled cylinders designed to agitate carpet fibers—can leave permanent scratches on wood, laminate, and soft stone. Always disengage the brush roll before transitioning from your living room rug to your hard surfaces.
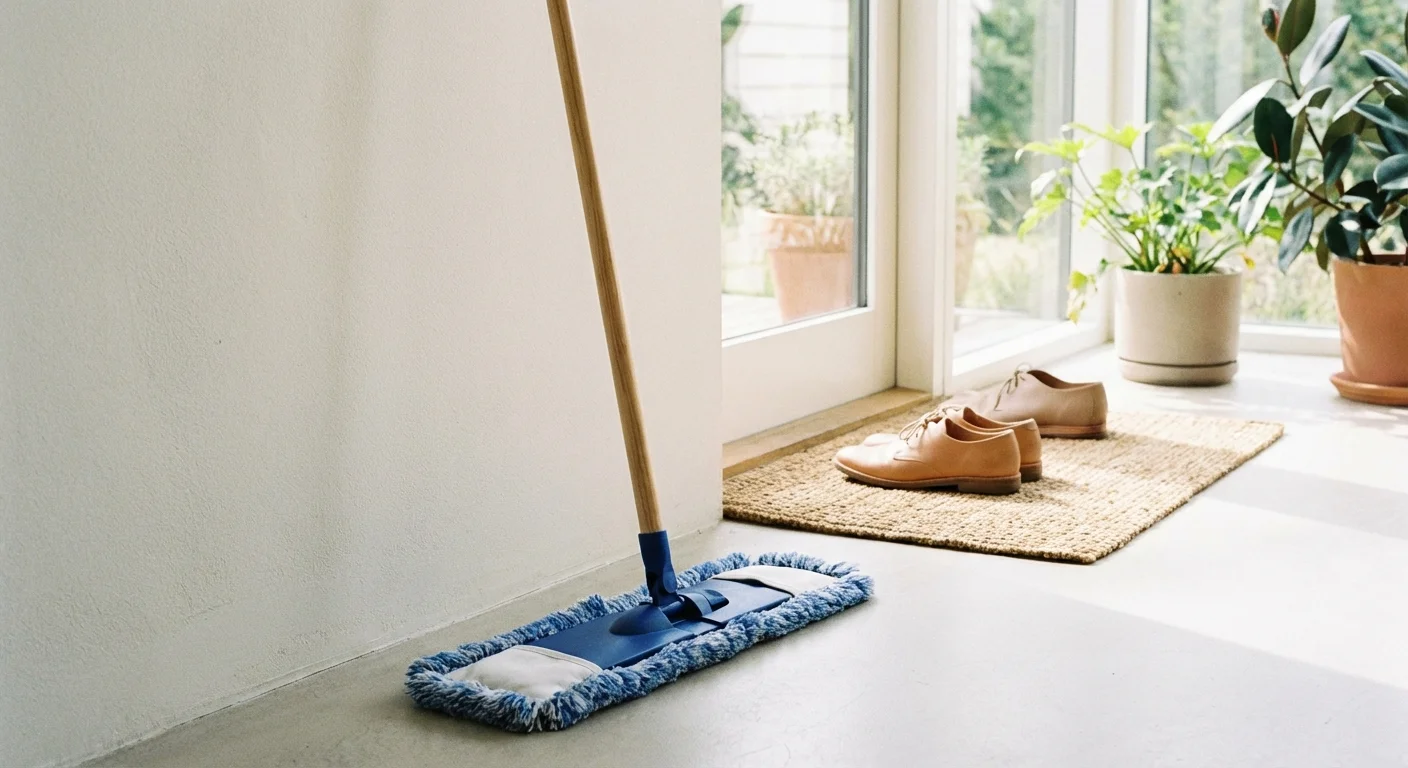
Focus on high-traffic areas like entryways, kitchens, and hallways. Place heavy-duty doormats both inside and outside your exterior doors to trap abrasive grit before it enters your home. The American Cleaning Institute recommends adopting a “shoes-off” policy indoors, which can eliminate up to 80% of the soil brought into your house.
Hardwood Floor Cleaning: Preserving the Finish
Effective hardwood floor cleaning relies entirely on understanding your floor’s finish rather than the wood species itself. The vast majority of modern hardwood floors feature a surface seal, typically polyurethane. Older homes or restored historical floors might utilize a penetrating seal topped with wax.
To determine your finish, rub your finger across the floor. If no smudge appears, your floor is surface-sealed. If you notice a faint smudge, it has a penetrating seal, wax, or oil finish. Surface-sealed floors tolerate mild, damp cleaning; wax-finished floors require specialized solvent-based cleaners and regular buffing.
“Water is wood’s worst enemy. Even on sealed floors, excess moisture can seep into seams, causing boards to swell, warp, and eventually separate.” — Carolyn Forte, Home Care Expert at Good Housekeeping
For surface-sealed wood floors, follow this regimen:
- Daily: Run a dry microfiber mop over high-traffic zones to capture dust and pet hair.
- Weekly: Vacuum using the hard floor attachment to pull dirt from the seams between the boards.
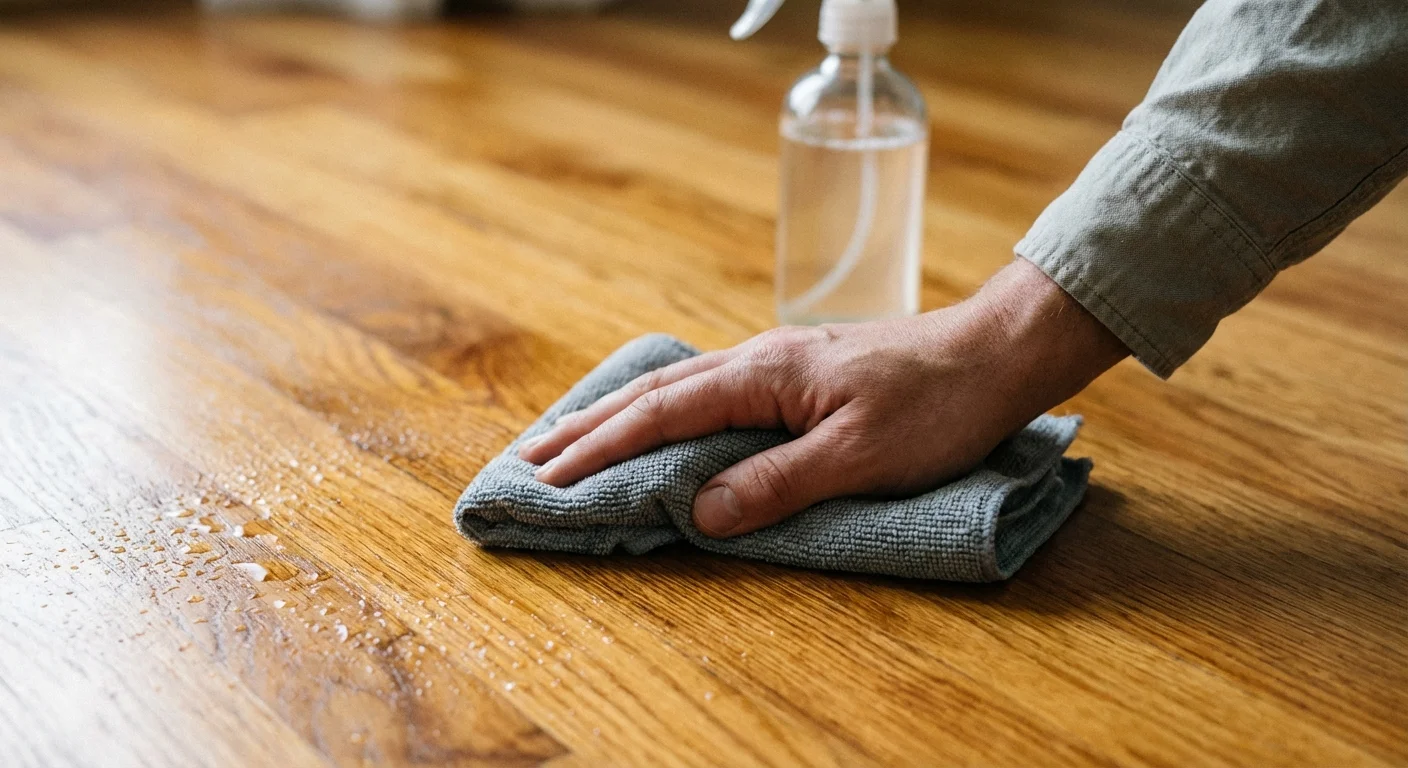
- Monthly: Clean with a specialized hardwood floor cleaner. Spray the cleaner lightly onto a microfiber mop head—never directly onto the floor—and mop in the direction of the wood grain.
Avoid oil soaps, paste wax, and furniture polishes on polyurethane finishes. These products leave a sticky residue that attracts dirt and creates a cloudy, dull appearance over time. For more insights on identifying and treating wood finishes, consult comprehensive guides from Good Housekeeping.
Laminate Floor Care: Preventing Water Damage
Laminate floors mimic the look of hardwood but consist of a high-density fiberboard (HDF) core topped with a photographic image layer and a protective clear wear layer. Excellent laminate floor care means protecting that vulnerable inner core at all costs.
If liquid seeps through the interlocking seams of laminate planks, the fiberboard core acts like a sponge. It expands, pushing the edges of the planks upward in a process known as “peaking” or “buckling.” Once fiberboard expands from water damage, it never shrinks back to its original shape; the damage is permanent.
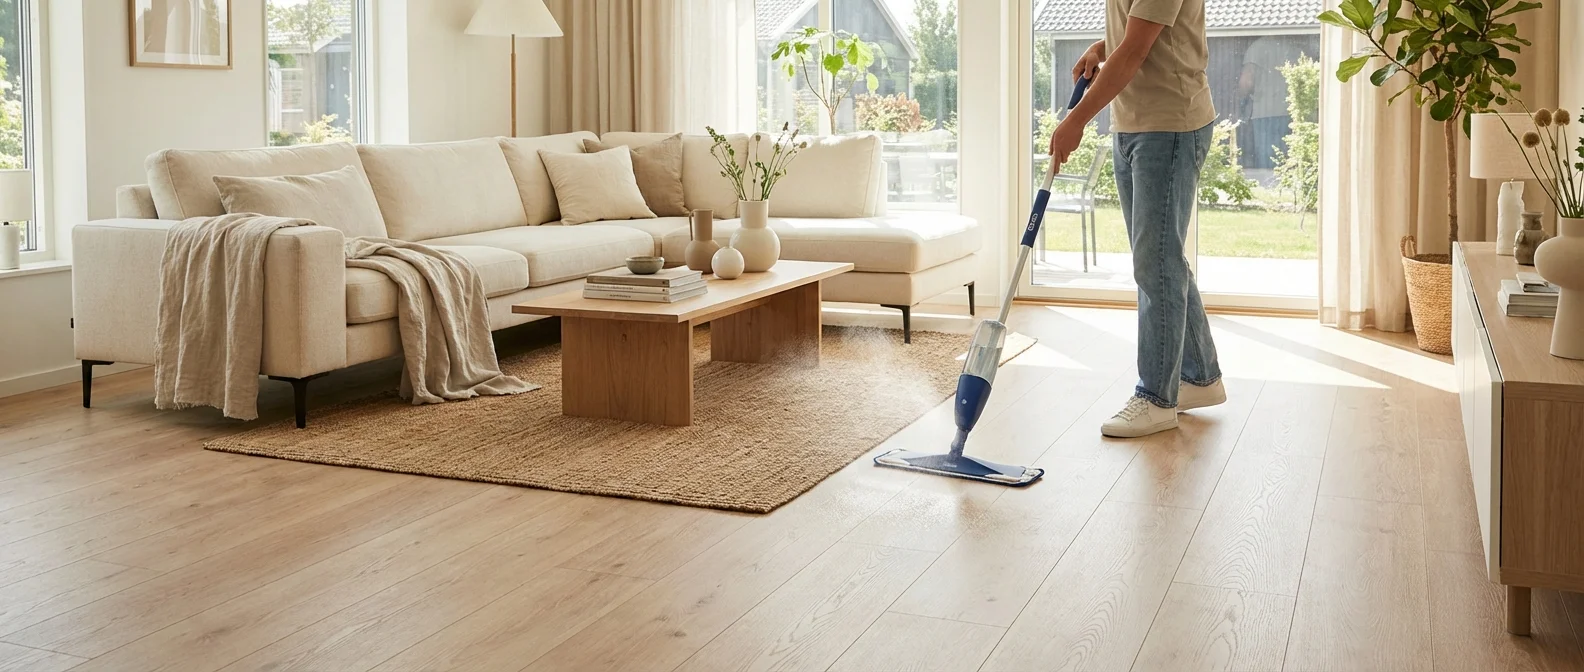
Keep your laminate pristine by skipping the traditional bucket-and-string mop entirely. Instead, rely on a flat mop and a spray bottle. Fill the bottle with a commercial laminate cleaner or a homemade solution of one part rubbing alcohol, three parts water, and a single drop of liquid dish soap. The alcohol helps the solution evaporate rapidly, minimizing the time moisture sits on the surface.
Work in small sections. Mist the mop pad slightly, wipe down a four-by-four-foot area, and ensure the floor dries completely within one minute. Never use steam cleaners on laminate; the pressurized steam drives moisture directly into the seams, destroying the adhesive and swelling the core.
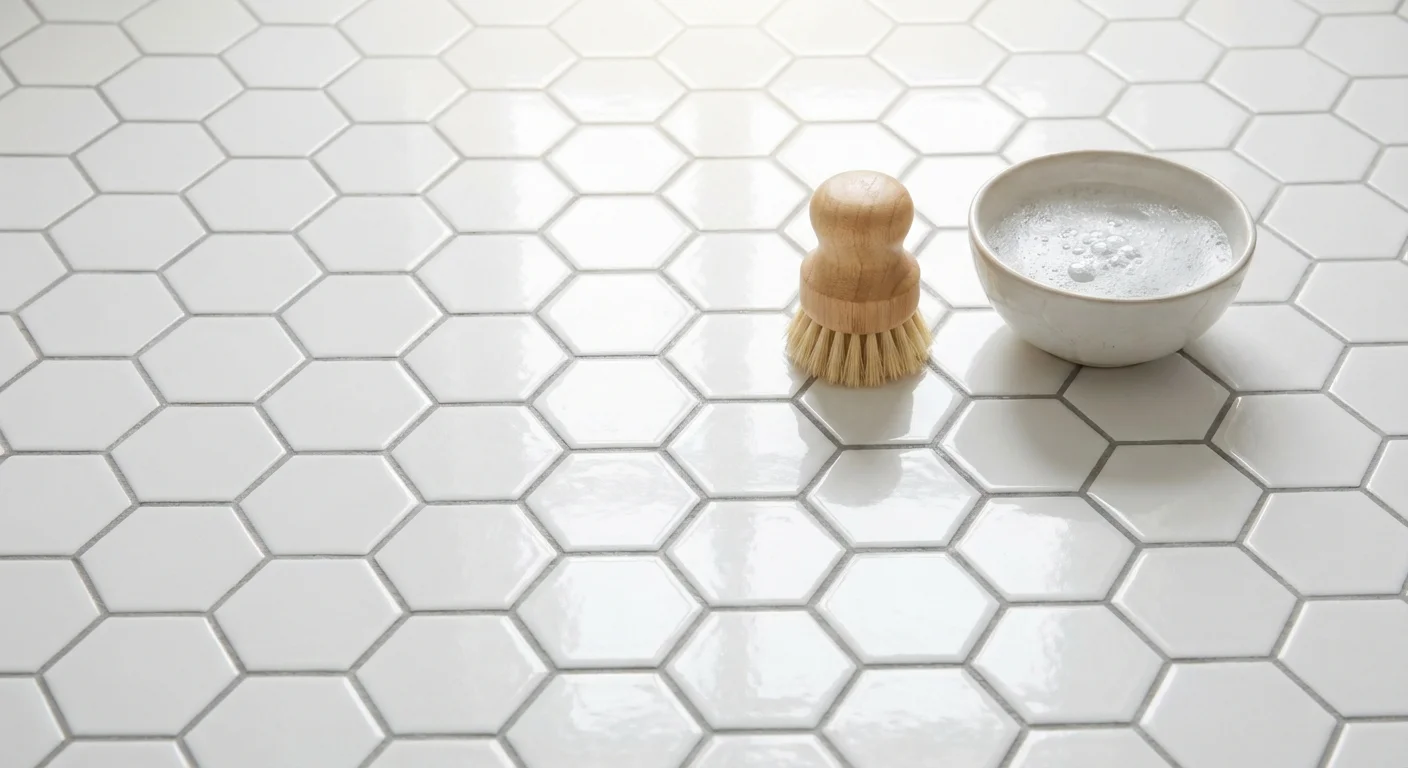
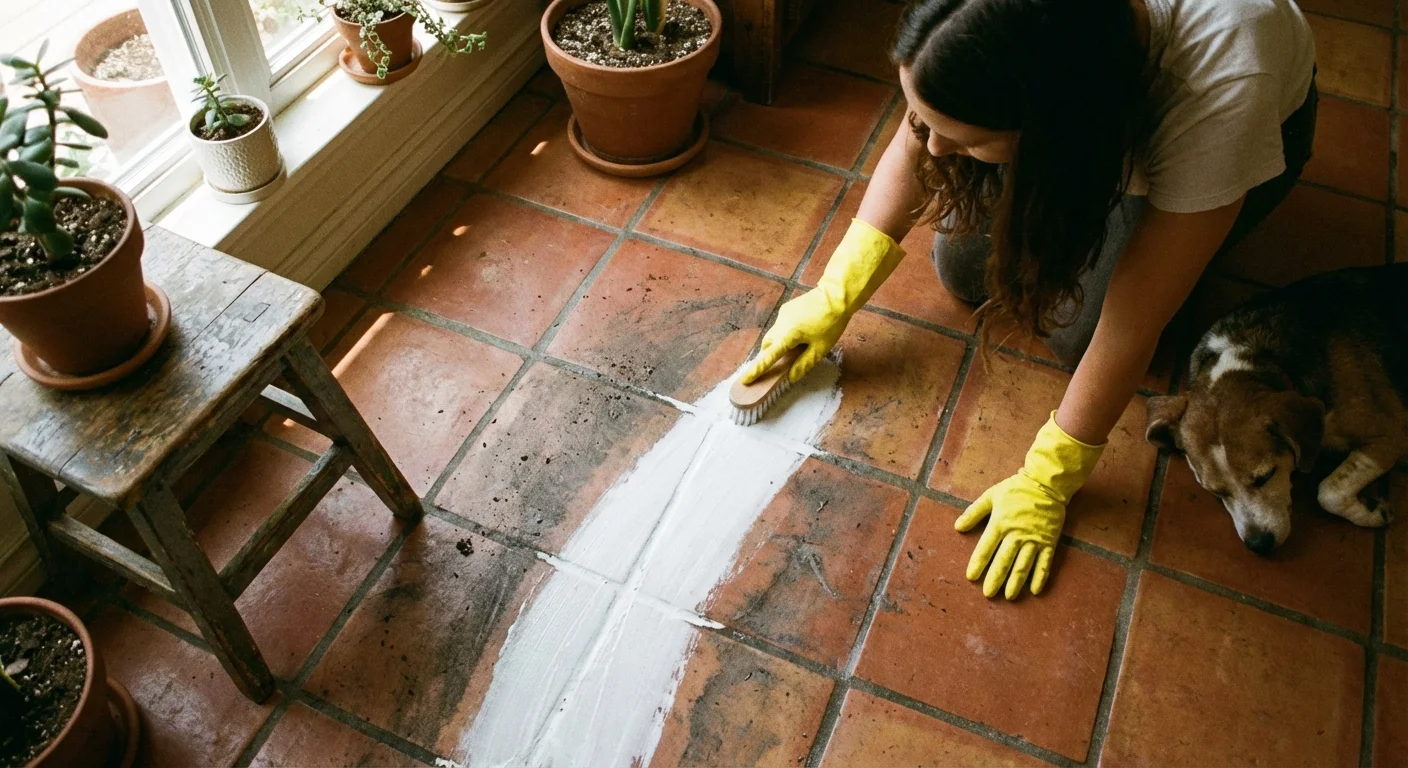
Tile Cleaning Tips: Ceramic, Porcelain, and Grout
Ceramic and porcelain tiles boast incredible durability, making them ideal for bathrooms, kitchens, and mudrooms. The tiles themselves resist water and most chemical cleaners easily. The real challenge in your tile cleaning tips arsenal involves the grout—the porous, sand-based mixture that holds the tiles together.
Proper tile maintenance is a crucial part of any bathroom cleaning checklist to ensure long-term hygiene and shine.
While glazed ceramic tile shrugs off spills, unsealed grout eagerly absorbs liquids, grease, and dirty mop water, leading to dark, discolored lines. To maintain beautiful tile floors, address the tile and the grout as two separate entities.
- Sweep thoroughly: Remove all loose debris to prevent dragging grit across the glazed surfaces.
- Mix your solution: Combine a mild alkaline cleaner or a few drops of dish soap with warm water. Avoid acidic cleaners like vinegar for daily cleaning, as acids gradually degrade grout lines over time.
- Mop with a chamois or rag mop: Sponge mops push dirty water directly into the recessed grout lines. A rag mop or microfiber flat mop glides over the surface more effectively.
- Change the water frequently: Mopping with cloudy water simply redistributes dirt. Dump your bucket and mix a fresh batch as soon as the water looks murky.
- Tackle the grout: Twice a year, create a paste using baking soda and hydrogen peroxide. Apply it to the grout lines, let it sit for ten minutes, scrub with a stiff nylon brush, and rinse thoroughly.
Always reseal your grout annually to create a protective barrier against future stains. You can test your grout’s seal by dropping a few beads of water onto it; if the water beads up, the seal is intact. If it absorbs immediately, it is time to reseal.
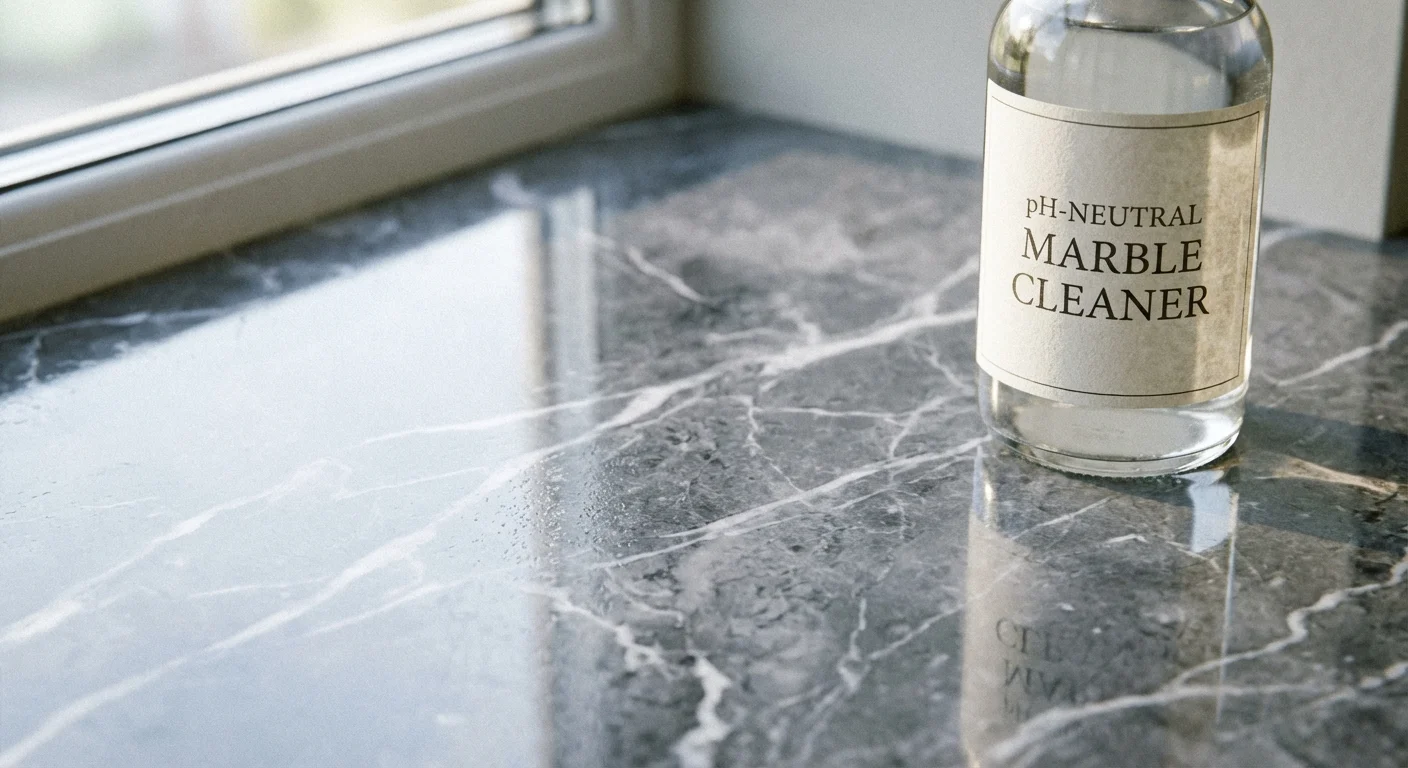
Natural Stone: Caring for Marble, Granite, and Slate
Natural stone floors add unparalleled luxury to a home, but they require a gentle, chemistry-aware approach. Marble, travertine, and limestone consist of calcium carbonate, a mineral that reacts violently to acids. A single splash of lemon juice, vinegar, or harsh bathroom cleaner will literally dissolve the top layer of the stone, leaving dull, white spots known as “etching.”
For those looking to avoid harsh chemicals on delicate stone, consider using non-toxic cleaning products that are gentle yet effective.
Granite and slate are denser and slightly more forgiving, but you should still treat all natural stone with the same strict protocols to maintain the seal and shine.
Clean natural stone exclusively with a pH-neutral, stone-specific cleaner. Mix the neutral cleaner with warm water according to the manufacturer’s directions. Use a soft, clean microfiber mop, wringing it out until it is barely damp. After cleaning, dry the floor with a clean microfiber cloth to prevent water spots, which show up prominently on dark stone and highly polished marble.
According to The Spruce, sweeping stone floors regularly is non-negotiable. Sand and silica particles brought in from outside rank higher on the Mohs hardness scale than many natural stones. If left on the floor, these particles act like sandpaper under your feet, dulling the expensive finish over time.
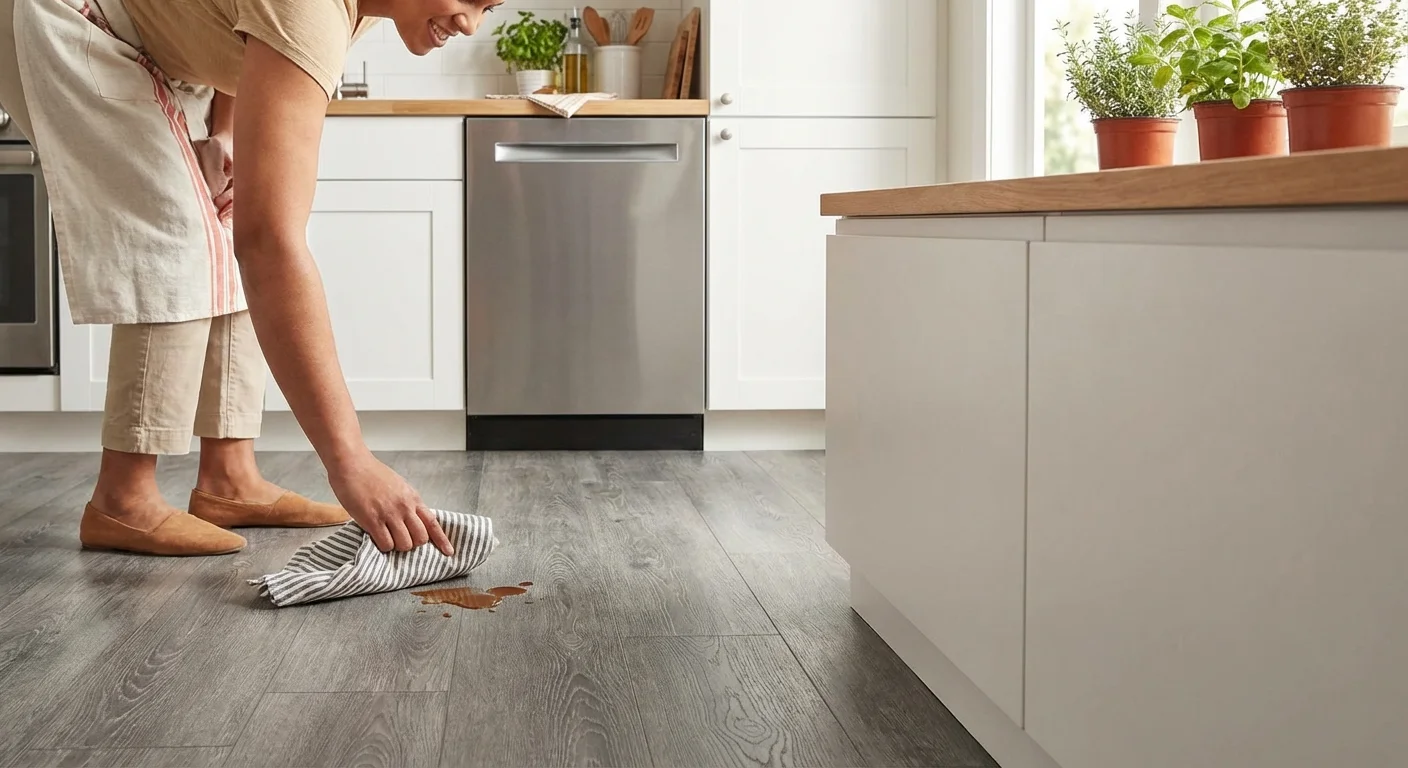
Luxury Vinyl Plank (LVP) and Sheet Vinyl
Luxury Vinyl Plank (LVP) and sheet vinyl have revolutionized home flooring by offering the visual appeal of wood or stone combined with total waterproof capabilities. Vinyl floors withstand heavy foot traffic, dropped items, and large liquid spills, making them perfect for active households and pet owners.
Despite their ruggedness, vinyl floors possess a specific vulnerability: rubber. Rubber-backed mats and rugs trigger a chemical reaction with the vinyl surface called “anti-oxidant staining,” resulting in permanent yellow or brown discoloration. Always use colorfast, woven rugs with non-staining felt or specialized vinyl-safe rug pads.
Maintain your vinyl floors by sweeping daily. For wet cleaning, mix a cup of apple cider vinegar into a gallon of warm water. The mild acidity lifts dirt and grime without leaving the soapy film that standard floor cleaners often deposit. If your vinyl features a textured surface mimicking wood grain, use a mop with slightly longer microfiber loops to reach into the synthetic crevices.
Avoid “mop and shine” products. While they promise a quick, glossy finish, they build up rapidly, trapping dirt underneath a cloudy, acrylic layer that requires aggressive chemical stripping to remove.
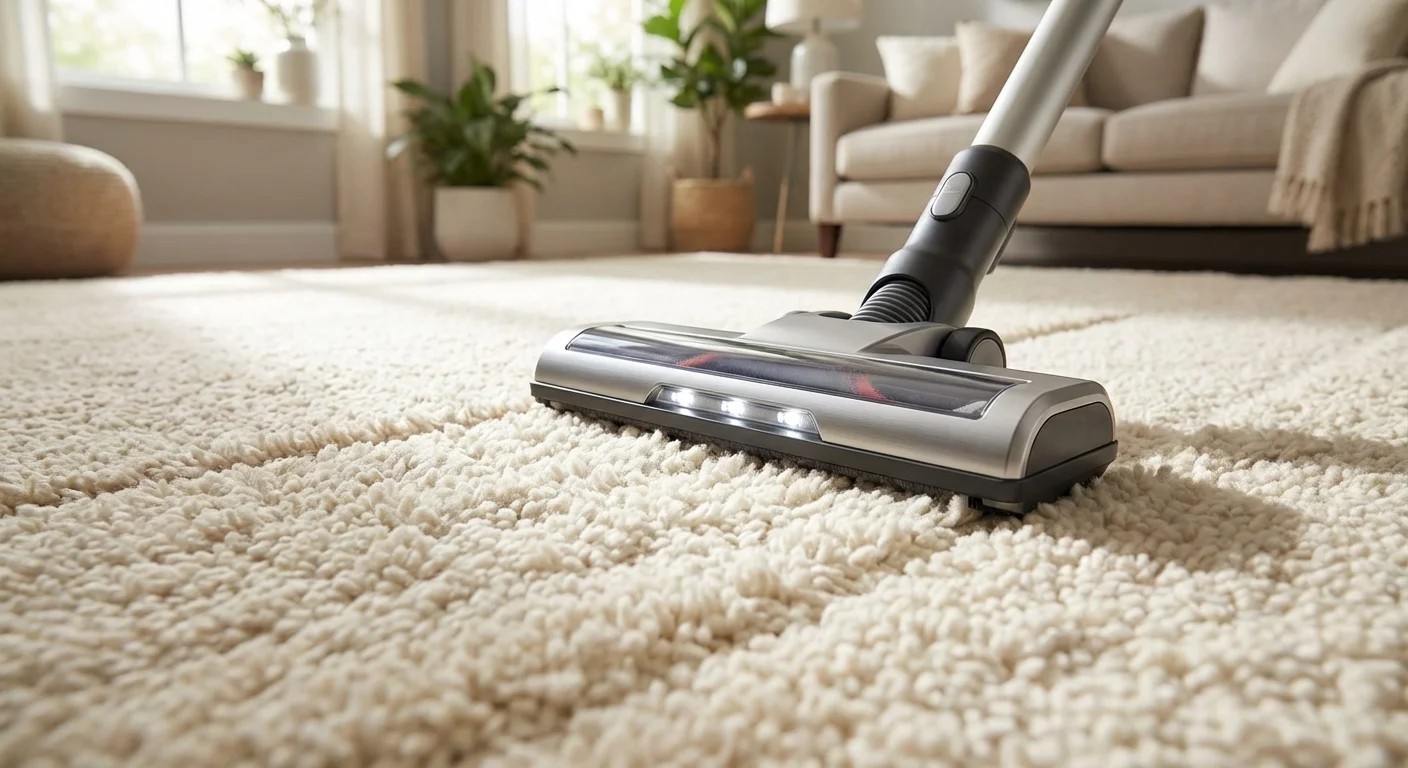
Carpet and Area Rugs: Deep Cleaning and Spot Treatments
Carpets act as the largest air filter in your home, trapping dust, pet dander, allergens, and airborne oils. Neglecting to clean carpets allows these sharp, microscopic particles to settle near the base of the fibers. As you walk across the room, these particles grind against the carpet yarns, slicing the fibers and creating the frayed, dull look commonly referred to as “traffic lanes.”
Vacuuming remains your primary defense. Vacuum high-traffic areas at least twice a week using a machine equipped with a HEPA filter and an active beater bar. Pass over the same area slowly; moving the vacuum too quickly prevents the suction from pulling dirt from the base of the pile.
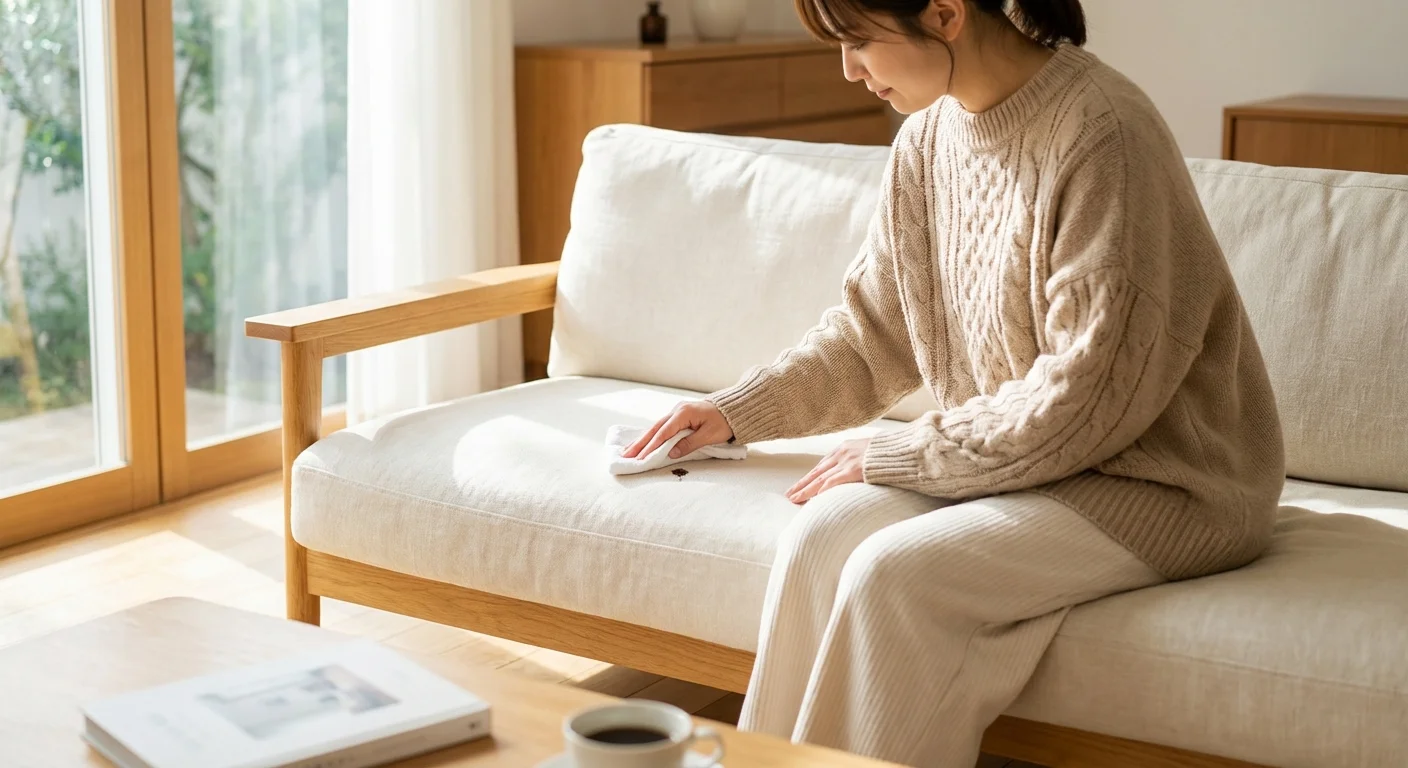
When spills happen, act immediately. Scoop up solids with a spoon and blot liquids with a clean, white cotton towel. Never scrub or rub a carpet stain; the friction untwists the carpet fibers and pushes the pigment deeper into the backing. Work from the outside of the stain toward the center to prevent spreading.
Schedule hot water extraction (steam cleaning) every 12 to 18 months. While renting a machine provides a decent superficial clean, professional truck-mounted extraction systems heat the water to higher temperatures and possess the powerful vacuum motors necessary to pull the moisture completely out of the padding, preventing mold growth.
Linoleum and Cork: Eco-Friendly Material Care
Often confused with synthetic vinyl, true linoleum is a natural product made from linseed oil, pine rosin, wood flour, and cork dust pressed onto a jute backing. Cork flooring, derived from the bark of the cork oak tree, shares a similarly green profile. Both materials are highly sustainable, naturally antimicrobial, and comfortably resilient underfoot.
Because these are natural, organic materials, they require specific care to prevent drying out and cracking. Avoid high-pH cleaners, heavy degreasers, and ammonia at all costs, as they strip the linseed oil right out of the linoleum.
Clean cork and linoleum using a few drops of mild dish soap mixed into a spray bottle of warm water. Mist the floor lightly and wipe immediately with a damp microfiber mop. Both materials hate standing water; if water seeps into the seams of a cork floor, the tiles will swell and warp.
To keep linoleum looking vibrant, apply a coat of liquid carnauba wax every six months. The wax feeds the natural materials and restores the protective barrier against foot traffic.
Floor Cleaning Product Comparison
Keep this quick-reference table handy to ensure you are reaching for the right tools and solutions for every room in your home.
| Flooring Material | Best Cleaning Solution | Preferred Tool | Strictly Avoid |
|---|---|---|---|
| Hardwood (Sealed) | Commercial wood cleaner | Flat microfiber mop | Steam mops, excess water, vinegar |
| Laminate | Alcohol/water mix (light mist) | Flat microfiber mop | Traditional string mops, wax, steam |
| Ceramic/Porcelain Tile | Mild dish soap & warm water | Chamois or rag mop | Sponge mops (pushes dirt into grout) |
| Natural Stone | pH-neutral stone cleaner | Soft microfiber mop | Vinegar, lemon, bleach, acidic cleaners |
| Luxury Vinyl (LVP) | Apple cider vinegar & water | Microfiber string or flat mop | “Mop and shine” acrylic products, steam |
| Linoleum / Cork | Water with a drop of mild soap | Slightly damp flat mop | Ammonia, high-pH cleaners, flooding |
Pitfalls to Watch For
Even with the best intentions, certain common habits can ruin your flooring over time. Watch out for these detrimental practices:
- Abusing the Steam Mop: Manufacturers market steam mops as a versatile, chemical-free miracle tool. However, pressurized, 200-degree steam strips the finish off hardwood, melts the adhesive backing on luxury vinyl plank, and forces water directly into the vulnerable core of laminate flooring. Reserve your steam mop exclusively for ceramic and porcelain tile.
- Over-Relying on Vinegar: White vinegar is a brilliant household cleaner, but its acidic nature makes it highly destructive to specific surfaces. Never let vinegar touch marble, travertine, or unsealed grout. Even on polyurethane-coated wood floors, repetitive use of vinegar will eventually dull and etch the clear finish.
- Using the Wrong Vacuum Attachment: Vacuuming hard floors with a spinning bristle bar creates microscopic scratches. Over months, these tiny abrasions combine to form a cloudy, dull appearance that no amount of cleaning can fix. Always flip the switch to lower the bare-floor squeegee and stop the brush roll.
- Skipping the Grout Sealer: Grout is essentially colored concrete. If you leave it unsealed, it absorbs every drop of dirty mop water you push over it. Applying a penetrating sealer takes only an hour but saves you years of aggressive scrubbing.
Frequently Asked Questions
How do I fix cloudy streaks left on my floor after mopping?
Cloudy streaks typically result from using too much cleaning product, failing to rinse the mop pad, or using a “mop and shine” polish. To remove the residue, mix one part white vinegar with one part hot water (only on safe surfaces like vinyl or tile) and scrub the floor thoroughly. For hardwood or laminate, use a dedicated streak-free commercial floor stripper or a light application of rubbing alcohol and water.
How often should I mop my floors?
High-traffic areas like kitchens, bathrooms, and entryways benefit from weekly mopping. Low-traffic spaces like formal dining rooms and guest bedrooms only require mopping once a month. Over-mopping introduces unnecessary moisture to your home and wears down finishes prematurely; rely heavily on dry sweeping and vacuuming instead.
What is the safest way to clean up pet urine from hard floors?
Urine contains uric acid, which can quickly permanently stain wood and natural stone. Blot up the liquid immediately with paper towels. Spray the area with an enzymatic cleaner specifically formulated for your floor type; these cleaners utilize harmless bacteria to actively consume the uric acid crystals, eliminating the odor completely and discouraging repeat offenses.
Can I use dish soap on all my floors?
While a highly diluted drop of pH-neutral liquid dish soap serves as a decent emergency cleaner for vinyl, tile, and linoleum, it is not ideal for daily use across all materials. Dish soap leaves a slight film that accumulates over time, attracting dust and creating a dull finish. Stick to material-specific cleaners for your regular routine.
By tailoring your approach to the exact materials under your feet, you protect your home’s foundation and simplify your weekly chores. Throw out the one-size-fits-all heavy bucket, invest in a quality flat mop, and embrace the power of dry cleaning to keep your floors looking pristine for decades.
This is educational content based on general best practices. Individual results vary based on your home, budget, and circumstances. Always prioritize safety and consult professionals for major projects or restoring heavily damaged surfaces.
Last updated: February 2026

Leave a Reply