
You crave clear, unobstructed views from your home, but the thought of cleaning windows often brings to mind frustrating streaks and smudges. It feels like a battle against the elements, a chore that never quite yields the perfect, invisible glass you envision. As your home organization coach, I understand your time is precious, and you need effective, realistic solutions. This guide cuts through the clutter, offering practical, actionable advice to achieve streak-free windows without the hassle. We will equip you with simple methods, budget-friendly options, and insider cleaning tips that work for real life, whether you live in a sprawling house or a cozy apartment.

Why Streak-Free Windows Matter
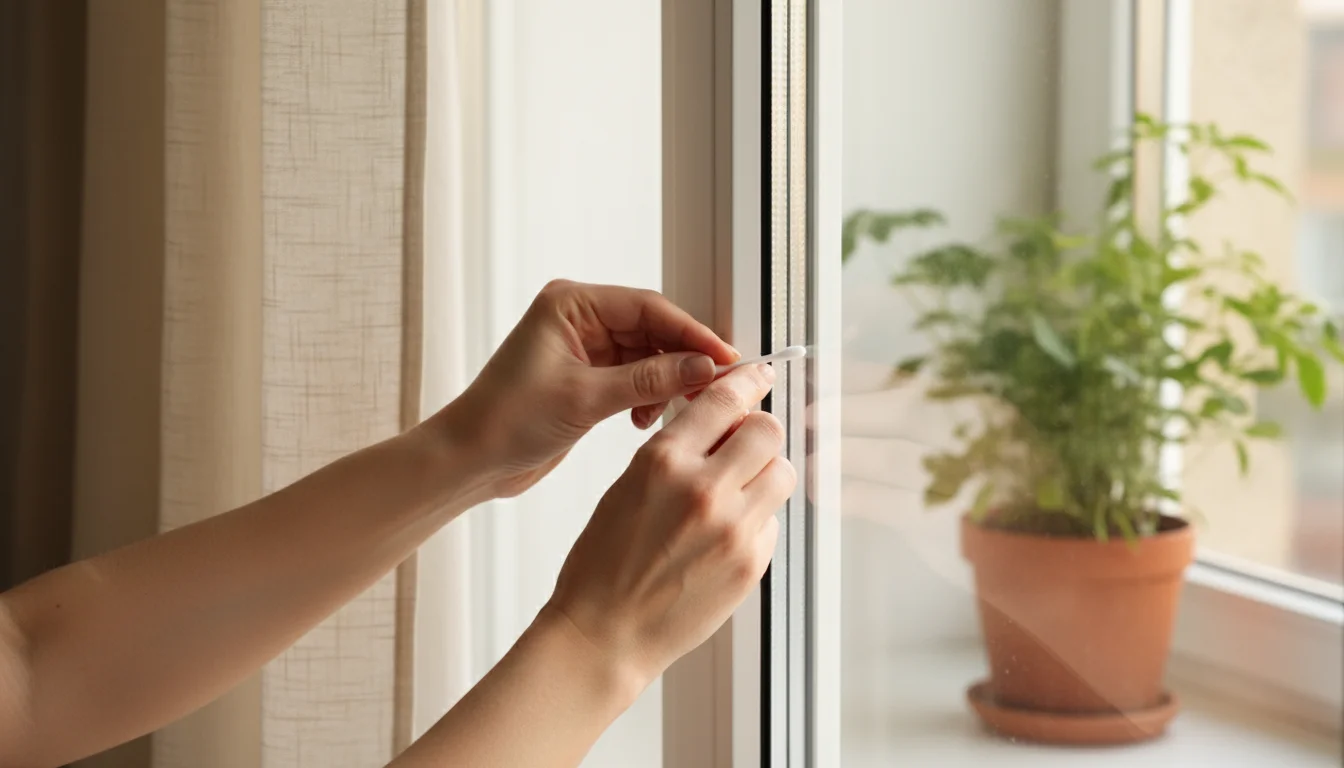
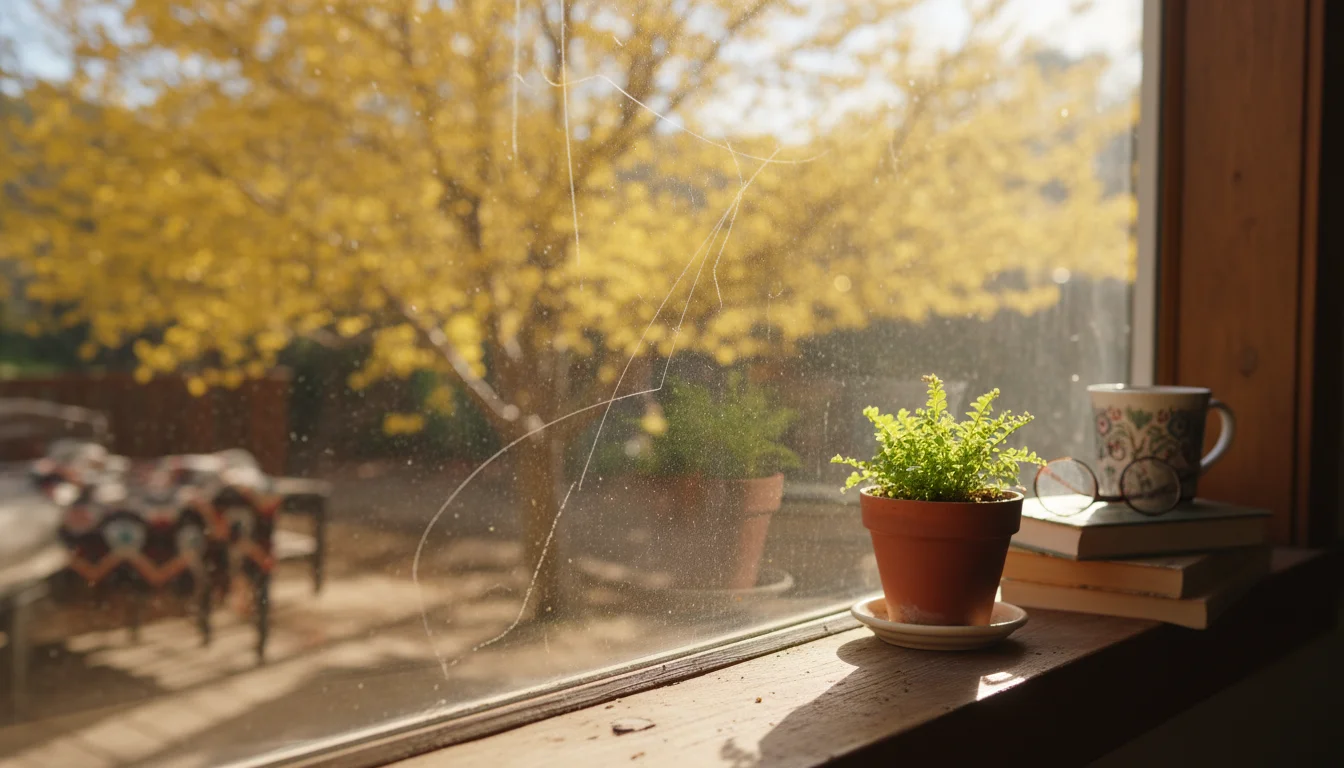
Clean windows are about more than just aesthetics. They significantly impact your home’s comfort, energy efficiency, and overall atmosphere. When your windows are clear, you maximize natural light, which research from the EPA suggests can positively influence mood and productivity, reducing your reliance on artificial lighting. This boosts your home’s energy efficiency. Dingy, streaky windows block this vital light, making rooms feel darker and smaller, even requiring you to turn on lights during the day.
Beyond light, clean windows offer an unobstructed view of the outside world, creating a stronger connection to nature and your surroundings. They enhance your home’s curb appeal, making it look well-maintained and inviting from the exterior. For homeowners, this can even impact resale value. For renters, it contributes to a more pleasant living environment. Furthermore, regular window cleaning removes accumulated dust, pollen, and other allergens, contributing to better indoor air quality. According to the American Cleaning Institute, maintaining a clean home environment is a crucial aspect of overall household health. Eliminating these surface contaminants helps create a healthier space for you and your family.
The “quick win” of a perfectly clean window is incredibly satisfying. It transforms a room instantly, making it feel brighter, more open, and meticulously cared for. This often inspires further cleaning and organization, building momentum for tackling other areas of your home. You deserve to look out and see crystal-clear views, not the residue of yesterday’s rain or fingerprints.
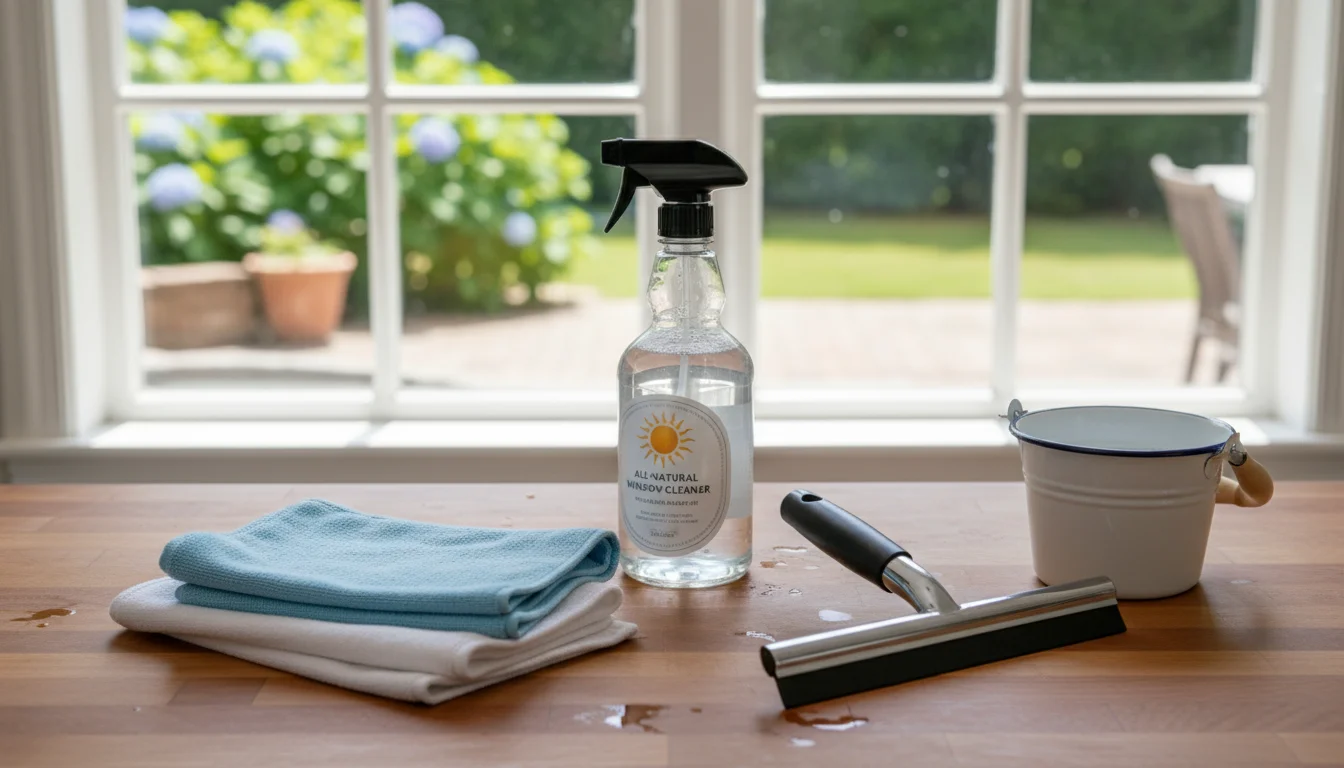
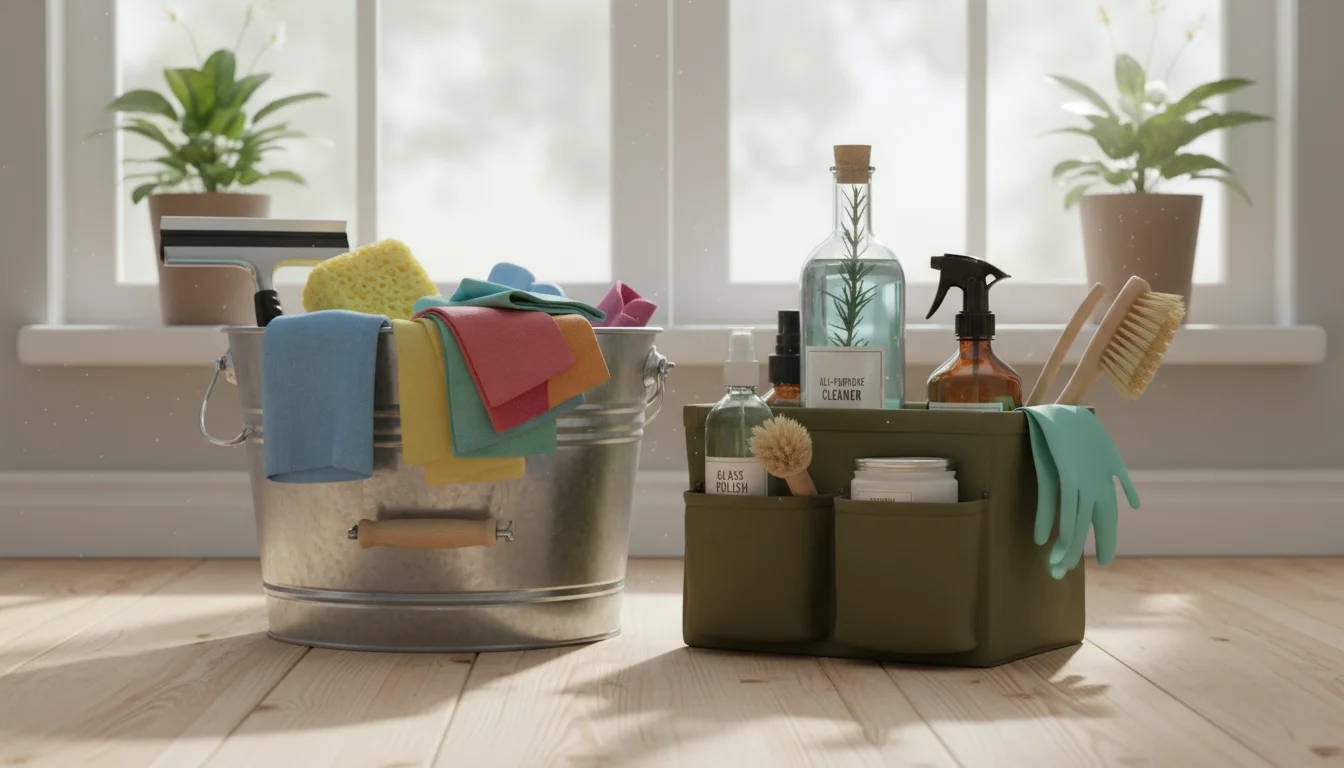
Gather Your Essential Tools and Supplies
Achieving streak free windows does not require a vast array of expensive gadgets. In fact, many common household items work better than specialized products. The key lies in selecting the right tools and knowing how to use them effectively. Here is a breakdown of what you will need:
Cleaning Solution Options:
- Commercial Window Cleaner: Many brands offer streak-free formulas. Look for those specifically designed for glass. Ensure you read the label for instructions and safety precautions.
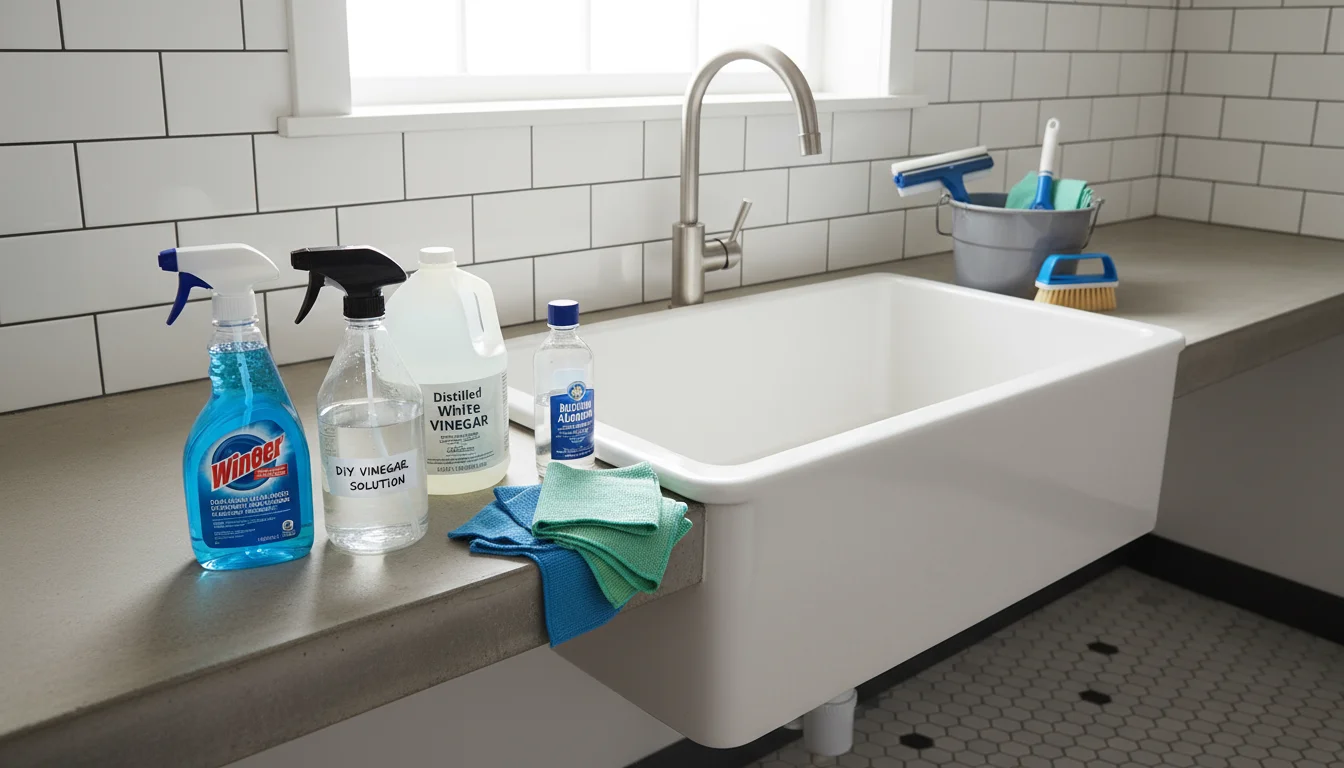
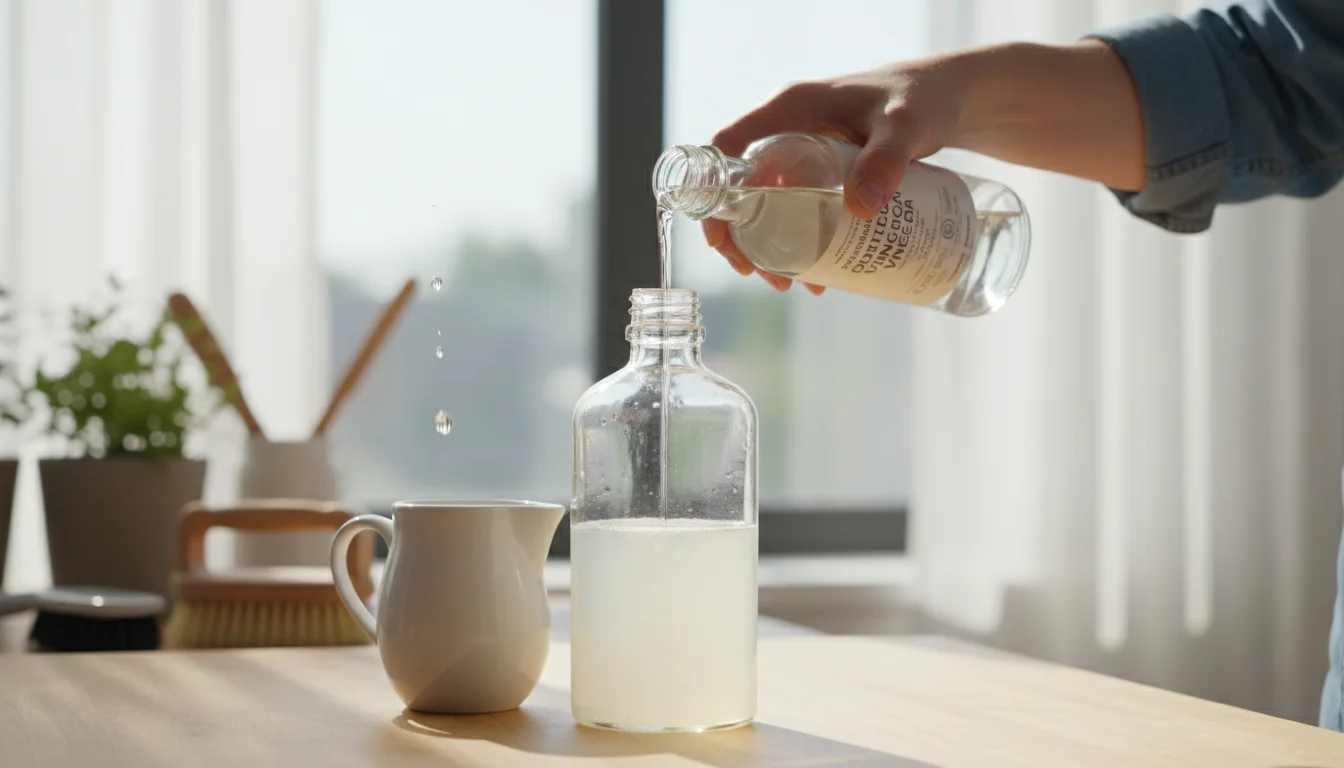
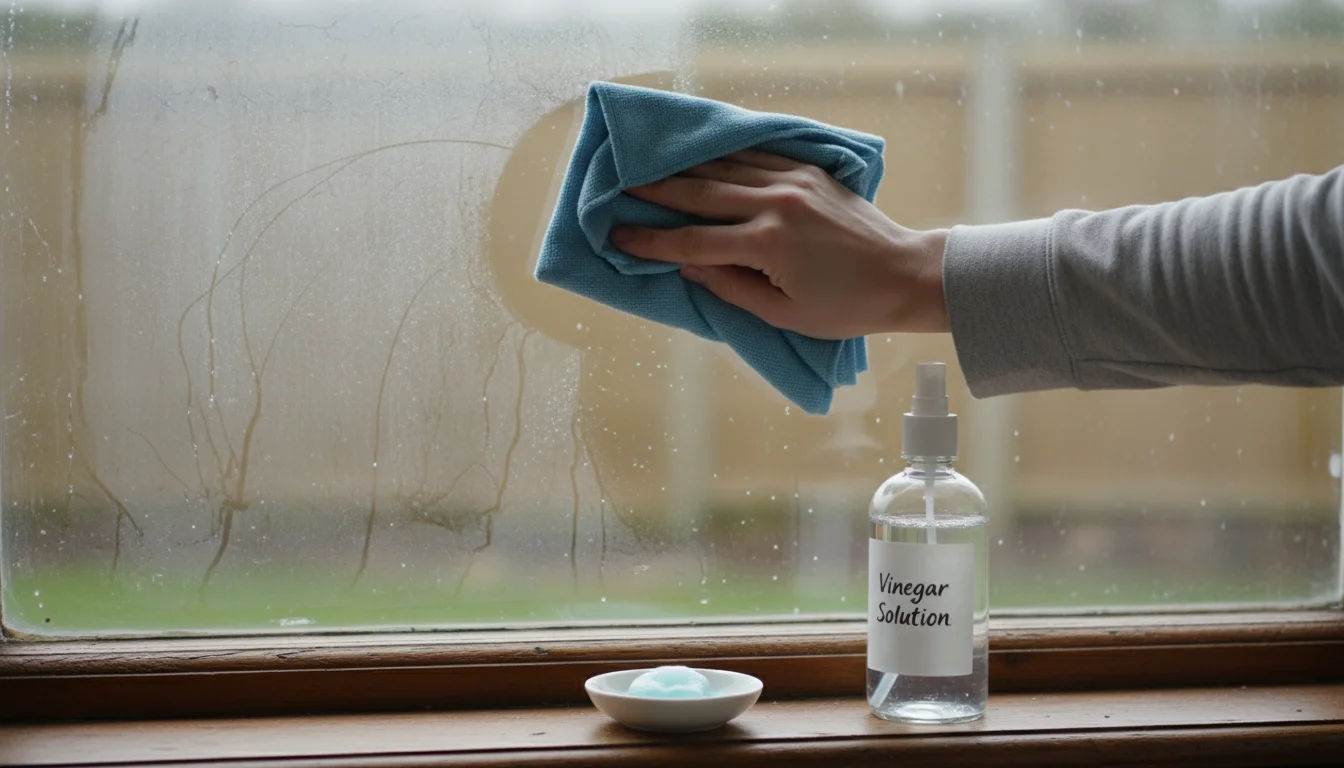
- DIY Vinegar Solution: A fantastic, budget-friendly, and eco-conscious option. Mix equal parts distilled white vinegar and warm water in a spray bottle. You can add a few drops of dish soap (like Dawn) for extra grime-cutting power, but use sparingly to avoid suds.
- Rubbing Alcohol: For stubborn greasy spots or residue, a small amount of rubbing alcohol on a cloth can work wonders, especially on car windows or mirrors.
Applicators and Wiping Tools:
- Microfiber Cloths: These are your best friends for window cleaning. They are highly absorbent, lint-free, and grab dirt effectively without scratching surfaces. Stock up on several, as you will need both wet and dry ones.
- Squeegee: For larger windows, a high-quality squeegee is indispensable for achieving professional results. Look for one with a comfortable handle and a sharp, clean rubber blade. Sizes range from 8 to 18 inches.
- Bucket: A standard bucket for mixing your solution or holding clean water.
- Sponge or Washcloth: For initial scrubbing, especially if your windows are very dirty.
- Old Terry Cloth Towels or Drop Cloths: Protect your windowsills, floors, and nearby furniture from drips and spills.
- Cotton Swabs or Q-Tips: Perfect for cleaning corners and edges where dirt loves to hide.
Optional but Helpful Tools:
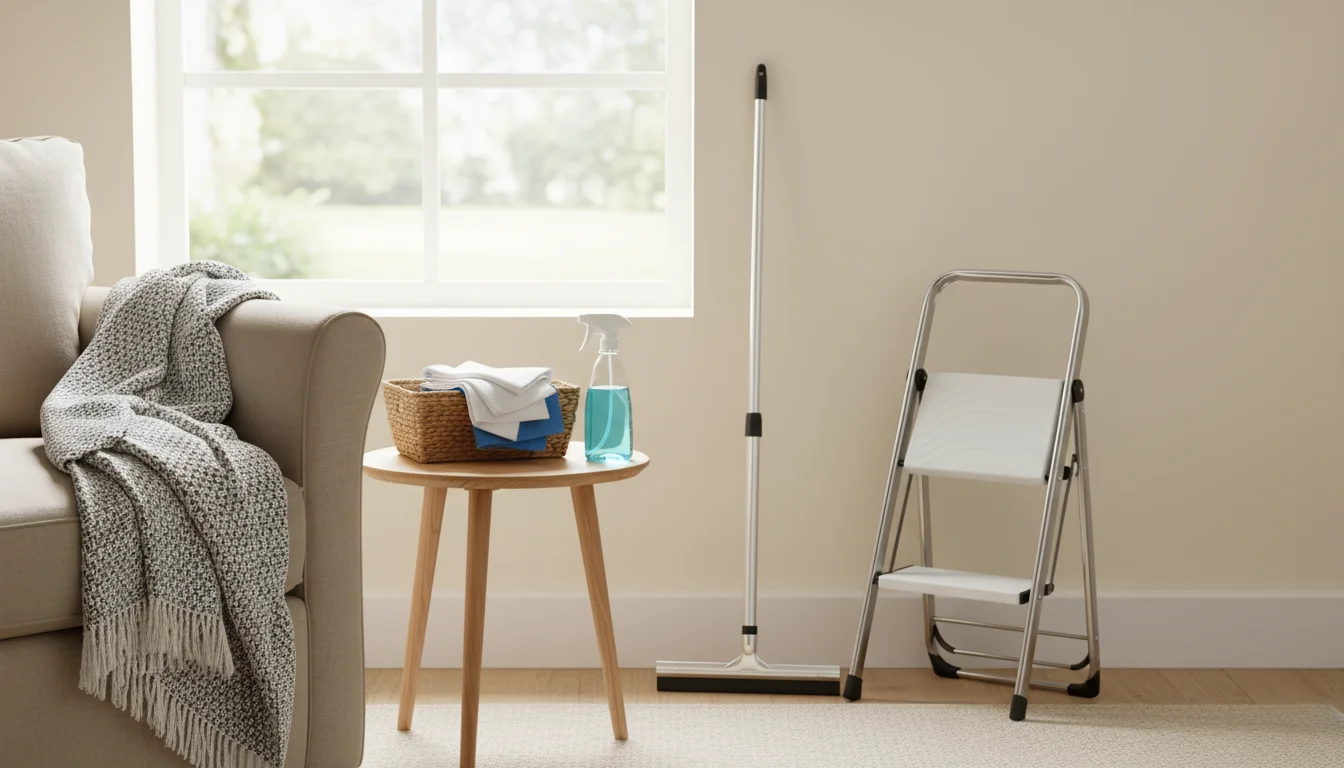
- Extension Pole: For reaching high windows safely without a ladder.
- Ladder: A sturdy step ladder for higher windows. Always prioritize safety.
- Detail Brush: A soft-bristled brush can help dislodge dirt from window frames and sills before you start cleaning the glass.
Remember, the condition of your tools matters. A dirty squeegee blade or a linty rag will create more streaks than it removes. Keep your cloths clean and your squeegee blade sharp for optimal performance. You will find that investing in a few good quality microfiber cloths and a decent squeegee pays dividends in time saved and frustration avoided.

The Secret to DIY Streak-Free Window Cleaner
Why bother with a homemade solution when store-bought options are readily available? The answer lies in effectiveness, cost savings, and environmental friendliness. Many commercial cleaners contain dyes and perfumes that can leave residue, ultimately contributing to streaks. A simple, homemade cleaner bypasses these issues, giving you pure cleaning power without the unnecessary additives.
Recipe for Success:
The most reliable DIY solution is incredibly simple:
- Distilled White Vinegar: This powerhouse ingredient is acidic, effectively cutting through grime, grease, and mineral deposits without leaving streaks.
- Warm Water: Helps dissolve dirt more efficiently than cold water.
- Optional: A few drops of dish soap: For extremely dirty or greasy windows, a tiny amount of liquid dish soap acts as a surfactant, helping to break down stubborn residues. Use only a couple of drops, as too much will lead to excessive suds and potential streaking.
Preparation:
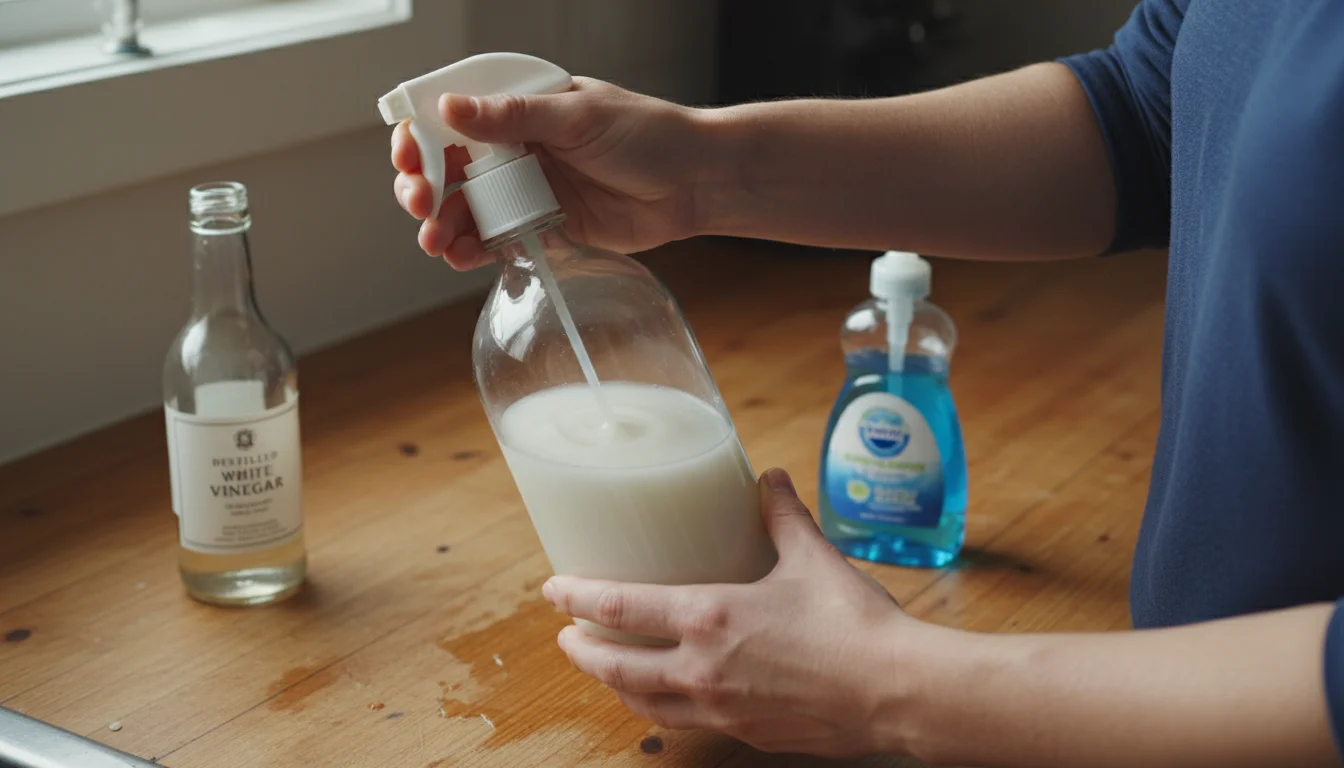
In a clean spray bottle, combine equal parts distilled white vinegar and warm water. For example, if you use 2 cups of water, add 2 cups of vinegar. Add 1-2 drops of dish soap if desired. Gently swirl the bottle to mix the ingredients without creating excessive foam.
This mixture is not only effective for window cleaning but also serves as a versatile, all-purpose cleaner for many surfaces in your home. It saves you money on specialized products and reduces your exposure to harsh chemicals. This budget-conscious approach aligns perfectly with realistic living solutions, proving that you do not need to spend a lot to achieve a brilliantly clean home.
Another benefit of this DIY method is its eco-friendliness. By avoiding aerosol cans and chemical-laden cleaners, you reduce your environmental footprint. As noted by experts at Real Simple, embracing natural cleaning alternatives often leads to a healthier home and a more sustainable lifestyle. It also ensures you always have the ingredients on hand for spur-of-the-moment cleaning.
Step-by-Step Guide to Sparkling Windows
You are ready to transform your windows from dull to dazzling. Follow these detailed steps for effective, streak-free window cleaning. The key is working methodically and using the right techniques for each stage of the process.

Step 1: Choose the Right Day and Time
Avoid cleaning windows on hot, sunny days. The sun will dry your cleaning solution too quickly, leaving behind streaks and water spots before you have a chance to wipe them away. Overcast days or early mornings/late afternoons are ideal, as the cooler temperatures and indirect light allow for a slower drying time.
Step 2: Prepare the Area
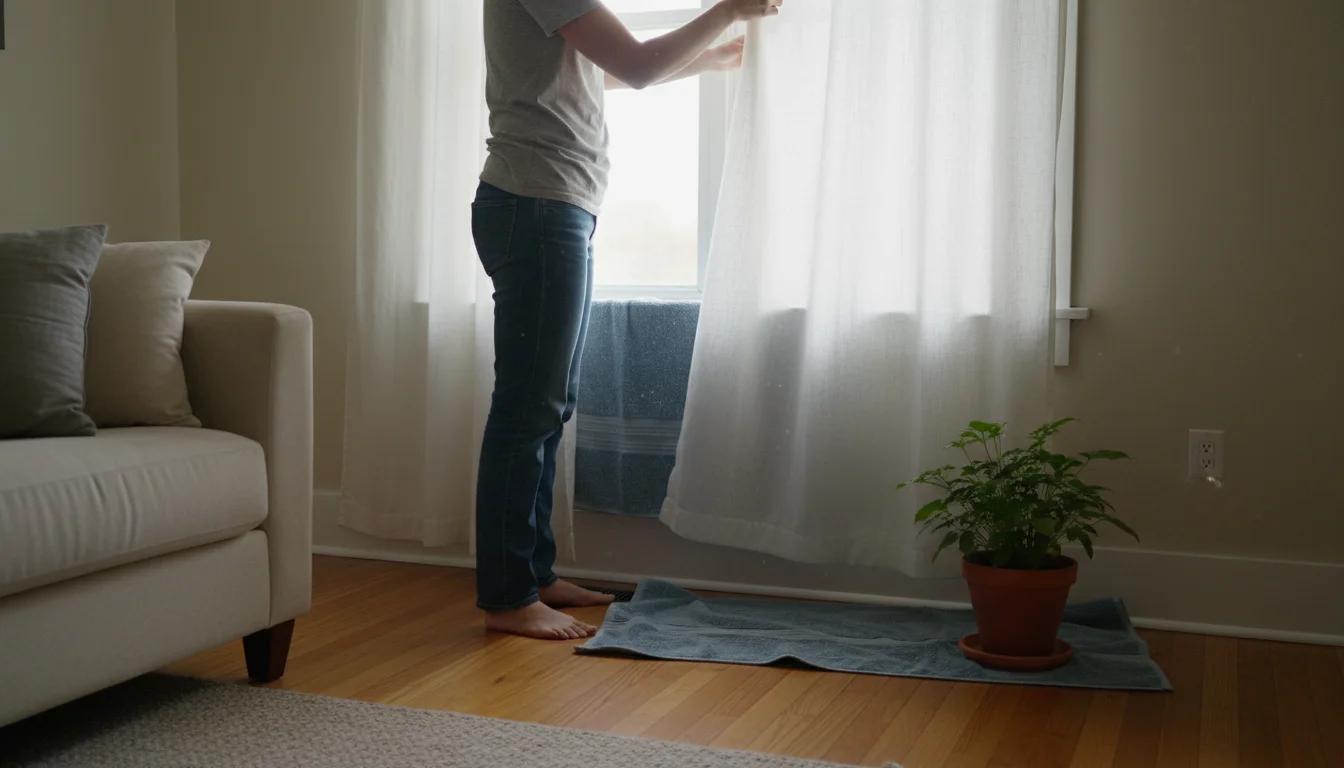
Lay down old towels or drop cloths on your windowsills and floors to catch any drips. If cleaning exterior windows, you might want to protect plants below. Remove any curtains, blinds, or decorative items that might get in the way.
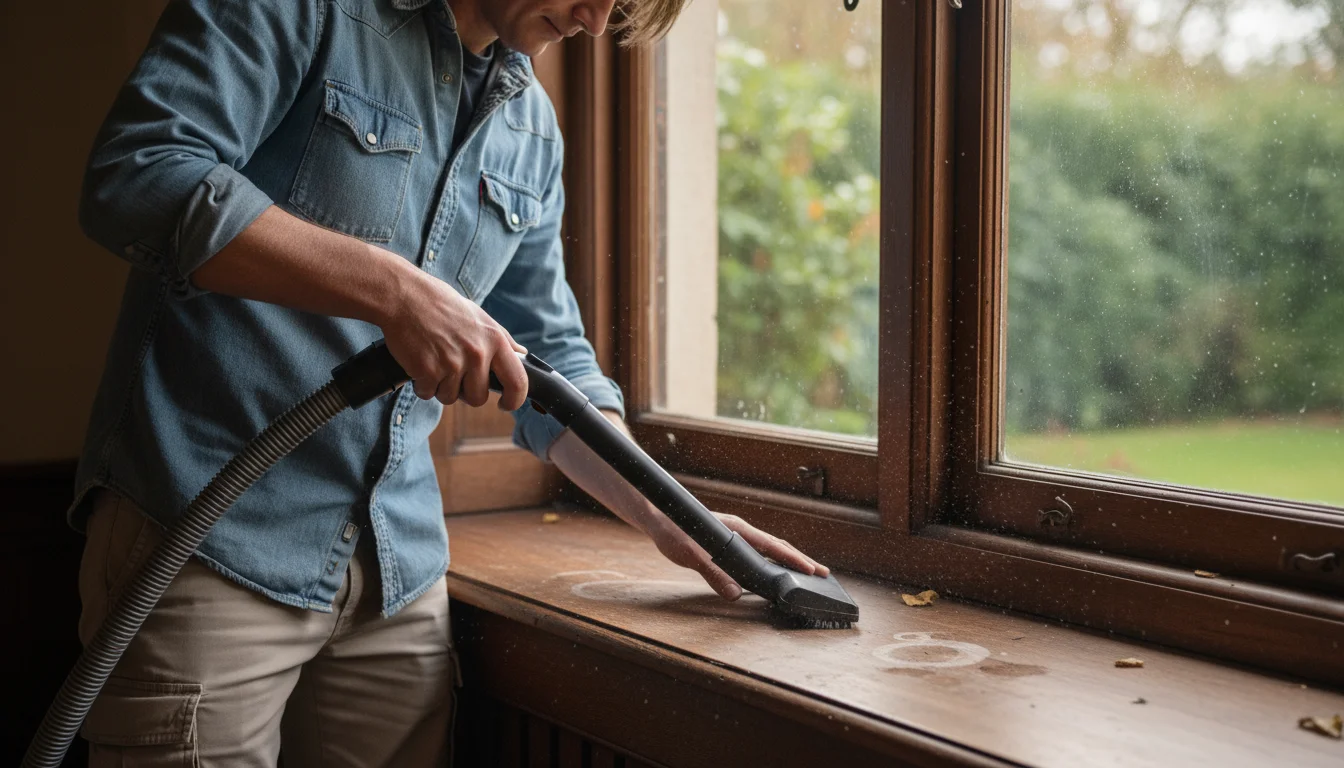
Step 3: Pre-Clean the Windows and Frames
Before touching the glass with your cleaner, remove loose dirt, dust, and cobwebs from the window frames, sills, and screens. Use a vacuum with a brush attachment or a dry microfiber cloth. If screens are particularly dirty, remove them and hose them down, letting them air dry completely before reinstalling.
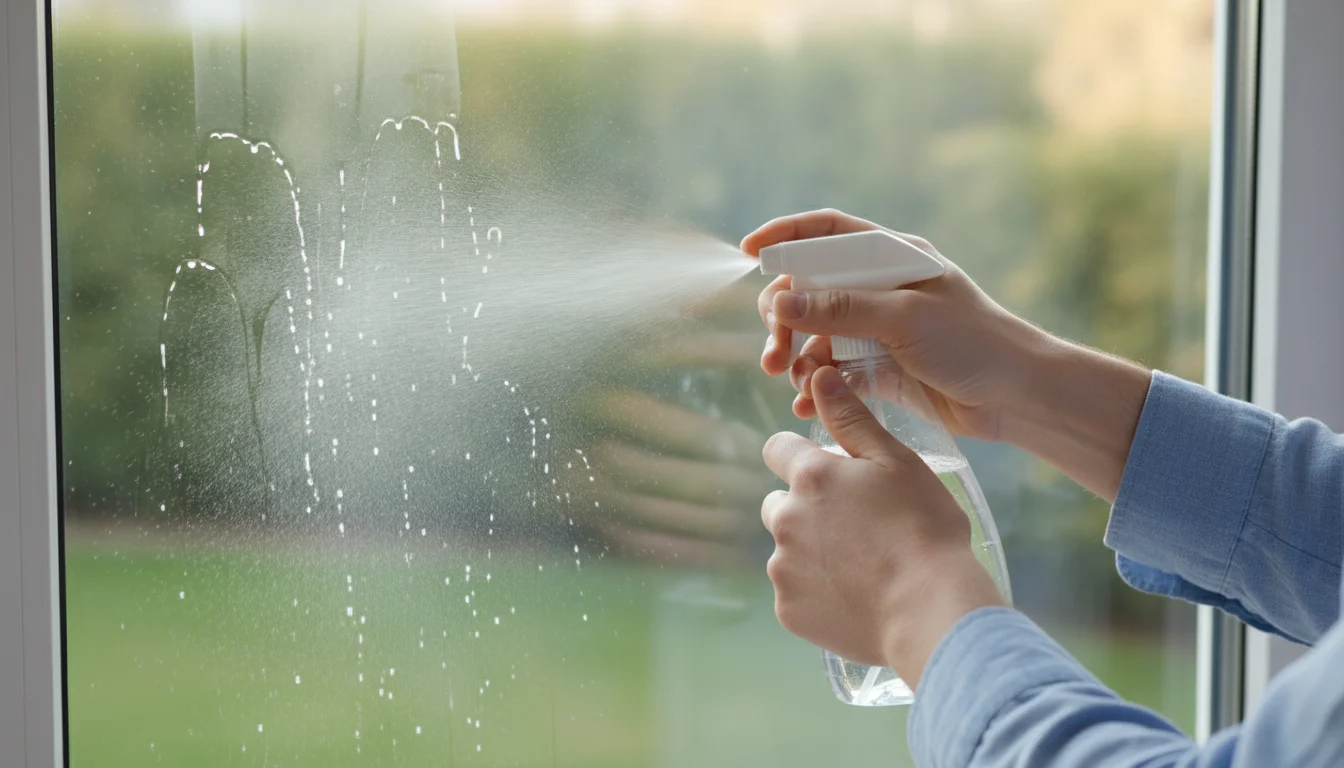
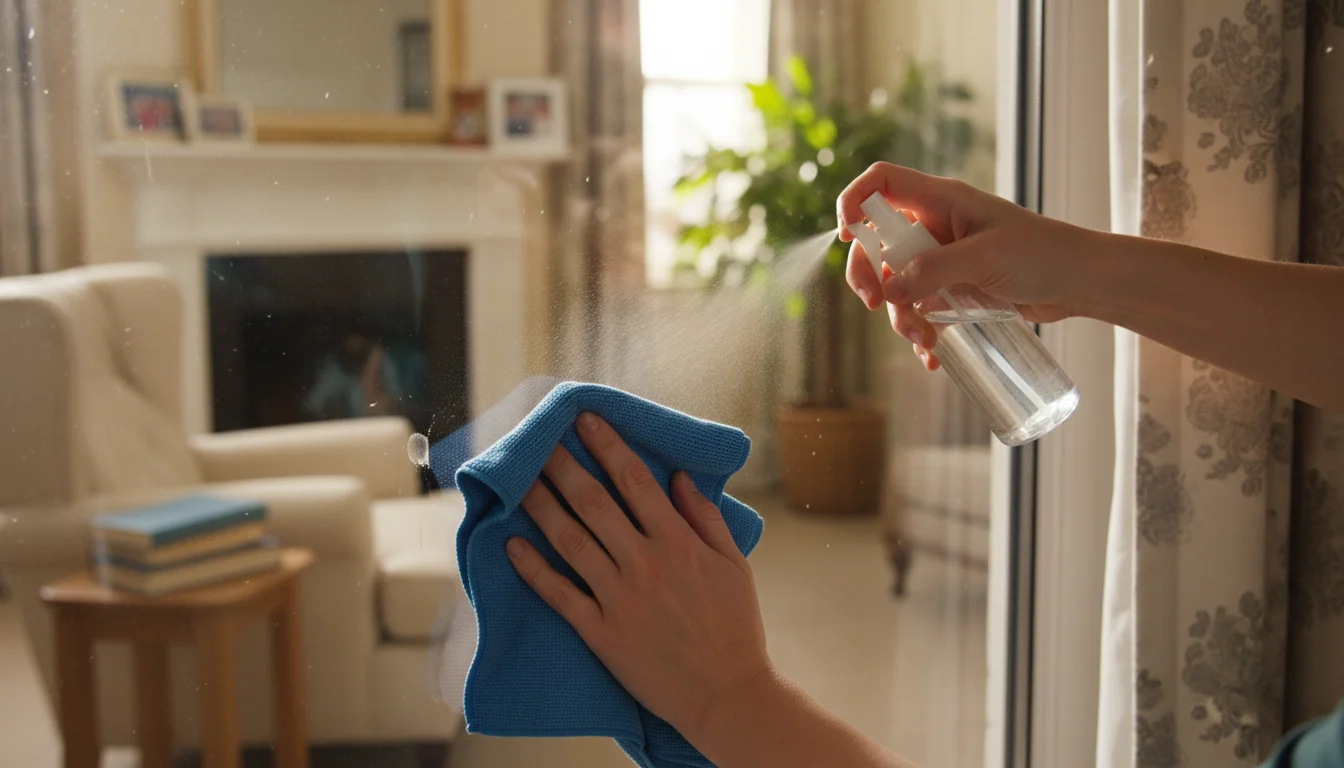
Step 4: Apply Your Cleaning Solution
If using a spray bottle with your DIY vinegar solution or commercial cleaner, liberally spray the entire window surface, starting from the top and working your way down. Ensure you cover all areas. For very large windows or significant grime, you can use a sponge dipped in your cleaning solution (or a bucket of soapy water) for the initial wash.

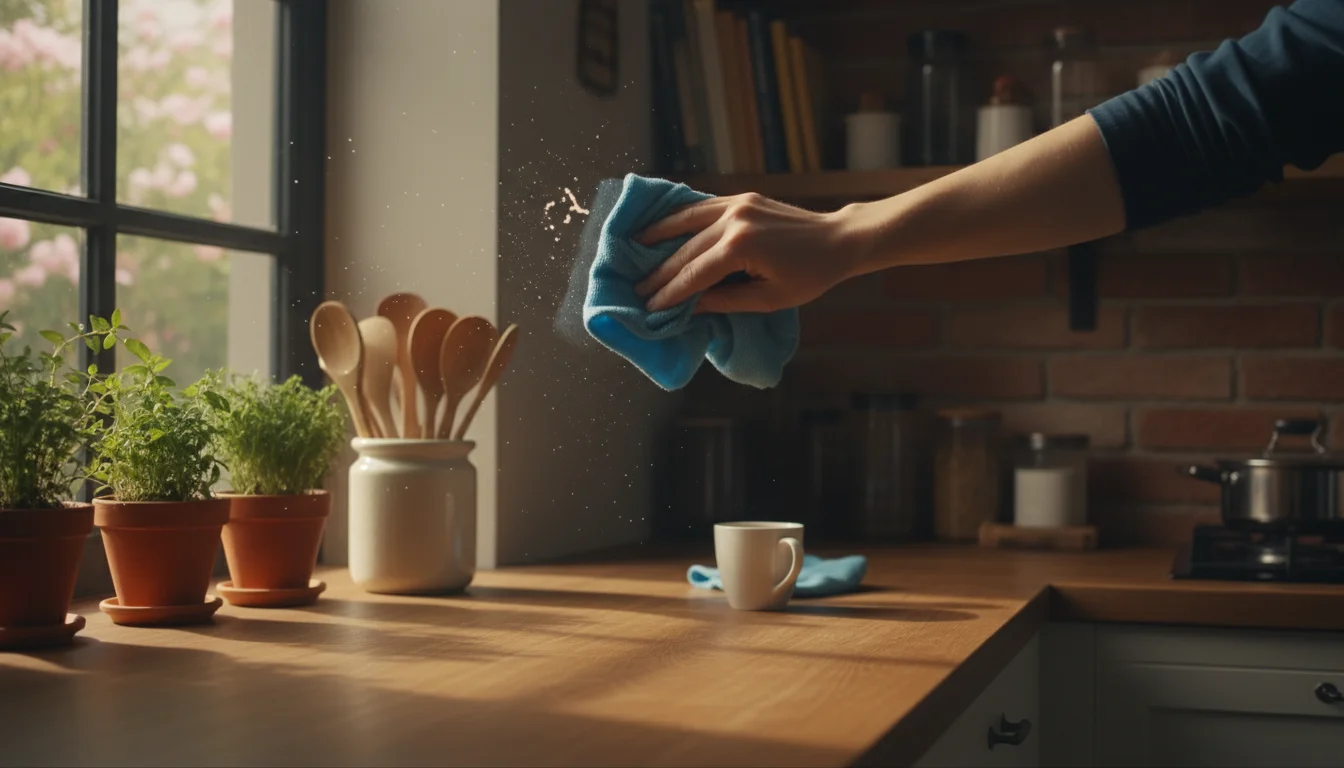
Step 5: Scrub Away Grime
Use a clean, damp microfiber cloth or sponge to thoroughly scrub the window, focusing on any dirty spots, fingerprints, or smudges. Work from top to bottom, ensuring you agitate the dirt. For stubborn spots like dried bird droppings or tree sap, let the solution sit for a minute or two to loosen the grime, then gently scrape with a plastic scraper if necessary.
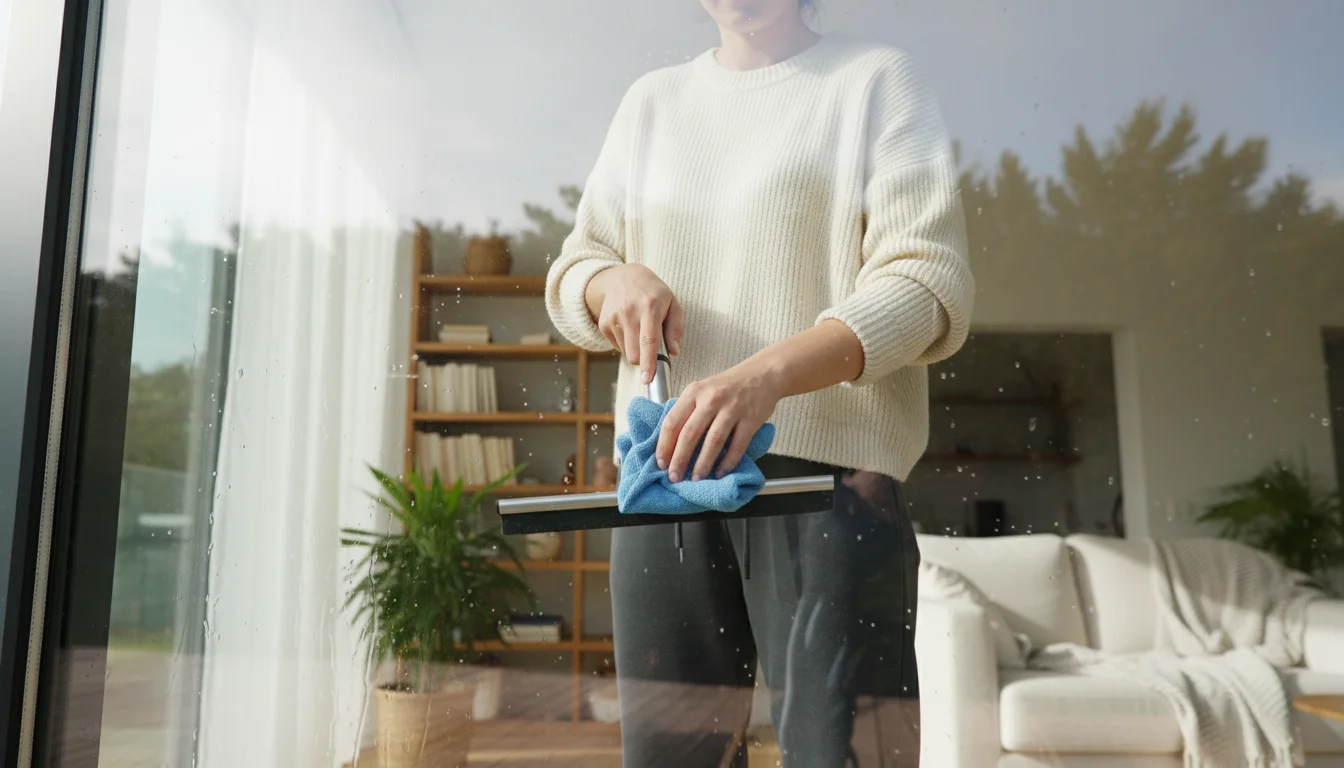
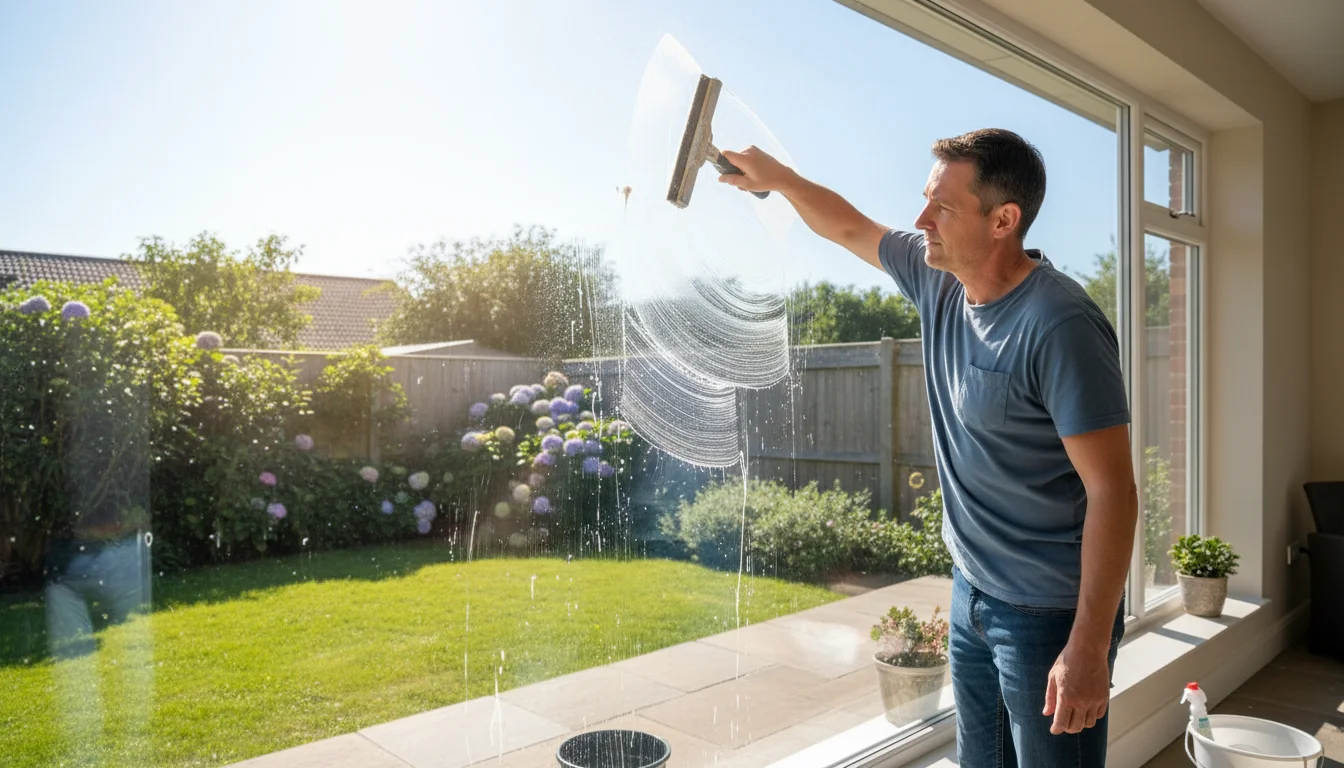
Step 6: The Squeegee Method (for larger windows)
This is where the magic happens for streak free windows on bigger panes. If you are using a squeegee, fill a bucket with clean water (and a tiny drop of dish soap if you like, to help the blade glide). Dip your squeegee into the water and wipe the blade clean with a lint-free cloth after each pass.
- Start at the top: Press the squeegee blade firmly against the top edge of the window.
- Overlap strokes: Pull the squeegee in a straight, horizontal, or vertical line, overlapping each stroke by about an inch to avoid leaving gaps.
- Clean the blade: After each pass, wipe the squeegee blade clean with a fresh, dry microfiber cloth. This removes collected dirt and prevents transferring it back onto the glass.
- Angle it right: Maintain a slight angle with the squeegee (around 15-30 degrees) to help water flow down and prevent drips.
- Finish the edges: Use a clean, dry microfiber cloth to wipe away any excess water or drips from the edges and corners of the window after squeegeeing.
The key to squeegee success is maintaining consistent pressure and a clean blade.
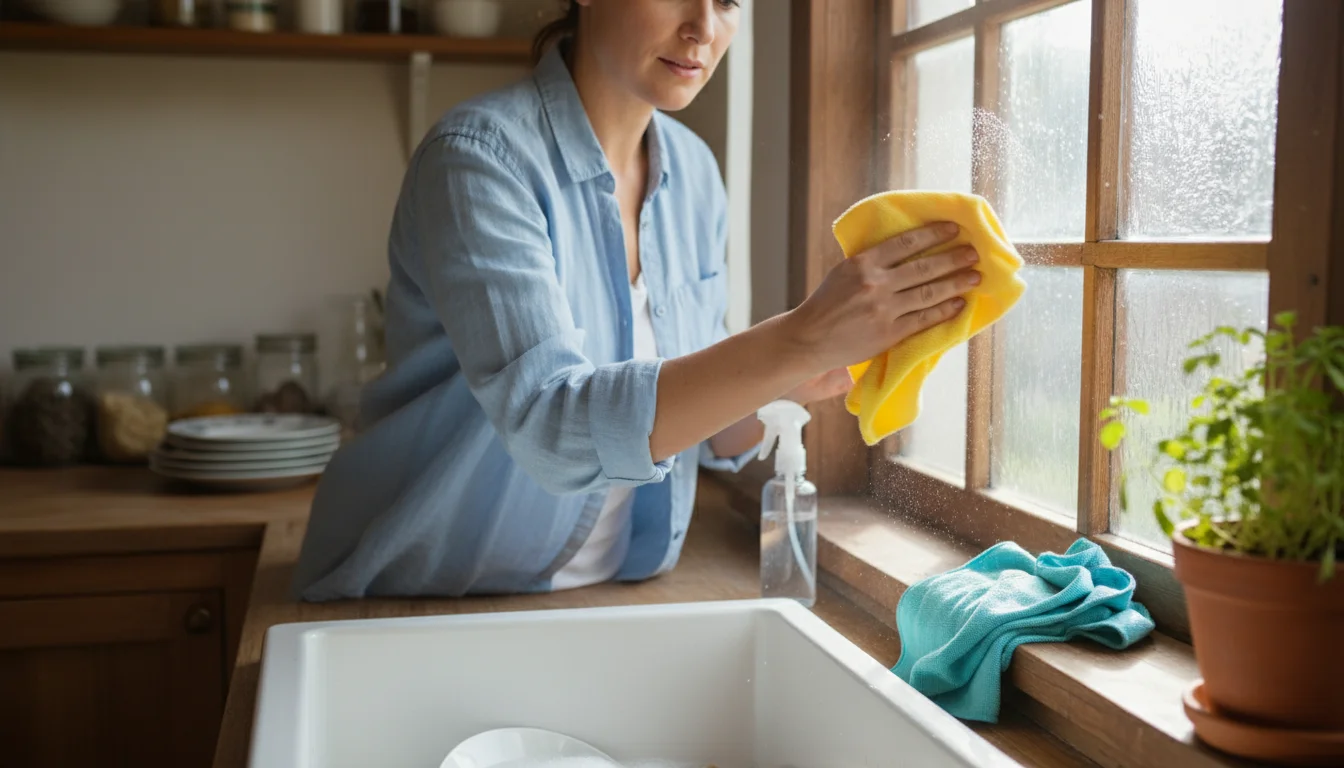
Step 7: The Microfiber Method (for smaller windows or touch-ups)
If you do not have a squeegee or are cleaning smaller panes, the two-cloth microfiber method is highly effective:
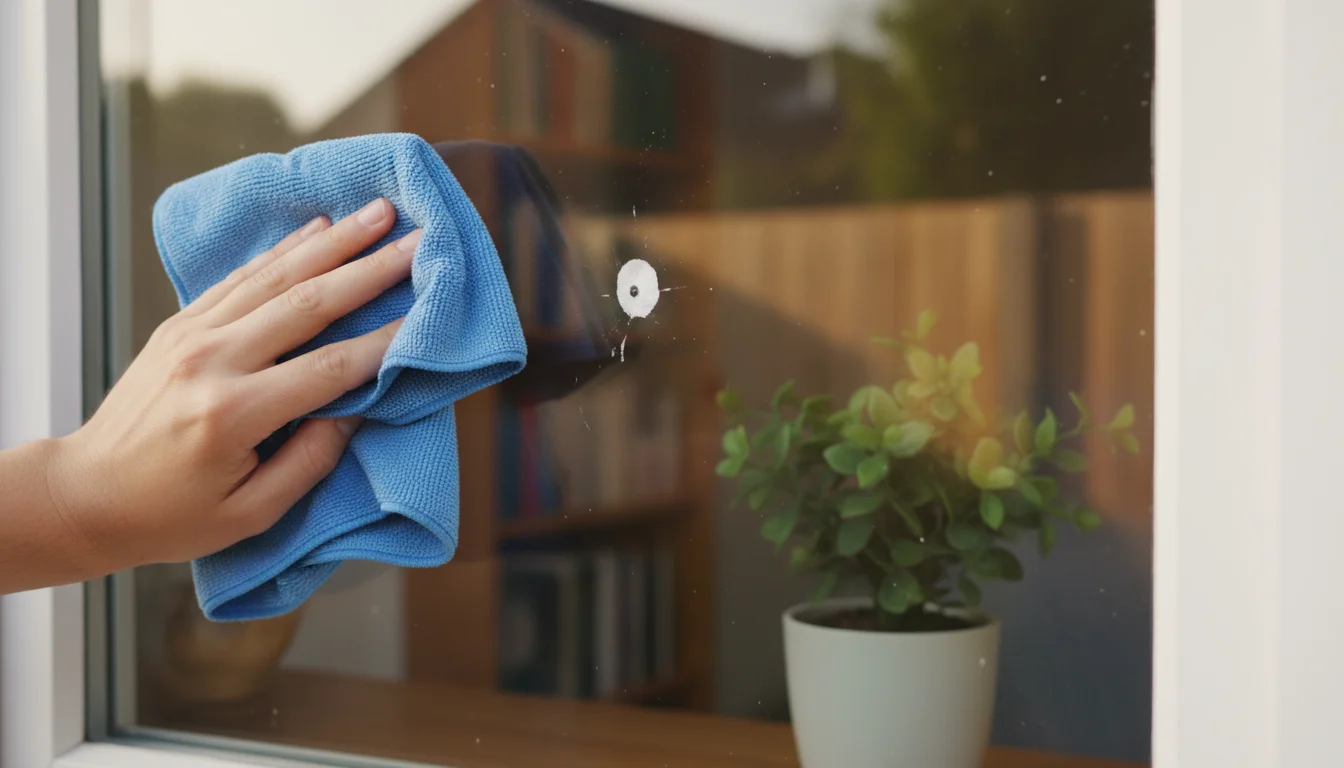
- First wipe: Use a clean, damp microfiber cloth to thoroughly wipe down the window, ensuring all cleaner and loosened dirt are removed. Work from top to bottom.
- Second wipe: Immediately follow with a completely separate, clean, and *dry* microfiber cloth. Buff the glass until it is completely dry and shiny. This second dry cloth is crucial for absorbing any remaining moisture and eliminating potential streaks.
Step 8: Detail and Inspect
Step back and inspect your work from different angles. Use cotton swabs or the corner of a clean microfiber cloth to tackle any missed spots, drips, or accumulation in the corners. If you notice any stubborn streaks, a quick spray and wipe with a fresh, dry microfiber cloth usually resolves them.
By following these steps, you will find that window cleaning becomes a manageable task with incredibly rewarding results. This detailed process ensures you address all the variables that typically lead to streaky finishes, giving you brilliantly clean glass every time.

Conquering Common Window Cleaning Challenges
Even with the best intentions, window cleaning can present a few hurdles. Understanding these common challenges and knowing how to troubleshoot them ensures your efforts result in truly streak-free windows.
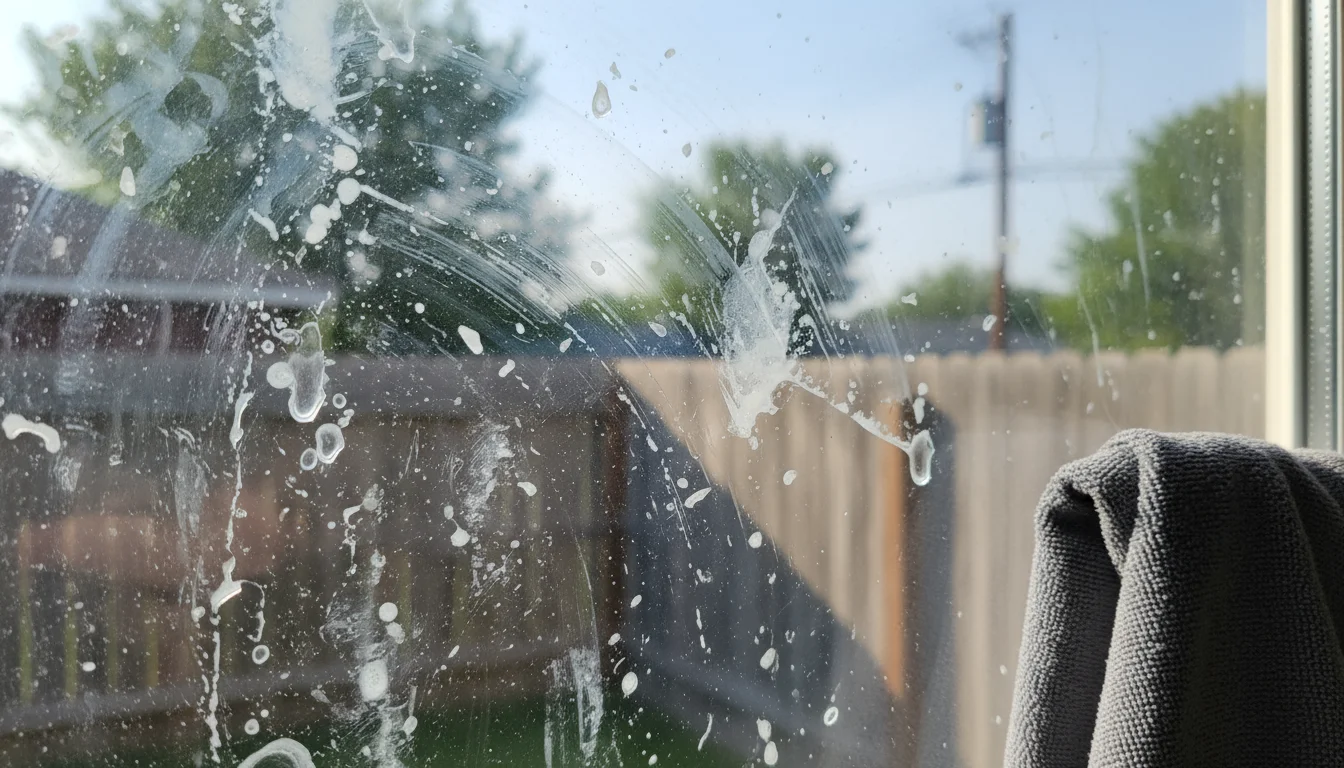
Challenge 1: Stubborn Streaks
This is the most common frustration. Streaks often occur for several reasons:
- Too much cleaner: Excessive cleaner can leave behind residue.
- Solution: Use less cleaner. If you suspect residue, mist with plain water or a very dilute vinegar solution (1 part vinegar to 10 parts water) and wipe with a fresh, dry microfiber cloth.
- Dirty tools: Using a dirty cloth or squeegee blade.
- Solution: Always use clean, lint-free microfiber cloths. Clean your squeegee blade after every pass.
- Hard water spots: Mineral deposits left behind by water, especially if dried in the sun.
- Solution: For tough hard water spots, use a solution of half distilled white vinegar and half water, letting it sit for a few minutes before scrubbing gently. You can also try a specialized hard water stain remover, but test in an inconspicuous area first.
- Cleaning in direct sunlight: The solution dries too fast.
- Solution: Clean on overcast days or in the shade.
Challenge 2: Residue from Previous Cleaners
If you have been using commercial cleaners with waxes or silicones, you might have a buildup that causes new streaks, even with a vinegar solution. This is a common issue for many busy homeowners.
- Solution: Give your windows a deep clean with a stronger vinegar solution (equal parts vinegar and water, perhaps with an extra drop of dish soap). You might need to do a couple of passes, ensuring you thoroughly rinse and dry the glass each time. This “resets” the surface, removing old buildup.
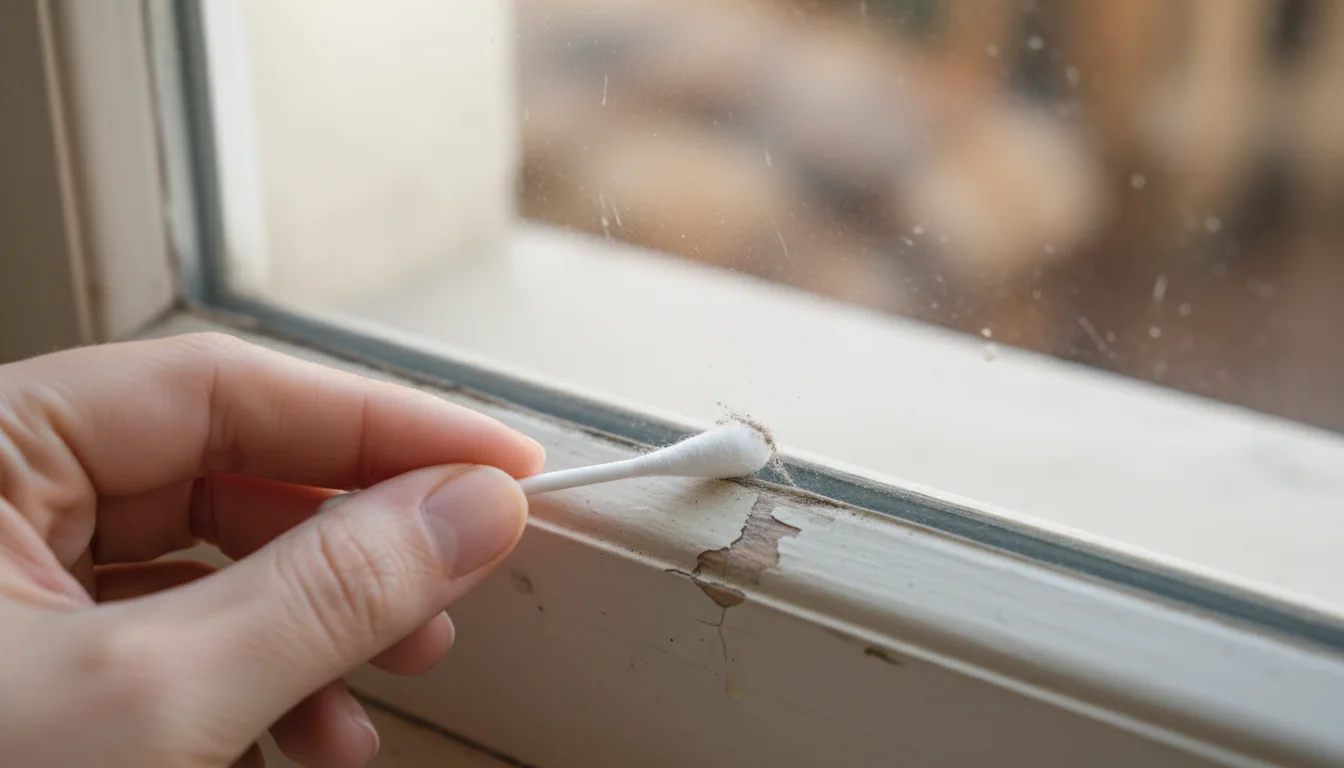
Challenge 3: Dirt in Corners and Edges
It is easy to miss dirt that accumulates in the tight corners of window panes and along the frame.
- Solution: Use cotton swabs or the tip of a clean microfiber cloth to reach these tricky areas. A small detail brush can also help loosen dried dirt before wiping.
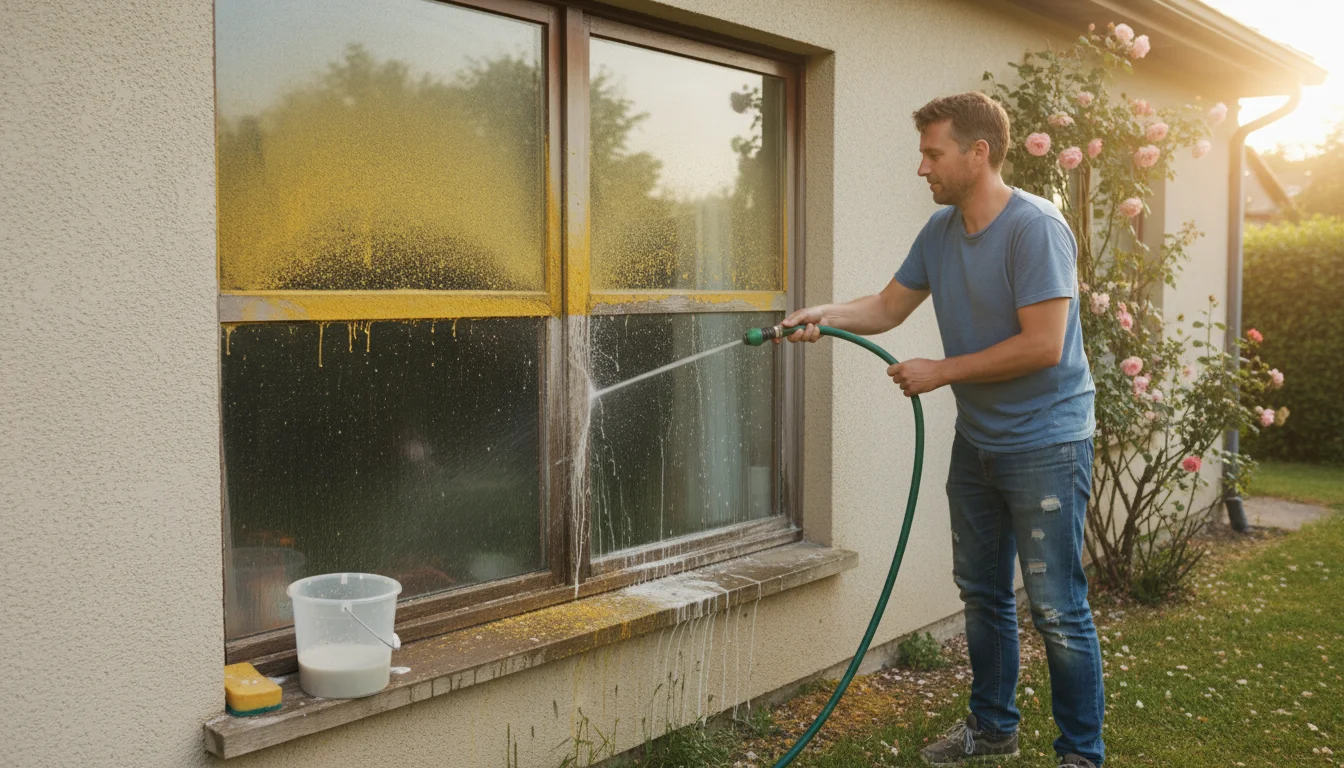
Challenge 4: Exterior Grime and Pollen Buildup
Outdoor windows face harsh elements, accumulating tough dirt, pollen, and even insect residue.
- Solution: Start with a thorough pre-rinse using a garden hose to dislodge loose debris. For heavy grime, consider using a soft-bristled brush or a sponge with a slightly stronger soap solution before moving to your streak-free cleaner.
Challenge 5: Pet Nose Prints and Fingerprints
Life with pets and kids means frequent smudges. You need quick cleaning tips for these common occurrences.
- Solution: Keep a spray bottle of your DIY vinegar solution and a clean microfiber cloth handy. A quick spot treatment and buff can keep these daily marks from building up, maintaining your streak free windows without a full cleaning session.
By understanding these common challenges and applying these practical solutions, you gain control over your window cleaning routine, ensuring consistently clear and bright views. According to Bob Vila, tackling cleaning problems systematically prevents small issues from becoming larger, more frustrating tasks.

Maintaining Your Shine: Tips for Lasting Clarity
Achieving streak free windows is one victory, but keeping them that way is the ongoing challenge. Integrating simple maintenance habits into your routine prevents heavy buildup, making future deep cleans much faster and easier. Think of it as a proactive approach to home comfort.

Regular Spot Cleaning: Your Best Defense
You do not need to clean every window in your home every week. Instead, focus on spot cleaning. Keep a spray bottle of your DIY vinegar solution and a clean microfiber cloth easily accessible, perhaps under the kitchen sink or in a utility closet. When you notice a new fingerprint, a splash mark, or a pet’s nose print, a quick spray and wipe takes seconds and prevents accumulation. This is especially useful for high-traffic areas like patio doors or kitchen windows.
Address Issues Promptly
If you see bird droppings or tree sap, address them quickly. The longer they sit, the harder they become to remove, potentially damaging the glass or requiring more aggressive scrubbing. A damp cloth soaked in warm water will often loosen fresh marks.
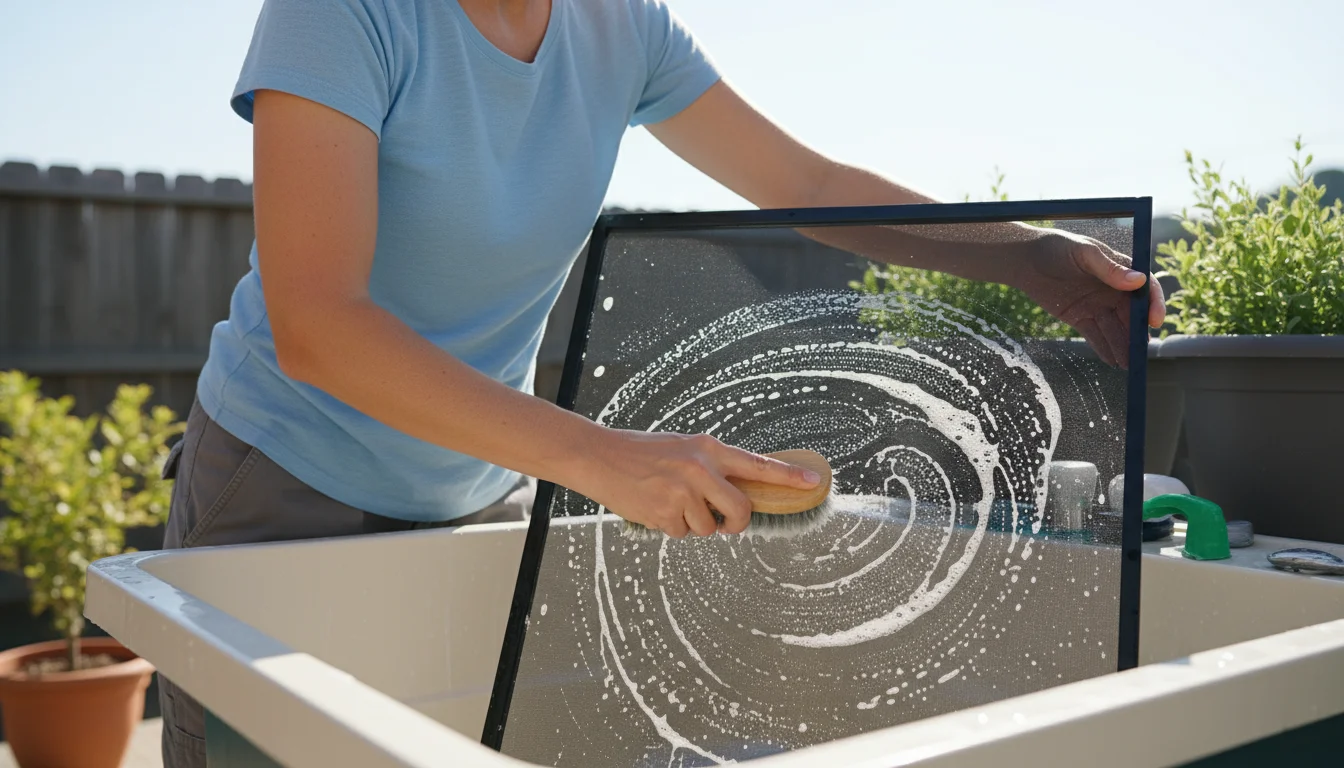
Clean Screens Regularly
Window screens are dust and pollen magnets. If your screens are dirty, rain will wash that dirt onto your clean windows, creating new streaks and grime. At least once a season, remove your screens and hose them down. For a deeper clean, gently scrub them with a soft brush and a mild dish soap solution, then rinse thoroughly and allow them to air dry completely before putting them back.
Consider Your Environment
If you live in an area with high pollen counts, significant air pollution, or frequent rain, your windows will naturally get dirtier faster. Adjust your cleaning frequency accordingly. You might need to perform a light exterior cleaning more often than someone in a drier, less polluted environment.
Protect Interior Windows from Splashes
In kitchens, cooking splatters can quickly coat nearby windows with grease. In bathrooms, toothpaste and water splashes are common. Wiping these down immediately with a damp cloth prevents them from drying and becoming stubborn. Using splash guards or regularly wiping down surrounding surfaces helps immensely.

Exterior Window Maintenance
For ground-level exterior windows, a quick rinse with a garden hose can dislodge loose dust and dirt between washes. This is particularly helpful after heavy winds or dry spells. This light maintenance is a critical part of maintaining your streak free windows. According to Family Handyman, consistent minor maintenance saves significant effort compared to infrequent, extensive cleaning.
By adopting these simple habits, you empower yourself to keep your windows sparkling clean with minimal effort. It is about integrating smart, realistic solutions into your daily life, ensuring your home remains a bright and comfortable sanctuary.
Frequently Asked Questions
What is the best type of cloth to use for window cleaning?
The best type of cloth to use is a high-quality microfiber cloth. Microfiber is exceptionally absorbent, lint-free, and effective at capturing dirt and grime without leaving streaks. Always use separate clean, dry microfiber cloths for the final buffing.
Can I use newspaper to clean windows?
While newspaper was a popular method in the past, modern newspaper ink can often transfer onto glass, leaving a dull film or even smudges. Additionally, the paper itself can leave lint. Microfiber cloths or a squeegee provide a much more reliable and streak-free result.
Is it better to clean windows with vinegar or a commercial cleaner?
Both can be effective for streak free windows. A DIY solution of distilled white vinegar and water is often more budget-friendly, environmentally conscious, and avoids the residues found in some commercial cleaners. However, high-quality commercial streak-free formulas also work well. Choose the option that best fits your budget and preferences.
Why do my windows still have streaks after cleaning them?
Streaks typically occur due to several factors: cleaning in direct sunlight, using dirty cloths or a dull squeegee blade, using too much cleaning solution, or not thoroughly drying the glass. Reviewing your technique, ensuring your tools are clean, and choosing an overcast day for cleaning can help eliminate streaks.
How often should I clean my windows?
The frequency depends on your environment and personal preference. Generally, aim for a thorough exterior cleaning every three to six months, and interior windows every one to three months. However, frequent spot cleaning for fingerprints and splashes can maintain clarity and reduce the need for full deep cleans.
For expert home organization guidance, visit
American Cleaning Institute, National Association of Professional Organizers, Institute for Challenging Disorganization, Consumer Reports — Home and This Old House.
Disclaimer: This article is for informational purposes only and is not a substitute for professional advice. Consult professional organizers or specialists for personalized recommendations.


Leave a Reply