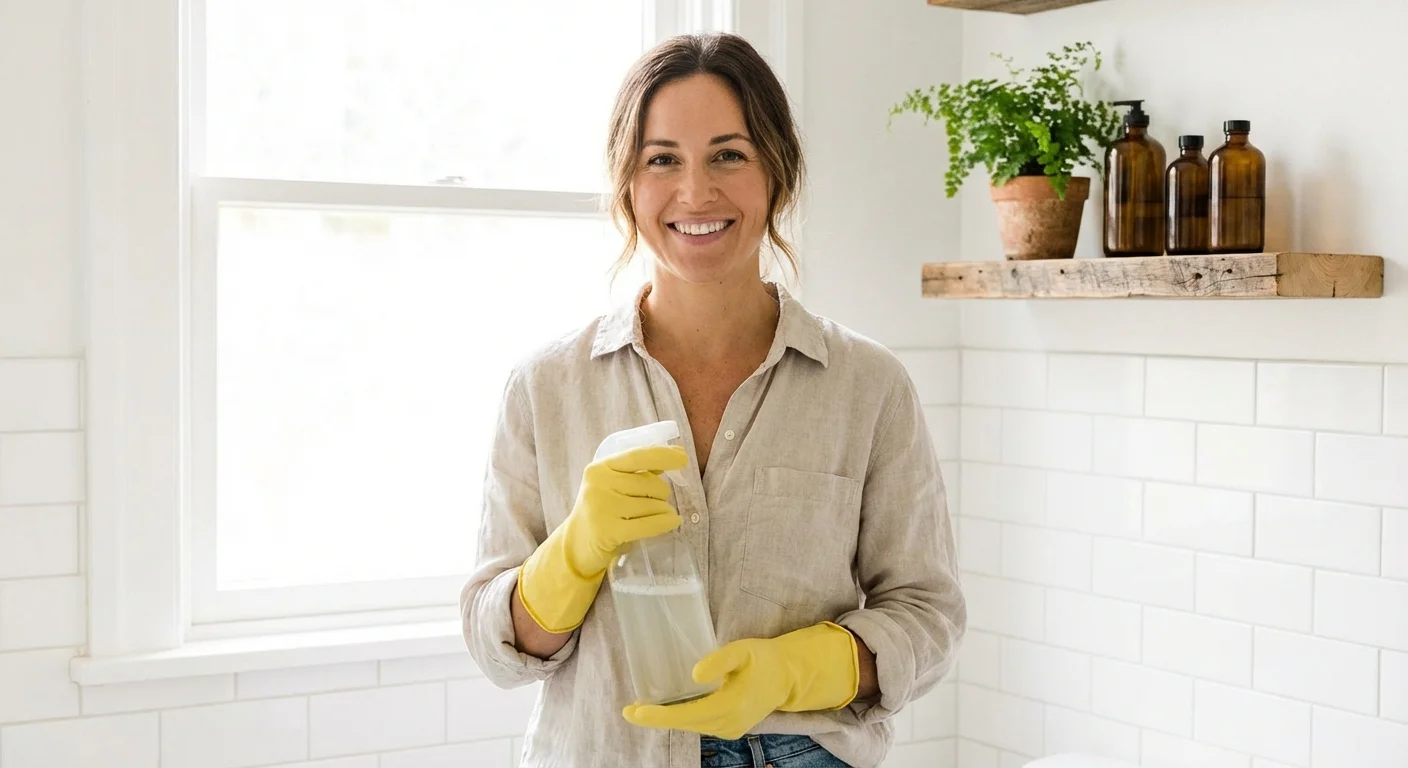
You walk into your bathroom, reach for a fresh towel, and suddenly notice a creeping pattern of dark spots along the shower grout or spreading across the ceiling. Discovering mold in your living space is a frustrating experience that immediately raises alarms about both your property value and your family’s health. While it is tempting to grab the nearest bottle of strong chemical cleaner and start scrubbing aggressively, attacking the problem without a proper strategy often makes the situation worse. Mold spores are microscopic and naturally occur in the air all around us; they only become a visible, destructive force when they find a hospitable environment inside your house.
Proactively improving indoor air quality is a vital step in ensuring your living environment remains healthy and mold-free.
Learning how to remove mold effectively requires understanding its biology. Mold is a type of fungus that thrives on two essential elements: oxygen and moisture. Since you cannot remove oxygen from your living spaces, controlling moisture becomes your primary weapon in the fight against fungal growth. When you apply the right techniques, you can safely eliminate existing colonies and alter your home’s environment so the spores never return. This mold removal guide will walk you through the precise steps to identify the extent of your problem, choose the safest cleaning agents, execute a thorough remediation, and safeguard your home against future outbreaks.
Understanding the Enemy: Why Mold Thrives in Your Home
Before you gather your cleaning supplies, you need to understand exactly why mold chose to settle in your home. Mold does not appear randomly; it operates as nature’s recycling system, breaking down dead organic matter. Inside a house, that organic matter takes the form of drywall, wood, paper backing on insulation, cardboard boxes, and even dust particles settling on your baseboards. When these organic materials remain damp for 24 to 48 hours, dormant spores land, take root, and begin to multiply rapidly.
Incorporating moisture checks into your monthly home maintenance calendar can help you identify hidden leaks before spores take root.
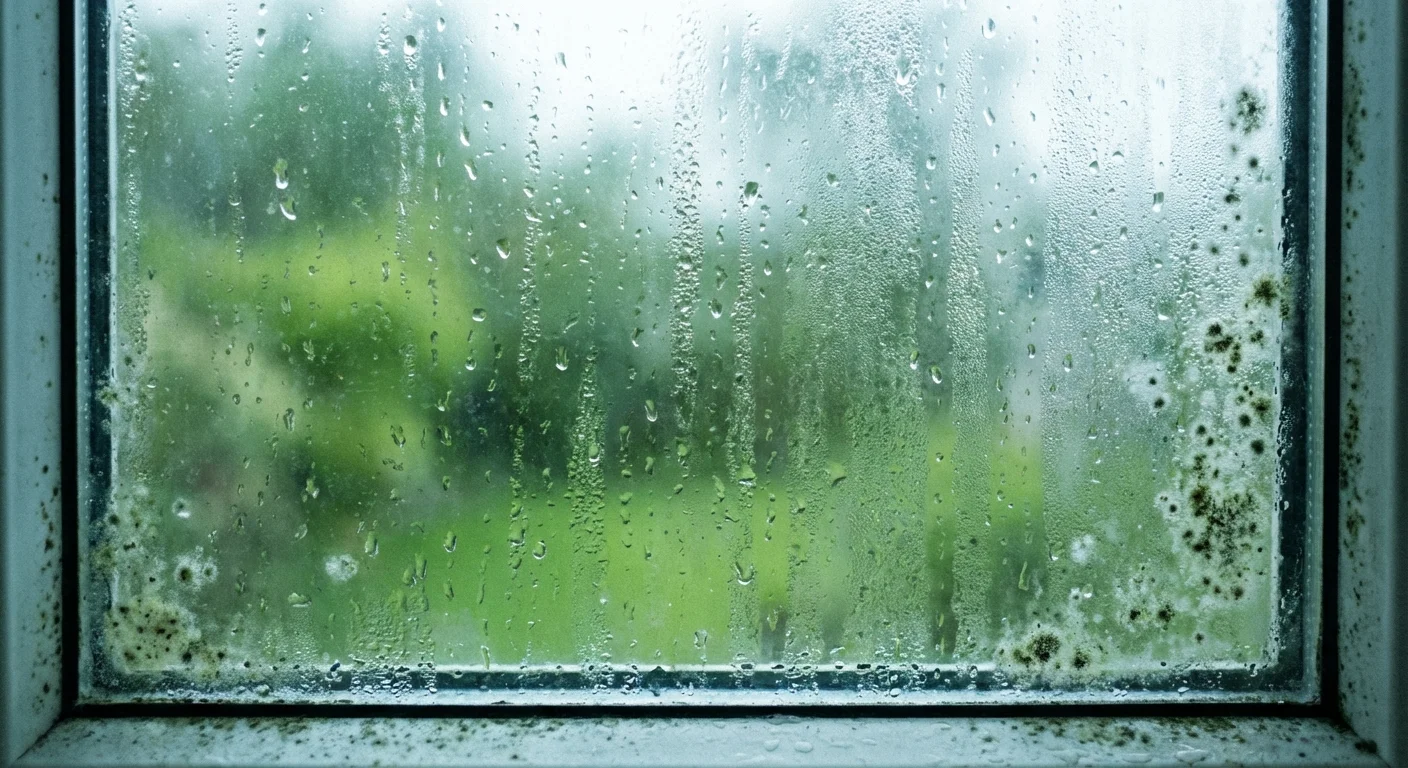
Bathrooms, kitchens, laundry rooms, and basements serve as the most common battlegrounds simply because they naturally generate the highest levels of condensation and water vapor. A slow, hidden plumbing leak inside a wall cavity can feed a hidden mold colony for months before it finally shows through the paint. Similarly, poor ventilation in a bathroom allows steam from your daily showers to cling to the ceiling, providing a daily watering session for airborne spores. If you want to master safe mold cleaning, you must adopt the mindset of an investigator. You are not just cleaning a stain; you are hunting for the water source that feeds it.
“The key to mold control is moisture control. If mold is a problem in your home, you must clean up the mold and eliminate sources of moisture.” — Environmental Protection Agency (EPA)
Assessing the Damage: Surface Intrusions vs. Deep Contamination
Not all mold problems require the same level of aggression. Your first operational step is to assess the severity of the infestation, which dictates the tools and methods you will need to employ. Mold typically presents itself in three distinct ways within a residential setting.
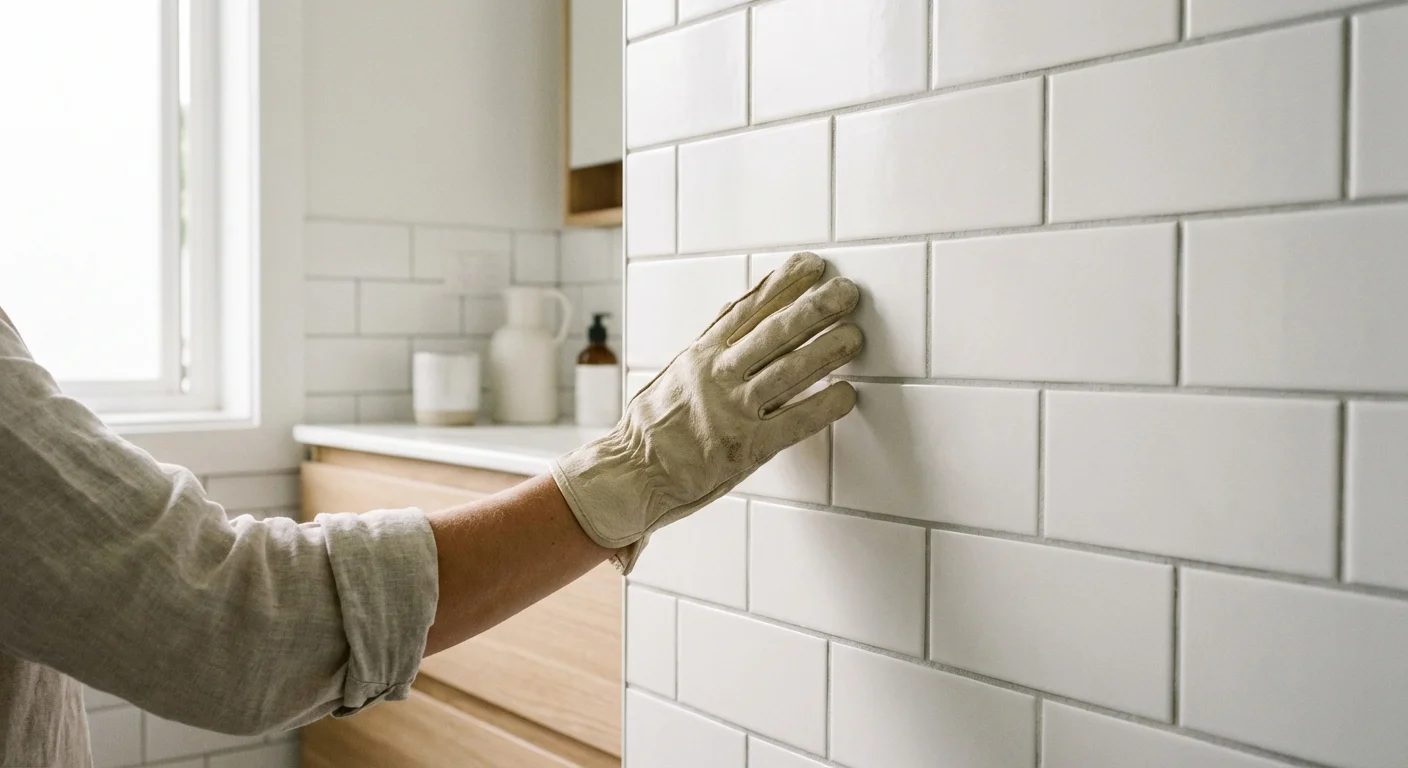
Surface Mold (Mildew): This is the powdery, often gray or white substance that forms flat on the surface of non-porous materials like bathroom tiles, glass, or sealed countertops. Mildew is essentially an early-stage mold that has not yet penetrated the material. It is the easiest to clean and rarely causes structural damage.
Shallow Penetration: When mold attacks semi-porous materials like wood framing, grout lines, or painted drywall, the fungal roots—known as mycelia—dig beneath the surface to anchor themselves and extract nutrients. Wiping the surface will remove the visible discoloration, but if you do not use a solution that penetrates the material, the roots will quickly regenerate a new visible colony.
Deep Contamination: This occurs when mold completely saturates highly porous materials like carpeting, ceiling tiles, unpainted drywall, or upholstered furniture. In these cases, the structural integrity of the material is often compromised. Deeply embedded mold frequently requires complete removal and disposal of the affected material rather than just topical cleaning.
Equipping Yourself for Safe Mold Cleaning
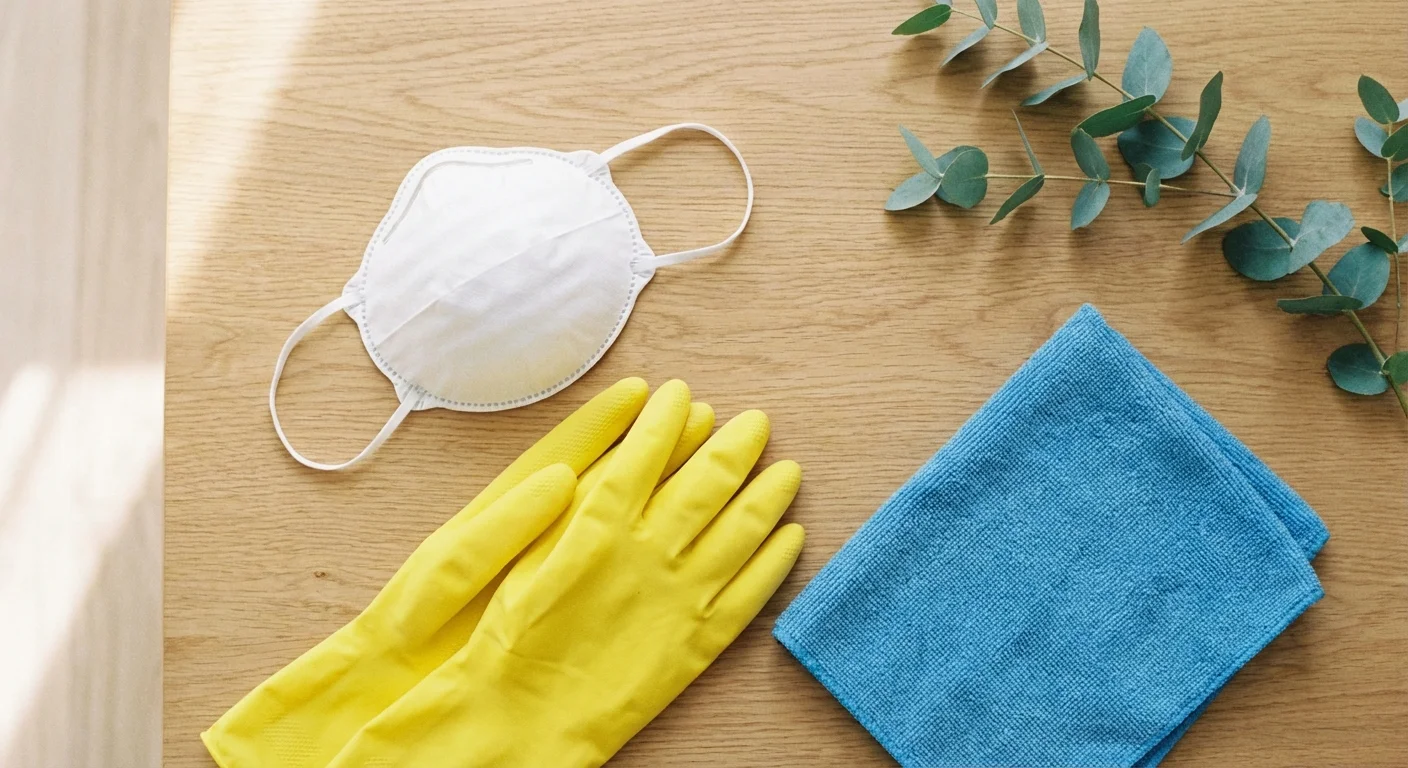
Tackling a mold colony without proper protective gear exposes you to high concentrations of allergens and potentially toxic mycotoxins. Agitating a dry mold patch releases millions of microscopic spores into the air, which you can easily inhale. Before you begin any remediation work, you must assemble the correct personal protective equipment (PPE).
- N95 Respirator: A standard paper dust mask offers zero protection against microscopic mold spores. You need a properly fitted N95 or P100 respirator to filter out the airborne particles safely.
- Non-Vented Goggles: Spores can cause severe eye irritation. Choose safety goggles that form a tight seal against your face without ventilation holes that might allow airborne dust to enter.
- Heavy-Duty Rubber Gloves: Chemical-resistant gloves protect your skin not only from the mold itself but also from the potentially harsh cleaning solutions you will be using. Extend the gloves up to your mid-forearm.
- Old Clothing: Wear long sleeves and pants that you can immediately throw into the washing machine on a hot water cycle once the project concludes. For larger jobs, consider purchasing an inexpensive, disposable Tyvek suit.
Beyond personal protection, you must prepare the work environment to prevent cross-contamination. Close all doors leading to other parts of the house. If you are working in a room with an HVAC vent, tape a piece of plastic sheeting tightly over the register so spores cannot travel through your ductwork. Open a window and place a box fan pointing outward to create negative pressure; this forces the contaminated air outside rather than letting it drift into your hallways.
Comparing Cleaning Solutions: What Actually Works?
A persistent myth in the realm of home maintenance is that ordinary household bleach is the ultimate solution for home mold remediation tips. While bleach effectively kills mold on hard, non-porous surfaces like glass or glazed tile, its chemical structure features a high surface tension that prevents it from penetrating porous materials like wood or drywall. When you apply bleach to a porous surface, the water content sinks in and feeds the mold roots, while the active chemical remains on the surface, merely bleaching the visible mold white. The mold appears gone, but it is actually surviving and thriving beneath the surface.
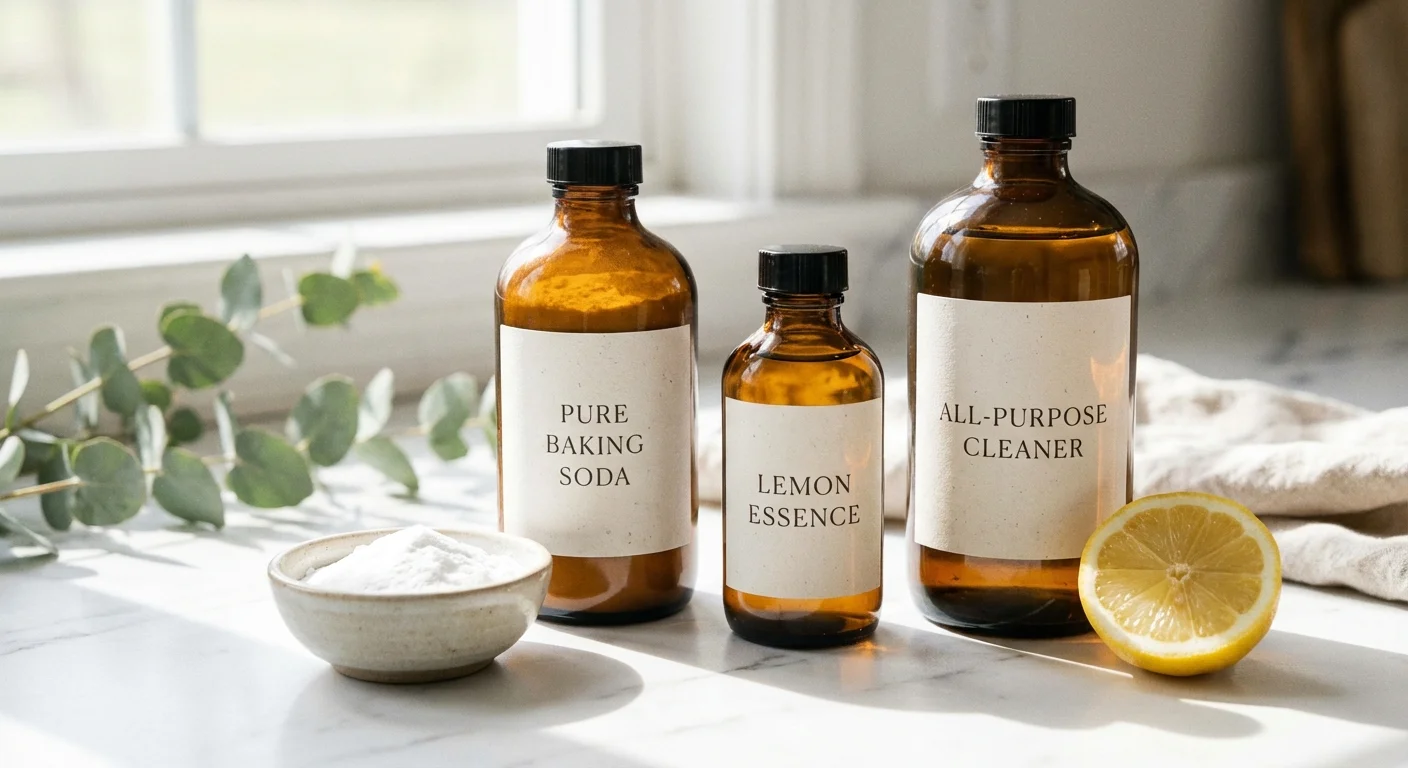
To combat mold effectively across different surfaces, you need to select the appropriate cleaning agent. Here is a breakdown of the most reliable options.
| Cleaning Agent | Best Used For | Pros | Cons |
|---|---|---|---|
| Distilled White Vinegar | Porous and non-porous surfaces; wood, drywall, concrete. | Penetrates porous materials; non-toxic; kills roughly 82% of mold species. | Leaves a strong, lingering odor for several hours; requires dwell time. |
| Hydrogen Peroxide (3%) | Kitchen counters, bathroom fixtures, hard floors, fabrics. | Antifungal and antibacterial; effervescent action lifts mold off surfaces; lightens stains. | Can bleach certain fabrics; degrades quickly when exposed to light. |
| Baking Soda and Borax | Preventative wiping, light surface mold, removing musty odors. | Extremely safe; neutralizes pH levels to prevent future growth; acts as a gentle abrasive. | Requires mixing into a paste or solution; not strong enough for heavy infestations. |
| Commercial Antimicrobial Cleaners | Heavy infestations on structural wood, basement concrete walls. | Specifically formulated to destroy roots; often leaves a protective barrier. | More expensive; contains stronger chemicals requiring excellent ventilation. |
Your Step-by-Step Mold Removal Guide
Once you have secured your protective gear and chosen the right cleaning solution, you can begin the physical removal process. Approach this methodically to ensure you do not inadvertently spread spores to other rooms.
Step 1: Isolate and Moisten
Before scrubbing, you must minimize spore dispersal. Lightly mist the moldy area with plain water from a spray bottle. Dry mold releases spores into the air the moment you touch it, but dampening the colony weighs the spores down and keeps them attached to the surface. Wait approximately five minutes after misting before applying your chosen cleaning solution.
Step 2: Apply the Treatment
If you are using distilled white vinegar—which is generally the safest and most effective household option for porous surfaces—pour it straight into a spray bottle without diluting it. Spray the affected area generously until it is thoroughly saturated. You must allow the vinegar to sit on the surface for at least one full hour. This dwell time is non-negotiable; the mild acetic acid requires time to break down the cellular structure of the mold and penetrate down to the roots.
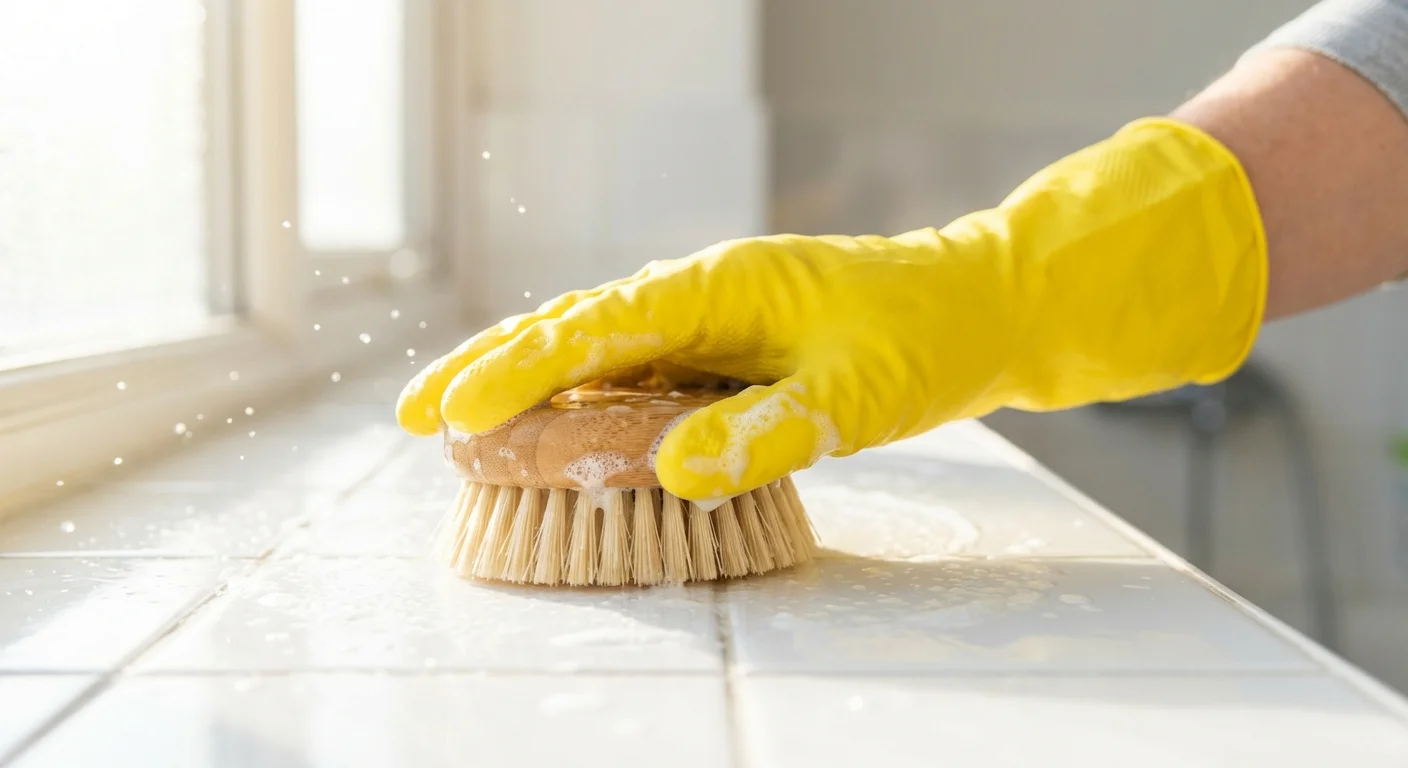
Step 3: Scrub with Precision
After the dwell time has elapsed, use a stiff-bristled brush to scrub the area vigorously. For delicate surfaces like painted walls, switch to a damp microfiber cloth or a soft sponge to avoid stripping the paint. Work in small sections, rinsing your brush or cloth frequently in a separate bucket of hot water to avoid re-depositing mold spores back onto the surface.
Step 4: Wipe Clean and Dry Completely
Once the visible mold is gone, wipe the area down with a clean, damp rag. Finally, dry the surface as thoroughly as possible using paper towels or clean rags. Direct a fan at the cleaned area to accelerate the evaporation process. Remember that any lingering moisture will invite the mold back, so absolute dryness is your ultimate goal.
Addressing Specific Surfaces Throughout Your Home
Different materials require slightly altered approaches. Knowing how to adjust your technique based on the surface will save your belongings from unnecessary damage.
Since humidity levels are highest in the washroom, following a strict bathroom cleaning checklist ensures you address high-risk spots regularly.
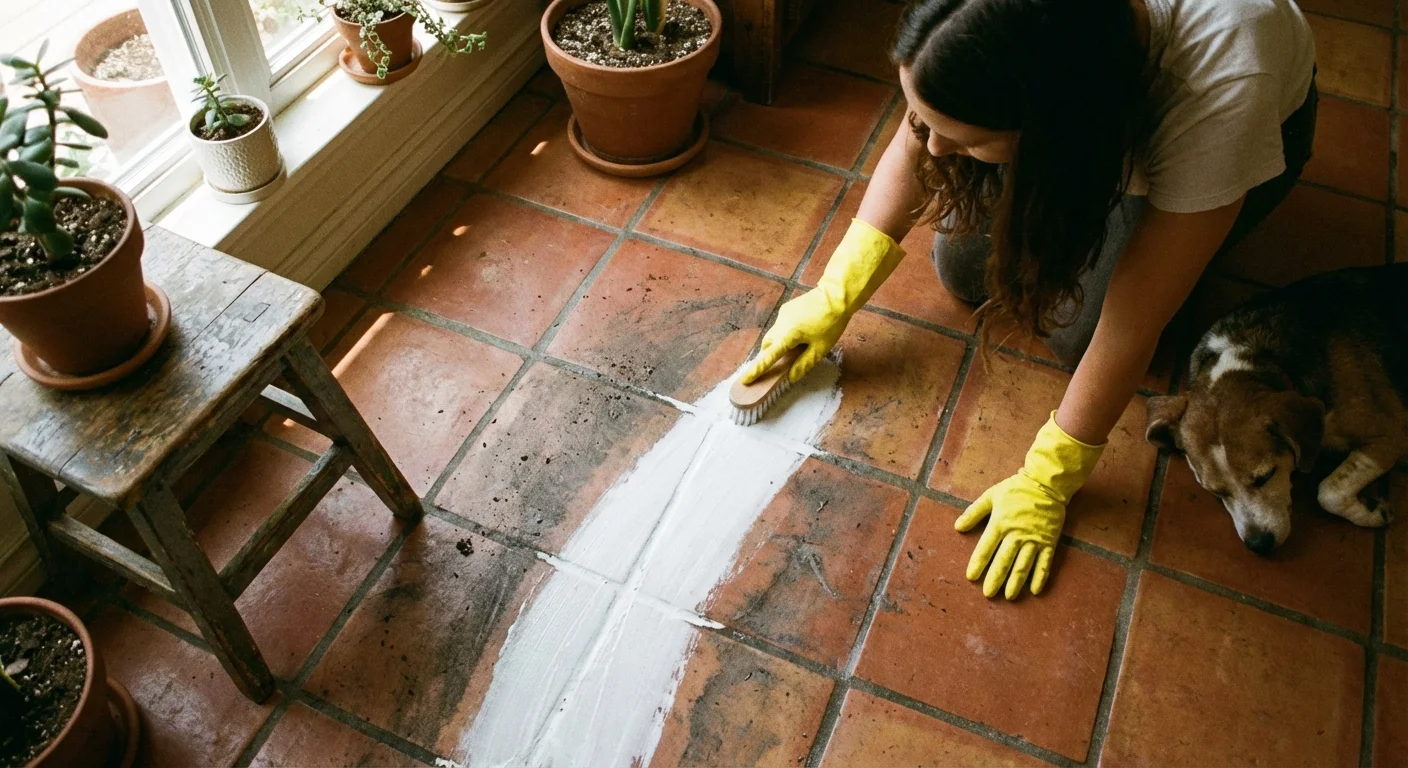
Tile Grout and Caulk: Because grout is highly porous, mold roots embed themselves deeply. If vinegar and scrubbing do not remove the dark stains, you can apply a paste made of baking soda and hydrogen peroxide. Let the paste bubble and sit for thirty minutes before scrubbing with an old toothbrush. If silicone caulk is severely blackened, cleaning is often futile. The most hygienic solution is to strip the old caulk completely, clean the gap with alcohol, and apply a fresh bead of mold-resistant silicone caulk.
Drywall and Painted Walls: Drywall consists of gypsum pressed between thick paper backing, making it an absolute feast for mold. If the mold has penetrated through the paint and into the paper, cleaning the surface will not resolve the issue. You will likely need to cut out the affected section of drywall with a utility knife—extending your cut at least 12 inches beyond the visible mold line—and patch the area with new material.
Wood Furniture and Framing: Solid wood can usually be salvaged. Use a solution of water and dish soap, or vinegar, and scrub with a soft brush. For unfinished wood in basements or attics, you may need to lightly sand the area after cleaning and drying to remove deep stains. Always vacuum the area with a HEPA-filtered vacuum afterward to capture any lingering spore-laden dust.

Pitfalls to Watch For
Even well-intentioned homeowners make critical errors during mold remediation that can compromise their health or cause thousands of dollars in property damage. Avoid these common traps when managing an outbreak.
- Painting Over Active Mold: Never apply mold-resistant paint directly over an existing mold patch. The mold will simply continue to grow beneath the fresh coat, eventually peeling the paint away and spreading further. You must completely eradicate the mold and dry the surface before applying any primers or sealants.
- Mixing Chemical Cleaners: In a desperate attempt to kill stubborn mold, people sometimes mix bleach with vinegar or ammonia. This creates highly toxic chlorine or chloramine gas, which can cause severe respiratory distress or even prove fatal. Always stick to one cleaning agent and rinse thoroughly if you decide to switch methods.
- Ignoring the Root Cause: You can clean a ceiling stain ten times, but if you do not fix the leaking roof above it, the mold will return eleven times. Cleaning is only the first half of the battle; repairing the moisture source is the definitive solution.

Getting Expert Help: When to Call a Professional
While DIY methods are highly effective for minor outbreaks, certain situations demand professional intervention. Professional mold remediation teams possess industrial-grade negative air machines, advanced moisture mapping tools, and powerful antimicrobial agents that go far beyond standard household capabilities. You should stop your DIY efforts and consult a professional if you encounter any of the following scenarios:
The Affected Area Exceeds 10 Square Feet: The EPA explicitly recommends bringing in professional remediators if the mold patch covers an area larger than roughly 3 feet by 3 feet. Large colonies release a massive payload of spores when disturbed, requiring commercial containment protocols.
Contamination in the HVAC System: If you suspect mold is growing inside your heating and cooling ducts, do not attempt to clean it yourself. Running the system will blow spores into every room of your house. A certified HVAC specialist or mold remediator must clean and sanitize the ductwork using specialized vacuum equipment.
Water Contamination is Involved: If the mold growth is the result of flooding involving sewage, gray water, or other potentially contaminated water sources, the health risks multiply exponentially. These situations require specialized biohazard protocols.
You Have Underlying Health Conditions: If anyone in your household suffers from asthma, severe allergies, or an immunosuppressed condition, they should not perform the cleanup, nor should they remain in the immediate vicinity while the cleanup occurs.

How to Prevent Mold at Home: Long-Term Strategies
Eradicating the current mold problem is a victory, but the war is won through consistent prevention. By altering the environmental conditions within your home, you can make it incredibly inhospitable to airborne spores. The foundation of any strategy to prevent mold at home relies on strict moisture management and improved air circulation.
Master Indoor Humidity Control
Mold struggles to grow in environments where the relative humidity remains below 50%. Purchase a digital hygrometer to monitor the moisture levels in your problem areas. If your basement or home consistently reads above 60% humidity, investing in a high-capacity dehumidifier is essential. According to Consumer Reports, placing a correctly sized dehumidifier in a damp basement is one of the most effective preventative measures a homeowner can take against structural mold.
Optimize Your Ventilation
Stagnant air allows moisture to settle onto surfaces. Ensure that your bathroom exhaust fans are vented completely outside your home, not just into the attic space, which simply relocates the moisture problem. Run the exhaust fan during every shower and leave it running for at least 30 minutes afterward to completely clear the steam. In the kitchen, use your range hood when boiling water or cooking heavily. If you lack exhaust fans, open a window slightly to allow the moist air to escape.
Implement Immediate Leak Repairs
Water damage works on a rapid timeline. If a pipe bursts, a roof leaks, or a window seal fails, you have roughly 24 to 48 hours to dry the surrounding materials before mold begins to colonize. Inspect the plumbing beneath your sinks routinely. Check the hoses connected to your washing machine and dishwasher. By staying vigilant and repairing minor leaks immediately, you eliminate the feeding grounds before spores can take hold.
Improve Daily Household Habits
Small changes in your daily routine make a massive difference in your home’s ecosystem. After showering, take thirty seconds to wipe down the tile walls and glass doors with a small squeegee; removing the standing water deprives mold of its daily drink. Leave your front-loading washing machine door slightly ajar between loads to allow the interior drum to dry out completely. Furthermore, keeping your home reasonably clean and dusted reduces the amount of organic material available for spores to feed upon, a practice strongly advocated by home management resources like The Spruce.
“Dealing with mold promptly is essential, but if you don’t fix the underlying moisture issue, you are merely treating a symptom rather than the disease.” — Bob Vila, Home Improvement Expert
For extensive guidance on identifying structural vulnerabilities that lead to moisture intrusion, referencing comprehensive maintenance guides from experts like Bob Vila can help you fortify your home’s exterior envelope against the elements.
Frequently Asked Questions
Does bleach kill mold on porous surfaces like drywall?
No, bleach does not effectively kill mold on porous surfaces. The chemical structure of bleach prevents it from penetrating materials like drywall or wood. It only bleaches the surface mold, leaving the roots intact beneath the surface to regrow later. Distilled white vinegar is a much better choice for penetrating porous materials.
What is the fastest way to get rid of black mold?
The fastest DIY method is to saturate the area with undiluted distilled white vinegar, allow it to sit for one hour, and then scrub the surface vigorously with a stiff brush. However, if you are dealing with a large area of potentially toxic black mold (Stachybotrys chartarum), the fastest and safest method is to hire a professional remediation service.
Can I run my air conditioner or furnace if I discover mold in my home?
If the mold is isolated to a small area like a bathroom corner or a windowsill, running your HVAC system is generally safe. However, if the mold is near your intake vents, or if you suspect it is actually growing inside your ductwork or air handler unit, you should turn the system off immediately to prevent blowing spores throughout the rest of your house.
Will painting over mold kill it and stop it from spreading?
No, painting over active mold will not kill it. The mold will continue to feed on the moisture and the organic compounds in the paint itself, eventually bubbling up and peeling the new layer off the wall. You must completely clean, kill, and dry the mold before applying a stain-blocking primer and a fresh coat of mold-resistant paint.
Taking Control of Your Home’s Air Quality
Eradicating mold from your home requires patience, the right tools, and a commitment to altering the environmental conditions that invited the fungus in the first place. By shifting your focus from merely scrubbing away dark spots to actively managing your indoor humidity and airflow, you transition from reactive cleaning to proactive home maintenance. Tackle small patches immediately with vinegar, keep your spaces well-ventilated, and remain vigilant about hidden plumbing leaks.
When you establish a dry, healthy baseline for your property, you protect your structural investment and provide a much cleaner breathing environment for your entire family. Keep an eye on your home’s moisture levels, and do not hesitate to reach out to professionals when a situation exceeds your comfort zone.
This is educational content based on general best practices. Individual results vary based on your home, budget, and circumstances. Always prioritize safety and consult professionals for major projects.
Last updated: February 2026


Leave a Reply