
Your water heater quietly works hard every day, providing the comfort of hot showers and clean dishes. It is easy to forget about this essential appliance until a cold shower forces you to remember it. However, a little proactive water heater maintenance extends its lifespan by years, improves efficiency, and saves you money on energy bills and costly repairs. Think of it as an investment in your home’s comfort and your wallet.
You do not need to be a plumbing expert to tackle most water heater maintenance tasks. This guide empowers you with practical, actionable steps to keep your water heater running smoothly. We focus on realistic solutions that fit into your busy schedule, ensuring your system maintains order without overwhelming you. By dedicating a small amount of time to preventive care, you protect a significant home appliance and avoid unexpected disruptions to your daily routine.

Why Water Heater Maintenance Matters
Imagine the frustration of waking up to a freezing cold shower because your water heater failed. Regular home maintenance on this crucial appliance prevents such scenarios. It is not just about avoiding inconvenience; preventive care offers tangible benefits for your home and budget.
Many homeowners also find it convenient to flush the tank while following their spring cleaning room-by-room guide for a truly fresh start.
Remember to include a quick inspection of your utility room in your summer home maintenance checklist to prevent issues during the warmer months.
Incorporating this task into your monthly home maintenance calendar ensures you stay consistent with your property care.
Beyond keeping the water hot, our preparing your home for winter guide covers other essential steps to keep your living space cozy.
Extend Lifespan and Save Money
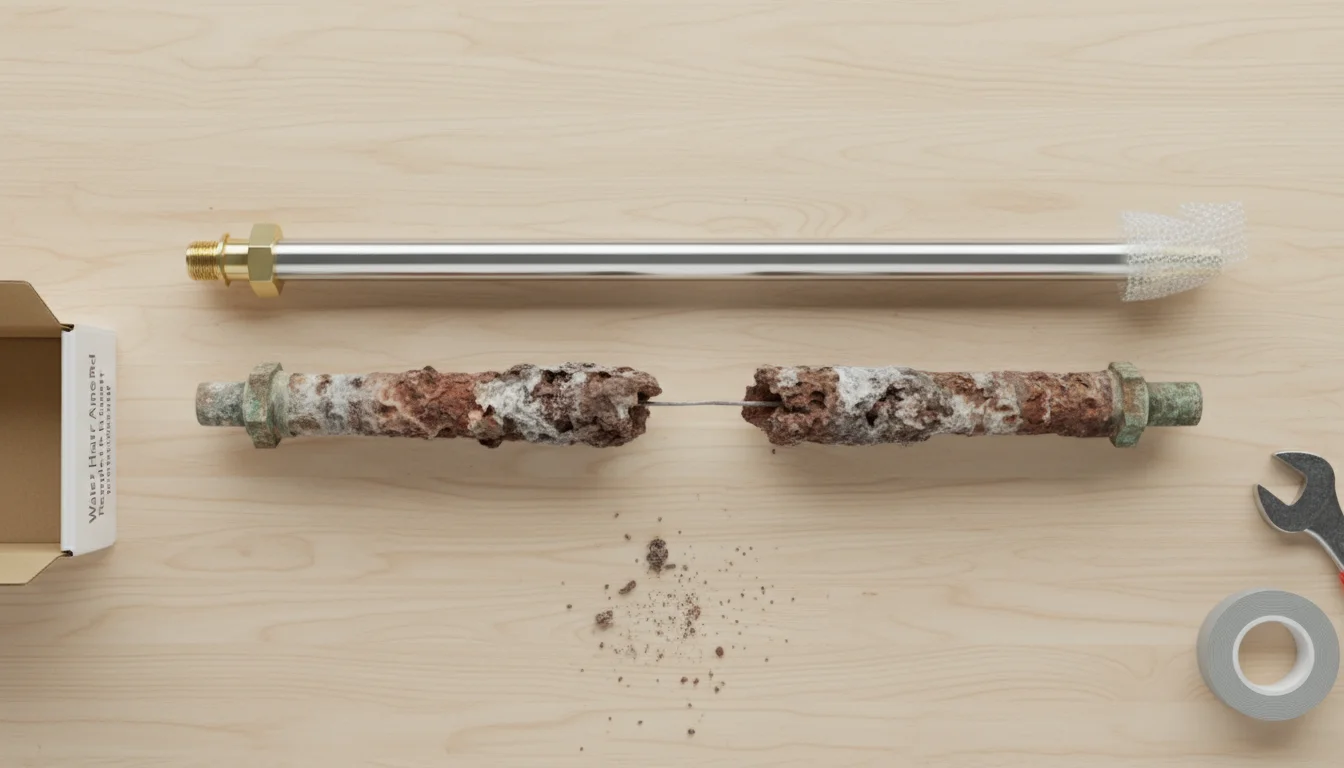
Manufacturers design water heaters to last approximately 10 to 15 years. However, neglect significantly shortens this lifespan. Sediment buildup, corrosion, and overworked components lead to premature failure. Flushing your water heater annually, for instance, removes mineral deposits that harden and damage the tank. This simple task can add several years to its operational life, delaying the expensive cost of replacement, which can range from $800 to over $2,000 for a new unit and installation, depending on the type and complexity.
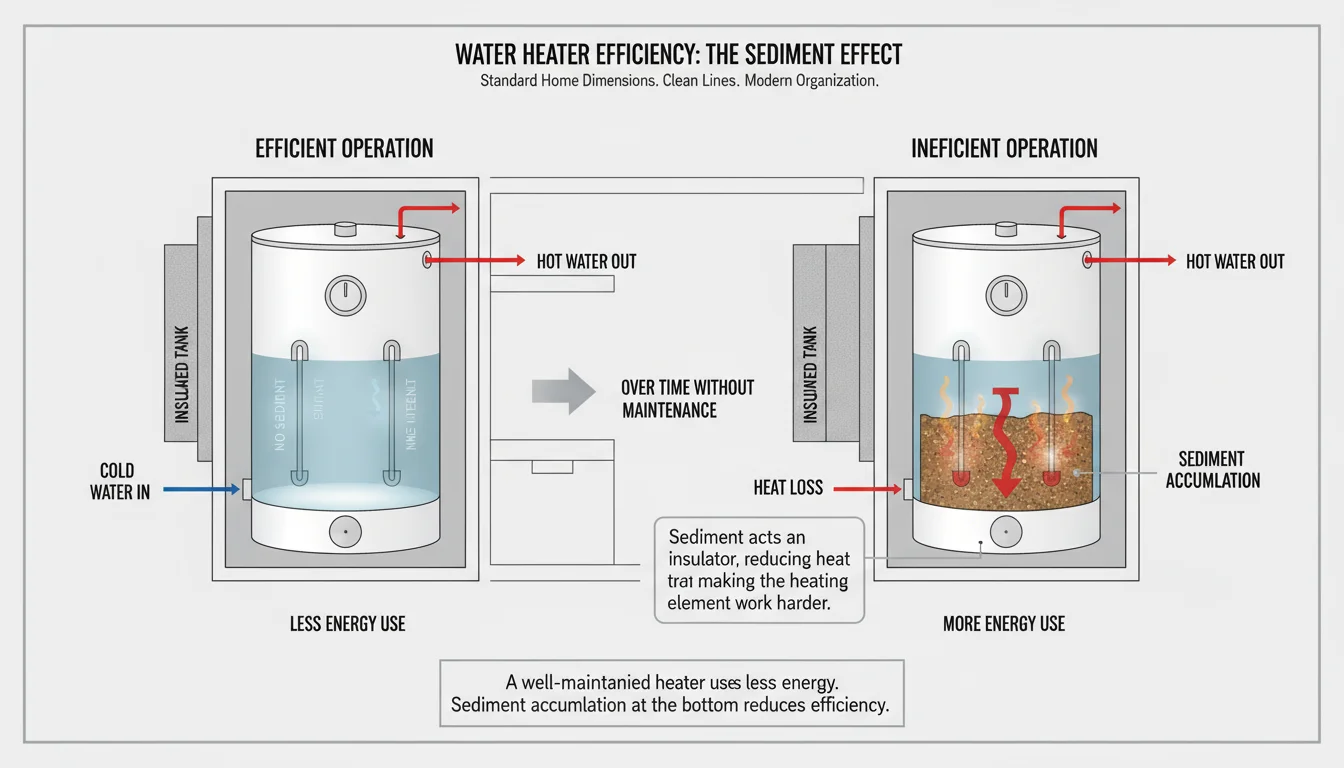
Improve Efficiency and Reduce Energy Bills
A well-maintained water heater uses less energy. Sediment accumulation at the bottom of the tank creates an insulating layer, forcing the heating element to work harder and longer to heat the water. This inefficiency directly translates to higher utility bills. According to Energy Star, water heating accounts for about 13% of the typical utility bill. By removing sediment and ensuring proper insulation, you restore your unit’s efficiency, reducing its energy consumption and lowering your monthly expenses.
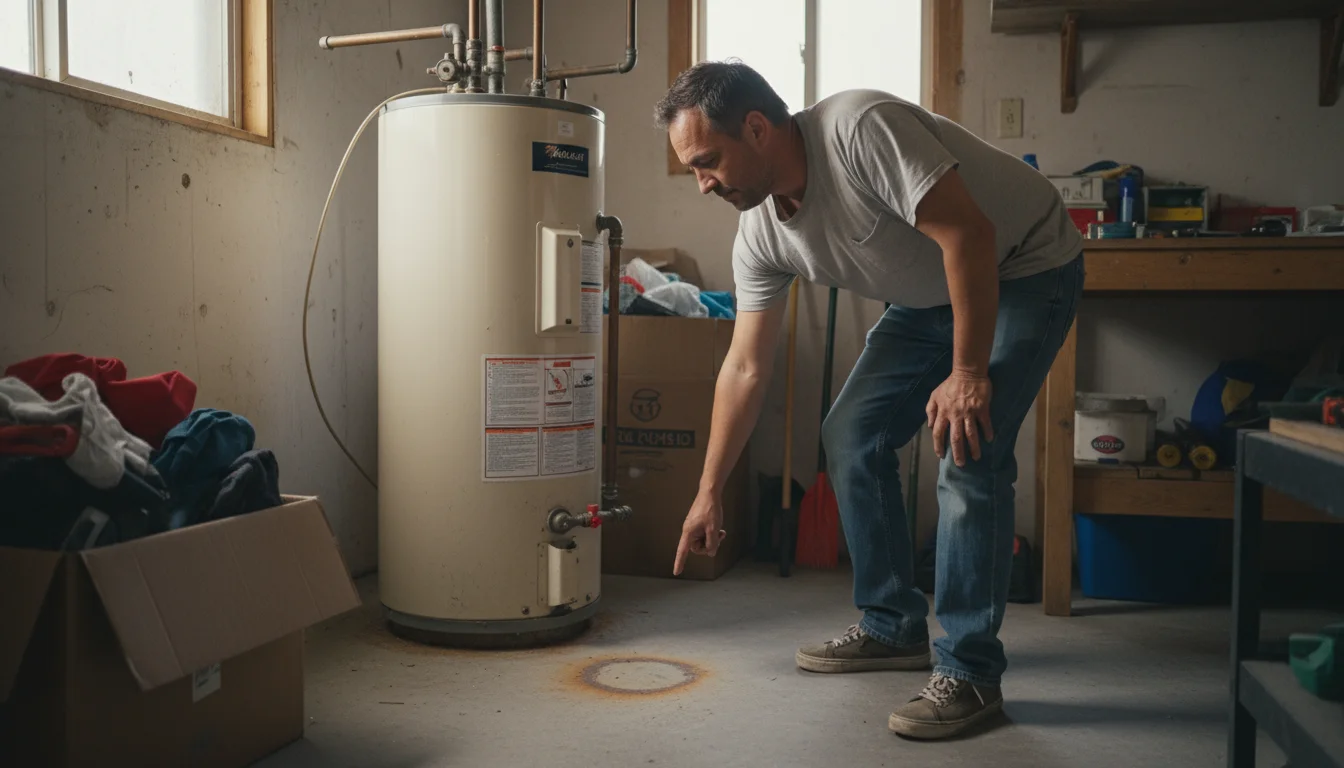
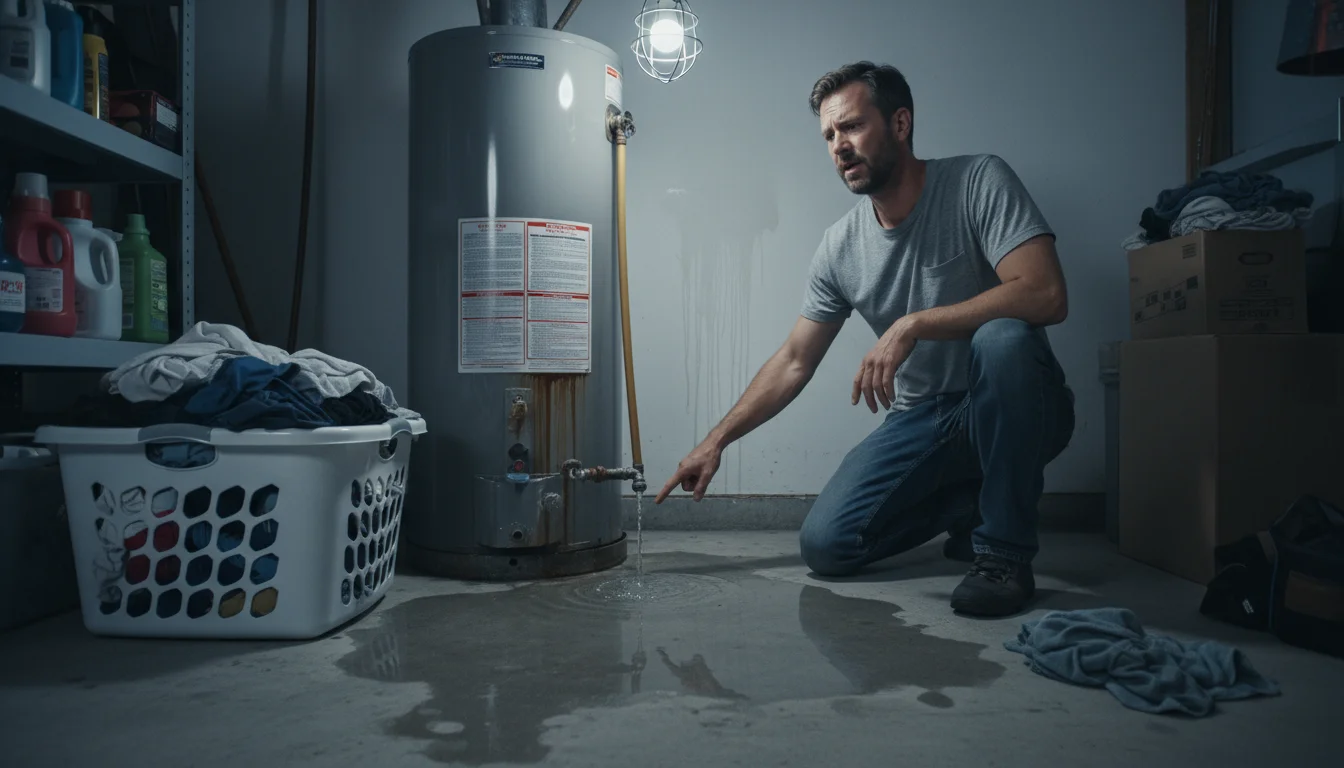
Prevent Leaks and Water Damage
Corrosion from sediment buildup eventually compromises the integrity of the water heater tank, leading to leaks. A leaking water heater creates significant water damage, impacting flooring, drywall, and personal belongings. Such damage often requires extensive and costly repairs, not to mention the stress of dealing with insurance claims and remediation. Regular inspections and maintenance identify potential issues early, allowing you to address them before they escalate into major problems.
Maintain Water Quality
Sediment and mineral buildup do not just affect efficiency; they also impact your water quality. You might notice cloudy water, reduced water pressure, or even unpleasant odors if your water heater is overdue for maintenance. Flushing the tank helps keep your hot water clean and clear, ensuring a more pleasant experience for bathing and washing.
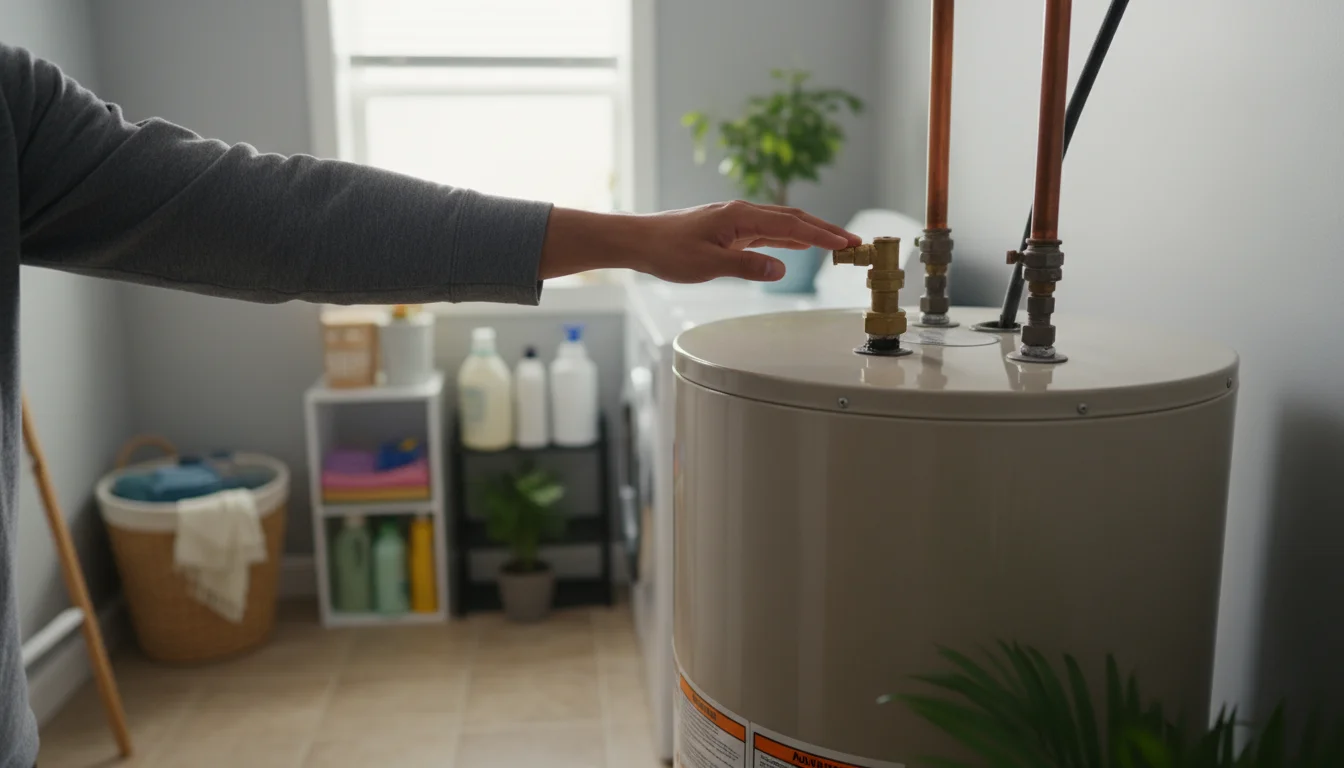
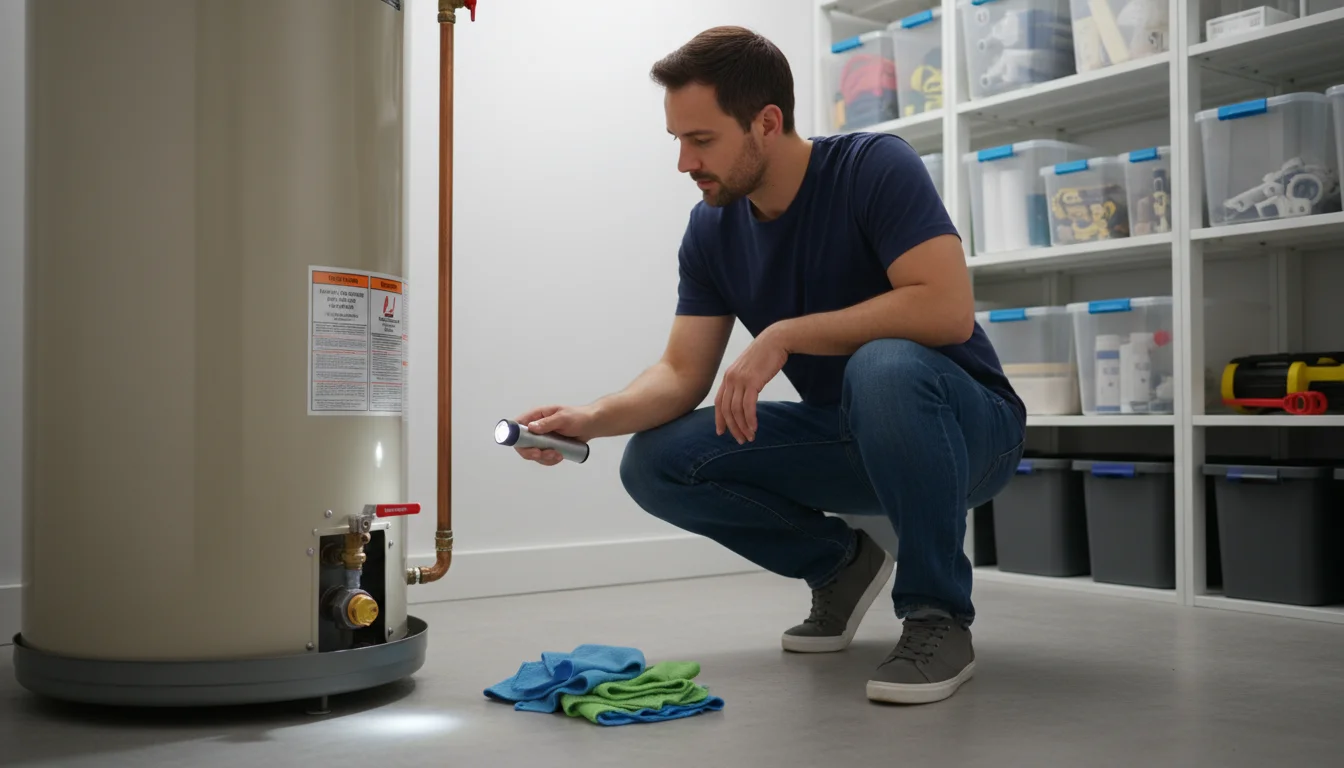
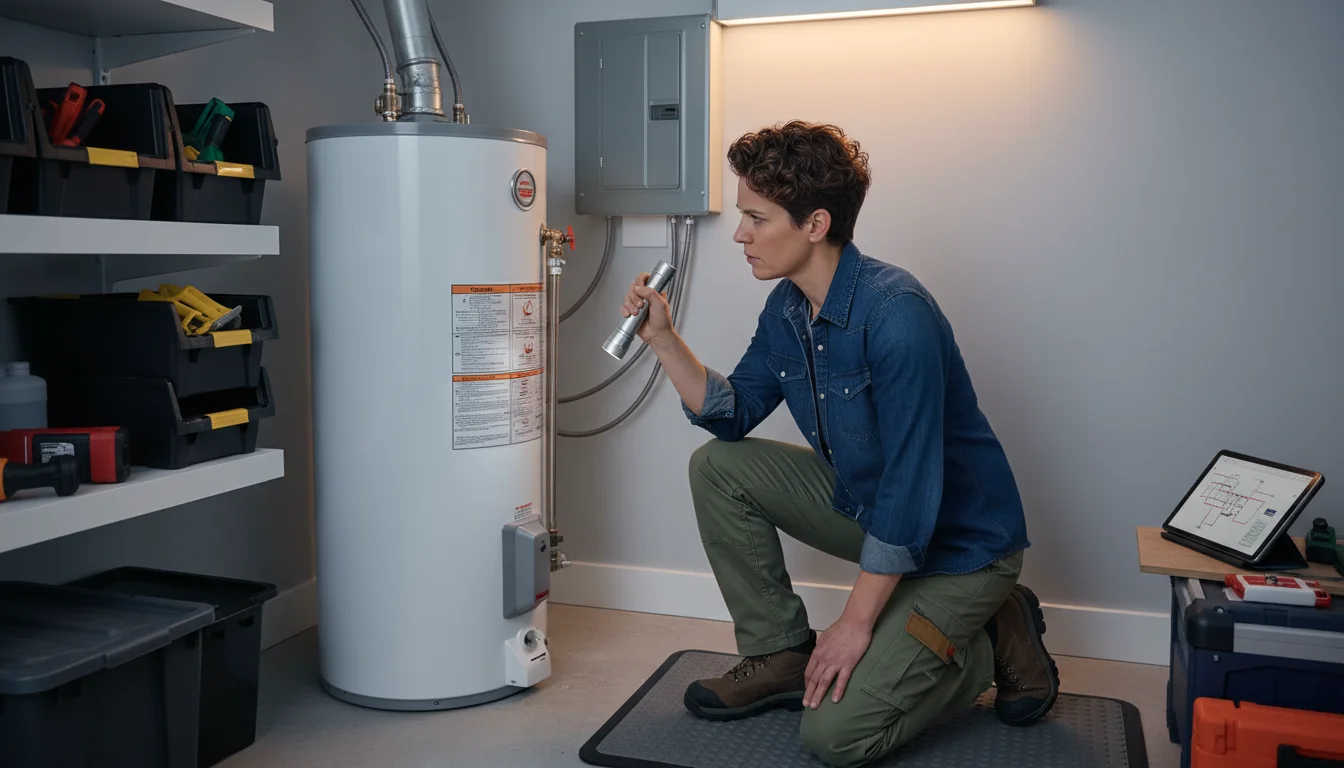
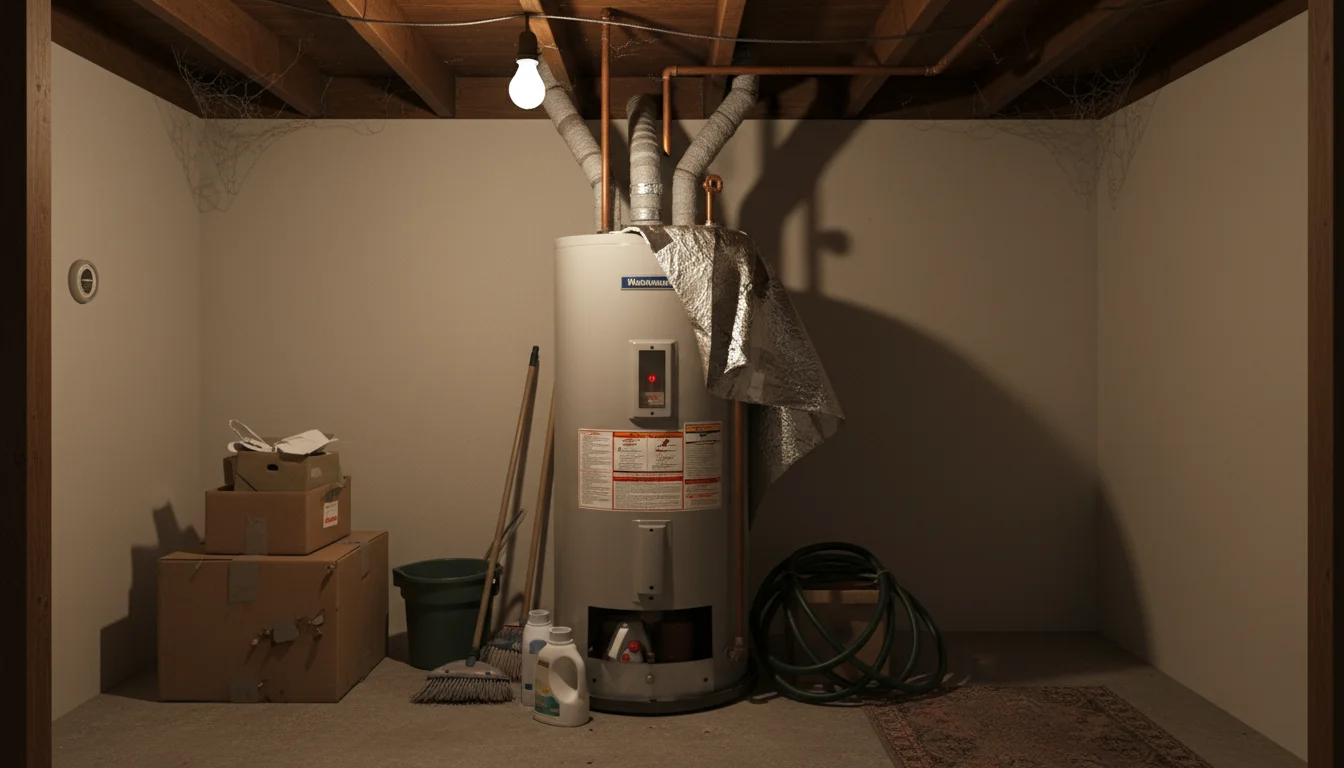
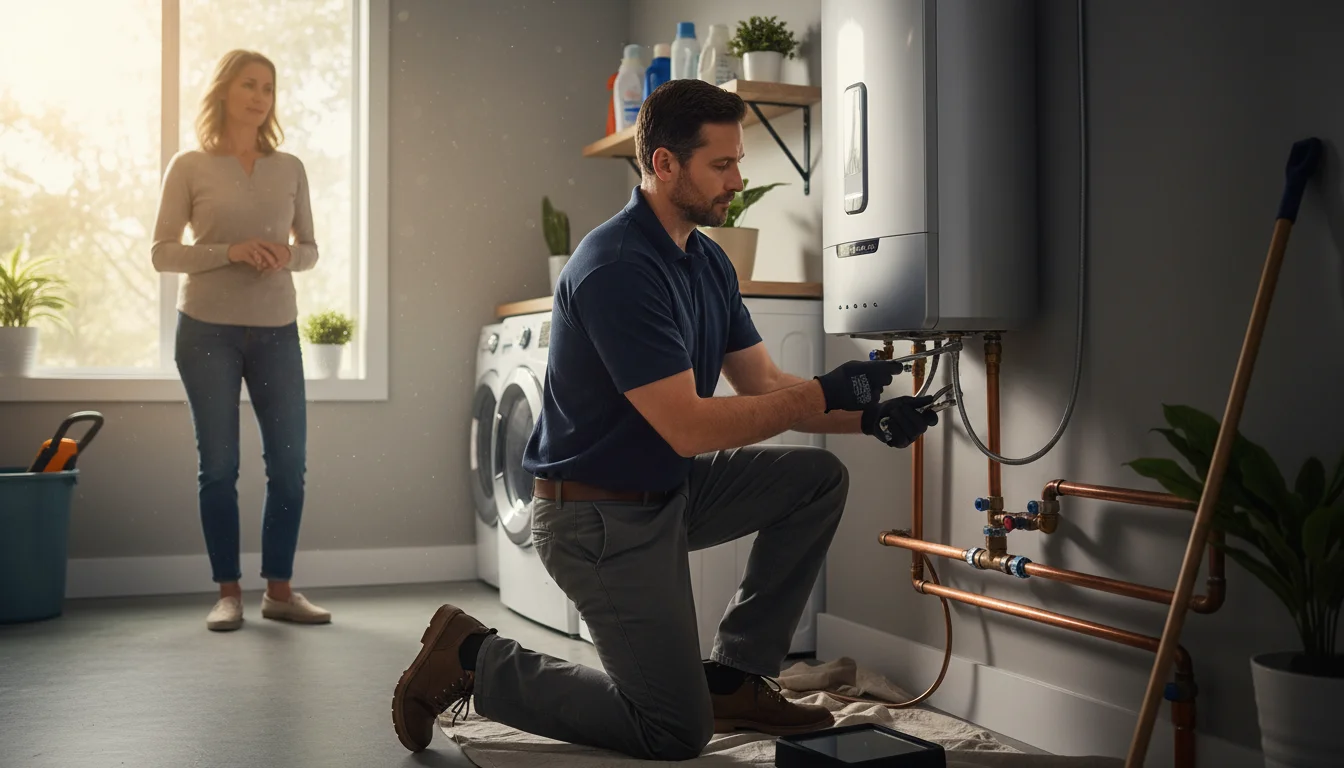
Understanding Your Water Heater and Its Components
Before you start any maintenance, it helps to understand the basic parts of your water heater. Most homes have conventional tank-style water heaters, though tankless models are growing in popularity. This guide focuses primarily on tank-style units, which require more regular maintenance.
Maintaining your heating systems is just one part of indoor wellness; you can also improve your environment with the best humidifiers for dry indoor air during the colder seasons.
If your tank is located in a crowded area, using these garage organization budget ideas can create the space needed for easy maintenance access.
Just as you care for your water heater, regular HVAC maintenance is essential for year-round indoor comfort and air quality.
Key Components of a Tank-Style Water Heater:
- Cold Water Inlet: This pipe brings fresh, cold water into the tank.
- Hot Water Outlet: This pipe carries heated water out to your home’s fixtures.
- Temperature and Pressure Relief Valve (T&P Valve): A crucial safety device that opens to release water or steam if pressure or temperature inside the tank becomes too high, preventing explosions.
- Drain Valve (or Spigot): Located at the bottom of the tank, this valve allows you to drain water and flush sediment.
- Heating Elements (Electric) or Burner (Gas): These heat the water inside the tank.
- Thermostat: Controls the water temperature.
- Dip Tube: Extends from the cold water inlet to the bottom of the tank, ensuring cold water enters at the bottom for efficient heating.
- Anode Rod: A sacrificial rod, usually made of magnesium, aluminum, or zinc, that attracts corrosive elements in the water, preventing them from eating away at the steel tank lining.
Knowing these parts helps you identify what you are working on during maintenance tasks. Understanding the function of each component reinforces the importance of each maintenance step.
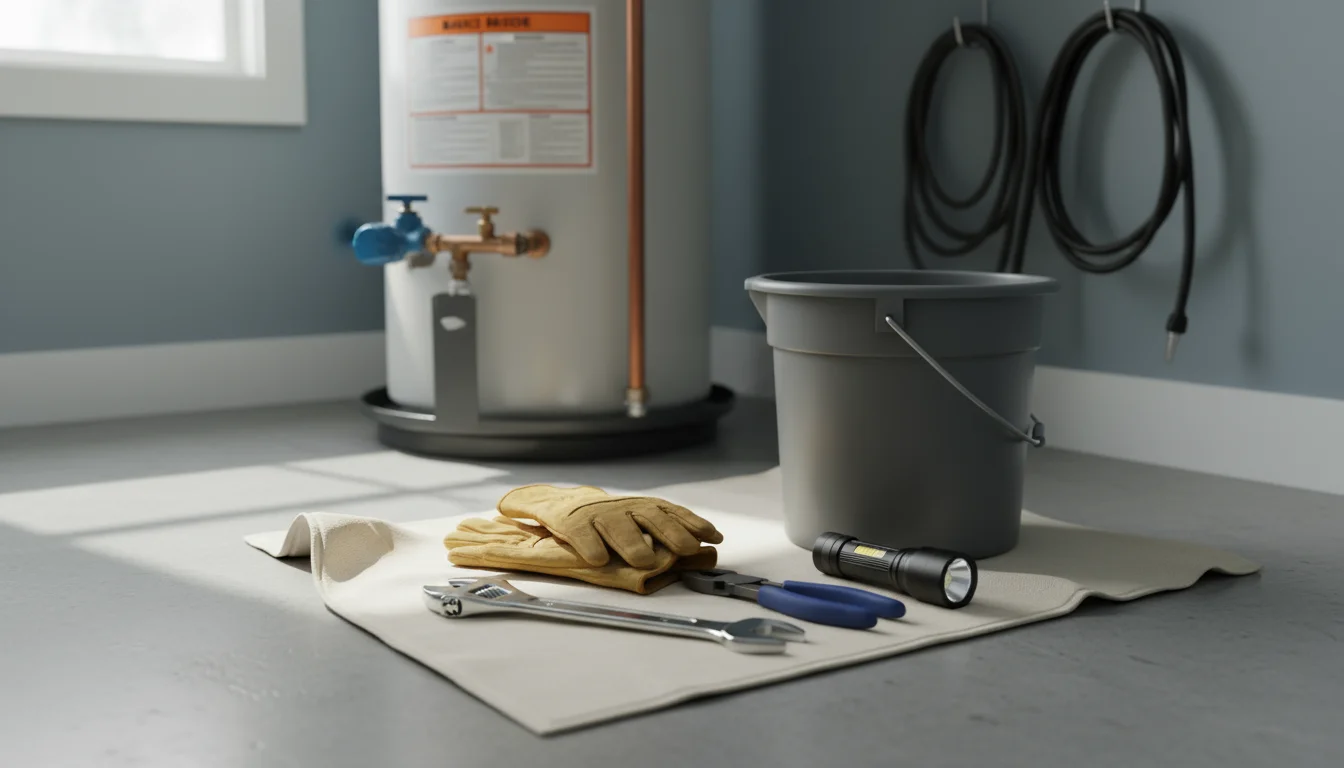
Essential Tools and Safety First
You do not need a vast collection of specialized tools to perform basic water heater maintenance. Most items are readily available at home improvement stores or you might already own them. Prioritize your safety above all else; working with water, electricity, and gas requires caution.
Protecting your home’s water system should also extend to your exterior pipes through proper lawn and garden winterization before the first frost.
Safety is the priority for all seasonal projects, including when you perform chimney and fireplace maintenance to keep your home warm and secure.
It is also a great idea to add this to your fall home maintenance checklist to get the house ready for cold weather.
Similar to following a proper gutter cleaning guide, staying safe while performing DIY home maintenance is always the top priority.
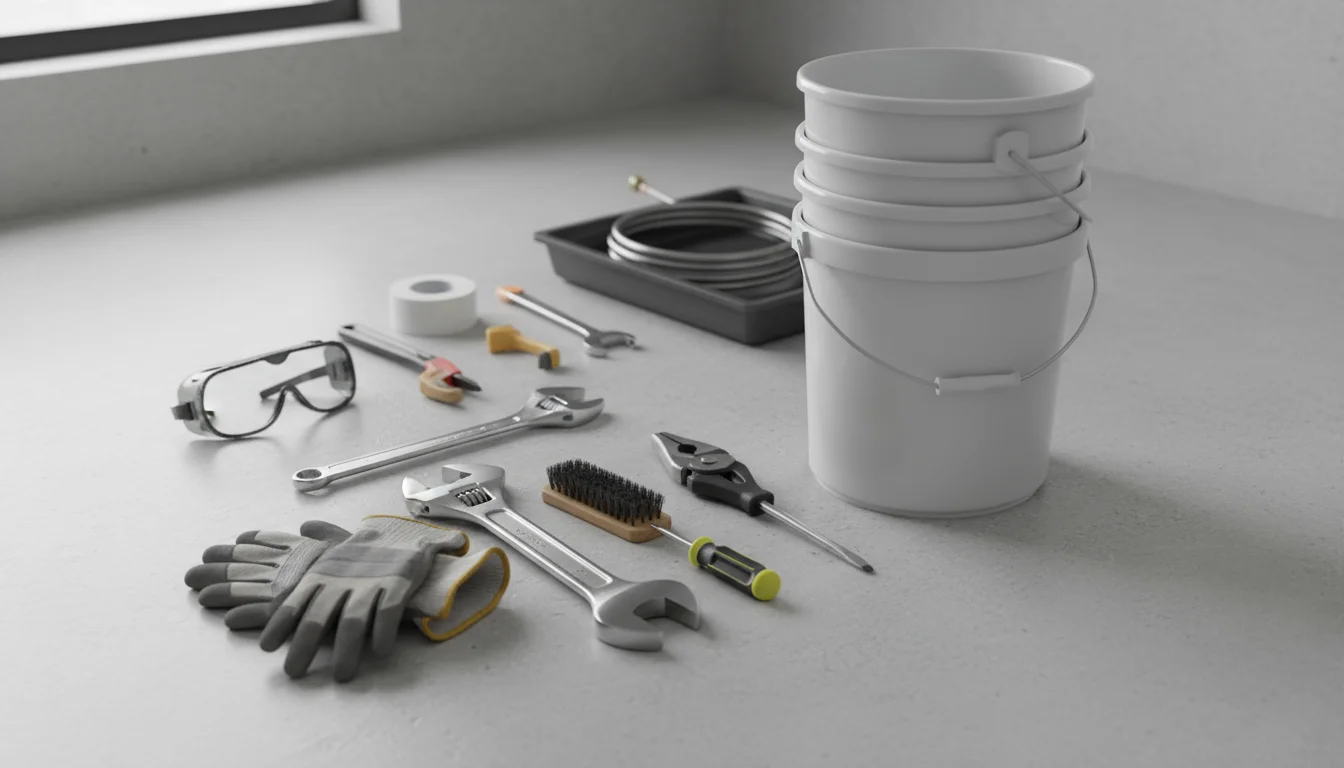
Tools You Will Need:
- Garden hose (long enough to reach a drain or outdoor area)
- Buckets (several, 5-gallon capacity is ideal)
- Adjustable wrench or socket wrench set
- Flathead screwdriver (for some drain valves)
- Channel locks or pipe wrench (for anode rod, if applicable)
- Wire brush (for cleaning drain valve threads)
- Heavy-duty gloves
- Safety goggles
- Optional: PTFE thread seal tape (Teflon tape) for re-sealing connections
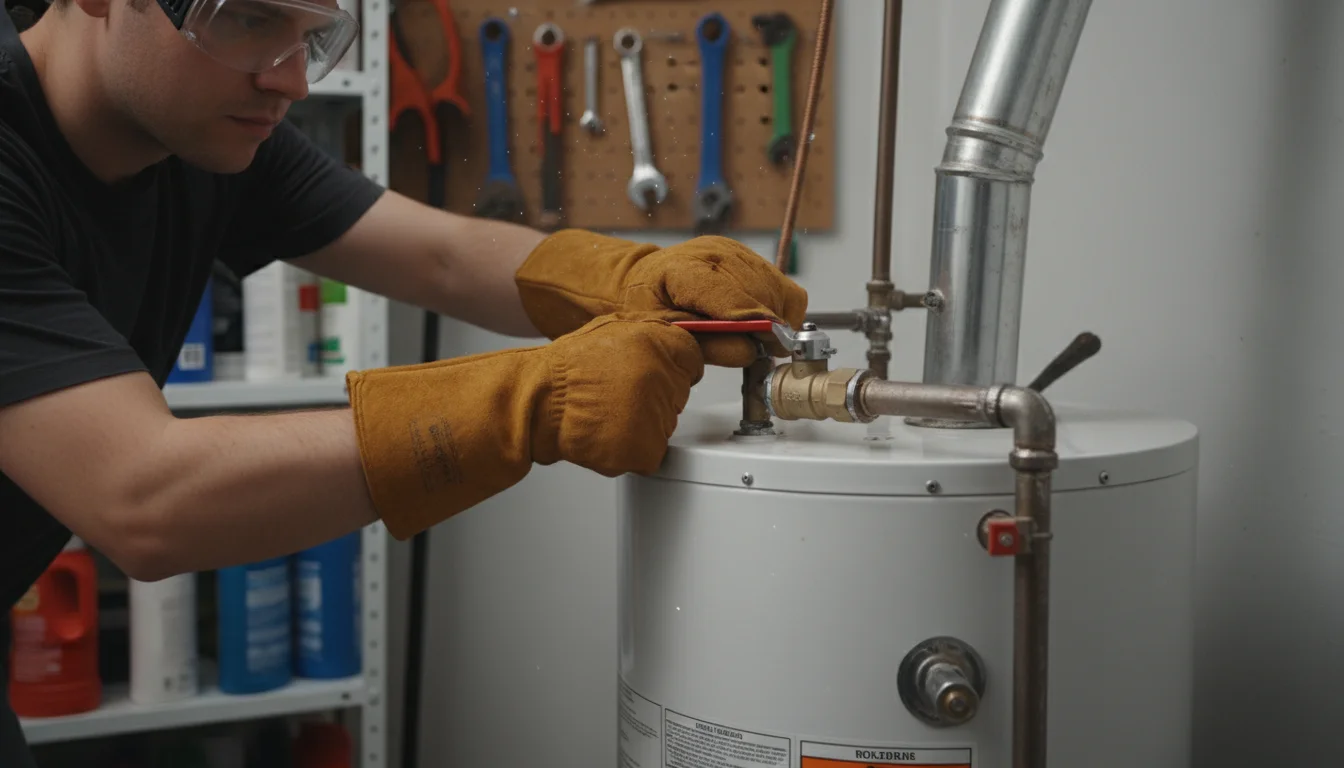
Safety Precautions:
- Turn off Power/Gas: Always disconnect the power to electric water heaters at the breaker panel or shut off the gas supply to gas water heaters at the unit’s gas valve. Failure to do so can result in serious injury or death.
- Turn off Cold Water Supply: Locate the cold water shut-off valve above your water heater and turn it off. This prevents new water from entering the tank while you work.
- Wear Protective Gear: Hot water and rust particles can cause burns or eye injuries. Always wear heavy-duty gloves and safety goggles.
- Allow Water to Cool: If you plan to drain or work inside the tank, wait several hours for the water to cool. Draining extremely hot water poses a severe burn risk.
- Ventilation: If you are working on a gas unit, ensure proper ventilation.
- Understand Your Limits: If you feel uncomfortable or encounter a problem you cannot resolve, stop and call a qualified plumber. Do not attempt repairs beyond your skill level, especially with gas lines or complex electrical systems.
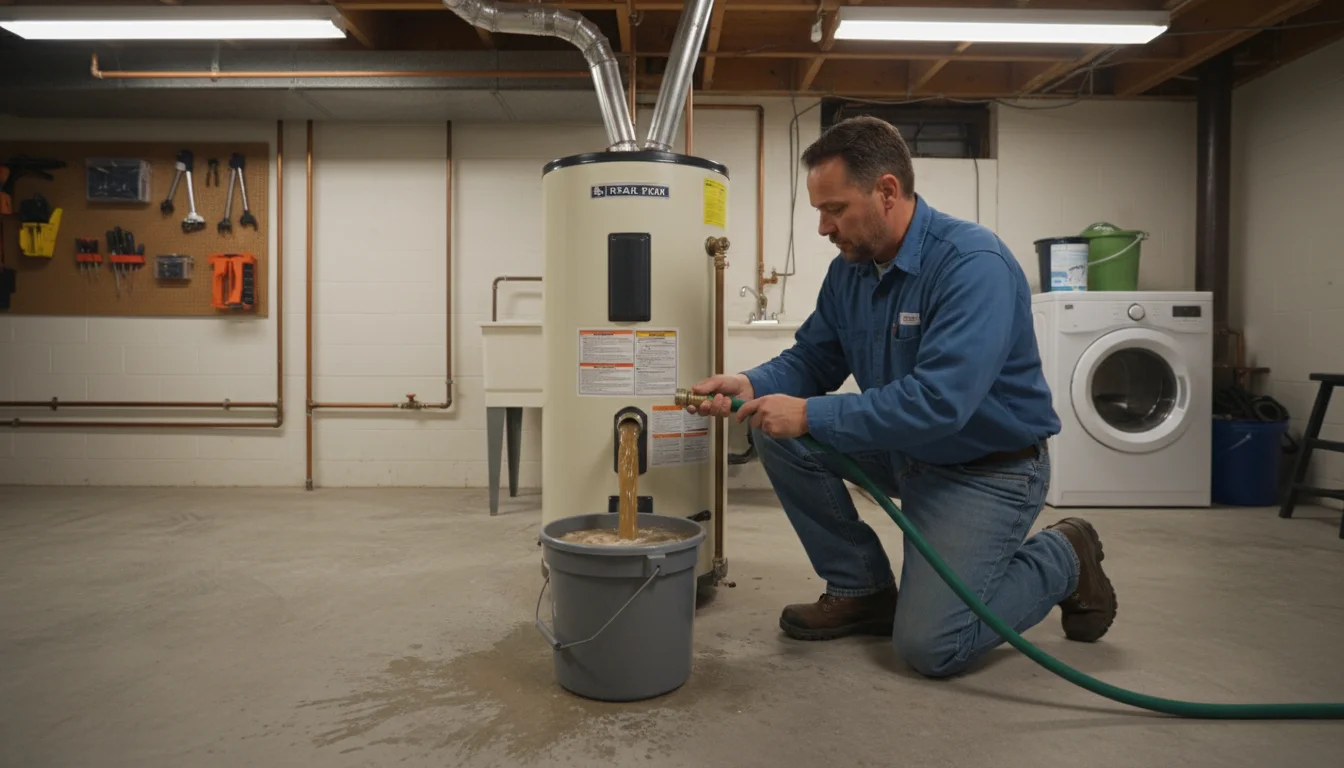
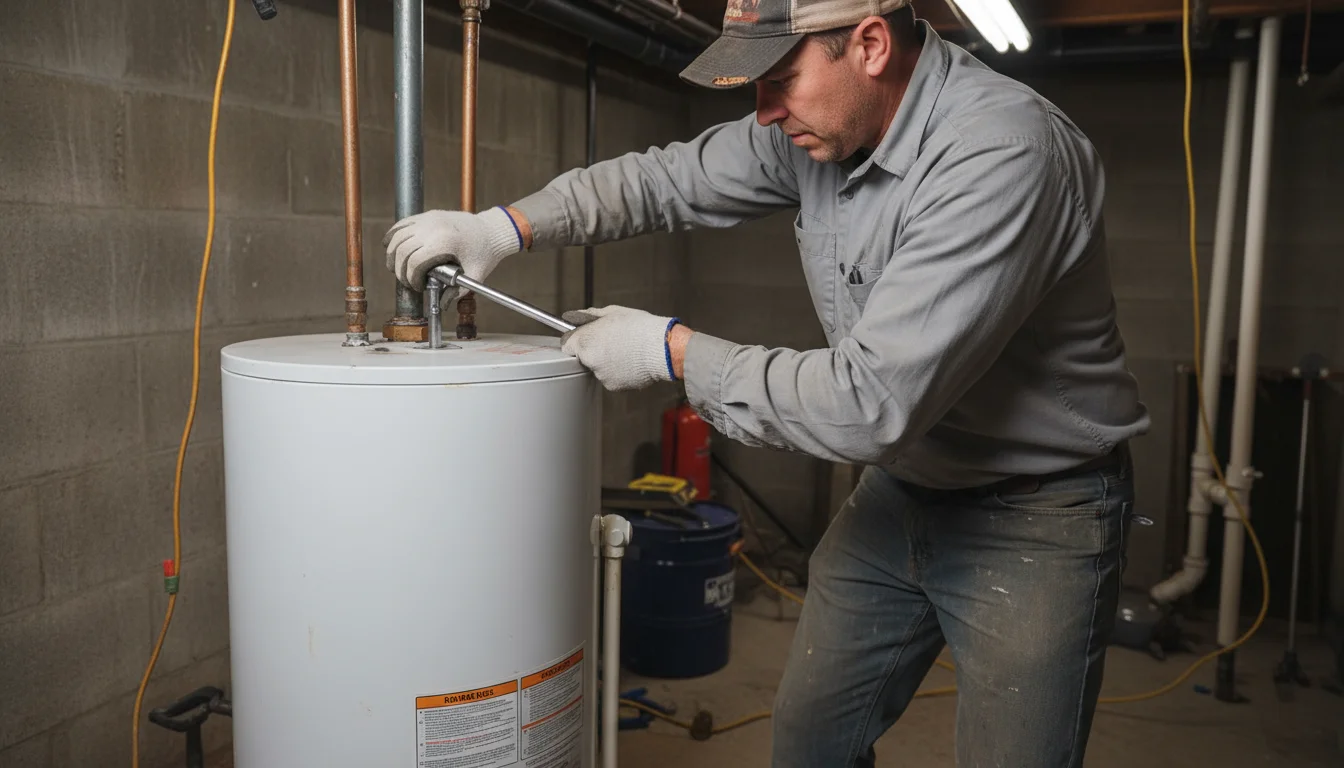
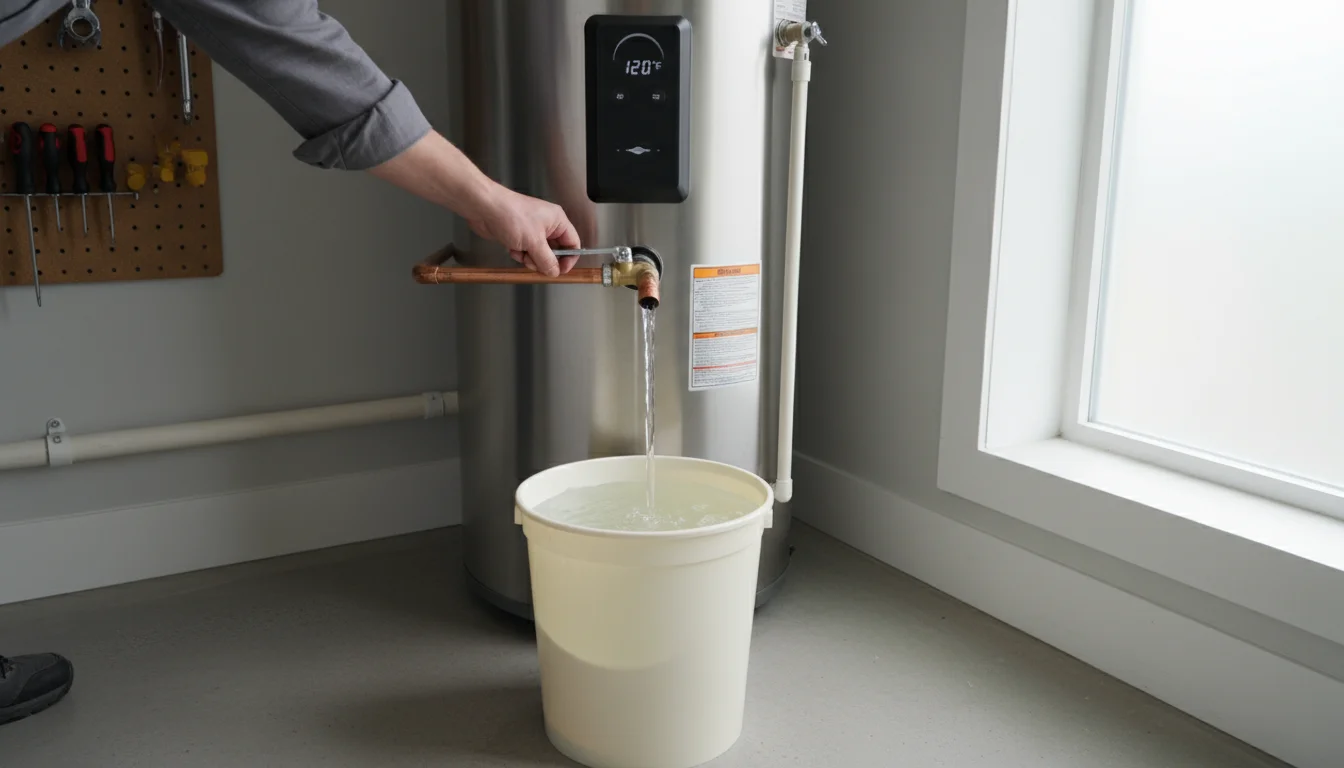
Flushing Your Water Heater: Step by Step
Flushing the water heater is the most critical annual maintenance task. It removes sediment buildup, which improves efficiency and extends the life of your unit. This process may seem intimidating, but it is straightforward with these clear steps.
While focusing on your home’s systems, you might also want to review our spring deep cleaning checklist for a total house refresh.
- Turn Off Power/Gas and Cold Water Supply: Reiterate the safety steps. Turn off the power at your breaker box (for electric units) or the gas supply valve (for gas units). Locate the cold water shut-off valve on the pipe entering the top of your water heater and turn it clockwise until it stops.
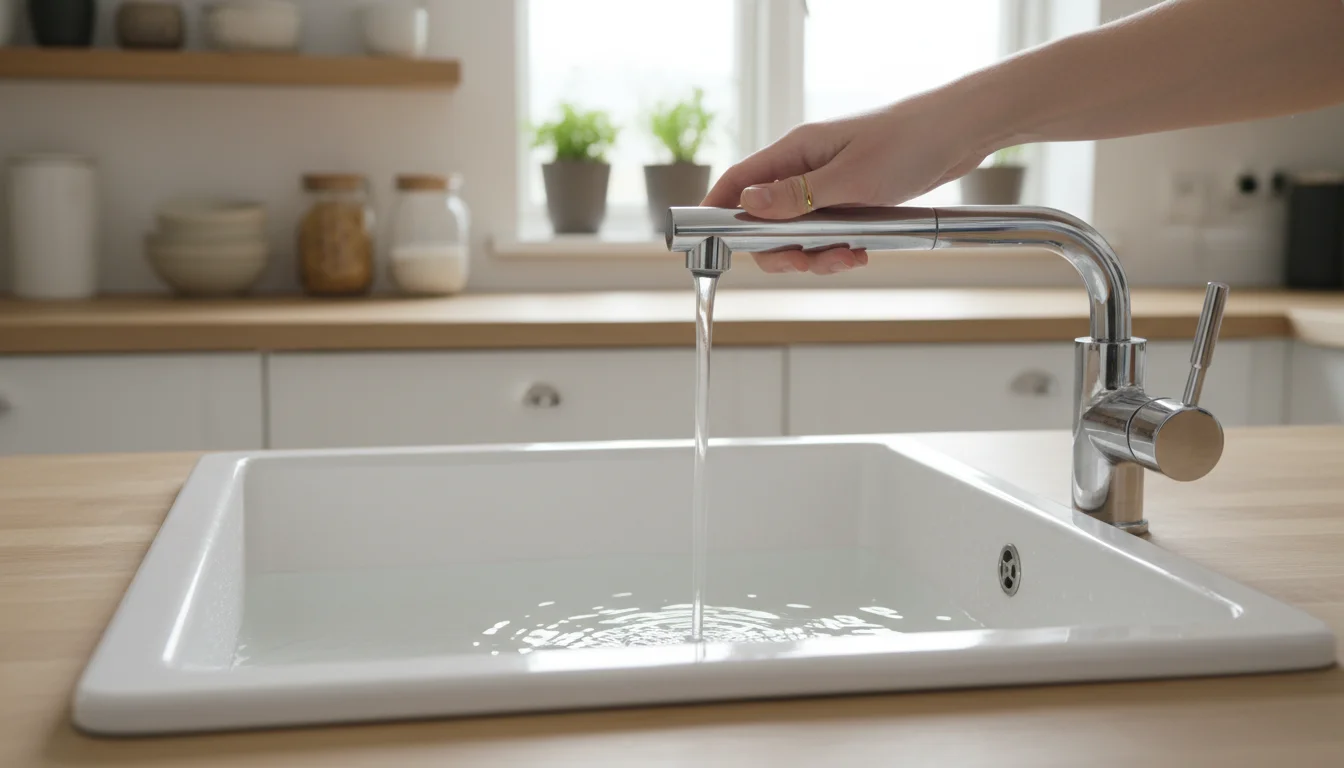
- Open a Hot Water Faucet: Go to a nearby sink or tub and open a hot water faucet. This releases pressure inside the tank and prevents a vacuum from forming during draining. Leave it open throughout the flushing process.
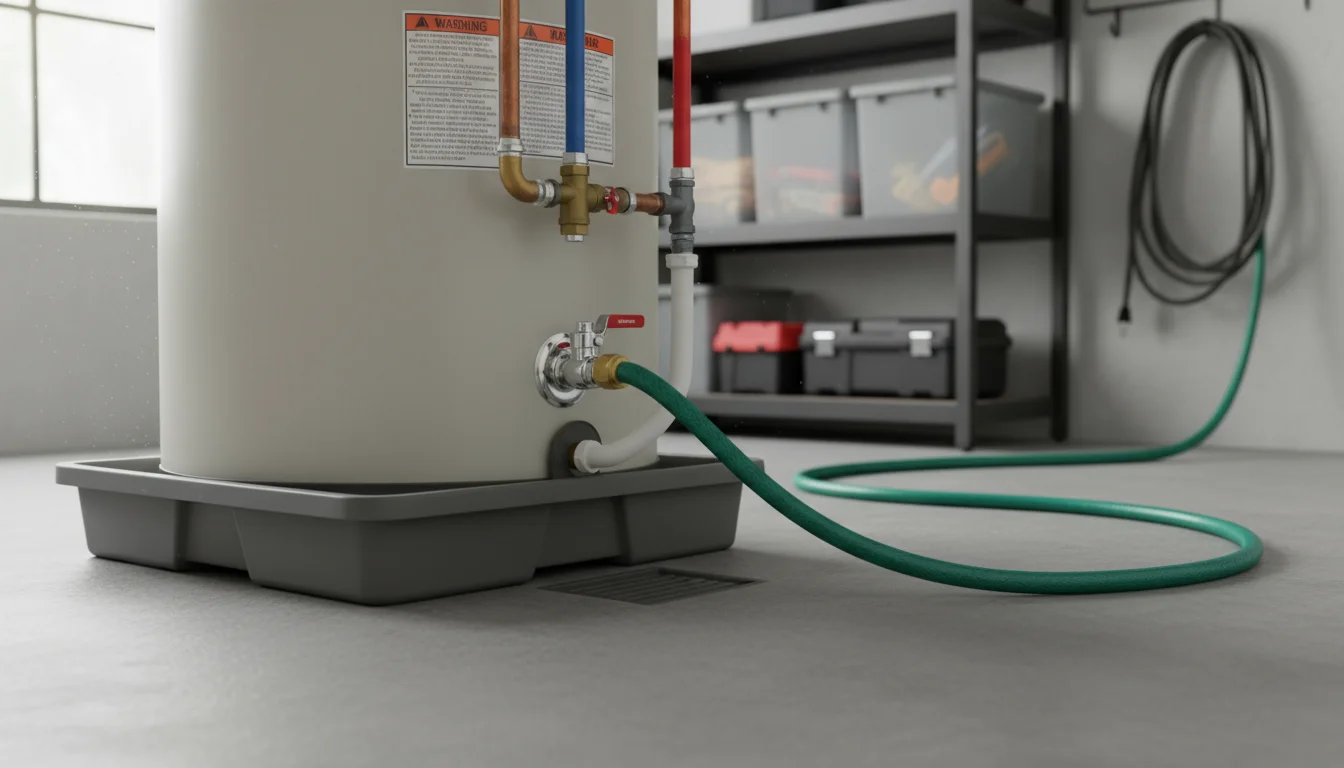
- Attach a Garden Hose to the Drain Valve: Connect one end of your garden hose to the drain valve (spigot) at the bottom of your water heater. Run the other end of the hose to a floor drain, utility sink, or outside where water can safely drain away without causing damage. Be aware that the water will contain rust and sediment.
- Open the Drain Valve: Using a flathead screwdriver or the valve handle, slowly open the drain valve on the water heater. You will hear water begin to flow through the hose. The water may appear cloudy or discolored at first, indicating sediment removal.
- Flush Until Water Runs Clear: Let the water drain completely. For a full flush, once the tank is mostly empty and the water running out is clear, you can briefly turn the cold water supply back on for a minute or two with the drain valve still open. This “power flush” helps stir up and push out any remaining sediment. Close the cold water supply again before the tank refills. Repeat this brief “power flush” if necessary, until the water draining out is completely clear.
- Close the Drain Valve and Remove Hose: Once the water runs clear and you are satisfied, close the drain valve tightly. Disconnect the garden hose.
- Refill the Tank: Close the hot water faucet you left open. Slowly turn the cold water supply valve back on. As the tank refills, air will be pushed out through the hot water pipes. Listen for the sound of the tank filling.
- Bleed Air from Hot Water Lines: Once the tank is full, go to several hot water faucets in your home and turn them on. Let them run until all air has been expelled and a steady stream of water comes out. This prevents air pockets from forming in your plumbing.
- Restore Power/Gas: After checking for leaks around the drain valve and ensuring the tank is full and air is bled from lines, turn the power back on at the breaker panel or reopen the gas supply valve. Allow the water heater to reheat.
According to Bob Vila, flushing your water heater once a year significantly reduces sediment buildup and extends the appliance’s life. If you have particularly hard water, you might consider flushing it every six months.
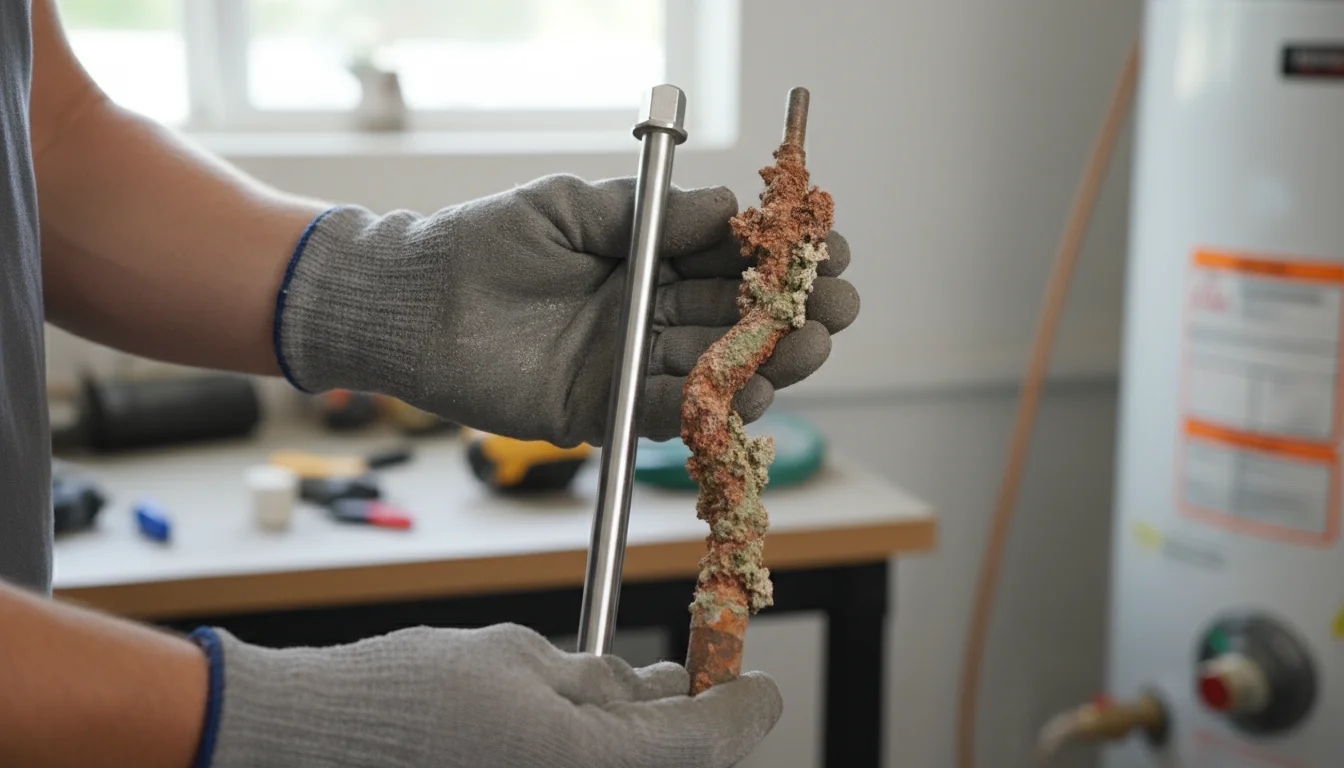
Inspecting and Replacing the Anode Rod
The anode rod is your water heater’s unsung hero. It sacrifices itself to prevent corrosion of the steel tank. Over time, it corrodes away and loses its effectiveness. Inspecting and replacing it when necessary protects your investment.
Checking the anode rod is a great task to include in your summer home maintenance checklist when hot water demand is slightly lower.
What is an Anode Rod?
Often called a “sacrificial rod,” the anode rod is a metal rod typically made of magnesium, aluminum, or zinc, often with a steel core wire. It hangs inside your water heater tank. Because these metals are more reactive than steel, they attract corrosive particles in the water, corroding instead of the tank’s steel lining. Once it is significantly corroded, it can no longer protect the tank, leaving the steel vulnerable to rust.
Inspection Schedule:
Inspect your anode rod every 3 to 5 years. However, if you have very hard water or use a water softener, inspect it every 2 to 3 years. Some plumbers recommend inspection as early as 1 year in cases of extreme water conditions.
How to Inspect and Replace:
- Turn Off Power/Gas and Water Supply: Follow the same safety steps as for flushing. Turn off the power/gas and the cold water supply.
- Drain Some Water: Drain about 5 gallons of water from the tank using the drain valve and a hose. This lowers the water level below the anode rod port, preventing a spill when you remove it.
- Locate the Anode Rod: The anode rod is typically located at the top of the water heater, often beneath a plastic cap, or sometimes it is integrated with the hot water outlet pipe. You might need to move some insulation to find it.
- Remove the Anode Rod: Use a socket wrench (usually 1 1/16 or 1 1/8 inch, but check your manual) to loosen and unscrew the anode rod. This step can be challenging, as the rod might be tightly sealed or corroded in place. If it is stuck, apply penetrating oil and let it sit. You may need a breaker bar for leverage.
- Inspect the Rod: Pull the rod out. A healthy rod should be relatively thick. If it is thinner than 1/2 inch in places, heavily corroded, covered in calcium, or largely gone, it is time for a replacement.
- Install New Anode Rod: Wrap the threads of the new anode rod with PTFE thread seal tape (Teflon tape) three to four times clockwise. Carefully screw the new rod into the tank by hand to avoid cross-threading, then tighten it with your socket wrench. Do not overtighten, but ensure a snug seal.
- Refill Tank and Restore Power: Follow steps 7-9 from the flushing process to refill the tank, bleed air, and restore power/gas. Check for leaks around the new anode rod connection.
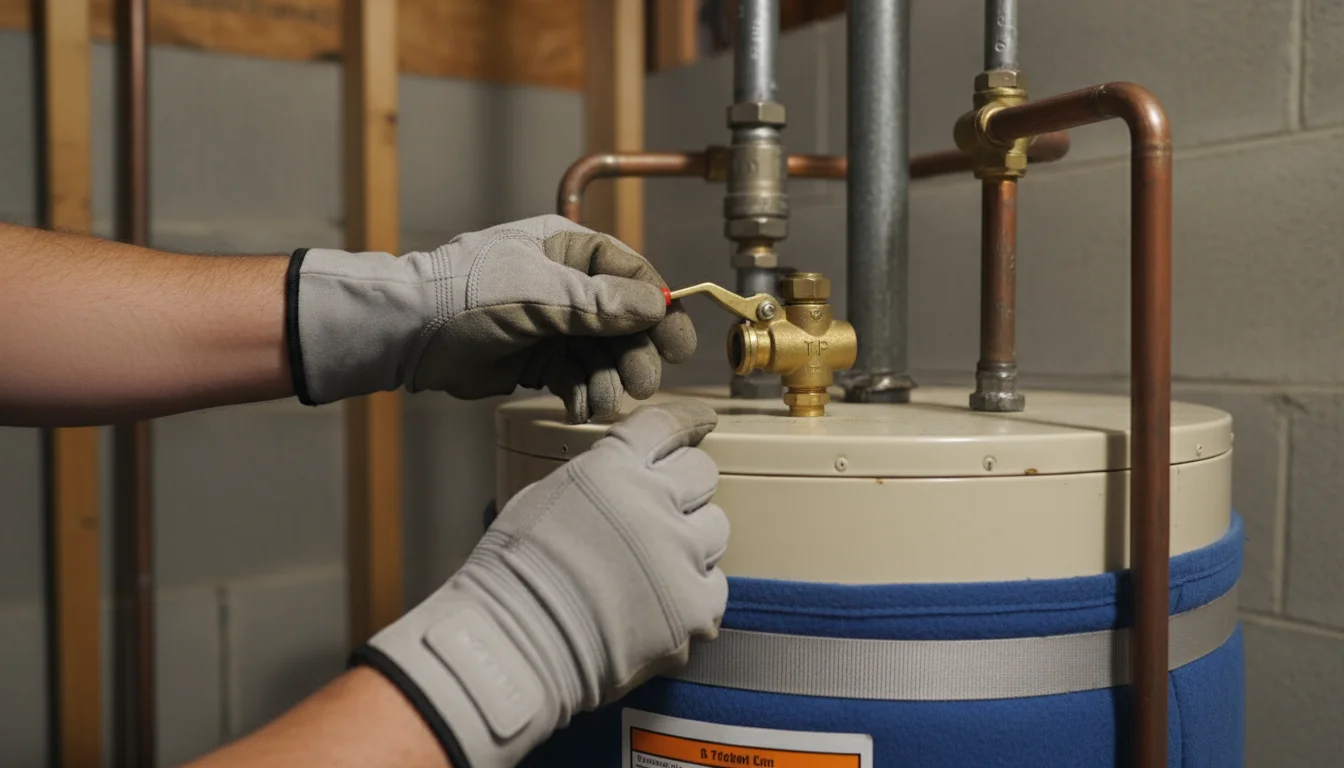
Testing Your Pressure Relief Valve
The T&P valve is a critical safety device. It prevents dangerous pressure buildup inside the tank, which could lead to an explosion. Testing it regularly ensures it functions correctly. Experts at This Old House recommend testing your T&P valve annually.
This safety check is a key item on any comprehensive fall home maintenance checklist before the temperatures drop.
How to Test the T&P Valve:
- Locate the Valve and Discharge Pipe: The T&P valve is usually located on the top or side of your water heater. It has a lever and a discharge pipe running from it, often leading to a floor drain or near the base of the unit.
- Place a Bucket: If the discharge pipe does not lead directly to a drain, place a bucket underneath the end of the discharge pipe to catch any water that comes out.
- Lift the Lever: Carefully lift the small lever on the T&P valve for a few seconds and then quickly release it. You should hear a rush of air and water should flow out of the discharge pipe, then stop abruptly when you release the lever.
- Observe the Results:
- If water comes out and stops, the valve works.
- If no water comes out, or if it continues to trickle after you release the lever, the valve might be faulty or blocked.
- If the valve leaks continuously after testing, it might be old, faulty, or sediment might be lodged in it.
- What to Do if it Fails: If the valve does not function correctly, do not attempt to repair it yourself. Contact a qualified plumber immediately to have it replaced. A malfunctioning T&P valve poses a serious safety risk.
Some plumbers advise caution when testing older T&P valves, as they might not reseal properly after being opened, especially if corroded. If you have an older unit and are concerned, consider calling a professional to replace the valve rather than testing it yourself.
Insulating Your Water Heater and Pipes
Insulating your water heater and the first six feet of hot and cold water pipes significantly reduces heat loss, improving efficiency and saving energy. This is a simple, budget-friendly upgrade with a quick return on investment.
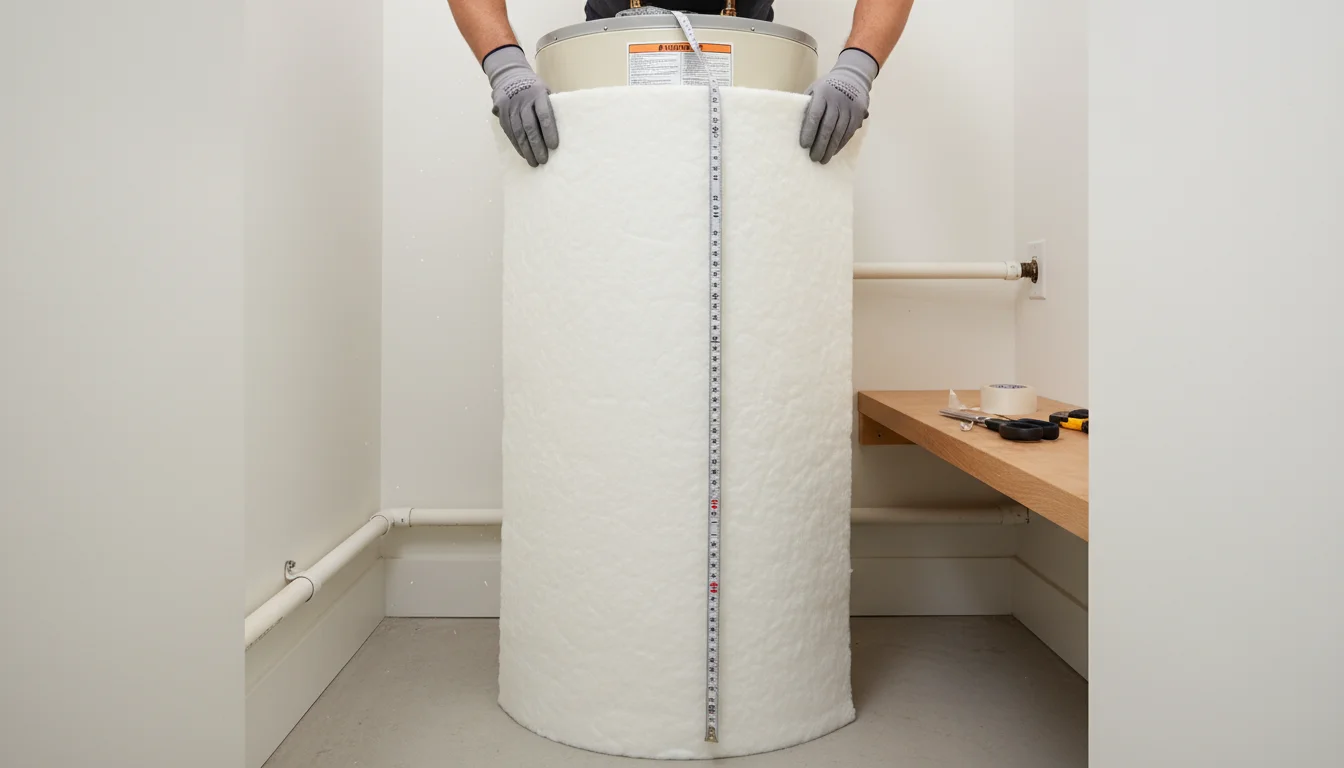
Water Heater Blanket:
If your water heater tank feels warm to the touch, it is losing heat. An insulation blanket acts like a cozy sweater for your tank, keeping the heat in. You can buy pre-cut insulation blankets at most hardware stores. Measure your tank’s height and circumference to get the correct size. Follow the manufacturer’s instructions for installation, making sure to cut out openings for the T&P valve, drain valve, and control panel. Never cover these critical components.
For newer, energy-efficient models, a blanket might not be necessary. Check your owner’s manual or look for an R-value of R-16 or higher on the tank label. If it already has sufficient insulation, adding a blanket might offer minimal benefit.
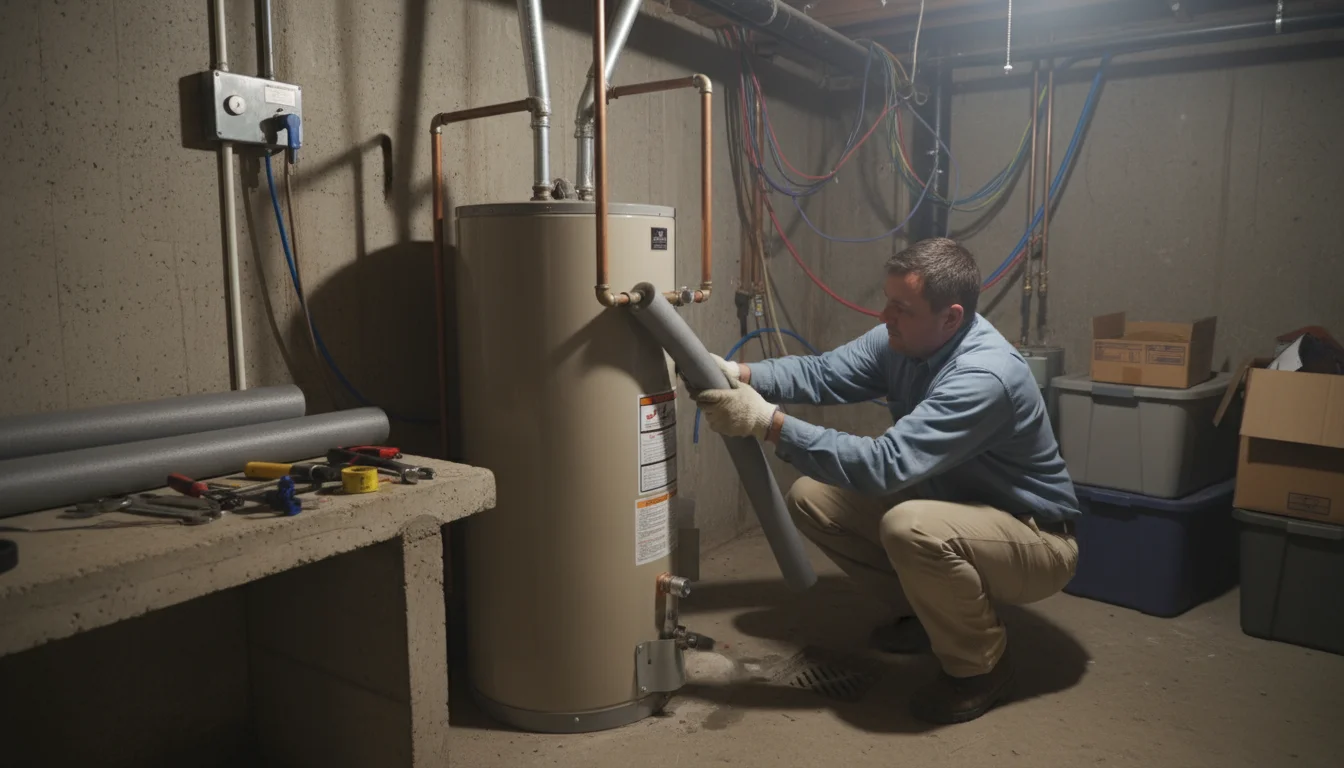
Pipe Insulation:
Insulating the first six feet of both the hot and cold water pipes connected to your water heater prevents heat loss from the hot water and reduces condensation on the cold water pipe. Foam pipe insulation is inexpensive and easy to install. It comes pre-slit and simply slides over your pipes. Secure it with zip ties or tape if needed. This simple step helps deliver hotter water to your fixtures faster and reduces the energy wasted as water cools in exposed pipes.
According to Consumer Reports, insulating your water heater and pipes can reduce standby heat loss by 25% to 45%, saving you energy and money.
When to Call a Professional
While many water heater maintenance tasks are DIY-friendly, some situations warrant calling a qualified plumber. Knowing your limits prevents potential damage, injury, or costly mistakes. Your comfort and safety are paramount.
Situations Requiring Professional Help:
- Gas Leaks: If you smell gas near your water heater, evacuate your home immediately and call your gas company or emergency services from a safe location. Do not use electrical switches or phones inside the house.
- Major Leaks: A slow drip from the drain valve is manageable, but if you notice water pooling around the base of the unit, dripping from the tank itself, or a persistent leak from the T&P valve, shut off the water supply and call a plumber. This indicates a serious issue.
- No Hot Water/Insufficient Hot Water (after basic troubleshooting): If you have no hot water, or your water is not getting hot enough, after checking your thermostat settings and ensuring the power/gas is on, a professional diagnosis is necessary. This could indicate a faulty heating element, thermostat, or gas burner problem.
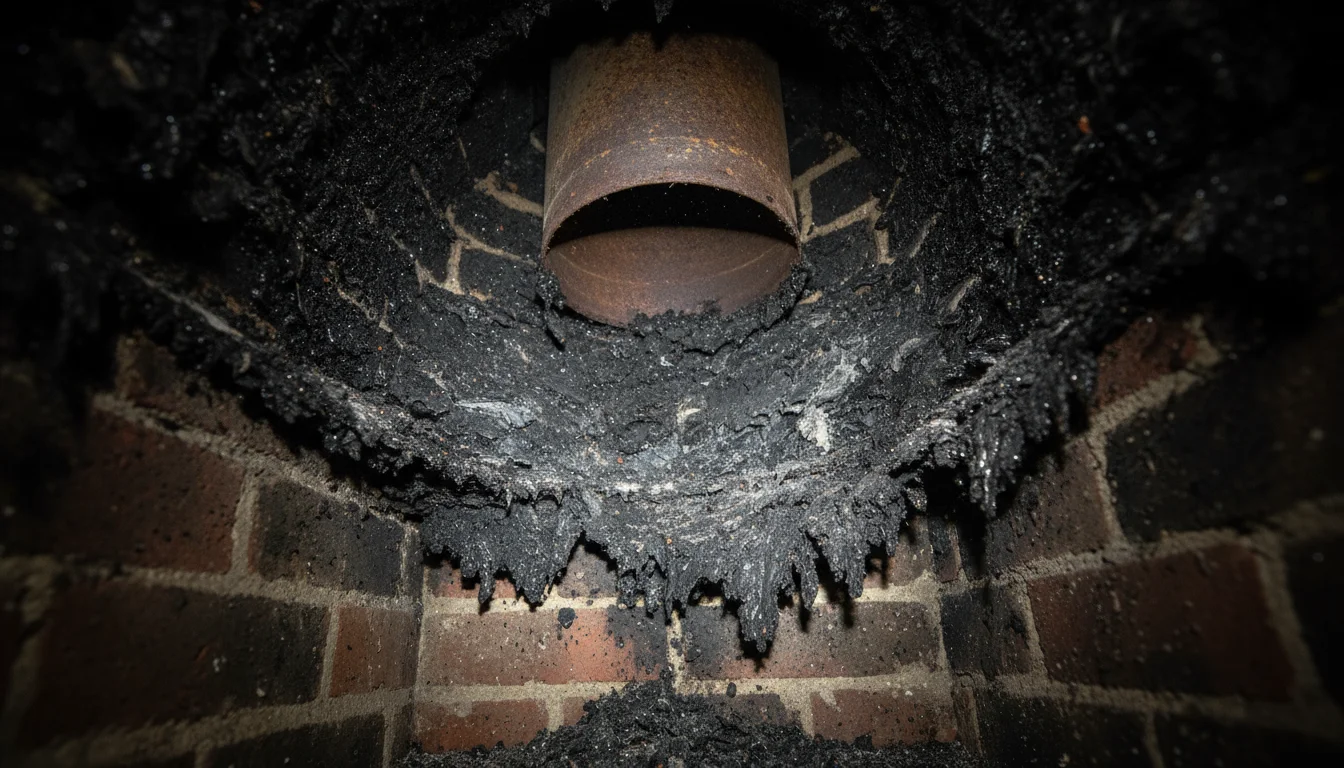
- Strange Noises: Loud rumbling, popping, or banging noises often indicate excessive sediment buildup or a failing heating element. While flushing helps with sediment, unusual noises suggest underlying issues a plumber should investigate.
- Corrosion or Rust on Connections/Tank: Visible rust on pipes, connections, or the tank itself often signals advanced corrosion. A plumber can assess the extent of the damage and recommend solutions, including potential replacement.
- Difficulty with Anode Rod/T&P Valve: If you cannot loosen a stuck anode rod or if your T&P valve fails the test and will not reseal, it is best to call a plumber. These parts are critical for safety and efficiency.
- Pilot Light Issues (Gas Heaters): If you consistently struggle to light or keep the pilot light on, a professional needs to diagnose the problem.
- Any Task You Feel Uncomfortable With: Never force yourself to perform a task you do not understand or feel unsafe completing. It is always better to pay for professional service than risk injury or damage to your home.
Frequently Asked Questions
What is the ideal temperature setting for my water heater?
Most experts recommend setting your water heater to 120 degrees Fahrenheit. This temperature provides enough hot water for most household needs, helps prevent scalding, and reduces energy consumption compared to higher settings. Studies by organizations like the CDC suggest that 120°F is hot enough to prevent bacterial growth while still being safe for typical use.
How often should I flush my water heater?
You should flush your water heater at least once a year. If you live in an area with hard water, which has a higher mineral content, consider flushing it every six months. Regular flushing removes sediment that reduces efficiency and shortens your unit’s lifespan.
What are the signs that my water heater is failing?
Common signs of a failing water heater include a lack of hot water, rust-colored water, metallic odors from your hot water, strange noises like rumbling or popping, and leaks around the base of the unit. If your water heater is over 10 years old and exhibits these symptoms, start planning for a replacement.
Can I perform maintenance on a tankless water heater?
Yes, tankless water heaters also require maintenance, primarily flushing them with a vinegar solution to remove mineral scale buildup. The process differs from tank-style units and often requires a specific flushing kit. Consult your owner’s manual for detailed instructions or consider hiring a professional, as the internal components are more complex.
Is it really worth doing this maintenance myself?
Absolutely. Performing basic water heater maintenance yourself saves you money on plumber call-out fees for routine tasks. It also gives you a better understanding of your home’s systems. The time investment is minimal compared to the costs of premature replacement or emergency repairs. You empower yourself as a homeowner and ensure greater comfort and efficiency in your daily life.
By following these practical steps, you invest in your water heater’s longevity and your home’s overall well-being. Regular water heater maintenance is a simple, effective way to ensure hot water comfort, save money, and avoid inconvenient breakdowns. You have the power to protect this essential appliance and extend its life by years.
For expert home organization guidance, visit
Institute for Challenging Disorganization,
Consumer Reports — Home and
This Old House.
Disclaimer: This article is for informational purposes only and is not a substitute for professional advice. Consult professional organizers or specialists for personalized recommendations.


Leave a Reply