A well-organized walk-in pantry transforms your kitchen and daily life. You gain back precious time, reduce food waste, and create a calm, functional space. Imagine finding exactly what you need in seconds, without rummaging through cluttered shelves or buying duplicates of items you already own. This comprehensive guide provides you with a step-by-step roadmap to achieve a perfectly organized walk-in pantry, tailored to your family’s needs and lifestyle. We focus on practical, actionable strategies that fit real-life budgets and time constraints, ensuring your pantry stays orderly long after the initial setup.
Understanding Your Pantry: Assessing Needs and Space
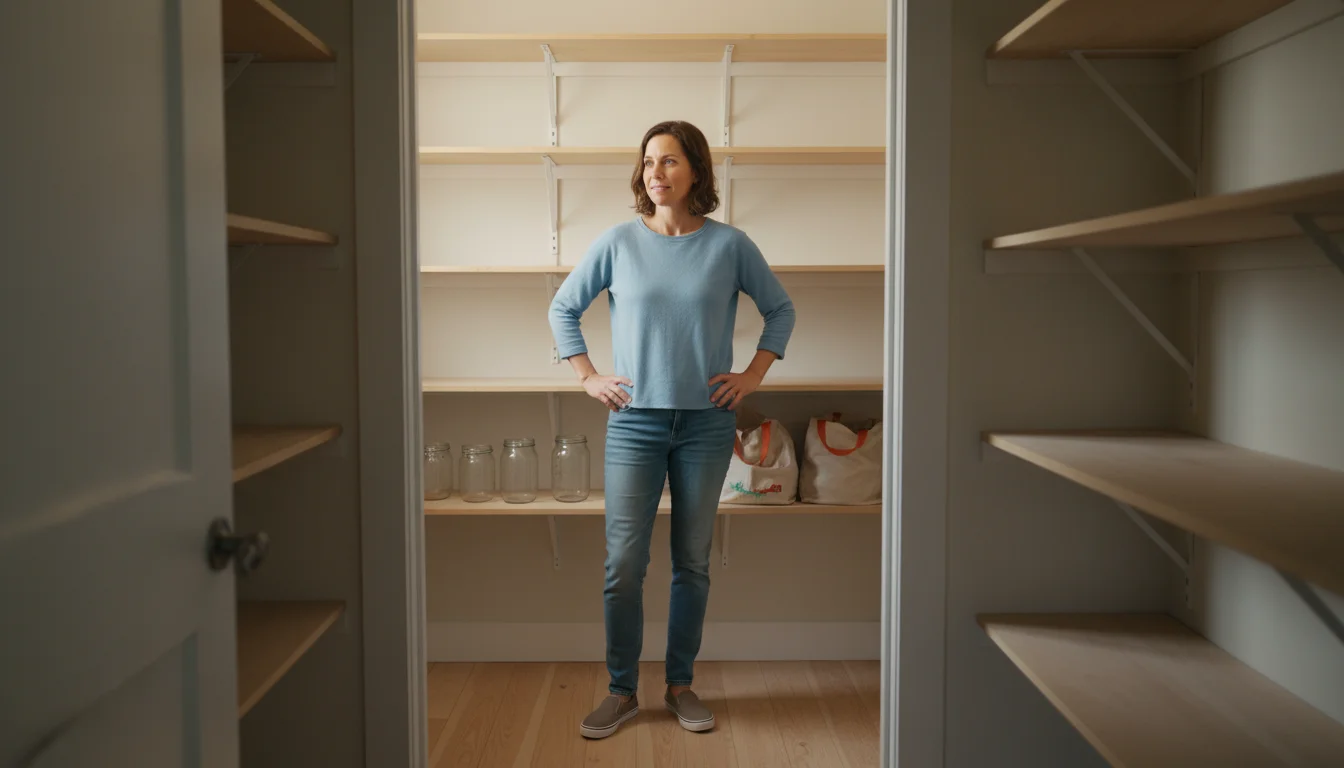
Before you dive into buying containers or moving items around, take a moment to understand your current walk-in pantry. What works? What frustrates you? A thoughtful assessment lays the foundation for a truly functional pantry design. Consider your family’s eating habits, cooking frequency, and grocery shopping patterns. Do you buy in bulk? Do you bake often? These factors directly influence how you organize your food organization systems.
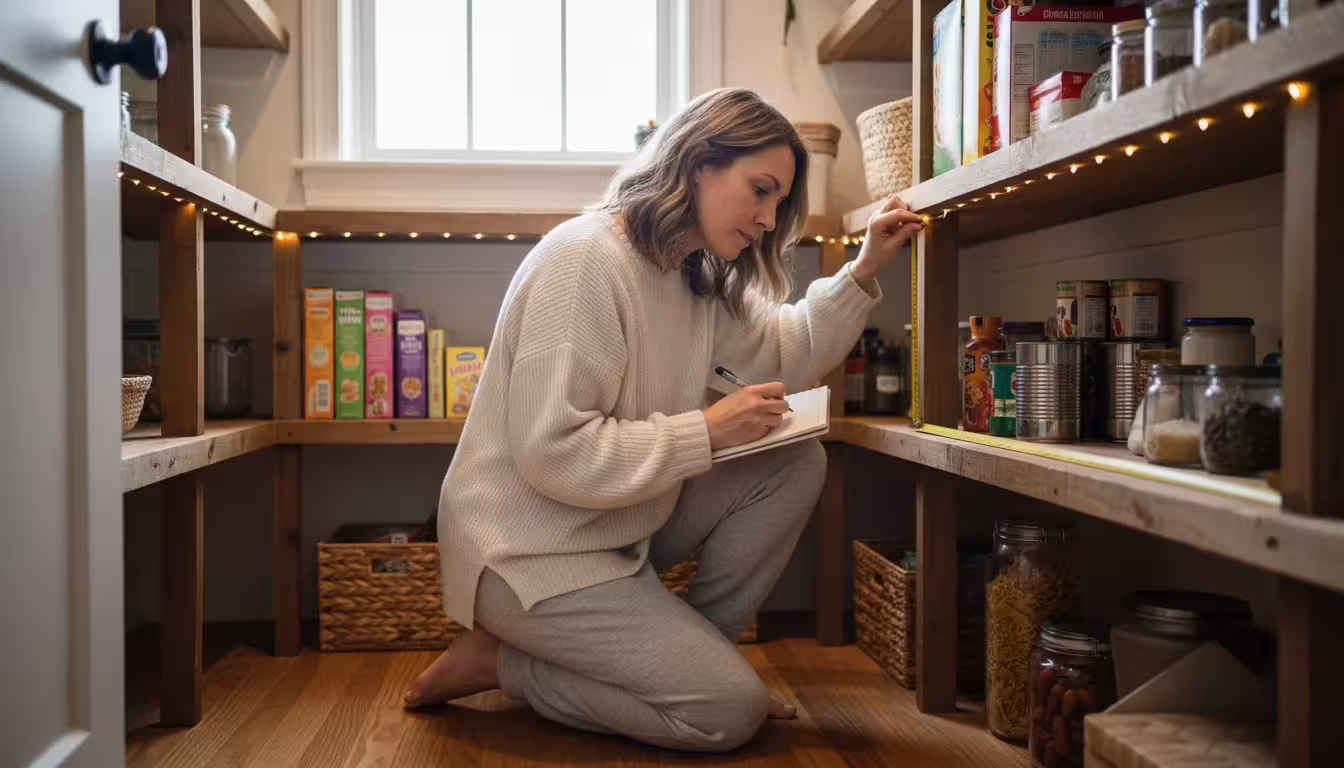
First, measure your pantry. Document the height, width, and depth of all shelves. Note any awkward corners, existing shelving units, or potential areas for improvement. This information helps you choose appropriate storage solutions. For instance, shallow shelves work best for cans and small jars, preventing items from getting lost in the back. Deeper shelves accommodate larger appliances or bulkier items like cereal boxes or paper towels. According to experts at National Association of Professional Organizers, understanding your space limitations and opportunities is crucial before purchasing any organizing products.
Think about how your family uses the pantry. Are children grabbing snacks? Do you need a dedicated baking station? Identifying these needs now prevents future clutter. You want your pantry to serve your lifestyle, not dictate it. Many homeowners discover their current setup does not support their actual usage patterns, leading to disorganization. We aim to build a system that works for you, making your daily routines smoother and more efficient.
The Decluttering Phase: Empty, Sort, and Purge
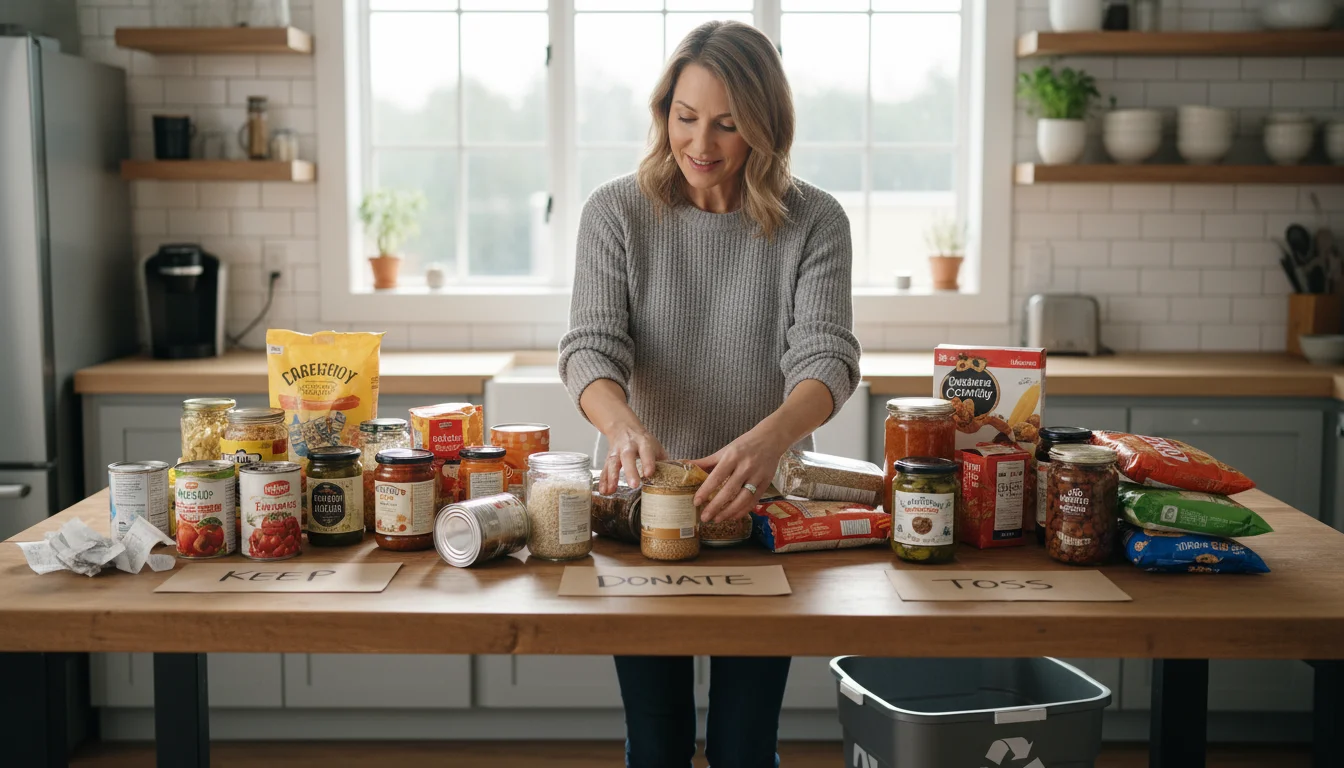
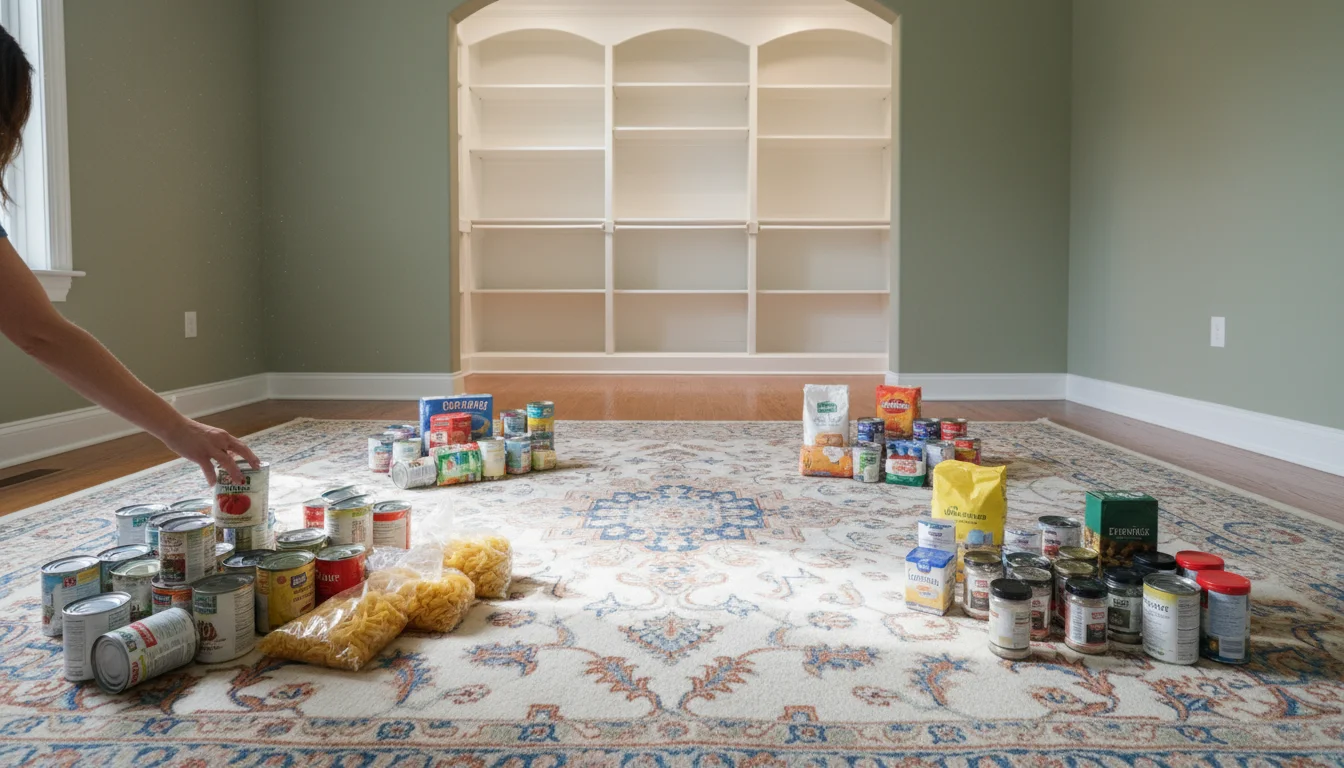
This step forms the backbone of any successful home organization project. You cannot organize clutter; you must first remove it. Dedicate adequate time for this phase, as it involves making decisions about every item in your pantry. We recommend clearing your kitchen counters or a dining table to create a temporary sorting station.
Step-by-Step Decluttering Process:
- Empty Everything: Remove every single item from your walk-in pantry. Yes, every spice jar, every can, every bag of flour. Place items on your designated sorting surface. This gives you a blank canvas and a clear view of exactly what you own.
- Clean as You Go: As you empty shelves, give them a quick wipe-down. This provides an immediate sense of progress and ensures you return items to a clean space. We cover a more thorough cleaning in the next section.
- Sort into Categories: Group similar items together. Common categories include:
- Canned Goods (vegetables, fruits, soups)
- Dry Goods (pasta, rice, grains, flour, sugar)
- Baking Supplies (chocolate chips, sprinkles, extracts)
- Snacks (granola bars, crackers, chips)
- Breakfast Items (cereal, oatmeal, pancake mix)
- Condiments and Sauces (ketchup, mustard, soy sauce)
- Spices and Seasonings
- Beverages (juice boxes, soda)
- Cooking Oils and Vinegars
- Small Appliances (mixer, blender, toaster)
- Paper Products (paper towels, napkins)
- Pet Food/Treats (if stored in pantry)
This sorting process immediately reveals duplicates and items you forgot you had.
- Check Expiration Dates: This is critical for food organization. Go through every food item and check its expiration or “best by” date. Discard anything expired or past its prime. Be ruthless; old food takes up valuable space and poses a health risk.
- Create “Keep,” “Donate,” and “Discard” Piles:
- Keep: Items you regularly use, are unexpired, and have a designated place in your pantry.
- Donate: Non-perishable, unexpired food items you no longer want or need. Many local food banks gladly accept these.
- Discard: Expired, opened, or spoiled food. Also, discard any packaging or broken containers that are beyond repair.
Be honest with yourself about items you have not used in months or years. If it sits there untouched, it serves no purpose. According to Real Simple, a thorough decluttering helps you identify what you truly need and use, making future organization much simpler.

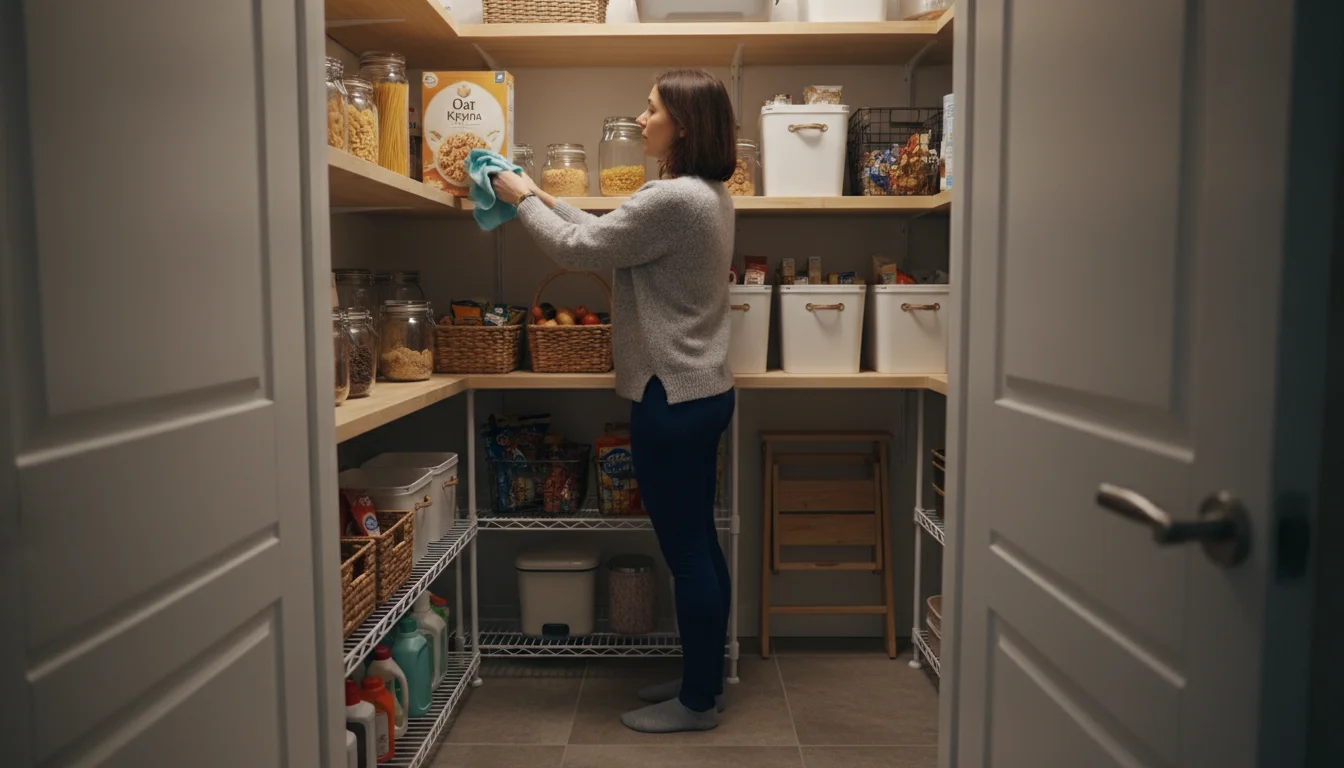
Cleaning and Preparing Your Pantry Space
With your pantry completely empty, now is the ideal time for a deep clean. This step ensures you start with a fresh, hygienic space for your food and supplies. It also helps deter pests and maintains the quality of your stored items.

Deep Cleaning Checklist:
- Wipe Down Surfaces: Use an all-purpose cleaner and a clean cloth to wipe down all shelves, walls, and the pantry door. Pay extra attention to sticky spots or spills. For tough grime, a solution of warm water and a little dish soap often works wonders.
- Vacuum or Sweep: Thoroughly vacuum or sweep the pantry floor to remove crumbs, dust, and debris.
- Clean Walls and Baseboards: Dust and wipe down baseboards and walls. This makes a noticeable difference in the overall cleanliness.
- Check for Pests: While cleaning, inspect for any signs of pests like ants, mice, or pantry moths. Look for droppings, chewed packaging, or webbing. Address any issues immediately using appropriate pest control methods or by calling an exterminator if needed.
- Air Out: Leave the pantry door open for a while to allow fresh air to circulate, especially after using cleaning products.
- Consider Shelf Liners: If your shelves are old, stained, or simply for aesthetic appeal, consider adding new shelf liners. They protect surfaces, provide a cleaner look, and make future cleanups easier.
A clean, fresh pantry not only feels better, it helps preserve the quality of your food. Food organization relies on a sanitary environment.
Developing Your Pantry Zones: A Blueprint for Order
Once your pantry is clean and empty, you create a strategic plan for putting everything back. This involves establishing “zones,” which are designated areas for specific categories of items. Zoning prevents random placement and ensures every item has a home, making it easy to find and return.
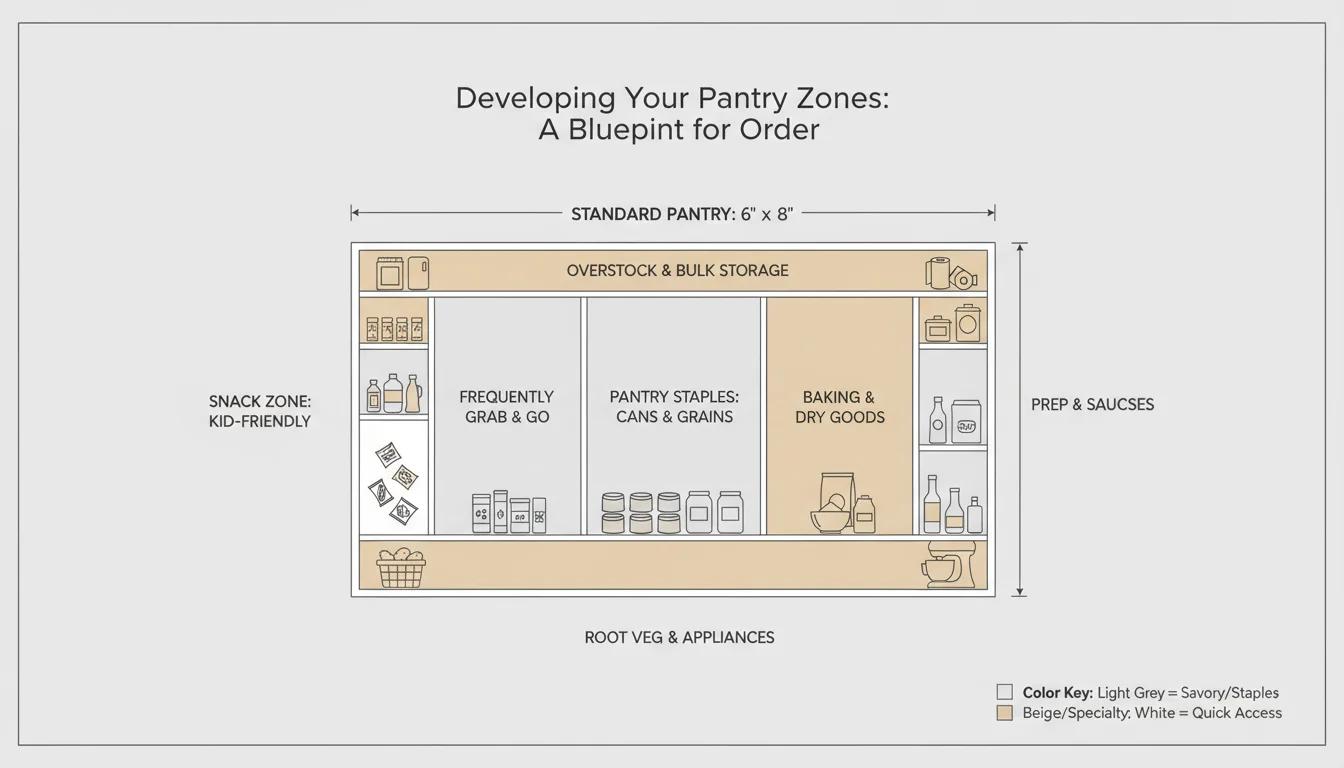
Think about how you move around your kitchen and pantry. Items you use daily should be at eye level or easily accessible. Heavy or bulky items belong on lower shelves. Less frequently used items can go on higher shelves. This systematic approach forms the core of an efficient pantry design.
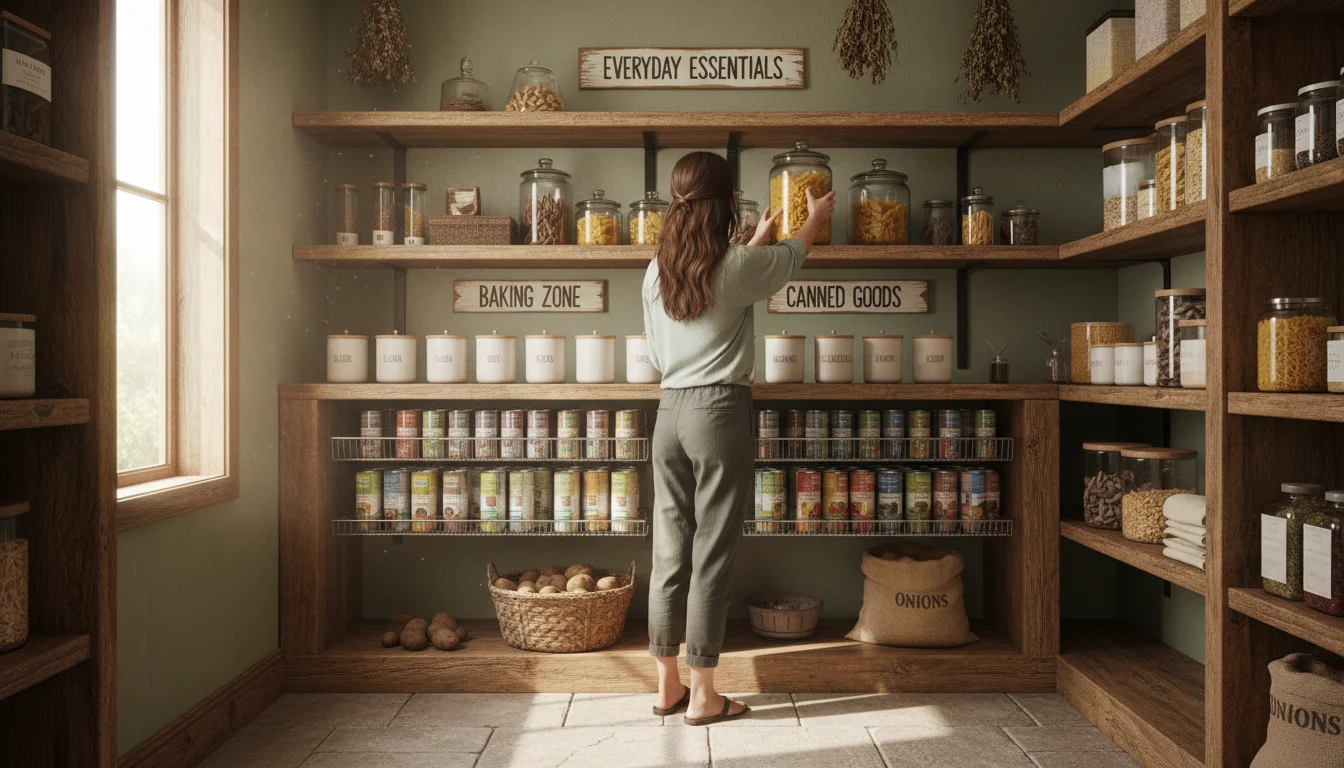
Key Pantry Zones to Consider:
- Everyday Essentials (Eye Level/Easy Reach): This zone holds items you use multiple times a week, such as cooking oils, frequently used spices, pasta, rice, and snacks. Place these where you do not need to bend or stretch.
- Baking Zone: If you bake often, consolidate flour, sugar, baking soda, chocolate chips, and sprinkles in one dedicated area. Consider a separate bin or shelf for these items.
- Canned Goods Zone: Organize canned goods by type (vegetables, fruits, soups) for easy retrieval. Consider tiered organizers here.
- Dry Goods Zone: Pasta, grains, cereals, and other dry staples benefit from clear, airtight containers for freshness and visibility.
- Bulk Storage/Heavy Items (Bottom Shelves): Store heavy items like large bags of flour, sugar, potatoes, onions, or cases of beverages here. This prevents straining and utilizes sturdy bottom shelves effectively.
- Small Appliances/Infrequently Used Items (Top Shelves): Items you use only occasionally, such as specialty appliances, holiday serveware, or extra paper towels, belong on higher shelves.
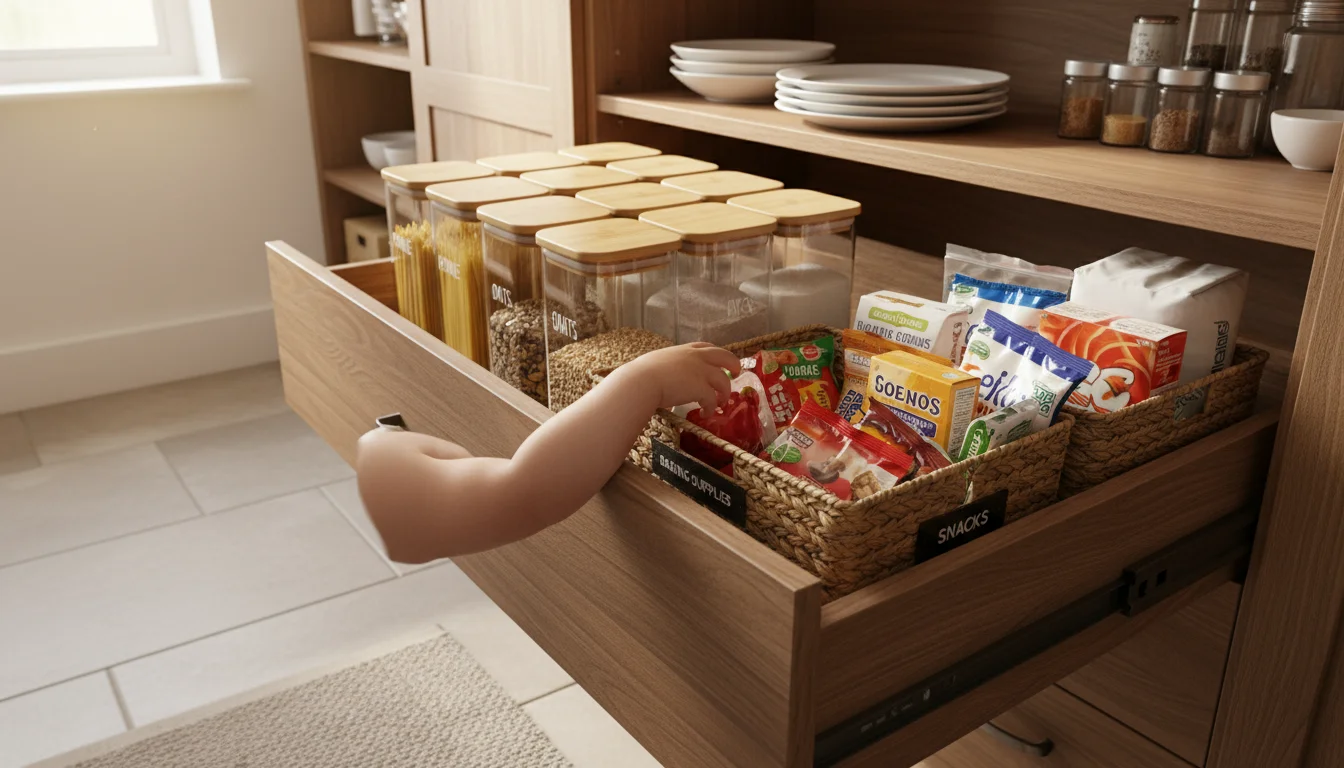
- Kids’ Snack Zone (Lower, Accessible Shelf): If you have children, create a dedicated shelf or bin at their eye level for approved snacks. This empowers them to grab their own snacks and keeps other areas tidy.
Creating these zones helps you maintain your pantry. You know exactly where to put items when you unload groceries, and where to find them when cooking. Consistency is key to lasting organization.

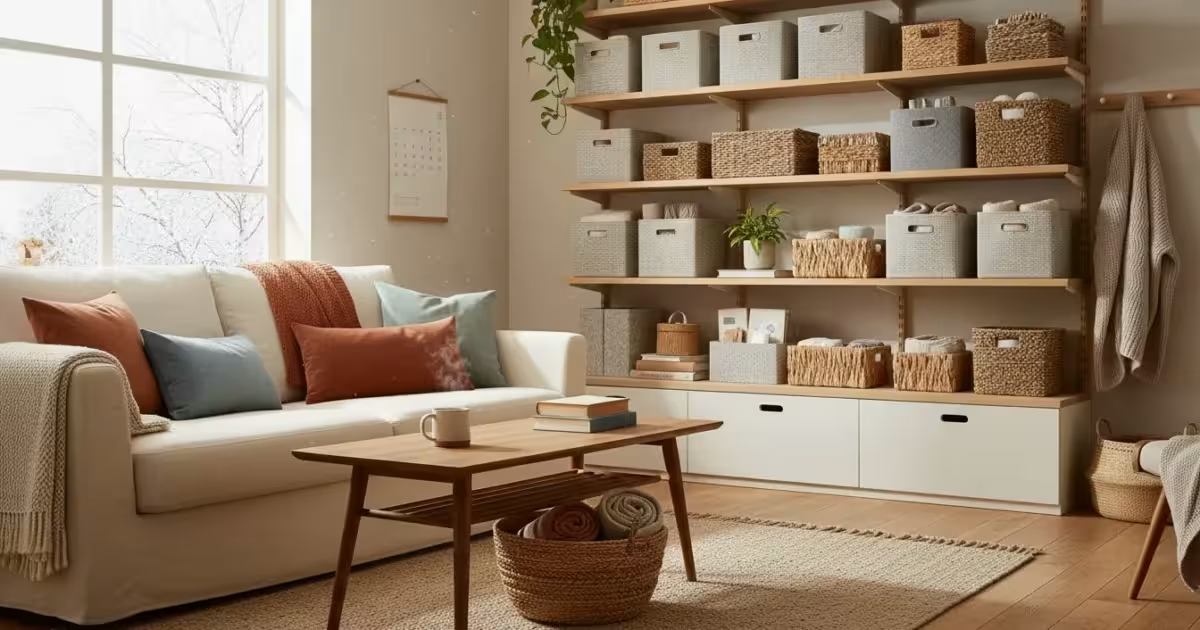
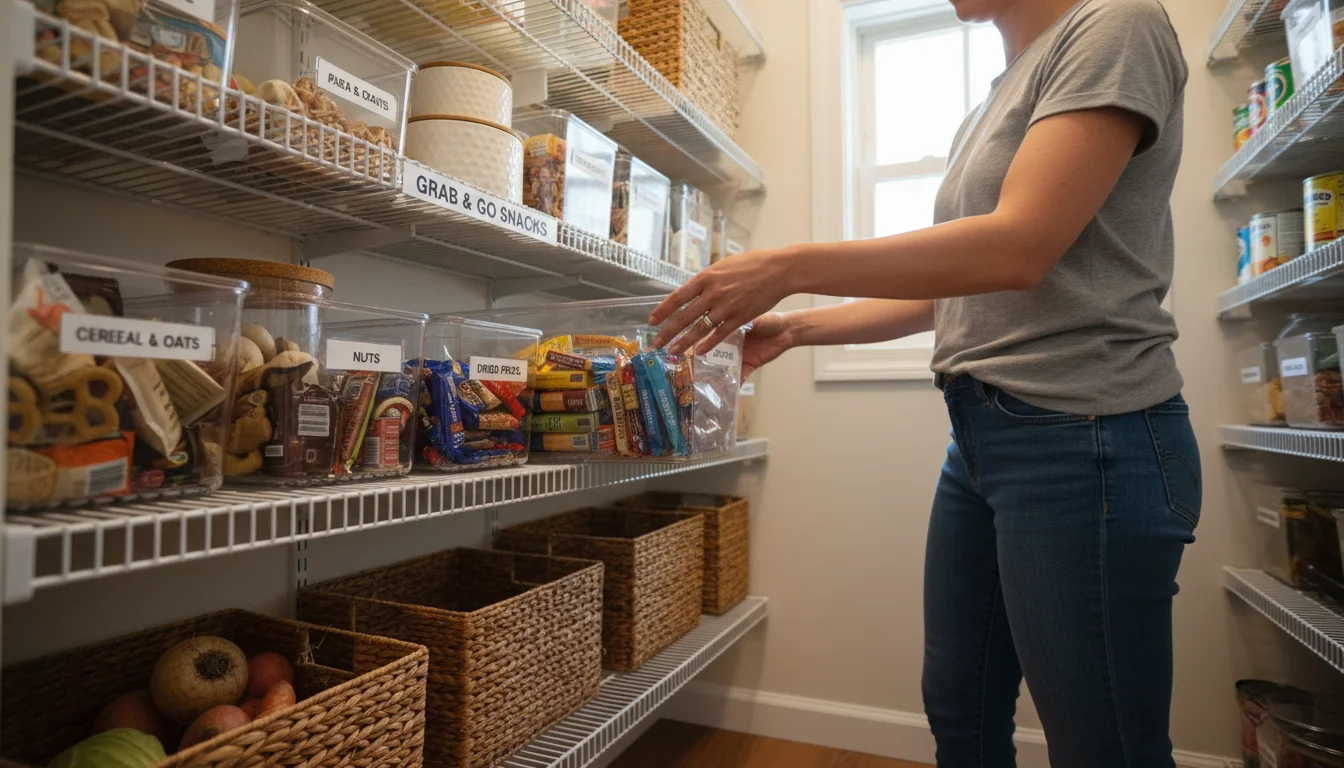
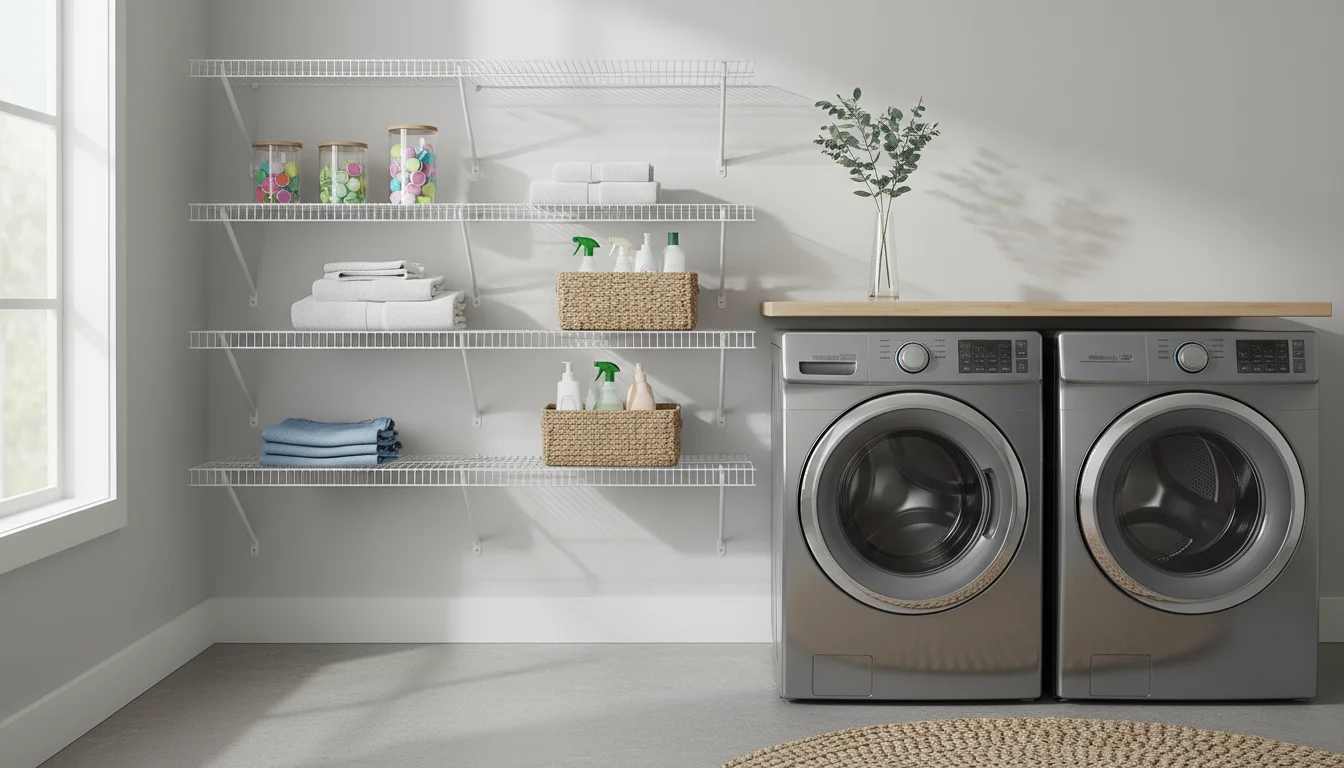
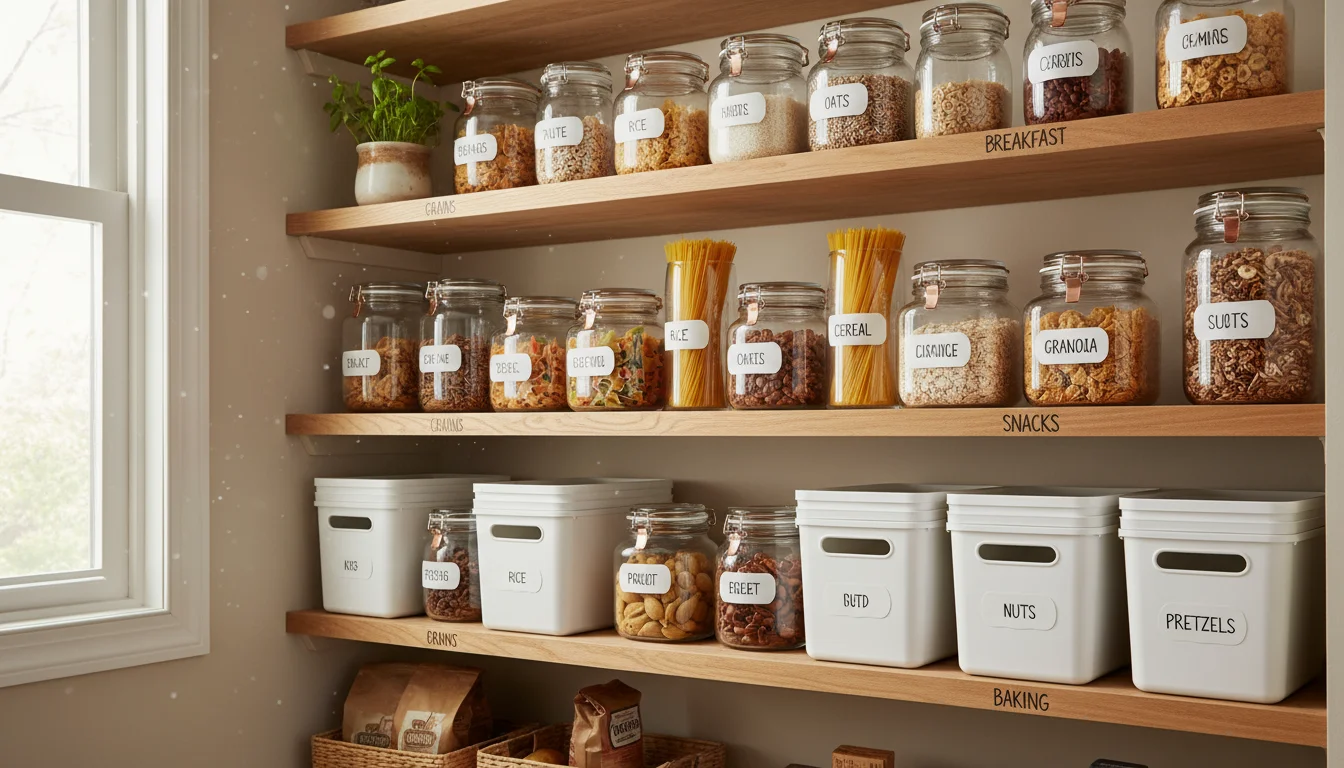
Smart Storage Solutions: Containers, Shelving, and Labels
With your zones established, you now choose the right tools to bring your pantry design to life. Smart storage solutions maximize space, keep items fresh, and enhance visibility. Remember, the goal is functionality and ease of use, not just aesthetics.
Essential Storage Products for Pantry Organization:
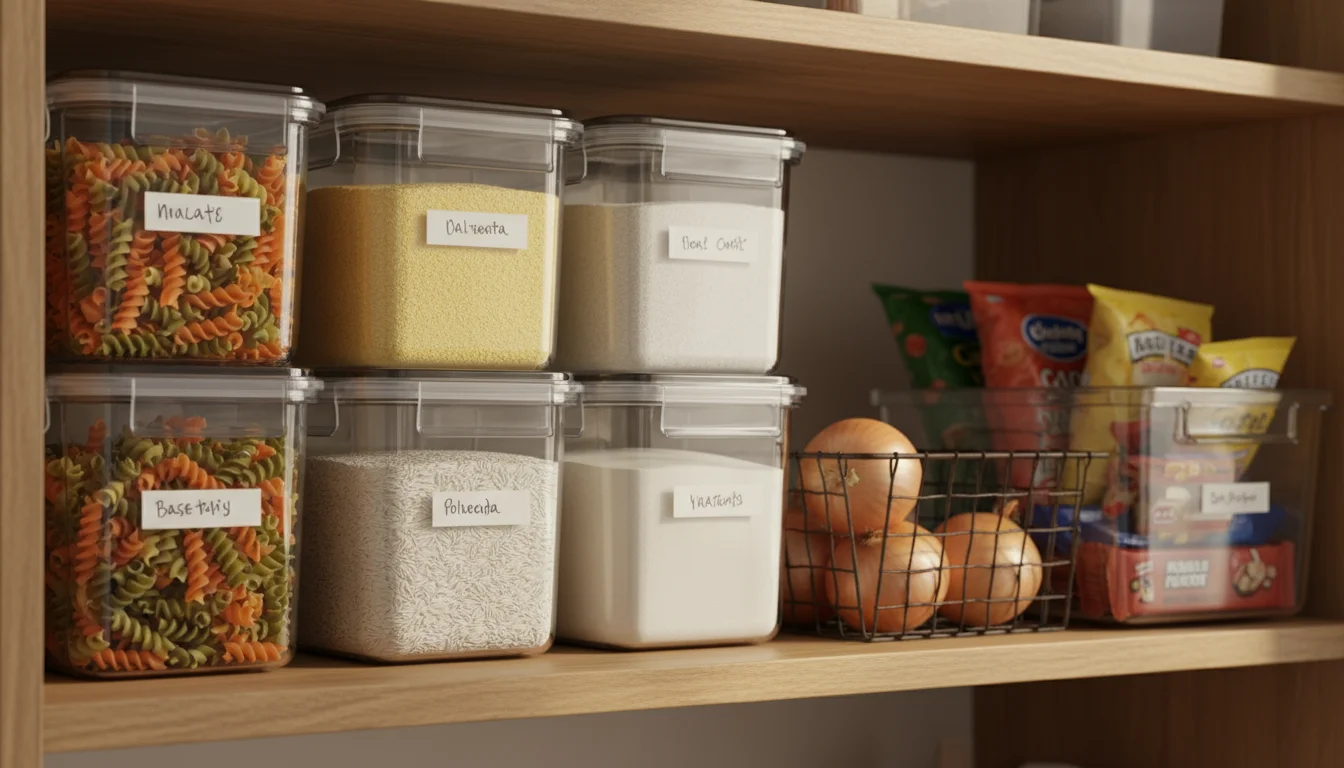
- Airtight Containers: Essential for dry goods like flour, sugar, pasta, rice, cereal, and snacks. They protect food from moisture, pests, and staleness. Opt for clear, stackable containers of various sizes. This allows you to see contents at a glance and makes efficient use of vertical space. Square or rectangular containers typically fit better than round ones. Research from Good Housekeeping consistently highlights the importance of airtight containers for food preservation and pantry hygiene.
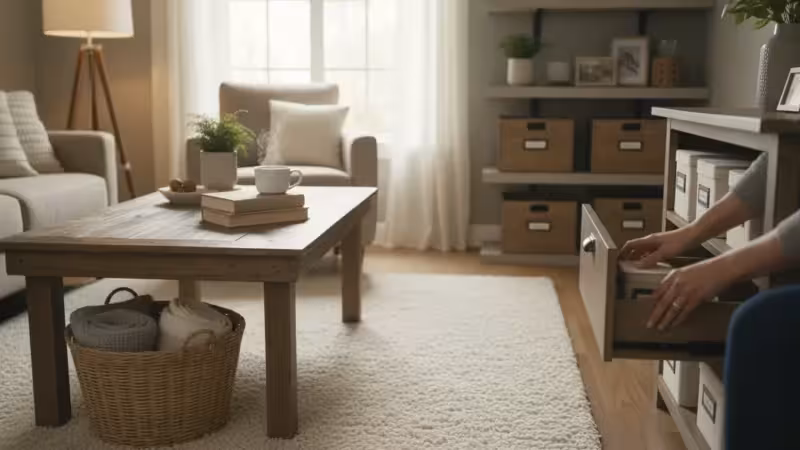
- Baskets and Bins: Perfect for corralling smaller, oddly shaped items, or grouping categories.
- Wire Baskets: Allow air circulation, great for produce like onions and potatoes (ensure they are stored away from direct light).
- Plastic Bins: Easy to clean, ideal for snacks, cleaning supplies, or grouping kids’ items. Choose bins with handles for easy retrieval.
- Fabric Bins: Best for non-food items like extra linens, paper products, or small appliances that you want to keep dust-free.
You can find budget-friendly options at dollar stores, discount retailers, or repurpose existing containers.
- Shelf Organizers: Maximize vertical space, especially in pantries with tall shelves.
- Tiered Risers: Ideal for canned goods and spices, allowing you to see items at the back.
- Stackable Shelves: Create additional shelf space for plates, bowls, or smaller boxes.
- Under-Shelf Baskets: Utilize the often-wasted space beneath existing shelves.
- Lazy Susans (Turntables): Excellent for corners, deep shelves, or grouping condiments, oils, and sauces. A simple spin brings everything to the front, eliminating forgotten items in the back.
- Door Storage: Do not overlook the back of your pantry door.
- Over-the-Door Organizers: Pockets or wire shelves can hold spices, small jars, foil, plastic wrap, or even snacks.
- Wall-Mounted Spice Racks: Frees up valuable shelf space.
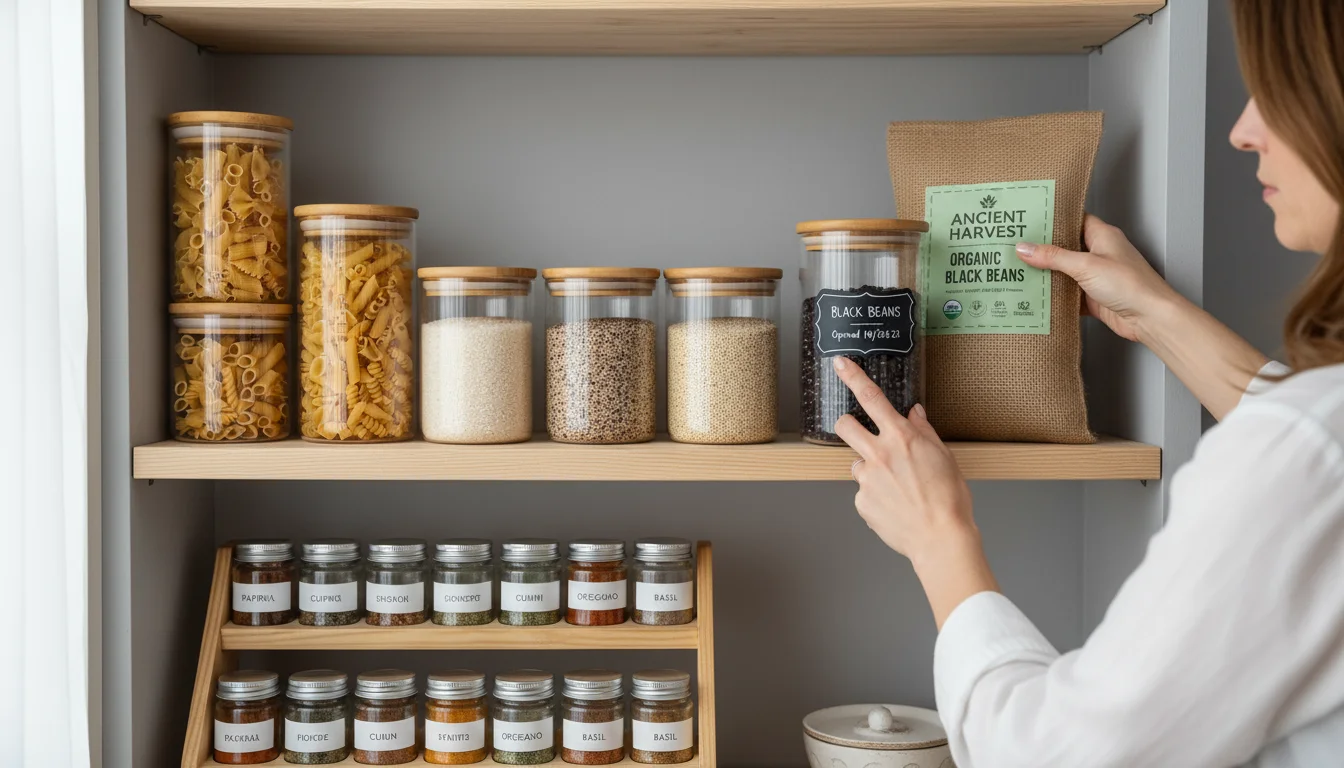
- Labels: Non-negotiable for an organized pantry. Once you transfer items to containers, you lose the original packaging. Labels tell you what is inside (e.g., “All-Purpose Flour,” “Brown Rice,” “Pancake Mix”) and when it expires. Use a label maker, chalkboard labels, or simple masking tape and a marker. Labels reduce confusion and help maintain the system. Even pantry design benefits from clear, consistent labeling.
When selecting products, measure your shelves and containers carefully to ensure they fit. Avoid buying too many items at once; start with key pieces and add more as you identify specific needs. A walk in pantry benefits from thoughtful product selection.
Mastering Food Organization: Categories for Easy Access
Once you have your storage solutions, fill them strategically. The key to effective food organization is consistent categorization and logical placement within your established zones. This ensures every item is easy to find, put away, and track.
Practical Food Organization Strategies:
- Group Like with Like: This principle underpins all good organization. All baking ingredients go together, all breakfast items go together, and so on. This prevents you from searching multiple areas for a single ingredient.
- First In, First Out (FIFO): This system is vital for reducing food waste. Place newer items behind older items of the same type. Always use the older product first. This applies particularly to canned goods, dry goods, and anything with an expiration date.
- Store Vertically: Maximize shelf space by stacking cans or containers. Use tiered organizers to make back items visible. File thin items like cutting boards, serving trays, or baking sheets vertically using tension rods or dividers.
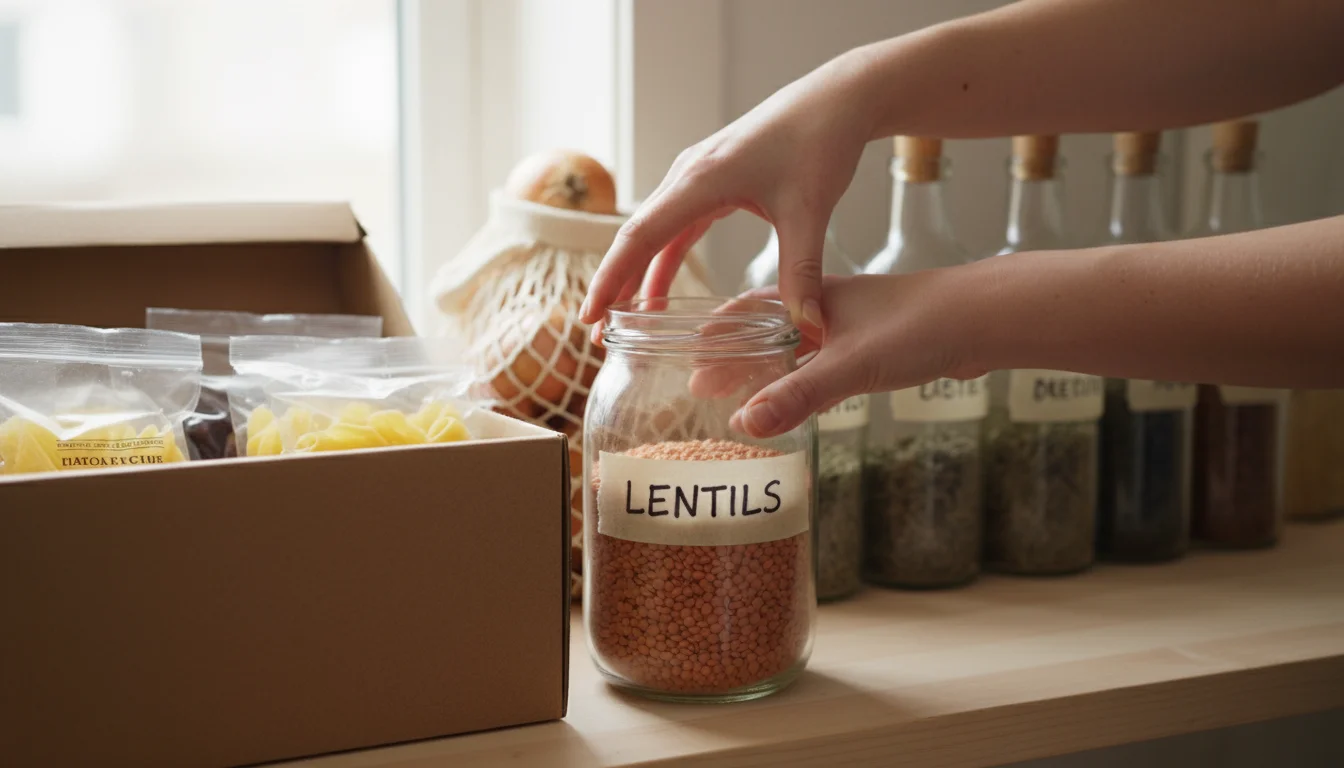
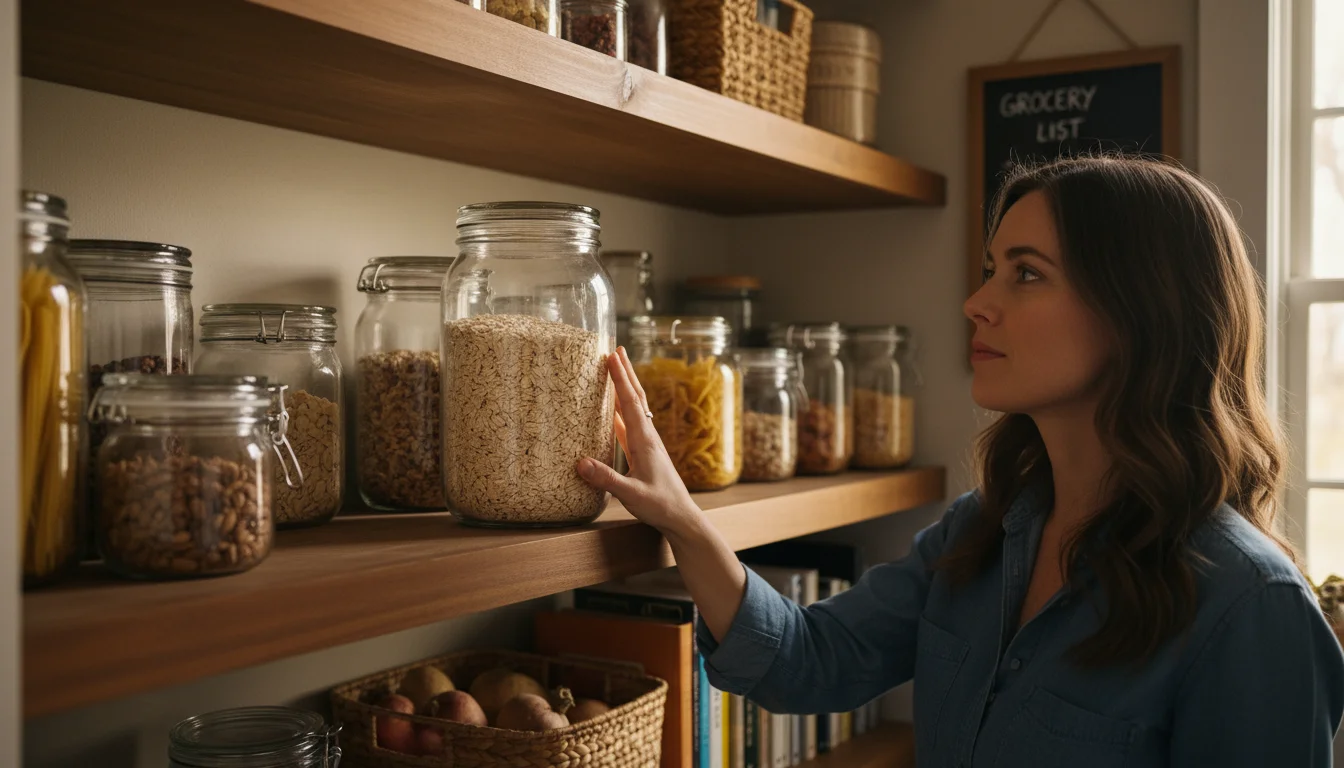
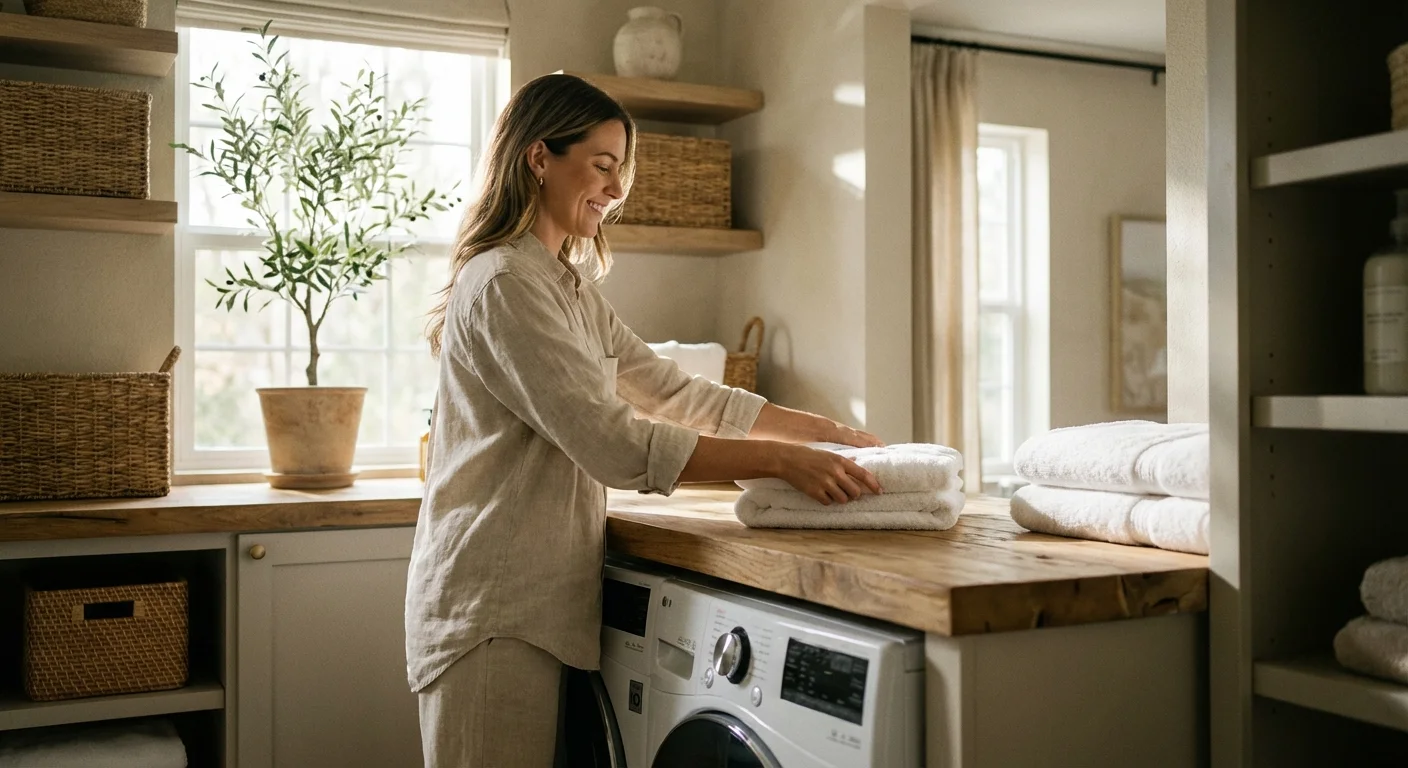
- Decant Dry Goods: Transfer items like pasta, rice, grains, and cereals from their original packaging into clear, airtight containers. This looks neater, prevents spills, and makes it easier to gauge quantities. Remember to label with contents and expiration dates.
- Keep Frequently Used Items Accessible: As discussed in the zoning section, items you use daily or weekly belong at eye level or within easy reach. This minimizes effort and frustration during meal prep.
- Container Control: Do not overfill containers. Leave a little room at the top. This makes it easier to pour and prevents spills. Regularly check containers and replenish as needed, but avoid buying too much that it overflows your system.
- Batch Similar Items: Use baskets or bins to group smaller, related items. For instance, a “Taco Night” bin could hold taco shells, seasoning packets, and refried beans. A “Breakfast” bin might contain oatmeal packets, granola bars, and instant coffee. This simplifies meal preparation.
- Maintain Visibility: Use clear containers whenever possible. If you use opaque bins, label them clearly on the front and sides. You want to see what you have, which reduces duplicate purchases and forgotten items.
Consistent application of these food organization methods keeps your walk in pantry working efficiently for you. According to The Container Store, visible, easily accessible storage is the cornerstone of a functional pantry.
Budget-Friendly Organization Tips
Organizing your walk-in pantry does not require a significant financial investment. Many effective solutions come at a low cost, or even no cost, by repurposing items you already own. Smart organization focuses on functionality and sustainability, not expensive gadgets.
Cost-Effective Pantry Solutions:
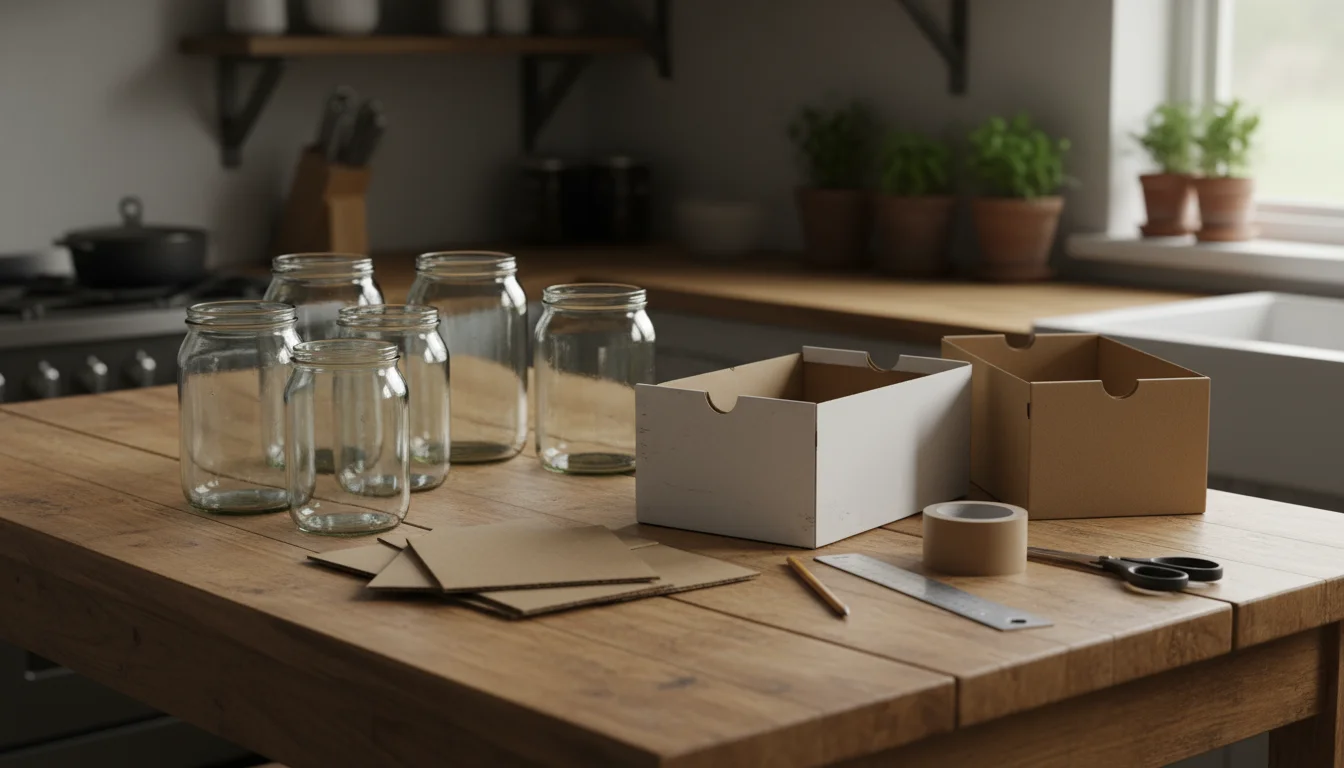
- Repurpose What You Have: Before buying anything new, look around your home. Glass jars from pasta sauce or pickles, sturdy shoeboxes, or even old magazine holders can be transformed into effective storage. Clean glass jars make excellent containers for dry goods, spices, or even loose snacks.
- DIY Dividers: Cut cardboard boxes to create custom shelf dividers or drawer organizers. These prevent items from sliding around and keep categories distinct.
- Dollar Store Finds: Discount stores often carry a fantastic selection of affordable plastic bins, baskets, and even small turntables. These are perfect for grouping snacks, cleaning supplies, or smaller items.
- Clearance and Sales: Keep an eye out for sales at home goods stores or online retailers. Many stores offer discounts on storage solutions seasonally. You can also check thrift stores for sturdy baskets or containers.
- Simple Labels: Instead of a fancy label maker, use masking tape and a permanent marker. This solution is incredibly cheap, flexible, and gets the job done perfectly. Chalkboard labels with a liquid chalk marker also offer a stylish yet affordable option.
- Utilize Vertical Space for Free: Adjust existing shelves if they are adjustable. If not, stack items strategically, placing heavier items on the bottom and lighter items on top, always ensuring stability.
- “Shop” Your Pantry First: Before buying new food, make a meal plan based on what you already have. This reduces waste, saves money on groceries, and helps clear out older items. This is a powerful food organization habit.
Remember, the goal is to create a functional system. You do not need the most expensive products to achieve an organized walk in pantry. Resourcefulness and smart planning lead to incredible results.
Maintaining Your Organized Pantry: Simple Habits for Lasting Order
The initial organization project is a significant undertaking, but the real challenge lies in maintaining the system. Consistency and small, regular habits prevent your walk-in pantry from reverting to clutter. Think of it as ongoing care, not a one-time event.
Daily and Weekly Maintenance Habits:
- “One Touch” Rule: When you take something out, put it back immediately after use. Do not set it down “just for a minute.” This prevents small piles from accumulating.
- Designated Homes: Ensure every item has a specific spot. When you buy new groceries, put them directly into their designated home. This prevents items from being randomly placed.
- Weekly “Tidy Up”: Take 5-10 minutes once a week to quickly scan your pantry. Push items back into place, wipe up any small spills, and check for anything that needs to be discarded. This proactive approach prevents overwhelming messes.
- FIFO During Unpacking: When you bring home new groceries, practice the First In, First Out method. Place newer items behind older ones, especially for canned goods and dry staples. This is crucial for effective food organization and minimizing waste.
- Keep an Inventory List: A simple whiteboard on the pantry door or a note on your phone helps you track what you have and what you need. This streamlines grocery shopping and reduces duplicate purchases.
- Wipe Down Spills Immediately: Sticky spills attract pests and become harder to clean over time. Address them as soon as they happen.
- Reassess Periodically: Every few months, take a critical look at your pantry design. Does it still work for your family’s needs? Have your habits changed? Adjust zones or storage solutions as necessary. For continuous improvement, Better Homes & Gardens suggests regular reassessments to ensure your storage solutions remain effective as your lifestyle evolves.
These small, consistent actions ensure your walk-in pantry remains an organized, efficient, and enjoyable space. You invested time and effort into creating this system; maintain it with easy, repeatable habits.
Frequently Asked Questions
How do I organize a walk-in pantry with deep shelves?
Deep shelves present unique challenges. Maximize them by using clear, square or rectangular airtight containers for dry goods, which prevent items from getting lost at the back and stack efficiently. Implement the “First In, First Out” principle by placing newer items behind older ones. Utilize tiered risers for canned goods and spices to bring items forward, and consider pull-out drawers or bins to make reaching back easier. Lazy Susans also work wonderfully for condiments and oils in deep corners, allowing you to spin items to the front without rummaging.
What is the best way to store fresh produce in a walk-in pantry?
Store produce like potatoes, onions, and garlic in breathable containers like mesh bags, wire baskets, or open bins on lower shelves. Ensure they are kept in a cool, dark, and dry area of your walk-in pantry, away from direct sunlight or heat, to prevent sprouting and spoilage. Avoid storing onions and potatoes together, as gases emitted by onions can accelerate potato sprouting. Keep them separate for optimal freshness.
How can I organize a walk-in pantry on a tight budget?
Organizing on a budget is very achievable. Start by repurposing items you already own, such as glass jars from food, sturdy shoeboxes, or small laundry baskets. Dollar stores and discount retailers offer inexpensive plastic bins, baskets, and turntables that function just as well as pricier options. For labels, use masking tape and a marker, or free printable labels. Focus on decluttering and creating zones before buying anything; often, a clear out is all you need to make existing space more functional.
Should I remove food from its original packaging for pantry organization?
Decanting dry goods such as pasta, rice, flour, sugar, and cereals into clear, airtight containers offers several benefits. It improves the aesthetic appeal of your pantry, provides better protection against pests and moisture, extends freshness, and allows you to see how much you have at a glance. Always transfer expiration dates or cooking instructions onto your containers or labels. For canned goods and packaged snacks, leaving them in original packaging is fine, but still group them into categories or bins for tidiness.
How often should I reorganize my walk-in pantry?
After your initial deep organization, aim for a quick tidy-up weekly, which involves pushing items back, wiping small spills, and checking for misplaced items. A more thorough mini-reorganization, including checking expiration dates and reassessing categories, is beneficial every 3-6 months. Plan a complete empty, sort, and deep clean once or twice a year, usually before major holidays or seasonal changes. Consistent, small maintenance habits prevent the need for frequent, large-scale reorganizations.
For expert home organization guidance, visit
HGTV — Home, Apartment Therapy and The Container Store — Organization Tips.
Disclaimer: This article is for informational purposes only and is not a substitute for professional advice. Consult professional organizers or specialists for personalized recommendations.

Leave a Reply