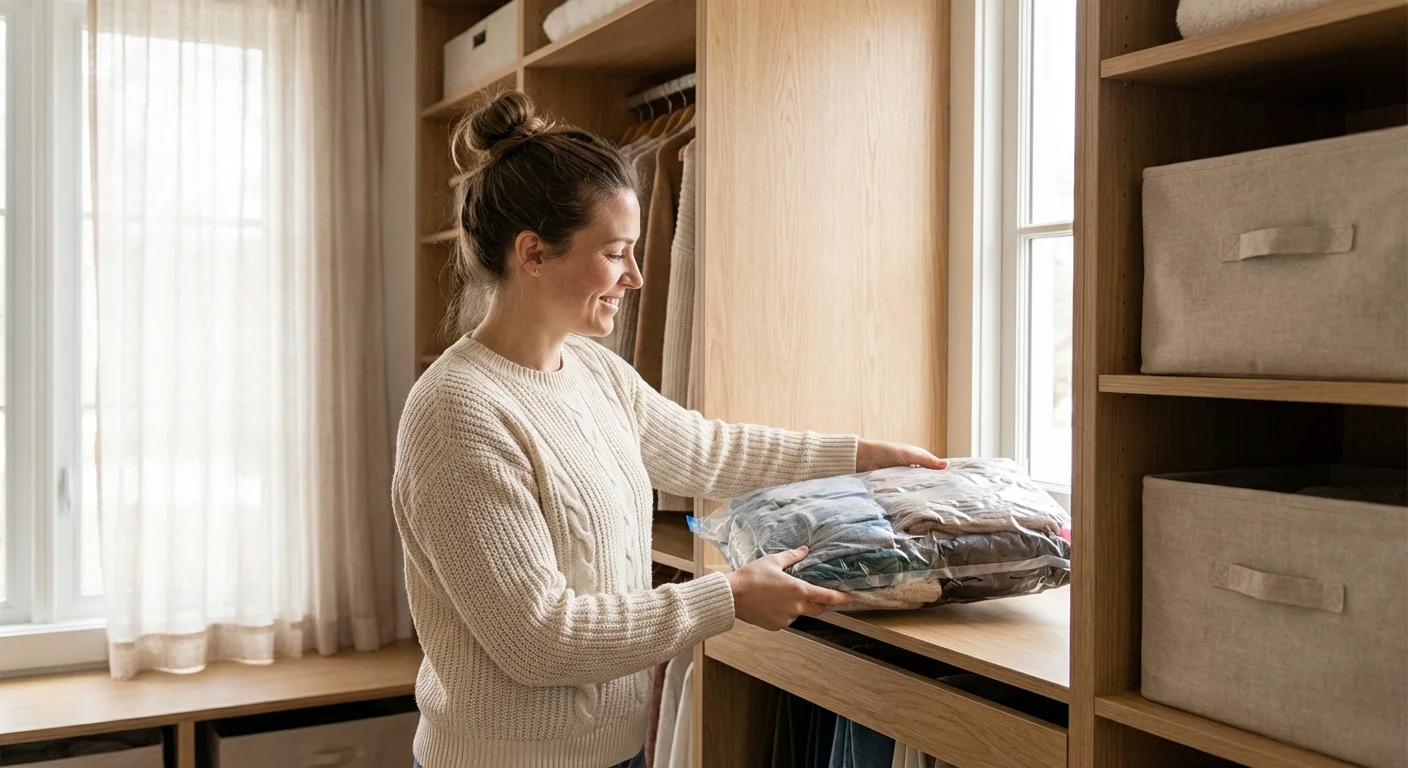
You walk into a home, office, or dorm room, and there it is: the unmistakable grid of square cubbies. IKEA produces millions of these units every year, making them one of the most widely distributed pieces of furniture on the planet. The appeal is obvious. The unit is affordable, geometrically pleasing, and capable of holding everything from books to record collections.
But treating this piece solely as a basic bookshelf barely scratches the surface of its potential. With a few tools, some creative vision, and a weekend to spare, you can transform this flat-pack staple into high-end, custom-looking furniture. Whether you are living in a tiny studio apartment or looking to organize a sprawling suburban home, these IKEA Kallax hacks will help you elevate your space without depleting your design budget.

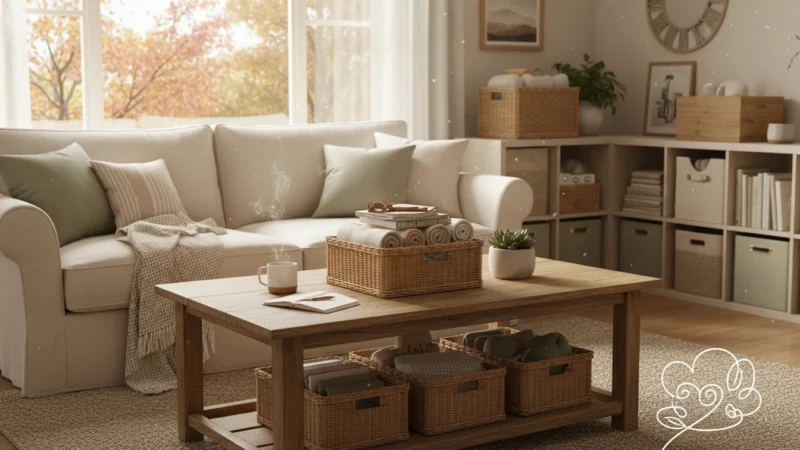
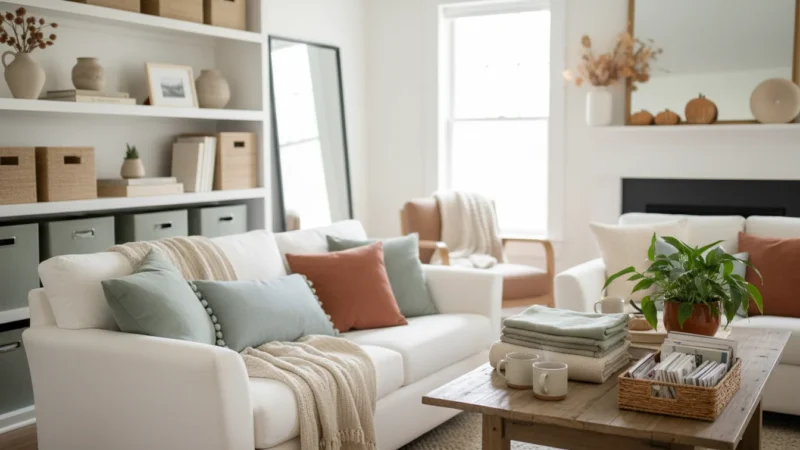
Transformations for the Living Room
The living room is the heart of your home; it demands furniture that looks intentional and refined. You can easily upgrade basic cubbies to match your preferred design aesthetic.
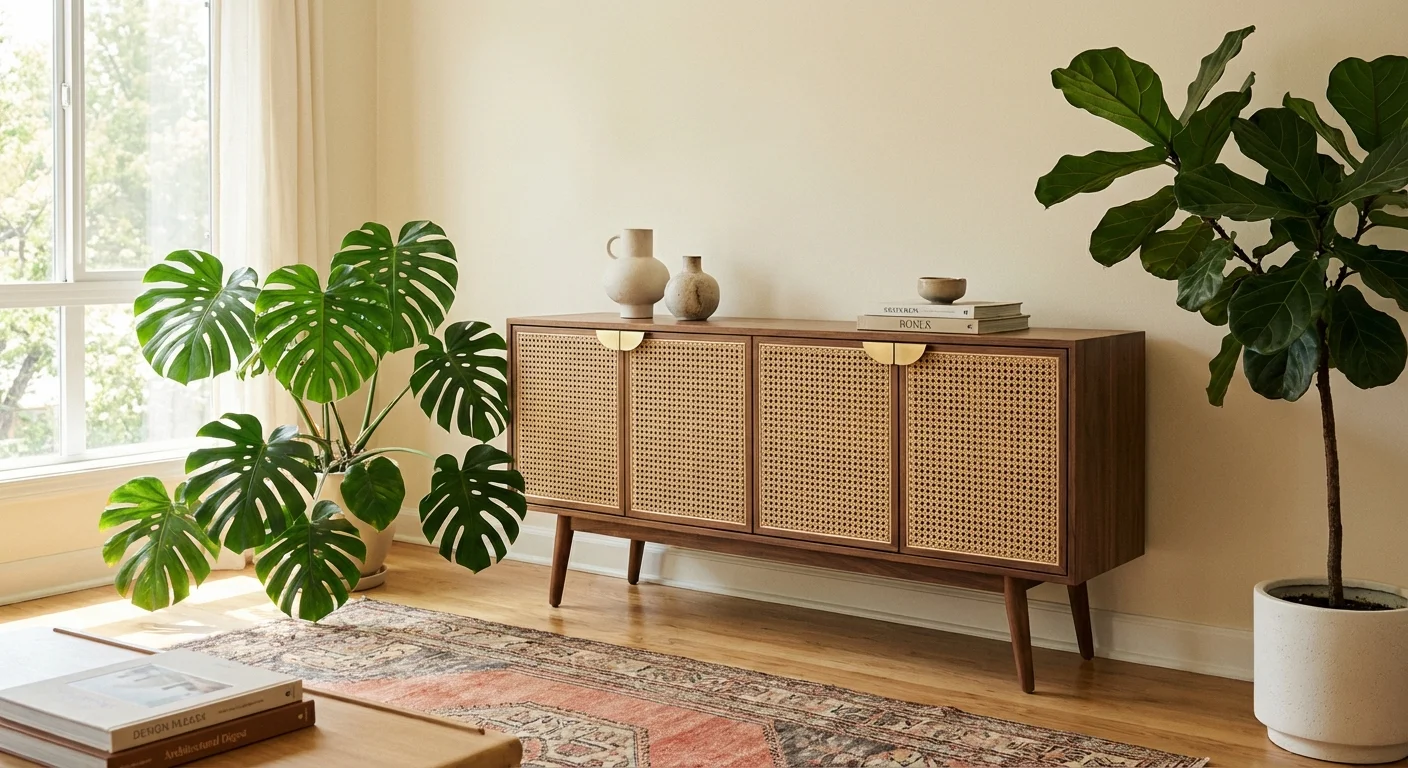
1. The Mid-Century Modern Credenza
Nothing screams standard flat-pack quite like furniture sitting flush on the floor. Elevate a horizontal four-cube unit by attaching tapered wooden legs using angled mounting plates. To take this IKEA Kallax hack even further, apply a walnut wood veneer to the exterior frame. Add sophisticated cabinet doors to the cubbies, complete with brass hardware, and you instantly have a mid-century piece that rivals expensive showroom models.
2. The Fluted Floating Media Console
Floor space is precious in smaller living rooms. Mount a horizontal unit directly to your wall studs using heavy-duty French cleats to create a floating media console. For a contemporary, textural upgrade, glue half-round wooden dowels to the front of fitted cabinet inserts, creating a fluted finish. Paint the entire unit a deep, moody color like charcoal or forest green for a seamless, built-in look.
3. The Vinyl Record Station
Audiophiles love this shelving system because the 13-inch square cubbies perfectly accommodate 12-inch vinyl records. Turn a two-by-four unit on its side and attach hairpin legs. Dedicate the bottom cubbies strictly to records. On the top row, leave two cubbies open for your receiver and speakers, and place your turntable directly on the top surface. Adding an LED strip behind the unit provides excellent ambient lighting for your listening sessions.
4. The Rustic Farmhouse Coffee Table
Combine two two-by-two units back-to-back to create a substantial square base. Clad the top with stained pine planks—or a single piece of reclaimed wood—to create an overhang. Trim the bottom edge with thick baseboard molding to hide the seam and give it a heavy, grounded farmhouse aesthetic. The deep cubbies provide the perfect hiding spot for extra throw blankets, board games, and remotes.
5. The Hidden Home Bar Cart
Turn a small two-by-two unit into a sophisticated rolling bar. Attach heavy-duty casters to the bottom. Line the interior walls of the top cubbies with peel-and-stick mirrored wallpaper and install a small rack for hanging wine glasses upside down. Keep your liquor bottles in the bottom cubbies and use the top surface for your ice bucket, cocktail shaker, and fresh garnishes.
Bedroom and Entryway Upgrades
Storage is usually the biggest challenge in bedrooms and entryways. These Kallax shelf ideas focus on maximizing utility while keeping visual clutter completely hidden.
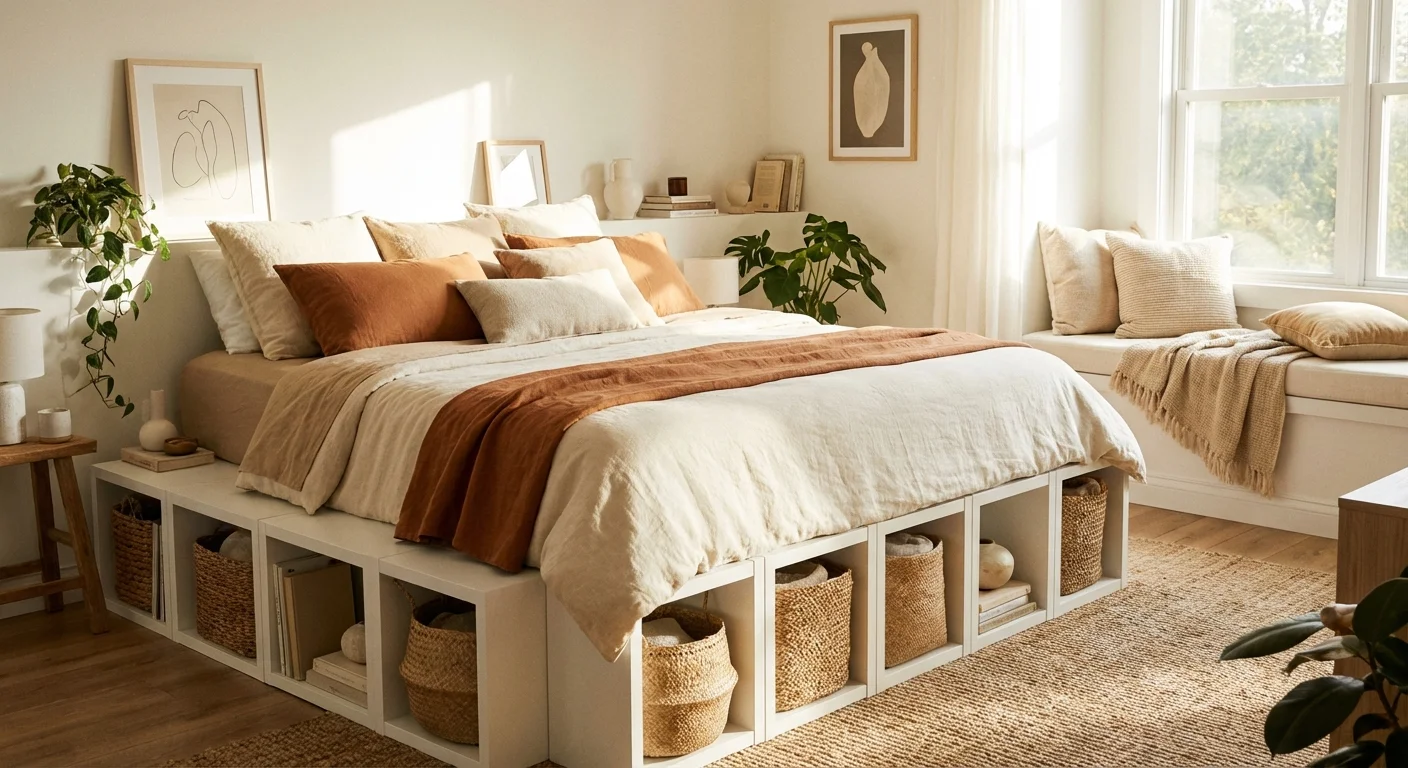
6. The Platform Storage Bed
Purchasing a solid platform bed with built-in drawers can cost thousands of dollars. You can build your own by arranging two one-by-four units and two two-by-two units in a rectangle, creating the outer perimeter of a queen-sized bed frame. Connect the units securely using metal mending plates. Add a sturdy slatted base across the top to support your mattress. The result gives you immense perimeter storage for shoes, seasonal clothing, and extra linens.
7. Elegant Fluted Nightstands
A single two-by-two unit makes a perfectly proportioned nightstand. Elevate it on short, chunky block legs. Add customized drawer inserts and replace the standard knobs with oversized, modern brass pulls. If you want a seamless look, wrap the top and sides in a high-quality marble contact paper. It offers the illusion of a heavy stone top without the crushing weight or expense.
8. The Cozy Window Seat Nook
Position a horizontal one-by-four unit directly under a low window. Cut a piece of thick MDF board to fit the top dimensions perfectly. Attach high-density upholstery foam to the MDF, wrap it in a durable fabric like canvas or velvet, and staple it securely underneath. Place the cushion on top of the unit. Fill the lower cubbies with textured woven baskets to hold books and blankets, creating an irresistible reading nook.
9. The Complete Mudroom Setup
If you lack a dedicated entryway closet, you can build a custom mudroom zone. Use a horizontal unit as the base bench, outfitting the cubbies with heavy fabric bins for shoes. Mount a solid piece of beadboard directly to the wall above the bench, painting it a uniform color. Secure a sturdy wooden shelf at the top of the beadboard, and add heavy coat hooks underneath. This creative Kallax storage solution corrals coats, bags, and muddy boots beautifully.
10. The Ultimate Wardrobe Island
If you are lucky enough to have a walk-in closet, a central island is a luxurious addition. Secure two two-by-four units back-to-back. Top them with a custom piece of quartz or polished wood. Utilize the cubbies for neatly folded sweaters, handbags, and display boxes for jewelry. It brings a boutique retail experience right into your own dressing room.
Kitchen and Dining Room Solutions
Custom cabinetry requires a massive investment. When you need extra counter space or serving areas, clever IKEA storage hacks provide immediate relief.
These furniture hacks complement other kitchen organization ideas by providing flexible, open-access storage for heavy appliances.
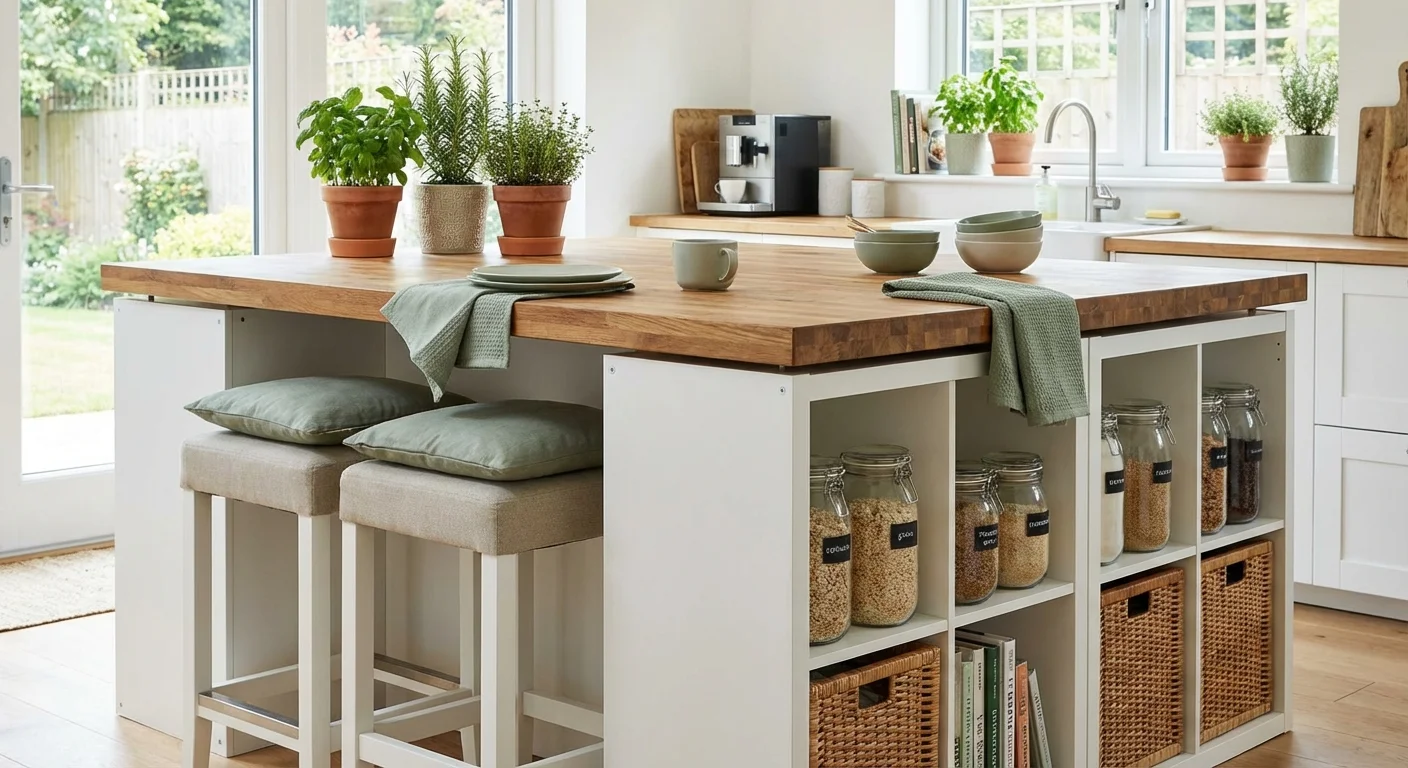
11. The Butcher Block Kitchen Island
Secure two two-by-two units back-to-back using heavy-duty hardware. Add robust, locking industrial casters to the base so you can move the island as needed. Top the entire structure with a solid wood butcher block countertop, allowing a six-inch overhang on one side so you can tuck in a pair of bar stools. The open cubbies are excellent for storing bulky appliances like stand mixers and slow cookers.
12. Dining Room Banquette Seating
Create space-saving corner seating in a tight dining room using two horizontal units arranged in an L-shape. Just like the window seat, add thick, custom-upholstered foam to the tops. Banquette seating pushes your dining table closer to the wall, opening up the room’s traffic flow, while secretly storing lesser-used roasting pans and holiday tableware underneath you.
13. The Dedicated Coffee Bar
Keep your daily caffeine routine organized and out of the main kitchen workflow. Set up a standing unit in the dining room or a kitchen corner. Place your espresso machine, grinder, and syrup bottles on top. Use the upper cubbies to display your favorite mugs on small tiered shelves. Fill the lower cubbies with opaque boxes holding extra beans, filters, and cleaning supplies.
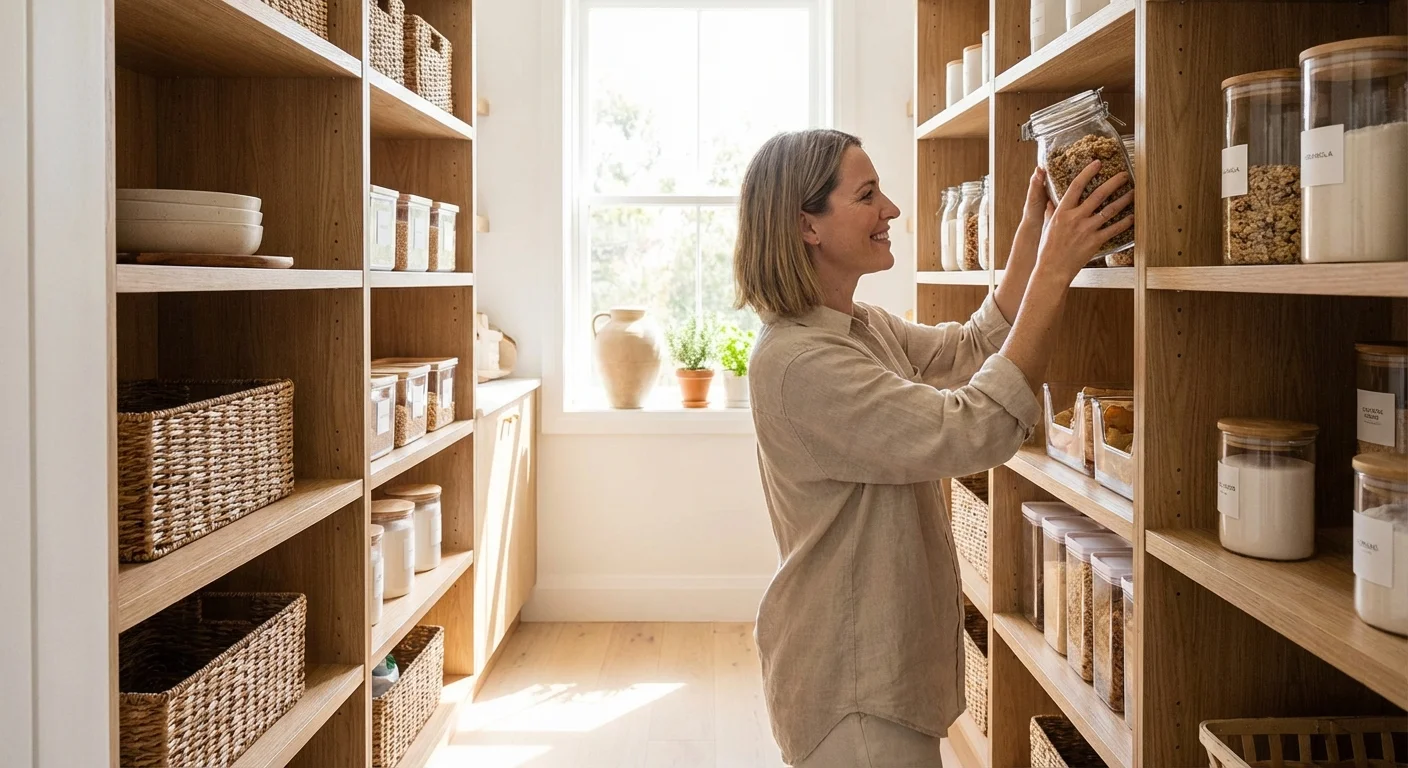
14. The Pantry Organization Rack
Standard wire pantry shelves often lead to disorganized piles of cans and boxes. Slide a tall unit directly into a walk-in pantry. The rigid grid system forces organization. Dedicate specific cubbies to baking supplies, pasta, snacks, and canned goods. Adding labeled wooden crates to the cubbies hides ugly commercial packaging and creates a soothing, uniform aesthetic.
“Storage should never be an afterthought. Integrating functional pieces into your architecture makes a space feel custom and deliberate rather than cluttered.” — Nate Berkus, Interior Designer
Workspace and Playroom Innovations
Home offices and children’s spaces require hard-working furniture that can adapt to changing needs. Kallax unit customization shines brightest in rooms that demand heavy utility.
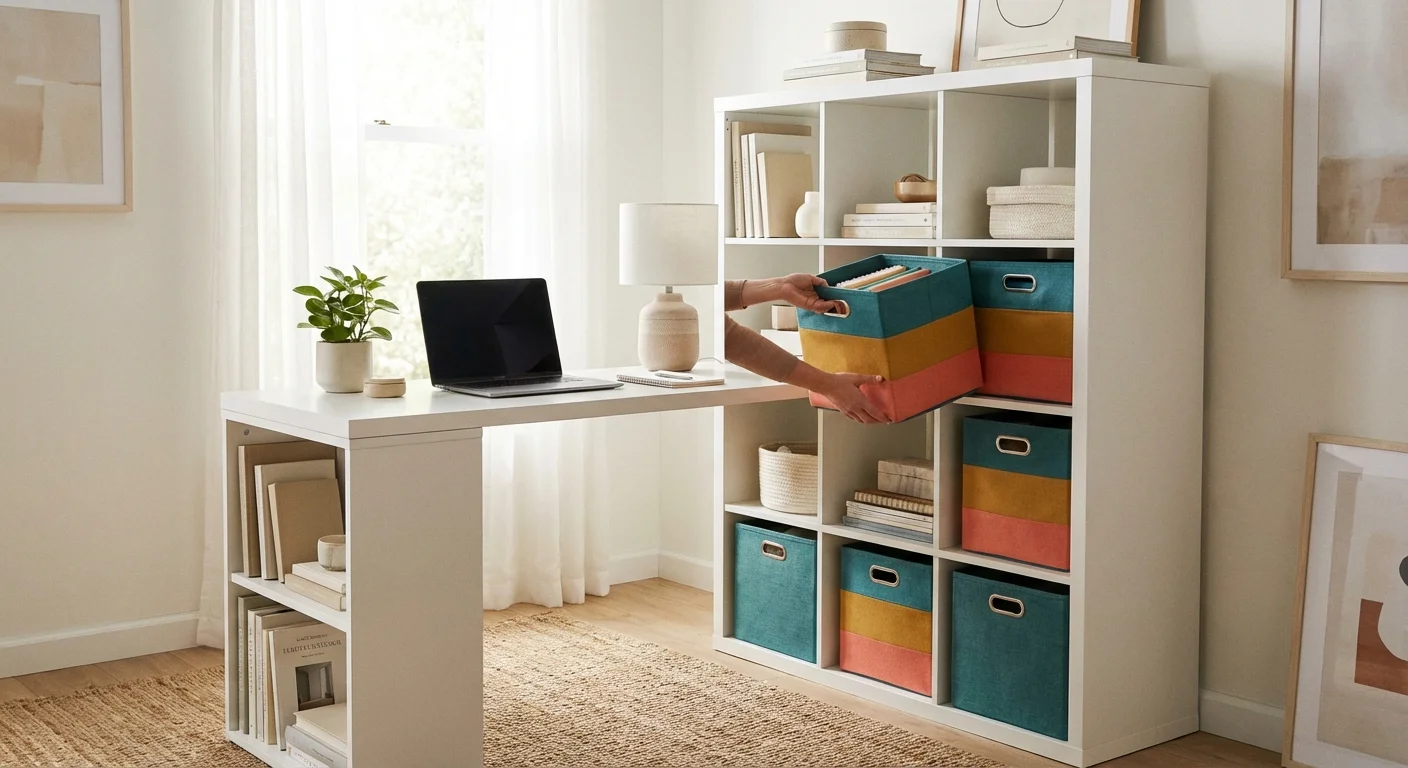
15. The Double-Sided Crafting Desk
If two people need to share an office or crafting space, build a massive partner desk. Place two two-by-two units several feet apart to act as the supporting legs. Lay a large, heavy-duty hollow-core door or a custom-cut piece of plywood across the top, securing it to the units with brackets. You gain a massive workspace with personalized storage directly beneath each person’s workstation.
16. The Rolling Art Station
Children’s art supplies easily take over a house. Mount locking wheels to a two-by-two unit. Install slide-out plastic bins in the bottom cubbies for markers, crayons, and clay. On the side of the unit, mount a paper roll dispenser so kids can pull down fresh drawing paper at any time. The cart can be rolled into the kitchen while you cook and tucked away in a closet when company arrives.
17. The Modern Dollhouse
For a beautiful, sustainable alternative to plastic toys, turn a two-by-two or three-by-four unit into a modern dollhouse. Paint the interior of each cubby a different color to represent different rooms. Apply peel-and-stick wallpaper to create miniature accent walls. Once your children outgrow the dollhouse phase, you can simply remove the wallpaper and return it to its original purpose as functional storage.
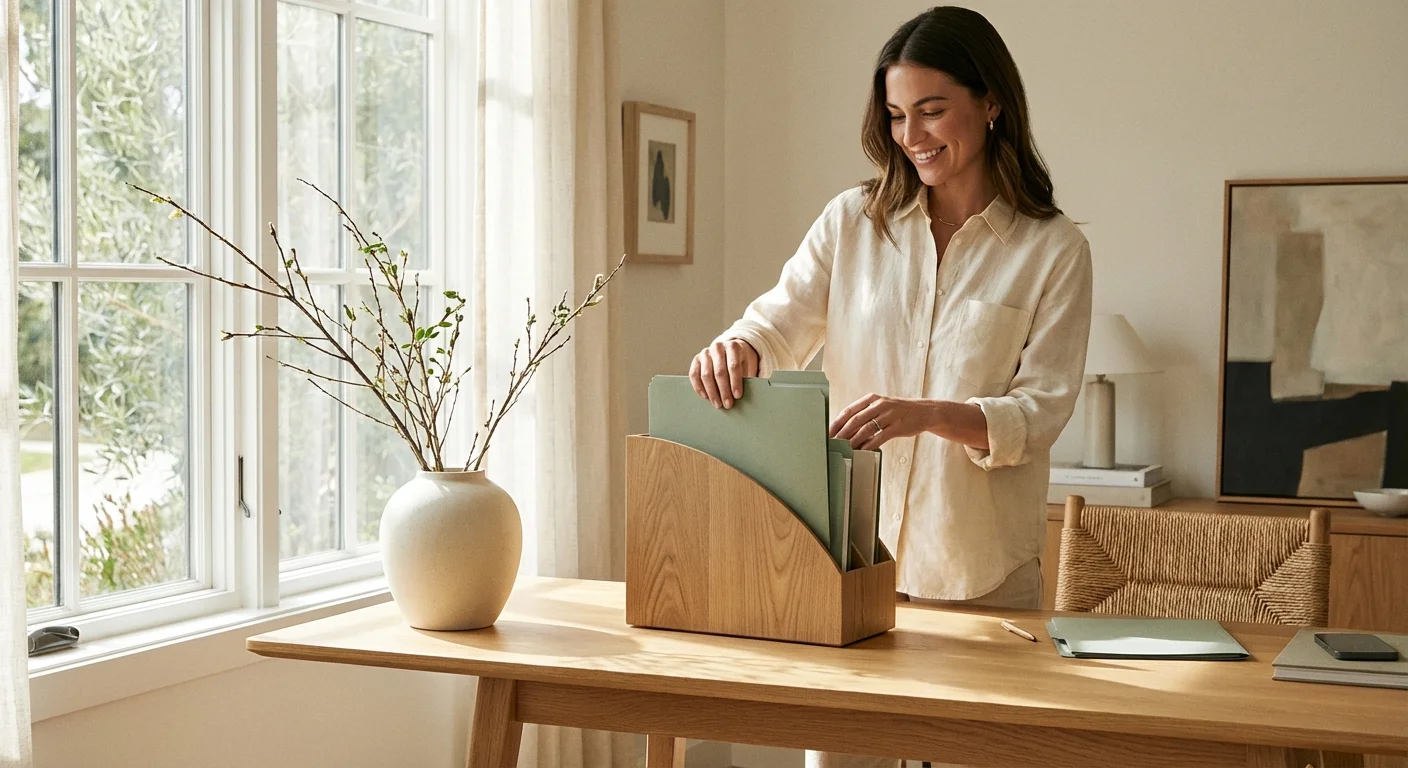
18. The File Cabinet Disguise
Traditional metal filing cabinets are visually harsh. You can retrofit standard fabric cubby inserts to hold hanging file folders. Build a small wooden frame inside the insert using thin strips of pine, resting the metal hangers on the wood. It keeps your important tax documents and household records perfectly organized while looking like a soft, decorative basket from the outside.
19. The Room Divider Planter
Define an open-concept living space without blocking natural light. Use a massive four-by-four or five-by-five unit perpendicular to the wall. Leave most of the cubbies entirely open. Fill the alternating spaces with trailing plants like Pothos or Philodendrons, allowing the vines to weave through the grid. You gain a lush, living wall that subtly separates your living room from your dining area.
20. The Built-In Library Wall
Achieve the look of custom library built-ins for a fraction of the cost. Line up several tall units along an entire wall. Add thick crown molding to the top where the units meet the ceiling, and install baseboards along the bottom front edge. Paint the units and the molding the exact same color. Once filled with books, no one will guess they are looking at standard flat-pack furniture.
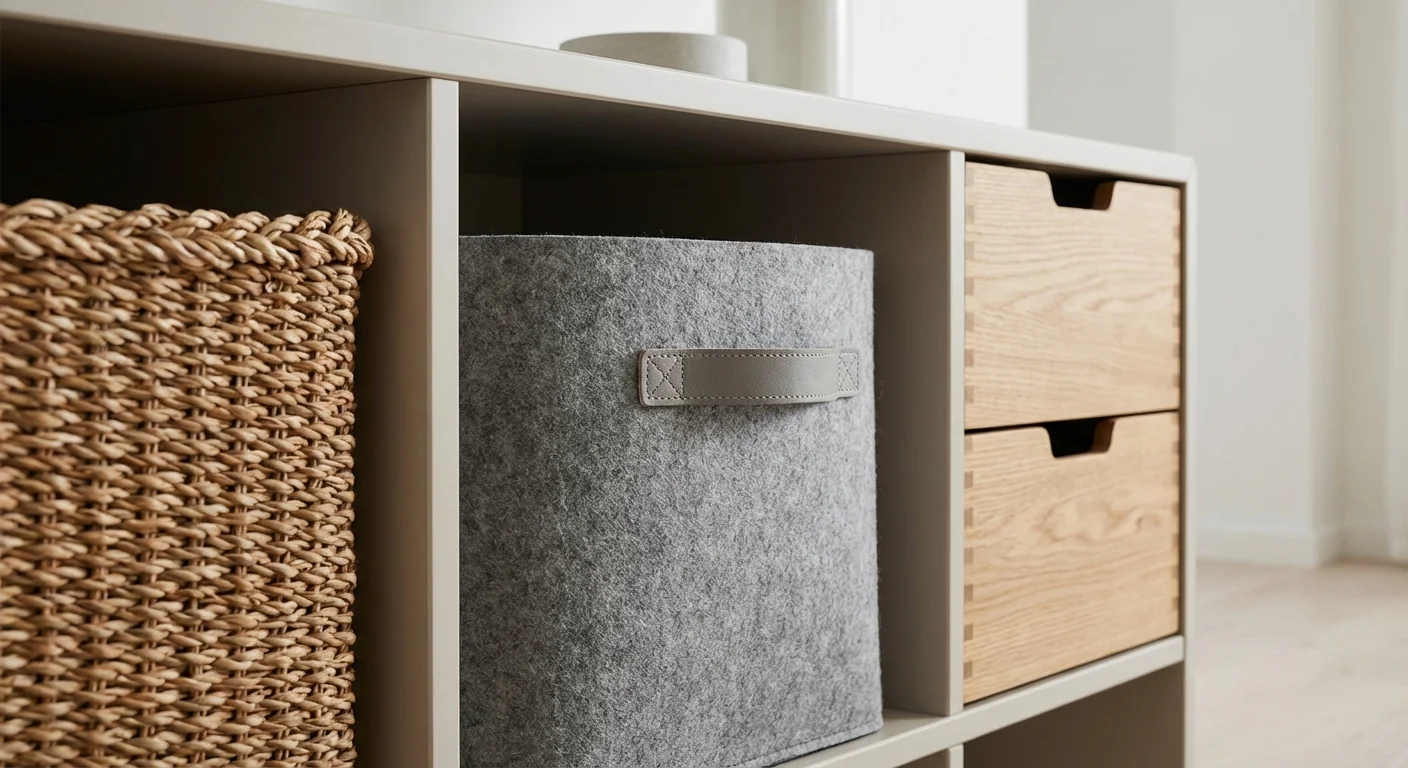
Comparing Kallax Insert Options
Customizing the interior of your cubbies is just as important as upgrading the exterior. Here is a breakdown of the most popular ways to fill the empty squares.
| Insert Type | Best Used For | Visual Impact | Durability |
|---|---|---|---|
| Fabric Bins (Drona) | Toys, lightweight clothing, yarn | Casual, soft, adds texture | Moderate; can warp if overloaded |
| Wicker/Rattan Baskets (Branas) | Living room blankets, books, magazines | Warm, rustic, high-end organic feel | High; very sturdy and holds shape |
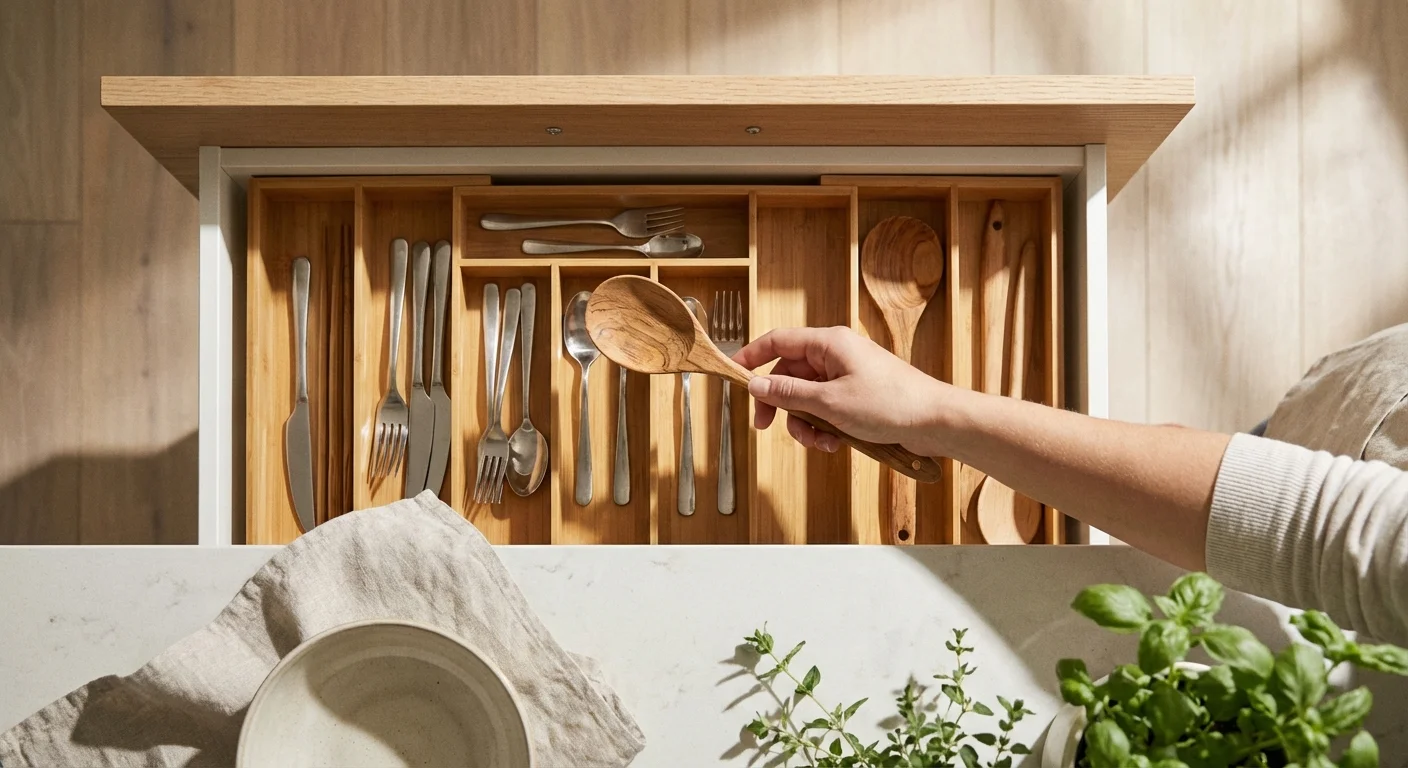
| Hard Drawer Inserts | Office supplies, jewelry, cables | Clean, modern, hides micro-clutter | High; solid construction |
| Glass Shelf Inserts | Displaying ceramics, fine glassware | Elegant, transparent, visually light | Moderate; requires careful handling |
Common Mistakes to Avoid When Hacking Furniture
When you take standard furniture and attempt to alter it, you run the risk of ruining the piece if you ignore basic physics and material science. Keep these critical rules in mind during your project.
- Ignoring Structural Orientation: The thickest outer boards of these units must always sit on the top and bottom, bearing the weight. If you turn a unit so the thick boards are on the sides, the internal shelves are held only by small wooden dowels, which will snap under heavy loads.
- Skipping the Primer: IKEA furniture is coated in a melamine foil or laminate finish. Paint will simply bead up or scratch off immediately if applied directly. You must lightly sand the surface and use a high-adhesion shellac-based primer before applying your top coat. For detailed painting guidance, refer to The Spruce.
- Removing Too Many Dividers: The internal grid provides necessary lateral stability. While removing one small divider to fit a larger stereo receiver is usually fine, removing multiple vertical supports will cause the entire unit to sag or collapse.
- Neglecting Wall Anchors: Always secure your units to wall studs. This is not optional. Once you add heavy books, custom wood tops, or solid doors, the center of gravity shifts. Anchoring prevents dangerous tipping hazards, a crucial safety step recommended by organizations like Apartment Therapy and child safety advocates.
Frequently Asked Questions
Can I paint my Kallax shelf?
Yes, but preparation is mandatory. You cannot paint directly over the smooth laminate. Scuff the surface with 120-grit sandpaper, apply a bonding primer specifically designed for glossy surfaces, and finish with a durable enamel or cabinet paint applied with a foam roller for a smooth finish.
How much weight can the unit hold?
According to IKEA Ideas and product specifications, each individual shelf cube can safely hold up to 28 pounds (13 kg). The top of the unit can hold more, provided the unit is oriented correctly so the outer frame rests directly on the vertical side panels.
Can I attach legs to any Kallax unit?
You can attach legs to the smaller and horizontal units (like the 1×4, 2×2, or 2×4). However, adding legs to the massive 4×4 or 5×5 units is not recommended. The immense weight of a fully loaded large unit puts too much stress on the base frame, which is hollow on the inside, leading to potential cracking.
Are the internal dividers removable?
Technically, you can leave out a divider during assembly, but doing so compromises the structural integrity of the shelf above it. If you must remove a vertical divider to fit a wider item, reinforce the horizontal shelf with a metal bracket at the back.
Transform Your Space Today
You do not need an endless budget to create a beautiful, highly organized home. By looking at a basic piece of flat-pack furniture as a blank canvas rather than a finished product, you unlock endless design possibilities. Choose one room that currently feels cluttered or uninspired, pick up a basic shelving unit, and test out one of these upgrades this weekend.
This guide provides general home improvement information. Every home is different—what works in one space may need adaptation in yours. For structural changes or electrical/plumbing work, consult a licensed professional.
Last updated: February 2026
Leave a Reply