A well-organized pantry transforms your kitchen experience. You save money by easily seeing what you have, reduce food waste by using items before they expire, and cook more efficiently when ingredients are simple to locate. No more buying duplicates, sifting through stale snacks, or facing a mountain of mismatched containers. This guide provides practical, actionable strategies to take your pantry from overwhelming chaos to a beautifully ordered, functional system.
Why a Tidy Pantry Matters: More Than Just Aesthetics
You might view pantry organization as a purely aesthetic endeavor, a picture-perfect ideal you see in magazines. However, its benefits extend far beyond a pretty shelf. An organized pantry directly impacts your daily life, your budget, and even your peace of mind. Consider the significant advantages you gain when your food storage is systematic and accessible.
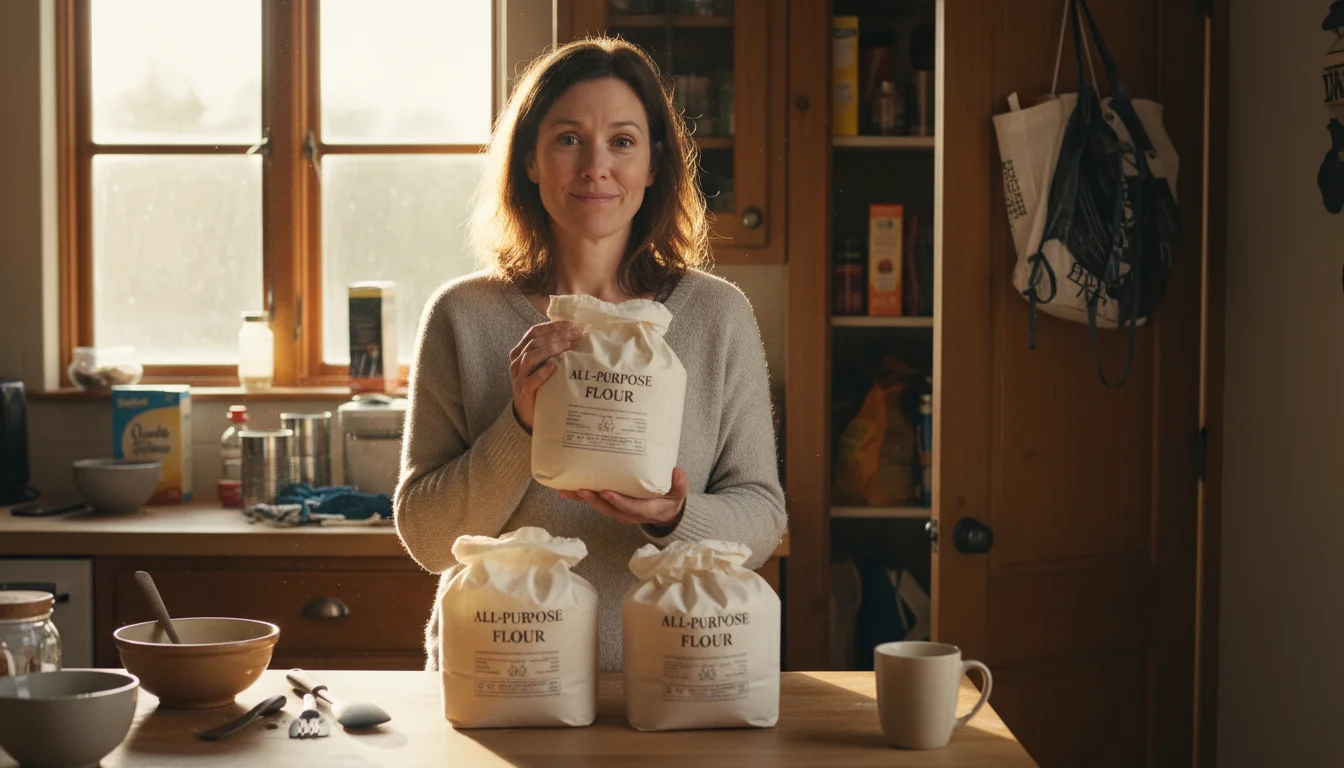
First, you save money. When every item has a designated place, you quickly see what you own. This prevents accidental duplicate purchases, a common pitfall when items disappear into the depths of a disorganized space. Imagine buying another bag of flour only to discover you already had two. Over time, these small oversights add up, impacting your grocery budget significantly. Real Simple, in their organizing advice, consistently highlights how a visible inventory leads to smarter shopping habits. According to Real Simple – Organizing, keeping your pantry organized helps you monitor stock levels, reducing impulse buys and ensuring you only purchase what you truly need.
Second, you reduce food waste. Approximately 30-40 percent of the food supply in the United States goes to waste, according to the USDA. Much of this waste occurs at the consumer level, often because food expires before it is discovered and used. An organized pantry allows you to implement a “first-in, first-out” system, pushing older items to the front so you use them first. You easily see expiration dates, ensuring you consume perishable goods promptly. This conscious consumption not only benefits your wallet but also contributes to environmental sustainability by minimizing landfill contributions.
Third, cooking becomes a more enjoyable and efficient process. You eliminate the frustration of searching for a specific spice or ingredient while trying to prepare a meal. When you know exactly where the canned tomatoes, pasta, or your favorite spices reside, meal preparation time decreases. This efficiency frees up precious minutes in your busy schedule, making home cooking less stressful and more appealing.
Finally, an orderly pantry contributes to a sense of calm in your home. A chaotic space, even one hidden behind a door, can create subconscious stress. Conversely, opening a neat, functional pantry offers a small moment of satisfaction. This small win contributes to your overall well-being, proving that practical organization is a powerful tool for enhancing daily life.
Understanding Your Pantry’s Potential: Defining Zones
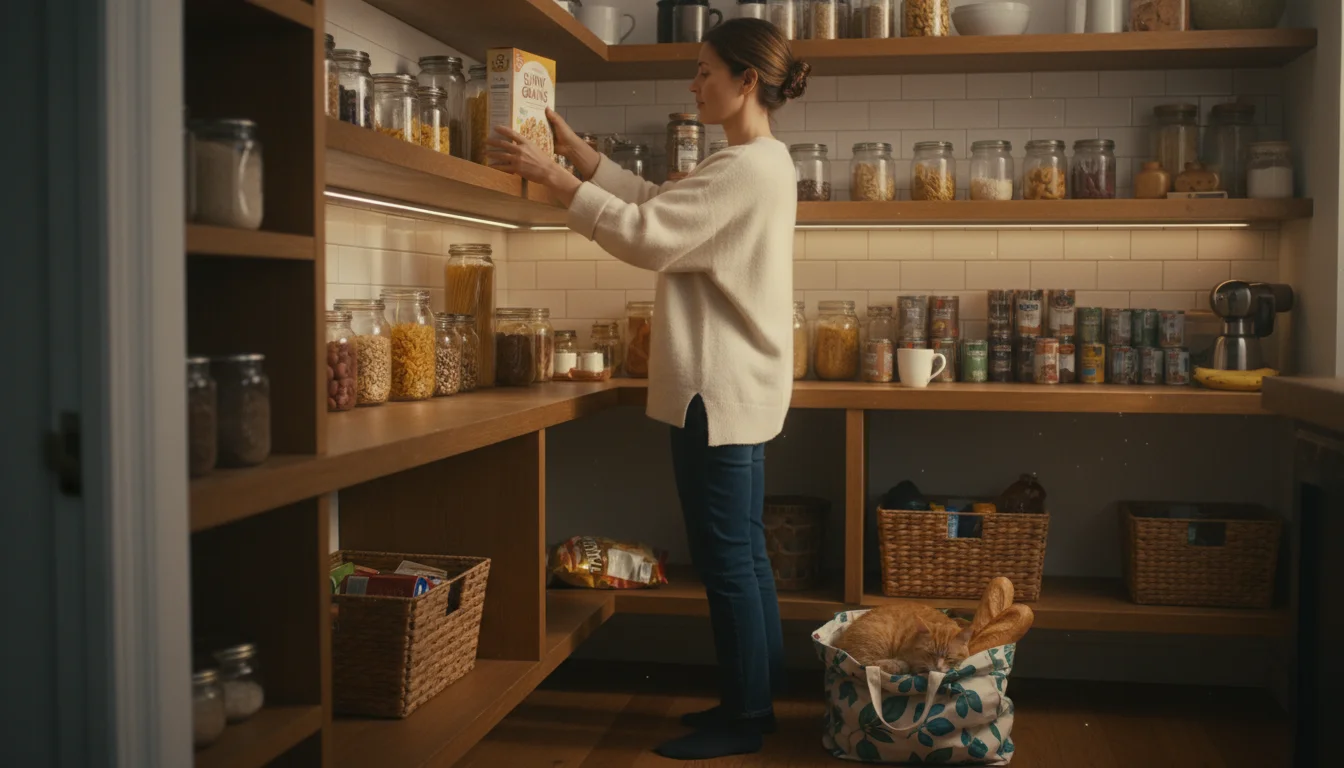
Before you dive into buying containers or relocating items, take a moment to understand your pantry’s layout and how you use it. Every pantry, whether a spacious walk-in, a modest cabinet, or a simple cupboard, holds untapped potential for greater efficiency. The key lies in creating “zones,” which are designated areas for specific types of items or activities. This concept transforms a general storage area into a highly functional system.
Start by observing your current habits. Do you reach for breakfast items every morning? Are baking supplies used weekly, or only for special occasions? Do your children need easy access to their snacks? Your answers reveal natural groupings that form the basis of your zones.
Common pantry zones include:
- Breakfast Zone: Cereals, oats, granola, pancake mix, syrup. Place this zone at an accessible height for morning routines.
- Baking Zone: Flour, sugar, baking soda, chocolate chips, vanilla extract. Store these together, perhaps on a lower shelf or in a dedicated bin, making them easy to pull out for baking projects.
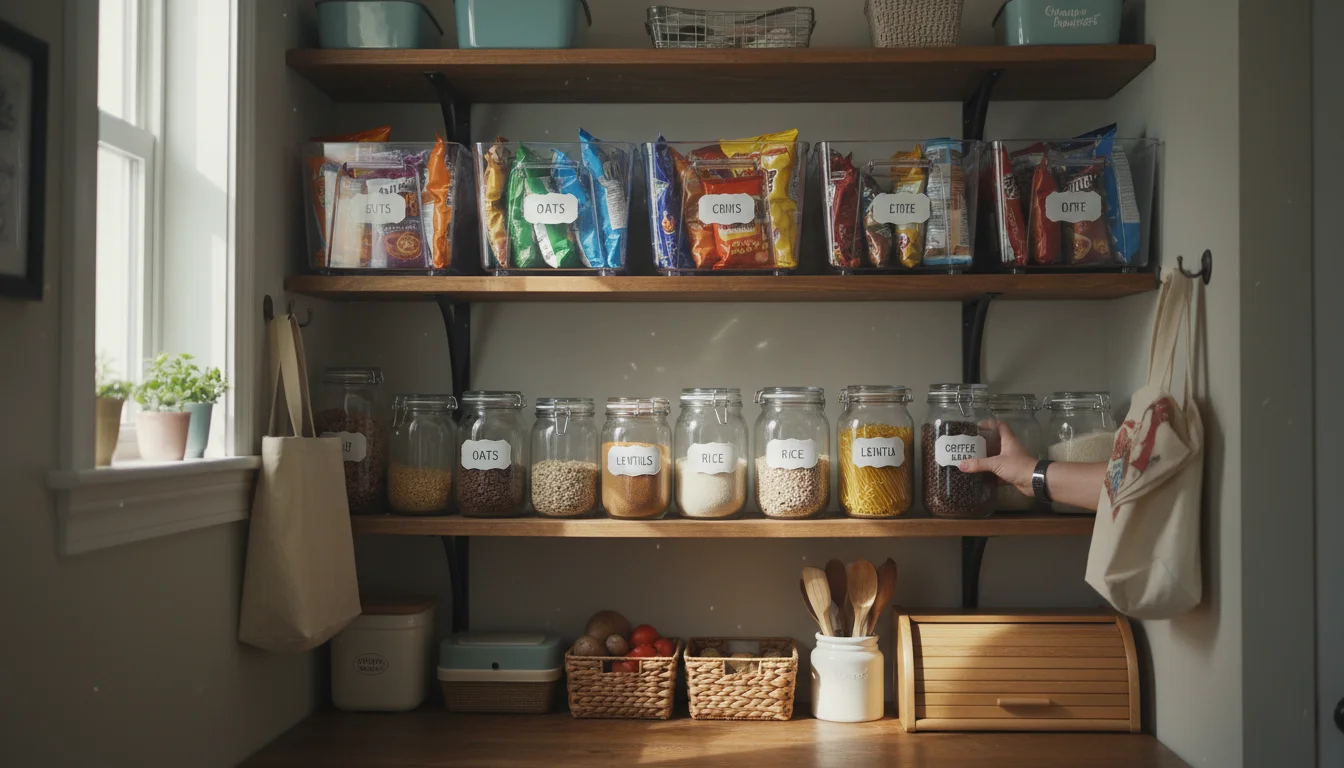
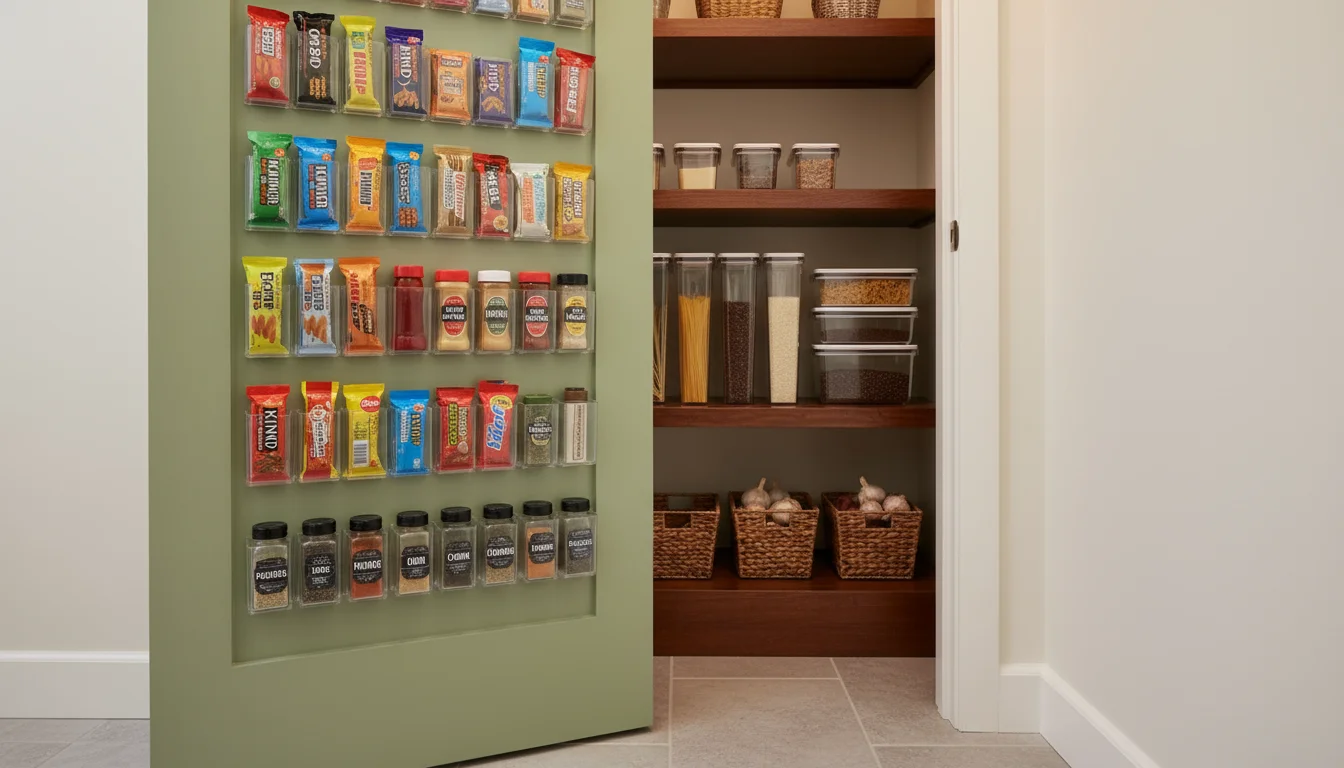
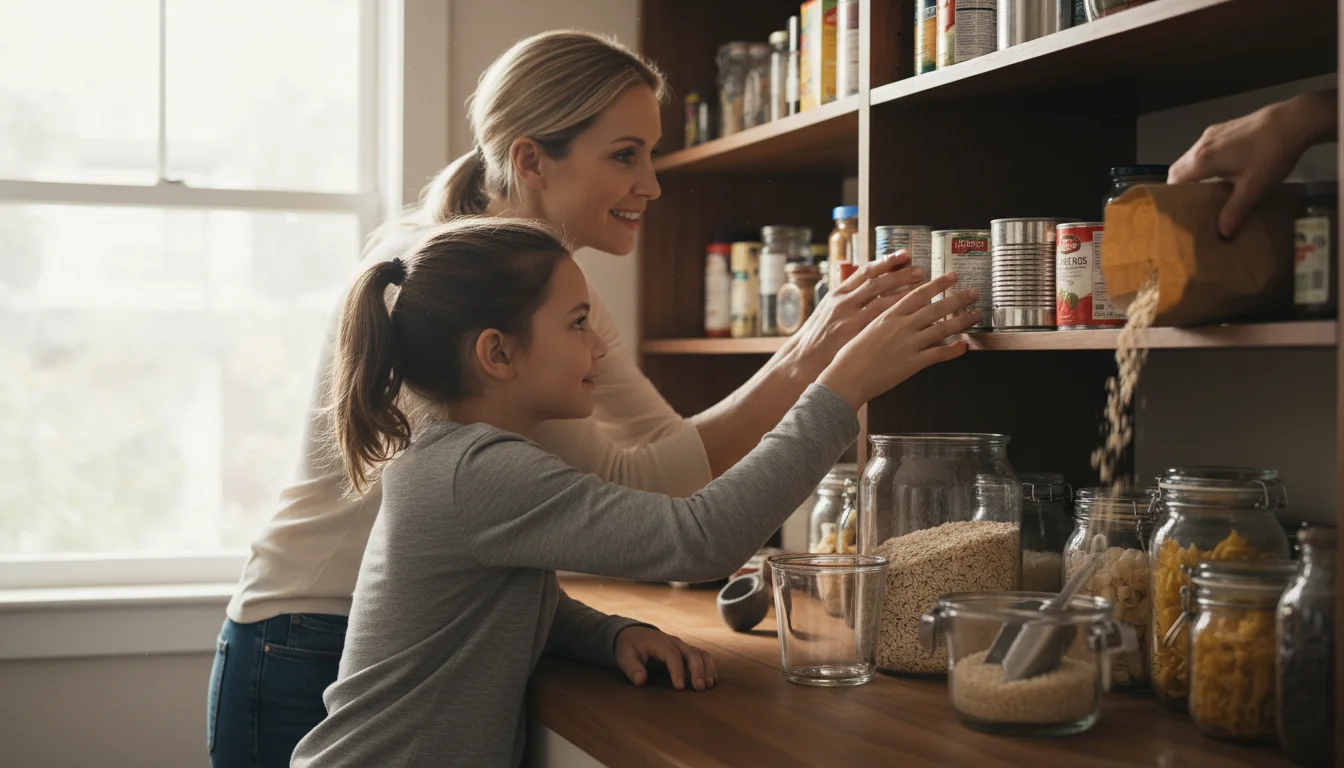
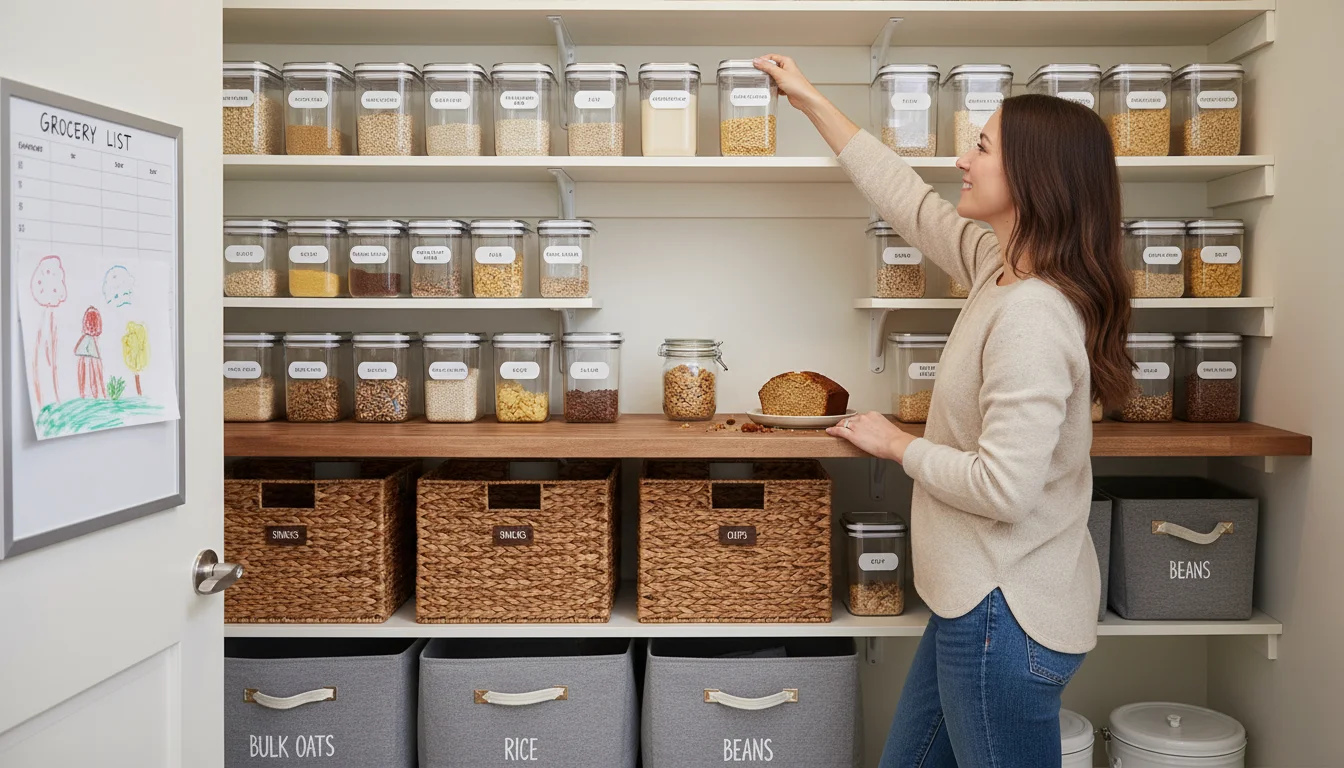
- Snack Zone: Granola bars, crackers, fruit snacks, individual chip bags. This zone works well at eye level for adults or a lower shelf for children, promoting independence.
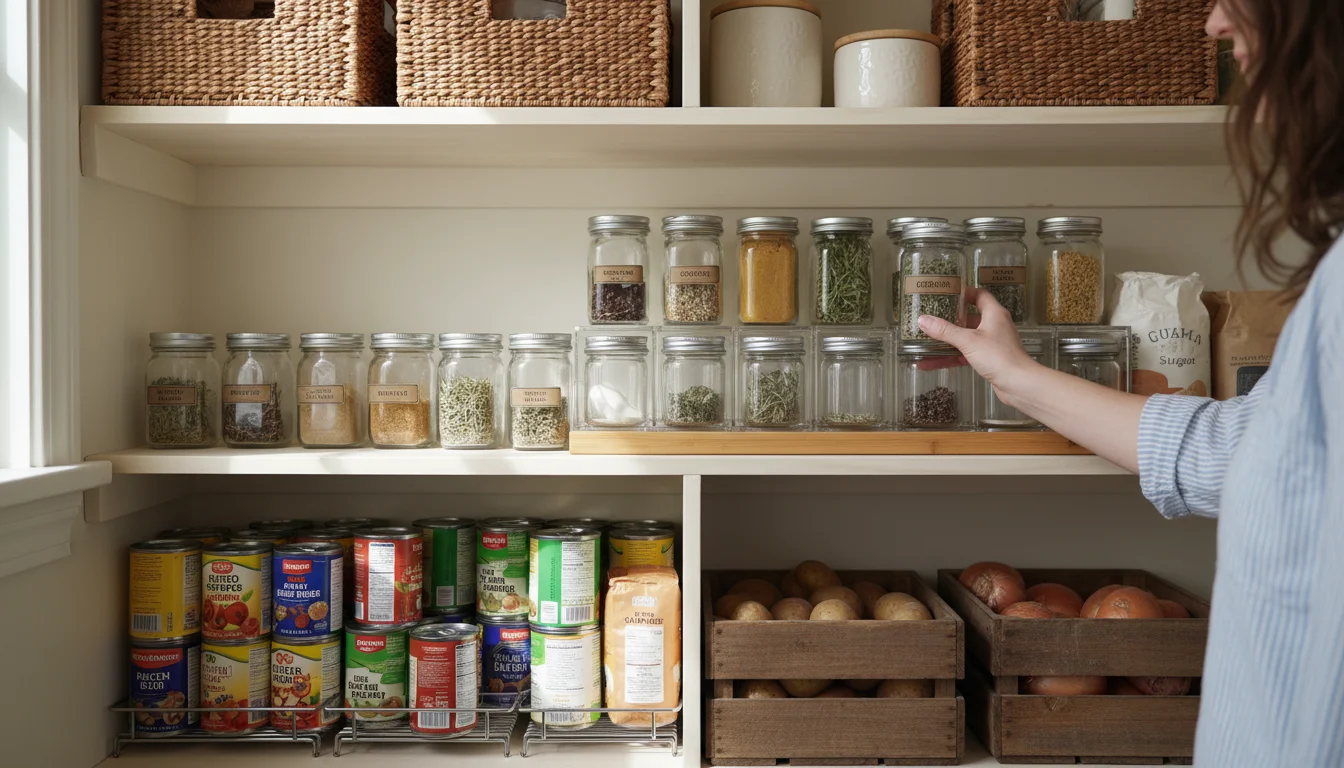
- Canned Goods Zone: Soups, vegetables, beans, diced tomatoes. Organize these items either by type or by expiration date, ensuring older cans are used first.
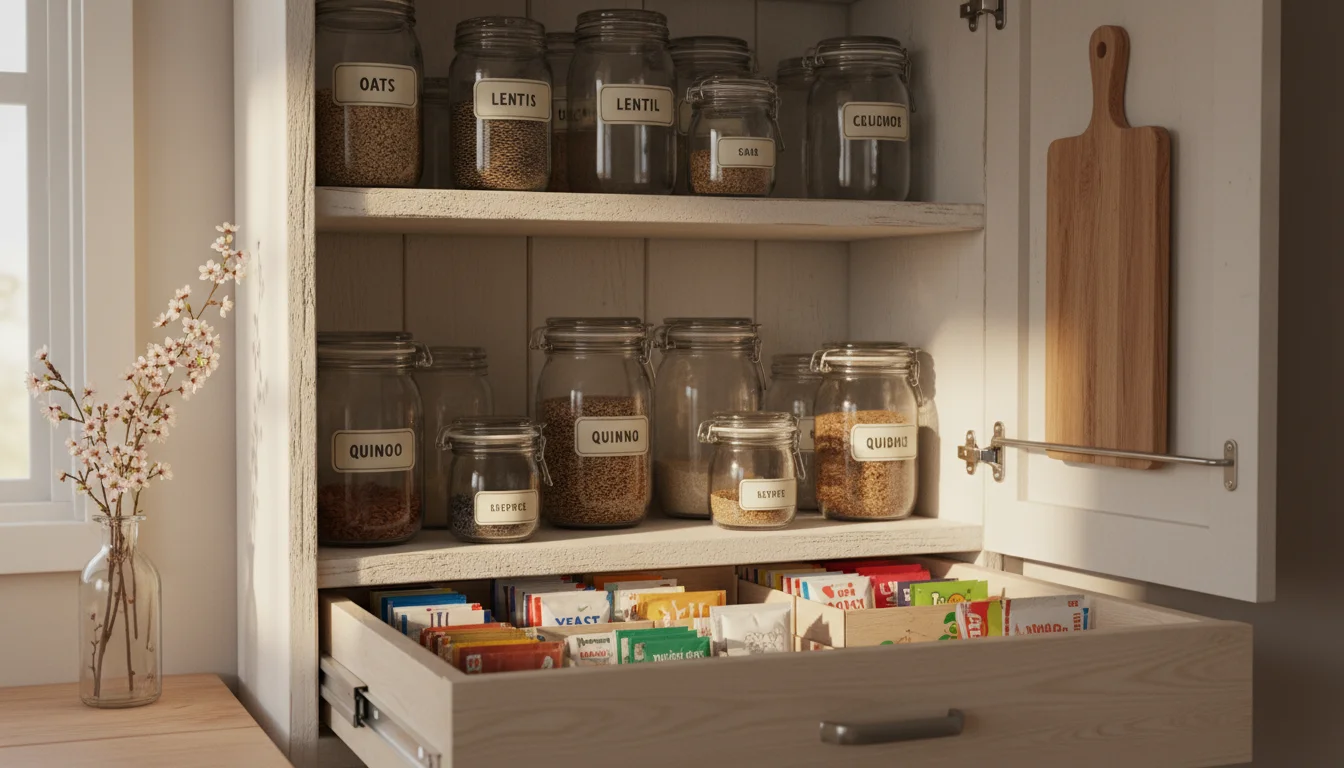
- Pasta & Grains Zone: Various types of pasta, rice, quinoa, lentils. Clear containers work exceptionally well here, allowing you to quickly see stock levels.
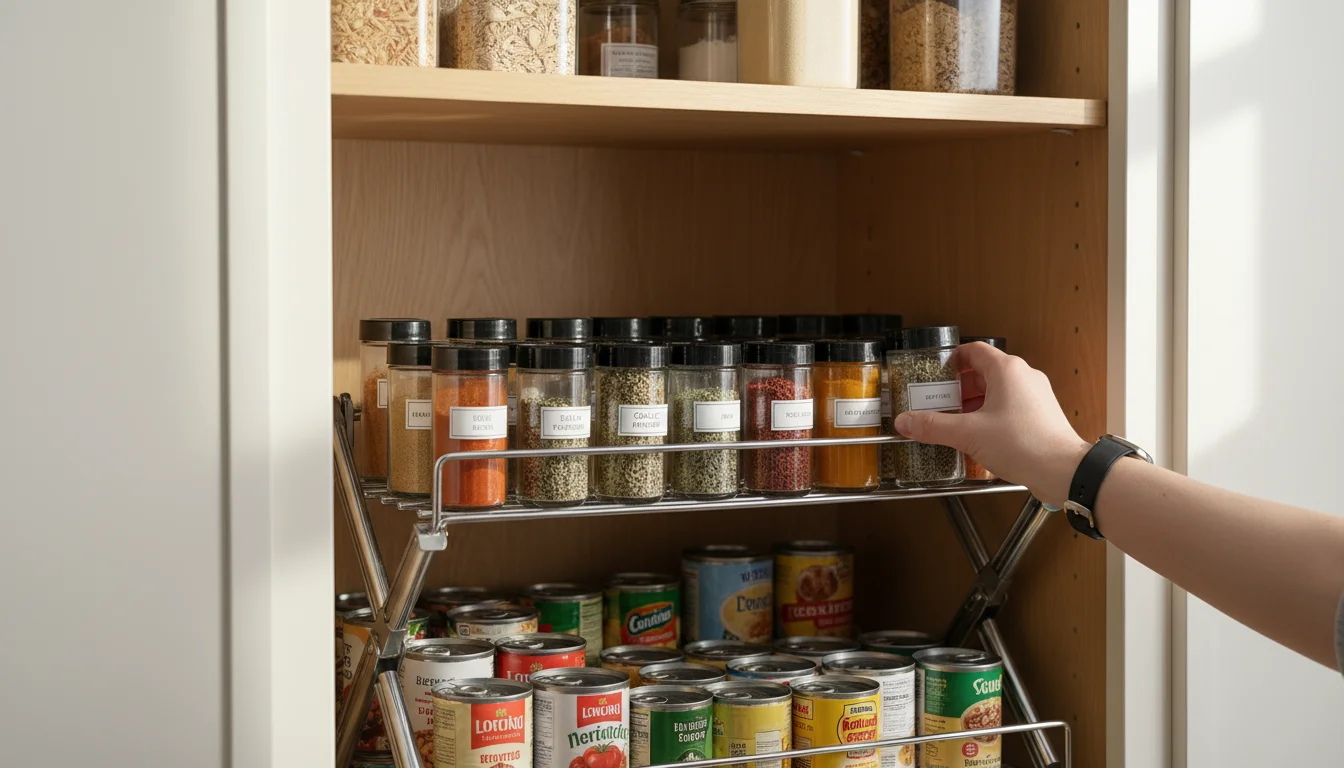
- Spices & Oils Zone: Spices, cooking oils, vinegars. Keep these near your cooking area, if possible, for easy reach during meal prep. Turntables or tiered risers are excellent for this zone.
- Backstock/Bulk Zone: Extra quantities of frequently used items, large bags of rice or flour. This zone can reside on the highest or lowest shelves, away from daily reach but still organized.
Consider the type of pantry you have. A shallow pantry benefits from single-depth containers to prevent items from getting lost. A deep pantry, conversely, thrives with pull-out drawers or bins that bring items to the front. Walk-in pantries often accommodate a wider range of zones, including small appliances or bulk storage. Cabinet pantries require you to think vertically, utilizing risers and stackable bins. Regardless of size, every pantry can benefit from a zonal approach, turning a jumble of ingredients into a logical, accessible inventory. According to experts at National Association of Professional Organizers (NAPO), zoning is a fundamental principle in effective home organization, helping create intuitive systems that are easy to maintain.
The BrightLivingGuide 5-Step Pantry Purge & Plan
Transforming your pantry from chaos to order requires a systematic approach. Follow these five practical steps to declutter, organize, and establish a functional system that works for your household. Allocate dedicated time for this project; depending on your pantry’s size and current state, it might take a few hours or an entire afternoon.
-
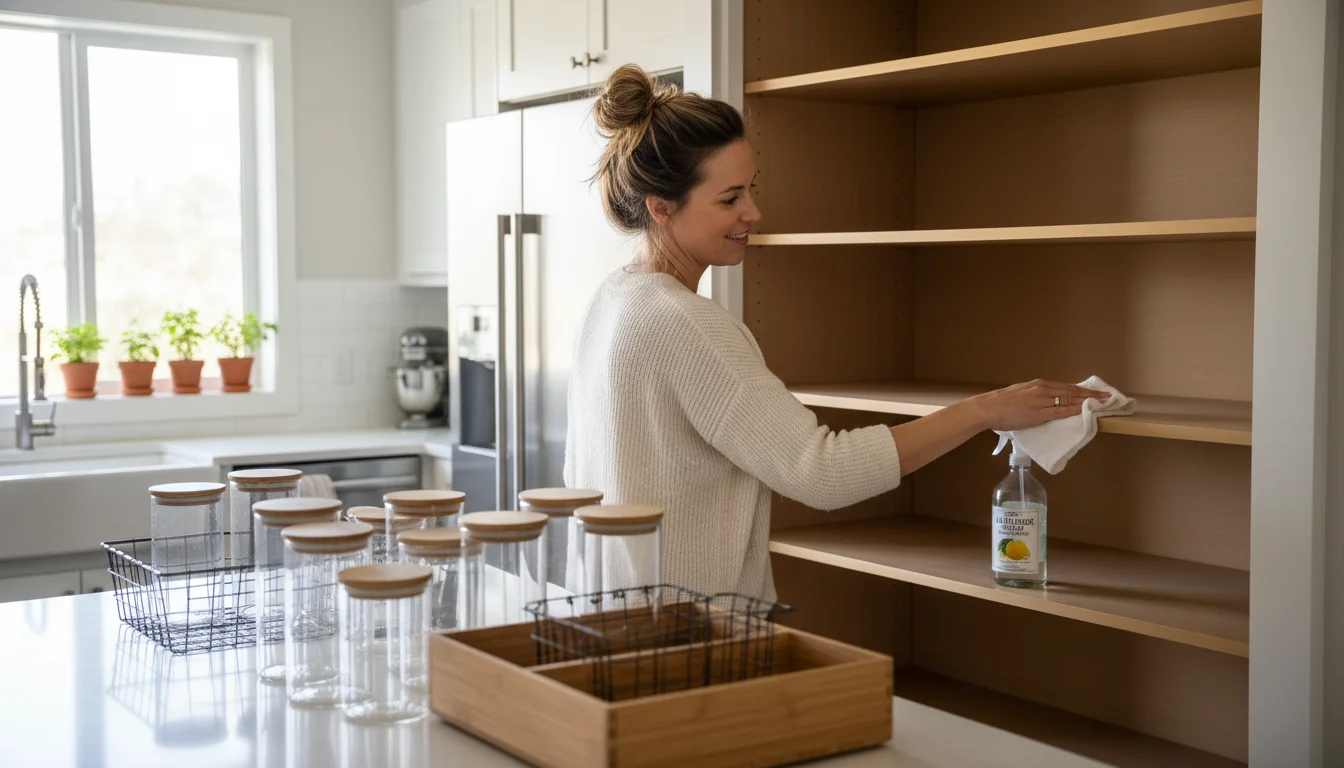
Step 1: Empty and Clean Everything Out.
This is the crucial first step. Completely empty your pantry shelves, drawers, and any bins onto your kitchen counter, dining table, or even the floor. This “everything out” approach gives you a fresh perspective and allows for thorough cleaning. As you remove items, quickly group similar items together. Once empty, wipe down all surfaces with an all-purpose cleaner. Pay attention to sticky spots or crumbs. For deep cleaning tips and product safety, refer to resources like the American Cleaning Institute.
-
Step 2: Declutter and Consolidate.
With all items laid out, it is time for serious decluttering. Scrutinize every single item. Ask yourself:
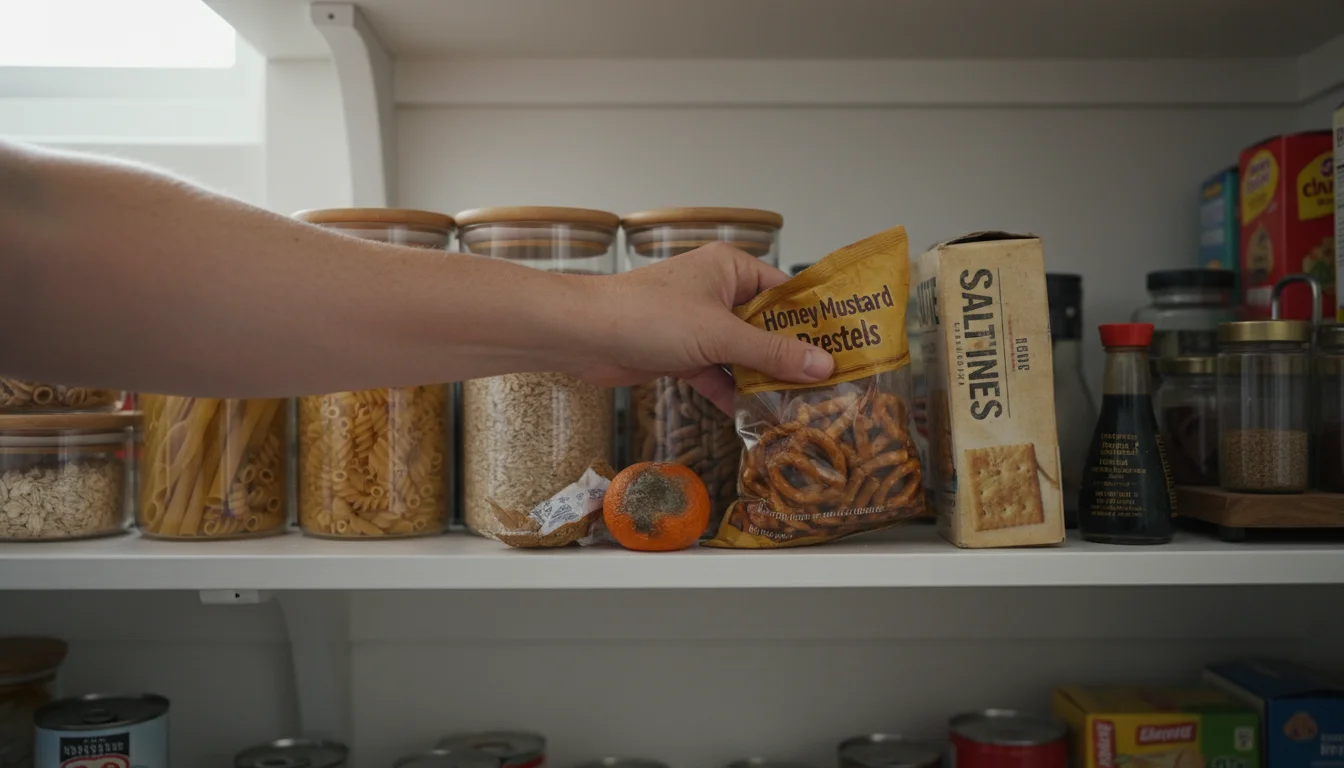
- Is it expired? Check all “best by,” “use by,” and expiration dates. Discard anything past its prime.
- Is it stale or spoiled? Open packages and inspect contents. If in doubt, throw it out.
- Do you actually use it? Be honest. If you bought an exotic spice two years ago and have not touched it, it is likely clutter.
- Do you have duplicates? Consolidate open packages into a single container where possible. If you have two half-empty bags of pasta, combine them.
- Are there items you do not want or need? Set aside non-expired, unopened items you no longer want for donation to a local food bank.
This step reduces your inventory, making the subsequent organization much simpler.
-
Step 3: Categorize and Zone Your Items.
Now that you have a streamlined collection, group items into logical categories. Think about the zones we discussed earlier. Create piles for baking supplies, breakfast items, snacks, canned goods, pasta and grains, spices, oils, and bulk items. Consider your family’s habits. For instance, if you have young children, create a “Kids’ Snacks” zone at a lower, easily accessible level.
-
Step 4: Measure and Plan Your Solutions.
Before buying any organizational products, measure your pantry shelves, depth, and height. This prevents wasted purchases. Sketch a simple layout, assigning your categories to specific zones within your pantry. Think about:
- Container Needs: What items need airtight containers (flour, sugar, pasta, cereal) to stay fresh? Which can remain in original packaging?
- Vertical Space: Can you add risers or stackable shelves to utilize height?
- Door Space: Does your pantry door offer opportunities for over-the-door organizers for spices or smaller items?
- Accessibility: Place frequently used items at eye level, heavy or bulky items on lower shelves, and rarely used items on higher shelves.
Plan your purchases based on these measurements and your planned zones. Avoid impulse buys; a structured approach saves you money and ensures functional results.
-
Step 5: Load and Label.
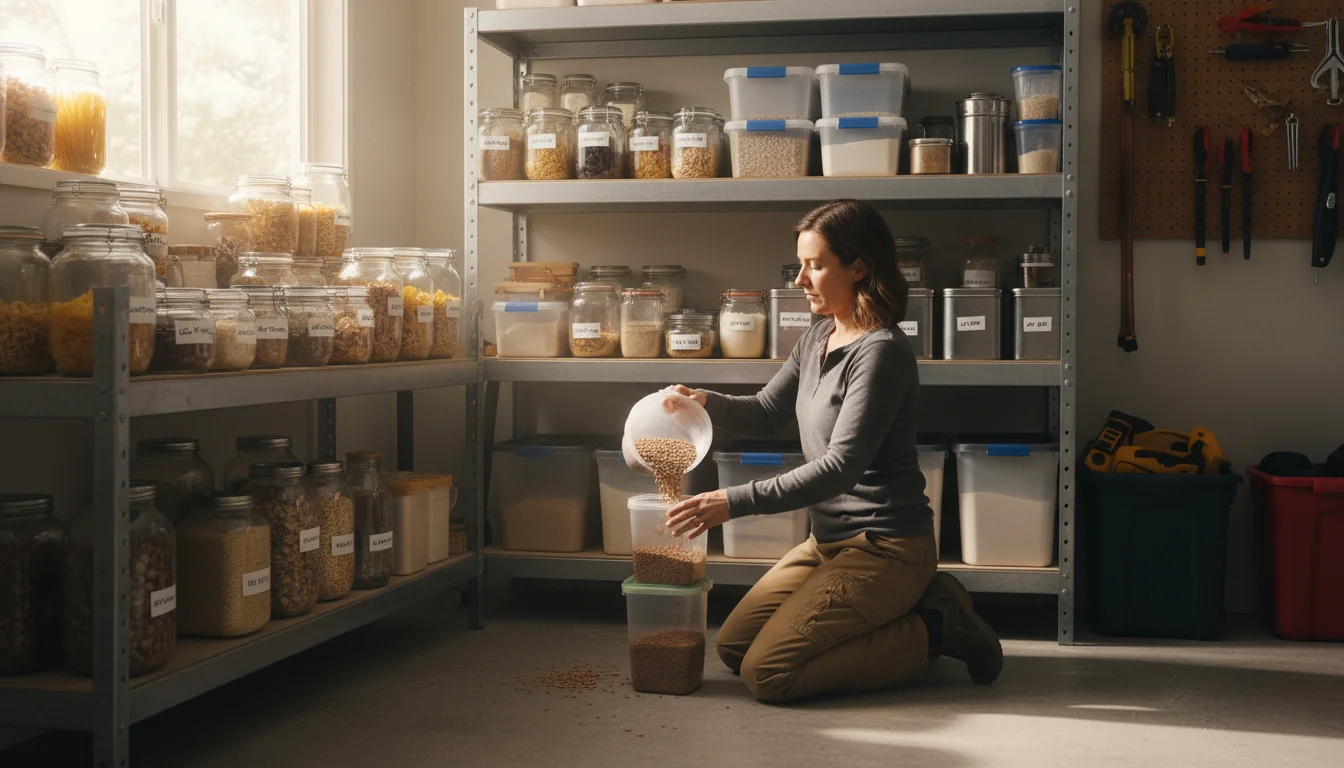
Begin loading your organized items back into the pantry, placing them according to your planned zones. Decant items like flour, sugar, cereal, and pasta into clear, airtight containers. This improves freshness, visibility, and aesthetics. Utilize shelf risers, bins, and turntables as planned.
The final, crucial step: Label everything. Labels ensure that everyone in your household knows where items belong, making maintenance much easier. Use a label maker, adhesive labels, or even masking tape with a marker for an economical solution. Label containers, bins, and even shelves if necessary. Clear, consistent labeling is the backbone of a sustainable organization system.
Once you complete these steps, step back and admire your handiwork. You have transformed a cluttered space into an efficient, beautiful storage system.
Smart Storage Solutions for Every Budget
Effective pantry organization does not require a massive budget or a complete pantry overhaul. Many practical solutions are either DIY-friendly or available at affordable price points. The goal is to find tools that enhance visibility and accessibility, supporting your newly established zones.
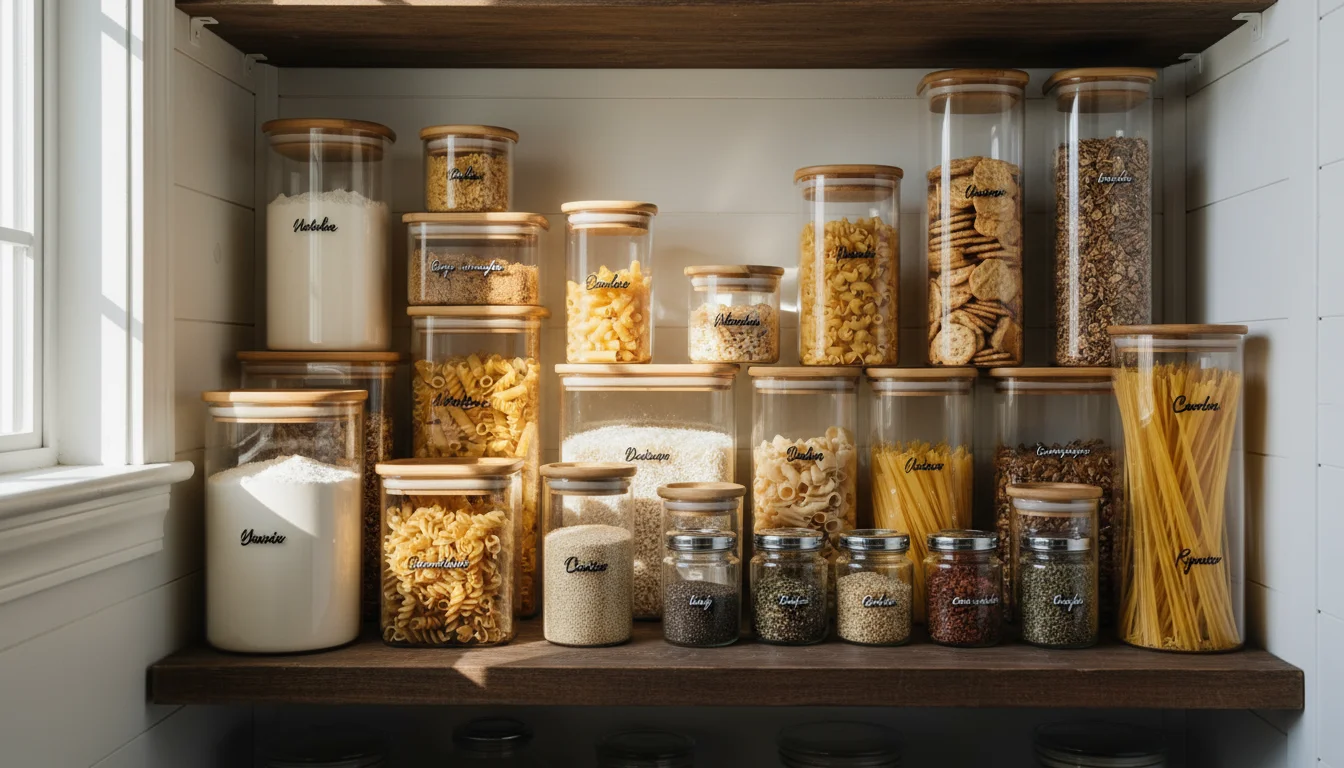
Airtight Containers for Freshness and Uniformity
Invest in good quality, clear, airtight containers for dry goods like flour, sugar, pasta, cereal, rice, and oats. Clear containers allow you to see contents at a glance, eliminating the need to open every package to find what you need. They also protect food from pests and moisture, significantly extending shelf life. Look for stackable designs to maximize vertical space. Brands like OXO, Rubbermaid, and Lock & Lock offer durable options, but you can find budget-friendly alternatives at stores like IKEA or dollar stores. IKEA Home Organization provides a wide range of affordable containers and storage solutions designed to fit various spaces and needs.
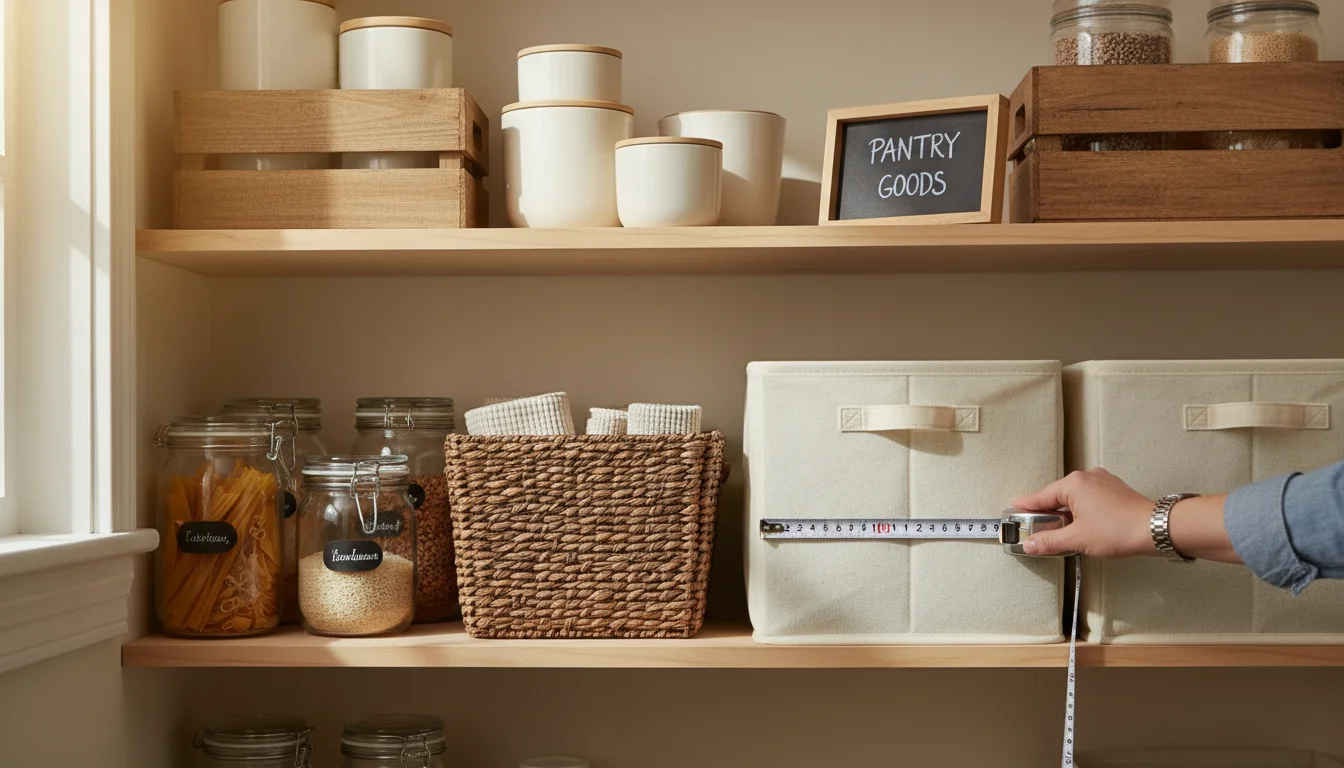
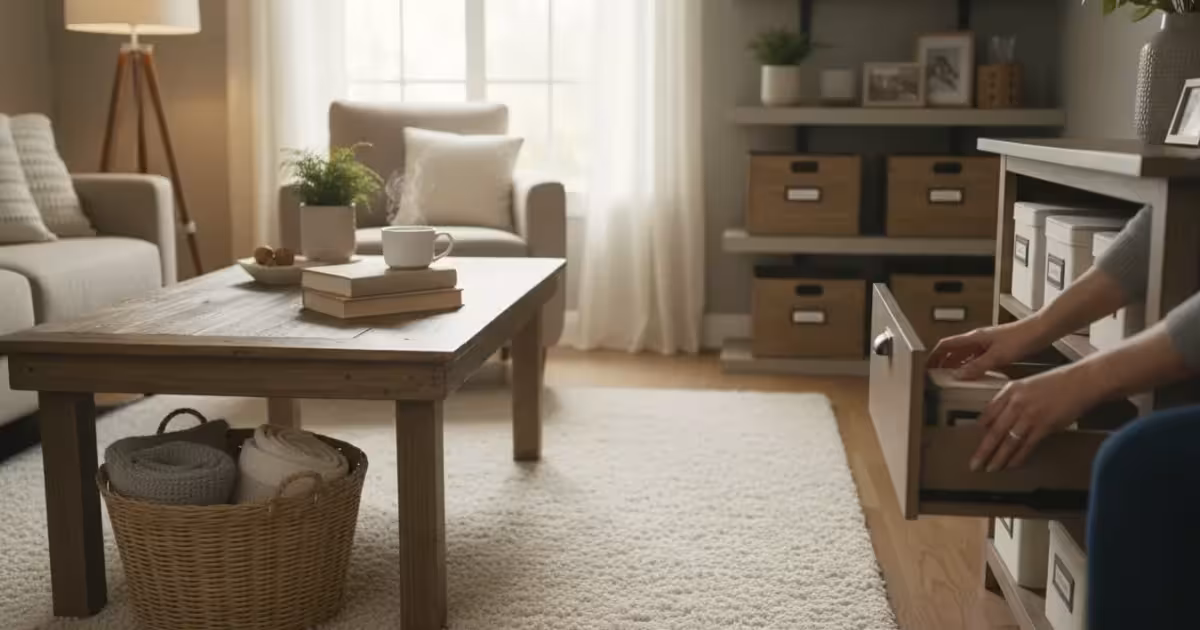
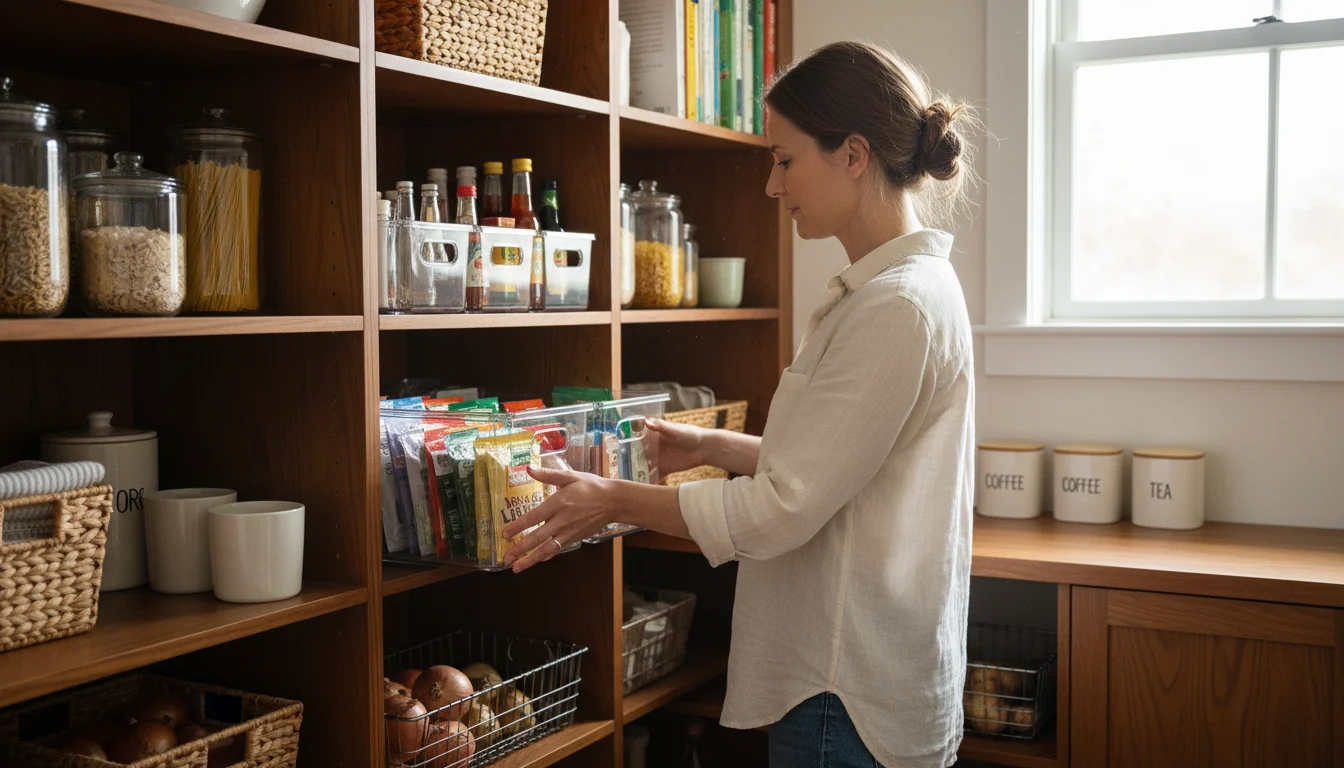
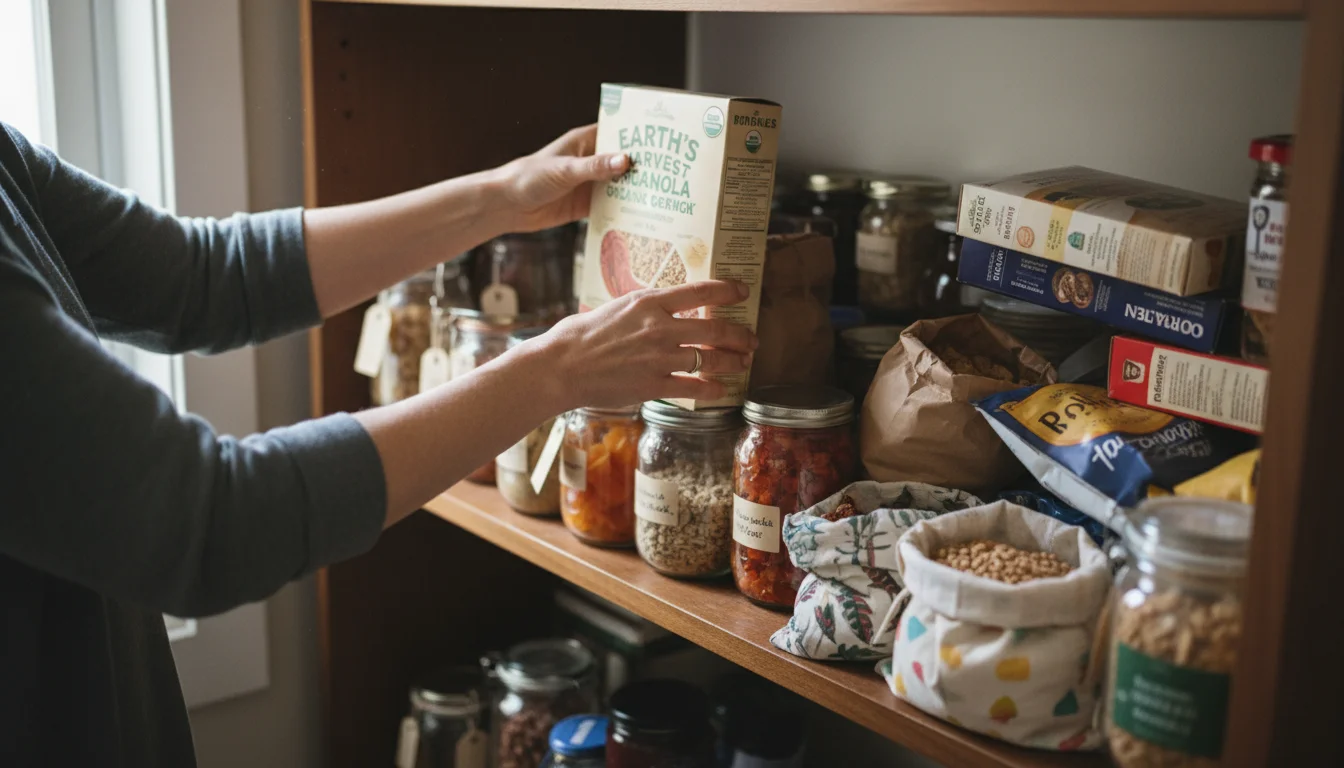
Baskets and Bins for Categorization
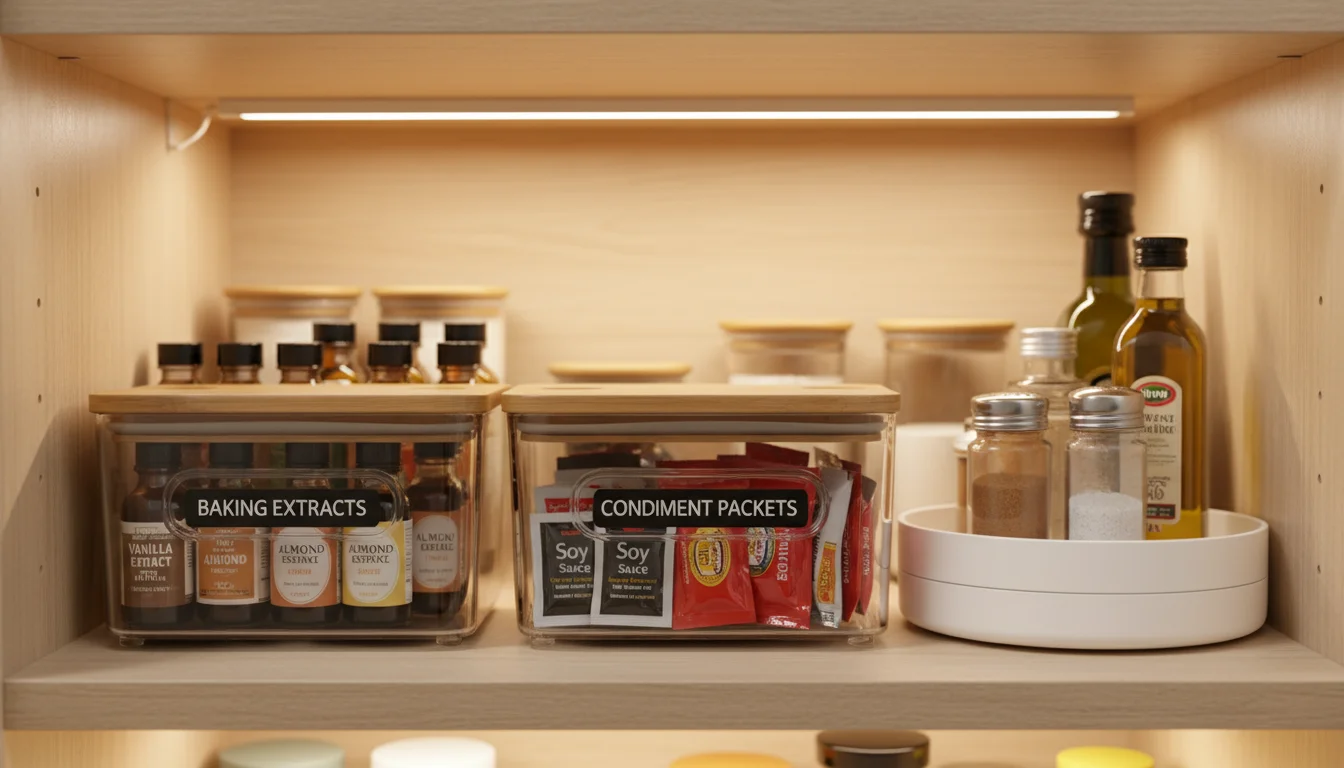
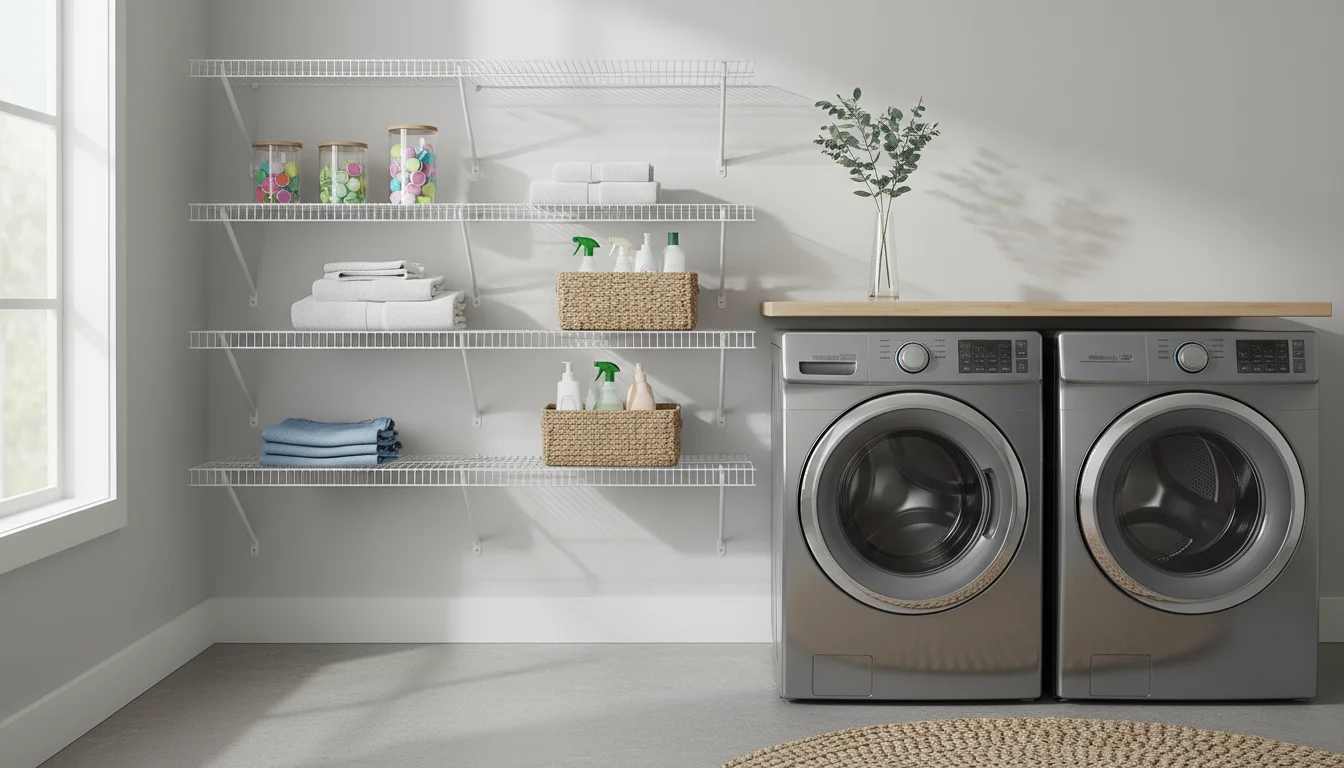
Baskets and bins are indispensable for containing smaller items or creating flexible “drawers” on shelves. Use them to group snacks, baking mixes, individual condiment packets, or small bottles. Wire baskets offer good visibility, while opaque bins hide clutter for a cleaner look. Woven baskets add a touch of warmth and texture. Always measure your shelves before purchasing to ensure a perfect fit. Fabric bins, plastic bins, or even simple shoeboxes can serve this purpose effectively.
Shelf Risers and Expandable Shelves for Vertical Advantage
Pantries often have generous height between shelves, leaving unused vertical space. Shelf risers or expandable shelves effectively double your storage capacity. Use them to stack cans, plates, or create a second level for smaller items, making the back of the shelf just as accessible as the front. This simple addition makes a dramatic difference, especially in cabinet pantries.
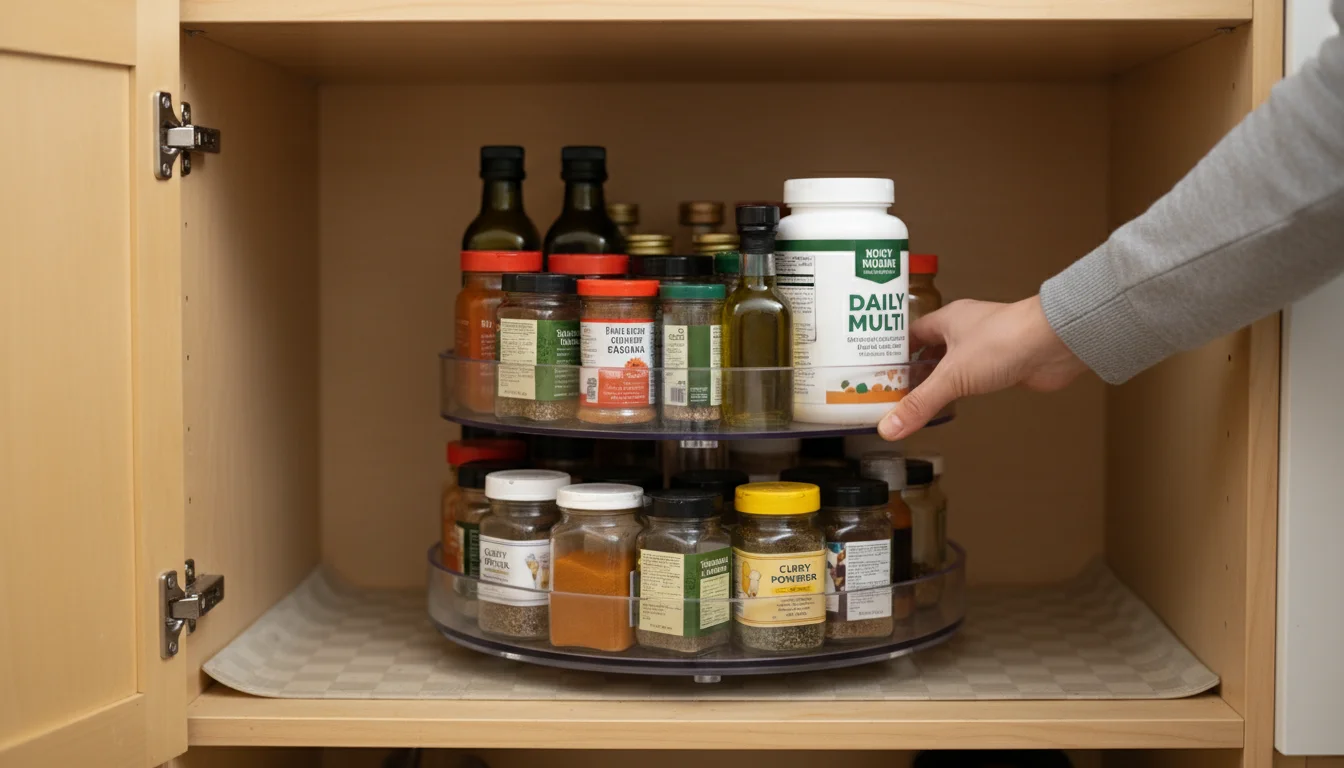
Turntables (Lazy Susans) for Corner and Deep Storage
Turntables are heroes for corner cabinets or deep shelves where items tend to get lost. They bring items from the back to the front with a simple spin. Use them for spices, oils, condiments, vitamins, or baking extracts. They eliminate rummaging and prevent items from getting stuck out of sight.
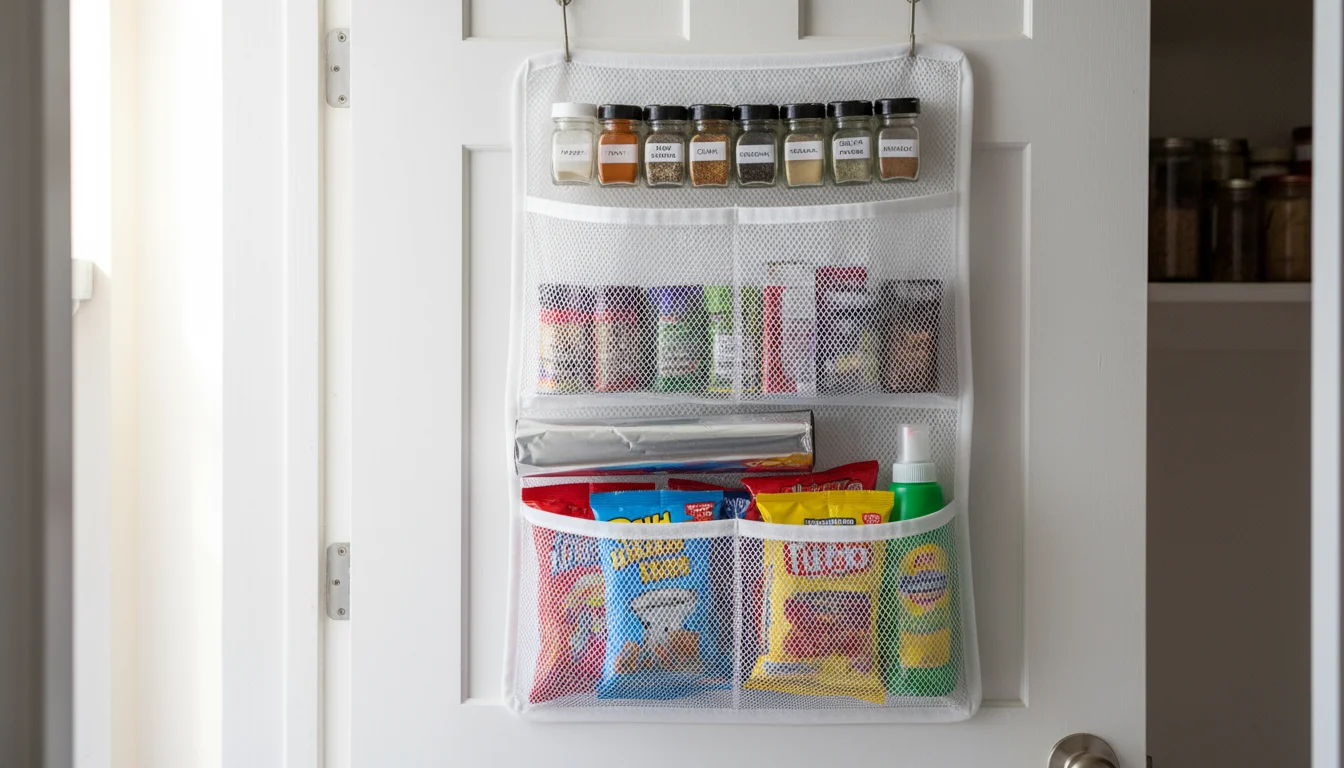
Door Organizers for Hidden Space
If your pantry has a door, leverage it! Over-the-door organizers with multiple shelves or pockets are perfect for lightweight, frequently accessed items. Think spice jars, individual snack bags, foil, plastic wrap, or even small cleaning supplies if space permits. This utilizes otherwise wasted vertical real estate.
DIY and Budget-Friendly Hacks
- Repurpose Containers: Clean glass jars from pickles or sauces make excellent storage for small dry goods like nuts, seeds, or spices.
- Cereal Box Dividers: Cut empty cereal boxes into dividers for drawers to organize bags of mixes or smaller packets.
- Tension Rods: Install tension rods inside cabinets to hang spray bottles or to stack cutting boards vertically.
- Magazine Holders: Use magazine holders horizontally to store boxes of foil, plastic wrap, or even cans on their sides.
Remember, the best solutions are those that fit your specific pantry, your budget, and your cooking habits. Start with a few key pieces and gradually build your system.
Maximizing Space in Small or Awkward Pantries
A small or oddly shaped pantry presents unique challenges, but it does not mean you are destined for disorganization. With clever planning and smart product choices, you can make every inch count. The goal is to optimize both vertical and horizontal space, ensuring nothing gets lost or becomes inaccessible.
Think Vertically, Always
This is the golden rule for small spaces. Tall, narrow containers, stackable bins, and shelf risers are your best friends. Maximize the height between shelves. For example, instead of stacking cans directly on top of each other, use risers to create tiered levels, allowing you to see every can. Clear, stackable containers for dry goods mean you can build upwards without losing visibility. Consider adding extra shelves if your pantry allows for adjustable shelving, or utilize tension rods to create mini-shelves for smaller items.
Go Single-Depth or Shallow
Deep shelves in a small pantry are often a recipe for lost items. Opt for storage solutions that promote a single layer of items or shallow bins. This prevents you from pushing items to the back, never to be seen again. If you have deep shelves, use long, narrow bins or pull-out drawers to bring the back items forward. This strategy keeps everything visible and retrievable, mimicking the functionality of a shallow pantry.
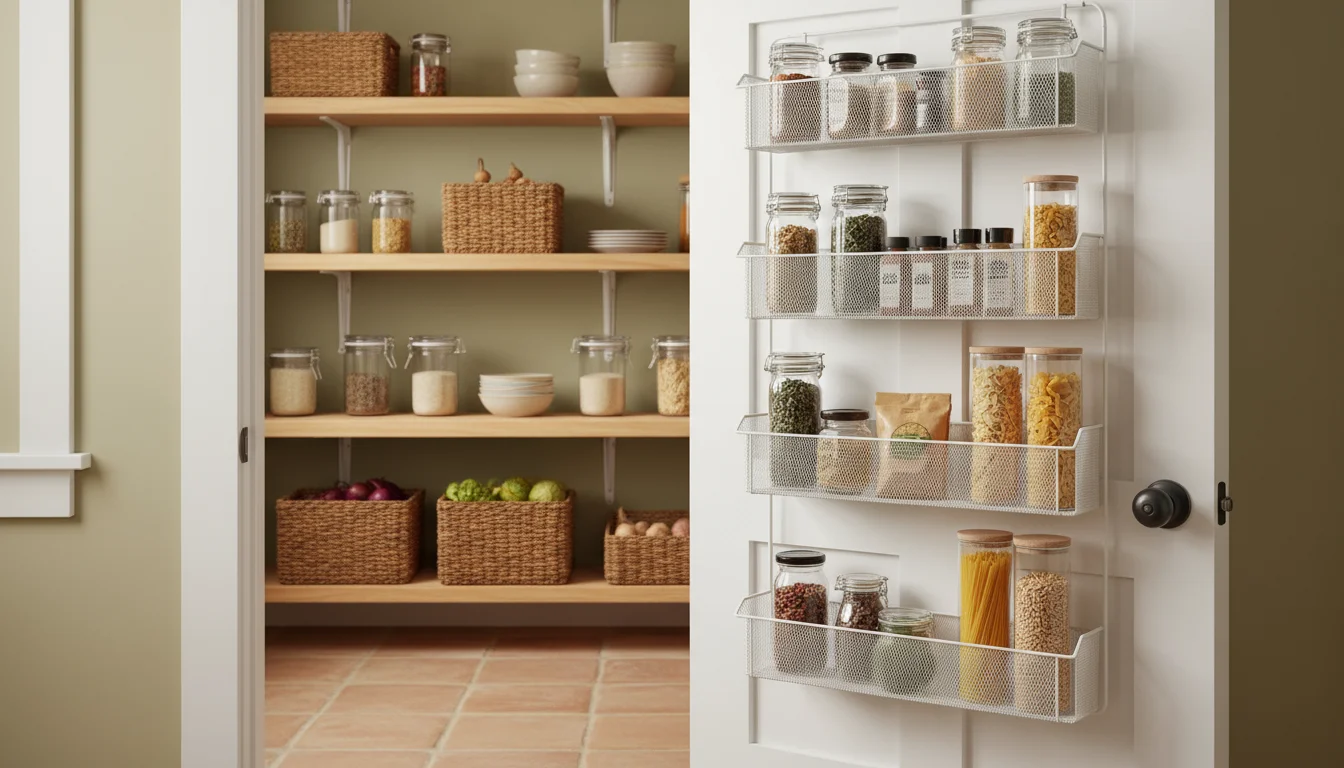
Leverage the Door
As mentioned before, the pantry door is prime real estate. For small pantries, an over-the-door organizer is an absolute game-changer. These come in various styles: wire racks, canvas pockets, or even clear shoe organizers for small packets and pouches. Use it for spices, small jars, foil, plastic wrap, or individual snack items. It adds significant storage without encroaching on internal shelf space.
Utilize Clear Containers Extensively
In a cramped space, visibility is paramount. If you cannot see it, you will forget it exists. Clear containers allow your eye to quickly scan contents, whether it is flour, rice, or crackers. This saves time and prevents you from buying duplicates because you simply could not find what you already had. Uniform containers also create a visually cohesive and less cluttered look, making the small space feel more organized and expansive.
Create Micro-Zones
Even in a small pantry, the concept of zoning applies. Create “micro-zones” for very specific categories. For example, dedicate one small bin to “baking extracts,” another to “condiment packets.” This hyper-categorization helps maintain order within a limited footprint. Turntables are especially useful in small corners or for grouping items on a single shelf.
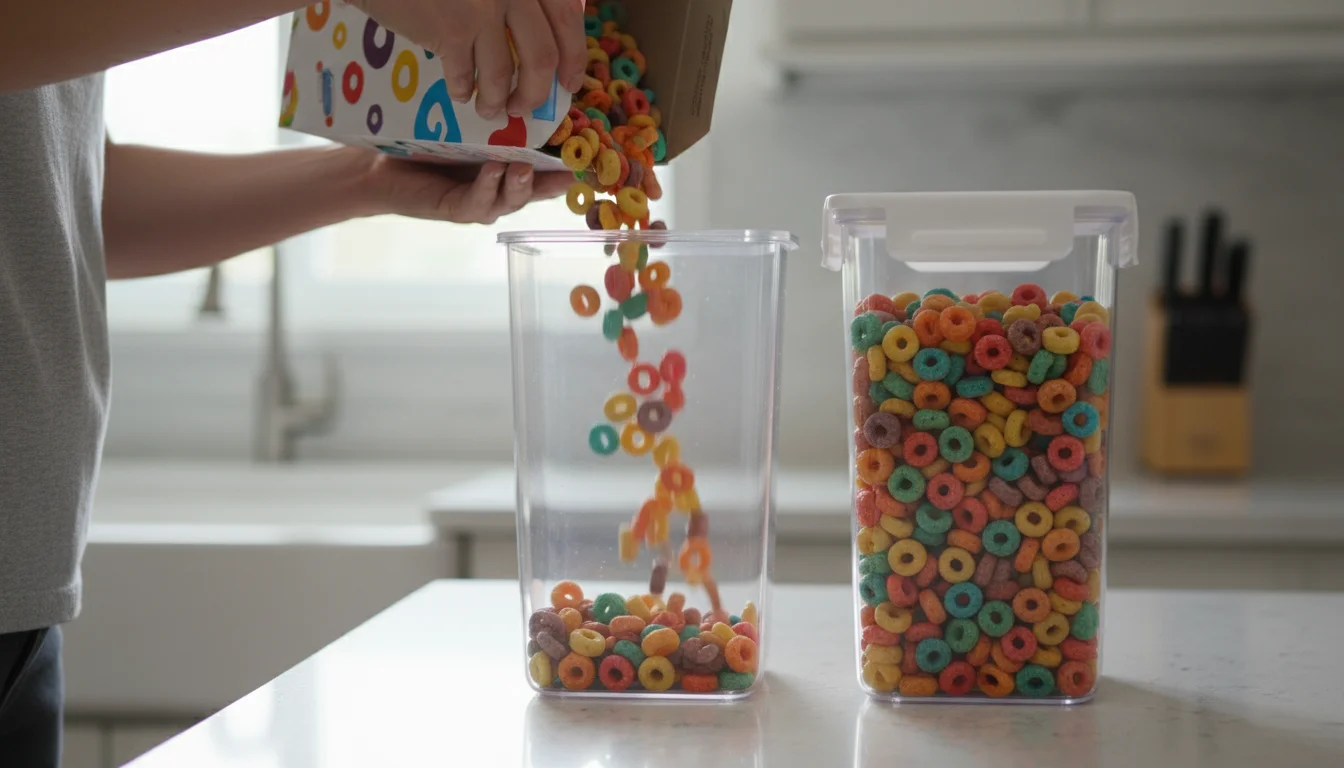
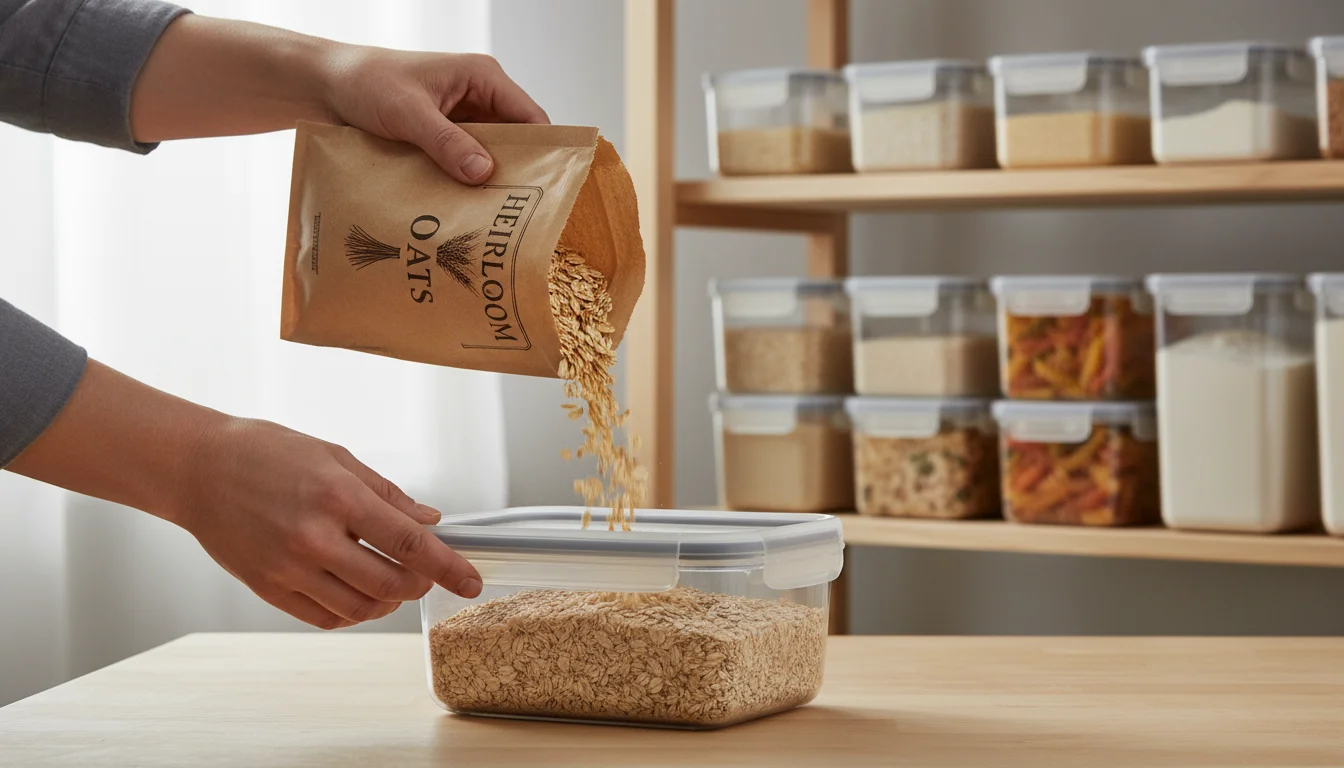
Embrace Decanting
Original packaging often takes up more space than necessary and creates visual clutter. Decant bulk items, cereals, and even snacks into clear, uniform containers. This not only keeps food fresh but also allows you to fit more into a smaller area and creates a much more streamlined appearance. For instance, removing cereal from bulky boxes and placing it into tall, slim containers frees up considerable shelf space.
Small pantries require creativity and a disciplined approach to organization. By focusing on vertical space, maintaining visibility, and utilizing clever storage solutions, you can transform even the most challenging pantry into a highly efficient food storage hub. The Container Store offers numerous solutions tailored to maximizing space, as highlighted by their organization tips. As per The Container Store – Organization Tips, utilizing vertical space and clear containers are key strategies for maximizing storage in any size pantry.
Maintaining Your Organized Pantry: Realistic Habits
The initial purge and organization create a beautiful system, but the real challenge lies in maintaining it. Life gets busy, groceries arrive, and sometimes the easiest solution feels like just shoving items onto a shelf. However, building a few simple, realistic habits ensures your pantry remains an oasis of order, not a return to chaos.
The “One-In, One-Out” Rule
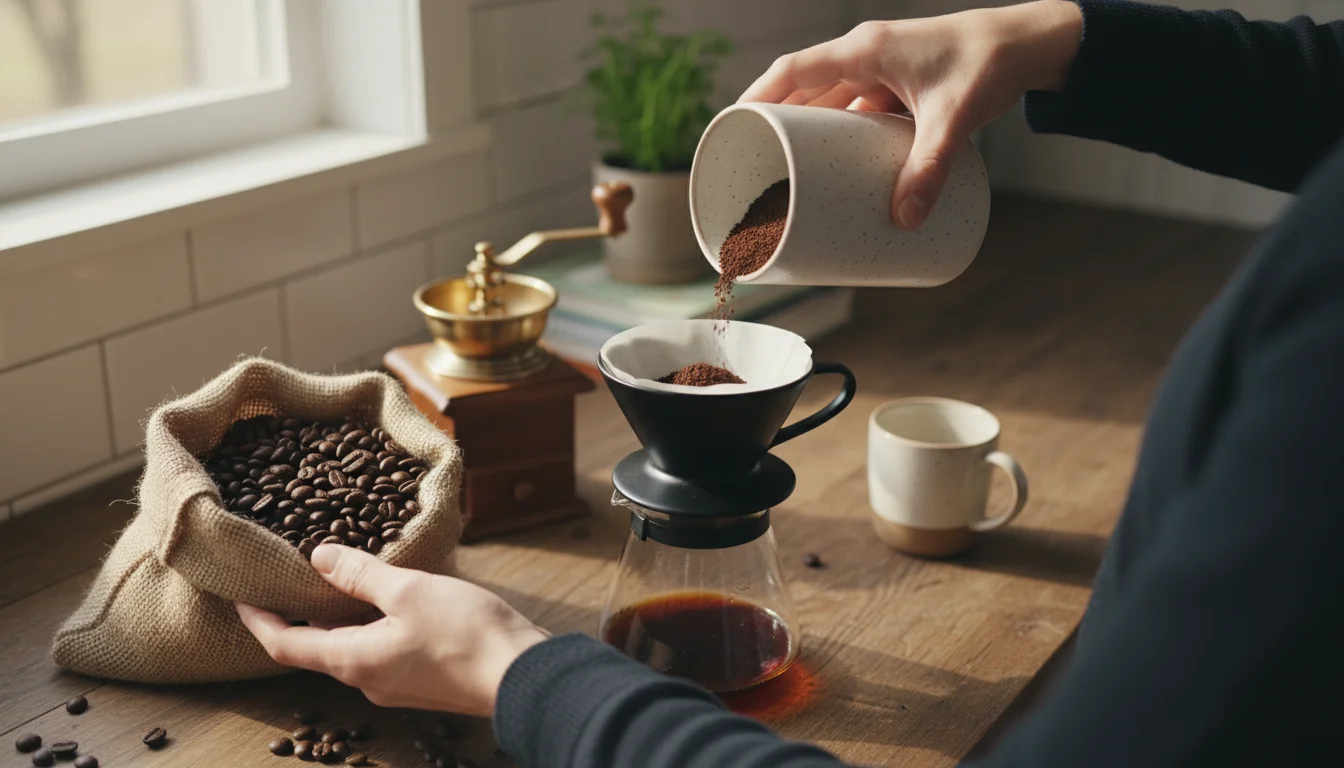
Adopt a simple habit: when you bring a new item into the pantry, commit to using an older one or finding a permanent home for the new addition. This prevents accumulation. For example, if you buy a new bag of coffee, make sure the current coffee is used, or the new one is stored in its designated overflow spot, not just placed randomly.

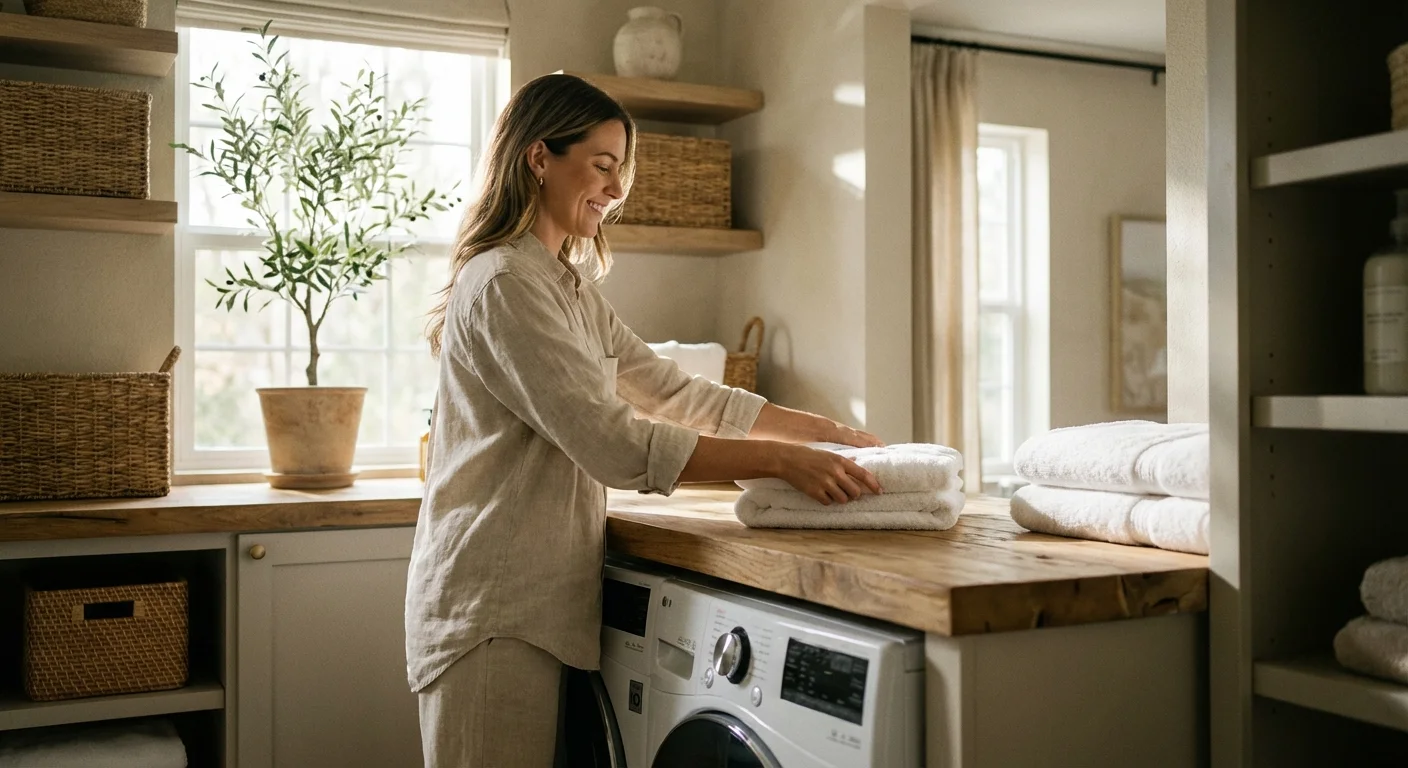
Quick Weekly Tidy-Up
Dedicate 5-10 minutes once a week, perhaps before you make your grocery list, to a quick pantry tidy. Push items back into place, wipe up any spills, and consolidate open packages. This prevents small messes from snowballing into a full-blown reorganization project. It is a proactive approach that saves significant time in the long run.
Integrate Pantry Management into Grocery Routines
When you put away groceries, make it a habit to integrate new items correctly. Place new cans behind older ones. Decant new dry goods into containers, ensuring older stock is used first. This “first-in, first-out” method actively combats food waste and keeps your inventory fresh. Teach everyone in your household these habits; consistency from all members makes maintenance much easier.
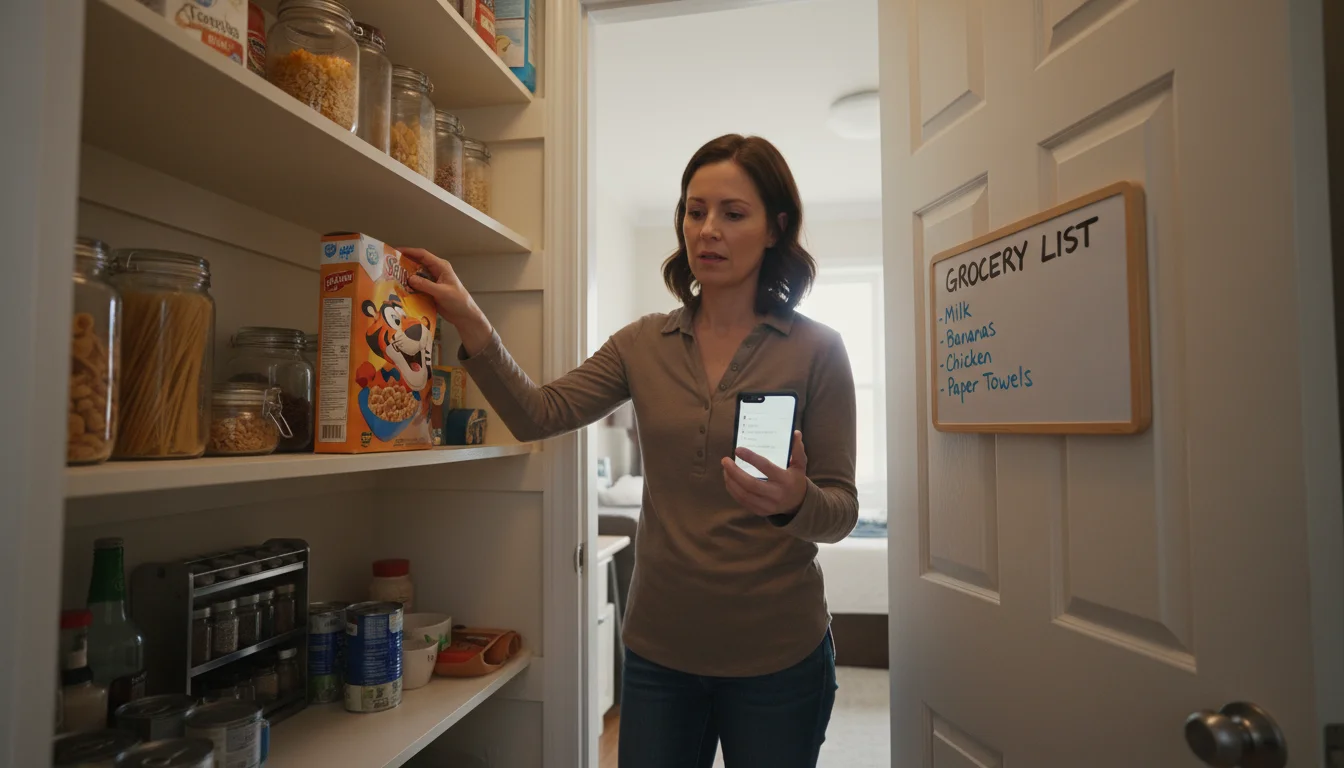
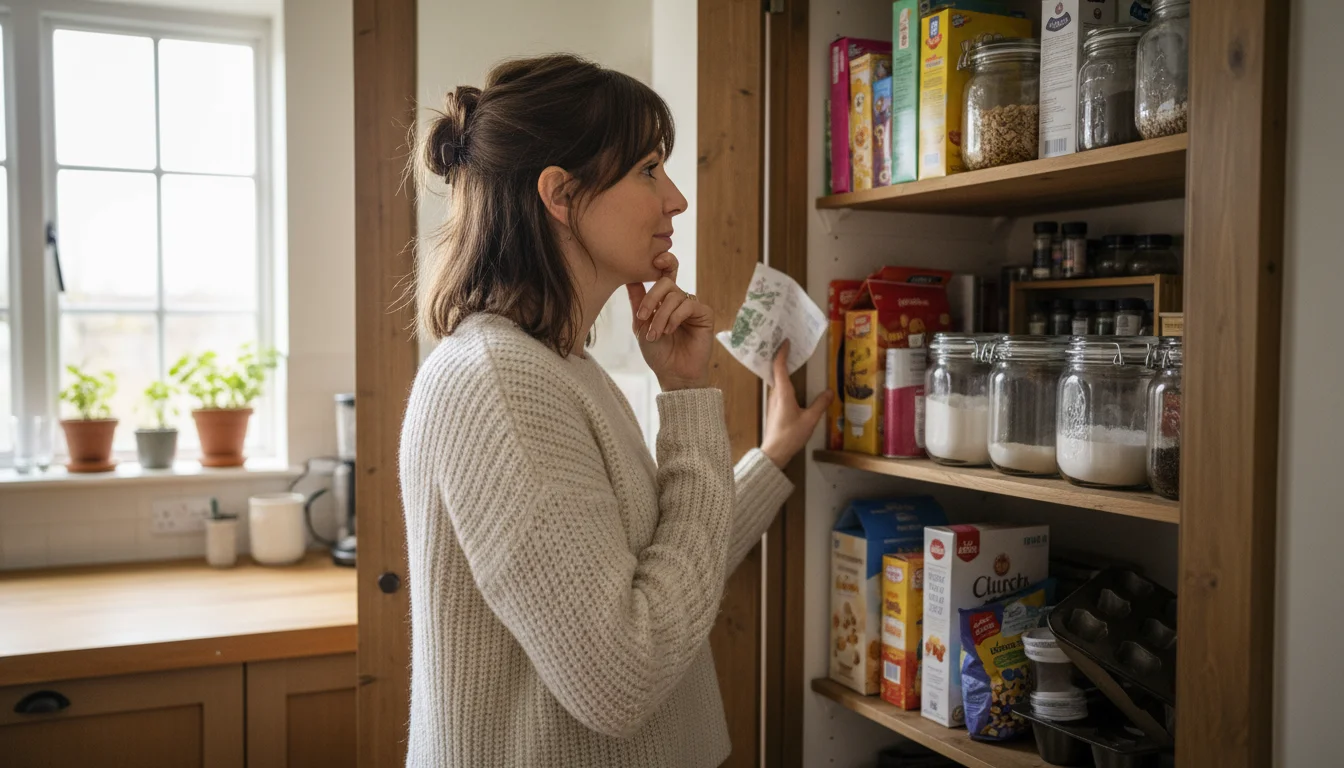
Regular Inventory Checks
Before grocery shopping, take a quick inventory of your pantry. Use a small whiteboard on the inside of the pantry door or a note on your phone to track items that are running low. This prevents duplicate purchases and ensures your grocery list accurately reflects what you need. A well-managed inventory is a hallmark of an efficiently run home.
Reset Before It Gets Bad
Sometimes, despite your best efforts, things get a little out of hand. Do not let perfection be the enemy of good. If your pantry feels like it is slipping, schedule a quick 30-minute “reset.” This is not a full overhaul, but rather a focused session to put everything back in its place, consolidate items, and get back on track. Acknowledge that life happens, and periodic resets are a natural part of any organization system.
Maintaining an organized pantry is about consistent small actions, not infrequent grand overhauls. By integrating these simple habits into your routine, you ensure your pantry remains a functional, stress-free part of your home.
Troubleshooting Common Pantry Pitfalls
Even with the best intentions and systems, certain challenges can disrupt pantry order. Addressing these common pitfalls proactively helps you maintain your organized space effectively.
Dealing with Bulk Buys
Buying in bulk saves money but creates storage dilemmas. Your primary pantry space should ideally hold only what you need for immediate use. Designate an overflow area for bulk items, such as a garage shelf, basement storage, or a large bin in a less-used cabinet. When you open a bulk item, transfer a manageable portion to an airtight container in your main pantry and store the rest in your overflow zone. This prevents your primary pantry from becoming overwhelmed.

Accommodating Odd-Sized Items
Tall cereal boxes, large bags of chips, or unusually shaped appliances can disrupt a tidy shelf. For tall items, dedicate a specific shelf with ample vertical clearance. For large bags, consider decanting them into large, airtight, uniform containers that stack efficiently. If you have small appliances stored in the pantry, give them their own sturdy shelf or use a dedicated pull-out drawer. Sometimes, storing these items on the floor of a walk-in pantry, contained within a large basket, is the most practical solution.
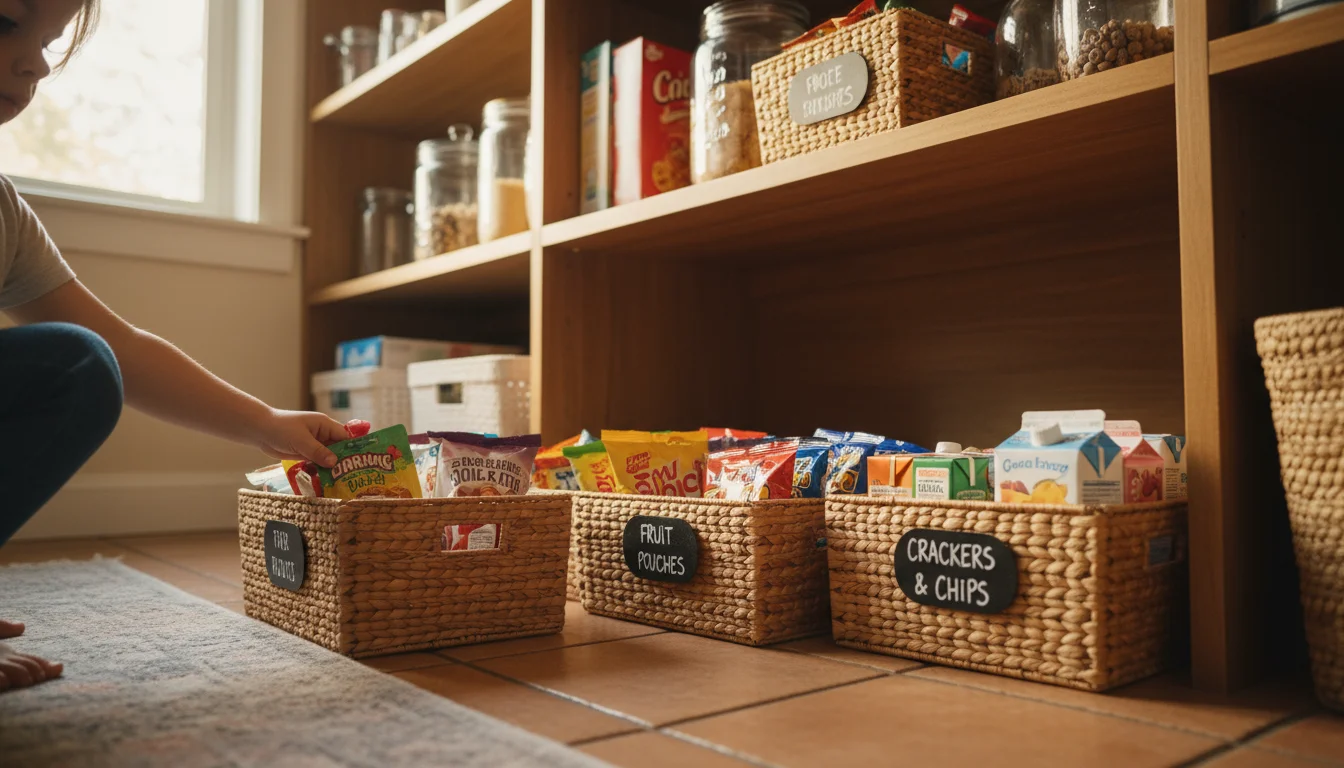
Managing Kids’ Snacks
Children often contribute to pantry disarray by rummaging for snacks. Create a clearly defined “Kids’ Snack Zone” at a low, accessible level. Use open bins or baskets for individual snack bags, fruit pouches, and other kid-friendly items. This empowers children to retrieve their snacks independently while keeping the rest of your pantry undisturbed. Restock this zone regularly to maintain its effectiveness. According to Good Housekeeping – Organization, creating accessible zones for family members, especially children, is an effective strategy for maintaining order and encouraging participation in household organization.
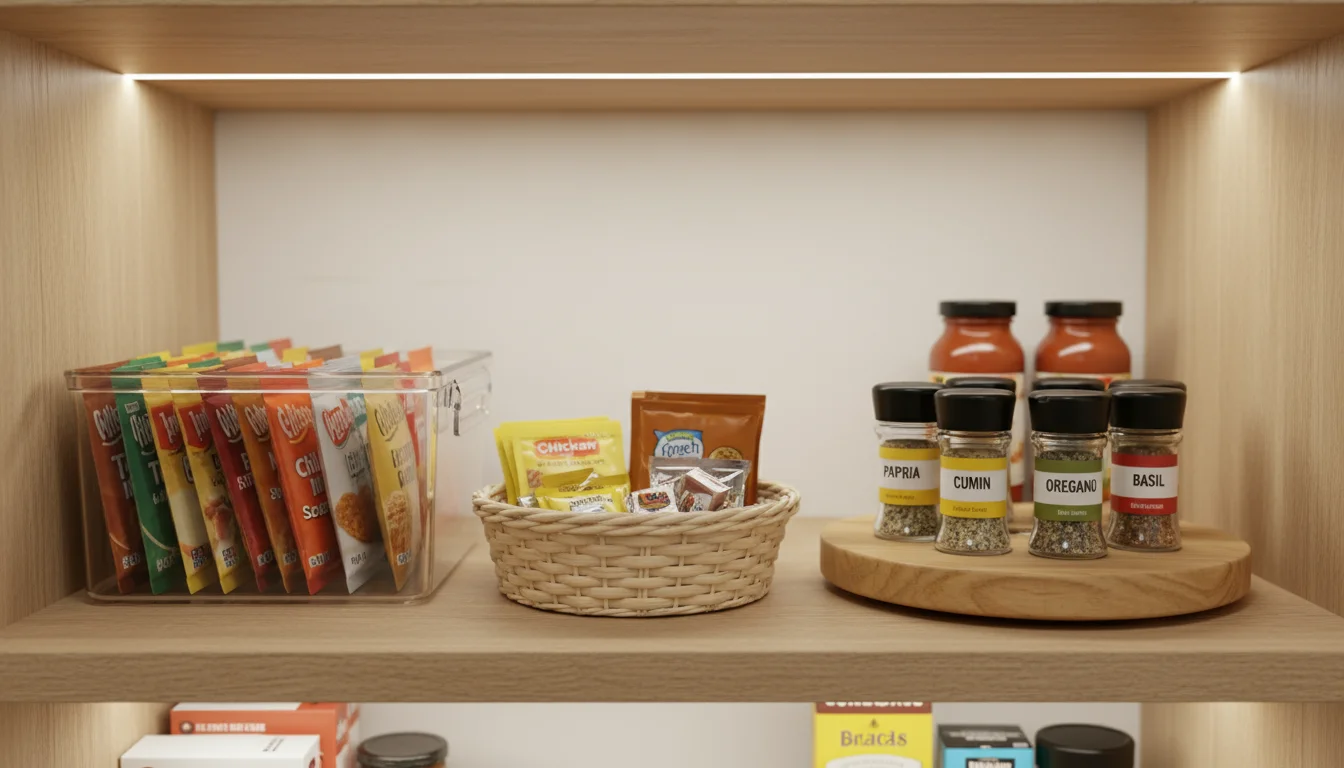
Handling Small, Loose Items
Gravy packets, spice packets, bouillon cubes, and other small items quickly become loose clutter. Use small, clear containers, small baskets, or drawer dividers to contain these. For spice packets, a file holder or a small plastic bin works wonders. Small turntables are excellent for grouping tiny bottles of extracts or food coloring. Giving these miniature items a specific, contained home prevents them from scattering and getting lost.
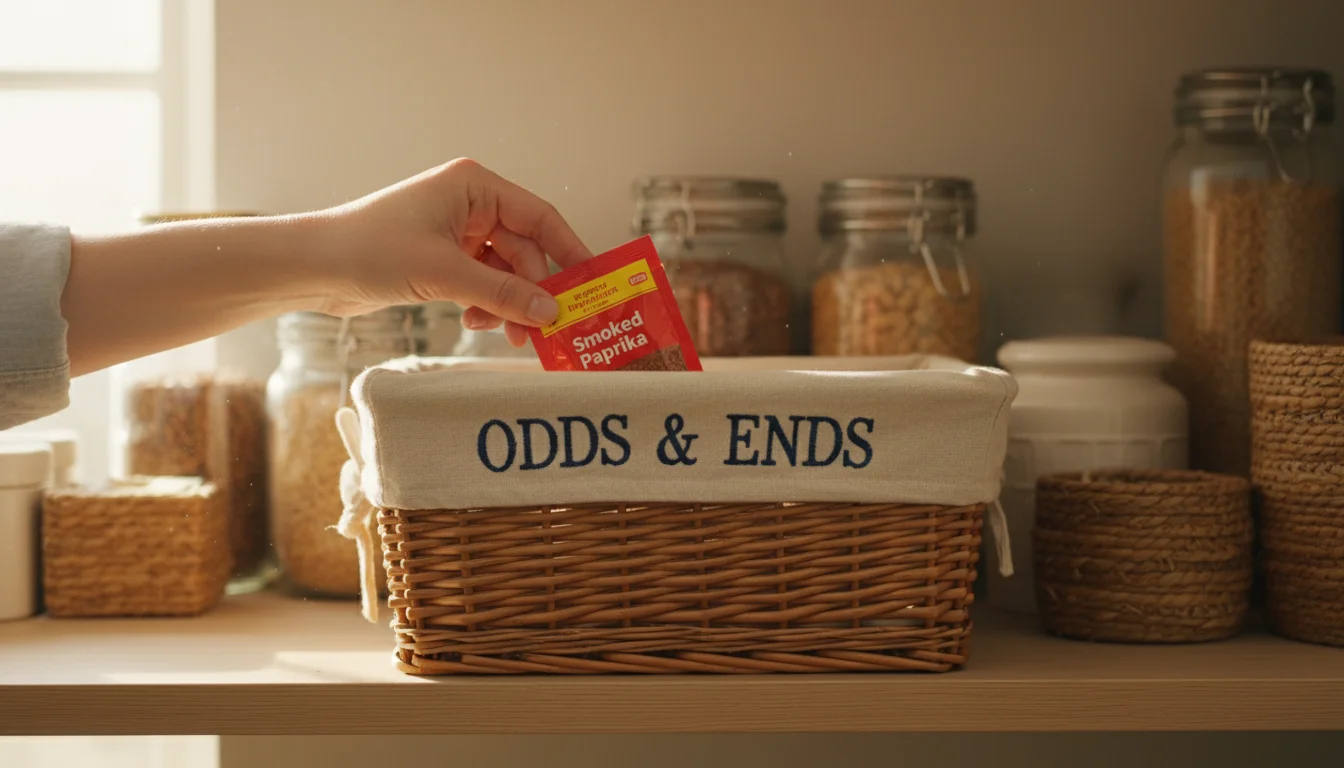
Preventing the “Catch-All” Shelf
Every pantry can develop that one shelf where miscellaneous items mysteriously accumulate. Combat this by assigning a very specific purpose to every shelf and resisting the urge to deviate. If a new item does not fit into an existing zone, question whether it truly belongs in the pantry or if it needs a different home elsewhere in your kitchen or home. If you must have a “miscellaneous” spot, make it a single, clearly labeled bin, and limit its contents to only items that truly do not fit other categories, reviewing its contents weekly.
By anticipating and preparing for these common organization challenges, you strengthen your pantry system and ensure its long-term success. These practical adjustments make your organized pantry resilient to the demands of daily life.
Frequently Asked Questions
How often should I reorganize my pantry?
You do not need a full overhaul more than once or twice a year, perhaps seasonally. However, plan a quick tidy-up weekly or bi-weekly. This involves pushing items back into place, wiping minor spills, and consolidating open packages. Regularly integrating new groceries according to your system also reduces the need for frequent deep reorganizations. For ongoing maintenance tips, you can often find valuable resources from organizations like Institute for Challenging Disorganization, which emphasizes sustainable systems.
What are the best containers for pantry organization?
The “best” containers depend on your specific needs, but clear, airtight, stackable containers are generally the most effective. Clear containers allow you to see contents at a glance, preventing duplicate purchases and making inventory management easy. Airtight seals keep dry goods fresh and deter pests. Stackable designs maximize vertical space. For non-dry goods or smaller items, consider open-top bins, baskets, and turntables. Prioritize functionality and visibility when selecting containers.
How do I deal with expiration dates efficiently?
Implement a “first-in, first-out” (FIFO) system. When you bring home new groceries, place them behind existing items of the same type. This ensures older items are always at the front, encouraging you to use them first. For canned goods, rotate them so the earliest expiration dates face forward. Regularly check expiration dates during your weekly tidy-ups and when preparing your grocery list. This proactive approach minimizes food waste.
What if I have limited counter space during the emptying phase?
If your kitchen counters are too small to hold everything, use other surfaces. A dining table, folding table, or even a clean sheet spread on the living room floor can serve as a temporary staging area. Work in smaller sections if necessary, emptying one shelf at a time, decluttering it, and then moving to the next. This segmented approach helps manage the process in a limited space.
Can I organize my pantry on a very tight budget?
Absolutely. Pantry organization does not require expensive products. Start by utilizing what you already own: repurpose glass jars from food items, use sturdy shoeboxes or gift boxes as bins, and even cut down cereal boxes for drawer dividers. Focus on decluttering and creating zones first, which are free. Then, gradually invest in a few key items like clear containers from dollar stores, discount retailers, or the budget sections of larger stores. DIY solutions often prove just as effective as pricier options.
For expert home organization guidance, visit
Martha Stewart — Home, Houzz — Home, The Spruce — Home Organization and Real Simple — Organizing.
Disclaimer: This article is for informational purposes only and is not a substitute for professional advice. Consult professional organizers or specialists for personalized recommendations.


Leave a Reply