Every year, the average household throws away hundreds of pounds of organic waste. Banana peels, coffee grounds, eggshells, and autumn leaves end up tied in plastic bags and buried in landfills, where they decompose without oxygen and release methane—a potent greenhouse gas. But what if you could take that same “waste” and turn it into a rich, dark, earthy material that brings your garden to life? Transforming your kitchen scraps and yard debris into nutrient-dense fertilizer is not magic; it is simply nature’s oldest recycling program.
Beyond composting, learning how to reduce food waste through better storage can significantly lower your environmental impact.
If you have ever felt intimidated by the idea of managing a pile of decomposing matter, you can set those fears aside. Composting does not require a chemistry degree, a massive farming estate, or endless hours of hard labor. Whether you have a sprawling suburban backyard, a small patio, or just a tiny apartment kitchen, there is a method that fits your living situation. This beginner composting guide will walk you through the exact steps to create an efficient, odor-free, and highly productive compost system right where you live.

At a Glance: The Composting Essentials
Before we dive into the specific methods and science, familiarize yourself with the four foundational pillars of any healthy compost pile. When you balance these four elements, nature handles the rest:
- Carbon (Browns): Dry, brown materials like autumn leaves, shredded newspaper, cardboard, and twigs. These provide energy for the microorganisms breaking down your pile and add necessary bulk for airflow.
- Nitrogen (Greens): Wet, fresh materials like vegetable scraps, fruit peels, coffee grounds, and fresh grass clippings. Greens provide the moisture and amino acids that microorganisms need to rapidly multiply.
- Oxygen: Composting is an aerobic process. The organisms doing the heavy lifting need air to survive; without it, your pile will turn sludgy and emit foul odors.
- Water: Your compost pile needs the moisture level of a wrung-out sponge. Too dry, and the decomposition process stalls completely; too wet, and you drown your beneficial microbes.

The Science of Soil: How Composting Works
To master how to compost at home, it helps to understand exactly what is happening inside that bin. When you toss an apple core into your compost, you are not just waiting for it to rot. You are actively feeding billions of microscopic workers.
Starting a new pile is the perfect addition to a simple spring cleaning checklist for your outdoor space.
Bacteria represent the frontline workers of your compost pile. They are the first to arrive and the fastest to break down simple sugars and carbohydrates. As these bacteria gorge themselves on your kitchen scraps, they generate heat. In a well-managed backyard pile, the core temperature can reach up to 160 degrees Fahrenheit. This intense heat accelerates the breakdown process and sterilizes the compost, killing off weed seeds and harmful plant pathogens.
Once the initial heat wave passes and the pile cools, fungi and larger organisms—like earthworms, sowbugs, and nematodes—move in to dismantle the tough, woody materials that the bacteria left behind. By understanding this lifecycle, you realize that you are not simply throwing trash into a bin; you are managing a microscopic ecosystem. Your job is simply to keep your tiny livestock well-fed, hydrated, and breathing.
“Compost enriches soil, helping retain moisture and suppress plant diseases and pests. It reduces the need for chemical fertilizers and encourages the production of beneficial bacteria.” — Environmental Protection Agency
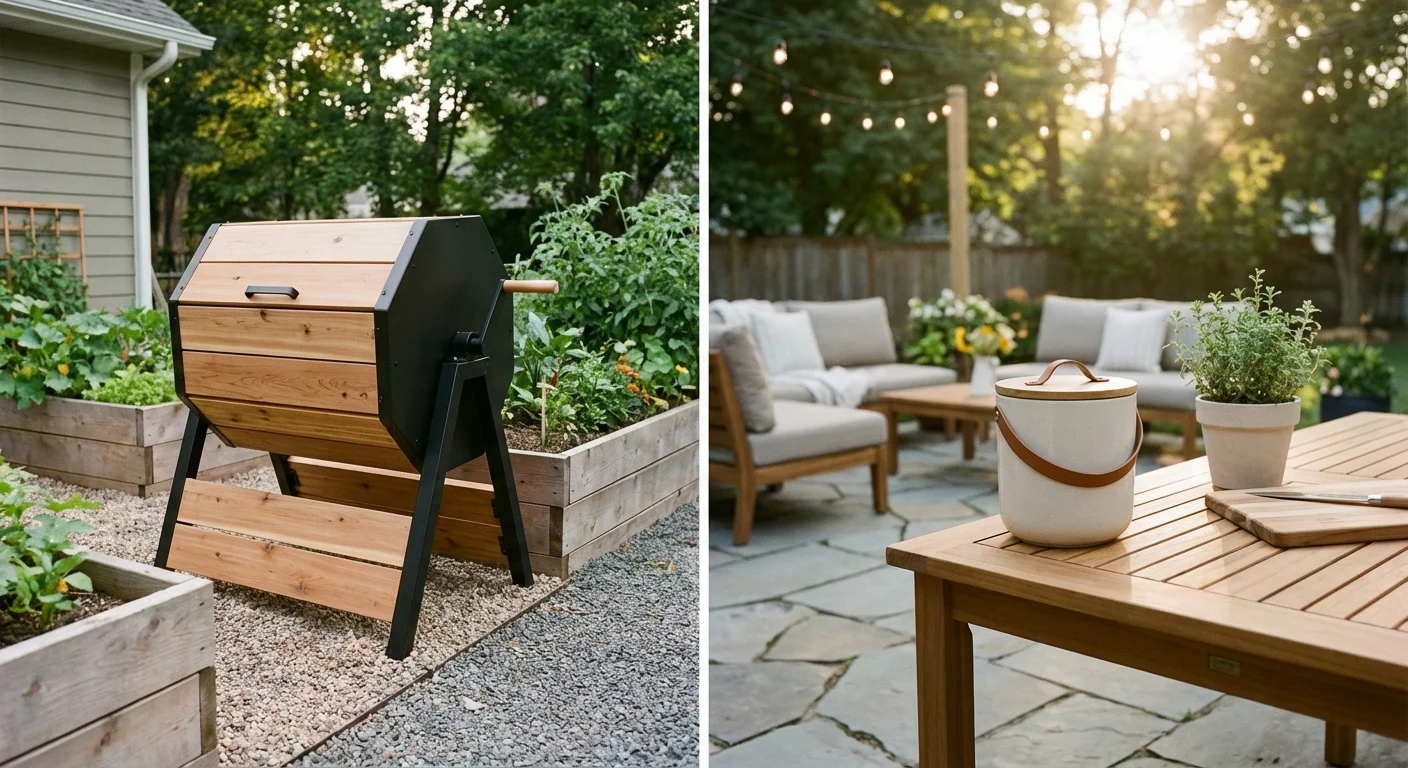
Choosing Your Composting Method
Your living space, budget, and the amount of waste you generate will dictate the best home compost bin for your needs. There is no universally perfect method, but there is a perfect method for your specific lifestyle. Review the comparison below to find your match.
Ensuring your indoor bin stays odorless is essential for maintaining healthy indoor air quality throughout your living space.
| Method | Best For | Pros | Cons |
|---|---|---|---|
| Open Backyard Bins | Homeowners with large yards and plenty of leaves/grass clippings. | High capacity; allows easy access for worms and beneficial insects; affordable to build from pallets or wire mesh. | Slower processing time; susceptible to local wildlife if not properly secured; requires manual turning with a pitchfork. |
| Compost Tumblers | Suburban yards and patios; people who want neat, enclosed systems. | Very easy to aerate (just turn the handle); fast processing time; pest-resistant design keeps rodents out. | Limited capacity; can dry out quickly in hot weather; challenging to balance the moisture level. |
| Vermicomposting (Worm Bins) | Apartment dwellers, renters, and families with children. | Can be kept indoors (basement, closet, or under the sink); produces incredibly rich “worm castings”; completely odorless when managed well. | Requires purchasing specific Red Wiggler worms; sensitive to temperature extremes; worms cannot eat certain foods like onions or citrus. |
| Bokashi Bins | Apartment dwellers who want to compost meat and dairy. | Small footprint; ferments waste rather than rotting it; accepts all food waste including meat and bones. | Requires purchasing ongoing supplies of Bokashi bran; produces a fermented “pre-compost” that must eventually be buried in soil. |
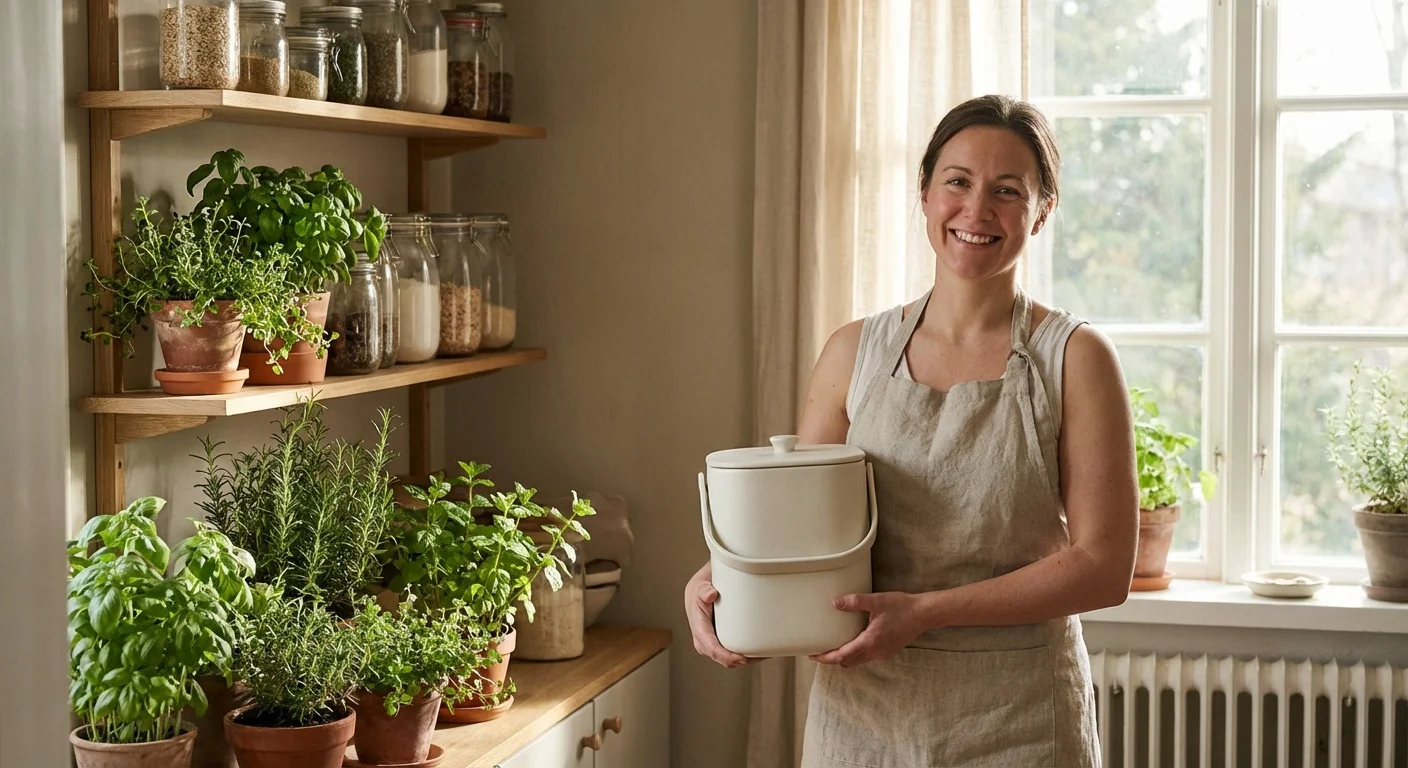
If you are struggling to manage food scraps in your kitchen before moving them outside, consider upgrading your indoor collection strategy. Keep a small stainless steel or ceramic container on your counter. According to Real Simple, utilizing a countertop bin with a built-in charcoal filter is the most effective way to eliminate fruit flies and neutralize odors in your kitchen. Alternatively, you can keep a dedicated container in your freezer to store scraps until you are ready to take them out.
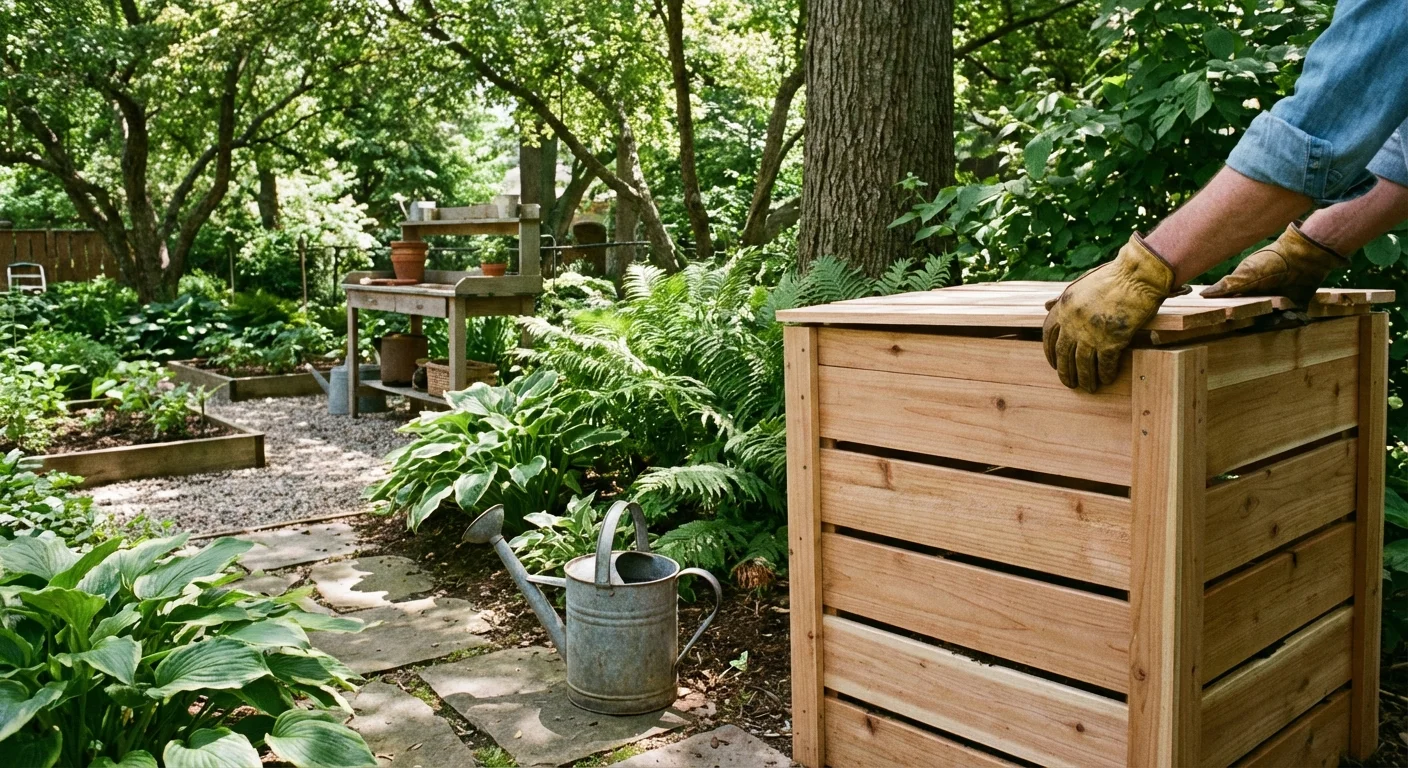
Setting Up Your First Home Compost Bin
Once you select your method, the setup phase sets the trajectory for your success. If you are starting a traditional outdoor pile or using a stationary bin, placement is your first critical decision. Look for a spot that receives partial sunlight; full, baking sun will dry the pile out too quickly, while deep shade can keep it too cold to activate properly. You also want a location with good drainage so your pile does not sit in a puddle after heavy rain.
Integrating a dedicated waste station is a key step toward a responsible home renovation that prioritizes the planet.
Start your pile directly on bare earth whenever possible. This gives native earthworms, beneficial insects, and soil microbes direct access to your compost, allowing them to migrate up into the materials. Lay down a four-to-six-inch base of coarse, woody materials like thick twigs, small branches, or tough stalks. This bottom layer acts as a structural foundation, allowing air to flow up from the bottom of the pile—a crucial element for odor prevention.
Next, practice the “lasagna method.” Add a layer of brown materials (like dry leaves or shredded paper), followed by a layer of green materials (like vegetable scraps), and top it off with a handful of native soil or finished compost from a friend. That scoop of soil acts as an inoculant, introducing millions of native bacteria to kickstart the decomposition process. Continue alternating your greens and browns. Always finish with a thick top layer of browns to blanket the food scraps; this simple habit acts as a bio-filter to trap odors and hide food from curious wildlife.
The Perfect Recipe: What to Compost (and What to Avoid)
Achieving the perfect compost requires balancing your carbon-rich browns with your nitrogen-heavy greens. A general rule of thumb for backyard composting is to aim for a ratio of roughly three parts browns to one part greens by volume. If you simply dump kitchen scraps into a pile without adding dry leaves or paper, you will inevitably create a smelly, slimy mess.
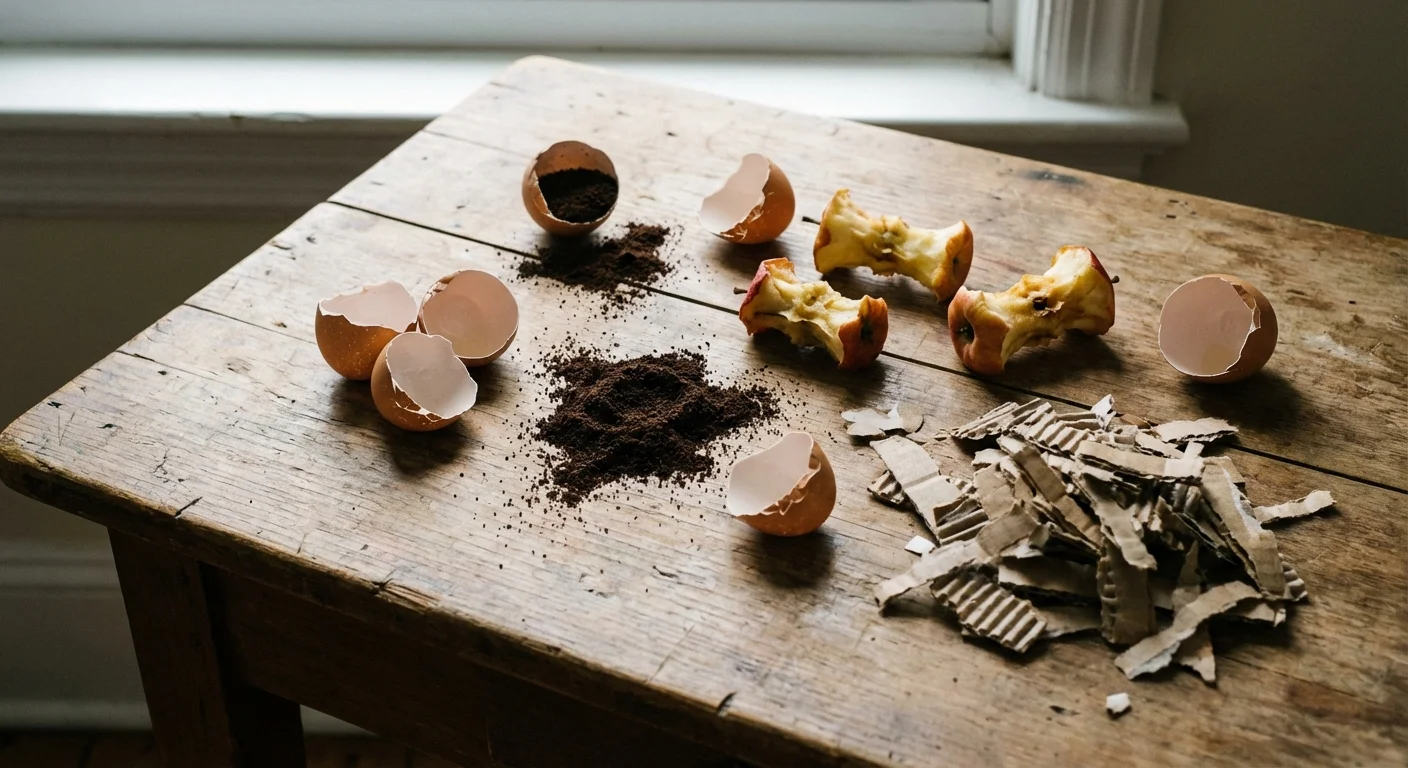
Excellent Green Materials (Nitrogen)
- Vegetable peelings and fruit cores (chop them into smaller pieces to speed up breakdown)
- Coffee grounds and paper coffee filters
- Used tea leaves and plastic-free tea bags
- Fresh grass clippings (add these in thin layers so they do not mat together and block airflow)
- Plant trimmings and deadheaded flowers (ensure they are disease-free)
Excellent Brown Materials (Carbon)
- Dry autumn leaves (running a lawnmower over them first makes them decompose much faster)
- Shredded cardboard (remove all plastic tape and glossy labels)
- Black-and-white newspaper and non-glossy junk mail
- Sawdust from untreated wood (sprinkle lightly to avoid clumping)
- Straw or hay
- Egg cartons and toilet paper rolls
What to Keep Out of Your Compost Bin
Not everything organic belongs in a home compost pile. Some items attract pests, harbor harmful pathogens, or contain chemicals that will ruin your soil.
- Meat, poultry, fish, and bones: These putrefy rather than cleanly decompose, emitting terrible odors and attracting rodents, raccoons, and neighborhood dogs.
- Dairy products: Milk, cheese, and yogurt will turn rancid and cause severe odor issues.
- Fats, grease, and cooking oils: Oil coats the organic matter, suffocating the oxygen-breathing microbes and bringing the composting process to a grinding halt.
- Pet waste: Dog and cat feces carry parasites and dangerous pathogens that standard backyard compost temperatures cannot reliably kill.
- Diseased plants: If your tomato plants died of blight, throw them in the municipal trash. Home compost piles rarely get hot enough to destroy resilient plant diseases.
- Weeds with mature seed heads: Unless you are running a highly managed, hot compost system, weed seeds will survive the process and sprout wherever you spread your finished compost.
- Charcoal ash: Ash from charcoal briquettes contains chemical binders and residues toxic to plants.
Maintaining the Balance: Aeration and Moisture
A compost pile is a living entity; you cannot simply ignore it and expect great results. Proper maintenance revolves around managing air and water.
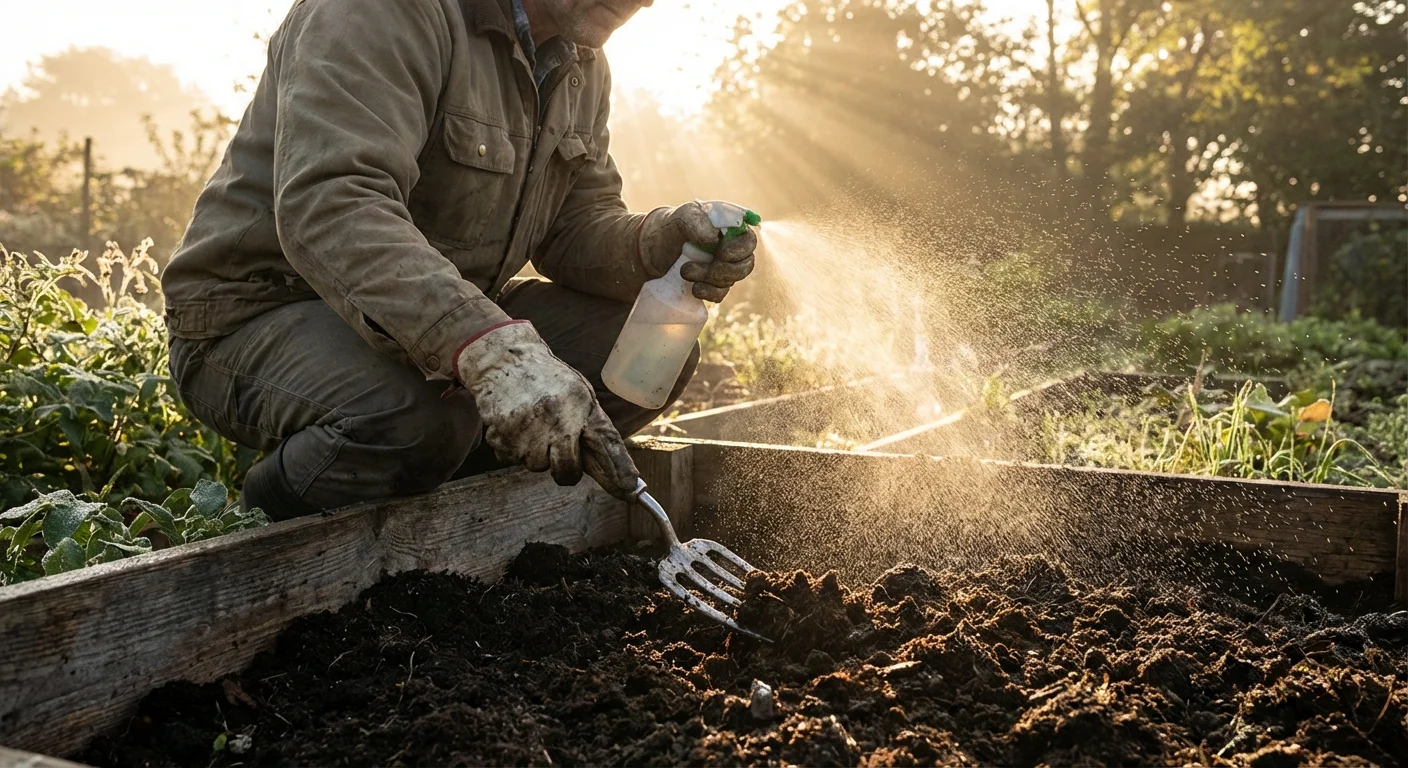
To keep the bacteria working at peak efficiency, you must aerate the pile. If you use a tumbler, simply give it a few spins every three to four days. If you have a stationary bin or an open pile, use a pitchfork or a specialized compost aerator tool to turn the materials every one to two weeks. Dig deep into the center and pull the materials outward, moving the cooler edge materials into the hot center. This turning process redistributes moisture, breaks up compacted layers, and introduces a fresh wave of oxygen.
Moisture control requires active monitoring. Your pile should always feel like a damp sponge. To check this, put on a gardening glove, dig into the center of your pile, and grab a handful of compost. Squeeze it tightly. If water drips freely down your arm, the pile is waterlogged. You need to immediately mix in plenty of dry browns, like shredded cardboard or dry leaves, to soak up the excess moisture. If the handful crumbles to dust and refuses to hold its shape, the pile is too dry. Grab a watering can or garden hose and gently sprinkle water over the pile while turning it with your pitchfork, ensuring the moisture distributes evenly.

What Can Go Wrong: Troubleshooting Your Compost
Even seasoned gardeners run into composting issues. Because composting relies on biological processes, shifts in weather, the types of food you eat, and seasonal humidity can throw your pile off balance. Recognizing the warning signs early allows you to correct the environment before the problem escalates.
The Pile Smells Like Rotten Eggs or Garbage
A healthy compost pile smells like a forest floor after a spring rain—earthy, rich, and pleasant. If your pile smells like sulfur, sewage, or rotting garbage, it has gone anaerobic. This means the oxygen-breathing microbes have died off, and anaerobic bacteria have taken over. This usually happens because the pile is too wet or packed too densely. The fix: Immediately turn the pile to introduce oxygen. Mix in coarse brown materials like dry leaves, straw, or wood chips to create air pockets and absorb the excess water.
The Pile Smells Like Ammonia
An ammonia scent indicates an overload of nitrogen. You have added too many green materials (often fresh grass clippings or massive amounts of kitchen scraps) without enough carbon to balance them out. The fix: Add a thick layer of carbon-rich browns. Shredded newspaper, dry leaves, and torn cardboard will quickly neutralize the nitrogen overload and eliminate the sharp ammonia smell.
Pests Are Invading the Bin
Fruit flies, rodents, and raccoons view an improperly managed compost pile as a free buffet. Fruit flies typically hover around exposed kitchen scraps. Rodents are usually drawn in by the scent of forbidden items like meat, dairy, or oils, or by food scraps sitting right on top of the pile. The fix: Never leave fresh kitchen scraps exposed on the surface. Always use a hand trowel to dig a small hole in the center of the pile, deposit your green materials, and bury them under at least four inches of existing compost or dry browns. For extra protection, ensure your bin has a secure, locking lid and sits on top of a heavy-duty hardware cloth mesh to prevent burrowing rodents.
The Pile Is Not Breaking Down
If months have passed and your apple cores still look like apple cores, your pile is dormant. This generally occurs for three reasons: it is completely dried out, it lacks nitrogen, or the weather is too cold. The fix: Check the moisture level first and water the pile if it feels dry. If moisture is adequate, your pile needs a nitrogen boost. Add fresh grass clippings, coffee grounds, or an organic compost starter. During the freezing winter months, it is normal for a pile to slow down or pause entirely; simply continue adding materials, and the pile will reactivate when the spring thaw arrives.
Harvesting and Using Your Finished Compost
Patience pays off. Depending on your method, temperature, and how frequently you turn the pile, your compost will be ready to harvest in anywhere from three months to a year. You will know it is finished when the original materials are completely unrecognizable. The final product should be dark brown, crumbly, and smell like rich earth. It should no longer generate heat.
Before using it, you may want to sift your compost. Build a simple sifter by attaching a piece of half-inch hardware cloth to a square wooden frame. Place the sifter over a wheelbarrow and shovel your compost through it. The fine, beautiful soil that falls through is ready for the garden; toss the large chunks, avocado pits, and un-composted twigs back into your active bin for another round of decomposition.
There are countless ways to utilize your “black gold” around your home:
- Top-dressing garden beds: Spread a one-to-two-inch layer of compost over your vegetable and flower beds in the early spring. Raindrops will wash the nutrients down into the root zones of your plants.
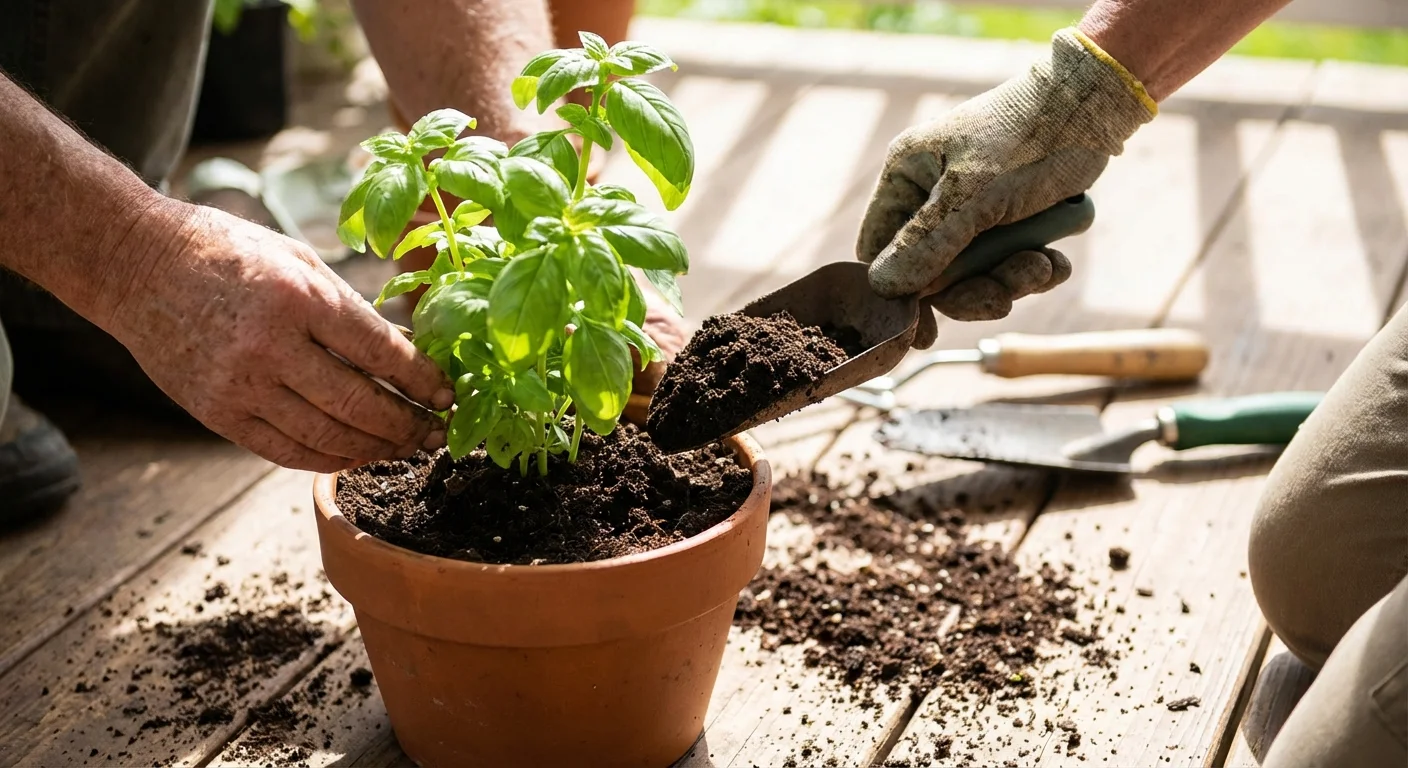
- Revitalizing potting soil: Mix one part finished compost with three parts regular potting soil to give your indoor houseplants and outdoor container gardens a massive nutrient boost.
- Feeding your lawn: Broadcast a very thin layer of finely sifted compost across your lawn. It improves soil structure, enhances water retention, and slowly feeds the grass without the need for synthetic chemicals.
- Brewing compost tea: Steep a cloth bag filled with finished compost in a bucket of aerated water for 24 to 48 hours. This extracts the beneficial microbes and soluble nutrients into a liquid fertilizer that you can spray directly onto plant foliage or apply to the soil base.
For more inspiration on utilizing natural elements in your outdoor spaces, Better Homes & Gardens offers excellent guidance on integrating compost into seasonal landscape planning.
Frequently Asked Questions
Do I need a special bin to start composting?
No. While specialized bins and tumblers look tidy and keep pests out, you can successfully compost in a simple pile on the ground, inside a ring of chicken wire, or in a repurposed plastic storage tote (provided you drill plenty of air holes in the sides, bottom, and lid). The container matters far less than the balance of greens, browns, air, and water inside it.
Can I compost in an apartment?
Absolutely. For apartment dwellers, outdoor bins are usually out of the question, but indoor systems work beautifully. Vermicomposting (using worms in a small, enclosed bin) and Bokashi buckets are ideal for small spaces. More recently, electric countertop composters have become popular; these machines grind and dehydrate food scraps in a matter of hours, reducing food waste volume by up to 90 percent and creating a dry soil amendment.
How long does it take to get finished compost?
The timeline varies drastically based on your effort. A highly managed “hot” compost pile that is perfectly balanced and turned twice a week can yield finished compost in as little as three to four weeks. A “cold” pile—where you simply add waste to a bin and let nature take its course without turning it—may take a full year to break down entirely.
Do compost bins attract rats and bugs?
A well-managed compost bin will attract beneficial insects like earthworms, pillbugs, and soldier fly larvae—these are vital to the process. However, a bin will only attract nuisance pests like rats or flies if it is managed improperly. By keeping meat, dairy, and oils out of the pile, and by always burying your fresh kitchen scraps under a thick layer of dry leaves or finished compost, you eliminate the odors that attract unwanted animals.
Ready to Dig In?
Starting your first compost pile is a deeply rewarding step toward building a more sustainable home. Every banana peel you save from the landfill directly contributes to healthier soil, stronger plants, and a more vibrant ecosystem right in your own backyard. Do not worry about achieving perfection on your first attempt. Composting is incredibly forgiving; if the pile gets too wet, you add dry leaves. If it stalls, you add water and kitchen scraps. Observe how the materials change over time, adjust as needed, and enjoy the process of turning your everyday household waste into a valuable resource.
The tips in this article are meant as general guidance. Your specific situation—including your home’s age, layout, and local building codes—may require different approaches. When in doubt, consult a professional.
Last updated: February 2026


Leave a Reply