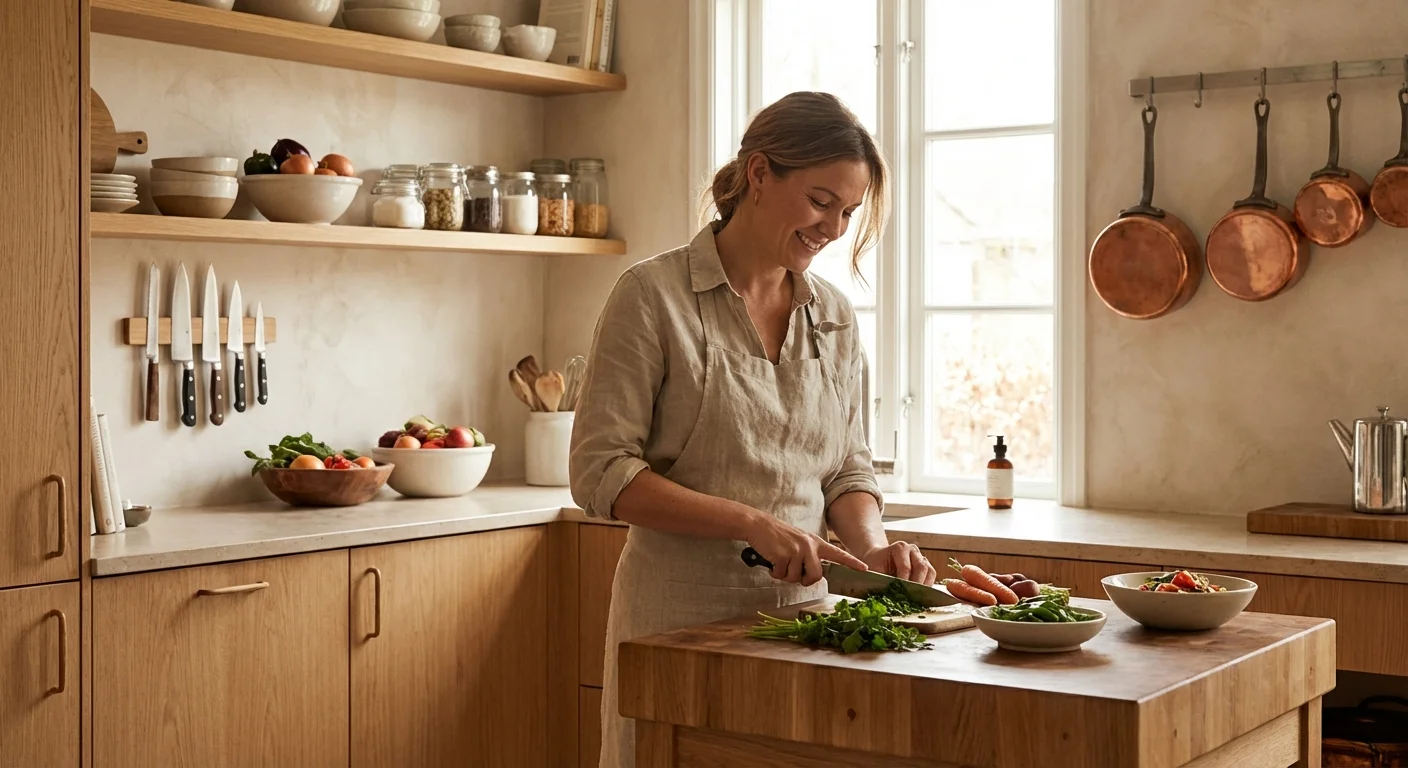
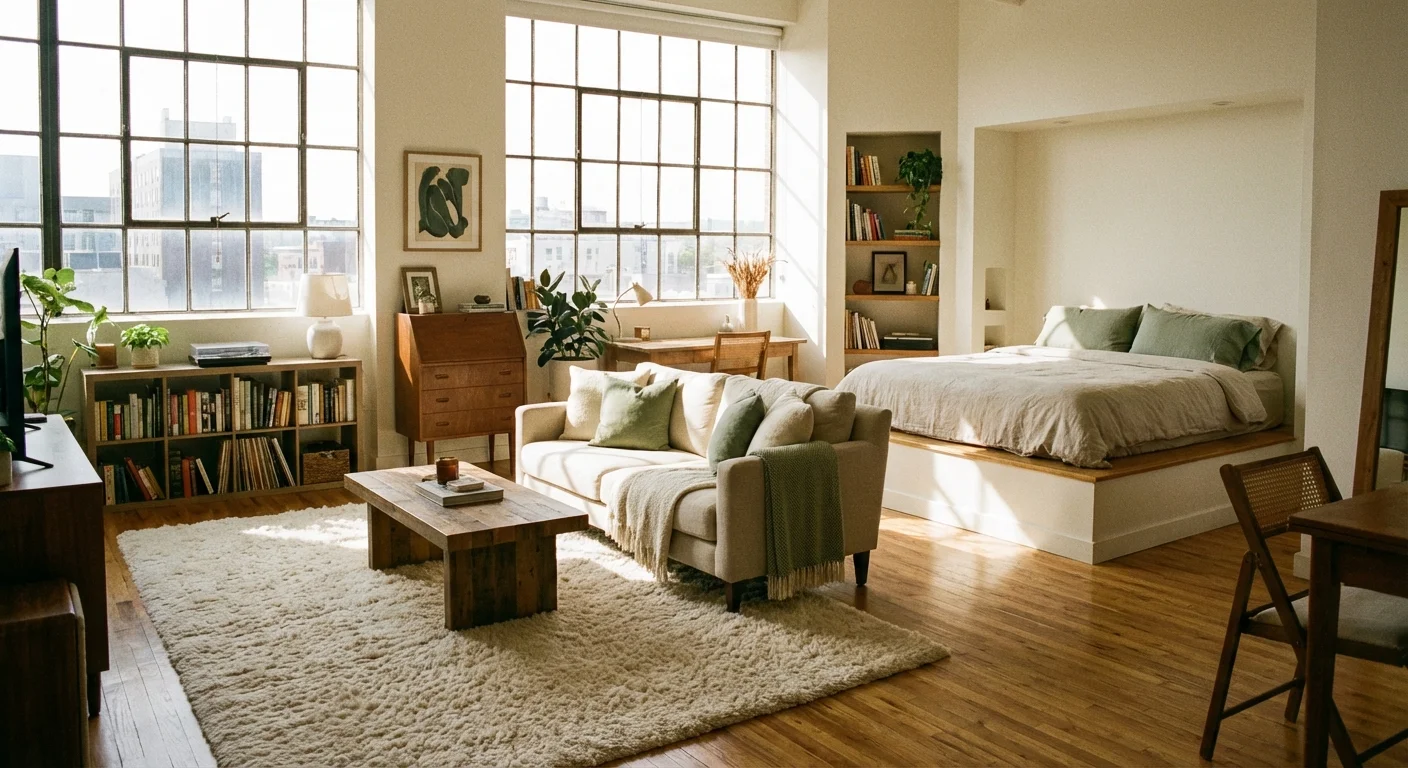
Cooking in a cramped space often feels like a high-stakes game of Tetris. You shuffle the coffee maker to plug in the toaster, balance cutting boards over the sink, and pray an avalanche of plastic containers does not burst from the overhead cabinets. Navigating limited square footage requires strategy, patience, and a willingness to look at your walls, doors, and ceilings as untapped potential.
Limited room does not have to dictate your culinary ambitions. A highly functional cooking space relies on smart systems rather than sprawling countertops. By implementing strategic small kitchen solutions, you can transform a frustrating galley or cramped corner into a streamlined, efficient workspace where every tool has its place.
The Essentials: What You Will Learn
- How to harness vertical space for storage
- Methods for doubling your usable countertop area
- Organizational tactics for deep cabinets and messy drawers
- Appliance choices that save significant square footage
- Visual design tricks to make tiny spaces feel expansive
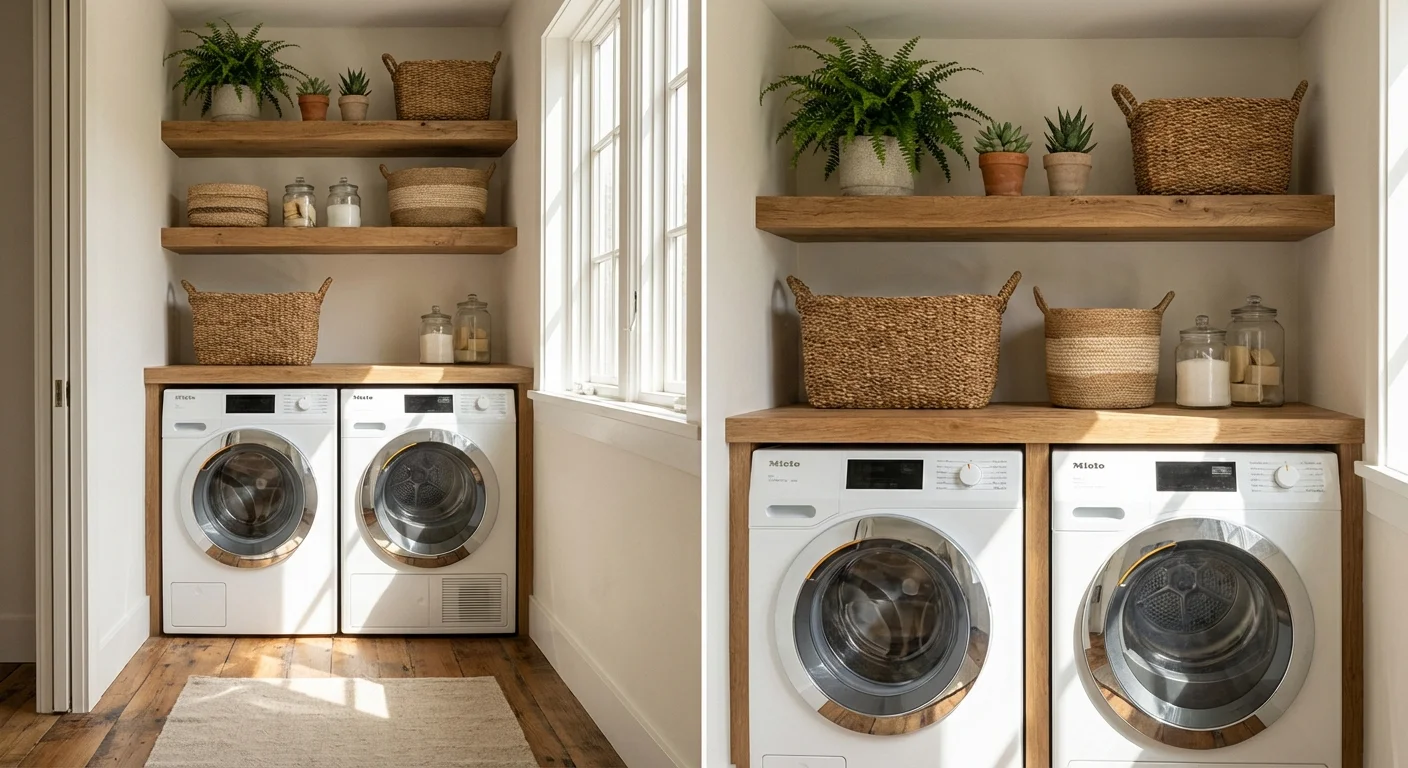
Harnessing Vertical Space
When you lack floor space, the only direction to go is up. Most kitchens waste feet of valuable real estate between the top of the upper cabinets and the ceiling, or leave massive expanses of blank wall empty. Vertical tiny kitchen organization keeps essential items within arm’s reach while clearing off the counters.
1. Take Cabinets All the Way to the Ceiling
If you plan to remodel or upgrade your cabinetry, install units that reach flush with the ceiling. The gap above standard cabinets usually collects nothing but dust and forgotten serving platters. Extending your storage upward provides an ideal home for seasonal items, holiday roasting pans, and specialized baking equipment you only use occasionally. Keep a foldable step stool tucked beside the refrigerator to access these higher tiers safely.
2. Mount Magnetic Knife Strips
Chunky wooden knife blocks consume an unreasonable amount of prime counter space. Mount a heavy-duty magnetic strip directly to your backsplash or the wall beside your stove. This keeps your most frequently used blades immediately accessible, protects the edges from dulling in a crowded drawer, and creates a professional, minimalist aesthetic.
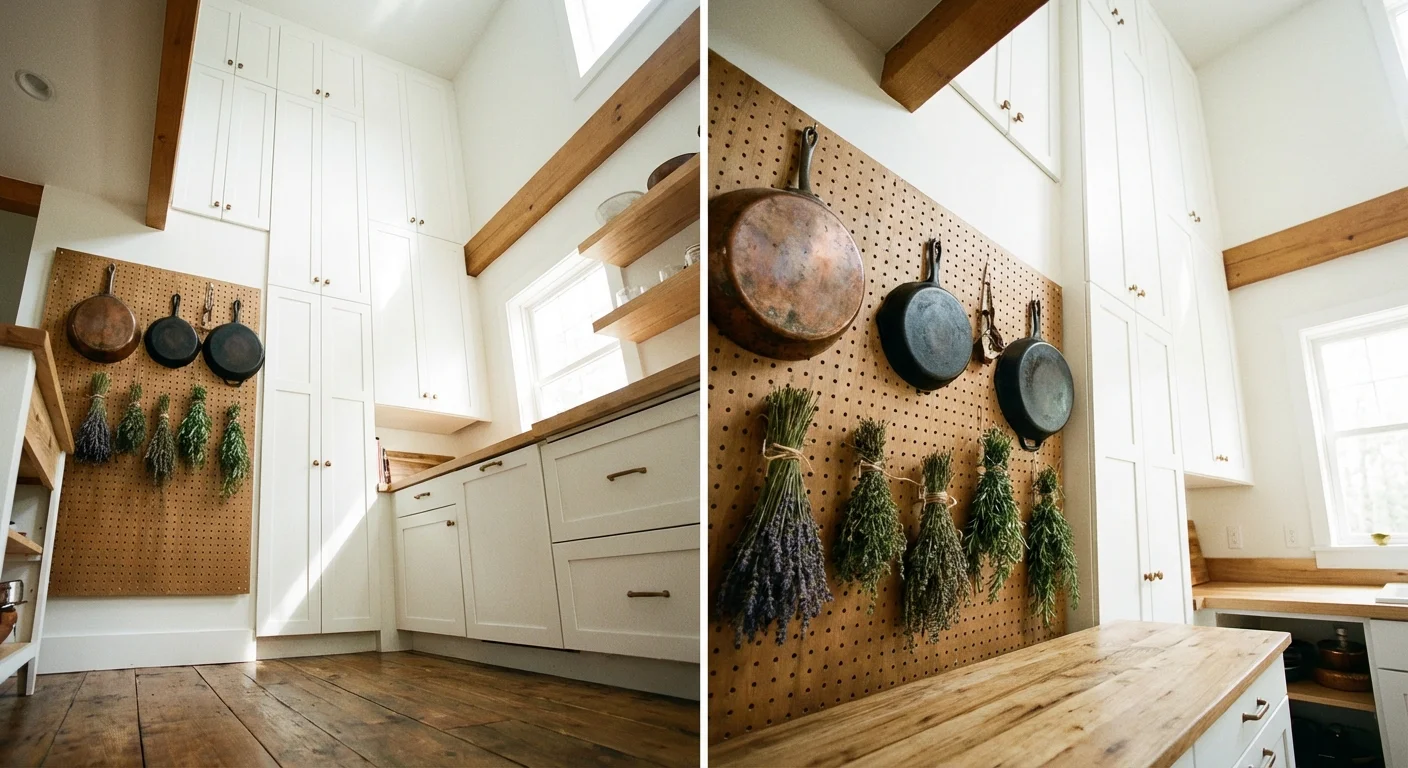
3. Hang Pots and Pans from the Ceiling or Wall
Cookware ranks among the bulkiest items in any kitchen. Attempting to nest skillets and saucepans inside narrow lower cabinets usually results in a chaotic, clanging mess. Install a sturdy ceiling rack over your island, or mount a heavy-duty wall rail with S-hooks above the stove. This approach frees up entire cabinets for bulky pantry goods or small appliances.
4. Install Pegboards for Flexible Storage
Borrow a classic trick from the garage and bring it indoors. A cleanly painted pegboard mounted on an empty wall offers infinitely adjustable storage. You can hang sieves, measuring cups, spatulas, and small wire baskets. As your kitchen arsenal changes, you simply rearrange the pegs to accommodate new tools without drilling fresh holes.
5. Maximize the Backs of Cabinet Doors
Every swinging door represents a blank canvas for small kitchen storage ideas. Attach narrow wire racks to the inside of your under-sink doors to hold sponges, dish soap, and cleaning brushes. Use the inside of your pantry door to hang a lightweight, over-the-door shoe organizer—the clear plastic pockets perfectly hold spice packets, snack bars, and small jars.

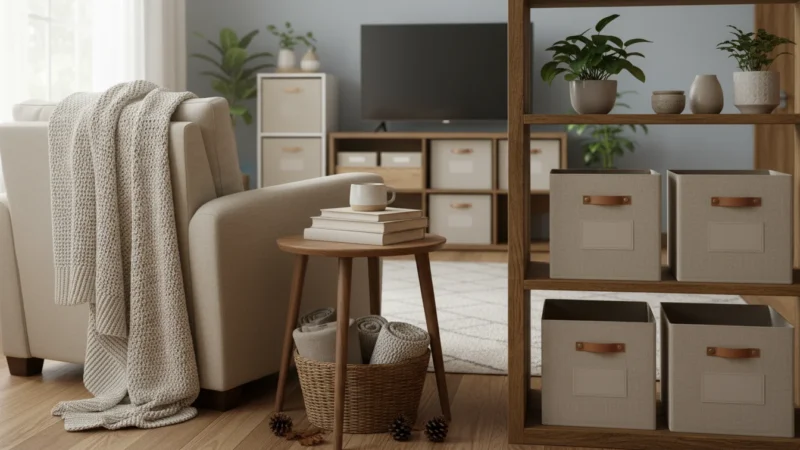
Smart Cabinet and Drawer Organization
Deep, dark cabinets often turn into graveyards for expired canned goods and mismatched Tupperware. Maximizing the volume inside your existing cabinetry prevents you from buying redundant items simply because you could not find the original.
6. Implement Pull-Out Shelving
Fixed shelves in lower cabinets force you to crawl on the floor to reach items pushed to the back. Install sliding tracks and pull-out wire or wooden baskets in your base cabinets. These allow you to pull the entire contents of the shelf out into the light, ensuring you utilize every inch of depth without losing track of your supplies.
7. Use Shelf Risers to Double Capacity
Take a look at your coffee mugs or canned goods—chances are, there is a foot of empty air sitting above them. Insert wire or acrylic shelf risers to create a second tier of storage on a single shelf. You can slide dinner plates underneath the riser and stack salad plates or bowls on top, effectively doubling the capacity of that cabinet.
8. Conquer the Blind Corner with Lazy Susans
Corner cabinets offer incredible depth but terrible accessibility. Retrofit these awkward spaces with rotating Lazy Susan trays or articulated kidney-shaped pull-outs. Placing your baking supplies, cooking oils, or bulky mixing bowls on a rotating platform means you simply spin the tray to grab what you need, rather than unloading five items to reach the one in the back.
9. Divide and Conquer Messy Drawers
A single, cavernous utensil drawer quickly becomes a tangled trap of whisks, spatulas, and peeler blades. Insert adjustable bamboo dividers to create customized compartments for each category of tool. When every item has a designated slot, you prevent the drawer from jamming and save precious seconds during meal prep.
10. Utilize Tension Rods Under the Sink
The space beneath the sink usually turns into a chaotic jumble of spray bottles and trash bags, complicated by the plumbing pipes. Fit a simple spring-loaded tension rod across the width of the cabinet, positioning it high up near the sink basin. Hang your spray cleaners by their triggers from this rod, freeing up the floor of the cabinet for dishwasher pods and scrubbing pads.
“The best way to find out what we really need is to get rid of what we don’t.” — Marie Kondo, Organizing Consultant
Expanding Your Counter Space
Prep space remains the most coveted feature in a compact kitchen design. When you barely have room to chop an onion next to the coffee maker, cooking feels like a chore. You must create flexible surfaces that appear when you need them and vanish when you don’t.
11. Invest in a Rolling Kitchen Cart
A mobile island offers the ultimate flexibility. Choose a sturdy cart with a butcher-block top, storage shelves below, and locking casters. You can roll it into the center of the room to serve as a prep station while cooking, then tuck it against a wall or slide it into a nearby hallway when you need floor space to move around.
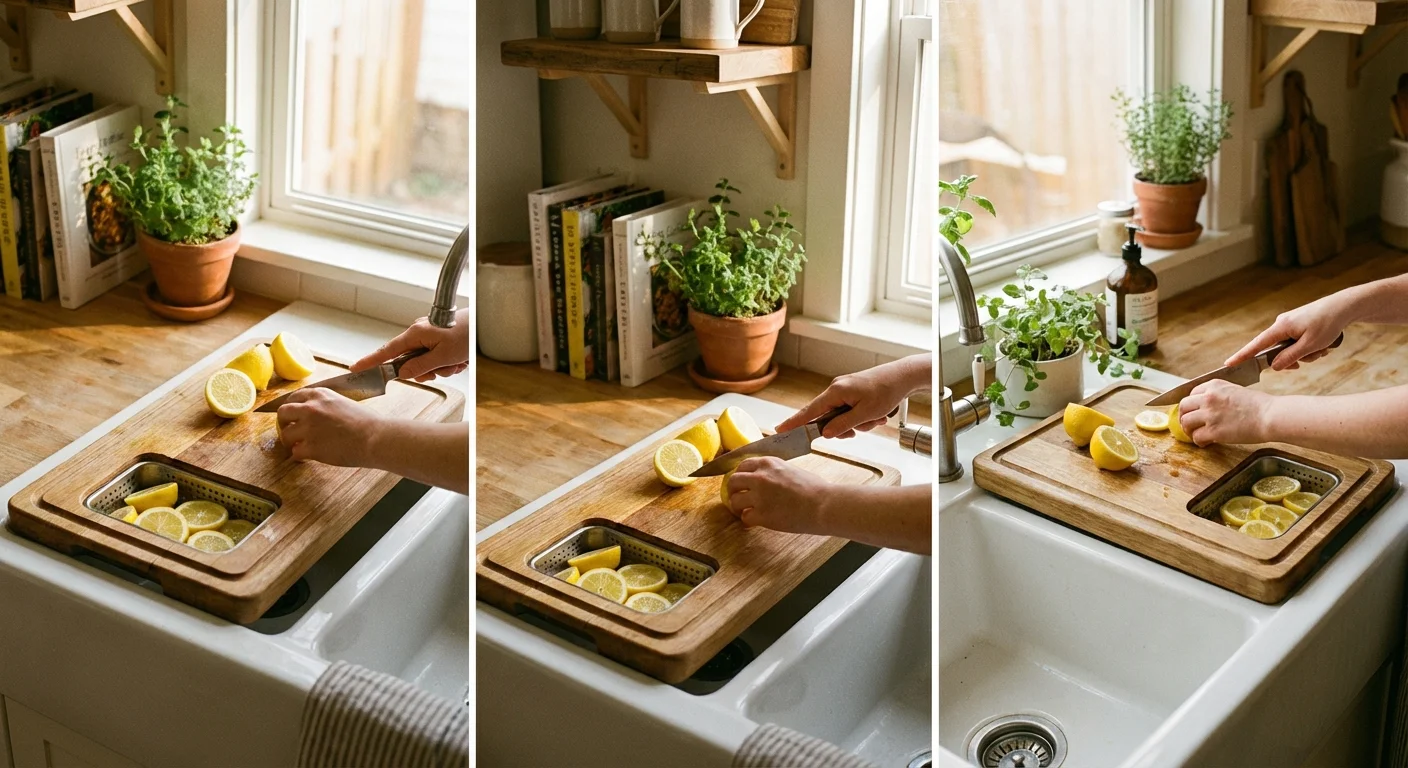
12. Use Over-the-Sink Cutting Boards
Your sink represents a massive gap in your continuous counter space. Purchase a large, sturdy cutting board designed to span the width of your sink basin. Many models include a built-in colander on one end, allowing you to wash produce and slide it directly onto the chopping surface. This instantly reclaims two feet of usable prep area.
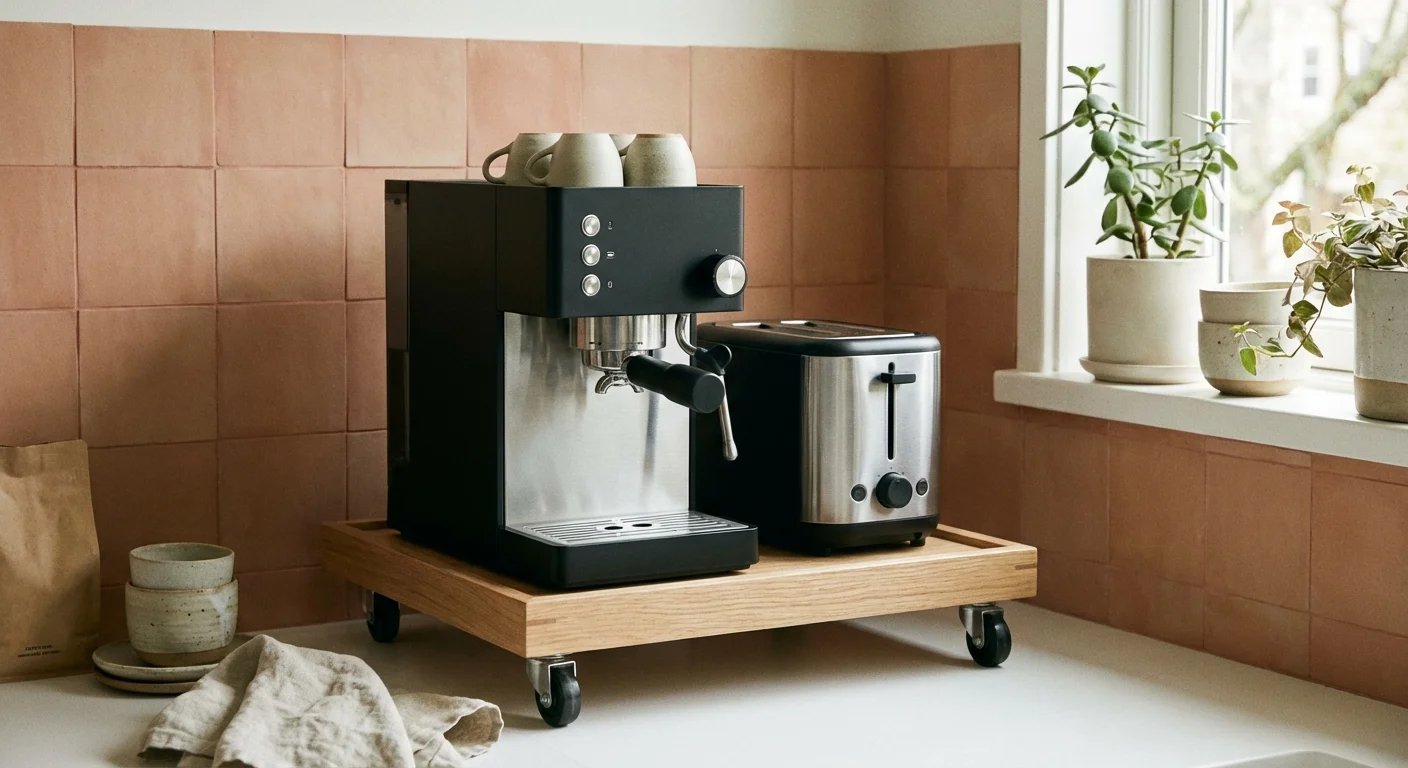
13. Create an Appliance Garage
Visual clutter makes a small room feel significantly smaller. Dedicate one corner of your counter to an “appliance garage”—a cabinet with a roll-up tambour door or a lift-up hinge. Tuck your toaster, blender, and coffee grinder inside. You can leave them plugged into a concealed outlet and simply pull down the door to hide them when breakfast is over.
14. Install a Fold-Down Wall Table
If you lack the clearance for a permanent dining table or island, mount a drop-leaf table to a bare wall. When raised, it provides a sturdy surface for eating meals or rolling out pastry dough. When lowered, it rests completely flat against the wall, restoring your clear walking path.
15. Cover Your Stovetop
When you are baking, mixing, or simply preparing a meal that does not require the stovetop, your burners are wasted space. Invest in a set of specialized noodle boards or custom burner covers that fit securely over your electric or gas range. This safely turns your cooking appliance into a massive, temporary extension of your countertop.
Rethinking Appliances and Layout
Standard American appliances are massive. Rethinking the scale and function of your machinery frees up incredible amounts of square footage. To maximize kitchen space, you must scrutinize every appliance’s footprint.
16. Choose Slim, Compact Appliances
European-style appliances prioritize verticality and efficiency over sheer bulk. Swapping a standard 36-inch refrigerator for a tall, slender 24-inch model reclaims an entire foot of floor space—enough for a pull-out pantry. Similarly, an 18-inch dishwasher handles a day’s worth of dishes for two people while leaving extra room for lower cabinet storage.
| Appliance Type | Standard Width | Compact Alternative Width | Space Saved |
|---|---|---|---|
| Refrigerator | 36 inches | 24 inches | 12 inches |
| Dishwasher | 24 inches | 18 inches | 6 inches |
| Range / Oven | 30 inches | 20 to 24 inches | 6 to 10 inches |
| Microwave | 30 inches (Over Range) | 24 inches (Drawer) | Frees up hood space |
17. Consolidate with Multi-Cookers
Stop hoarding unitaskers. You do not need a rice cooker, a slow cooker, a yogurt maker, and a pressure cooker. Purchase a high-quality multi-cooker that performs all these functions in a single vessel. Applying this ruthless consolidation to your gadget collection dramatically reduces cabinet congestion. If you want practical recommendations on versatile tools, Good Housekeeping regularly tests and reviews space-saving kitchen gadgets.
18. Hide or Relocate the Microwave
A microwave resting on the counter consumes a massive chunk of your primary prep zone. Free up that space by mounting the microwave on a sturdy wall bracket, installing it beneath the upper cabinets, or integrating it into a lower cabinet drawer. If you rarely use it, consider moving it to an adjacent pantry space.
Visual Tricks to Enlarge the Space
How a kitchen feels matters just as much as how it functions. Dark colors, heavy textures, and poor lighting create a claustrophobic atmosphere. Strategic design choices trick the eye into perceiving a much larger room.
Many of these color and light techniques are also effective studio apartment layout tips for those living in open-concept homes.
19. Embrace Light Colors and Reflective Surfaces
Paint your cabinets a crisp white, soft cream, or pale sage green. Light colors recede visually, making the walls feel further away. Pair this with glossy subway tile backsplashes and polished hardware. The shiny surfaces bounce both natural sunlight and artificial room light around the space, eliminating gloomy shadows.
20. Master Strategic Lighting
A single overhead fixture casts heavy shadows under your cabinets, making your countertops feel cramped and dingy. Install LED strip lighting or battery-operated puck lights directly under your upper cabinets. Illuminating the backsplash and the work surface immediately brightens the room and makes detailed tasks, like chopping vegetables, much safer and easier.
Avoiding Common Errors
As you begin implementing these small kitchen solutions, be careful not to fall into a few common traps that actually decrease functionality:
- Overcrowding Open Shelving: Removing upper doors makes a space feel airy, but only if the shelves remain tidy. If you pack open shelves with mismatched plastic cups and branded food boxes, the room will look chaotic. Stick to displaying cohesive, everyday items like white plates and clear glassware. You can browse modular storage inspirations at IKEA Ideas to see how to balance open and closed storage perfectly.
- Ignoring the Work Triangle: Don’t place a rolling cart directly between the sink and the stove. Maintain a clear path between your cooking, cleaning, and storage zones to ensure a smooth workflow.
- Keeping Aspirational Items: You cannot afford to store a pasta maker you use once a decade in a tiny kitchen. Be honest about your cooking habits. Box up rare, specialized tools and store them in a hall closet, basement, or garage.
Frequently Asked Questions
Where should I put the trash can in a small kitchen?
Floor space is precious, so avoid freestanding garbage cans if possible. The best solution is a pull-out dual trash and recycling bin installed inside a lower cabinet, often right next to the sink. If you cannot sacrifice a cabinet, look for a slim-profile, step-pedal can that fits neatly against the side of an island or tucked at the end of a cabinet run.
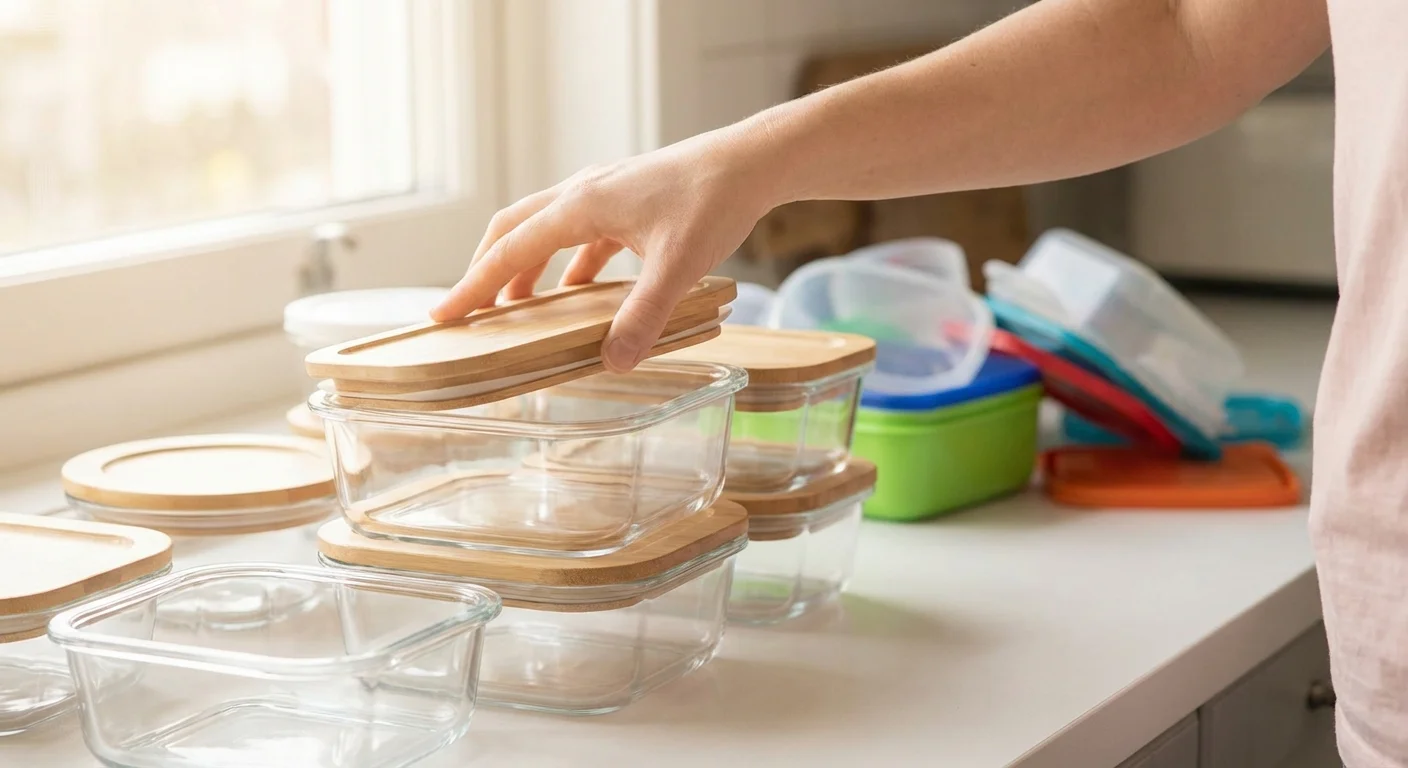
How do I organize plastic food storage containers?
First, purge any containers missing their matching lids. Next, nest the containers inside one another by shape (squares with squares, circles with circles). Store the lids vertically using a bamboo dish rack or a dedicated lid organizer to keep them filed like folders. This prevents the dreaded container avalanche when you open the door.
What is the minimum walkway width I need?
For a comfortable and safe cooking environment, you need at least 36 inches of clearance between opposite counters or between a counter and a kitchen island. If two people frequently cook together, aim for 42 to 48 inches if the layout allows.
Your Next Steps
Transforming a cramped cooking zone into an efficient workspace does not require tearing down walls or engaging in a massive renovation. Start small. Tackle one drawer or one cabinet this weekend. Mount a magnetic knife strip or sort through your plastic containers. Once you implement a few of these strategic organization methods, you will find that cooking becomes less of a chore and more of a creative joy. By prioritizing functionality and thinking vertically, you can build a space that serves your needs beautifully, regardless of its square footage.
This guide provides general home improvement information. Every home is different—what works in one space may need adaptation in yours. For structural changes or electrical/plumbing work, consult a licensed professional.
Last updated: February 2026


Leave a Reply