Tackling laundry often feels like a never-ending chore, and doing it in a space barely larger than a coat closet only amplifies the frustration. You bump your elbows against the doorframe, knock over oversized jugs of detergent, and struggle to find a spot for damp clothes. Yet, some of the most efficient utility spaces exist in tiny urban apartments and converted hallway closets. You do not need a sprawling, magazine-worthy utility room to achieve organizational nirvana; you simply need a smarter strategy for the square footage you already possess.
A well-planned tiny laundry room works much like the galley kitchen of a sailboat—every inch serves a distinct purpose, and everything rests within arm’s reach. By rethinking your vertical space, optimizing the awkward gaps between appliances, and implementing clever containment strategies, you can transform a cramped laundry zone into a highly functional workspace. Here are the most practical tiny laundry room ideas to help you reclaim your space and your sanity.
Maximize Your Vertical Real Estate
When floor space is severely limited, the only logical direction to go is up. Most homes feature ceiling heights of eight or nine feet, yet the area above the washer and dryer frequently remains empty. Capitalizing on this vertical real estate is the foundational step in any small laundry room makeover.
Many of these vertical hacks are also highly effective for maximizing closet space in other cramped areas of your home.
If you own front-loading machines, stacking them is the quickest way to instantly double your available floor space. Most manufacturers sell inexpensive stacking kits designed specifically for their models. The newly freed space can accommodate a tall, slender cabinet for brooms, a rolling hamper system, or a utility sink. However, if stacking is not an option—either because you have top-loaders or physical limitations that make reaching a top dryer difficult—you must look above the machines.
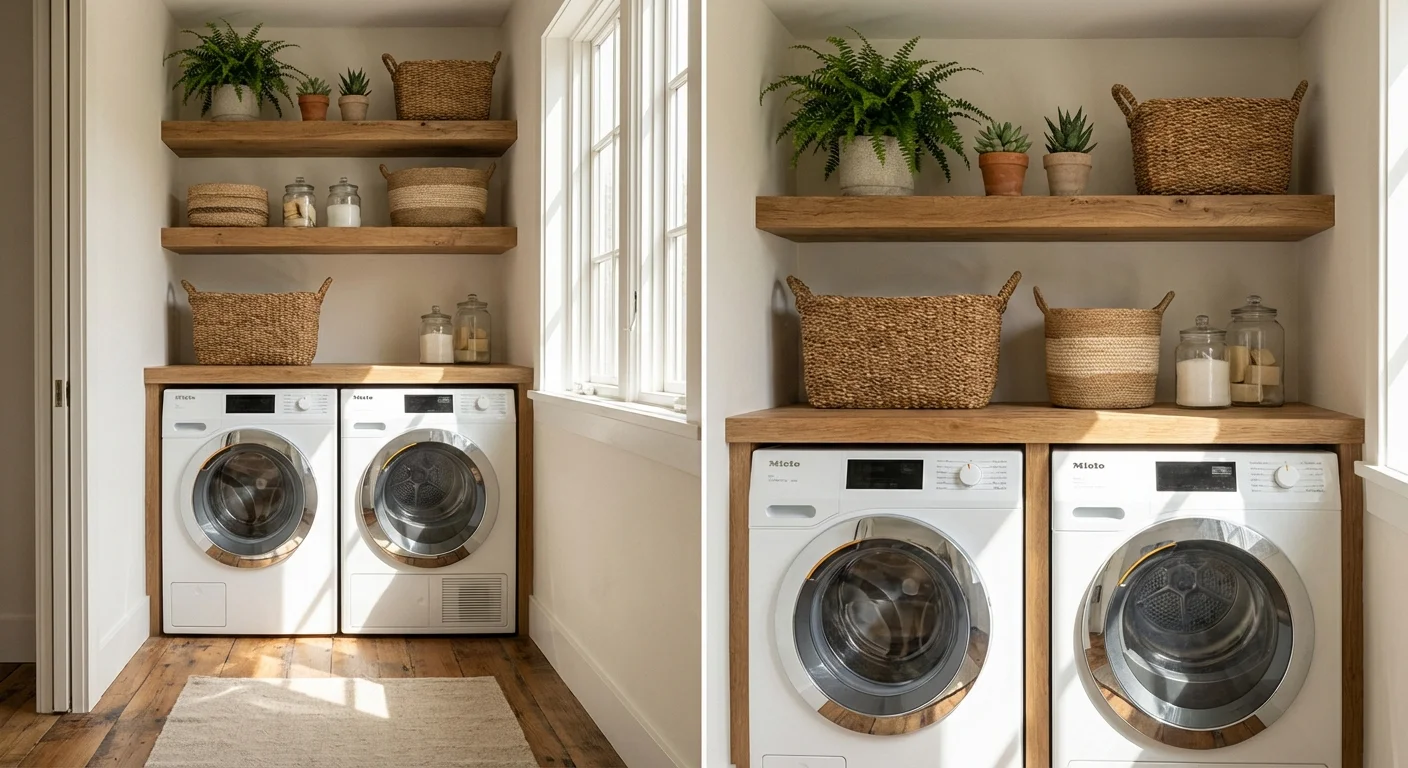
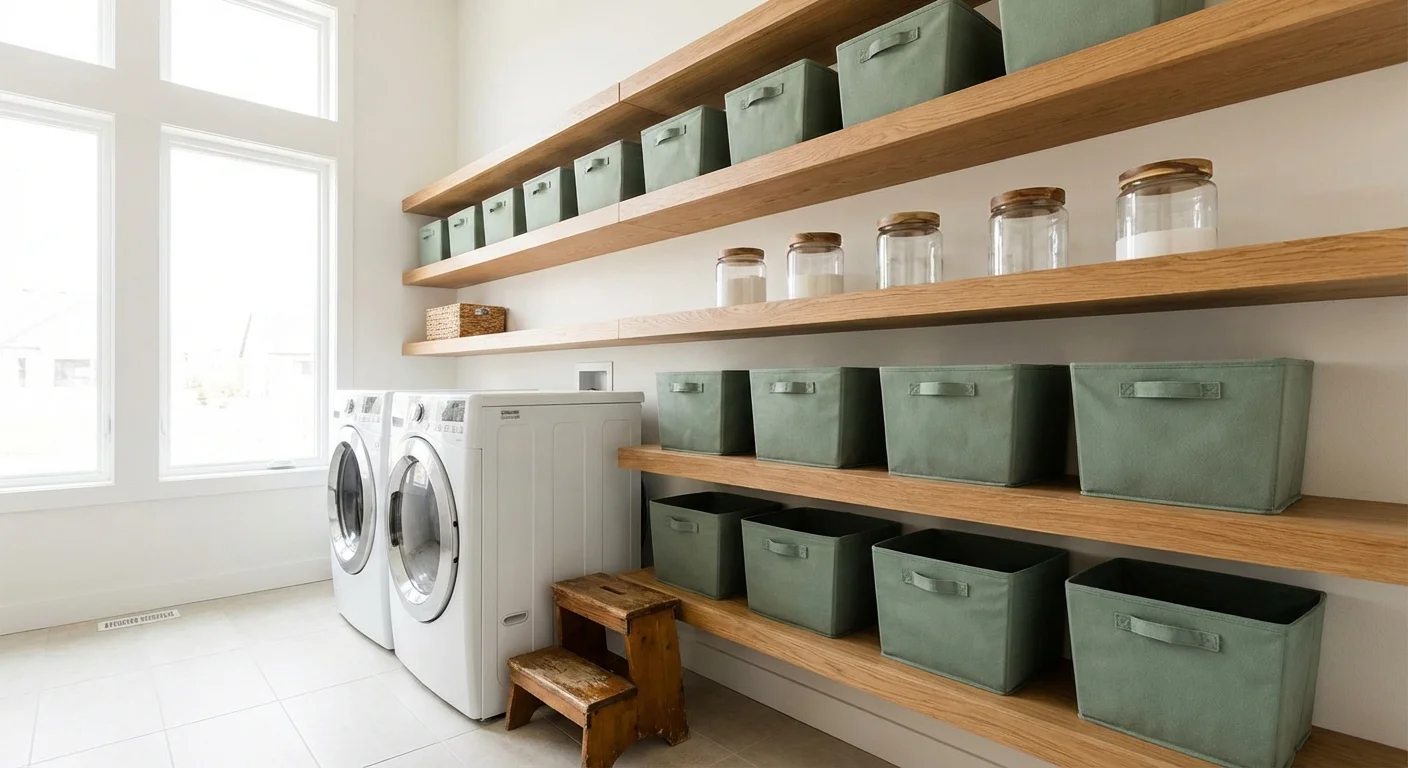
Install heavy-duty floating shelves directly above your appliances, taking them all the way to the ceiling. Reserve the lowest shelf for items you use daily: laundry pods, stain removers, and dryer balls. Reserve the highest shelves for seasonal or infrequent items, such as extra paper towels, emergency kits, or specialized winter gear cleaners. A sturdy step stool that folds flat can slide easily between your washer and the wall, granting you access to those upper tiers.
Over-the-door organizers also provide prime vertical storage without requiring power tools or wall anchors. Instead of leaving the back of your laundry closet door blank, hang a track system equipped with adjustable wire baskets. This creates the perfect catch-all for lint rollers, mesh delicates bags, iron cords, and sewing kits.

Exploit the Gaps: Slim and Stealthy Storage
Measure the footprint of your appliances; you will likely find a few inches of dead space between the machines, or between the machine and the wall. These slender gaps are goldmines for compact laundry storage.
For those with combined utility spaces, proper mudroom organization ensures that laundry doesn’t get mixed up with daily outdoor gear.
Many of these narrow-depth strategies are borrowed from tiny kitchen organization where every inch of pantry or wall space is vital.
For those living in extremely tight quarters, exploring vertical storage ideas for small apartments can offer even more inspiration for these tiny niches.
A slim, rolling utility cart—often measuring just five or six inches wide—can slide perfectly into these crevices. Pull it out when you need to load the washer, and push it back out of sight when you finish. These stealthy carts effortlessly hold narrow boxes of dryer sheets, slim bottles of fabric softener, and scrub brushes. Apartment Therapy often highlights how utilizing these micro-spaces can drastically reduce visual clutter in high-traffic zones.
Wall cavities present another hidden storage opportunity. If you are open to a minor DIY project, consider cutting into the drywall between the studs to install a recessed ironing board cabinet. These built-in units fold down when you need to press a shirt and snap shut flush against the wall, stealing zero cubic feet from the room itself. Similarly, a fold-down, wall-mounted drying rack provides up to fifteen linear feet of drying space for sweaters and delicates, then collapses flat against the wall when not in use.
Rethinking the Workstation: Countertops and Folding Areas
A dedicated folding space feels like an impossible luxury in a small laundry area, but it is achievable with a little ingenuity. Dropping clean clothes onto a dusty machine lid or dragging a heavy basket to the living room sofa creates unnecessary steps in your workflow.
If your workstation includes cabinetry, using the best drawer organizers can keep smaller items like stain pens and sewing kits from getting lost.
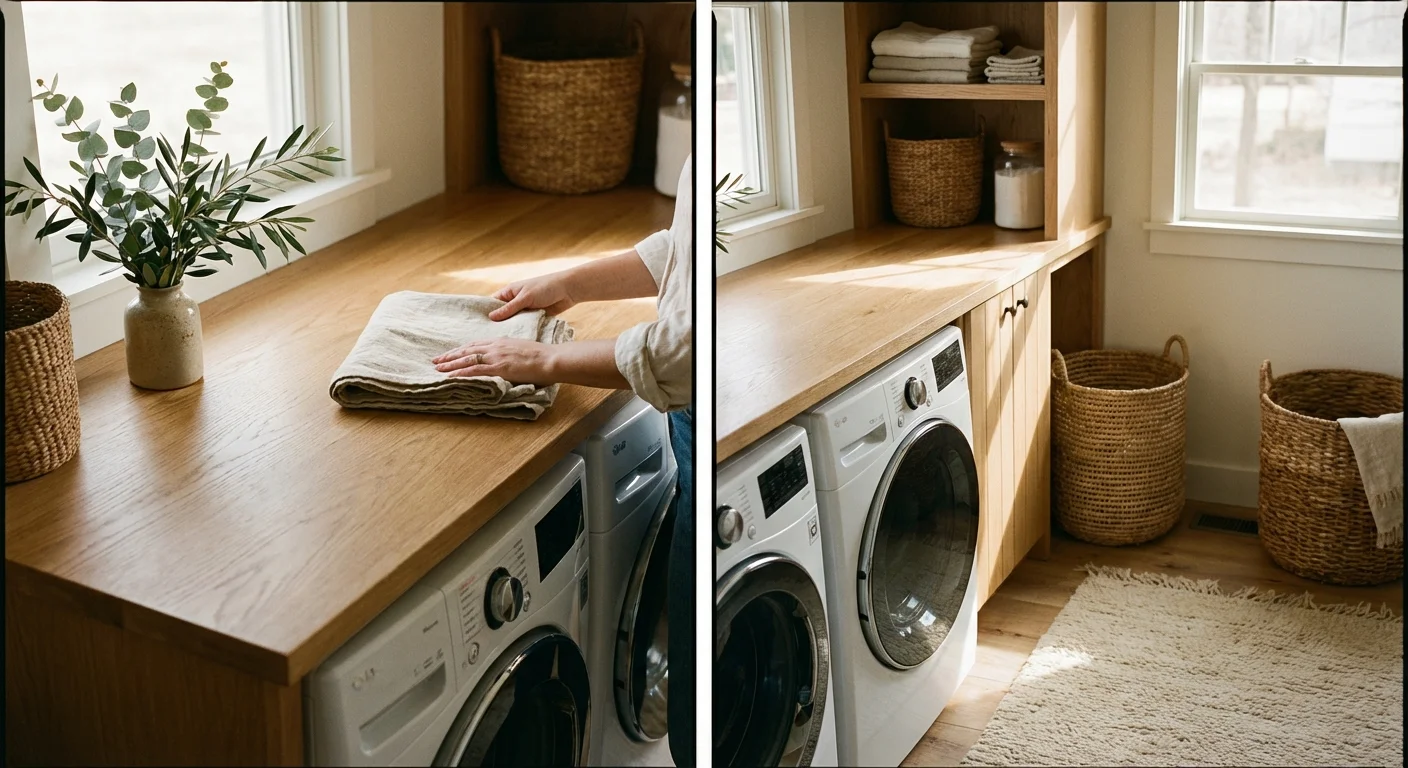
If your front-loading machines sit side-by-side, consider installing a waterfall countertop directly over them. A piece of butcher block or a pre-laminated MDF board rests perfectly on top, creating a seamless, flat surface. This continuous counter instantly elevates the aesthetic, preventing rogue socks from falling behind the machines while providing a dedicated zone for folding towels and treating stains. Before installing, ensure you leave at least one inch of clearance above the machines to account for vibrations during the spin cycle.
For top-loading machines, a permanent counter is impossible. Instead, opt for a drop-leaf table mounted to the wall opposite the machines. Much like a fold-down drying rack, a drop-leaf table flips up on sturdy brackets to give you a temporary folding surface, then drops down flush against the wall.

Clever Containment: Bins, Baskets, and Decanting
Visible clutter causes visual stress. In a tiny room, five different neon-colored detergent jugs, a ripped cardboard box of dryer sheets, and loose hangers create a chaotic environment. Streamlining your supplies through clever containment is a crucial element of small laundry organization.
If you find you have more supplies than shelf space, consider keeping bulk refills tucked away using under-bed storage ideas to keep the laundry room clear.
Keeping these supplies tidy is similar to the principles used for organizing your linen closet to maintain a clutter-free environment.
“Storage is mostly about creating an illusion. You want to see the things you love and hide the things you don’t.” — Nate Berkus, Interior Designer
Decanting your supplies into uniform containers removes visual noise and often saves physical space. Manufacturers design packaging to stand out on grocery store shelves, resulting in bulky, awkward shapes that waste precious shelf depth. By transferring laundry powders to clear glass jars and pouring liquid detergents into slim, uniform pump dispensers, you can fit significantly more products onto a single shelf.
- Glass or Acrylic Jars: Ideal for laundry pods, scent boosters, and powdered detergent. They allow you to instantly see when you are running low on supplies.
- Woven Baskets: Perfect for hiding less attractive, bulky items like backup supplies, rags, and scrub brushes.
- Magnetic Lint Bins: Attach a sleek magnetic bin directly to the side of your dryer. This eliminates the need for a standalone trash can on the floor.
- Wall-Mounted Dispensers: If shelf space is truly nonexistent, install wall-mounted soap dispensers right above the washing machine for easy, one-handed operation.
Remember that safety must always remain your top priority when organizing cleaning supplies. The American Cleaning Institute strongly advises keeping concentrated laundry packets and chemical detergents up high, closed, and completely out of reach of children and pets.
Lighting and Illusions of Space
Most tiny laundry rooms suffer from a severe lack of natural light. Often tucked away in basements, interior hallways, or windowless closets, these spaces can feel dungeon-like. Brightening the area not only makes doing laundry more pleasant, but it also creates the optical illusion of a larger room.
Similar tricks used to make a small bathroom feel bigger, such as strategic lighting and airy color palettes, can work wonders here too.
Start by swapping out harsh, yellow overhead bulbs for cool, daylight-balanced LED bulbs (around 4000K to 5000K). This crisp lighting helps you accurately identify set-in stains that might be missed under dim, warm light.
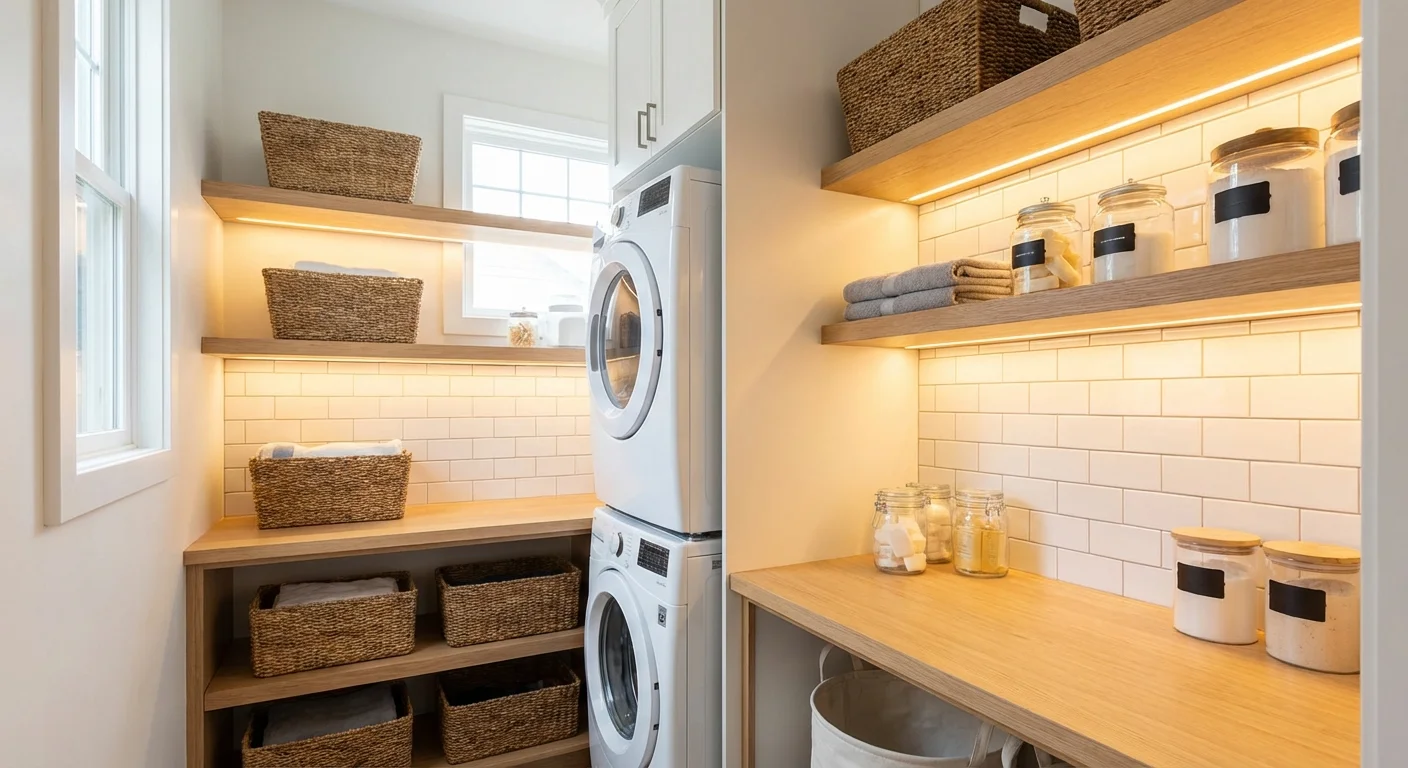
Next, install under-cabinet lighting. Battery-operated LED strip lights or motion-sensor puck lights adhere easily to the bottom of your floating shelves or upper cabinets. This casts a wash of bright light directly onto your folding surface or machine controls, eliminating shadows and making the narrow space feel expansive.
Do not shy away from bold design choices just because the room is small. While crisp white walls reflect light beautifully, applying a vibrant, patterned wallpaper to the wall behind the machines turns a utilitarian closet into a delightful “jewel box” space. When a room looks beautiful, you naturally feel more motivated to keep it tidy and organized.

Streamlining the Sorting Process
Sorting laundry often demands substantial floor space for multiple hampers—space a tiny laundry room simply does not possess. You must move the sorting process off the floor entirely.
Implementing closet organization hacks in your bedrooms can also help keep dirty clothes from migrating to the laundry room floor.
If your laundry area is located in a high-traffic zone, applying tips for small entryway organization can help maintain a clear and functional path.
Consider hanging heavy-duty canvas laundry bags from a pegboard or a sturdy rail system mounted on the wall. Label one bag for lights, one for darks, and one for delicates. When a bag is full, you simply unzip the bottom or unhook it from the wall and dump the contents directly into the washing machine.
If your laundry area sits inside a hallway closet, relocate the primary hampers to individual bedrooms or bathrooms. Only bring laundry to the utility closet when it is time to run a wash cycle. This simple habit change prevents dirty clothes from piling up in front of the machines, ensuring the hallway remains clear and passable.

Professional vs. DIY Small Laundry Room Makeovers
Upgrading your laundry space often involves a mix of weekend projects and specialized labor. Knowing when to grab your drill and when to call a contractor ensures your project stays on budget and structurally sound. Better Homes & Gardens frequently emphasizes the importance of understanding the limits of your DIY skills when dealing with major appliances.
| Project Type | DIY Approach | Professional Approach |
|---|---|---|
| Installing Shelving | Perfect for weekend warriors. Hanging floating shelves or wire tracks requires only a stud finder, a level, a drill, and basic hardware. | Necessary only if you want custom-built, seamless cabinetry designed to match your kitchen millwork exactly. |
| Appliance Stacking | Manageable with electric machines, provided you have at least two strong adults to lift the heavy dryer onto the washer using an official stacking kit. | Mandatory for gas dryers. A licensed professional must handle gas line disconnections and reconnections to prevent fatal leaks. |
| Ventilation & Ductwork | Replacing a crushed foil transition duct with a rigid metal duct behind the machine is a quick, safe DIY fix. | Hire a pro if you need to reroute a vent line through a roof or wall, or if the current vent exceeds 25 feet and requires deep cleaning. |
| Adding a Work Sink | Possible if the plumbing lines are already roughed-in and exposed, allowing you to simply connect a freestanding utility sink. | Required if you need to tap into main water lines, run new drainage pipes behind drywall, or ensure proper venting to avoid sewer gas backups. |

Common Mistakes to Avoid in Compact Laundry Spaces
When you are eager to conquer the clutter, it is easy to make hasty decisions that ultimately hinder the functionality of the room. Keep an eye out for these frequent missteps.
- Blocking Airflow and Ventilation: Shoving items tightly against the sides and back of the dryer seems like a good way to save space, but dryers require adequate airflow to function safely and efficiently. Crowding the exhaust vent can lead to dangerous lint buildup and overheating. Always maintain the clearance recommended by the manufacturer—typically four to six inches in the rear.
- Ignoring Door Swings: Before installing cabinets, drop-down tables, or stacking your machines, map out the swing of every door. A beautiful new cabinet is useless if the washing machine door bangs into it, preventing you from fully opening either one. If your washer and dryer doors clash in the middle, check your manual; many modern machines feature reversible hinges.
- Buying Deep Storage Baskets: Deep, opaque baskets often turn into black holes where mismatched socks and empty spray bottles go to die. In a tiny room, opt for shallow baskets or clear bins. You should be able to instantly identify the contents without digging through layers of clutter.
- Overbuying Bulk Supplies: Warehouse club deals are tempting, but buying a three-year supply of fabric softener makes no sense if you live in an apartment. Purchase bulk supplies only if you have secondary storage in a garage or basement; otherwise, buy standard sizes that fit your decanted containers.
Frequently Asked Questions About Small Laundry Organization
How do I hide a laundry setup in a kitchen or open hallway?
If your machines are exposed in a high-traffic area, concealment is key. Bifold doors or sliding pocket doors are excellent architectural solutions that tuck away neatly. If structural changes are not in the budget, install a ceiling-mounted curtain track and hang a heavy, textured drape to hide the appliances when guests arrive.
What is the minimum depth required for a laundry closet?
Standard washing machines and dryers are roughly 27 inches wide and 30 to 34 inches deep. To accommodate the machines, the plumbing hoses, and the dryer exhaust vent, your closet should be at least 36 to 40 inches deep. If you are working with less space, you must seek out compact, European-style appliances, which generally require a depth of only 24 to 26 inches.
Can I install cabinets above a top-loading washing machine?
Yes, but you must measure carefully. Leave enough clearance for the lid to open completely without hitting the bottom of the cabinet. Typically, this requires mounting the cabinets at least 20 to 24 inches above the closed lid, depending on the specific model. The Spruce recommends using open shelving instead of closed cabinets directly above top-loaders to maintain a more open, accessible feel.
Are pedestal drawers worth the investment in a small space?
Pedestal drawers elevate front-loading machines, reducing back strain, and offer a hidden drawer for supplies. However, they eliminate the ability to install a folding countertop over the machines. If your priority is hidden storage, they are fantastic; if your priority is a continuous folding surface, skip the pedestals.
The secret to managing a tiny laundry room is acknowledging its limitations and working strategically within them. By treating every vertical inch as an opportunity, utilizing slim gaps, and standardizing your supplies, you create a system that works with you rather than against you. You transform a cramped, chaotic chore zone into a streamlined hub of productivity.
Take an objective look at your space this weekend. Empty out the room, wipe down the machines, and identify one vertical area or narrow gap you can reclaim. A single floating shelf or a slim rolling cart might be all you need to jumpstart a highly efficient routine.
This is educational content based on general best practices. Individual results vary based on your home, budget, and circumstances. Always prioritize safety and consult professionals for major projects.
Last updated: February 2026


Leave a Reply