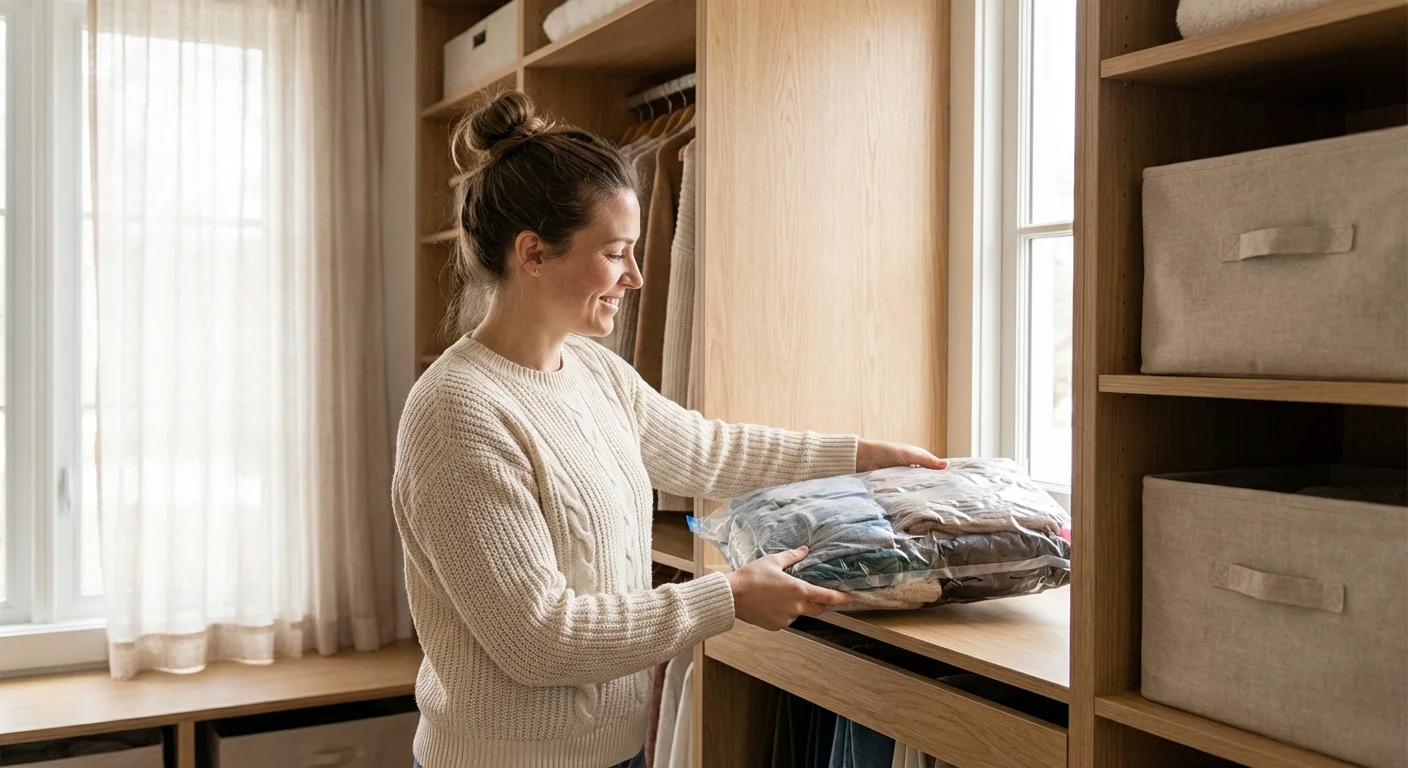
Do you dream of an organized closet, a space where every item has its place and finding an outfit feels effortless? Many people believe custom closet systems remain out of reach for anyone on a budget. However, you can achieve this dream without spending a fortune. Building a DIY closet system saves you significant money while delivering personalized storage solutions. This comprehensive guide helps you transform your cluttered closet into a functional, beautiful space that suits your needs and keeps your wallet happy.

Why Build a Custom Closet System on a Budget?
A well-organized closet provides more than just a tidy appearance. It simplifies your daily routine, reduces stress, and even helps you get ready faster. When you build a custom closet system yourself, you gain several advantages:
- Cost Savings: Professional closet installations often carry hefty price tags, covering design, materials, and labor. By tackling the project yourself, you eliminate labor costs and have control over material expenses, significantly reducing the overall cost. You can achieve a high-end look at a fraction of the price.
- Personalization: Every person’s wardrobe and storage needs differ. A custom system allows you to tailor shelves, hanging rods, and drawers precisely to your clothing, shoes, and accessories. You decide the configuration, ensuring maximum functionality for your specific items.
- Skill Development: Taking on a DIY project like this builds your home improvement skills. You learn about measuring, cutting, assembly, and installation, gaining confidence for future projects around your home.
- Increased Home Value: Organized and functional spaces add appeal to your home. A well-designed closet system can be a selling point, demonstrating attention to detail and practical living solutions.
- Reduced Clutter and Stress: When everything has a designated place, clutter naturally decreases. This creates a calmer environment, making mornings less hectic and promoting a sense of order in your home. According to Real Simple — Organizing, establishing designated homes for your belongings is a fundamental step toward lasting organization.
Embracing a DIY approach means you invest your time and effort, not just your money, into creating a space that truly works for you. You achieve closet organization without breaking your budget.

Planning Your Budget DIY Closet System
Careful planning forms the foundation of any successful DIY project, especially a custom closet. Skipping this step leads to frustration, wasted materials, and ultimately, a less functional result. Focus on these key planning phases:

Assess Your Current Wardrobe and Needs
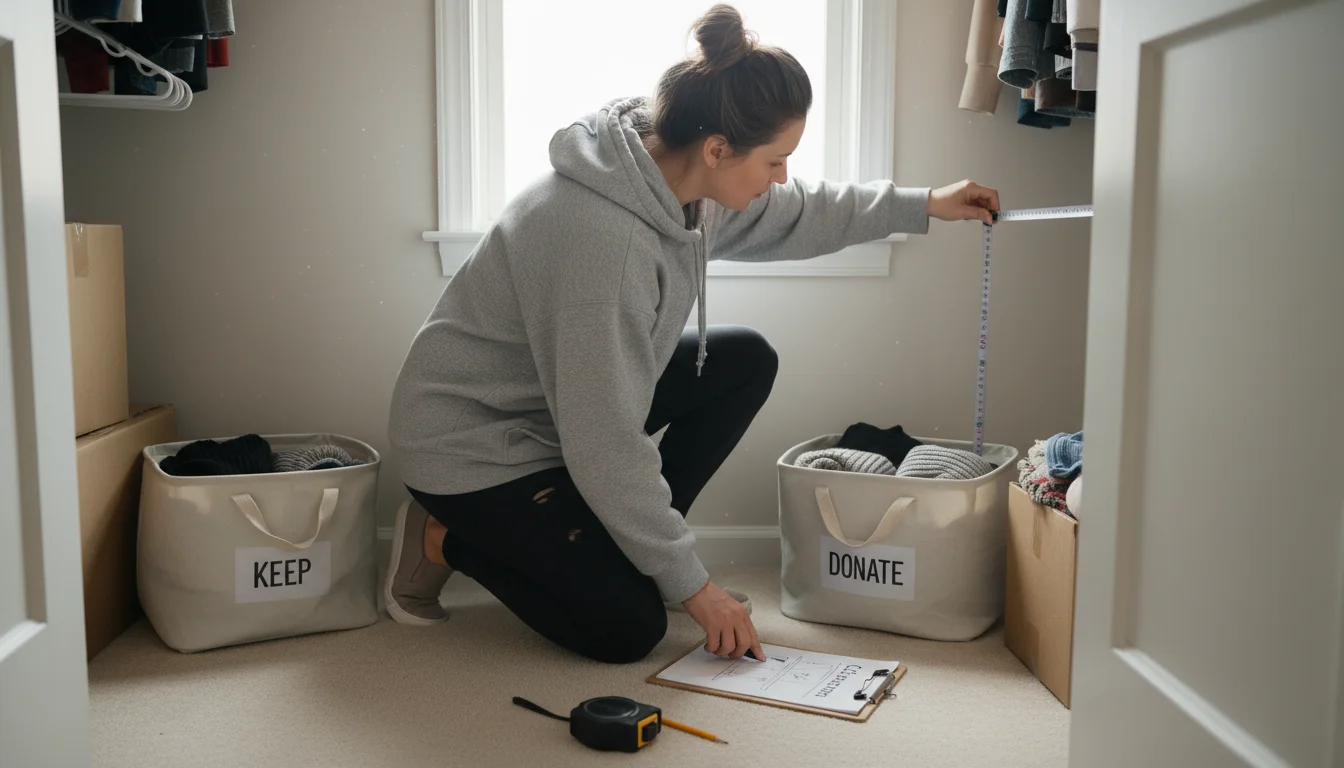
Begin by emptying your entire closet. This allows you to see exactly what you own and how much space it requires. Declutter ruthlessly. Ask yourself:
- When did I last wear this item?
- Does it still fit?
- Does it bring me joy or serve a practical purpose?
Separate items into categories: keep, donate, sell, or discard. This crucial step reduces the volume you need to organize, making your budget closet project more manageable. Once you have a clear picture of your actual wardrobe, group similar items together: hanging clothes (dresses, shirts, pants), folded items (sweaters, t-shirts), shoes, bags, and accessories. Estimate the linear feet needed for hanging rods and the shelf space required for folded items and bins.
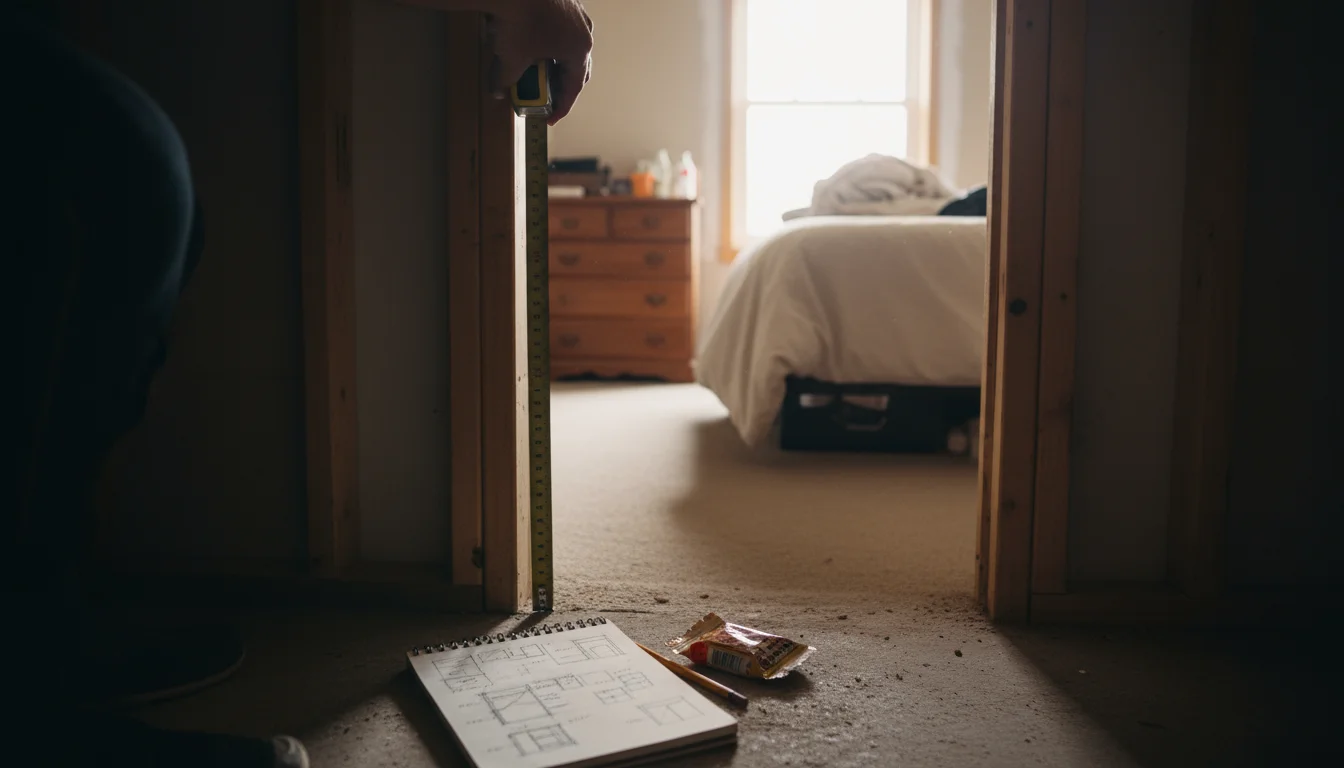
Measure Your Closet Space Accurately
Precision is paramount. Measure the height, width, and depth of your closet opening and interior walls. Note any obstructions such as baseboards, window sills, or electrical outlets. Draw a detailed diagram of your closet, including all measurements. This diagram becomes your blueprint for design and material estimation. Measure twice, cut once applies perfectly here.
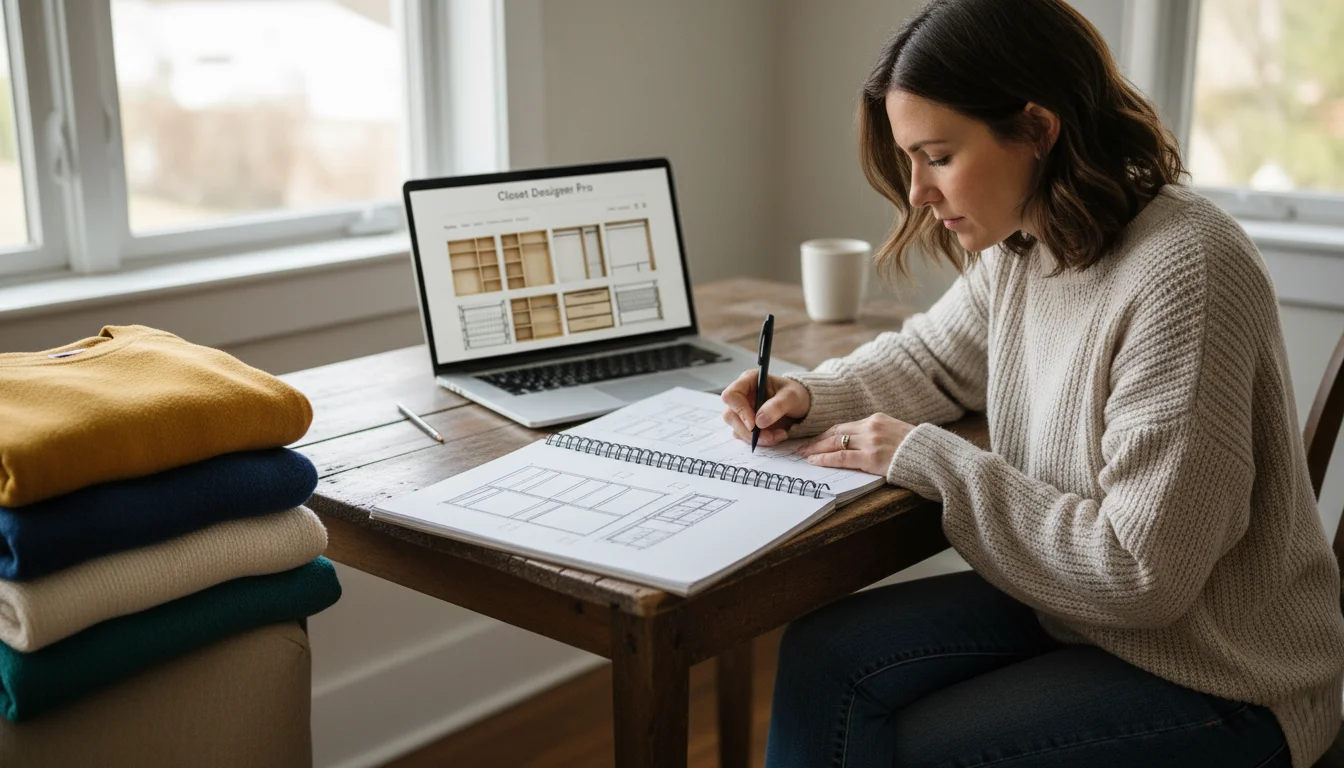
Design Your Custom Closet Layout
Consider the “zones” or designated areas for specific types of items within your closet. This concept helps maximize efficiency. Common zones include:
- Long-hanging zone: For dresses, coats, and full-length skirts.
- Double-hanging zone: For shirts, blouses, and folded pants, utilizing vertical space efficiently.
- Folded item zone: Shelves for sweaters, jeans, and t-shirts.
- Shoe zone: Shelves, cubbies, or racks.
- Accessory zone: Drawers, hooks, or small shelves for belts, scarves, and jewelry.
Sketch various layouts on paper, or use online closet design tools offered by home improvement stores for a more visual approach. Think about the flow. Where do you want your most frequently accessed items? How can you utilize vertical space from floor to ceiling? Integrate components like shelves, hanging rods, and drawers. For a budget closet, modular shelving units or simple melamine boards often provide the most cost-effective foundation. As This Old House often emphasizes, a thoughtful layout prevents wasted space and improves daily functionality.

Set Your Budget and Material Choices
Determine a realistic budget for materials. Common budget-friendly options include:
- Melamine boards: Affordable, durable, and easy to clean. Available in various finishes.
- Plywood: Strong and customizable, but may require sanding, priming, and painting.
- Wire shelving systems: Very affordable and easy to install, but may not offer the same aesthetic as solid shelving.
- Laminated particleboard: Similar to melamine, often used in IKEA-style modular units.
- Wood planks (pine, common board): A bit more expensive than melamine but offer a natural look.
Don’t forget hardware like brackets, screws, hanging rods, and drawer slides. Factor in paint, caulk, or trim if your design includes them. Prioritize components that address your biggest storage challenges first, and consider adding decorative elements later if your budget allows. Your goal is a functional, durable system without overspending.
Essential Tools and Materials for Your Closet Project
Having the right tools and materials streamlines your DIY closet system project, ensuring accuracy and safety. You do not need a professional workshop, but a basic set of tools makes a significant difference.
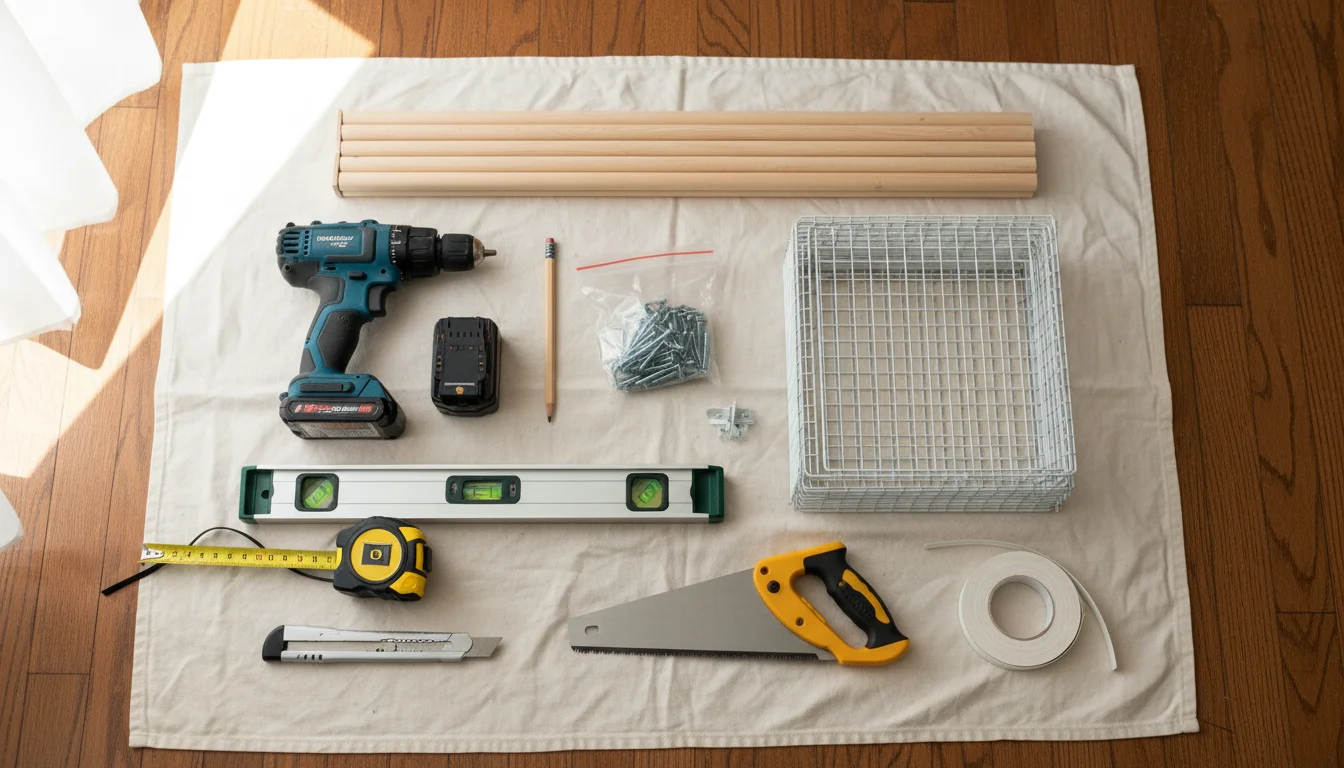
Tools You Will Need
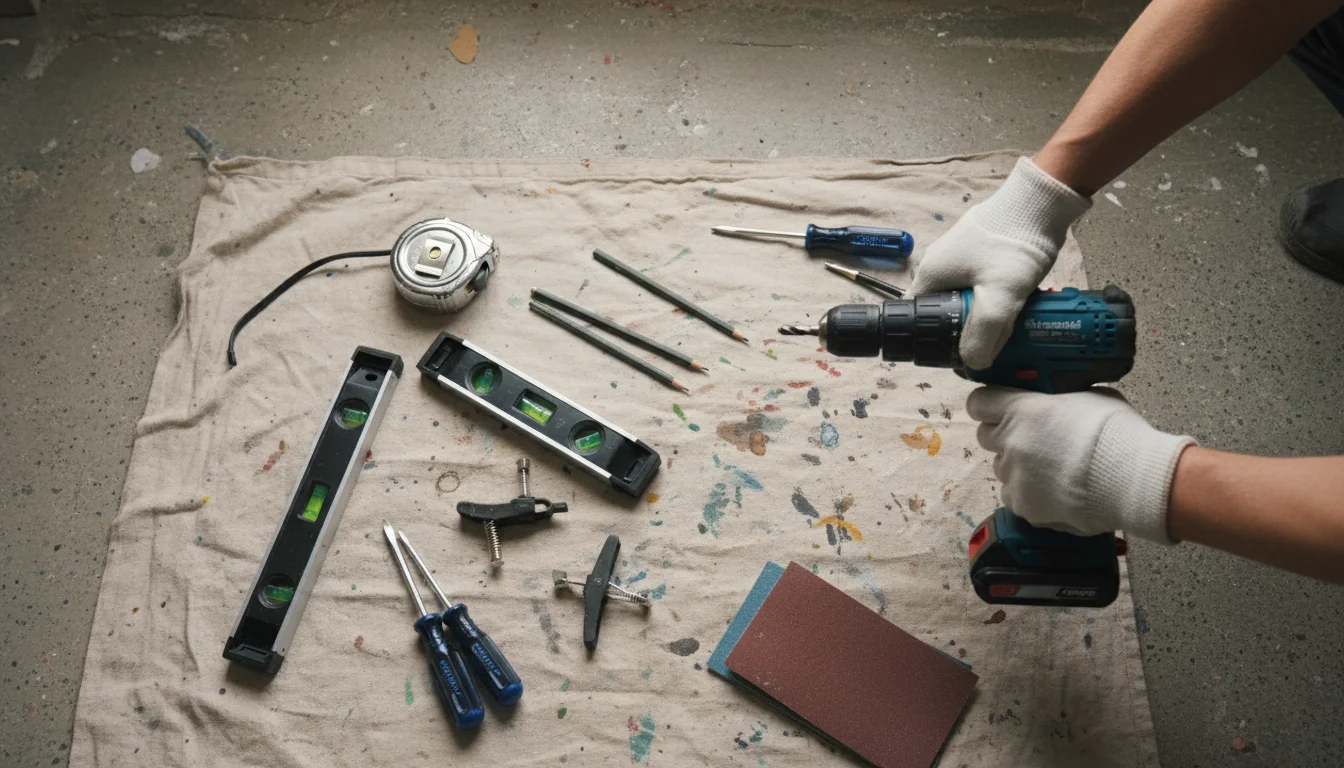
Most of these tools are common household items or affordable to rent/purchase:
- Measuring tape: For precise measurements.
- Pencil: For marking cuts and drilling spots.
- Stud finder: Essential for locating wall studs to securely anchor your system.
- Level: Ensures all shelves and rods are perfectly straight. A 2-foot or 4-foot level works best.
- Drill/driver: For pre-drilling holes and driving screws.
- Circular saw or miter saw: For cutting shelves and support boards to size. Many hardware stores offer cutting services for lumber, which can save you from buying a saw.
- Jigsaw: Useful for making any curved cuts or notches.
- Screwdriver set: For manual adjustments.
- Clamps: Hold pieces together during assembly or while drying glue.
- Sanding block or sandpaper: For smoothing rough edges on wood or plywood.
- Safety glasses and dust mask: Crucial for protecting your eyes and lungs.
Key Materials for Your Budget Closet
Your material choices directly impact cost and aesthetics. Here are common budget-friendly options:
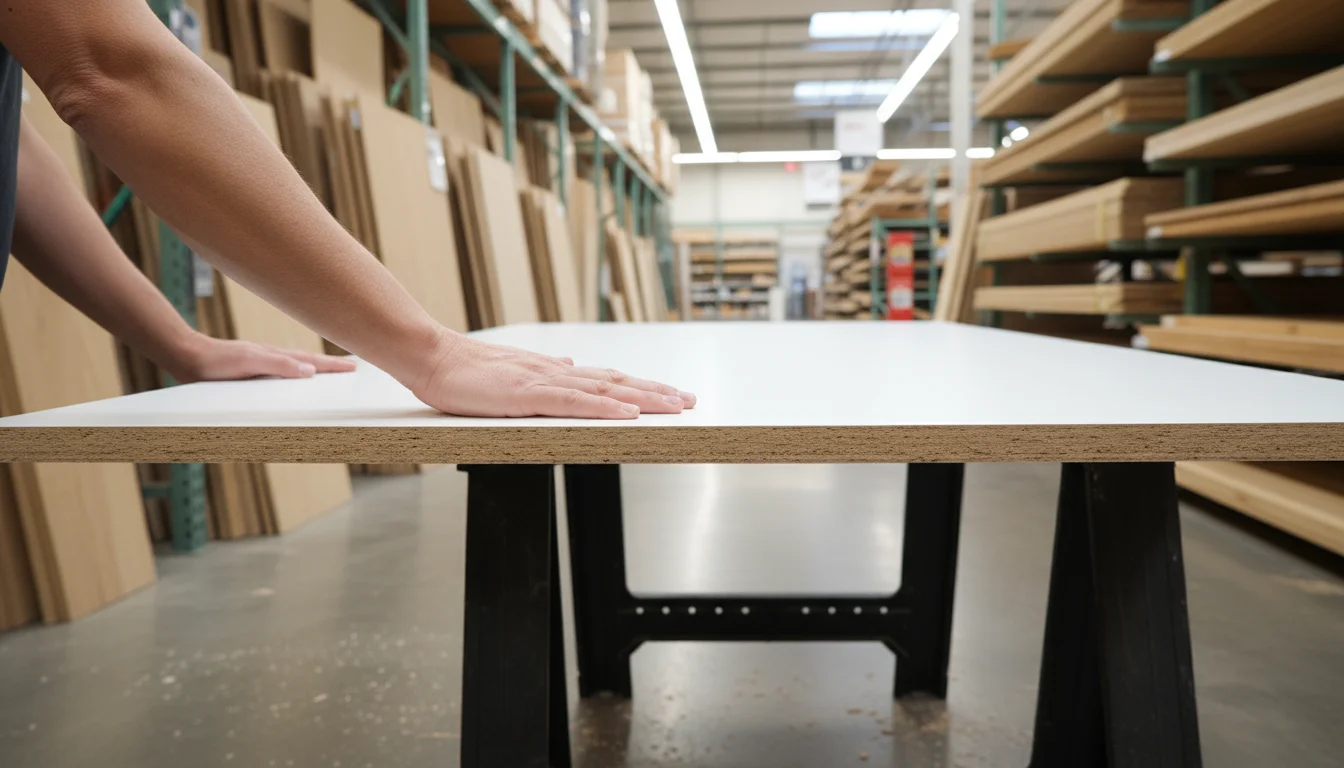
- Shelving Material:
- Melamine or Laminated Particleboard: Pre-finished, durable, and wipes clean. Often the most budget-friendly for a clean, modern look.
- Plywood (Birch, Sande, or standard AC grade): Strong and customizable. Requires sanding and painting/sealing for a finished look.
- Common Board (Pine): Affordable lumber. Can be stained, painted, or left natural. Check for straightness and knots before purchasing.
- Support System:
- L-brackets: Simple, strong, and affordable for supporting shelves.
- Cleats: Strips of wood screwed into wall studs, which shelves then rest upon. This creates a floating shelf look and distributes weight effectively.
- Adjustable shelving standards and brackets: Metal strips mounted vertically with adjustable brackets, offering flexibility for future reconfiguration. This is a popular budget closet option.
- Hanging Rods:
- Metal closet rods (chrome, nickel): Durable and common. Choose a strong gauge to prevent bowing.
- Wooden dowels: For lighter loads or a rustic look. Ensure they are thick enough for your clothing weight.
- Hardware:
- Wood screws: Various lengths for mounting cleats, brackets, and assembling shelving units.
- Wall anchors: If you cannot hit a stud, use heavy-duty toggle or drywall anchors for secure mounting.
- Rod flanges/sockets: To hold hanging rods in place.
- Drawer slides (if adding drawers): Basic side-mount slides are budget-friendly.
- Finishing Supplies:
- Wood glue: For reinforcing joints.
- Caulk (paintable): To fill gaps between wall and system components for a seamless look.
- Paint or stain (optional): If using raw wood or plywood.
When purchasing wood or boards, always buy a little extra to account for mistakes or practice cuts. This strategy prevents multiple trips to the hardware store and keeps your project on track.
Step-by-Step Guide to Building Your Custom Closet
Now that you have your plan and materials, it is time to build your budget closet. This section provides a detailed step-by-step process for a common DIY closet system using cleats and shelves, easily adaptable to other designs.
Step 1: Prepare the Closet Space
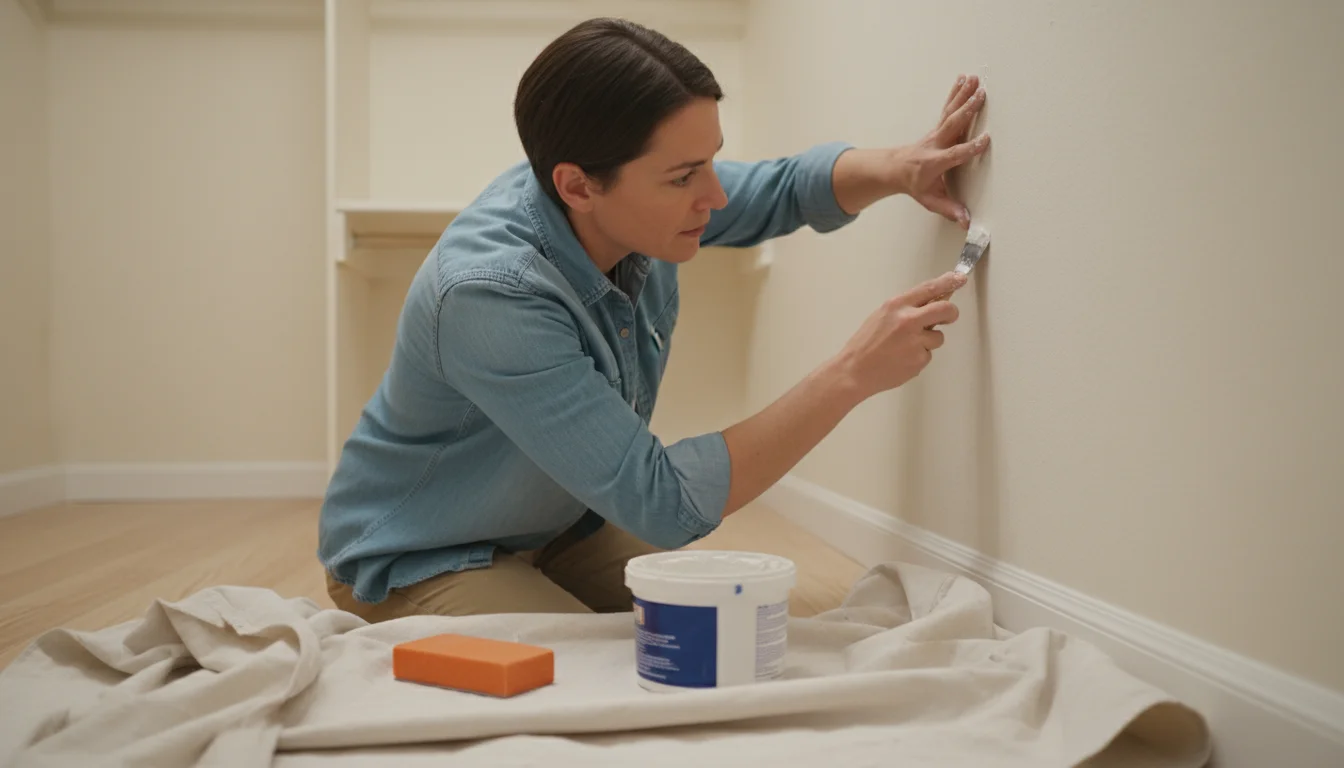
After decluttering, clean the empty closet thoroughly. Patch any holes in the drywall, sand rough spots, and consider a fresh coat of paint. A clean, fresh canvas makes your new system shine. Ensure the walls are dry and free of dust before proceeding.
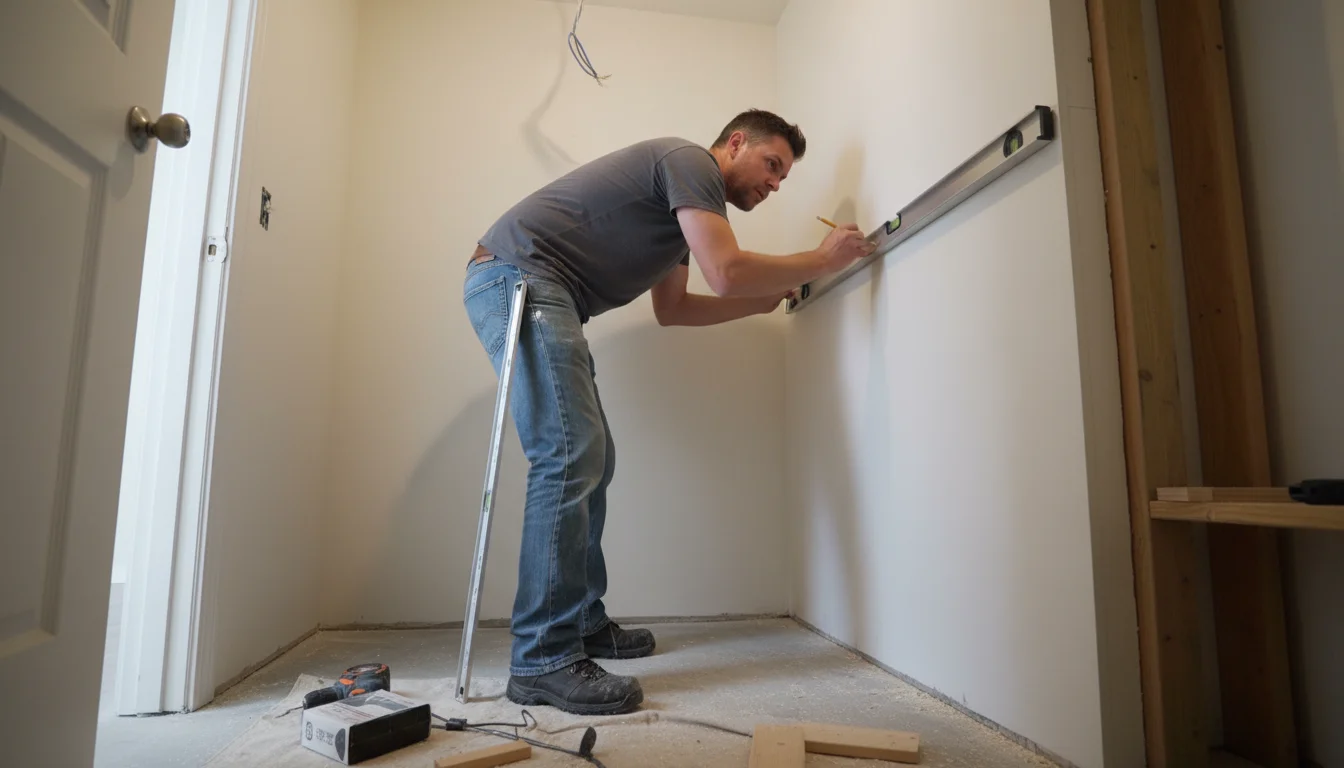
Step 2: Mark Your Layout
Transfer your design measurements to the closet walls. Use your measuring tape, pencil, and a long level to mark the exact locations for all cleats, shelves, and hanging rod supports. For cleats, draw a continuous line where the bottom edge of each cleat will sit. For hanging rods, mark the center point of where the rod supports will attach. Double-check all measurements and ensure everything is level before drilling. This meticulous marking prevents crooked shelves and ensures your closet organization remains functional.
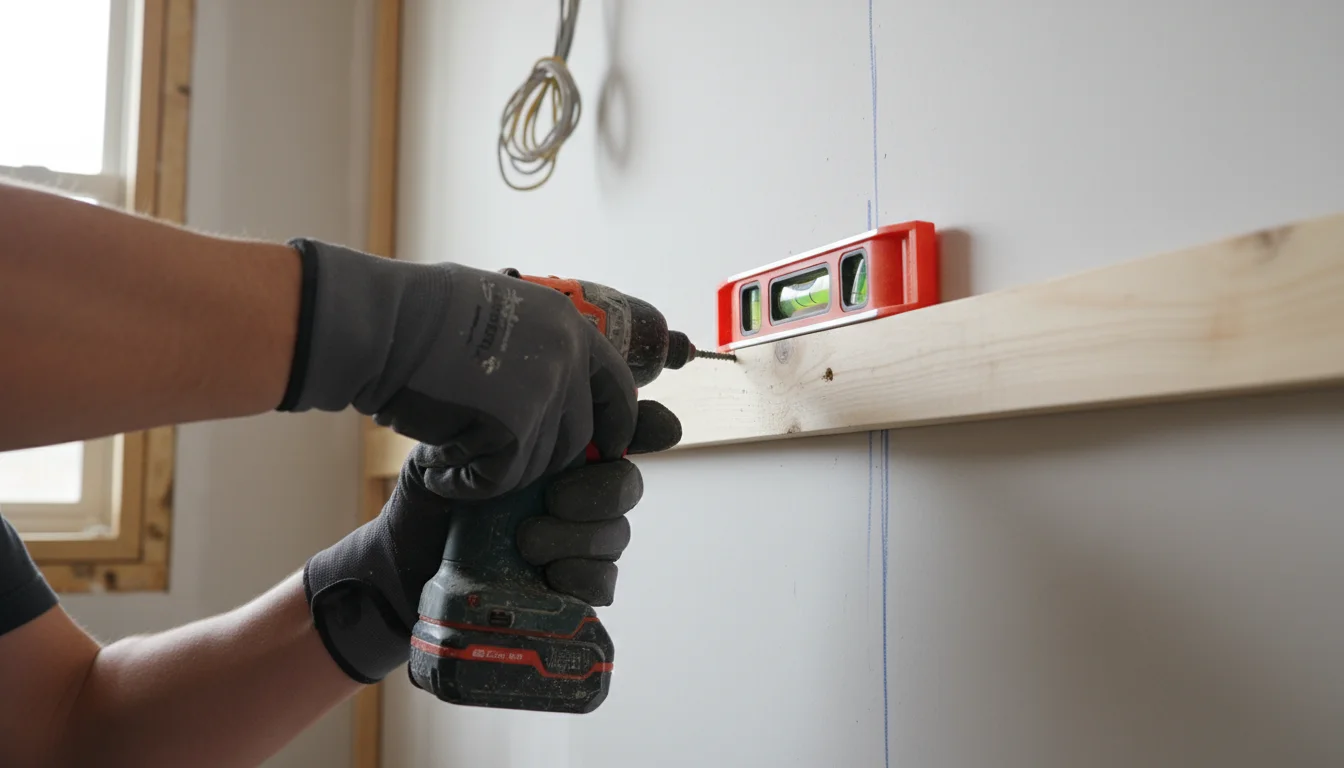
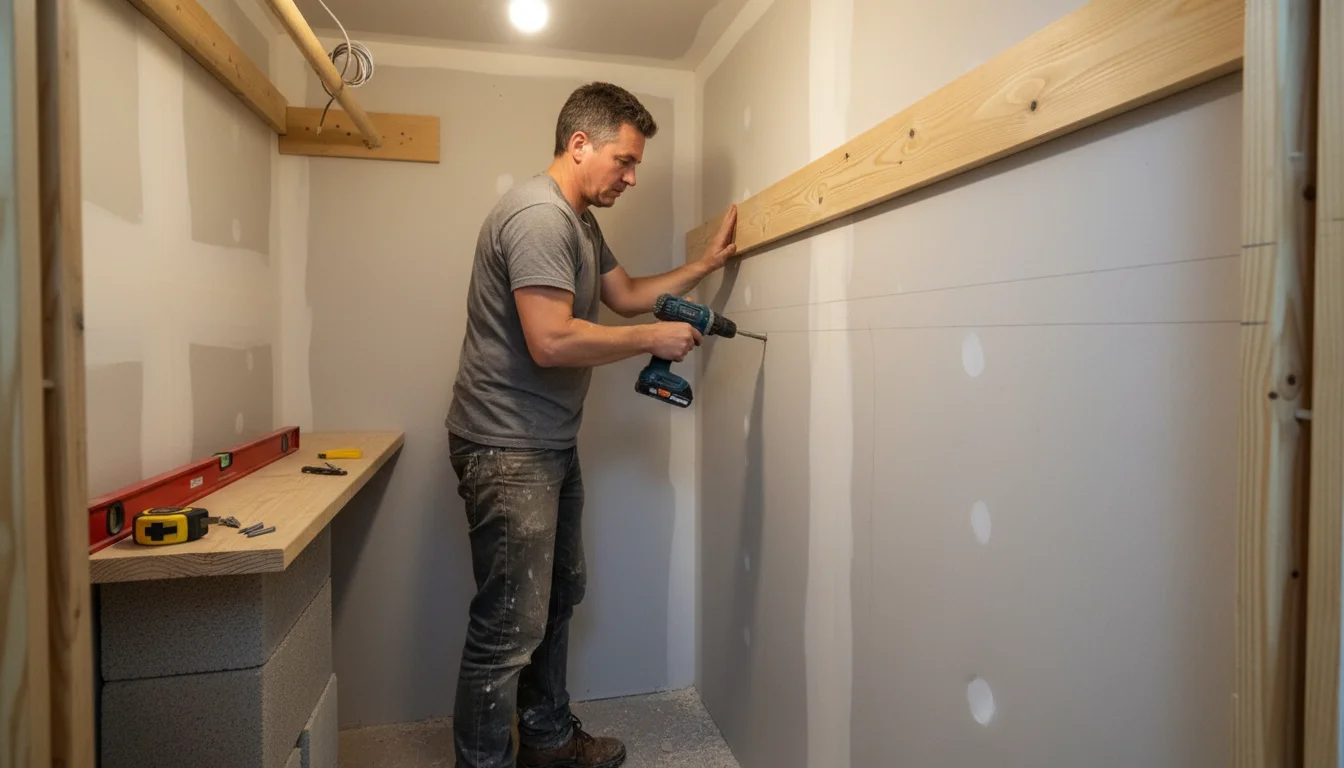
Step 3: Install Wall Cleats (Support Strips)
Cleats provide robust support for your shelves. Cut your cleat material (e.g., 1×2 or 1×3 lumber, or strips of your shelving material) to the required lengths for each shelf. Locate wall studs using your stud finder. For maximum strength, screw cleats directly into studs. If you cannot hit a stud, use heavy-duty wall anchors. Pre-drill pilot holes through the cleats and into the wall studs before driving screws. Ensure each cleat is perfectly level. Install cleats on three sides for shelves that span the full width of the closet (back and two side walls). If your shelves are part of a vertical unit, you may only need cleats on the back wall, with the vertical panels providing side support.
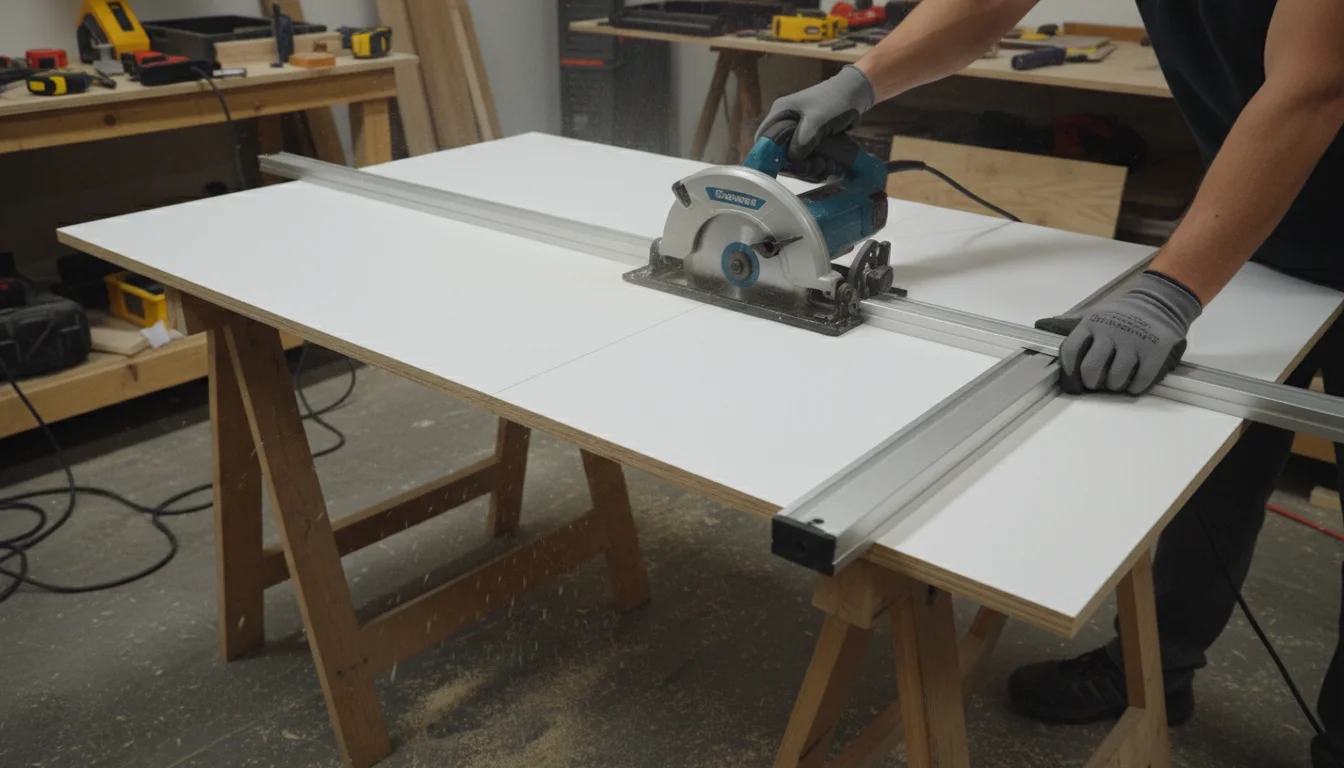
Step 4: Cut and Prepare Shelves and Vertical Panels
Using your precise measurements, cut your chosen shelving material (melamine, plywood, or common board) to size. A circular saw with a straight edge guide or a miter saw makes clean cuts. If you use plywood or common board, sand all cut edges smooth. For a professional look, apply edge banding to melamine or laminated particleboard edges. This protects the raw edges and improves appearance. If your design includes vertical panels that act as dividers or supports, cut these to height as well.
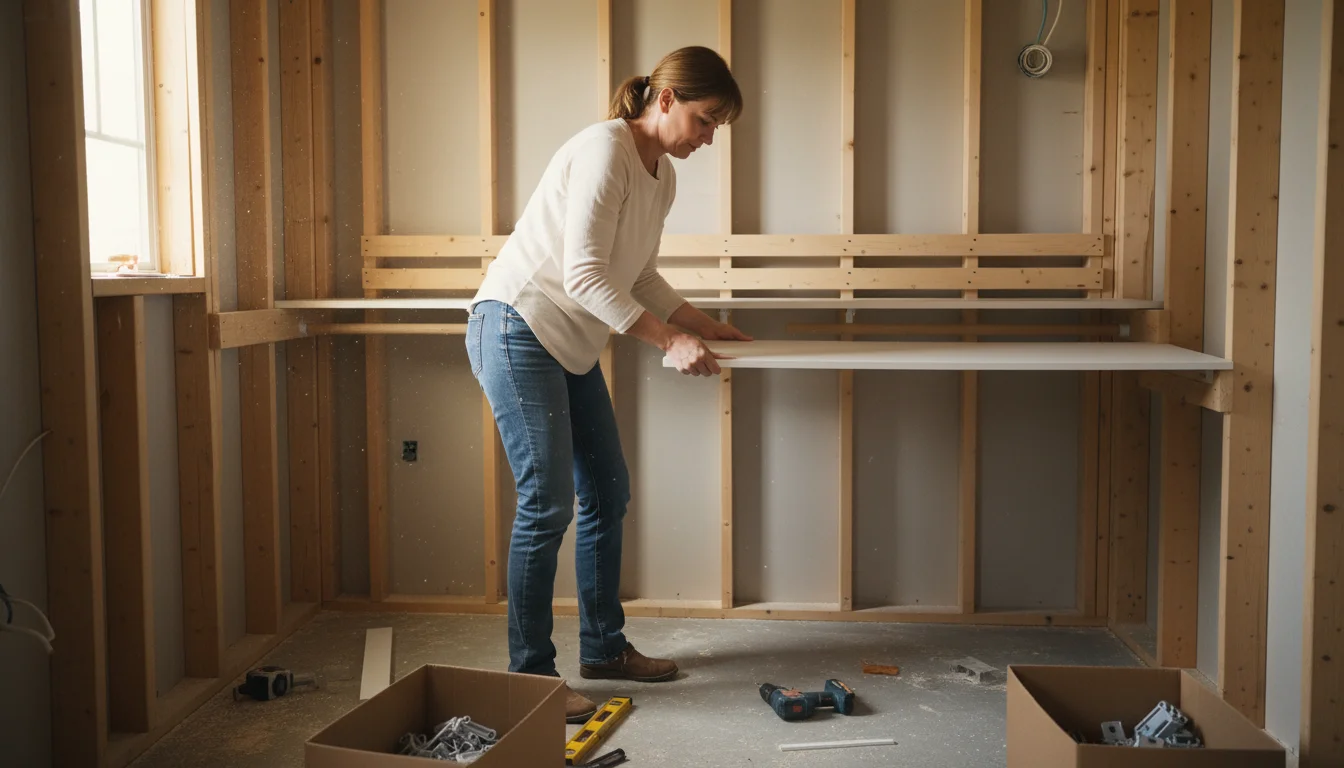
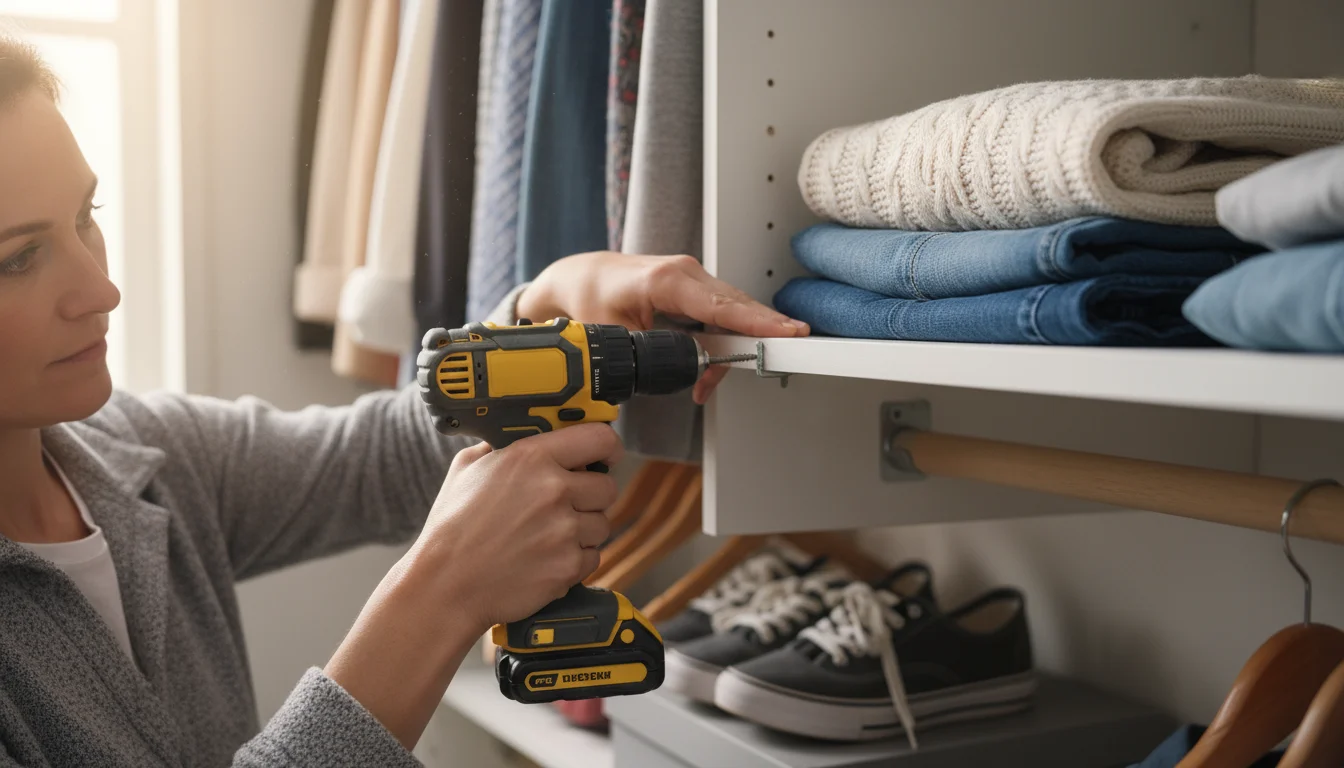
Step 5: Assemble and Install Vertical Supports and Shelves
This step varies based on your design. Here are common approaches:
- Cleat-Supported Shelves:
If you installed cleats on three walls, simply rest your pre-cut shelves on top of the installed cleats. Secure the shelves to the cleats from above with small screws or nails. You can also add small L-brackets under the front edge for extra support, especially for heavier items. Ensure the screws do not protrude through the bottom of the cleat.
- Modular Shelving Units:
If you are building vertical units with multiple shelves, assemble these units outside the closet if possible. Use wood glue and screws for strong joints. Once assembled, position the units inside the closet. Secure them to the wall studs (if possible) or directly to the wall with screws through the back panel. Always use a level to ensure the units stand perfectly plumb and level.
- Adjustable Systems:
Mount the vertical metal standards to the wall studs. Space them according to your shelf width. Then, insert the adjustable brackets and place your shelves on top. This method offers excellent flexibility.
Work methodically from the bottom up or top down, depending on your specific design. Keep your level handy for every component.

Step 6: Install Hanging Rods
Once your shelves are in place, install your hanging rods. Attach rod flanges or sockets to the walls or vertical support panels at the marked locations. Ensure they are at the correct height for your clothes (e.g., 40-42 inches for double-hanging, 65-70 inches for long-hanging). Insert the cut-to-size hanging rod into the flanges. For longer rods (over 36-48 inches), install a center support bracket to prevent bowing under the weight of clothes. This is a critical step for the longevity of your closet organization. As noted by experts at Family Handyman, proper rod support is key to a durable closet system.

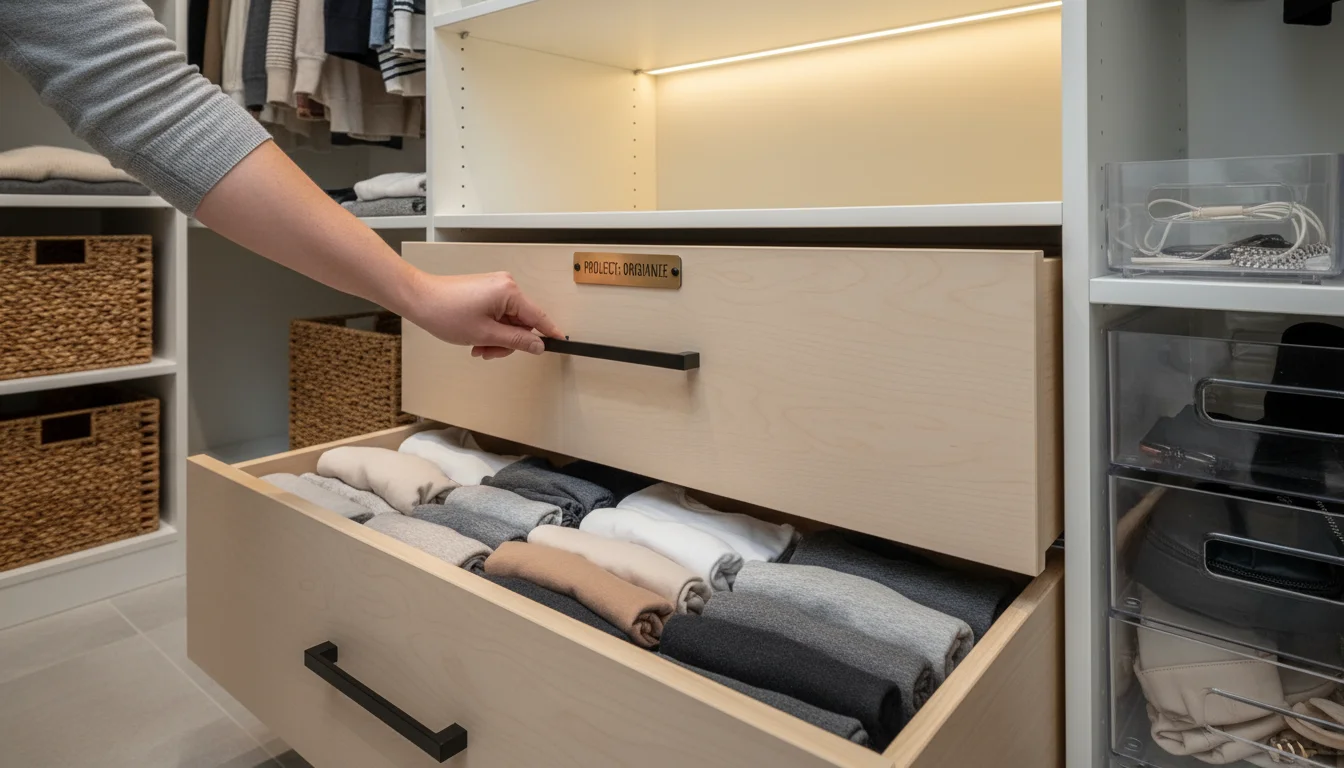
Step 7: Add Drawers or Baskets (Optional)
If your design includes drawers, install the drawer slides according to the manufacturer’s instructions. Build or assemble the drawer boxes, then attach the drawer fronts. Alternatively, integrate open cubbies where you can place fabric bins or baskets for a budget-friendly drawer alternative. These easily slide in and out and provide excellent flexibility for organizing smaller items.
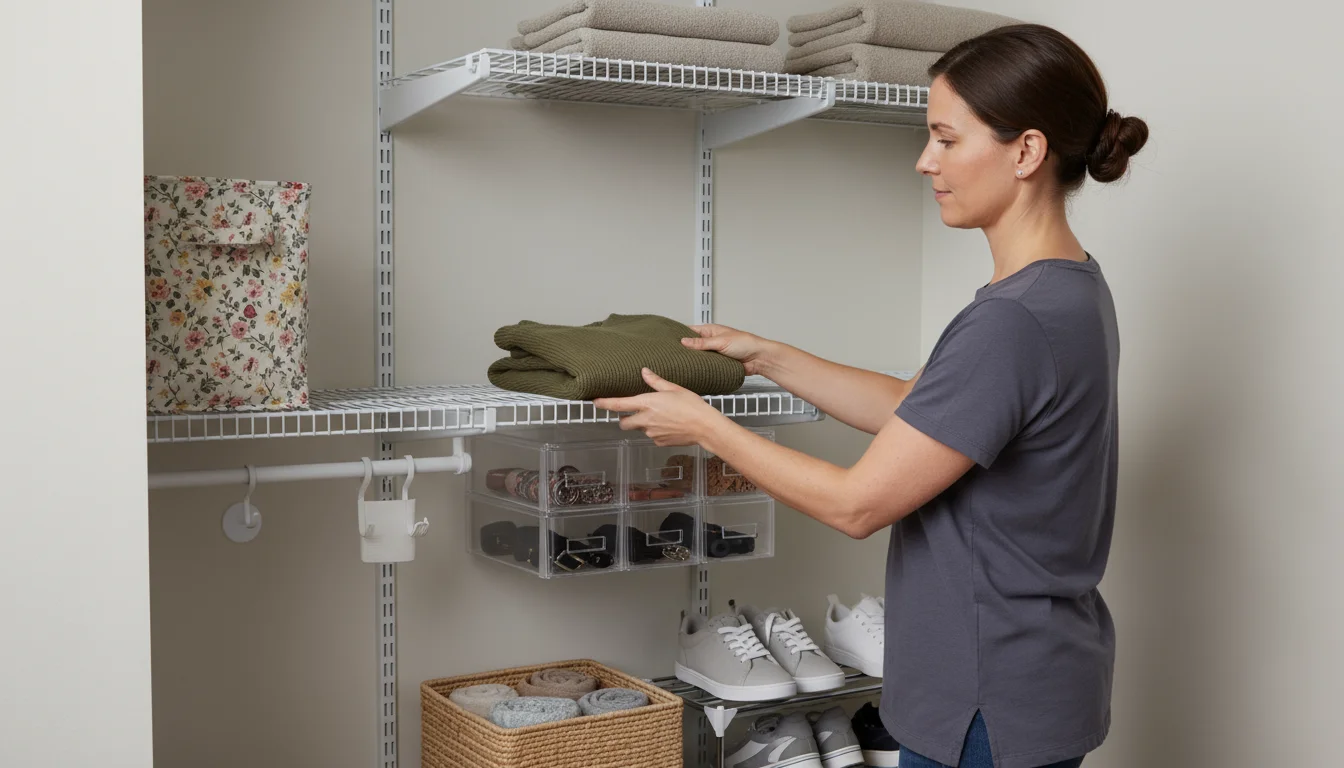
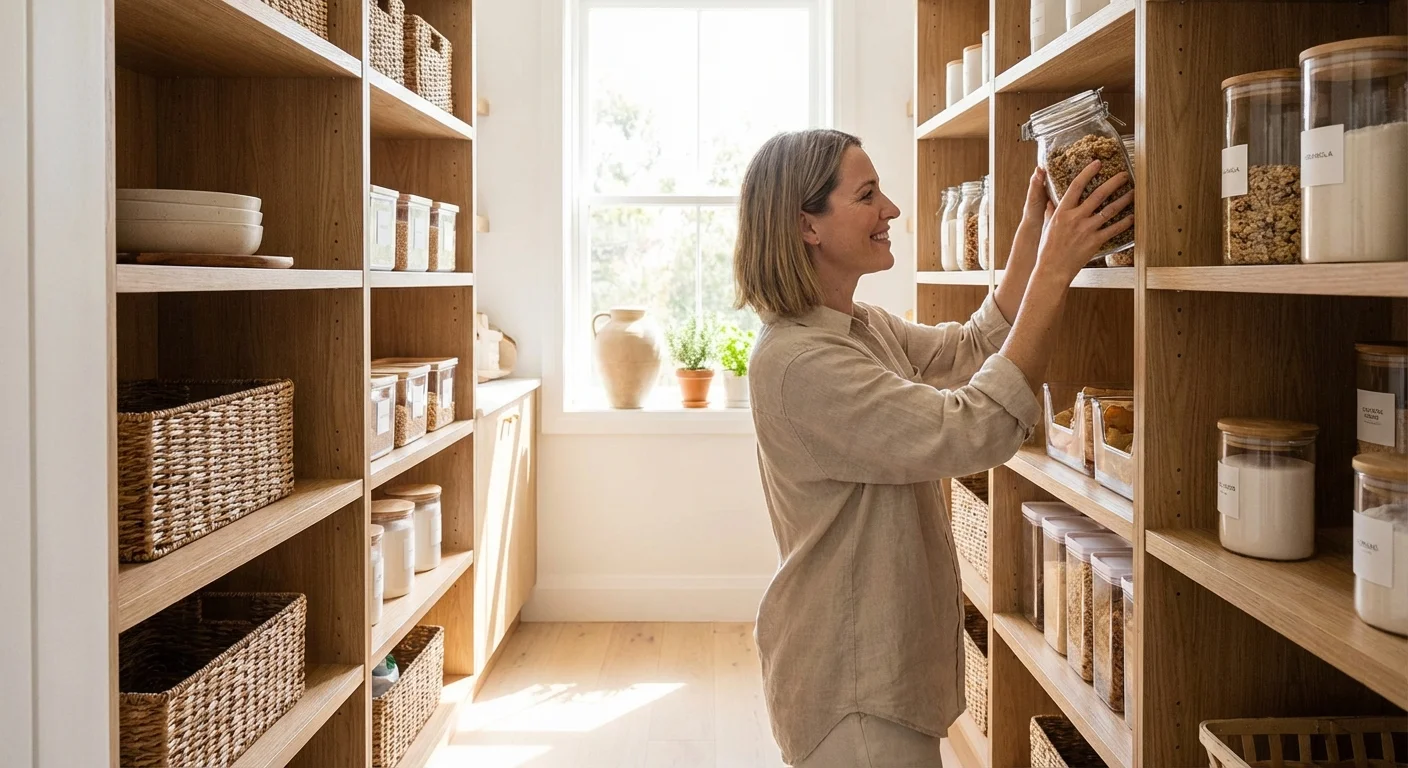
Smart Storage Solutions for Every Item
A custom closet system allows you to create dedicated homes for all your belongings. Maximize efficiency with these smart storage solutions, keeping your budget closet functional and tidy.
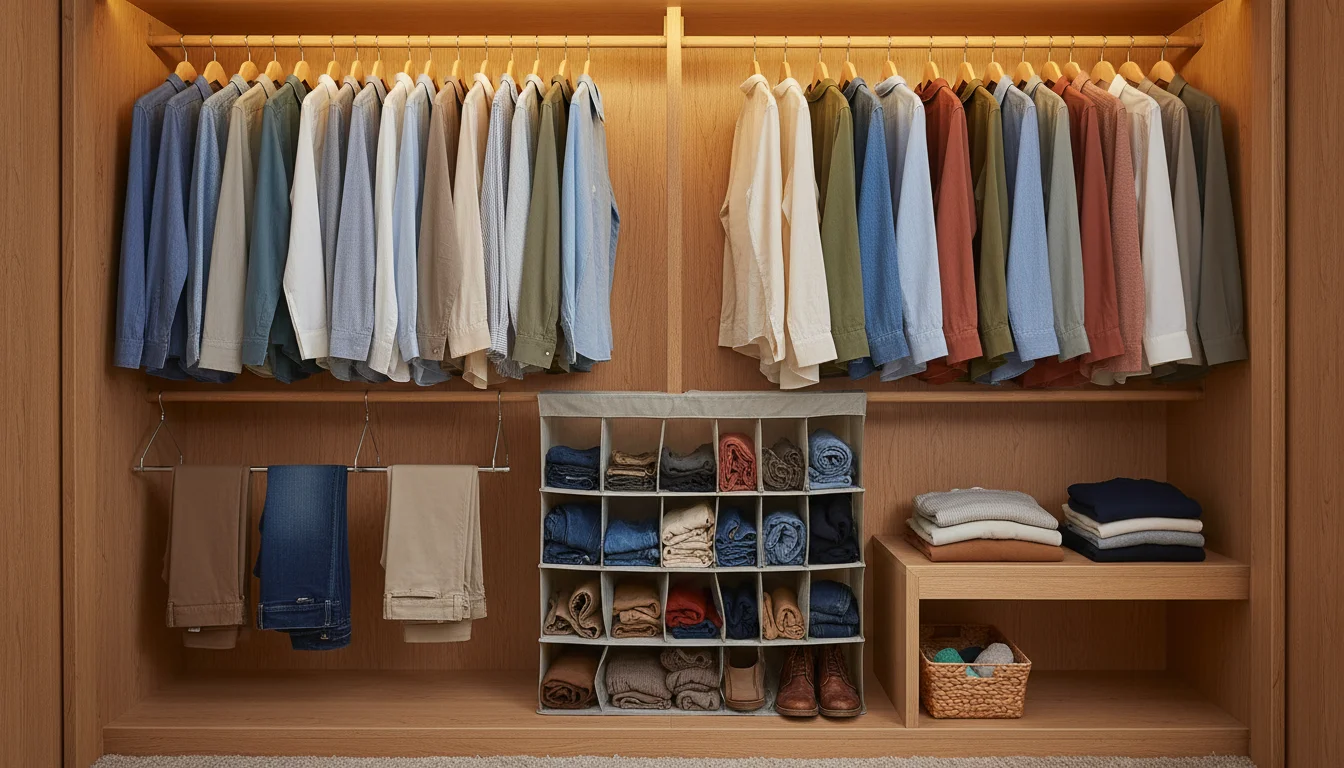
Hanging Solutions
- Double-Hanging Rods: Utilize vertical space by installing two hanging rods, one above the other. This works perfectly for shirts, blouses, skirts, and folded pants, effectively doubling your hanging capacity.
- Tiered Hangers: Use multi-level hangers for pants or skirts, saving rod space.
- Hooks: Install hooks on the back of the closet door or on vertical panels for belts, scarves, bags, or even frequently worn jackets.
Shelving Solutions
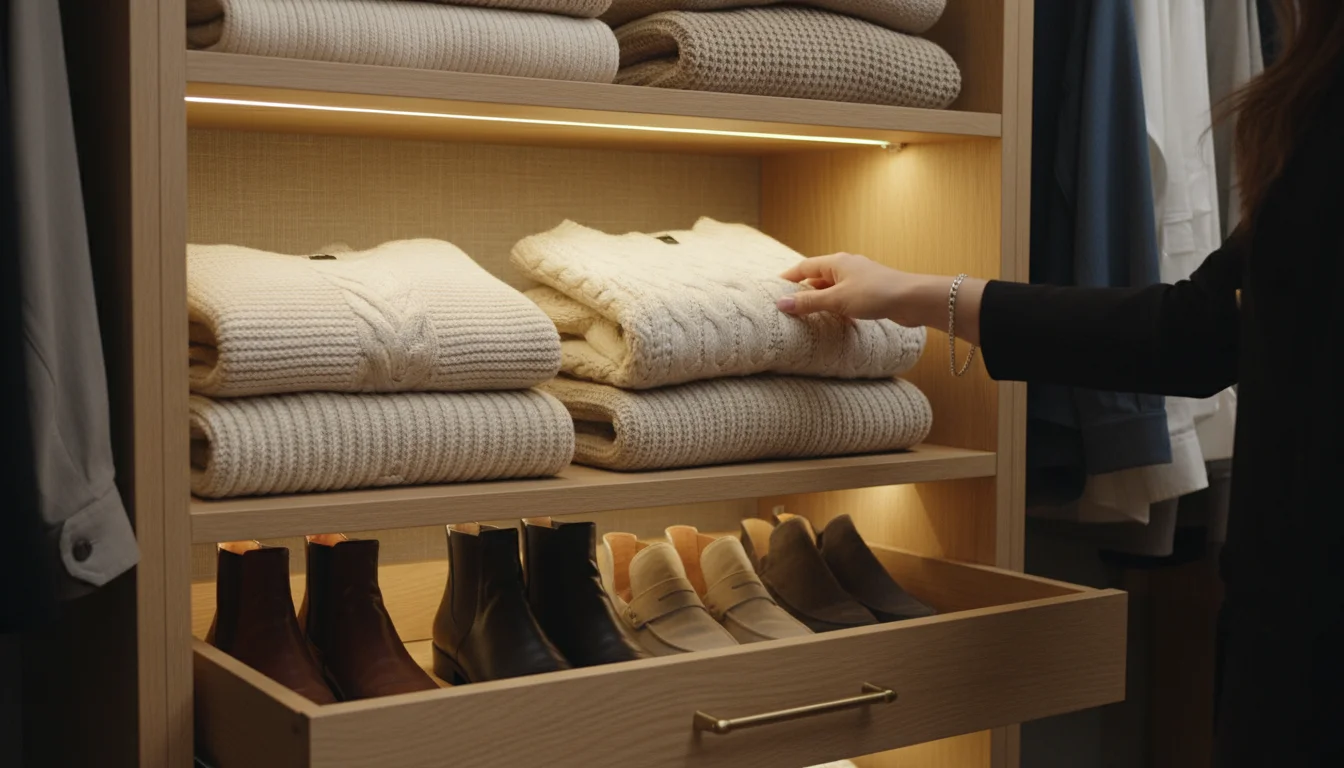
- Adjustable Shelves: If your system allows, adjust shelf heights to accommodate changing needs, from stacks of sweaters to taller boots or hat boxes.
- Shelf Dividers: Keep stacks of clothes tidy with simple shelf dividers. You can find affordable plastic or wire options, or even make your own from thin plywood.
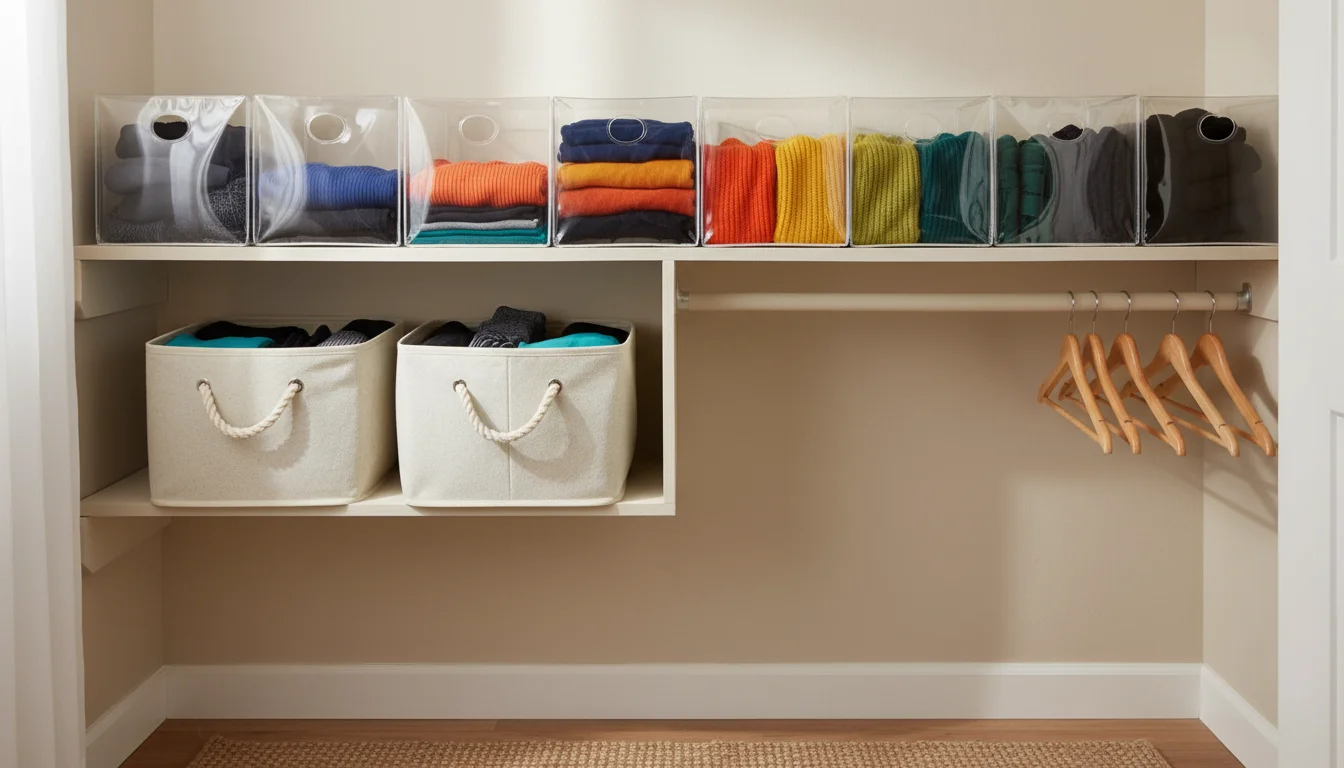
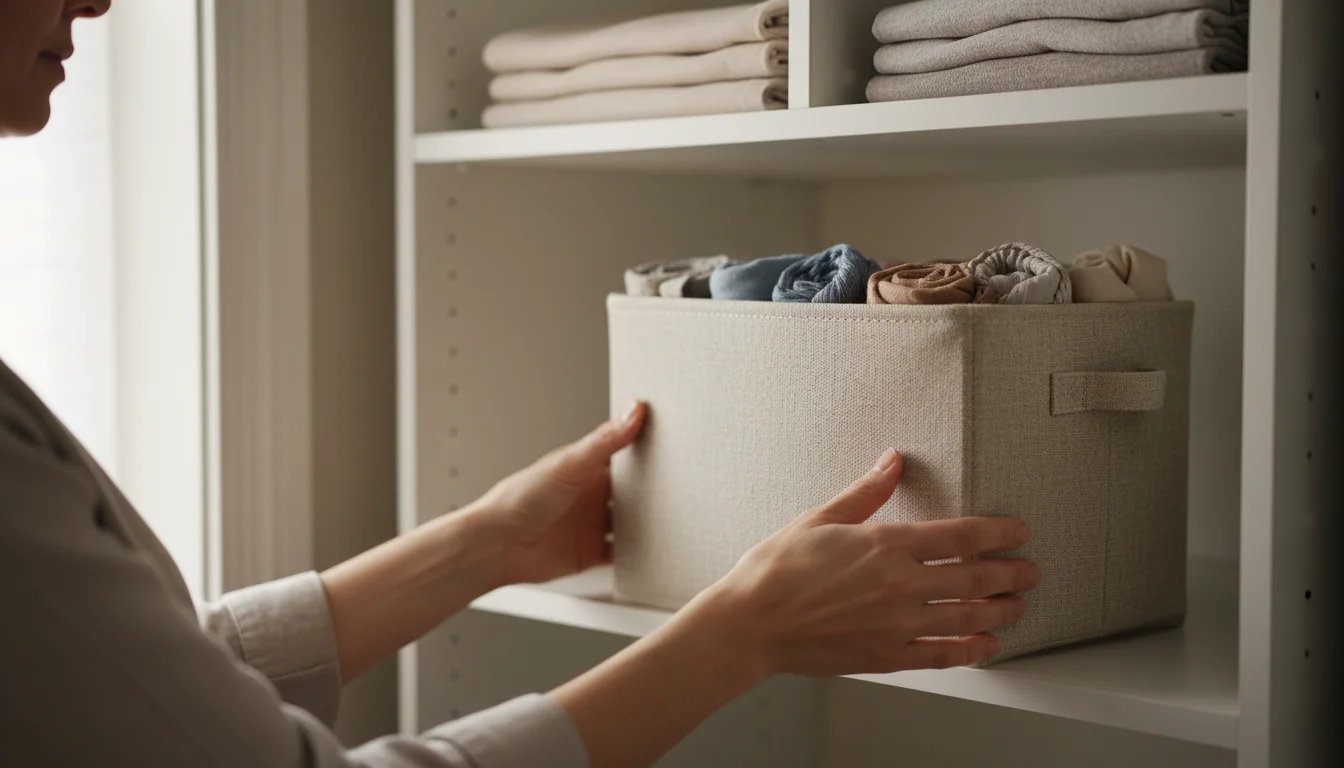
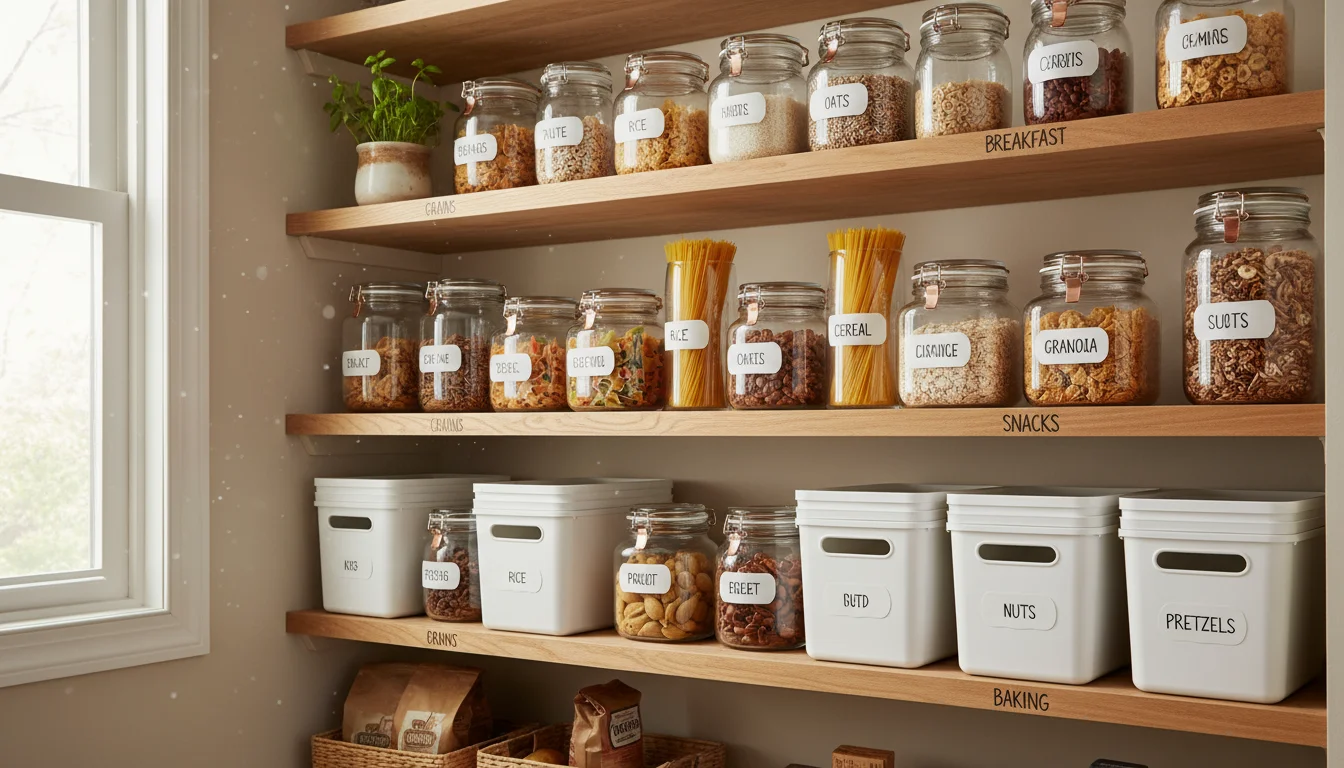
- Bins and Baskets: Use attractive, uniform bins or baskets on shelves to contain smaller items like accessories, underwear, or activewear. This creates a clean look and prevents items from toppling over. Clear bins make it easy to see contents.

Drawer and Container Solutions
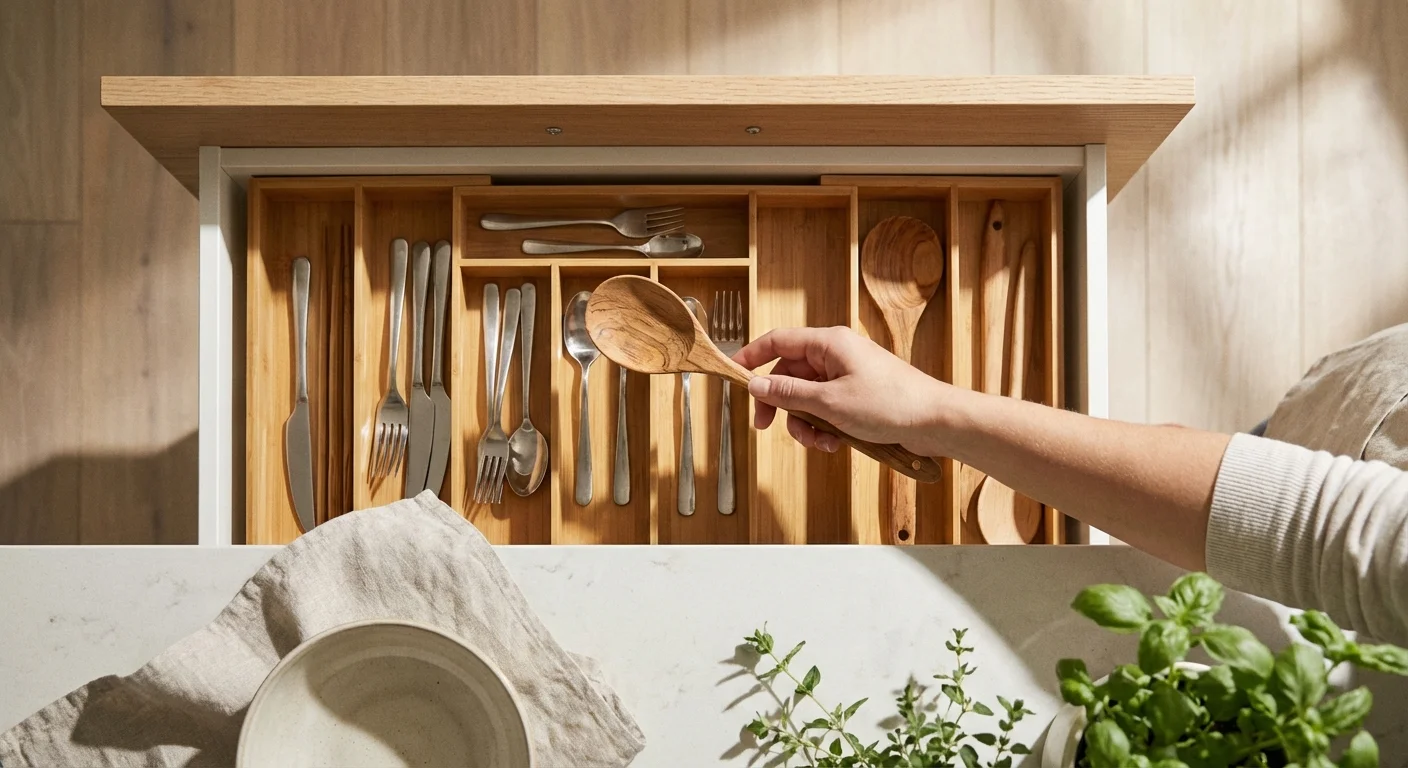
- DIY Drawers: If you built drawers, use drawer dividers to separate socks, undergarments, or ties.
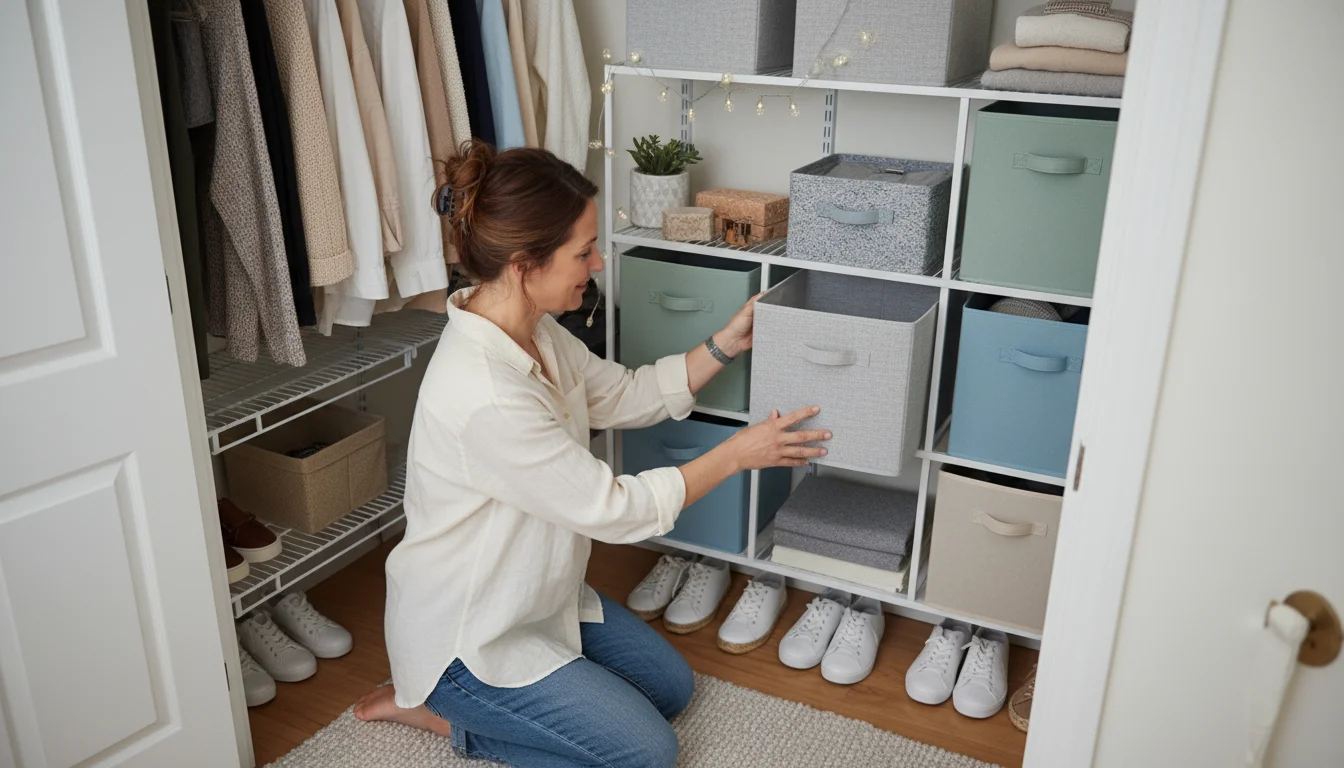
- Stackable Storage Cubes: For a super budget-friendly option, stackable fabric or plastic cubes can serve as “drawers” on shelves or on the floor. These are readily available and versatile.
- Under-Bed Storage: Do not overlook under-bed storage for out-of-season items or bulky blankets.
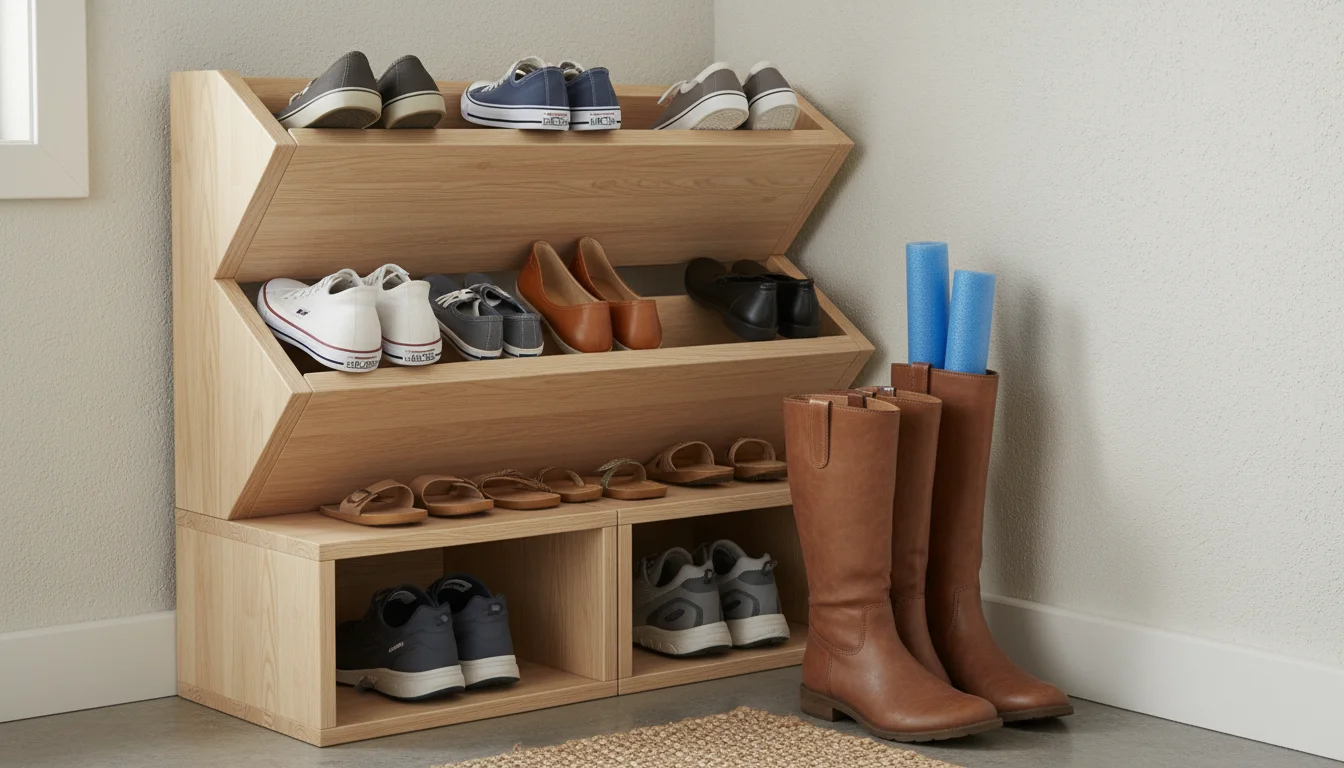
Shoe Storage
- Angled Shelves: Create angled shelves for shoes, allowing you to see each pair easily. This can be as simple as adding a small lip to a flat shelf.
- Shoe Cubbies: Build small cubbies or use stackable shoe organizers to keep pairs together and prevent a messy pile.
- Boot Shapers: Use boot shapers or pool noodles inside tall boots to help them maintain their shape and stand upright on shelves or the floor.
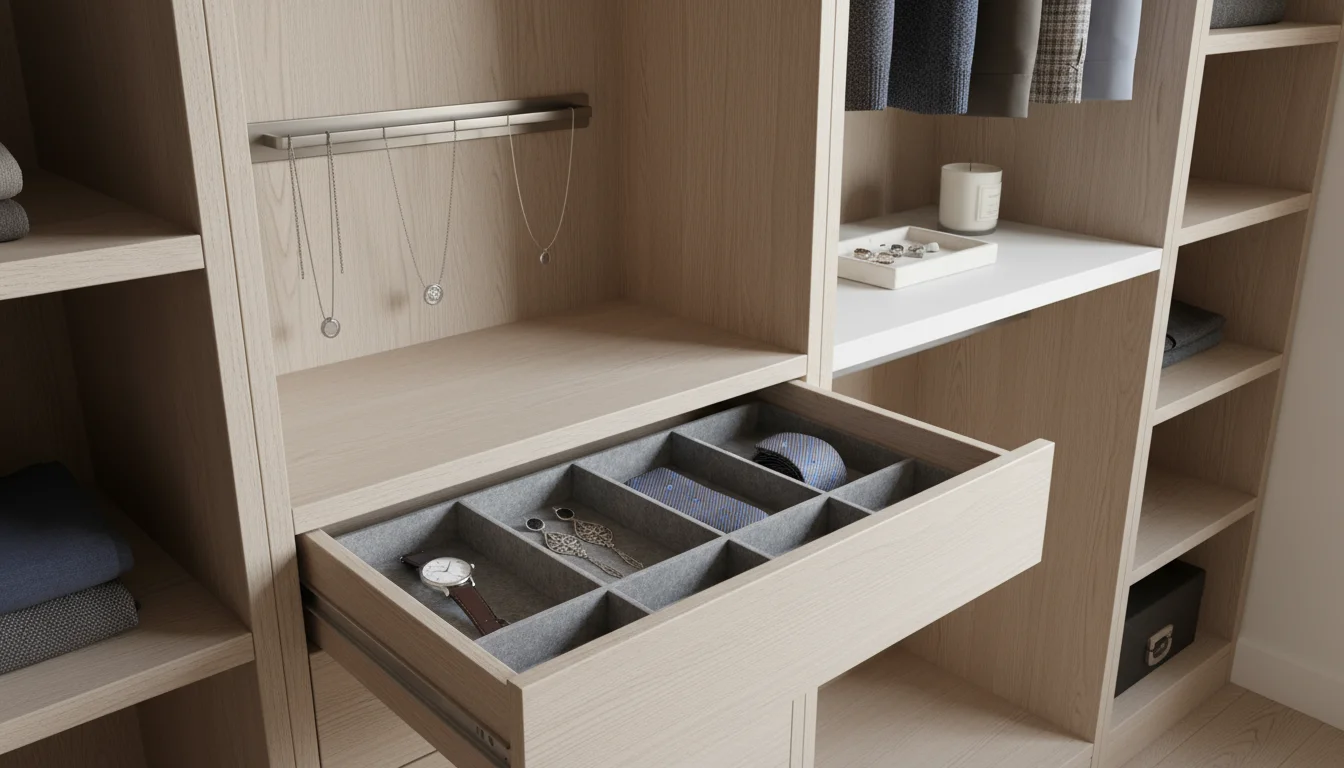
Accessory Organization
- Jewelry Organizers: Hang jewelry organizers on the wall or inside a cabinet door.
- Drawer Inserts: Use shallow drawer inserts with compartments for jewelry, watches, or ties.
- Small Trays: Place small decorative trays on shelves for easy access to frequently used items like keys, wallets, or sunglasses.
By thoughtfully applying these solutions, your budget closet system will provide a place for everything, making your daily routine smoother and keeping your space impeccably organized.
Adding Finishing Touches and Personalization
Once the basic structure of your DIY closet system is complete, the finishing touches elevate its appearance and functionality. These details make your budget closet feel truly custom and inviting.
Aesthetics and Protection
- Paint or Stain: If you used raw wood or plywood, consider painting or staining it to match your room’s decor or to give it a polished look. Light colors can make a small closet feel larger. Use a low-VOC paint for better indoor air quality, a recommendation often given by the EPA.
- Edge Banding: For melamine or laminated particleboard, ensure all exposed raw edges have edge banding applied. This protects the material from moisture and gives a clean, finished appearance.
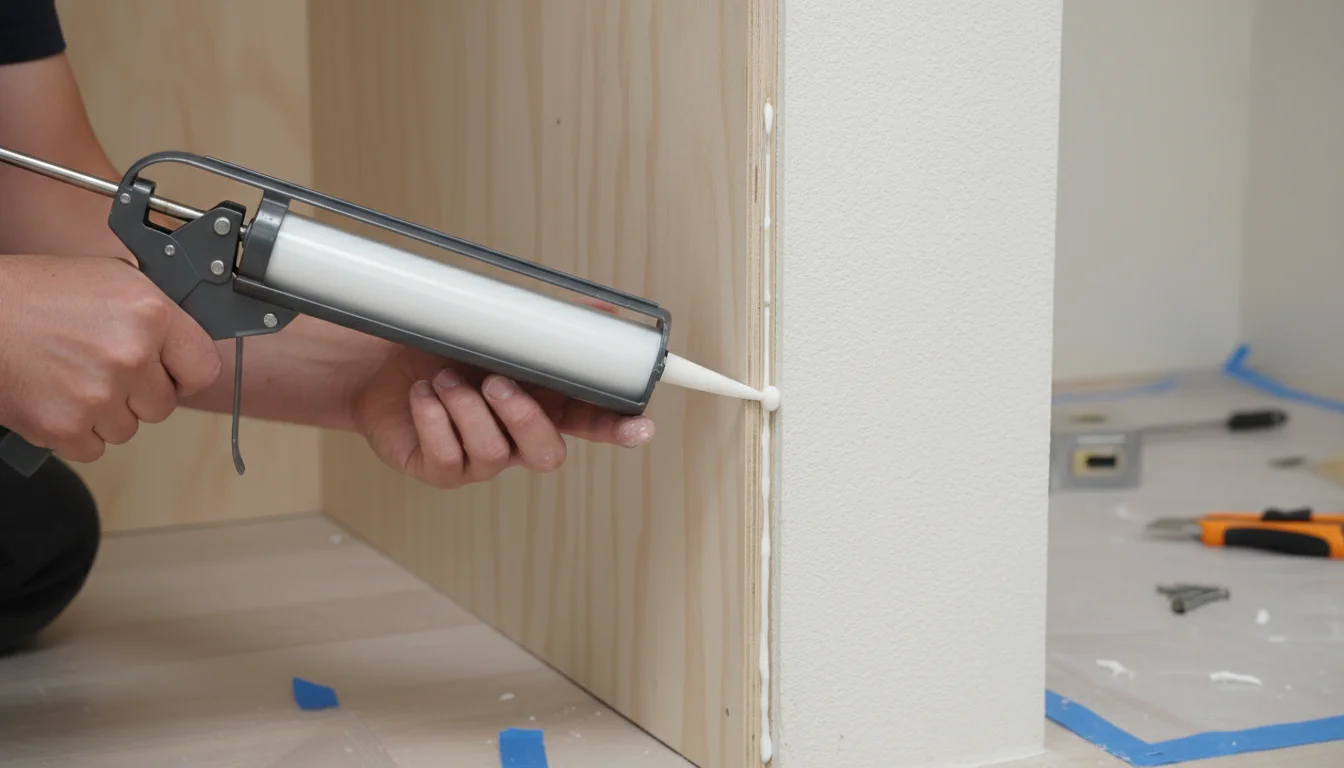
- Caulking and Trim: Fill any gaps between your new closet system and the walls with paintable caulk. This creates a seamless, built-in look. You can also add decorative trim pieces around the edges of shelves or vertical panels for a more upscale feel.
Lighting
Good lighting transforms a dark closet into a bright, functional space. Consider budget-friendly options:
- Battery-Operated LED Puck Lights: Easily installed with adhesive, these provide targeted light on shelves or in dark corners.
- LED Strip Lights: Affordable and can be cut to length, these offer continuous light along shelves or inside vertical panels. Look for motion-activated versions.
- Plug-in Wall Sconces: If you have an outlet nearby, a simple plug-in sconce adds both light and style.
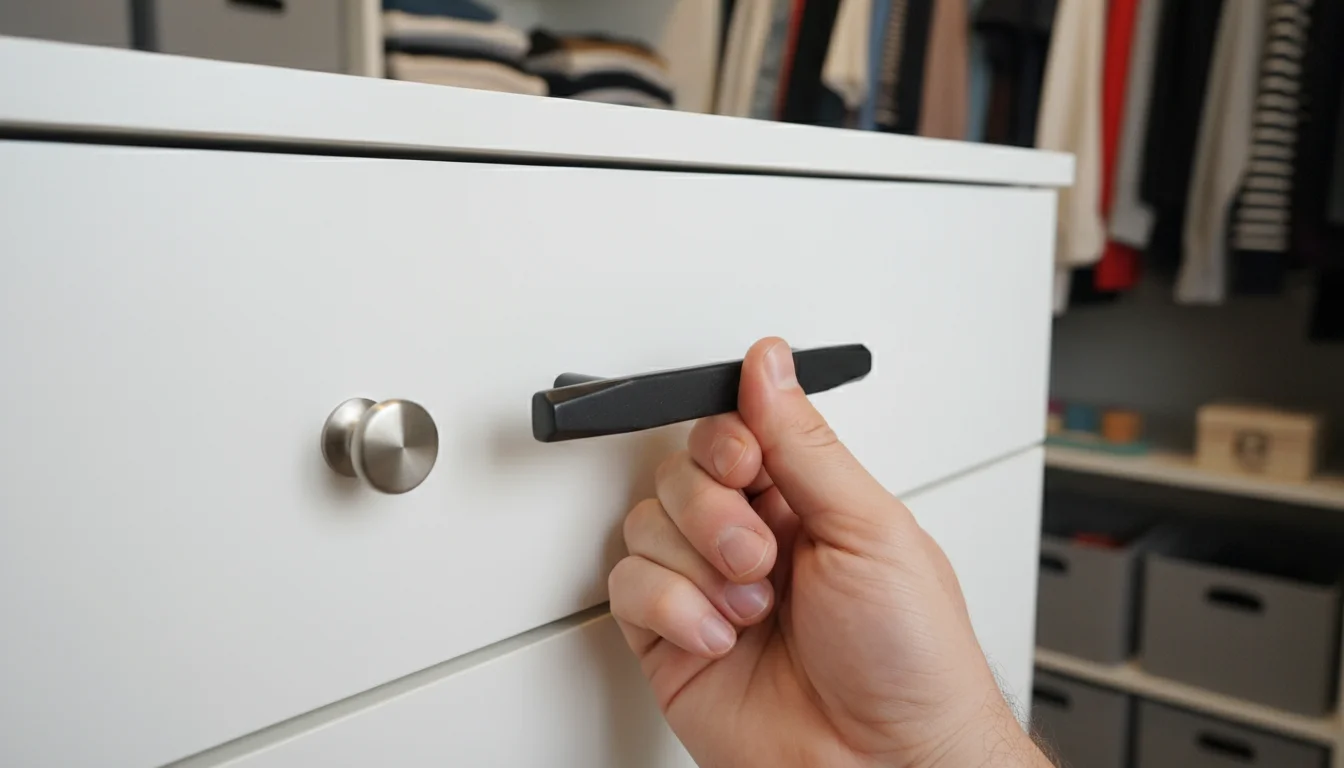
Hardware Upgrade
Even on a budget, you can upgrade handles and knobs on drawers or cabinet doors. Swapping out basic hardware for something more decorative or stylish makes a significant impact on the overall look of your closet. Look for sales or secondhand options for unique finds.

Personalized Storage Accessories
While the structure offers the framework, storage accessories provide the fine-tuning. Invest in a few key pieces that enhance your closet’s functionality:
- Matching Hangers: Switching to slim, velvet hangers not only saves space but also creates a cohesive, high-end look. You can often find these in bulk at discounted prices.
- Decorative Bins and Baskets: Choose bins that complement your closet’s aesthetic. They are perfect for hiding clutter and adding a touch of style. Labeling these bins makes finding items even easier.
- Jewelry Trays or Wall Organizers: Keep smaller accessories organized and visible.
These finishing touches do not require a large budget, but they greatly contribute to the overall satisfaction and usability of your custom closet system. They help solidify your closet organization efforts.
Maintaining Your Budget Closet System
Building a custom closet system is a significant achievement. Maintaining it ensures its longevity and continues to support your closet organization goals. A few simple practices keep your space functional and beautiful for years.

Regular Decluttering
The biggest enemy of closet organization is accumulation. Schedule regular decluttering sessions, perhaps seasonally. This prevents your system from becoming overwhelmed. Re-evaluate items, donate what you no longer need, and ensure every item truly belongs in your closet. This maintains the intentional design you worked hard to create.

Keep it Clean
Dust and dirt accumulate everywhere, even in closets. Wipe down shelves and hanging rods periodically with a damp cloth. For melamine or laminated surfaces, a mild all-purpose cleaner works well. For painted or stained wood, use cleaners appropriate for that finish. Regular cleaning not only preserves your system but also keeps your clothes fresh.
Inspect and Repair
Periodically check your system for wear and tear. Are any screws loose? Are shelves bowing under weight? Do hanging rods feel secure? Tighten any loose hardware. If a shelf shows signs of bowing, redistribute weight or add additional support brackets. Addressing minor issues promptly prevents them from becoming larger, more costly problems down the line. This proactive approach saves you time and money.

Respect Weight Limits
While your DIY closet system is sturdy, it has limits. Avoid overloading shelves or hanging rods. Distribute heavier items evenly. If you find yourself consistently overloading an area, consider adding more support or reconfiguring that section to better accommodate the weight. This is particularly important for budget closet materials like particleboard.
Adapt as Your Needs Change
Life changes, and so do wardrobes. Your DIY closet system should be adaptable. If you used adjustable shelving, reconfigure it as your needs evolve. If you built fixed shelves, you can always add standalone drawer units or storage cubes to modify the space without a major overhaul. The beauty of a custom system is its ability to grow with you. Effective closet organization adapts to your life.
By implementing these maintenance tips, you protect your investment, keep your closet looking great, and ensure it continues to serve your organizational needs efficiently. You effectively preserve your `diy closet system` and your `budget closet` for the long term.
Common Mistakes and How to Avoid Them
Even the most organized DIYer can encounter pitfalls. Knowing common mistakes in advance helps you avoid them, ensuring a smoother and more successful custom closet project.
- Underestimating Decluttering:
Mistake: You design a system for your current wardrobe volume, without first decluttering. This leads to an overloaded system from day one.
Avoid: Be ruthless with decluttering *before* you even start planning. Only design for the items you truly need and love. This makes your `closet organization` sustainable.
- Inaccurate Measurements:
Mistake: Rushing measurements results in ill-fitting shelves or components that do not work with your space.
Avoid: Measure everything at least twice. Use a metal tape measure for accuracy. Draw a detailed diagram with all dimensions. Account for baseboards, uneven walls, and door frames.
- Ignoring Wall Studs:
Mistake: Anchoring directly into drywall without hitting studs or using proper anchors. This leads to shelves pulling away from the wall, especially with weight.
Avoid: Always use a stud finder. Mount all weight-bearing components (cleats, vertical supports) directly into wall studs whenever possible. If studs are unavailable, use heavy-duty toggle bolts or expanding metal drywall anchors rated for the expected weight.
- Overloading Shelves:
Mistake: Designing shelves that are too long for the material’s strength or placing too many heavy items on them, causing bowing or collapse.
Avoid: For budget materials like particleboard or thin plywood, keep shelf spans shorter (under 30-36 inches) or add central support if spans are longer. Distribute heavy items evenly. Consider the material’s load capacity during your design phase.
- Not Accounting for Door Swing:
Mistake: Placing shelves or hanging rods too close to the closet opening, preventing the closet door from fully closing or interfering with access.
Avoid: Ensure adequate clearance for the door to open and close freely. Stand inside the closet and visually check your design. Consider the depth of your items when on shelves or hanging.
- Forgetting About Future Needs:
Mistake: Creating a system that is too rigid, making it difficult to adapt to changes in your wardrobe or lifestyle.
Avoid: Incorporate some flexibility. Adjustable shelving standards allow you to reconfigure shelves easily. Open shelving or cubbies accommodate various sized bins, providing versatility. This helps maintain your `diy closet system` long term.
- Skipping Safety Precautions:
Mistake: Working without safety glasses, gloves, or proper ventilation. This risks injury from power tools, splinters, or fumes.
Avoid: Always wear safety glasses when cutting or drilling. Use a dust mask. Work in a well-ventilated area, especially when painting or staining. Familiarize yourself with all tools before use.
By being aware of these common missteps, you approach your `budget closet` project with greater confidence and achieve a lasting, functional solution for your home.

Frequently Asked Questions
Can I really build a custom closet system on a tight budget?
Absolutely, you can. The key to building a budget closet system involves careful planning, smart material choices, and a willingness to do the work yourself. Utilizing affordable materials like melamine, plywood, or common pine boards, coupled with basic hardware and DIY construction methods, dramatically cuts costs compared to professional installations. Focus on essential components first, like shelving and hanging rods, and add decorative elements later if your budget allows.
What are the most budget-friendly materials for a DIY closet?
The most budget-friendly materials often include melamine boards, laminated particleboard, or standard plywood. Melamine and laminated particleboard offer pre-finished surfaces, requiring less time and money for finishing. Plywood is strong and versatile, but it usually needs sanding, priming, and painting to achieve a polished look. Wire shelving systems also represent a very low-cost option, though they offer a different aesthetic.
How much time does a DIY custom closet project typically take?
The time required for a DIY custom closet system varies significantly based on the complexity of your design, your skill level, and the size of your closet. A simple system with basic shelving and hanging rods for a reach-in closet might take a dedicated weekend or two. A more elaborate walk-in closet with drawers and cubbies could take several weekends to complete. Allocating ample time for planning, measuring, and cutting accurately reduces overall project time and frustration.
Do I need advanced carpentry skills to build a DIY closet?
No, you do not need advanced carpentry skills for most budget DIY closet systems. Basic knowledge of using a drill, a level, and making straight cuts with a saw is often sufficient. Many hardware stores offer lumber cutting services, which simplifies the process further. Focus on simple, rectangular designs initially. As your confidence grows, you can tackle more intricate elements like drawers or custom cubbies.
How do I ensure my DIY closet system is sturdy and durable?
Ensure your `diy closet system` is sturdy by anchoring all components securely to wall studs whenever possible. Use heavy-duty wall anchors when studs are not available. Use appropriate screws and hardware for the materials you choose, and always use wood glue in addition to screws for stronger joints when assembling wooden components. Avoid overloading shelves or hanging rods, and use center supports for longer rods to prevent bowing. Regular inspection and tightening of hardware also contribute to long-term durability.
For expert home organization guidance, visit
The Spruce — Home Organization,
Real Simple — Organizing,
Good Housekeeping — Organization,
Better Homes & Gardens — Home Organization and
EPA — Indoor Air Quality.
Disclaimer: This article is for informational purposes only and is not a substitute for professional advice. Consult professional organizers or specialists for personalized recommendations.
Leave a Reply