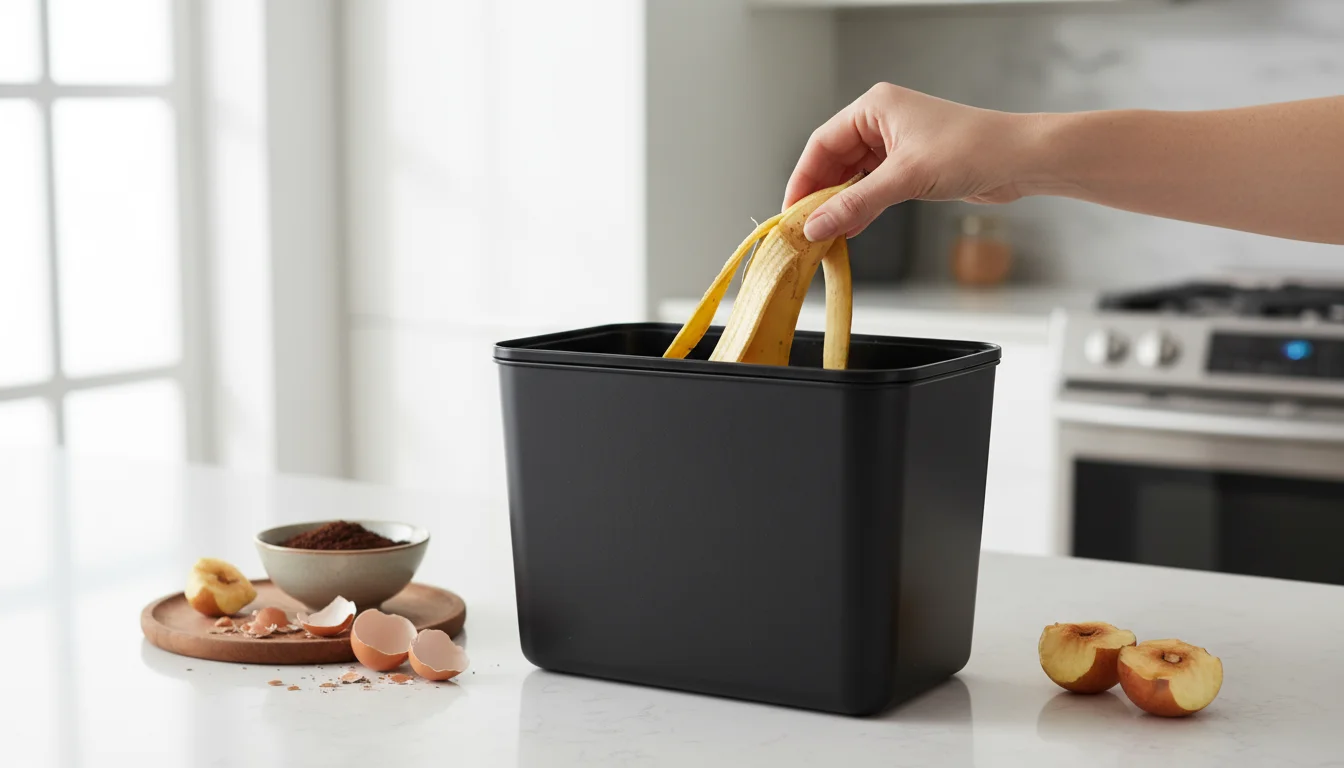
Bringing sustainable living practices into your home does not need to feel overwhelming. Composting offers a simple, powerful way to reduce waste, enrich your garden, and contribute to a healthier planet. This beginner’s guide breaks down everything you need to know about home composting, transforming kitchen scraps and yard waste into nutrient-rich soil amendment. You will discover practical methods, troubleshoot common issues, and learn how to integrate composting seamlessly into your daily routine, regardless of your living space or budget.
Swapping out disposables for reusable household products is another easy way to complement your composting efforts.
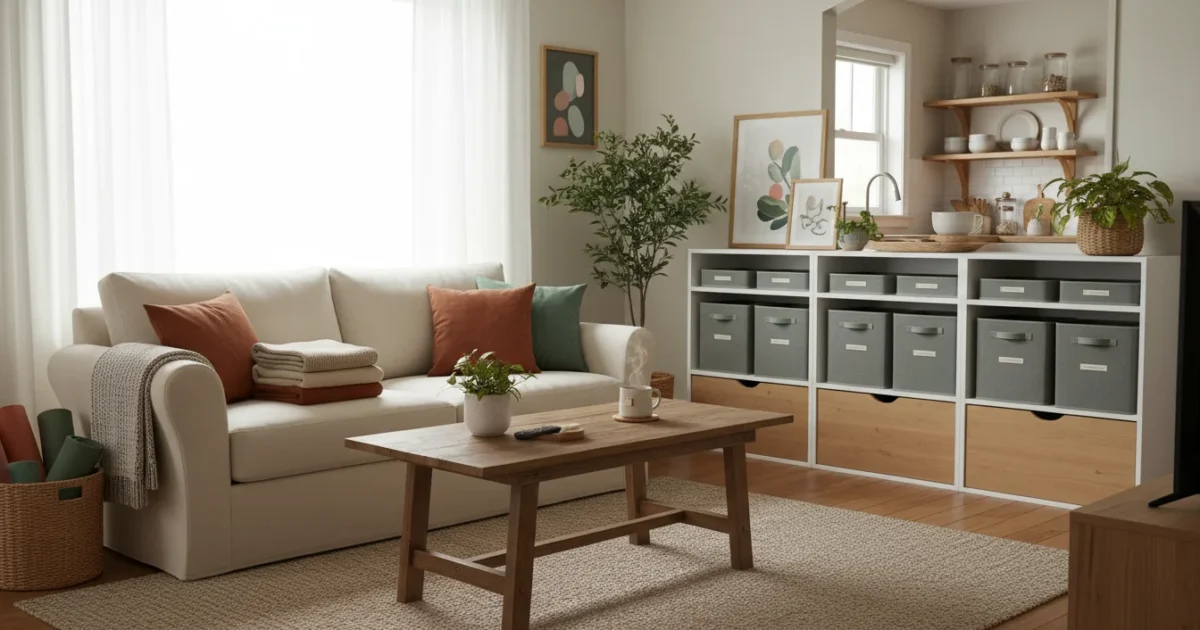
Integrating small tasks like sorting scraps into a daily cleaning routine makes sustainable living feel effortless.
Why Compost at Home? Understanding the Benefits
You might wonder if composting is truly worth the effort. The answer is a resounding yes, and the benefits extend far beyond your garden. Home composting is a cornerstone of sustainable living, offering ecological, economic, and practical advantages for you and your community.
Using organic compost is a natural alternative to non-toxic cleaning for your outdoor environment, keeping your garden free from harsh chemicals.
Starting a compost bin is a great addition to a seasonal spring cleaning routine as you refresh your outdoor spaces.
Environmental Impact: Reducing Waste and Emissions
Every year, organic waste like food scraps and yard trimmings make up a significant portion of landfills. When these materials decompose in an oxygen-deprived environment, they produce methane, a potent greenhouse gas. By choosing home composting, you divert this waste from landfills, directly reducing methane emissions. According to the Environmental Protection Agency (EPA), source reduction and composting are among the most effective ways to manage solid waste, significantly decreasing landfill burden and promoting healthier ecosystems. Your efforts contribute to a healthier planet, one kitchen scrap at a time.

Soil Enrichment and Plant Health
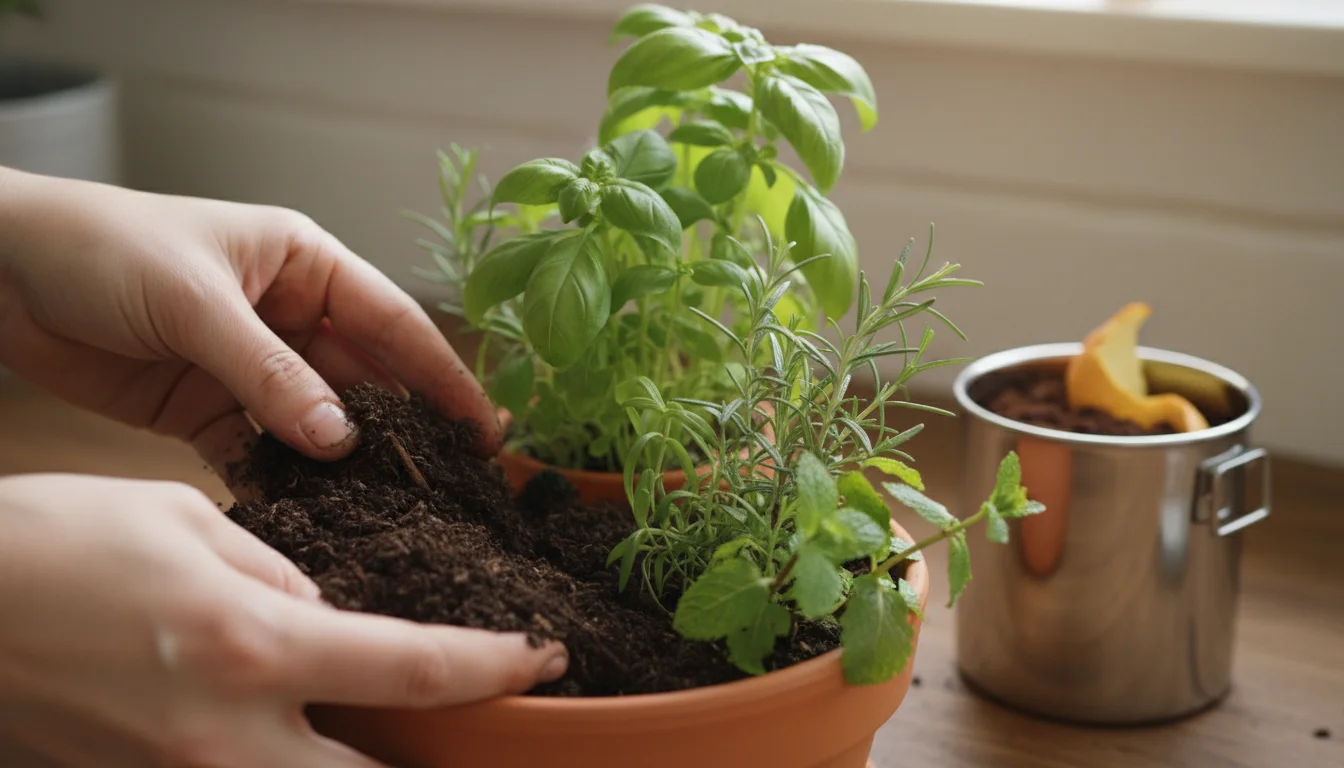
Finished compost, often called “black gold,” is an invaluable soil amendment. It improves soil structure, aeration, and water retention, which means your plants thrive with less watering. Compost introduces beneficial microorganisms, suppresses plant diseases, and slowly releases essential nutrients, reducing your need for chemical fertilizers. Whether you maintain a sprawling garden or a few potted herbs, compost provides a natural, organic boost that leads to healthier, more vigorous plants.
Cost Savings and Resourcefulness
Think about the money you spend on potting soil, fertilizer, and even waste disposal. Composting reduces these costs by turning your kitchen and yard waste into a free, high-quality soil amendment. You transform what you once considered trash into a valuable resource, embodying a truly resourceful approach to home management. This budget-conscious practice aligns perfectly with smart home organization, making the most of what you have.

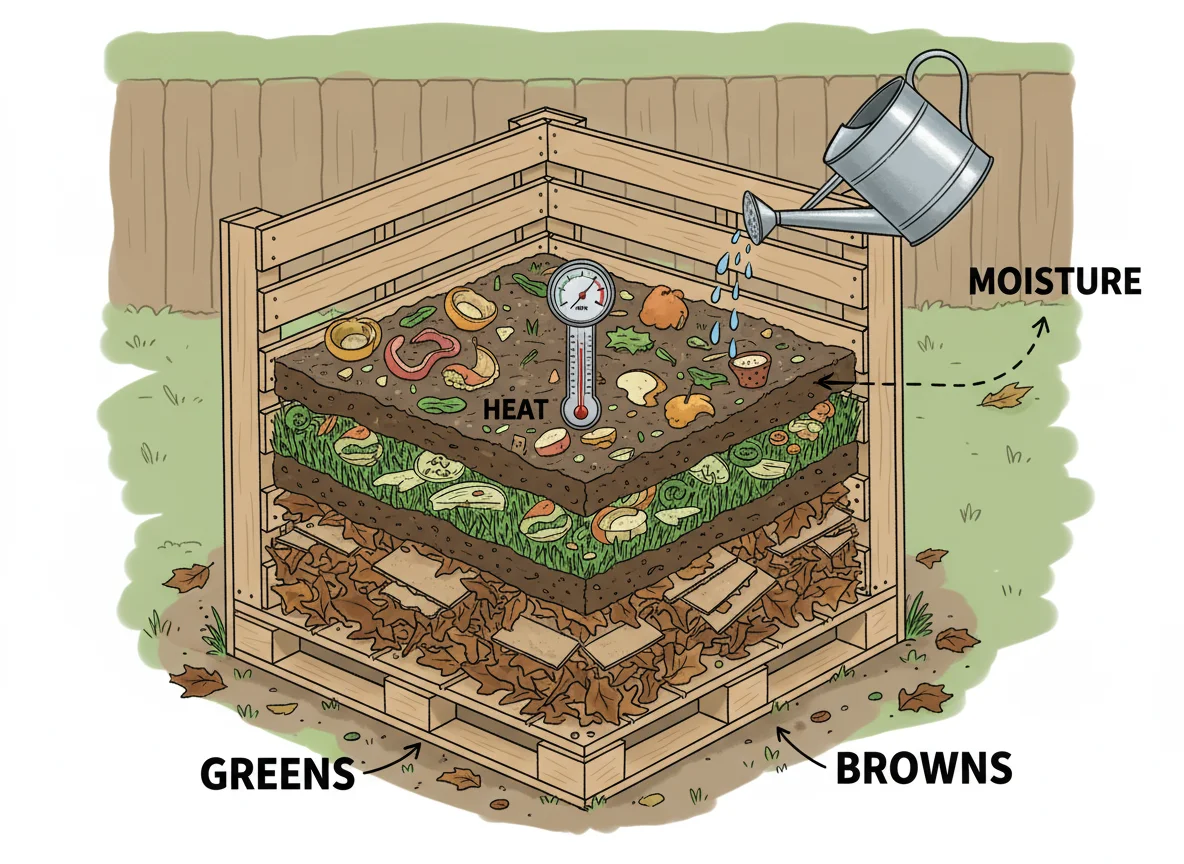
Composting Fundamentals: Greens, Browns, and Water
Composting is a natural process where microorganisms break down organic materials. To create ideal conditions for these microscopic workers, you need a balanced mix of “greens,” “browns,” and adequate moisture. Understanding this balance is fundamental to successful home composting.
Improving your yard’s efficiency with compost is as smart as lowering your home’s energy bills through small, mindful adjustments.
Managing kitchen waste effectively is a great companion to learning how to reduce plastic waste throughout your home.
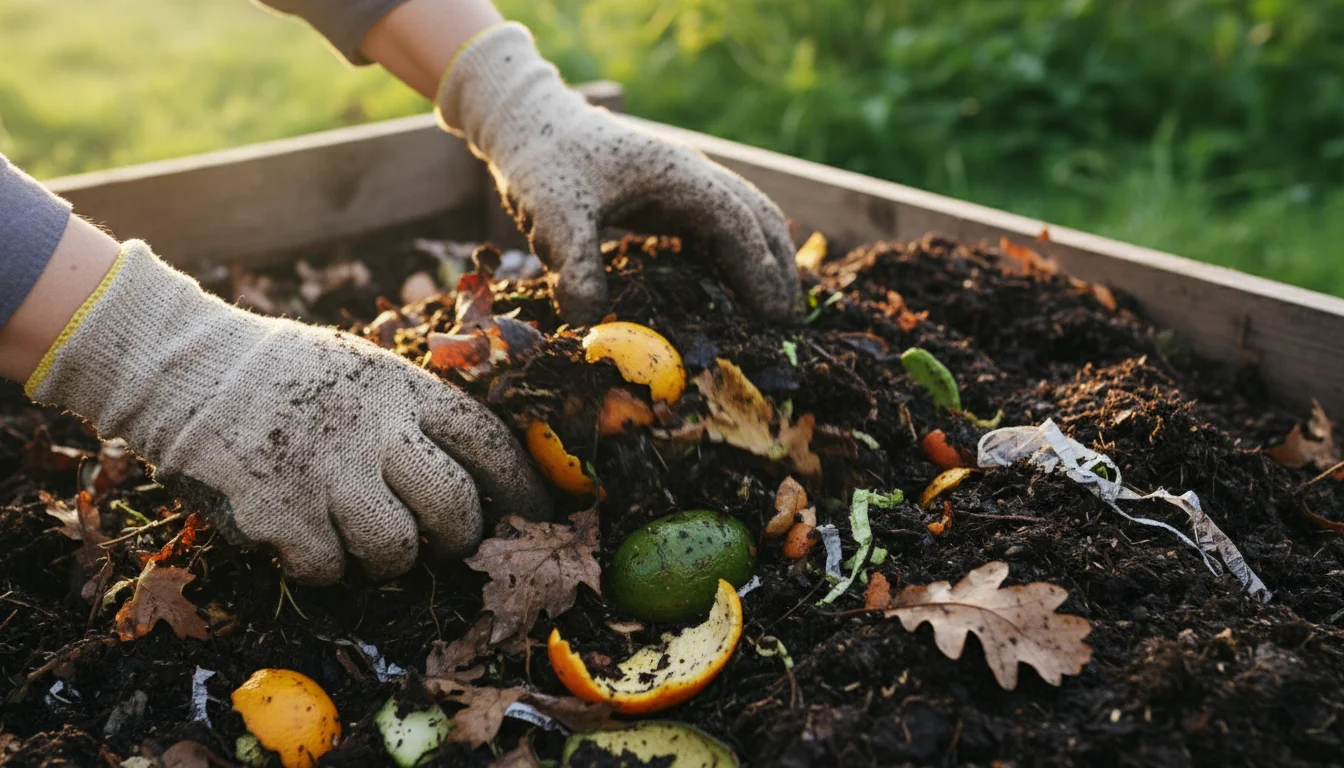
The “Greens”: Nitrogen-Rich Materials
Greens are your nitrogen sources. They tend to be moist and decompose quickly. These materials provide the protein for your compost pile’s microorganisms, fueling their activity and generating heat. Aim for a good variety of greens in your pile.
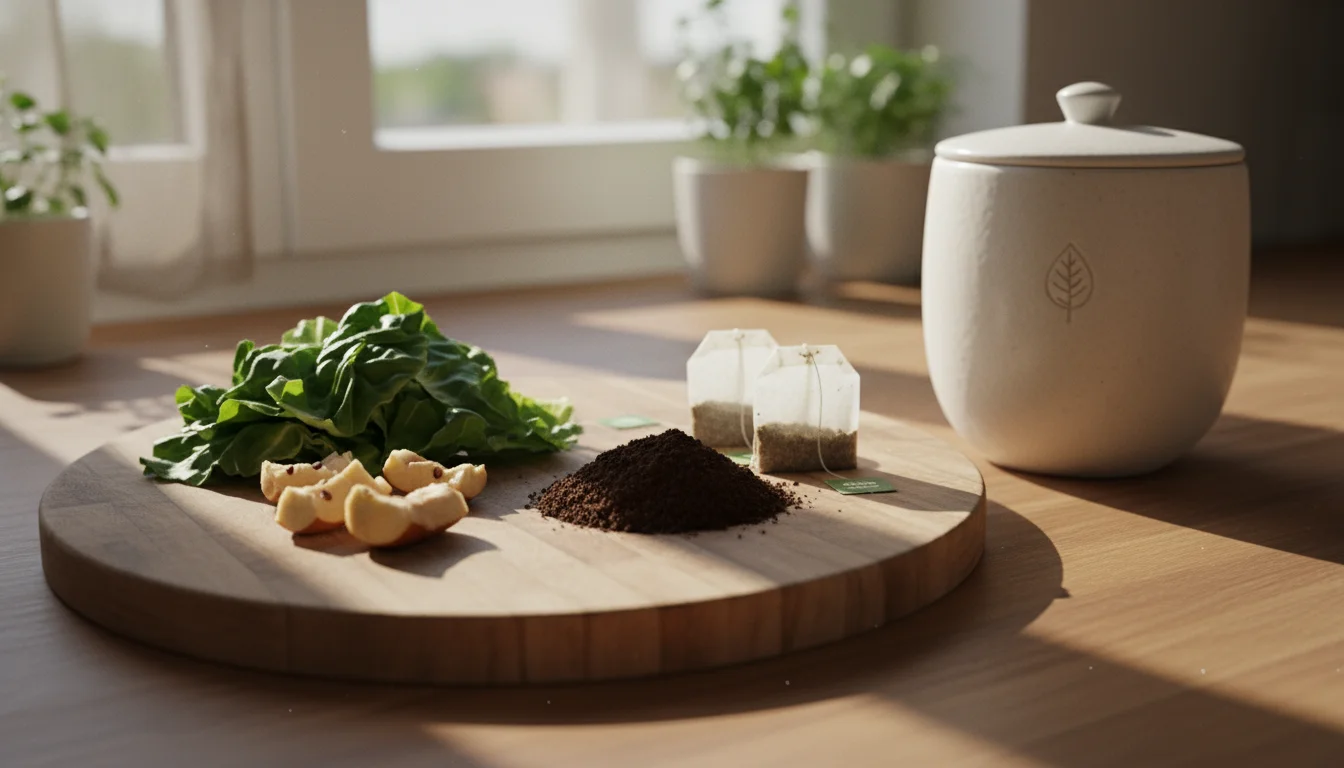
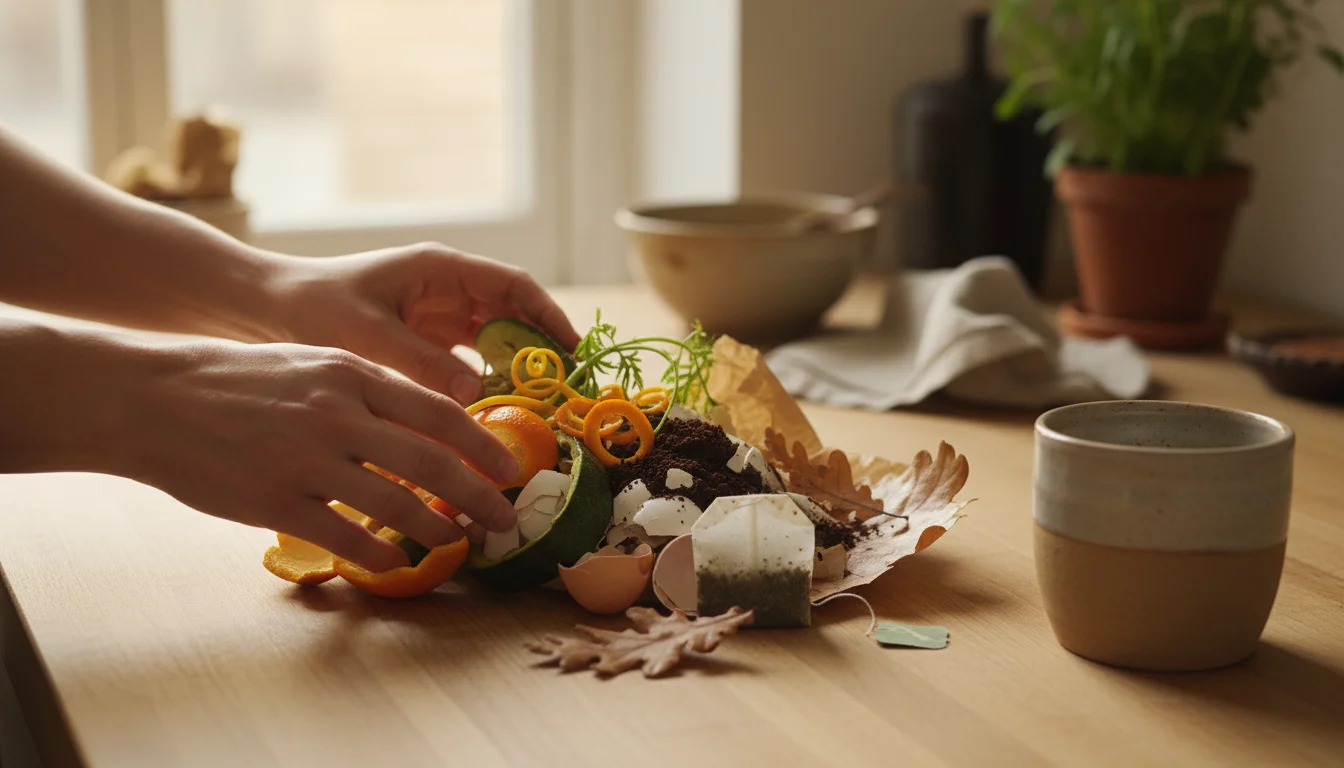
- Fruit and vegetable scraps (non-citrus preferred)
- Coffee grounds and tea bags
- Grass clippings (use sparingly to avoid matting and odor)
- Fresh plant trimmings
- Manure from herbivores (chickens, rabbits, cows, horses, but avoid pet waste)
The “Browns”: Carbon-Rich Materials
Browns are your carbon sources. They tend to be dry, woody, and break down more slowly. Browns provide energy for the microorganisms and create the airy structure within your compost pile, preventing it from becoming a wet, anaerobic mess. They also help balance the nitrogen from the greens.
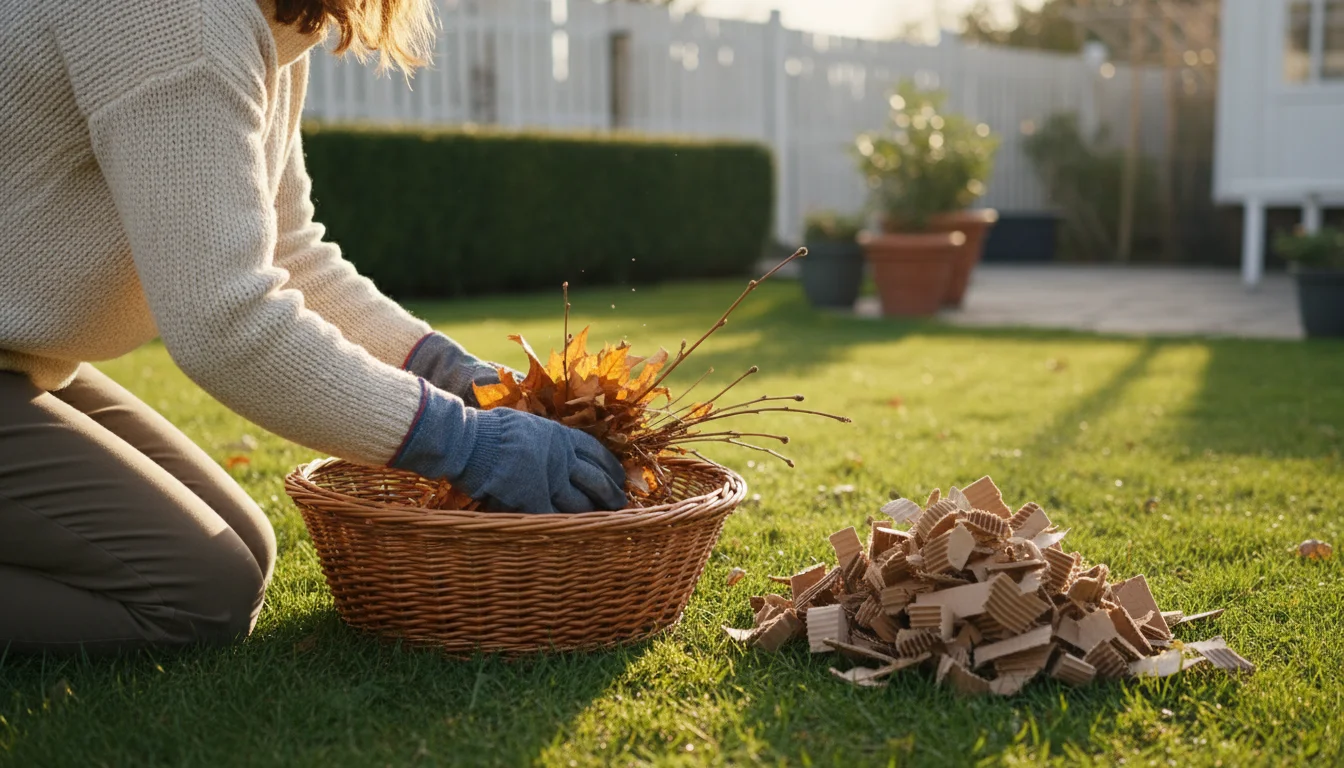
- Dried leaves
- Straw or hay
- Wood chips (use in moderation)
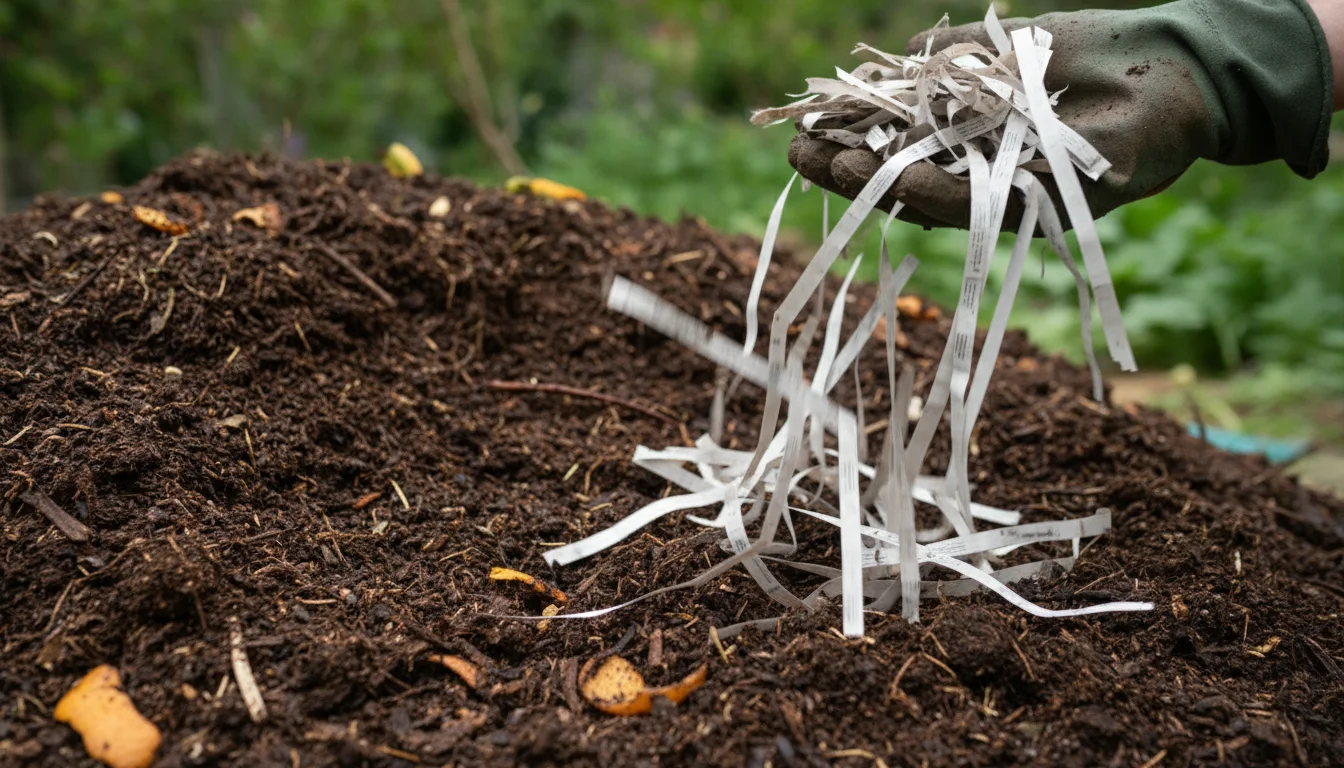
- Shredded newspaper or cardboard (avoid glossy or heavily inked paper)
- Sawdust (from untreated wood only, use sparingly)
- Pine needles
- Small twigs and branches
The Essential Role of Water
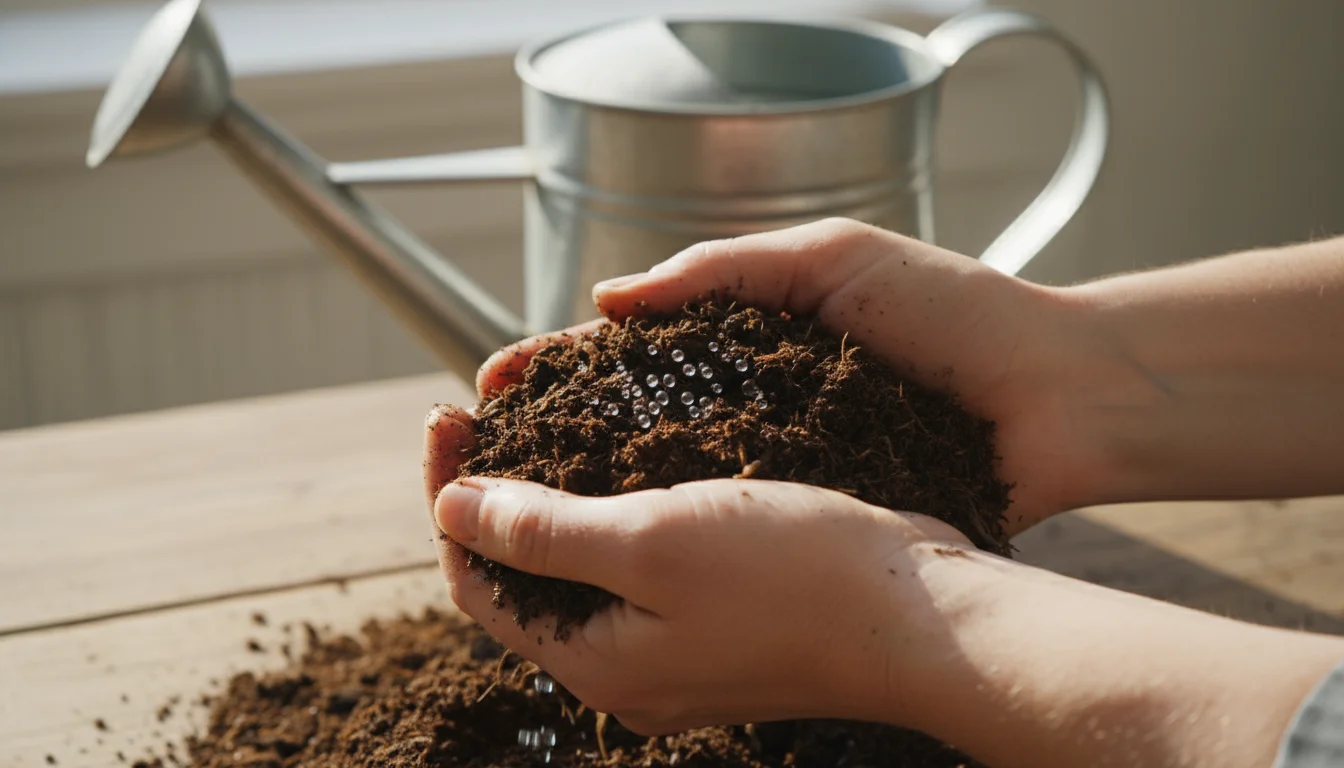
Your compost pile needs moisture, similar to a wrung-out sponge. Water is crucial for microbial activity; without it, decomposition slows down dramatically. Too much water, however, can lead to anaerobic conditions, causing unpleasant odors. You will need to monitor your pile’s moisture level regularly, especially during dry spells, and add water as needed.
Choosing Your Composting Method: Options for Every Home
The best composting method for you depends on your living situation, the amount of organic waste you generate, and your personal preferences. From compact indoor solutions to larger outdoor systems, you have several practical choices for home composting.
For those using indoor methods, maintaining a healthy bin is a key part of detoxing your home and improving your overall living environment.
Outdoor Composting Methods: For Yards and Gardens
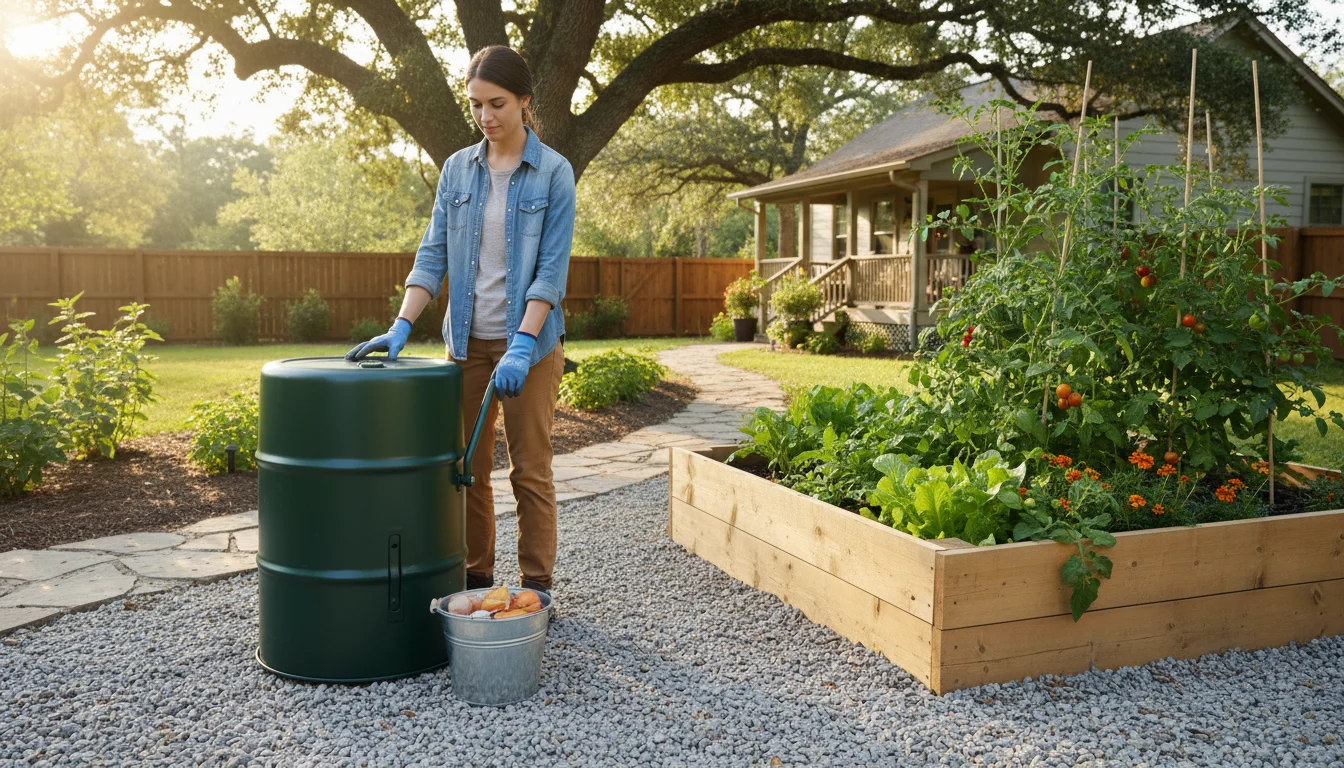
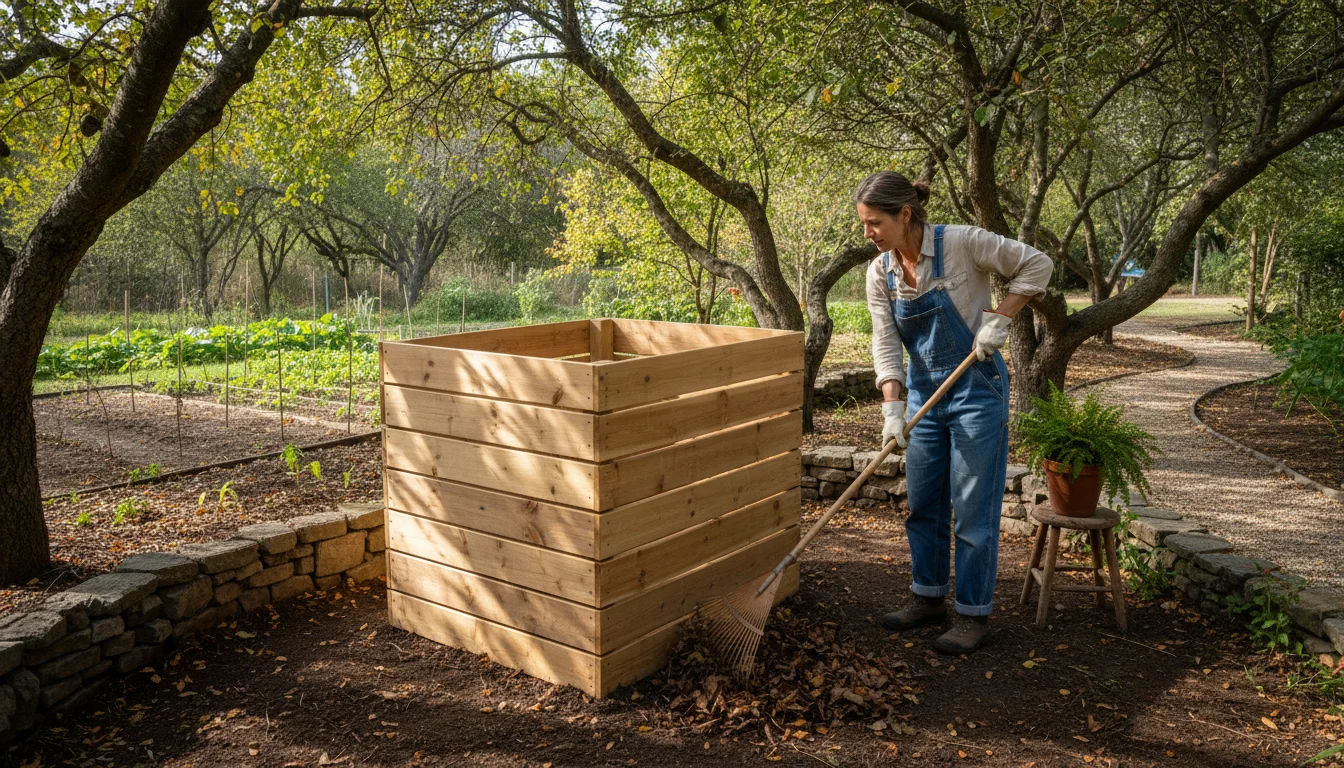
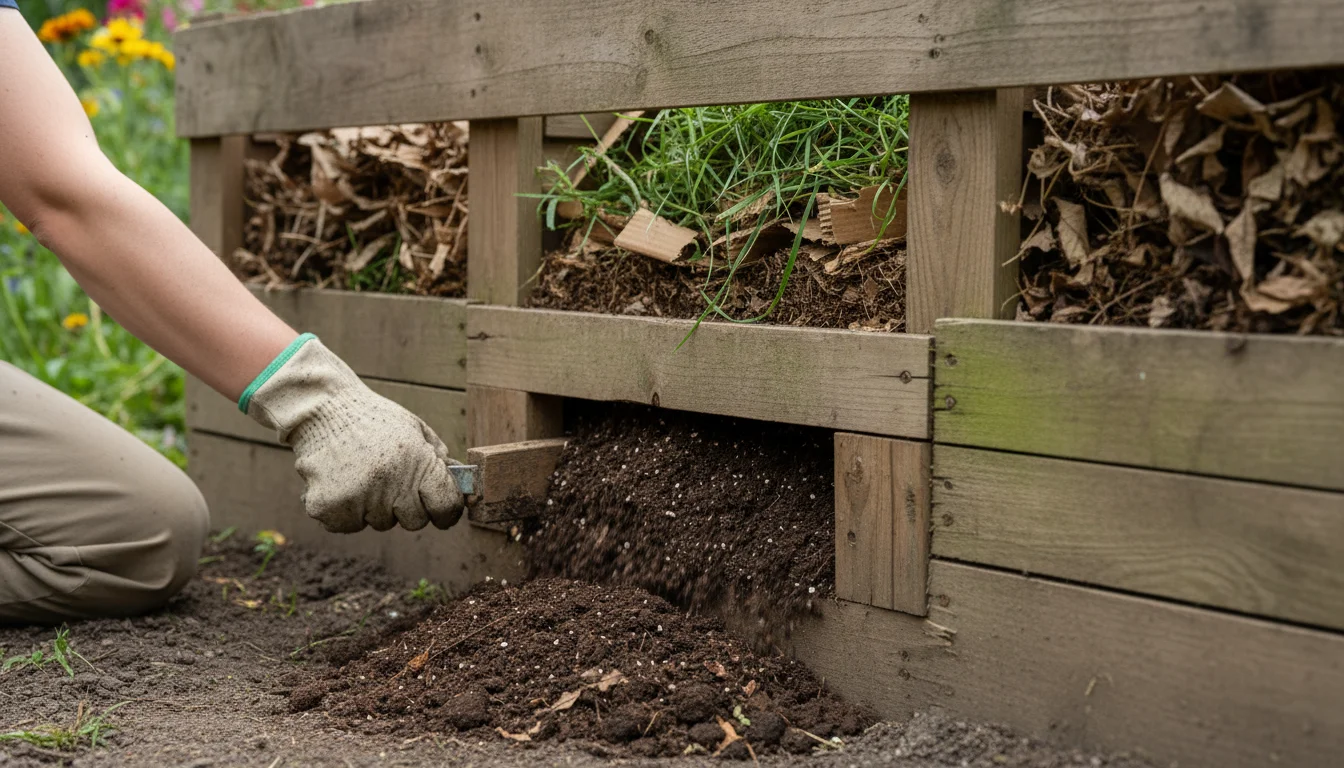
1. Traditional Compost Piles or Bins
This is the classic method for those with yard space. You can create a simple pile, build a contained bin from pallets or wire mesh, or purchase a pre-made plastic bin. Piles offer simplicity, while bins help contain the materials and often accelerate decomposition by retaining heat. This method works well for larger volumes of kitchen and yard waste.
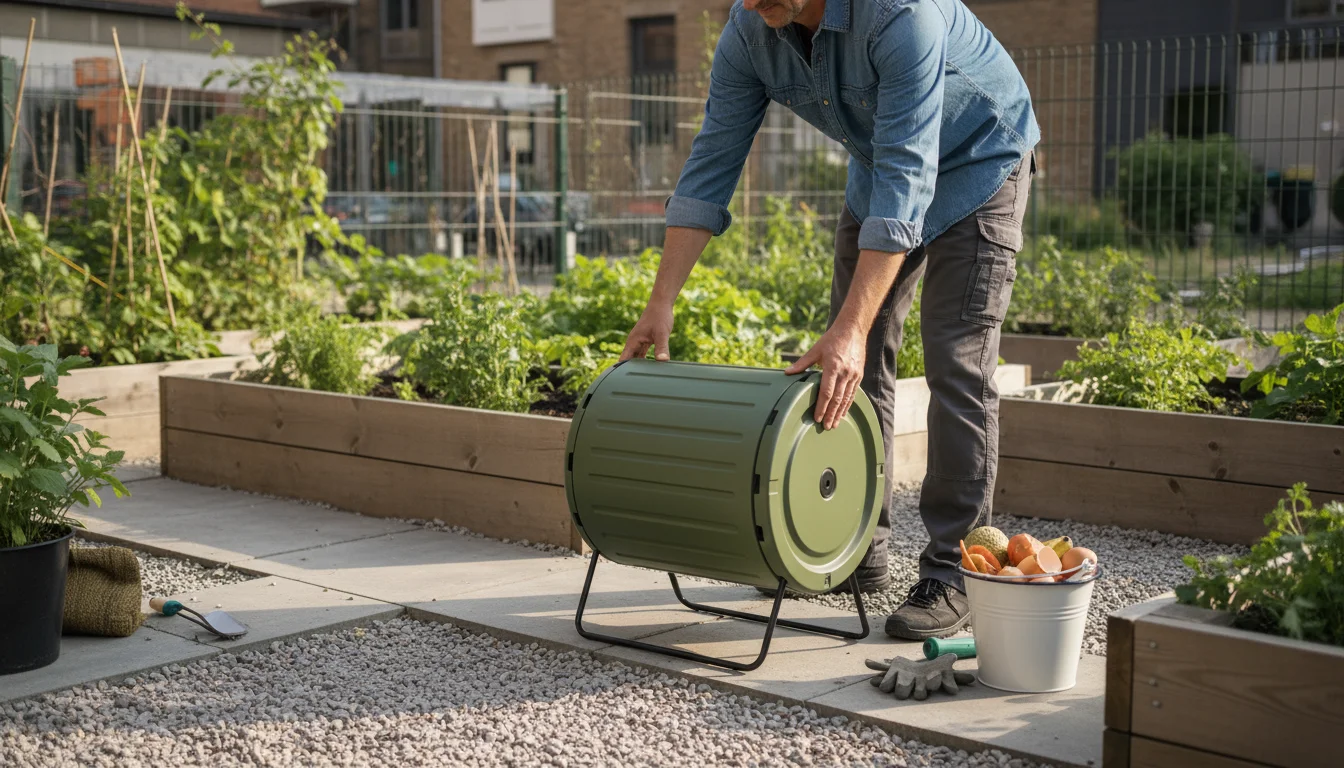
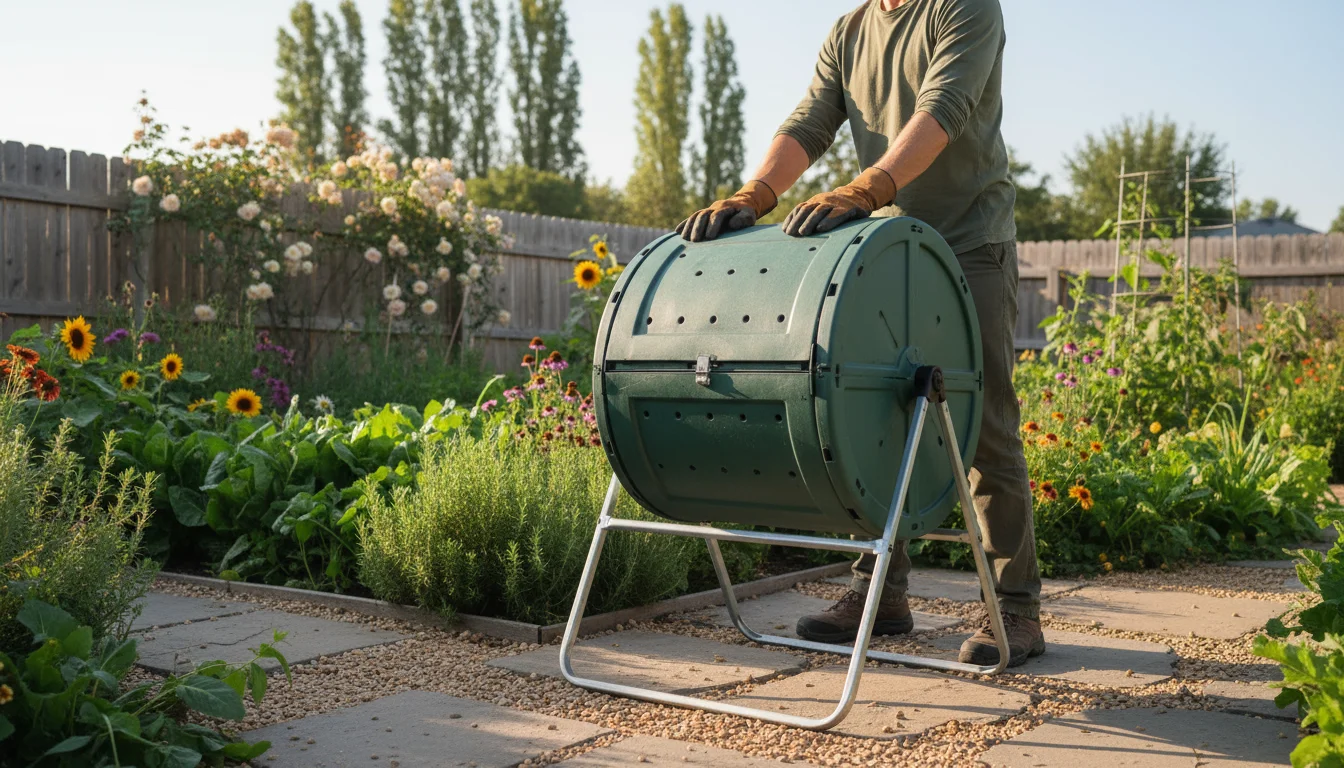
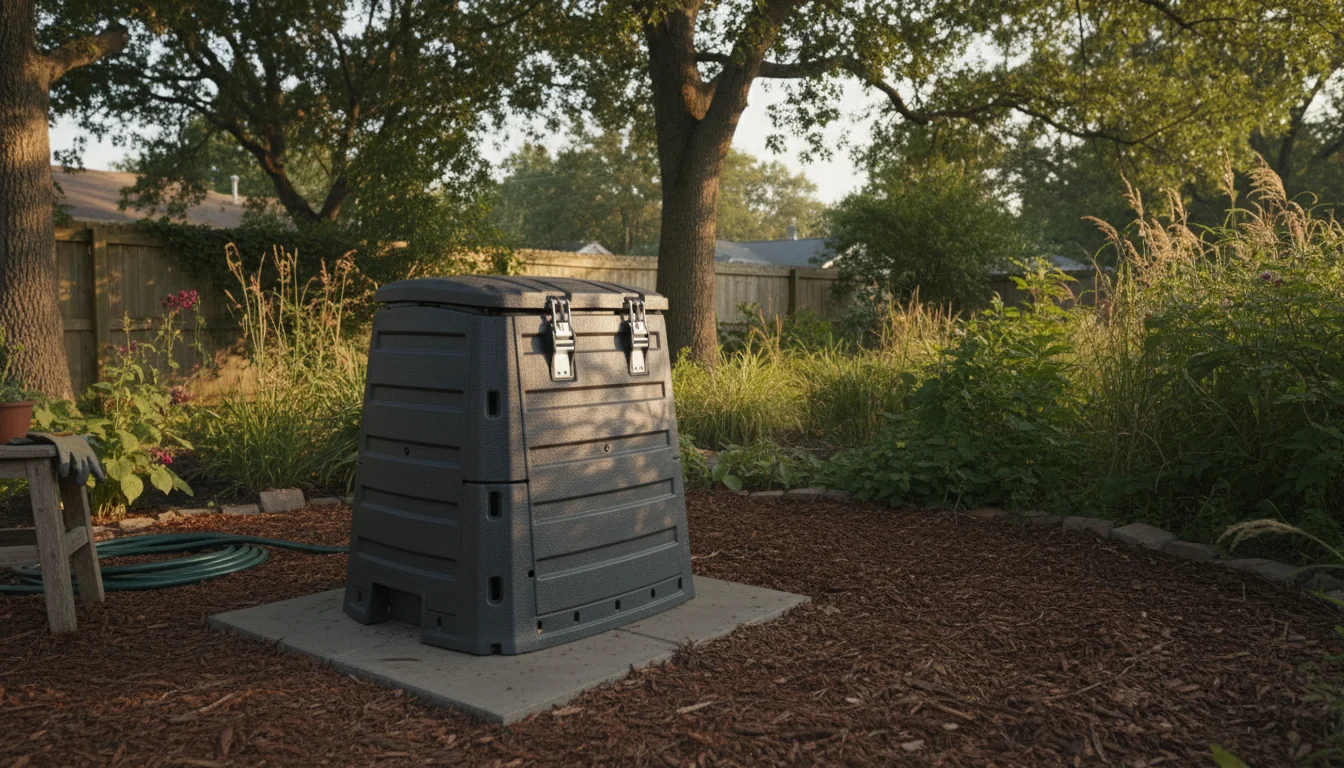
2. Compost Tumblers
Compost tumblers are enclosed, rotating drums that make turning your compost effortless. You load materials into the tumbler and periodically rotate it to aerate the pile. Tumblers are excellent for those who want a faster composting process, prefer a more contained system, or want to avoid manual turning. They also deter pests more effectively than open piles.
3. Vermicomposting (Worm Composting)
Vermicomposting uses red wiggler worms to break down organic waste. This method is highly efficient and perfect for smaller households, indoor use, or apartment dwellers, as it produces minimal odor. Worm bins are compact and relatively easy to manage. The worms consume food scraps, producing nutrient-rich “worm castings” or vermicompost, an exceptional soil amendment.
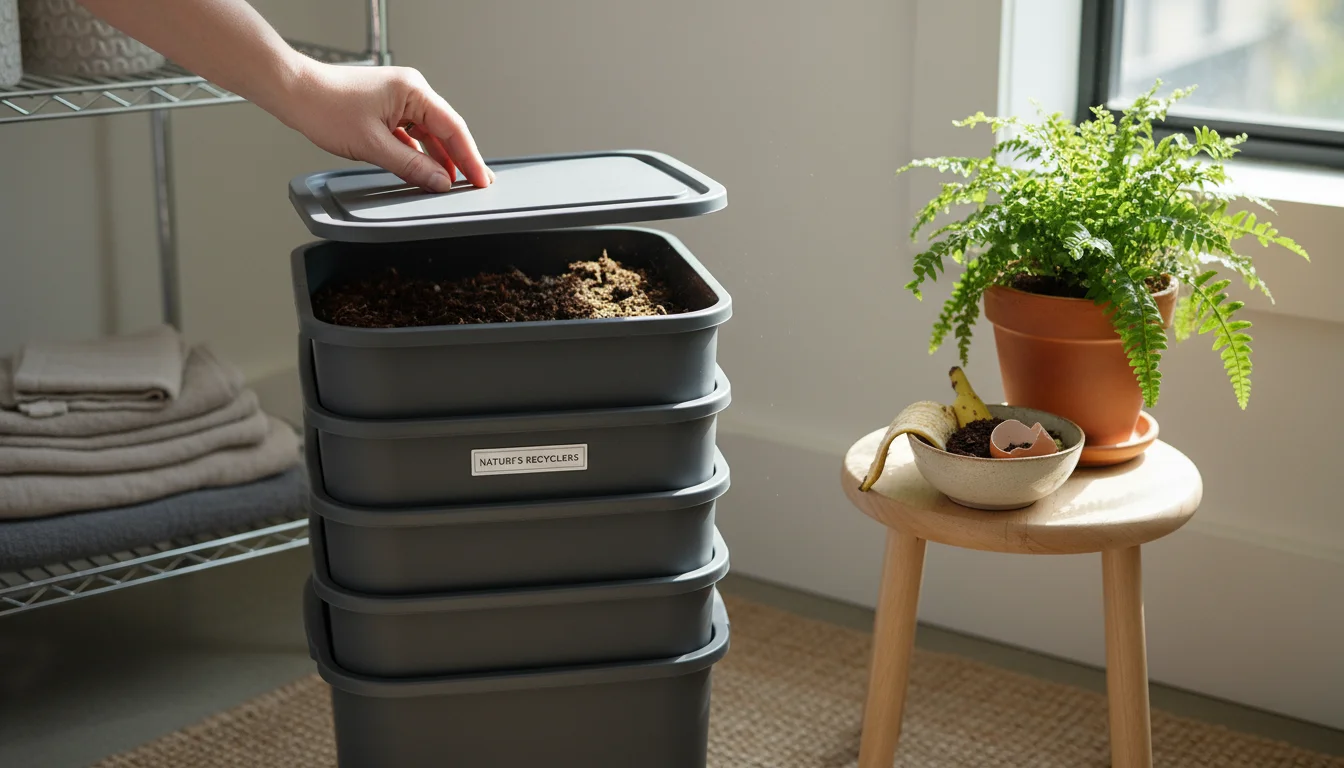
Indoor Composting Methods: Apartment and Small Space Solutions
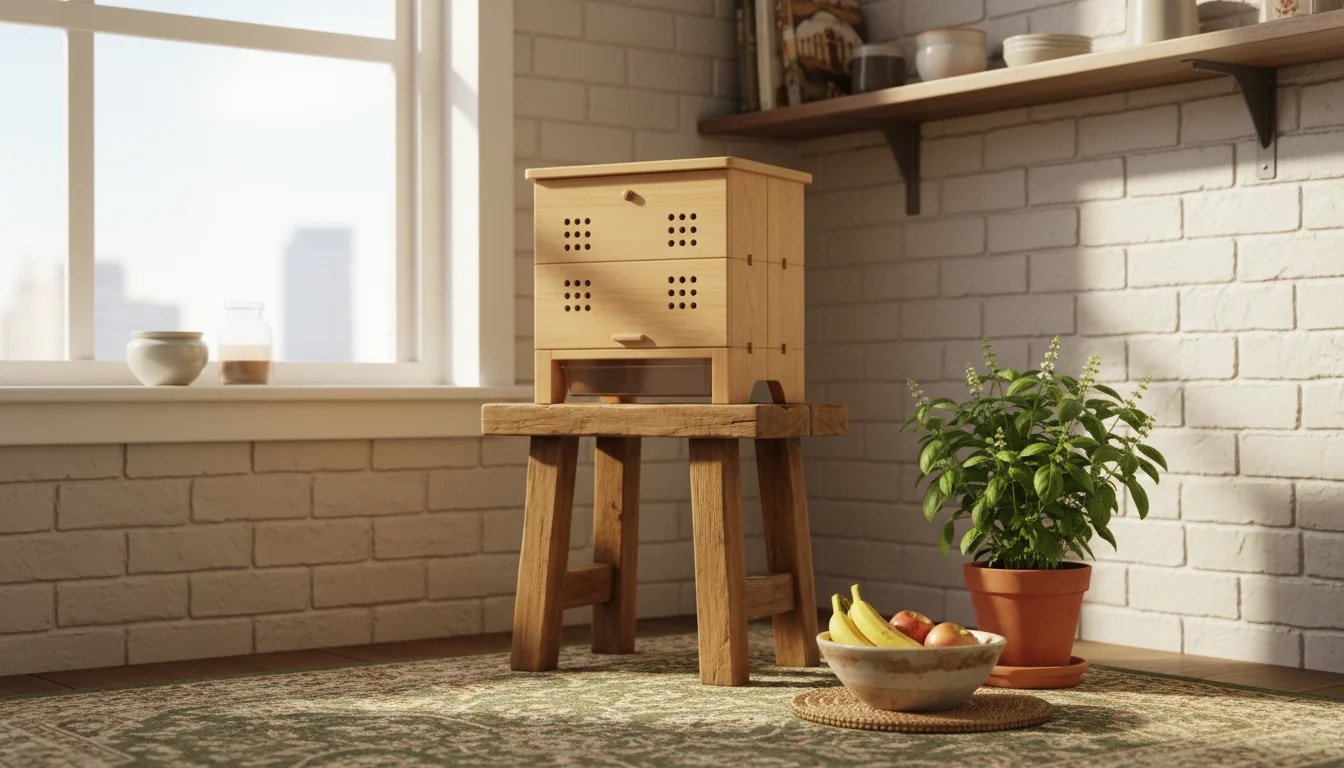
1. Bokashi Composting
Bokashi is an anaerobic (oxygen-free) fermentation process that pickles your food waste before it goes into a traditional compost pile or directly into the soil. It uses a special bran inoculated with beneficial microbes. Bokashi bins are sealed, meaning no odors or pests. This method is great for processing all types of food waste, including meat, dairy, and cooked foods, which are typically avoided in traditional compost. After fermentation, the pickled waste still needs to break down further, either buried in a garden or added to a regular compost pile.
2. Small-Scale Vermicomposting
As mentioned, vermicomposting excels indoors. A compact worm bin fits under a sink, on a balcony, or in a laundry room. With proper management, it remains odor-free and provides a continuous supply of nutrient-rich compost for your houseplants or container garden.
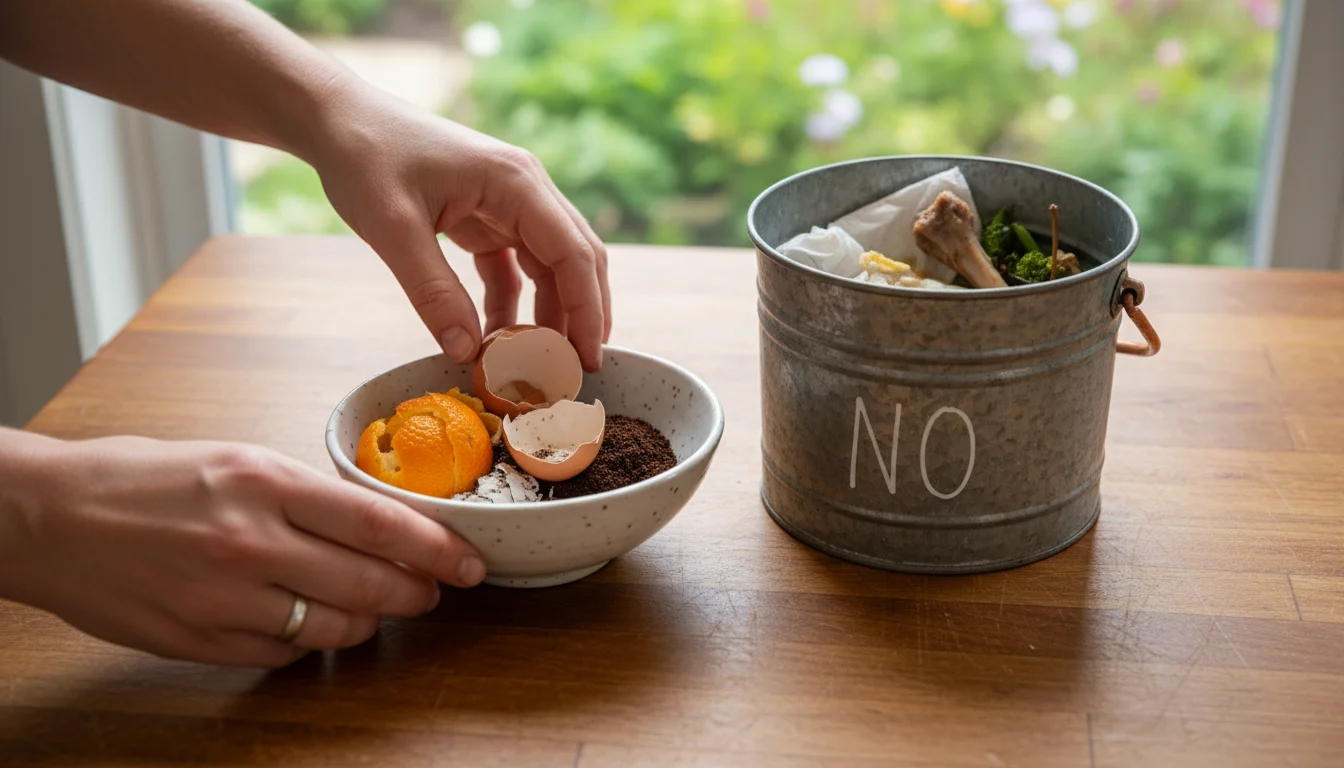
What Can and Cannot Go Into Your Compost
Knowing what materials to add and avoid is crucial for a healthy, odor-free compost pile. Stick to organic materials that break down easily and avoid items that attract pests or introduce pathogens.
Compostable Materials (Greens & Browns)
You can compost a wide variety of items. Focus on balancing your greens and browns for optimal decomposition.
- Fruit and Vegetable Scraps: Peels, cores, wilted produce.
- Coffee Grounds and Filters: Rich in nitrogen.
- Tea Bags: Ensure they are made of natural fibers.
- Eggshells: Crush them for faster breakdown; adds calcium.
- Yard Waste: Grass clippings, leaves, small twigs, dead plants.
- Shredded Paper and Cardboard: Non-glossy, non-colored paper, cardboard rolls, pizza boxes (remove grease).
- Hay and Straw: Excellent carbon sources.
- Untreated Sawdust and Wood Shavings: Use sparingly, as they break down slowly.
- Hair and Fur: From humans or pets (natural, untreated).
- Natural Fabrics: Small pieces of cotton, wool, or linen (shredded).
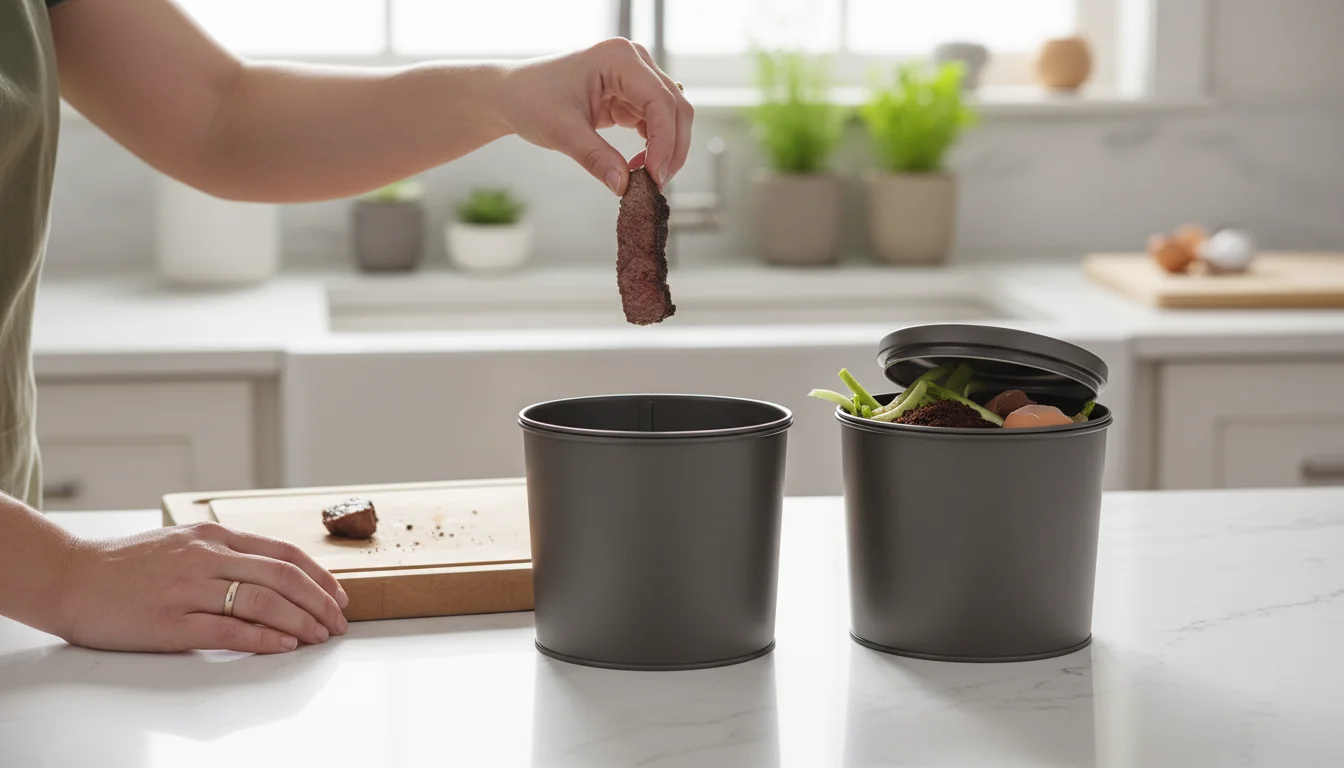
Materials to Avoid
These items can attract pests, create odors, or introduce harmful pathogens to your compost pile, hindering the composting process.
| Category | Specific Items to Avoid | Why Avoid? |
|---|---|---|
| Meat, Bones, Fish | Any cooked or raw meat scraps, bones, fish carcasses. | Attracts pests (rodents, flies), creates foul odors. |
| Dairy Products | Milk, cheese, yogurt, butter. | Attracts pests, creates foul odors. |
| Oils and Greasy Foods | Cooking oils, salad dressings, heavily oiled food scraps. | Attracts pests, slows decomposition, can make compost greasy. |
| Pet Waste | Dog or cat feces, soiled litter. | Contains pathogens harmful to humans; can spread disease. |
| Diseased Plants | Plants showing signs of fungal diseases, pests. | Diseases can survive composting and spread to new plants. |
| Weeds with Seeds | Aggressive weeds like bindweed, dandelions with seeds. | Seeds may survive and germinate in your garden. |
| Treated Wood Products | Plywood, lumber treated with chemicals, painted wood. | Chemicals can leach into compost, harming plants. |
| Synthetic Materials | Plastic, metal, glass, synthetic fabrics. | Do not decompose, contaminate compost. |
Setting Up Your Home Compost System
Once you choose your method, setting up your system is straightforward. Whether you opt for a simple pile or a purchased bin, a few key steps ensure a successful start.
1. Choose the Right Location
For outdoor systems, select a spot that is convenient for you to access but away from your main living areas to prevent any potential odors from bothering you. A partially shaded area helps retain moisture, preventing your pile from drying out too quickly. Ensure good drainage, and avoid placing it against wooden structures that could be damaged by moisture. For indoor worm bins, a cool, dark spot like under a sink or in a closet works well.
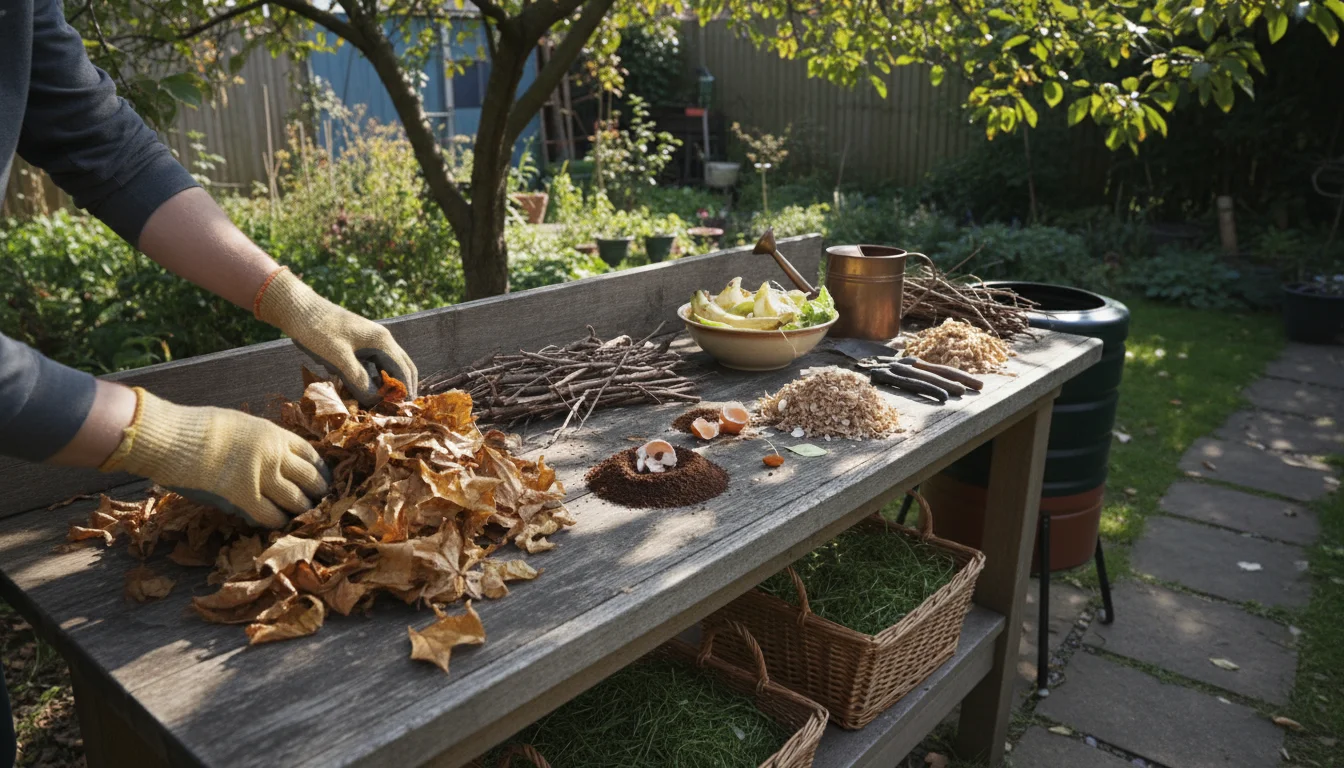
2. Gather Your Materials
Start collecting your kitchen scraps in a small countertop bin. For browns, you might need to gather fallen leaves, shred newspaper, or collect cardboard. The key is to have a ready supply of both greens and browns so you can maintain the proper balance in your compost pile.
According to This Old House, building a simple three-bin compost system from reclaimed pallets offers an excellent, budget-friendly way to manage your compost through different stages: active decomposition, curing, and storage.

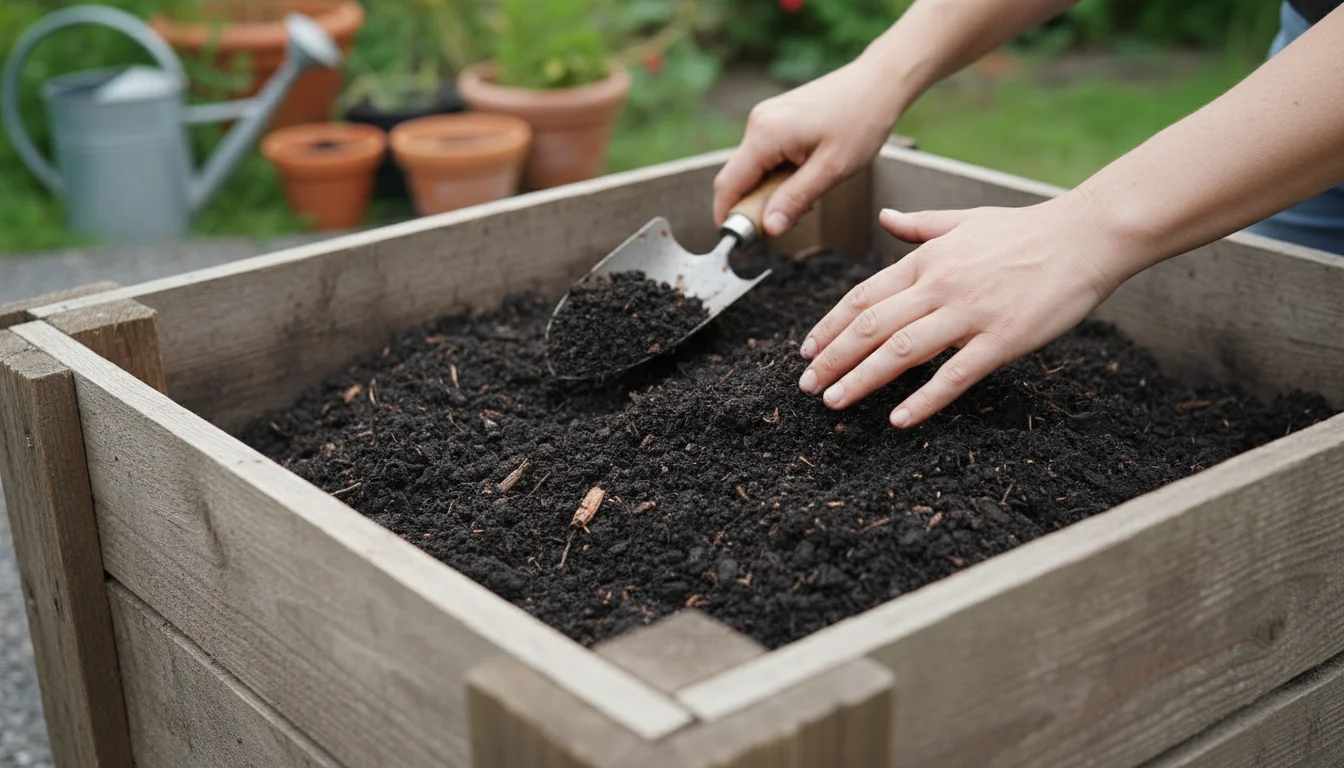
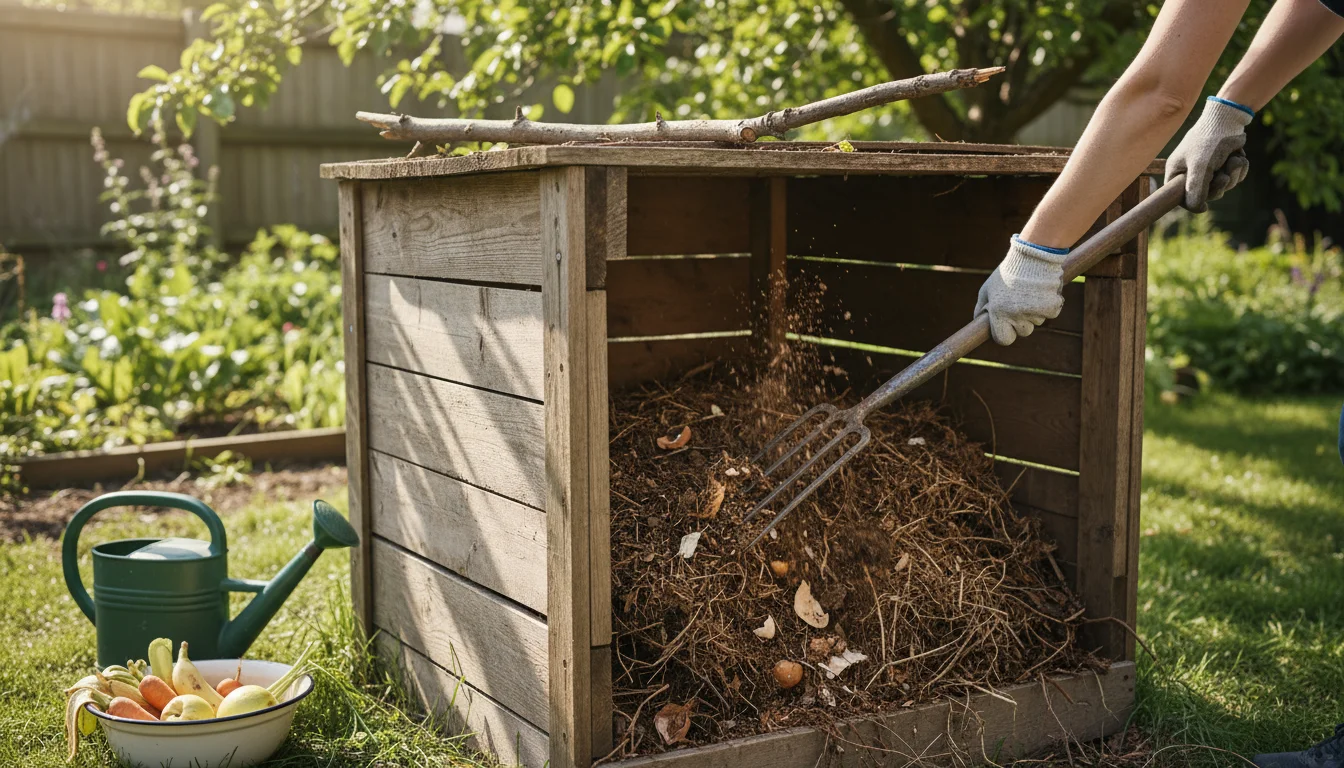
3. Build Your Pile or Fill Your Bin
Begin by laying a base layer of coarse browns, such as small twigs or straw, at the bottom of your outdoor pile or bin. This ensures good airflow. Then, alternate layers of greens and browns, aiming for a ratio of about two to three parts browns for every one part green. For example, add a layer of kitchen scraps (greens) then cover it with a thicker layer of dried leaves or shredded cardboard (browns). This layering helps prevent odors and provides a balanced diet for your microbes. Water each layer as you build it to ensure it is consistently moist, like a damp sponge.
4. Introduce Moisture
After building your initial layers, check the moisture content. The entire pile should feel consistently damp. If it feels dry, gently water it until it reaches the desired moisture level. If it feels too wet, add more dry browns to absorb excess moisture.
Maintaining Your Compost Pile: The Key to Success
Once your compost system is established, consistent maintenance ensures efficient decomposition and prevents common problems. Regular attention keeps your pile healthy and productive.
Turning Your Compost
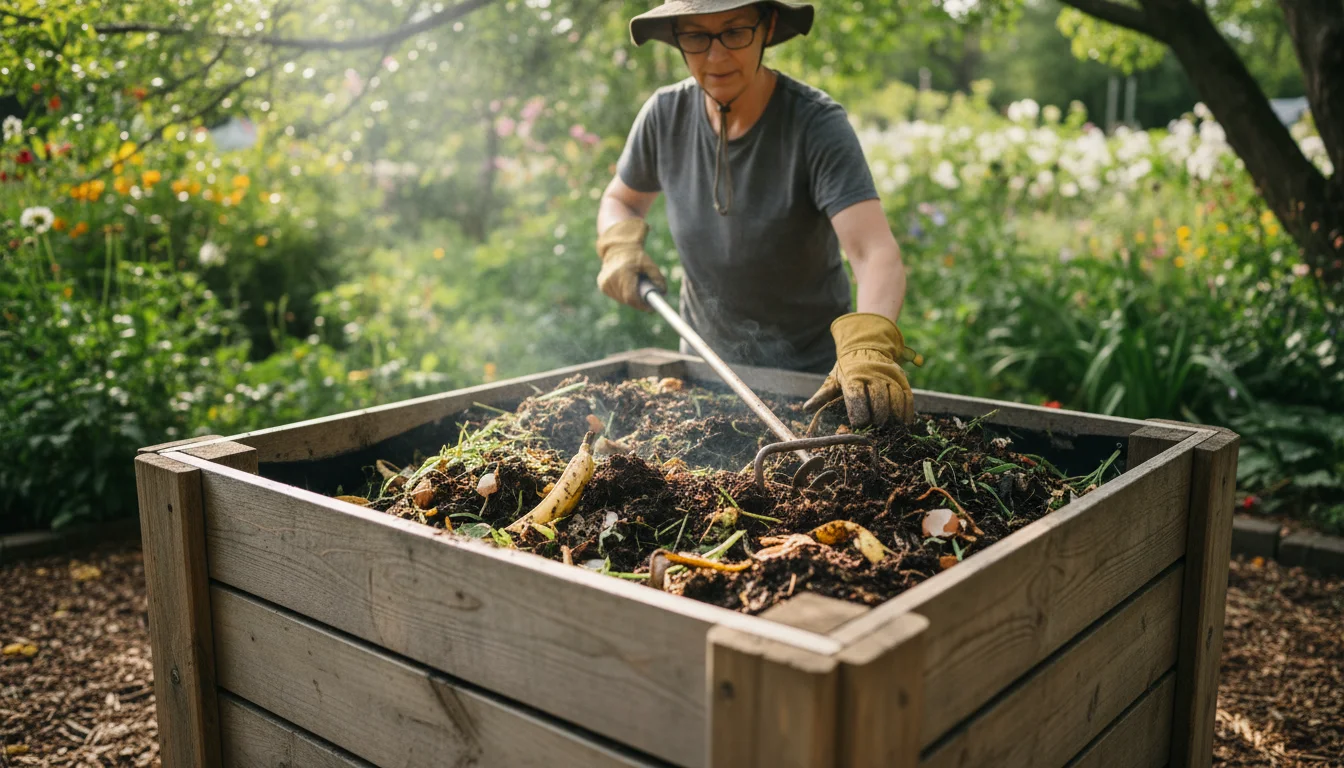
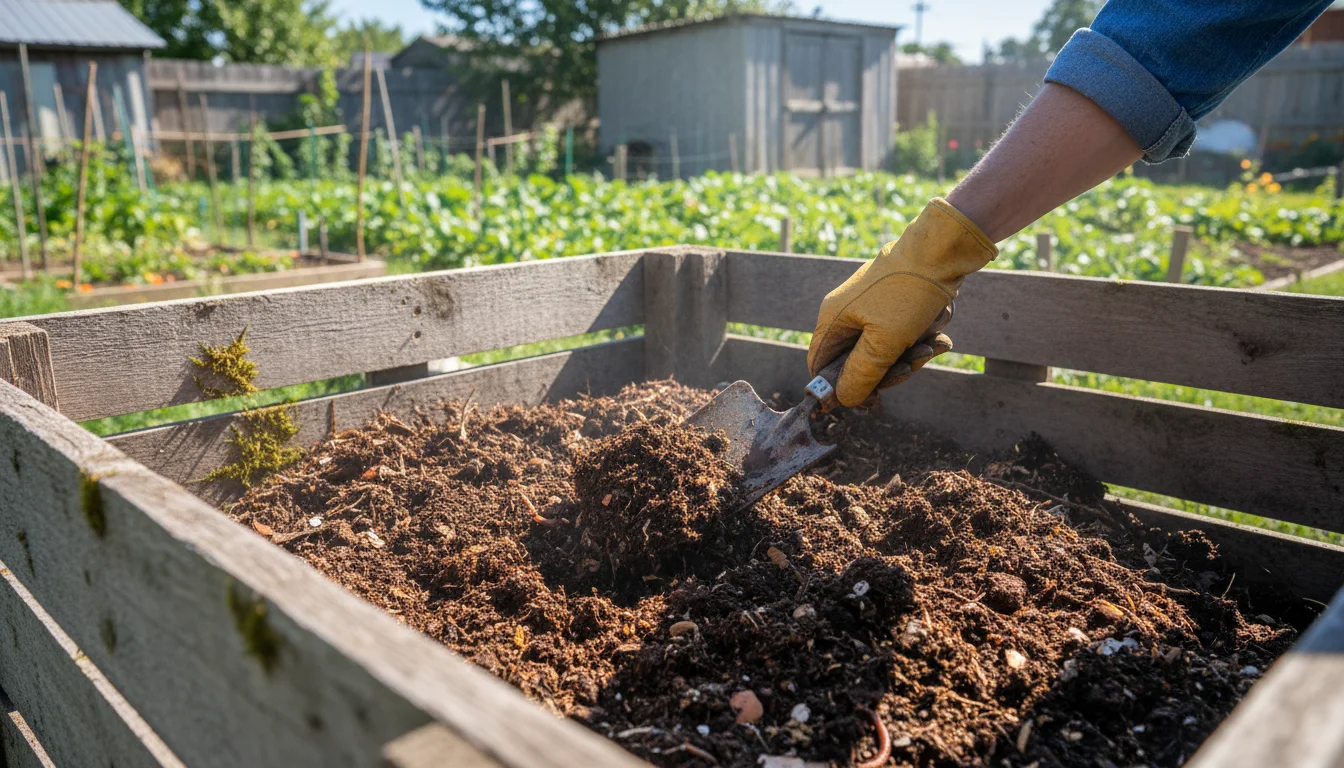
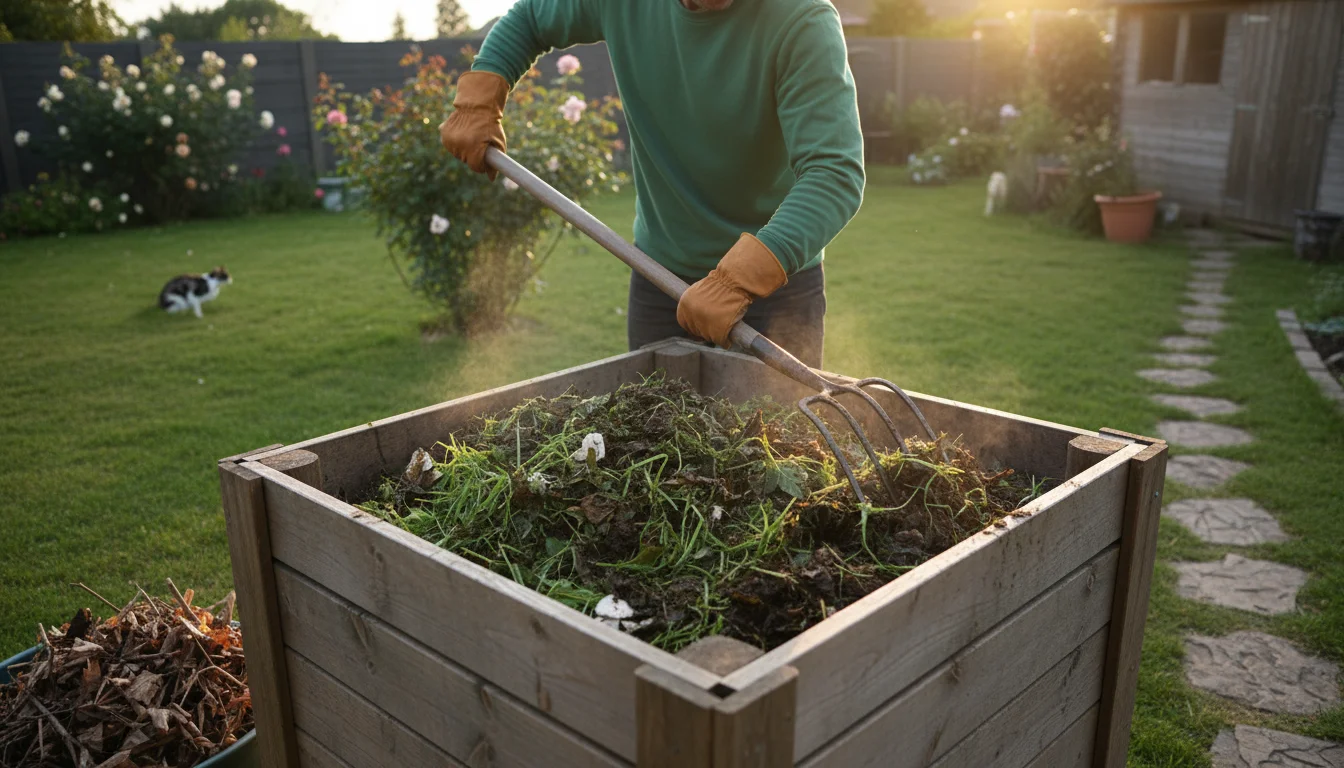
Aeration is vital for active decomposition. Turning your compost pile introduces oxygen, which is essential for aerobic bacteria, the workhorses of composting. Without enough oxygen, anaerobic bacteria take over, leading to foul odors. Aim to turn your outdoor pile every week or two, especially after adding a significant amount of fresh material. Use a pitchfork or a compost aerator to mix the outer, drier materials into the center and bring the moister, decomposing materials to the outside. If you use a tumbler, simply rotate it every few days.
Monitoring Moisture Levels
Regularly check the moisture content of your pile. If it appears dry, add water with a hose or watering can, mixing it in thoroughly. If it seems too wet, add more dry, carbon-rich materials like shredded newspaper or dry leaves and turn the pile to aerate it. You want a consistent, damp texture throughout.
Balancing Greens and Browns
Continue to add new greens and browns in the recommended ratio. If your pile smells putrid, you likely have too many greens; add more browns. If decomposition seems slow and the pile is dry, you need more greens and water. You will learn to recognize the subtle cues your compost pile gives you as it works its magic.
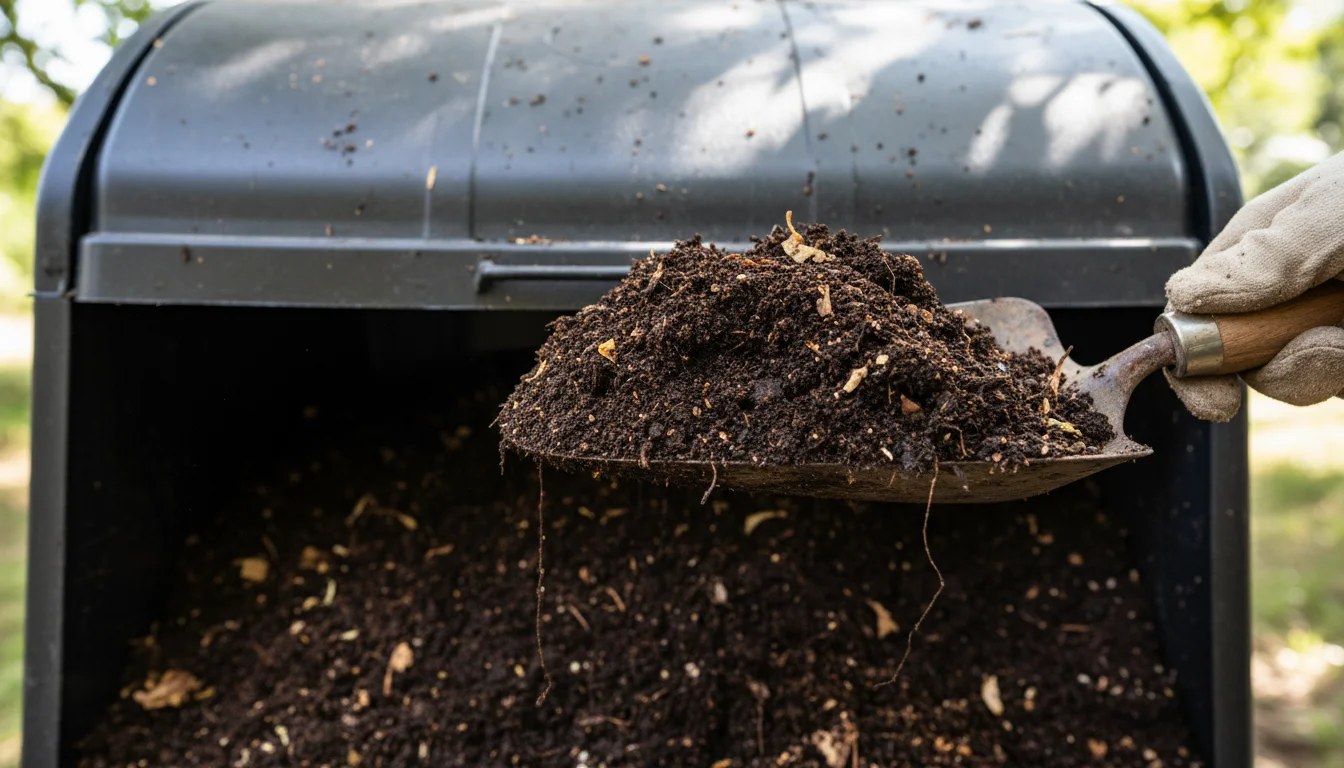
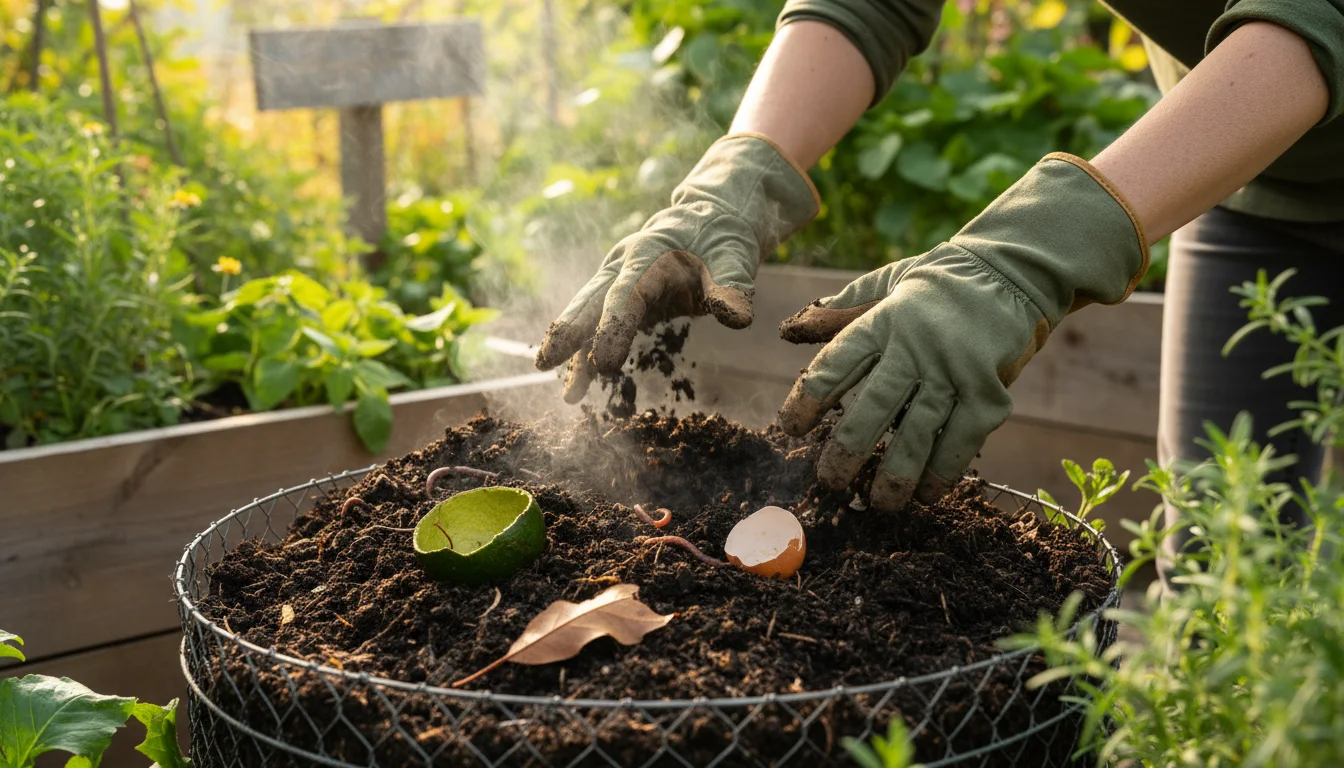
Harvesting and Using Your Finished Compost
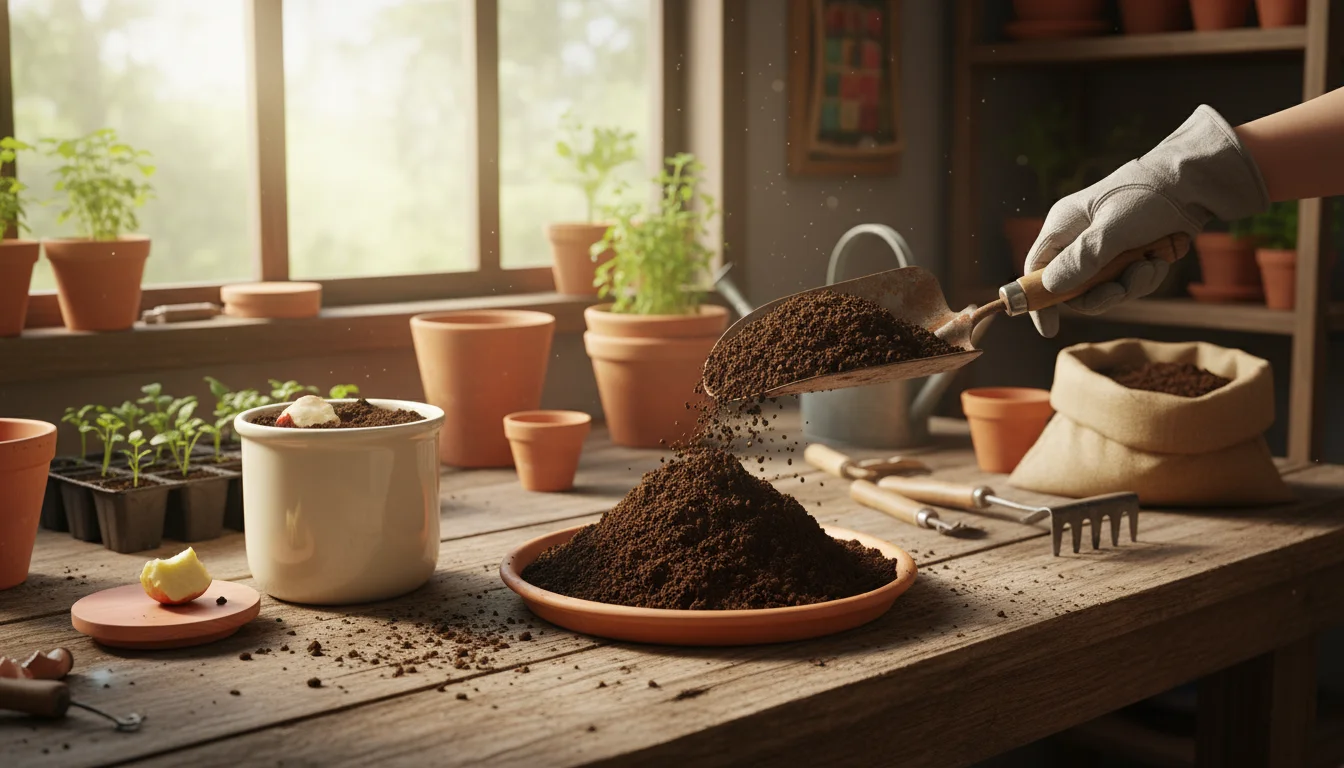
The reward for your composting efforts is rich, dark compost, ready to nourish your plants. Knowing when and how to harvest it ensures you get the most from your “black gold.”
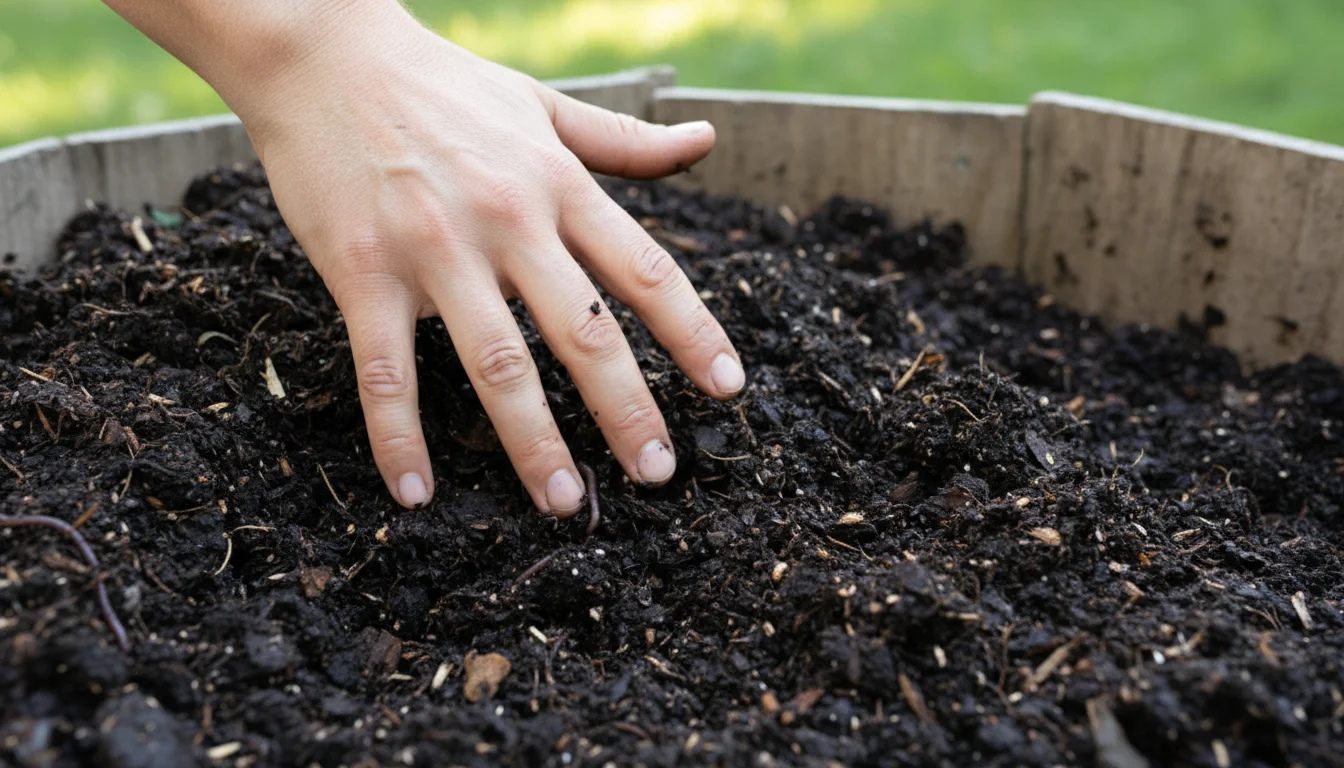
Recognizing Finished Compost
Finished compost is dark brown or black, crumbly, and has an earthy smell. You should no longer be able to identify the original food scraps or yard waste, although some larger, woody pieces might remain. It should have a uniform texture, resembling rich soil. The temperature of the pile will also have returned to ambient temperature, indicating that the most active decomposition phase has completed.
Harvesting Techniques
For single-chamber bins or piles, simply scoop the finished compost from the bottom or center. The newest materials will be on top, still actively decomposing. Many bins have a bottom access door specifically for this purpose. If you have a multi-chamber system, you can move actively decomposing material from one bin to the next, harvesting from the final, mature chamber.
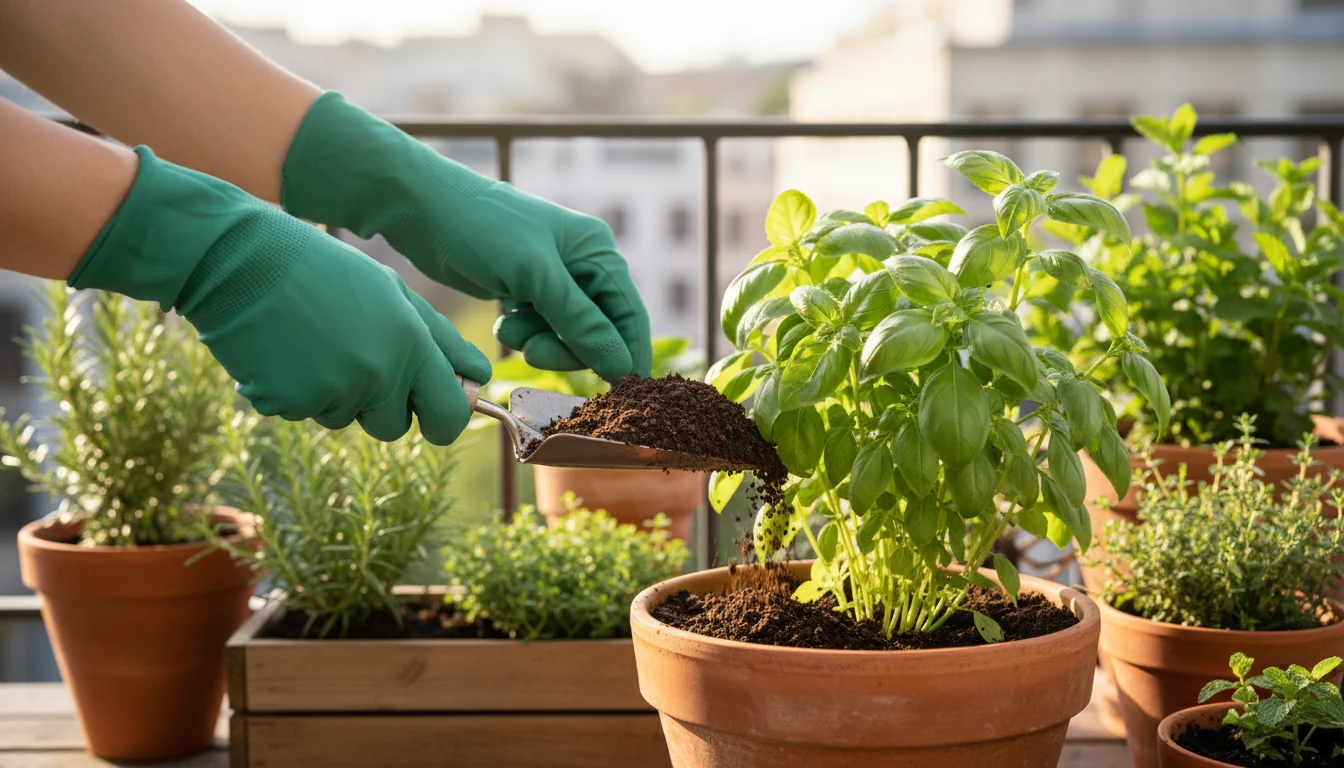
Practical Uses for Your Compost
- Garden Beds: Mix finished compost into your garden beds before planting or use it as a top dressing around existing plants.
- Potting Mix: Blend compost with sand and perlite to create your own nutrient-rich potting mix for container plants.
- Lawn Care: Spread a thin layer of compost over your lawn as a natural fertilizer and soil conditioner.
- Trees and Shrubs: Apply a ring of compost around the base of trees and shrubs to improve their health and vigor.
- Seed Starting: While pure compost can be too rich for seed starting, a small amount blended into a sterile seed-starting mix provides excellent nutrients.
Using your homemade compost enhances your soil naturally, reducing reliance on synthetic products and closing the loop on your home’s organic waste cycle.
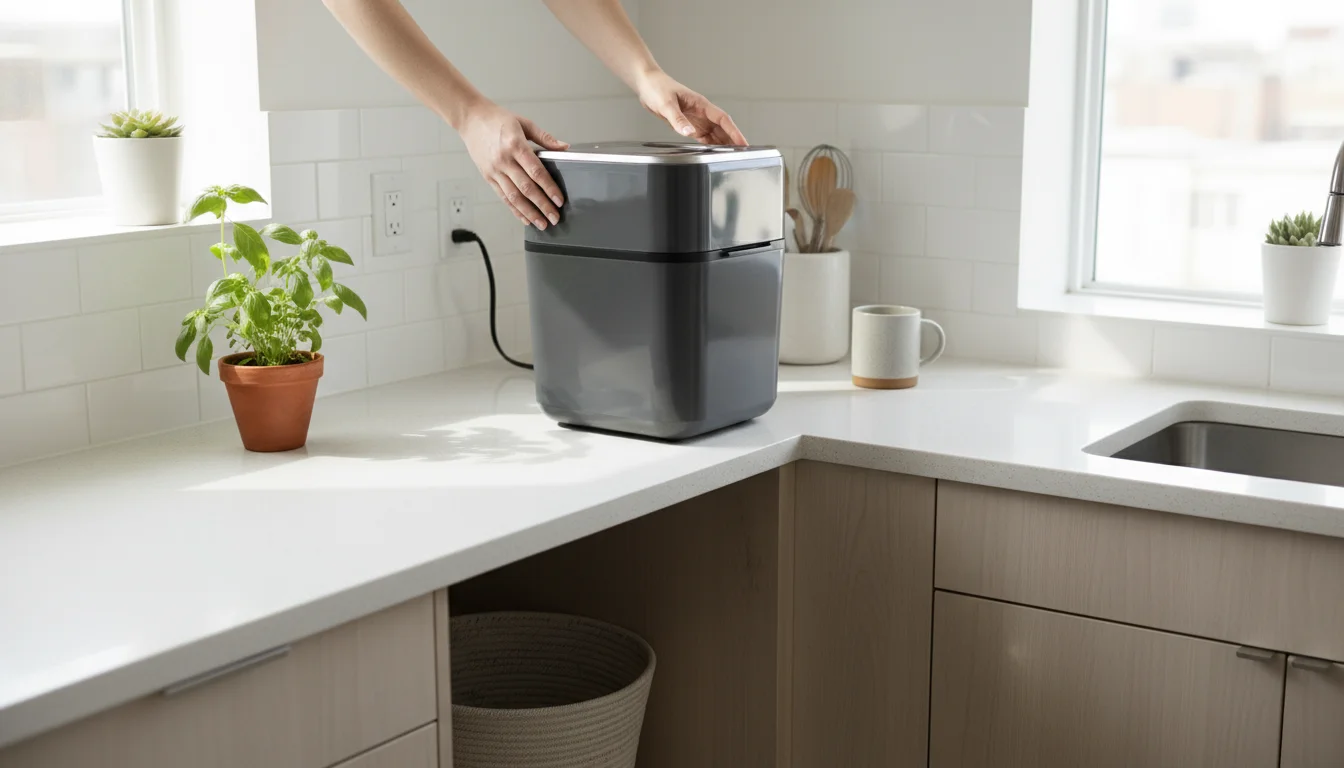
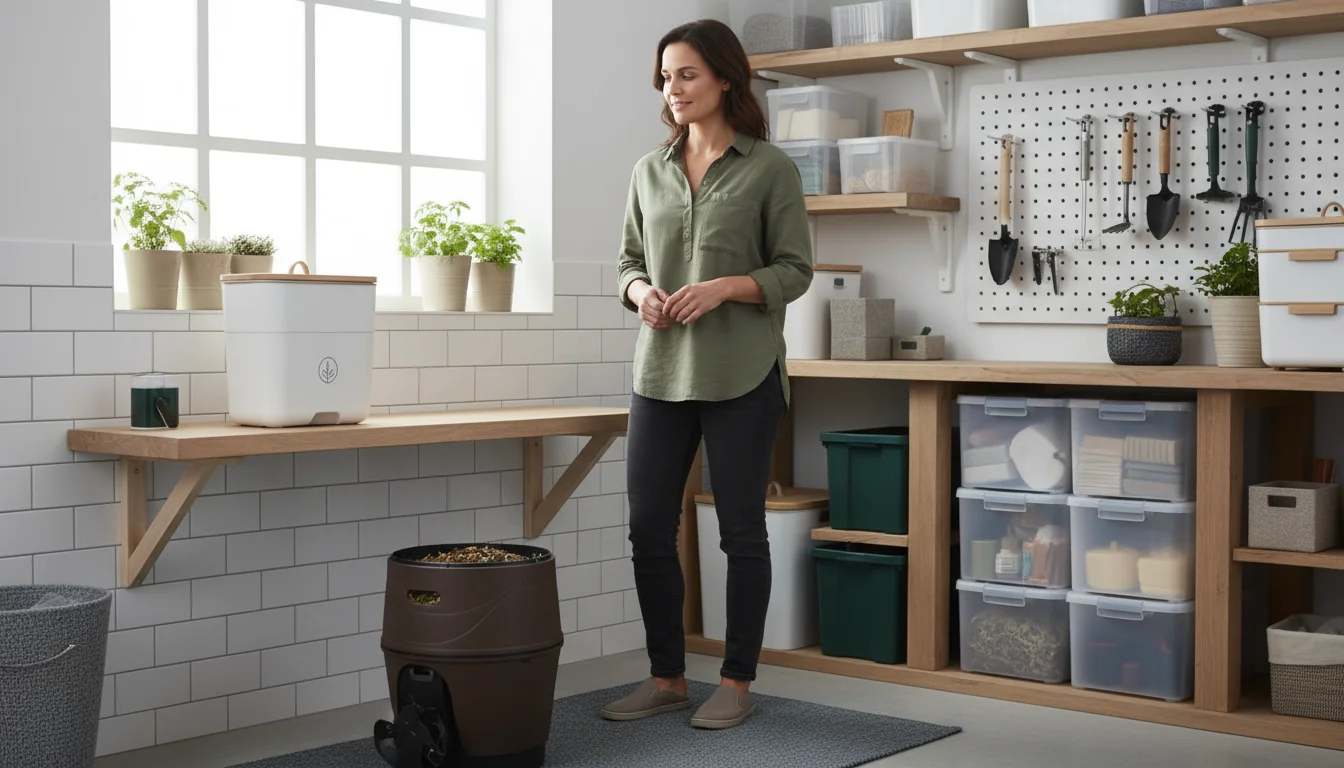
Composting in Small Spaces: Apartment-Friendly Solutions
Limited space should not deter you from embracing home composting. Several innovative and clean methods allow apartment dwellers and those with small yards to participate in this sustainable practice.
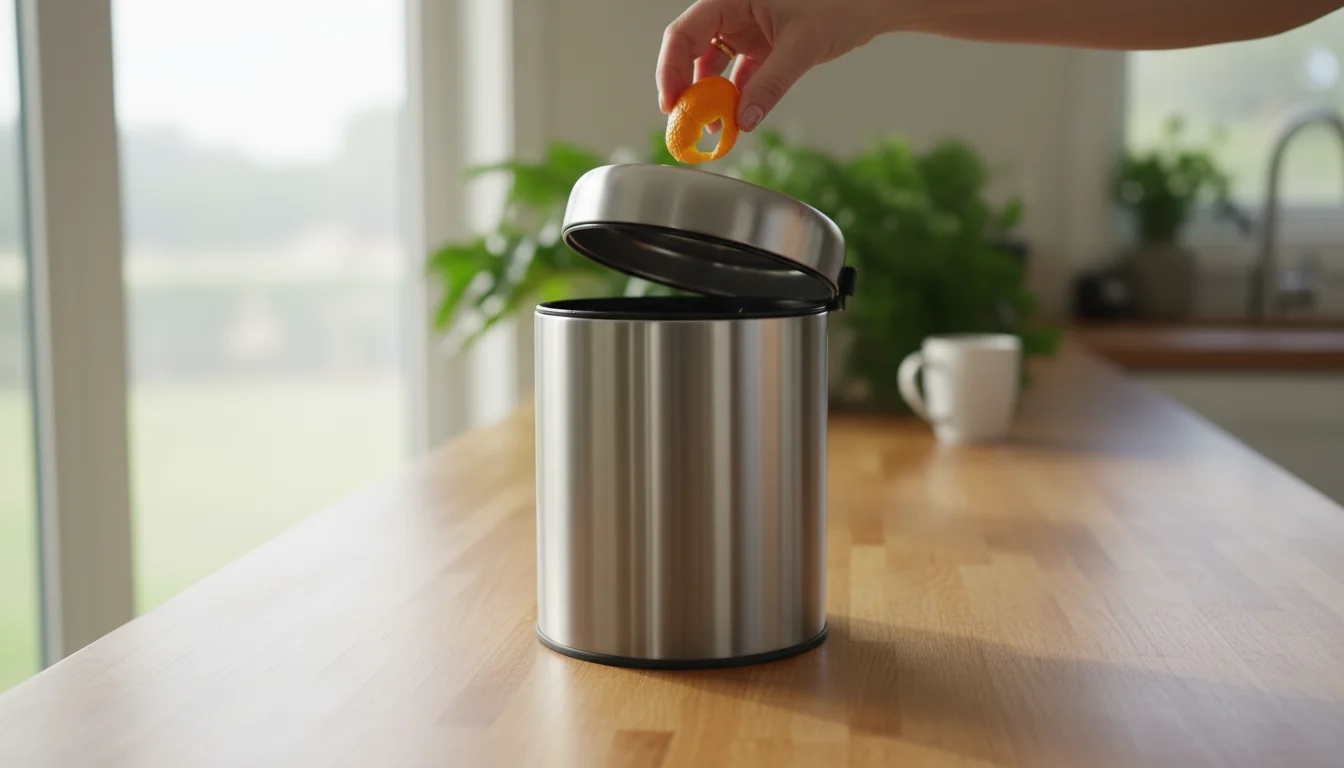
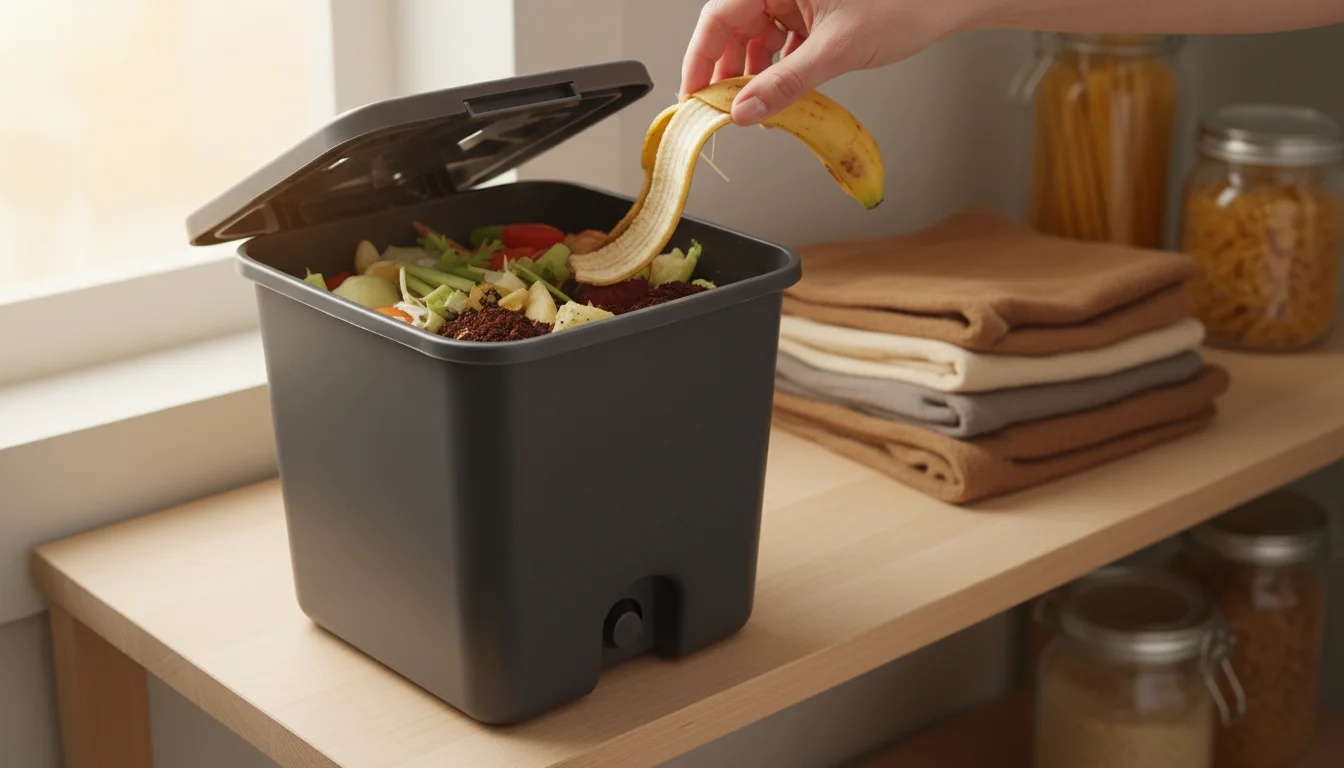
Countertop Collection
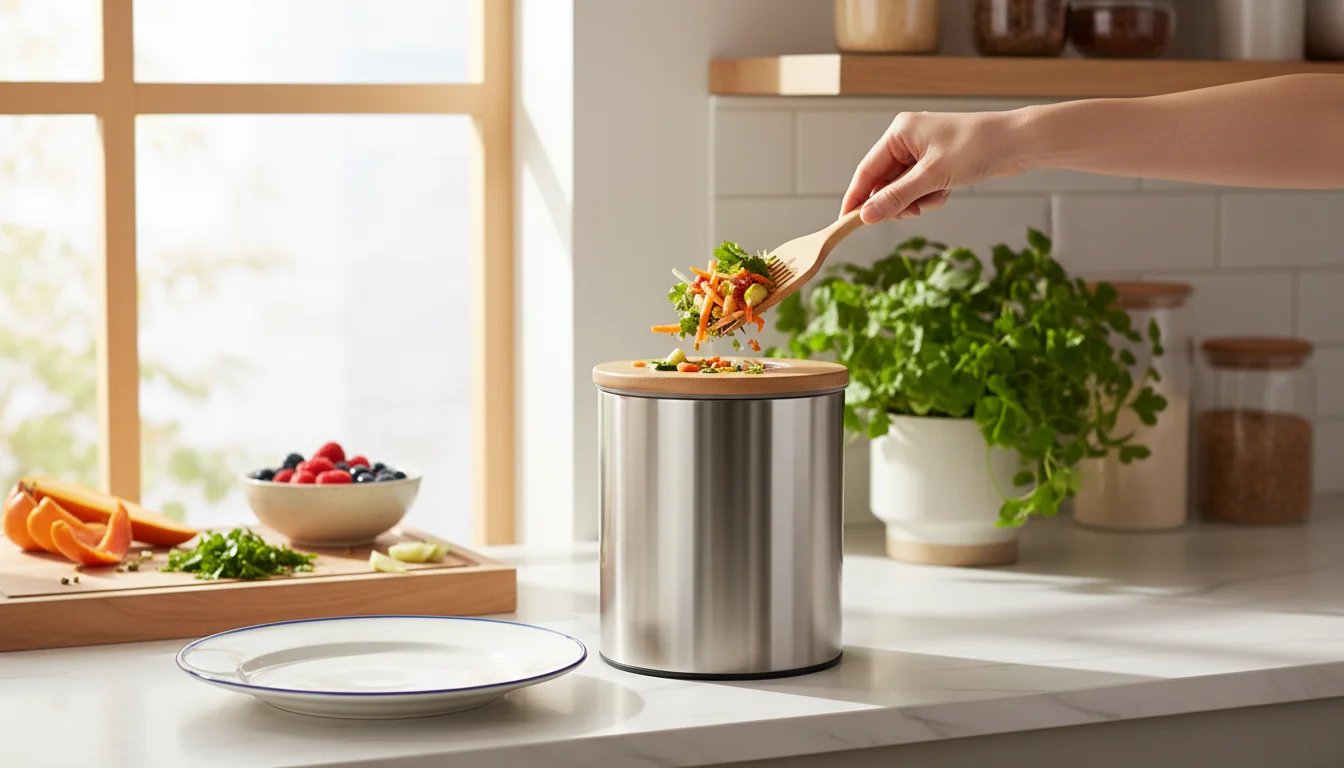
Start with a small, attractive countertop compost pail with a lid and a charcoal filter. This collects your daily kitchen scraps discreetly and odor-free until you are ready to transfer them to your main composting system. Look for models with an airtight seal to prevent fruit flies and odors.
Indoor Vermicomposting Bins
As discussed, vermicomposting is ideal for apartments. A multi-tray worm bin can fit discreetly in a corner, on a balcony, or under a sink. These systems are designed to be compact and self-contained. You simply add food scraps, and the worms do the rest, producing nutrient-rich castings for your houseplants or community gardens. Ensure you do not overfeed the worms, as this can lead to odor issues. With proper care, a worm bin should smell like fresh earth.
Bokashi Bins for Fermentation
Bokashi bins are another excellent indoor option. They are compact, sealed containers that ferment all types of food waste, including items not suitable for traditional composting like meat and dairy. The process is quick and anaerobic, meaning no unpleasant smells. Once fermented, the material needs to be buried in soil to fully break down, so this option works best if you have access to a small outdoor space, a community garden, or can arrange for collection from a local composting facility.
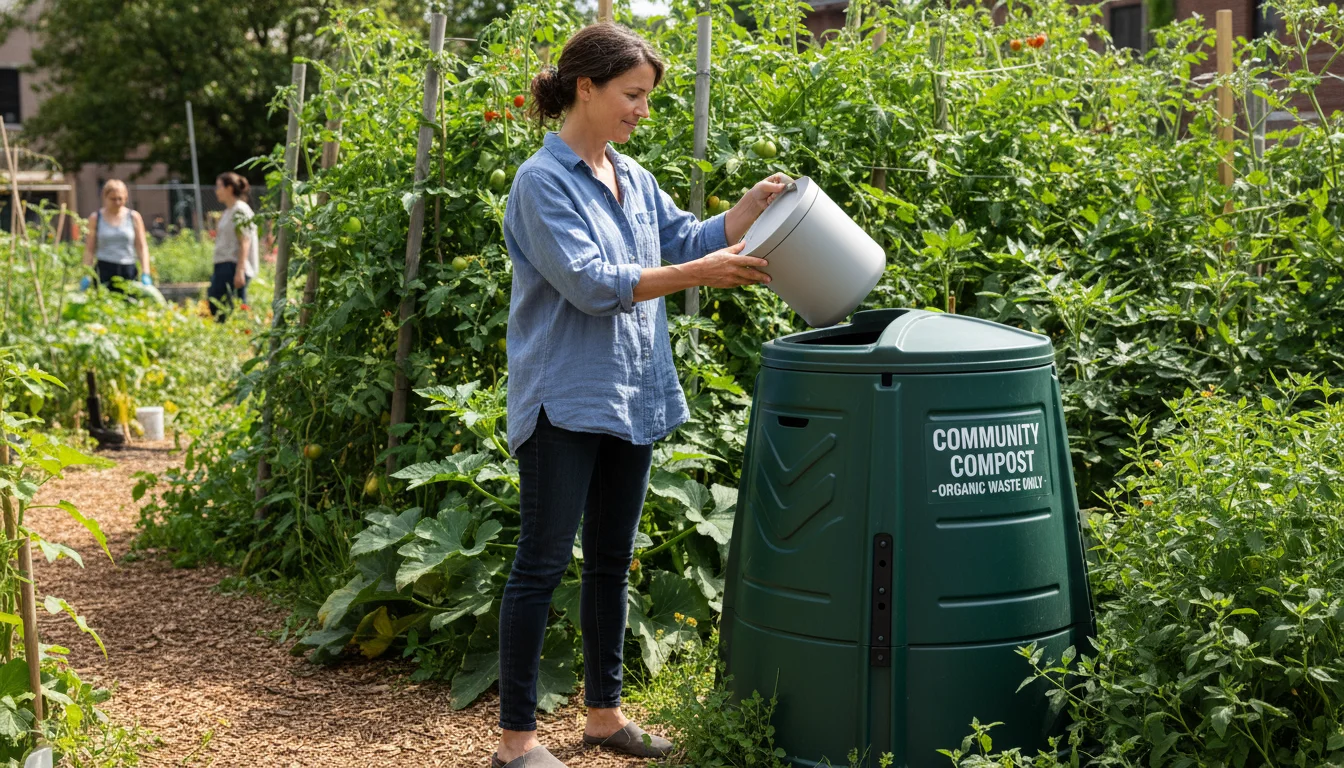
Community Composting Programs
If home composting feels like too much, check for community composting programs in your area. Many cities offer food scrap drop-off locations or curbside collection services. This allows you to divert your organic waste without managing a compost system yourself. This is a fantastic way to participate in sustainable living without the direct effort of maintaining a pile. To learn more about practical waste reduction in your home, consider resources like those found on Good Housekeeping’s organization pages, which offer tips adaptable for any living situation.
Troubleshooting Common Composting Issues
Even with the best intentions, you might encounter a few hurdles on your composting journey. Do not get discouraged; most problems have simple solutions. Addressing issues promptly ensures your composting efforts remain effective and enjoyable.
Odor Problems
Cause: The most common cause of foul odors (like rotten eggs or ammonia) is an anaerobic pile, meaning a lack of oxygen or too much moisture, often due to too many greens.
Solution: Turn your pile thoroughly to introduce oxygen. Add a significant amount of dry browns like shredded cardboard, dried leaves, or straw to absorb excess moisture and balance the carbon-to-nitrogen ratio. Fluff up compacted materials.
Pests (Flies, Rodents, Raccoons)
Cause: Exposed food scraps, particularly meat, dairy, or oily foods, attract unwanted visitors.
Solution: Always bury new food scraps deep within the compost pile, covering them with a layer of browns. Avoid adding meat, dairy, or oils to traditional compost systems. If using an outdoor bin, ensure it has a secure lid and sturdy sides. Tumblers are generally more pest-resistant.
Slow or Stalled Decomposition
Cause: This usually means your pile lacks the right balance of moisture, nitrogen, or aeration. The pile might be too dry, too carbon-heavy, or too compacted.
Solution:
- Too Dry: Add water until it feels like a wrung-out sponge, mixing it in.
- Too Many Browns: Incorporate more nitrogen-rich greens like grass clippings or fresh food scraps.
- Too Little Aeration: Turn the pile more frequently to introduce oxygen.
- Too Cold: While composting slows in cold weather, ensure the pile is large enough to generate heat, and insulate it with straw in winter if possible.
Compost is Slimy or Soggy
Cause: Too much moisture and not enough carbon, leading to anaerobic conditions.
Solution: Turn the pile to aerate it and add a substantial amount of dry, absorbent browns such as shredded newspaper, dried leaves, or sawdust. Mix thoroughly to distribute the dry material and absorb excess moisture.
Frequently Asked Questions
What is the ideal carbon-to-nitrogen ratio for composting?
A good rule of thumb is to aim for a carbon-to-nitrogen (C:N) ratio of around 25-30 parts carbon to 1 part nitrogen. Practically, this means adding about two to three times more brown materials than green materials by volume. Achieving this balance helps microbes thrive, leading to faster and more efficient decomposition.
Can I compost citrus peels?
Yes, you can compost citrus peels, but many composters suggest using them sparingly, especially in vermicomposting bins. Citrus peels are acidic and contain compounds that can deter worms and slow down decomposition in large quantities. Chop them into small pieces to help them break down faster.
How long does it take for compost to be ready?
The time it takes for compost to be ready varies significantly based on your method, material mix, and maintenance. A well-managed, hot compost pile that is regularly turned and has a good C:N balance can produce finished compost in as little as 2-3 months. Slower, cold composting methods or inactive piles can take 6 months to a year or more. Vermicomposting often yields castings in 3-6 months.
Do I need a special compost starter?
No, a special compost starter is not usually necessary. Your compost pile naturally contains the microorganisms it needs from the soil, food scraps, and yard waste you add. If you want to speed things up, you can add a shovel full of finished compost or garden soil to a new pile, as this introduces a ready-made microbial community. Otherwise, the microbes will naturally colonize your materials.
Can I compost cooked food?
In traditional outdoor compost piles, it is best to avoid composting cooked foods, especially those containing meat, dairy, or oils. These items attract pests, create unpleasant odors, and can slow decomposition. For cooked food waste, consider using a Bokashi system, which specifically ferments these materials, or check if your local community composting program accepts them.
For expert home organization guidance, visit
Family Handyman,
Bob Vila and
HGTV Home.
Disclaimer: This article is for informational purposes only and is not a substitute for professional advice. Consult professional organizers or specialists for personalized recommendations.


Leave a Reply